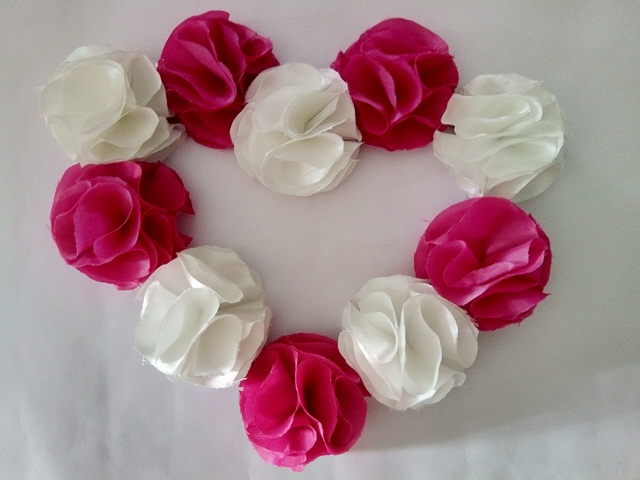
Hello friends ❤, how are you? I hope you are very very well and have days full of many blessings! On this occasion I wanted to do a step by step on the elaboration of an ornament that has as its protagonist some beautiful flowers made with fabric circles. These little flowers hold a special place in my heart because they were one of the first flowers I learned to make and I always included them in my first jobs, with them you can decorate dresses, centerpieces, hair accessories, bouquets, maternity belts... .and much more!!
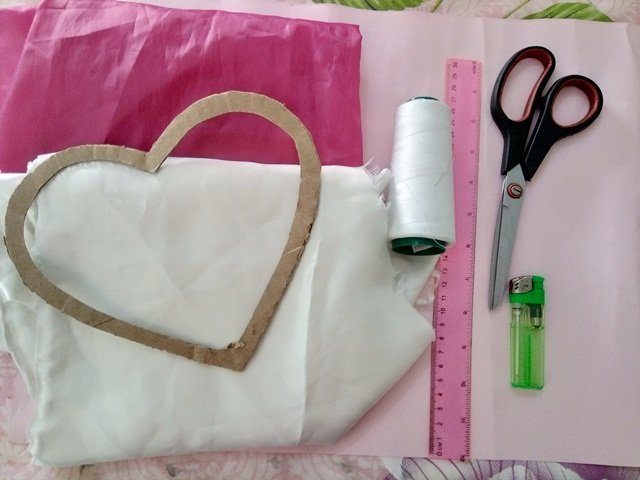
Materiales - Materials
•Tela de razo japón blanca
•Tela de forro fucsia
•Aguja e Hilo blanco
•Tijera y regla
•Regla
•Encendedor
•Cartón
•Japanese white satin fabric
•Fuchsia lining fabric
•Needle and white thread
•Scissors and ruler
•Ruler
•Cigarette lighter
•Paperboard
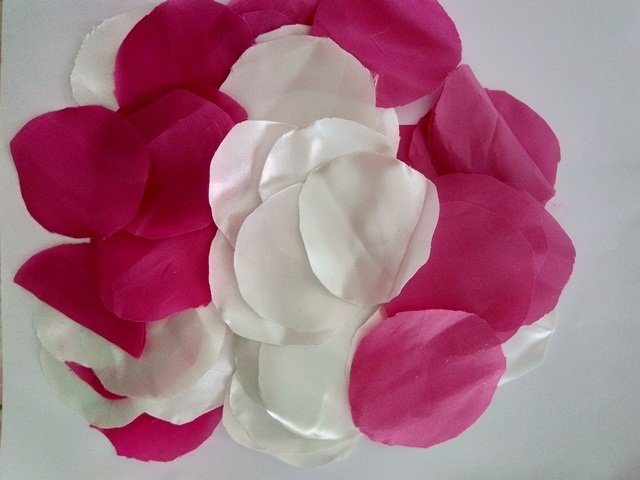
Step 1. First we cut out the circles that will be the petals of our flowers (in this case they measure 6cm in diameter). For these little flowers we cut 8 petals per unit, I wanted to make 10 flowers and cut 80 petals in total (40 of each color). In my opinion, this type of flower must have at least 8 petals so that they have volume and you can add more petals if you think it is necessary.
Step 2. Next we take a petal and fold it in half, then we fold it in half again and sew on a small fabric or felt base passing the needle through the peak of the petal
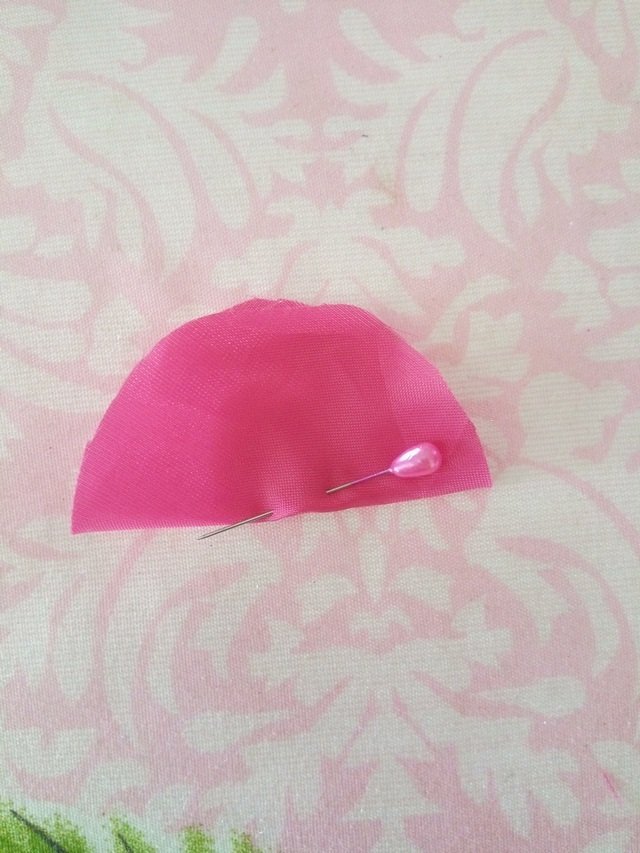
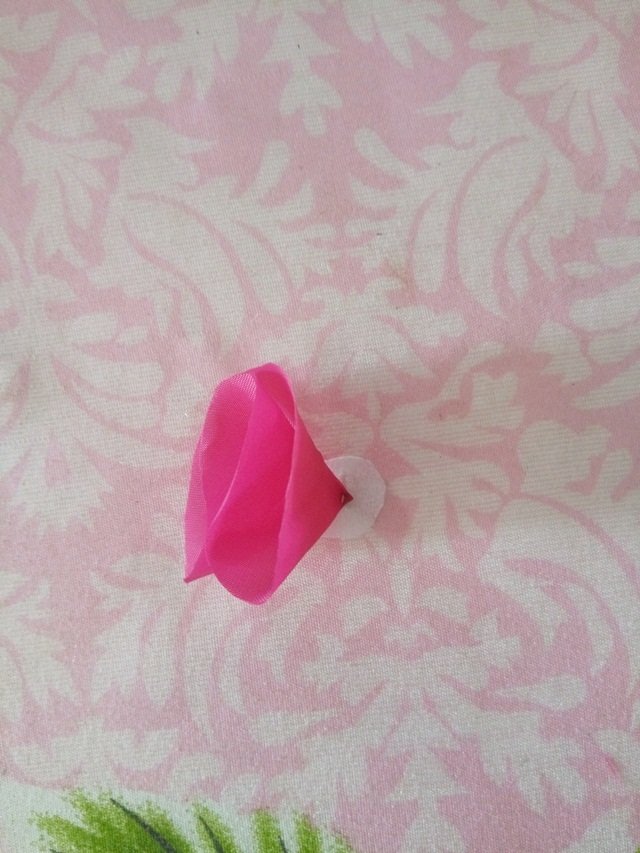
So successively we continue sewing three more petals on the base so that the little flower begins to form and we repeat the same procedure with the remaining 4 petals!
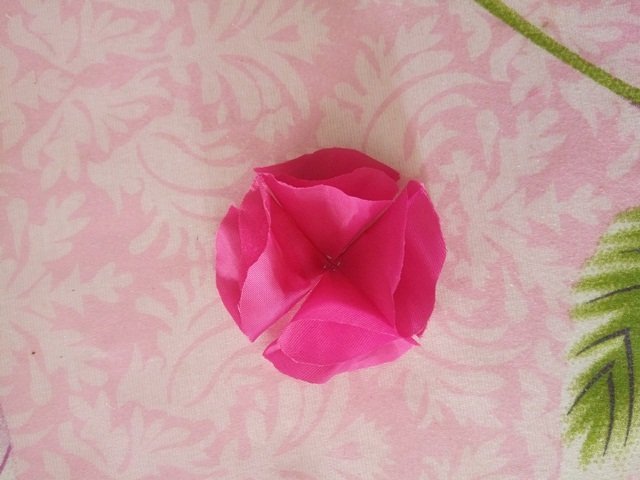
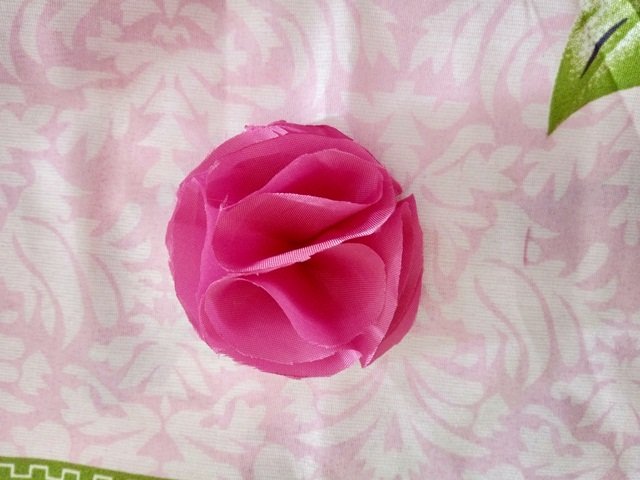
Step 3. We continue making all the remaining flowers until we complete 10. The process of cutting the circles and then sewing them one by one may seem tedious at first, but it's all a matter of practice :D
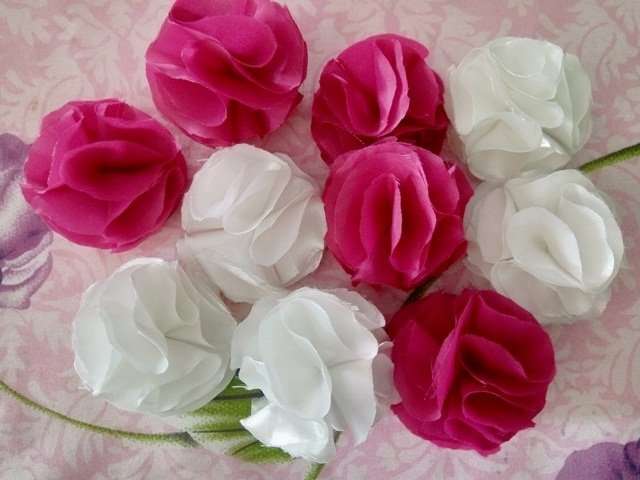
Step 4. For some strange reason I placed the finished heart frame on the photo of the materials hehehe. To do it, we just have to cut a cardboard heart and then we mark a 1cm margin around the contour of the piece and then cut it out and finish our frame!
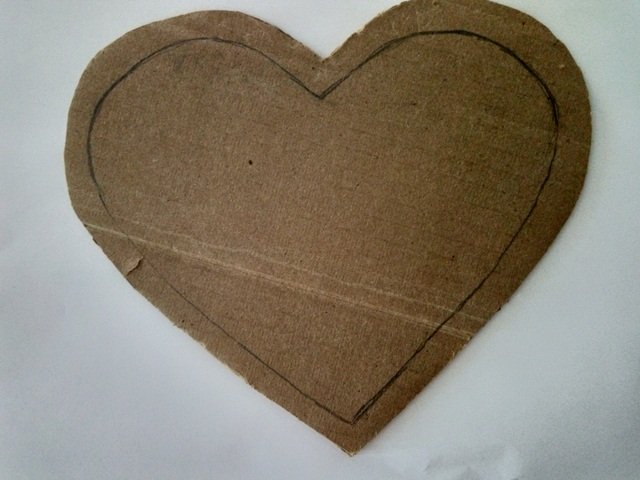
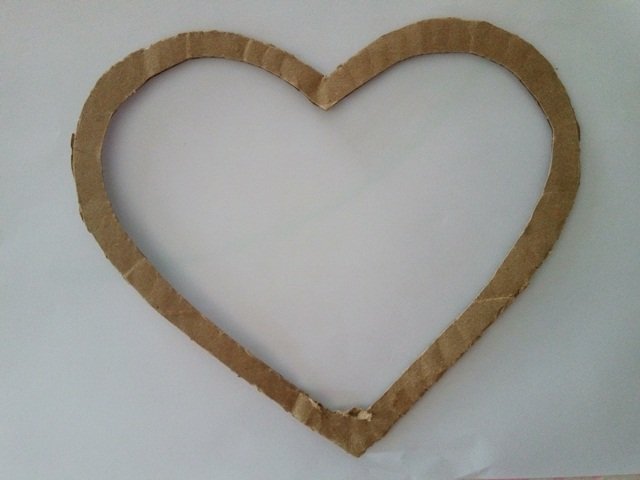
Step 5. Little by little we begin to stick the flowers to the frame without putting them too close to give each one its space and so that they can be better appreciated. This ornament will be decorating a table, but we can also put a ribbon on it to hang it and have it on our wall
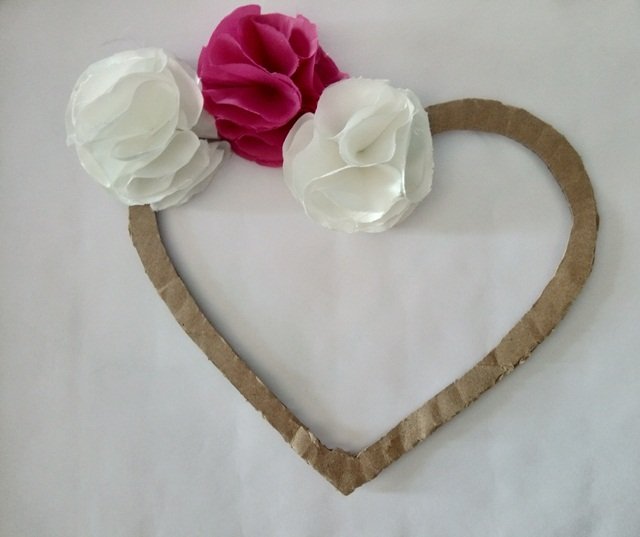
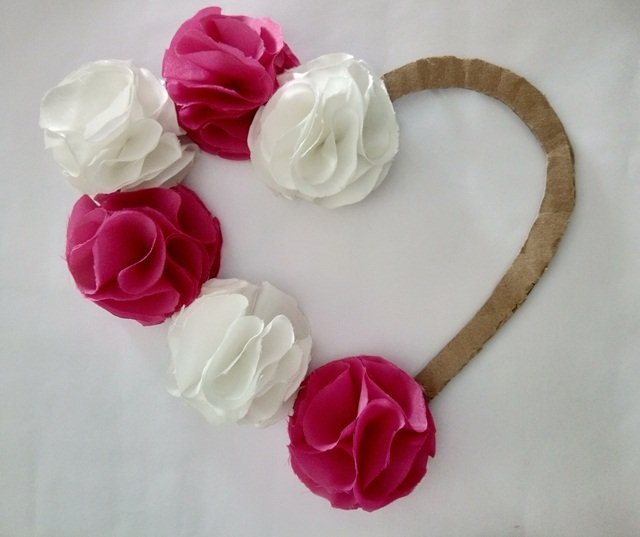

Thank you for viewing my post❤, while I was making the post it seems that the lighting in my house changed a lot and that is why some colors are displayed in different shades hehe, I hope you liked it and above all that it is very useful to you! Until next time :)
The images were taken by my person @beidacarolina to be published exclusively on hive. To edit the photos use PhotoScape and to translate the text use Google Translate :)
