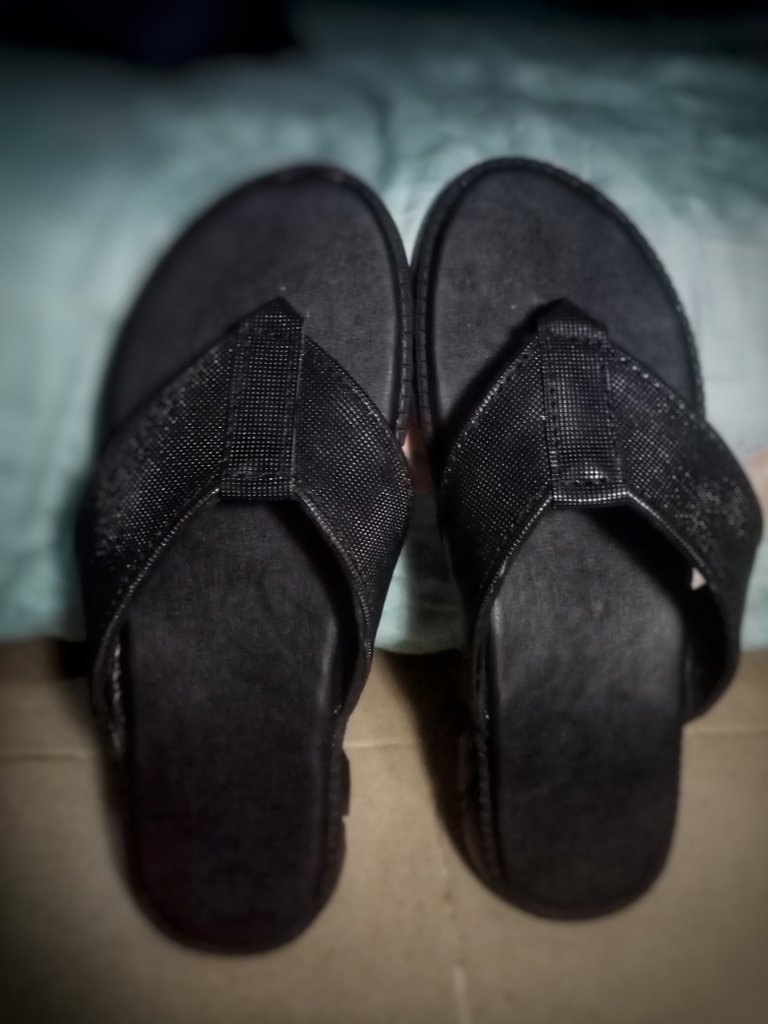
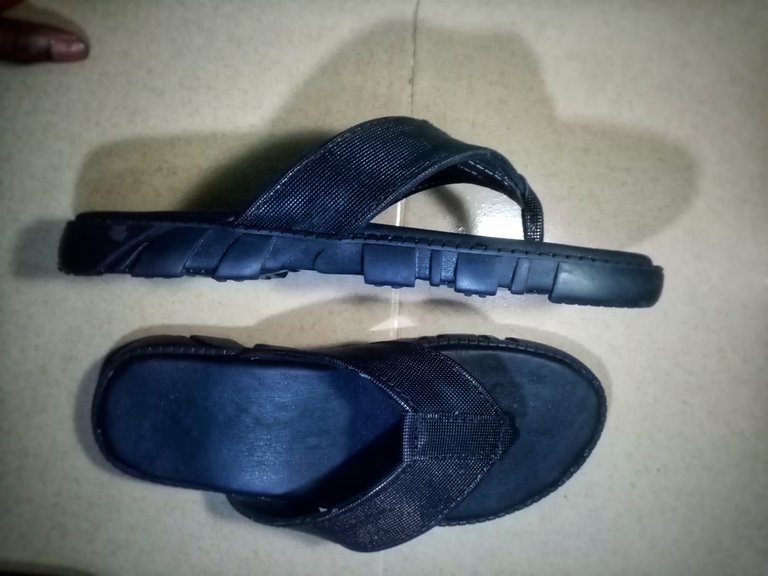
Hello guys hope you are having a good day, today I'll be showing you guys how I made this pair of slippers
So before I begin with the steps I took, let me list the materials I made use of:
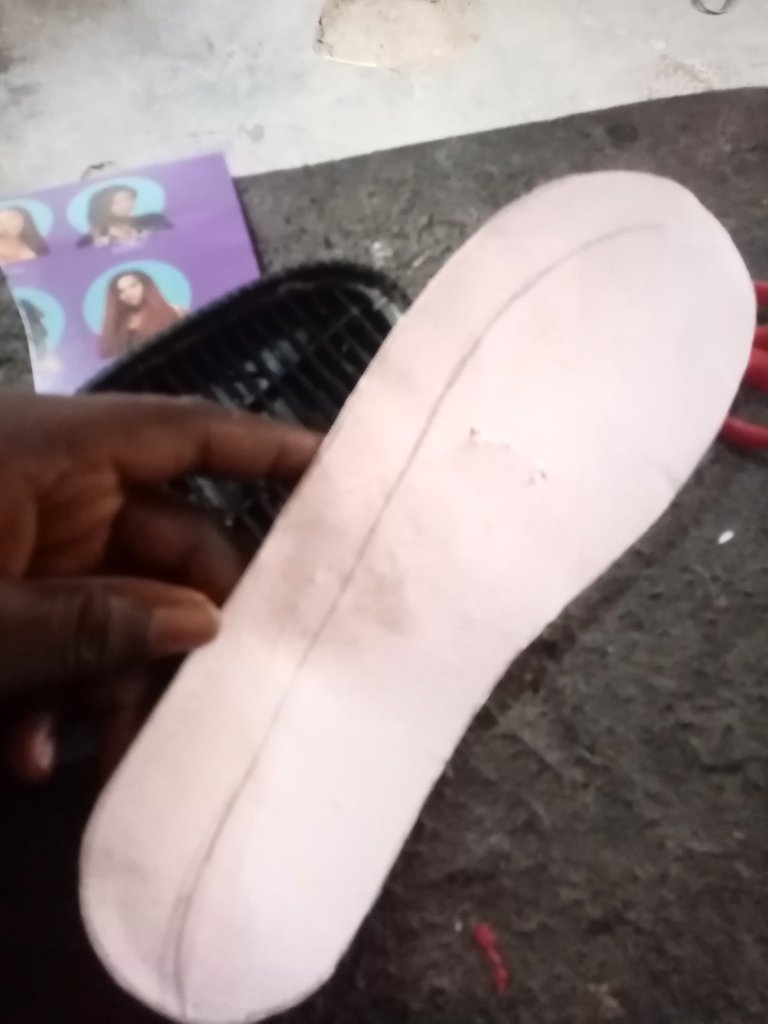
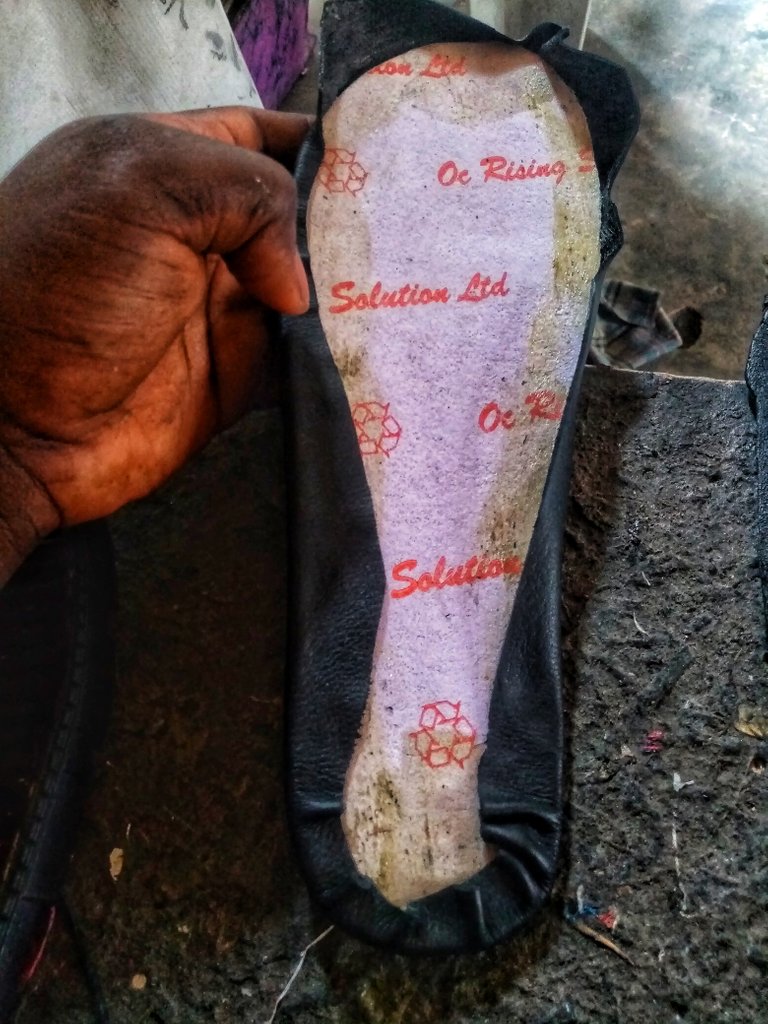
■A pair of ready made soles
■Gum
■Two pairs of scissors (one for leather and the other for thick materials eg bontex)
■Bontex (paper board)
■Maco (Eva)
■Cardboard or an unused paper pack
■Pencil or pen
■Skiving knife (optional)
■Mallet and(or) hammer
■Punch
■Leather (for upper and for lining)
■Bontex (paper board)
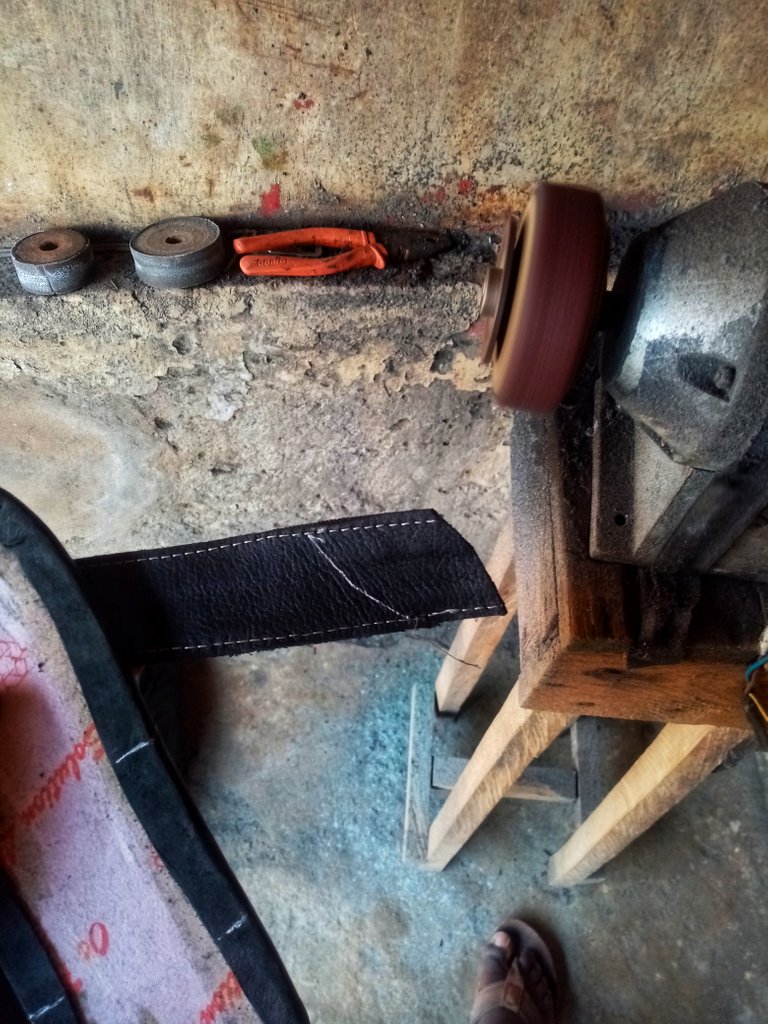
■Filing machine (or alternatively an abrasive)
■Last (optional)
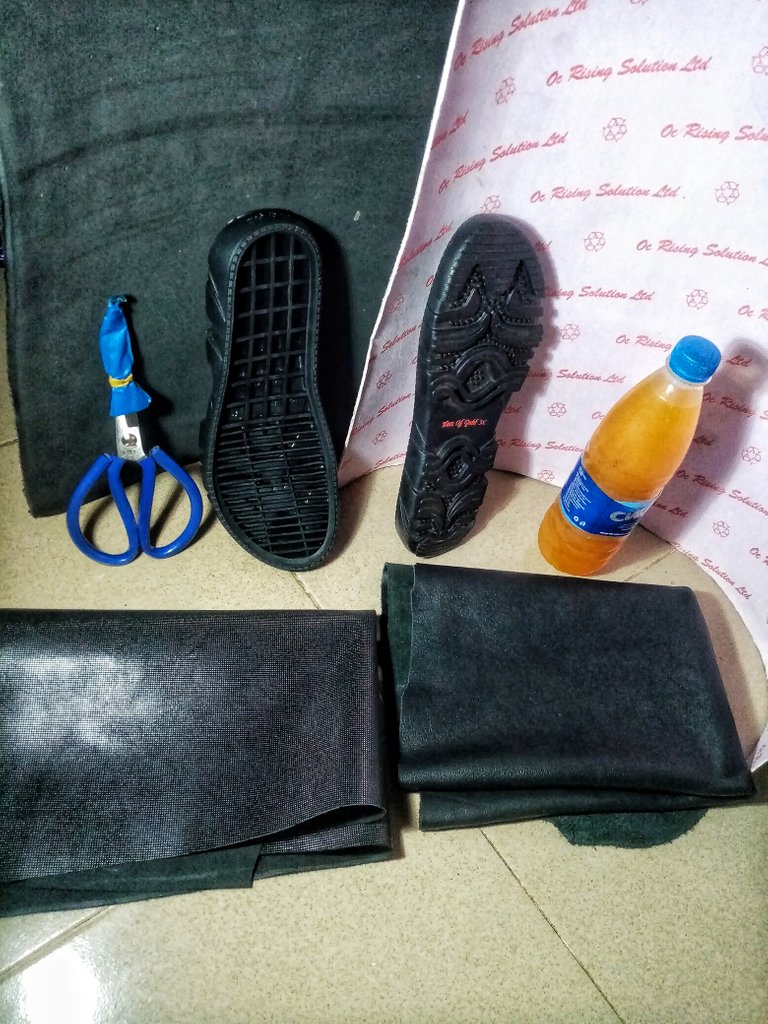
I recently bought most of this material on My trip to the Shoe material market on Monday.
Ok now let's get to the steps. I'm going to be dividing the steps into three, I'll start with how I made
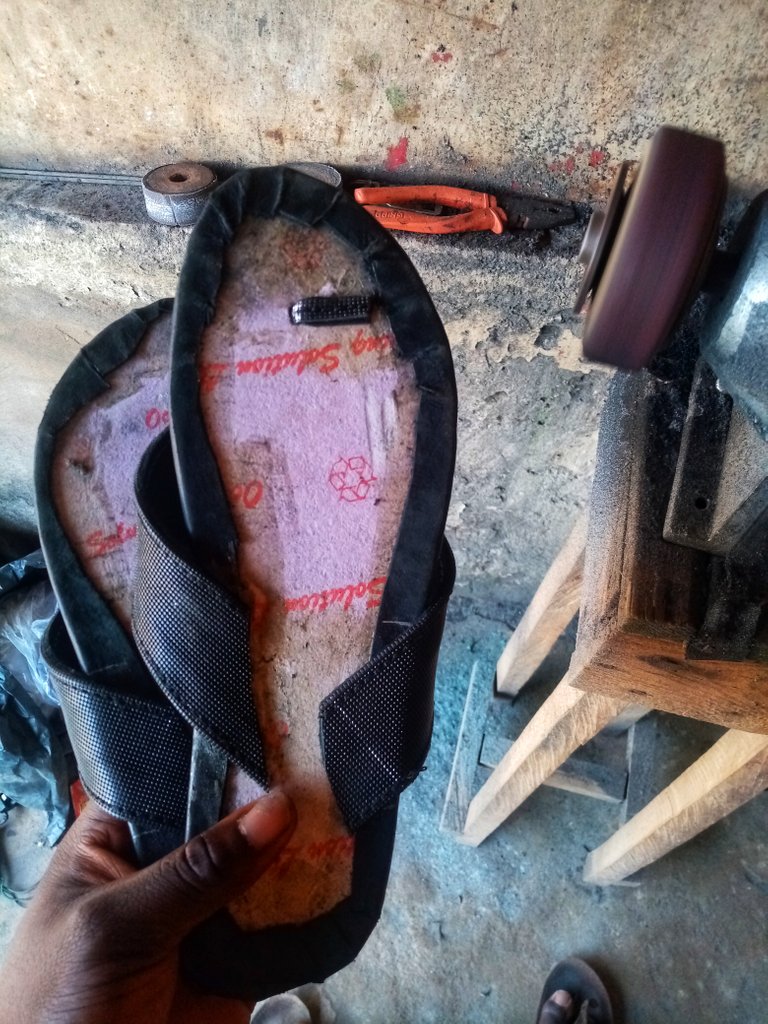
The insole
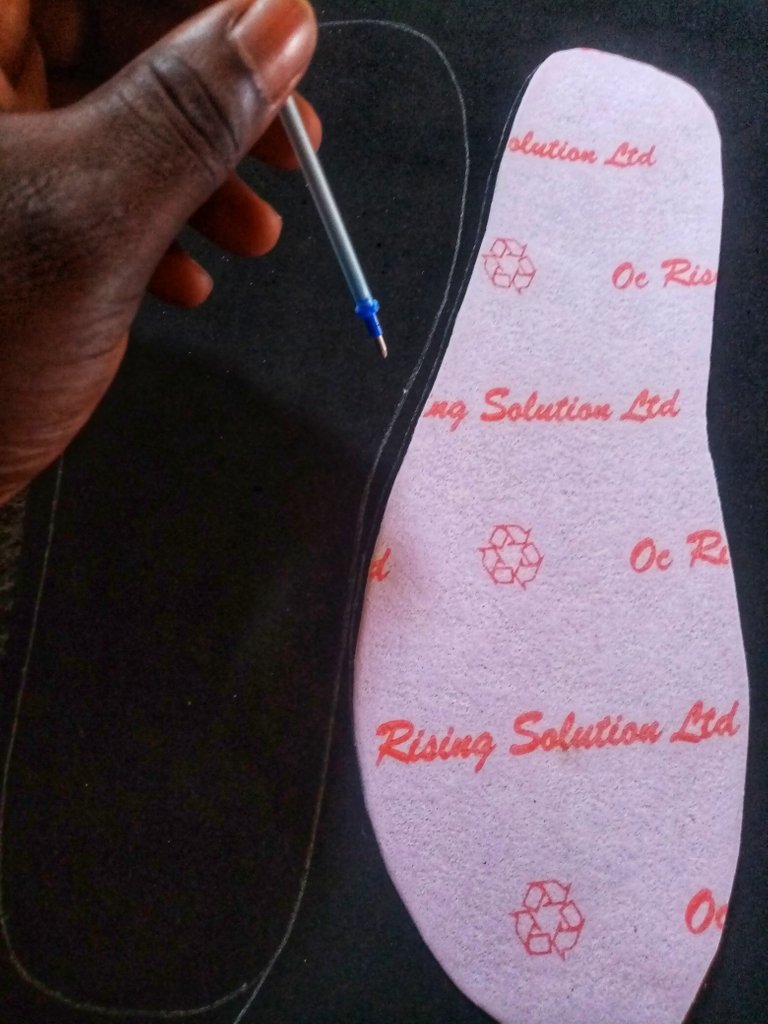
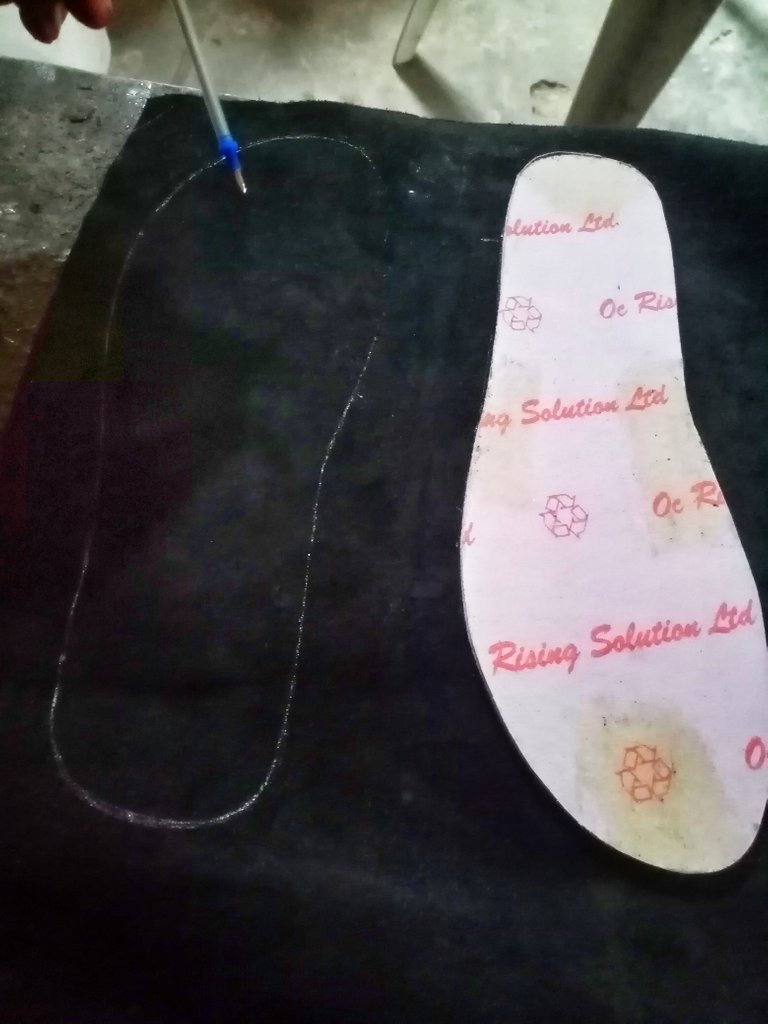
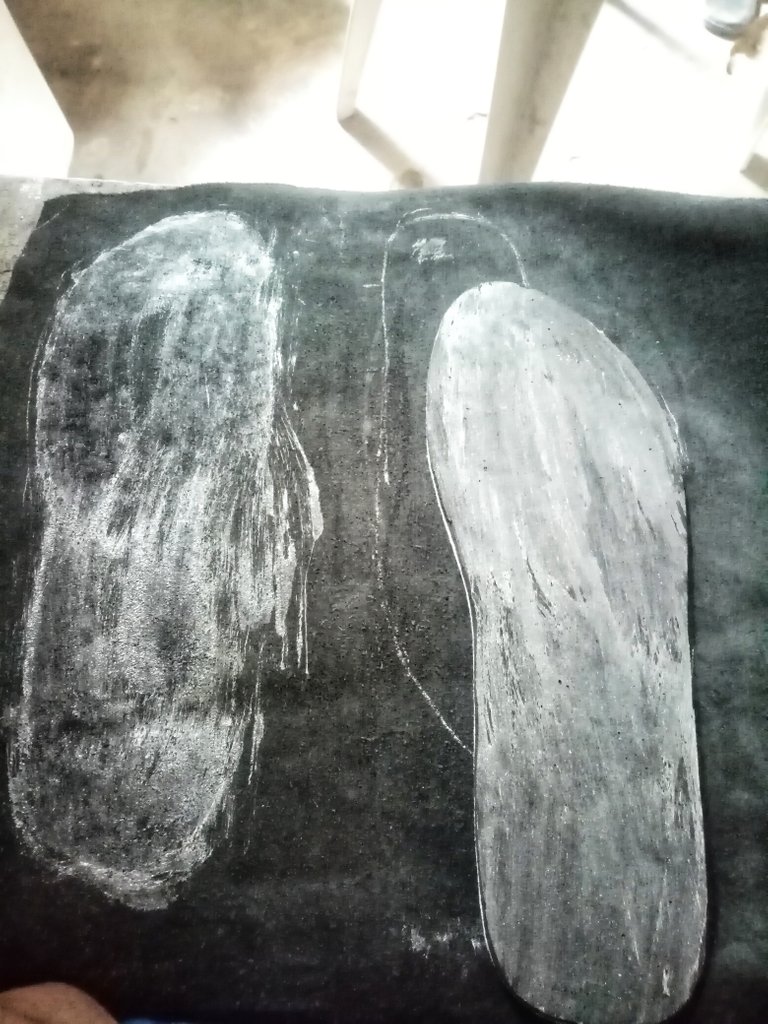
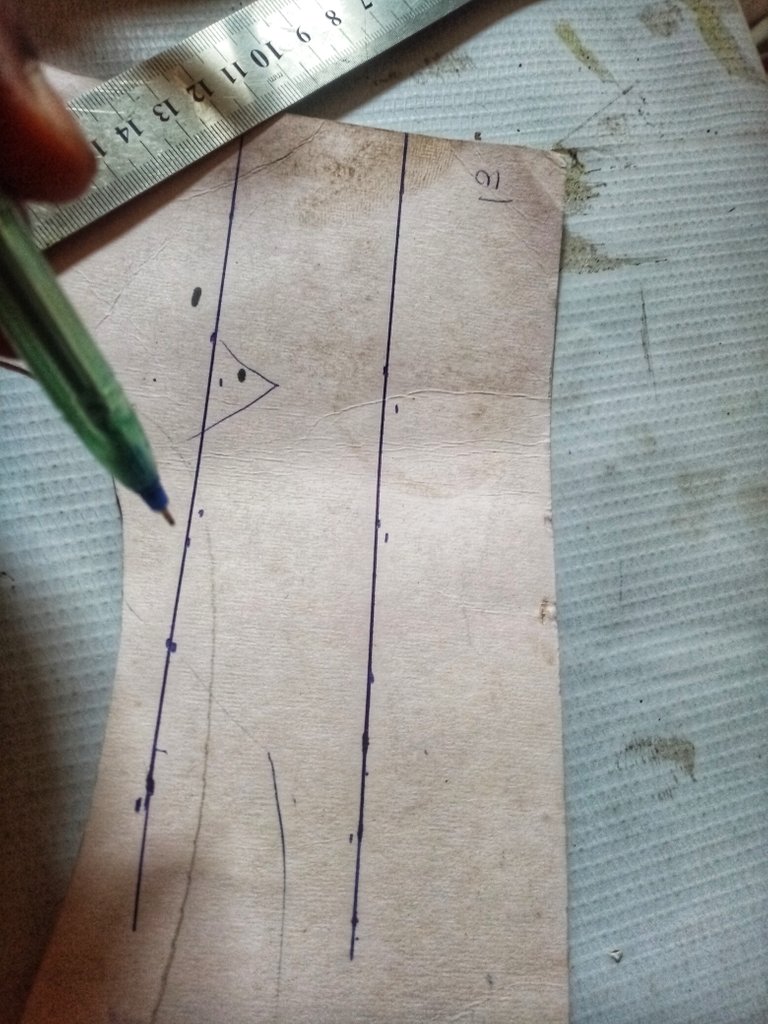
So, the first thing I did was to place the face of my insole on my cardboard and trace round till i had the shape of the sole

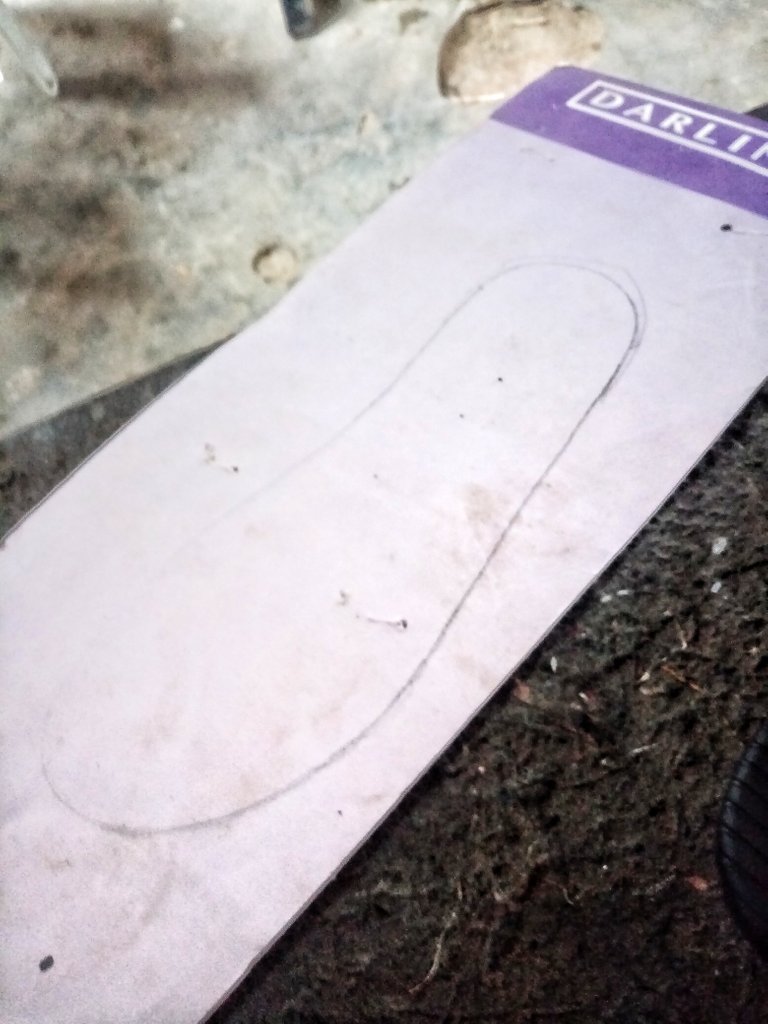
Then I cut out the shape I had
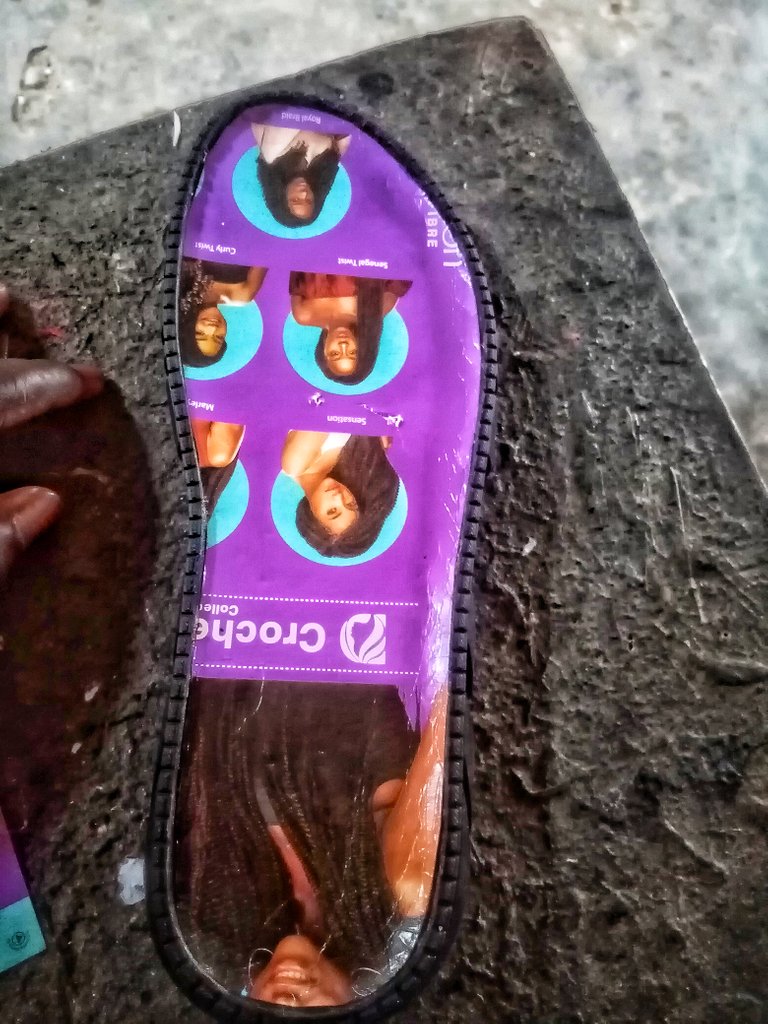
After that I put the cardboard in the insole and folded out the excesses I also used a pen to mark it
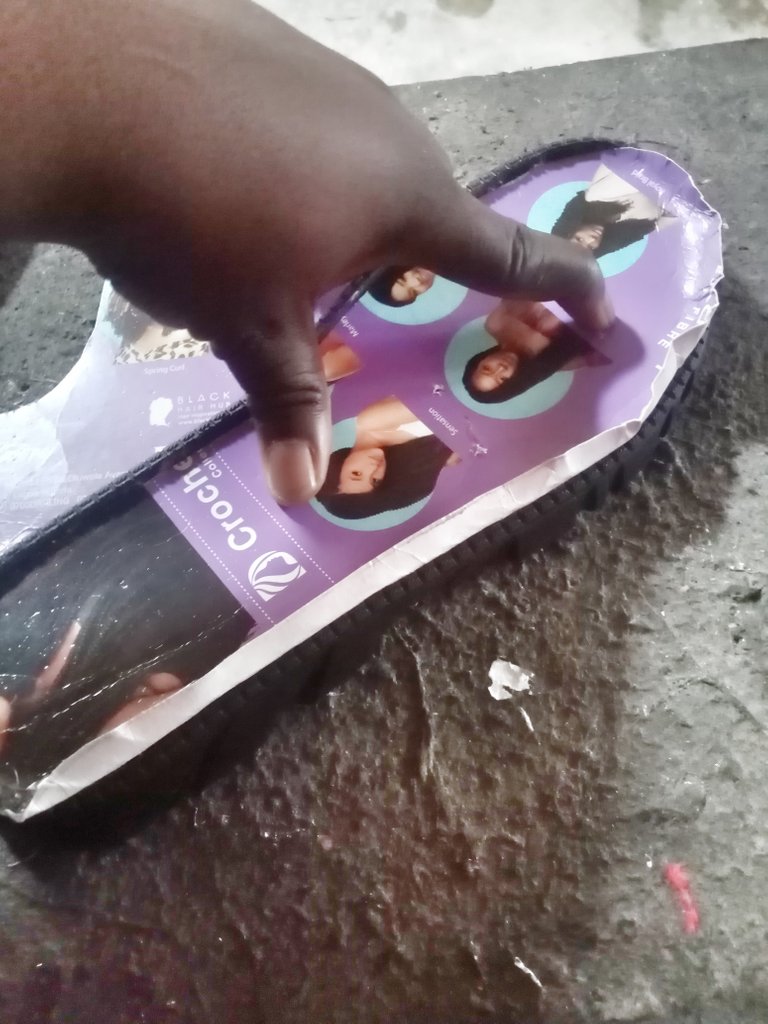
Then I cut out the excess and made sure that it sat well in the sole
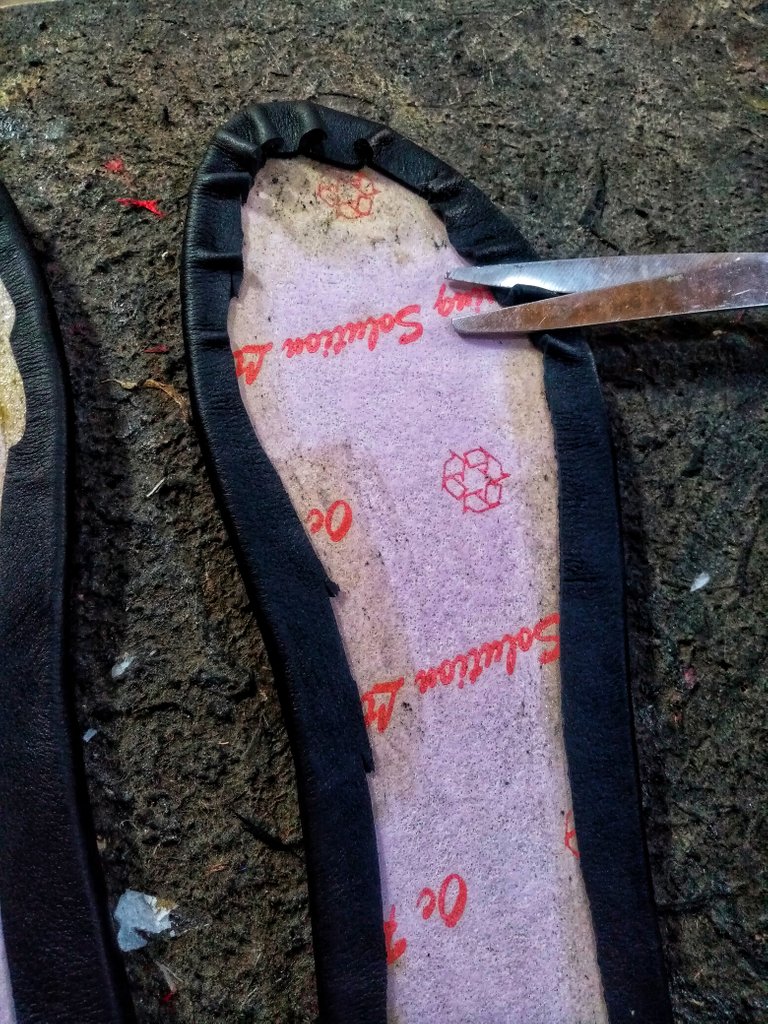
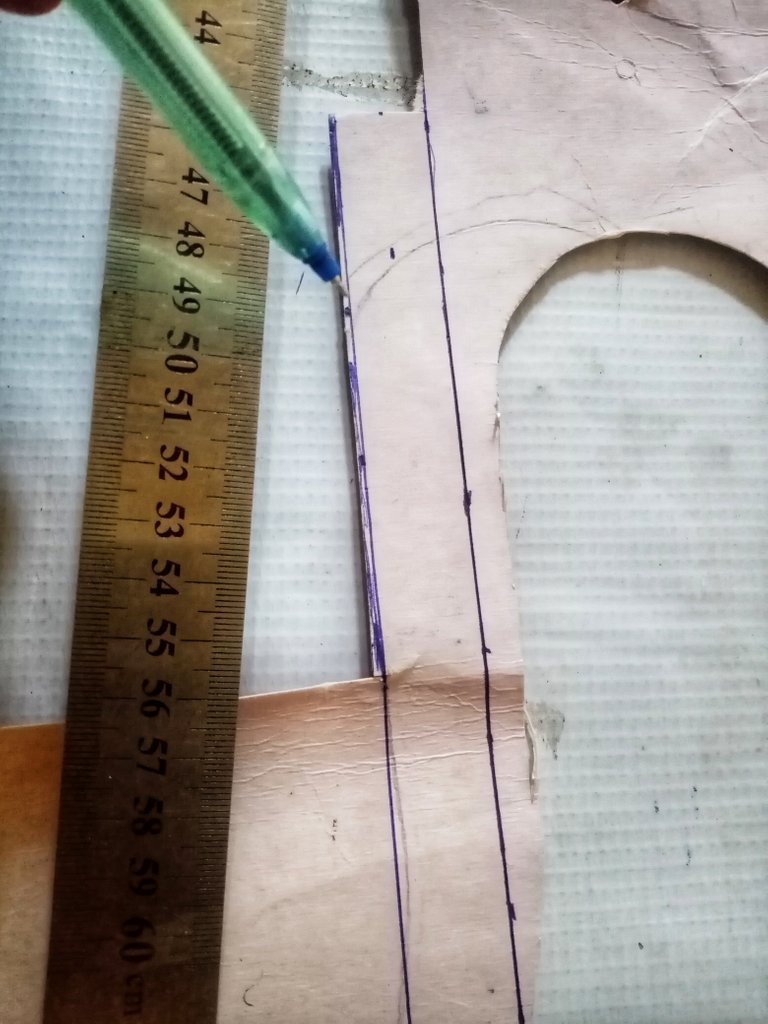
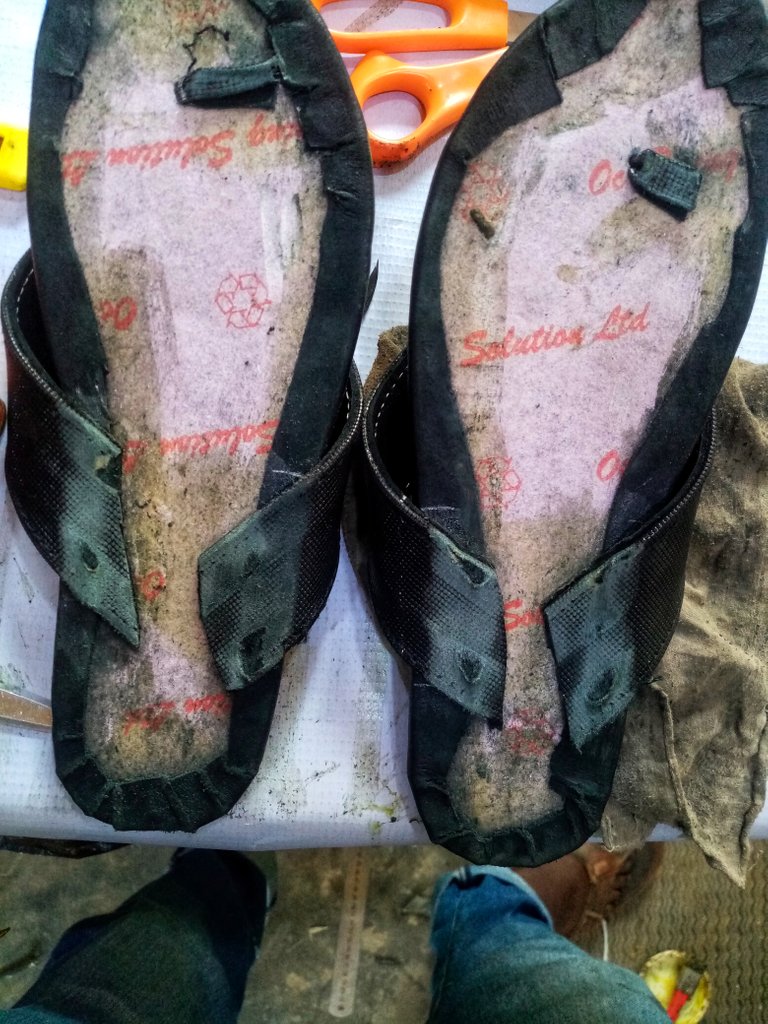
Then I used this cardboard to trace on my bontex
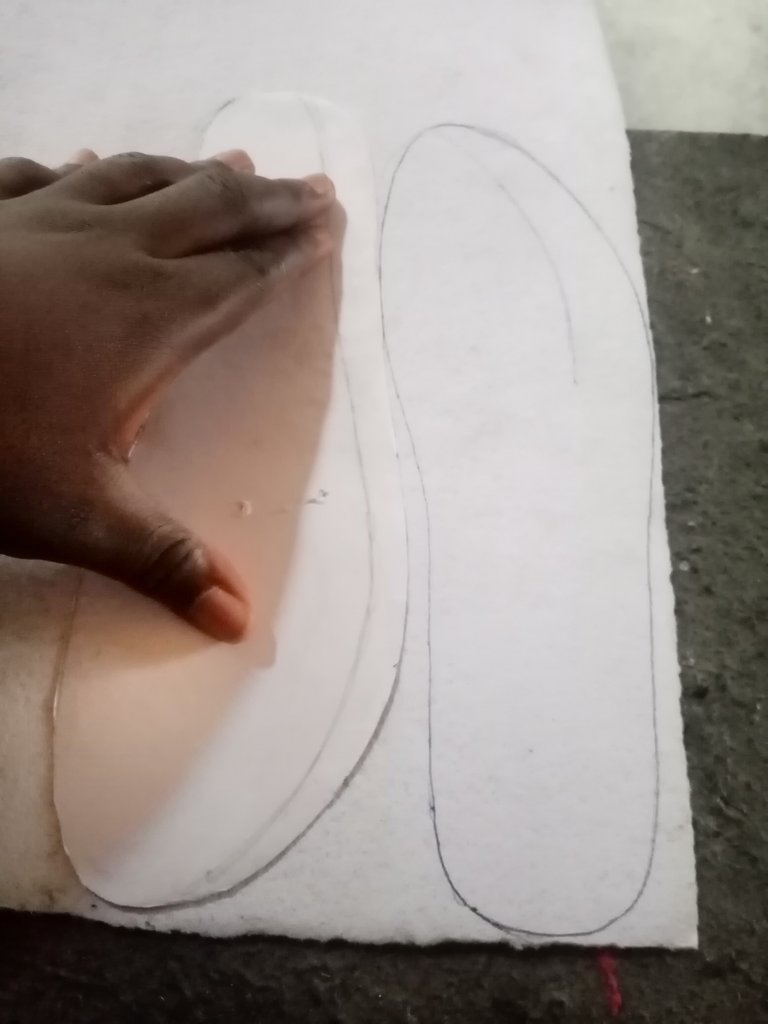
Notice that I only used one cardboard all i did was turn it the other way round and I've got the second leg.
The next thing I did was use my bontex to trace on my maco(eva)
After that I applied gum to one side of both the maco(eva) and the bontex and left to dry for a couple of minutes
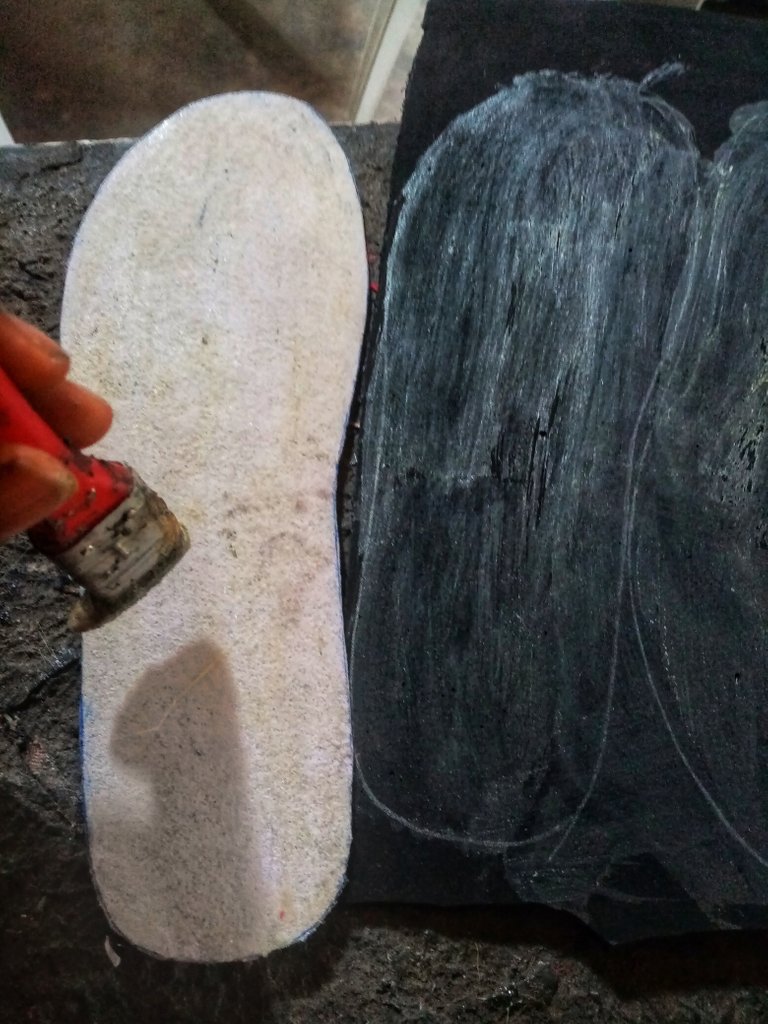
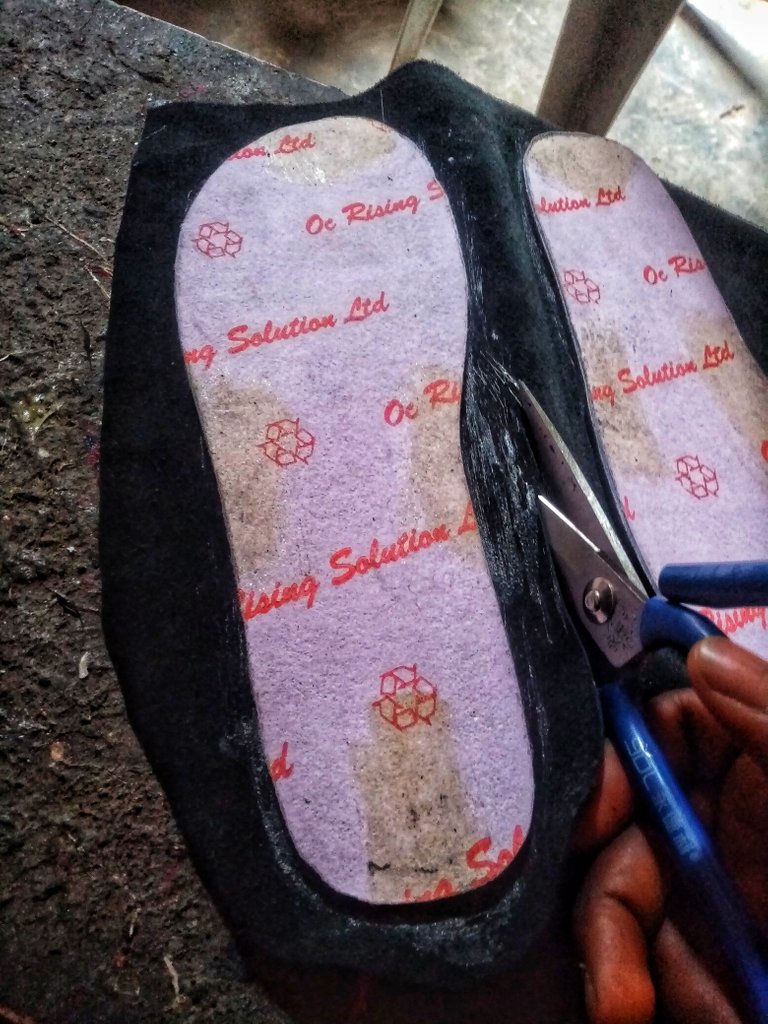
Once it was dry I placed my bontex on the maco(eva) and cut the shape out
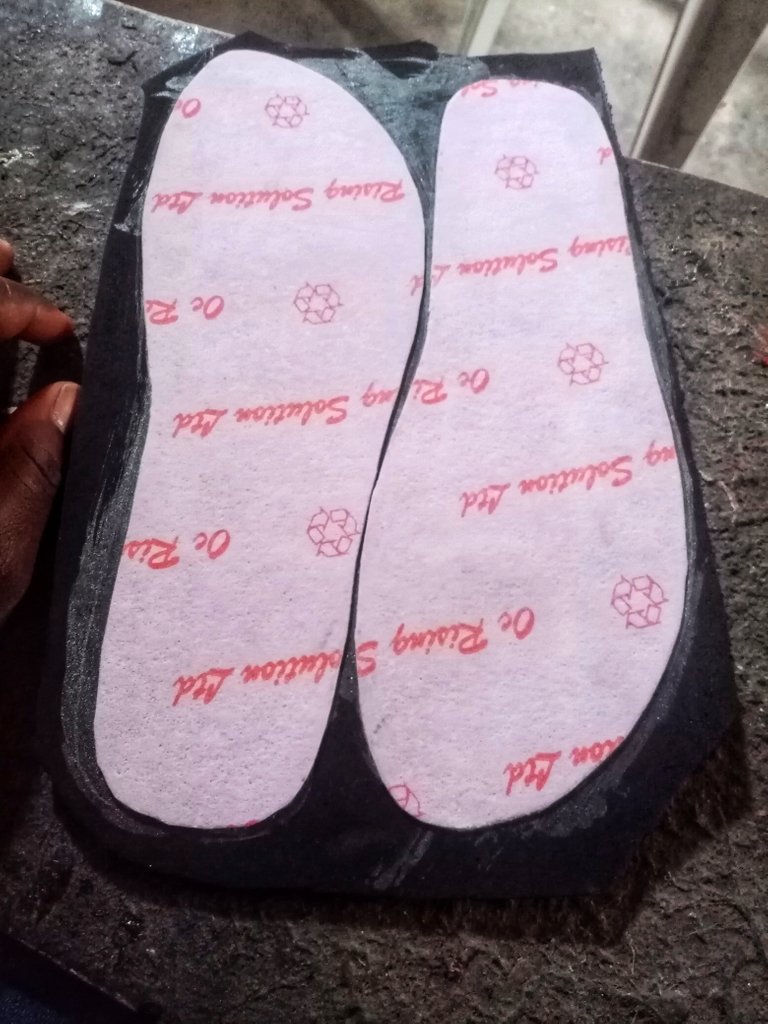
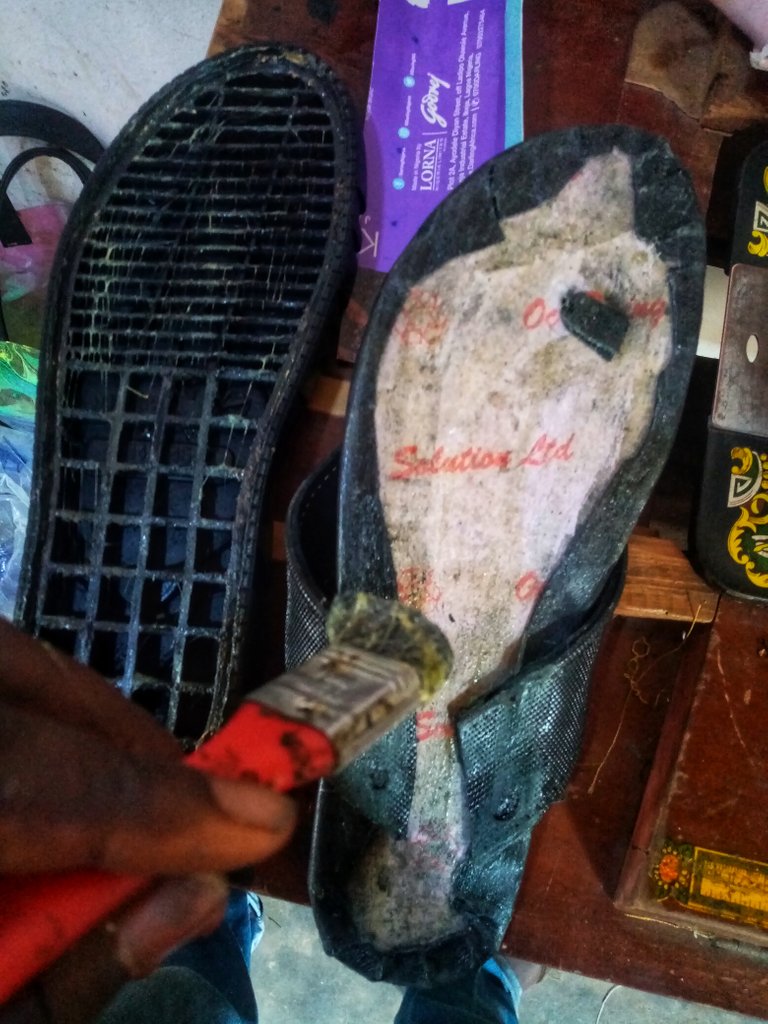
Now I applied little gum on the four corners of the bontex side of the Insole sandwich and let it dry then I put it together

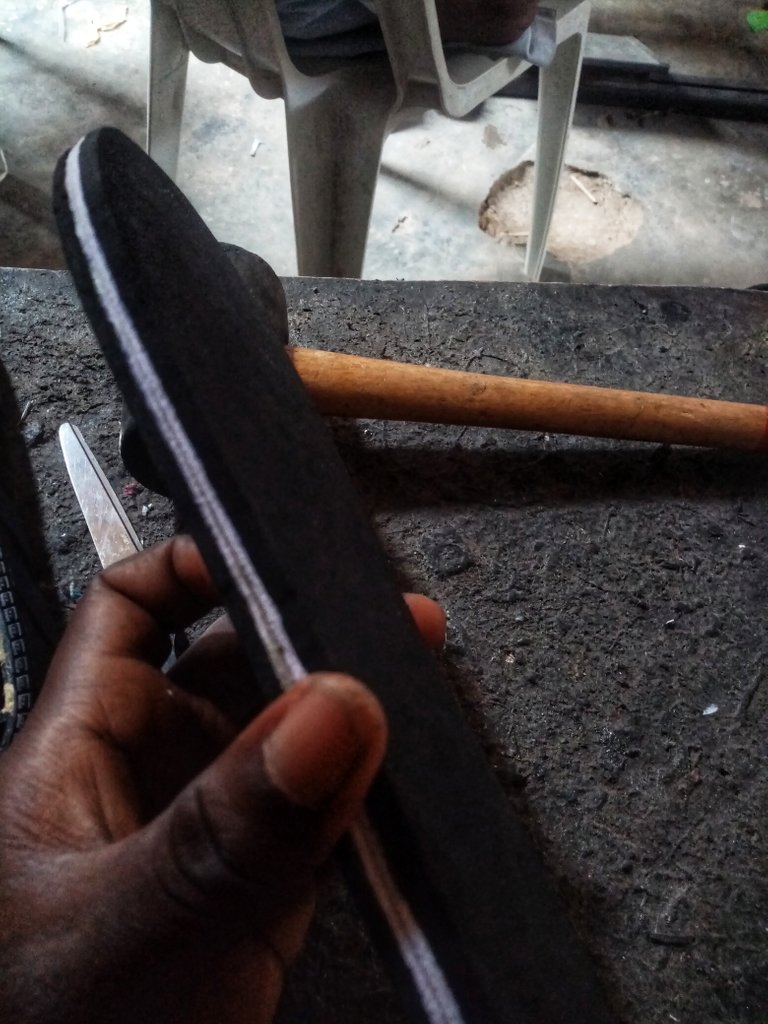
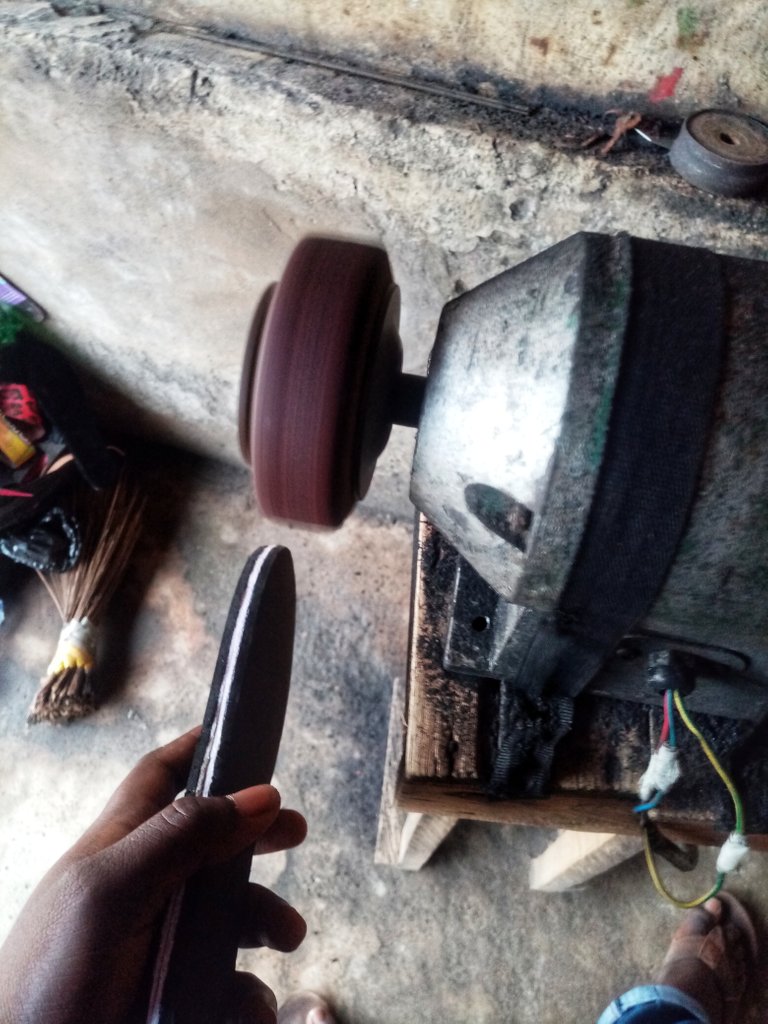
Then I took it to the filing machine to shape the edges (if I didn't want to use this I'd simply use an abrasive)
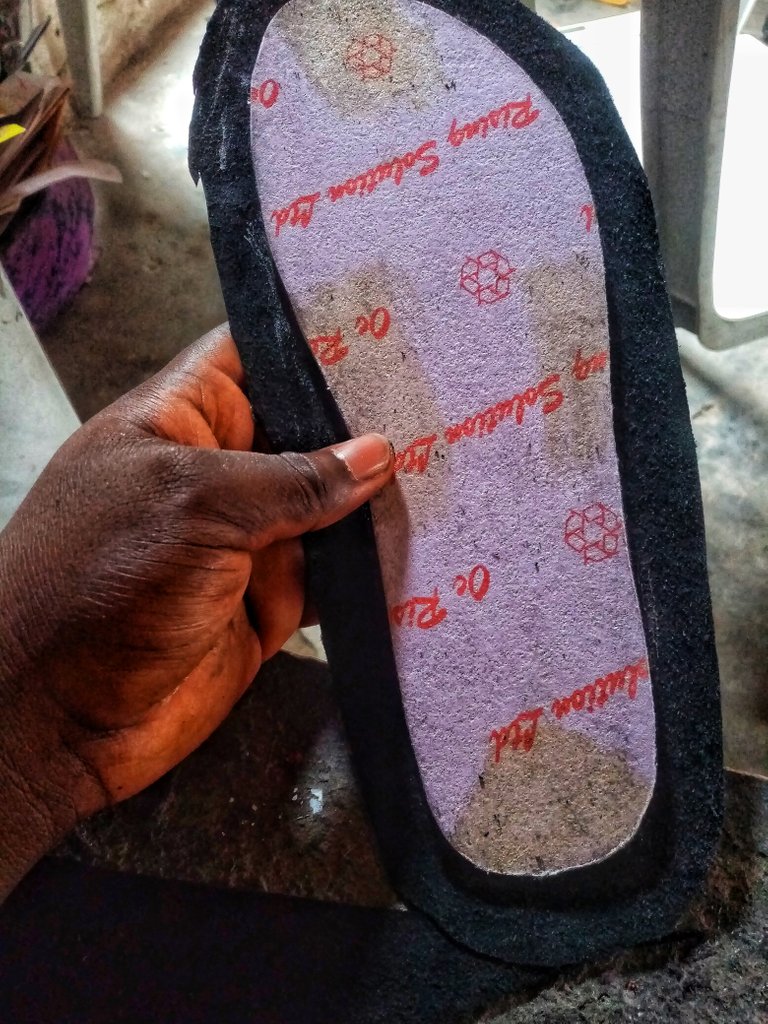
After that I separated the insoles from each other, placed them on my lining leather and traced out the shape
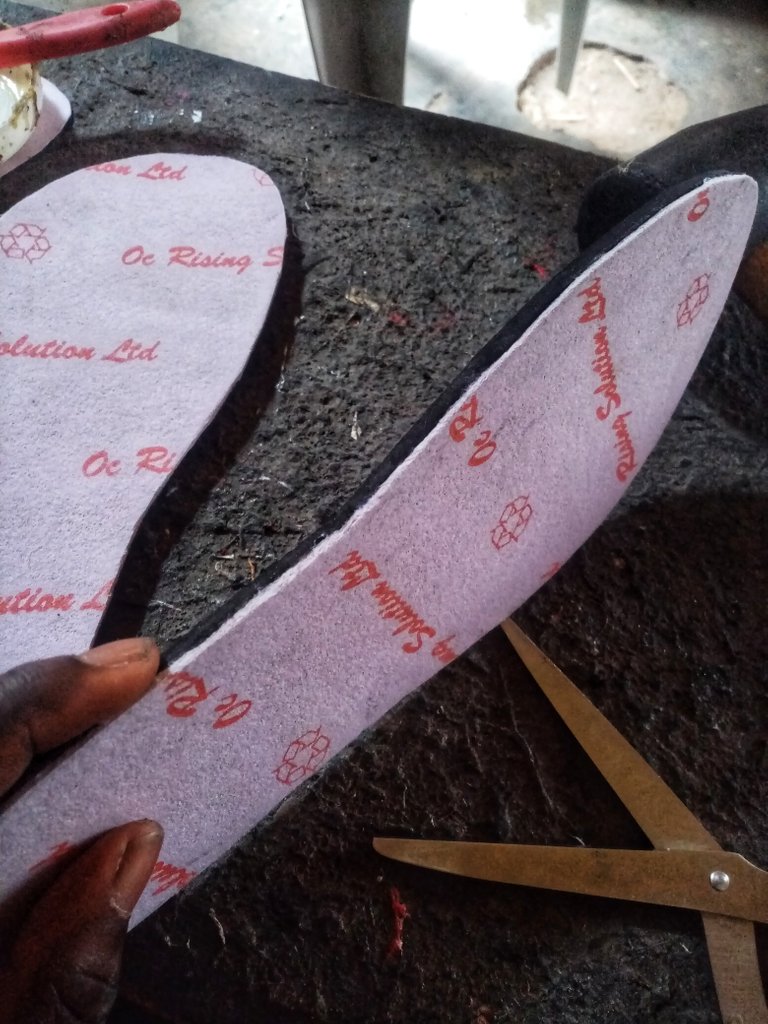
I left some space in between so I'd be able to wrap the insole. But first I applied gum on my sketch and on the maco(eva) side of the Insole
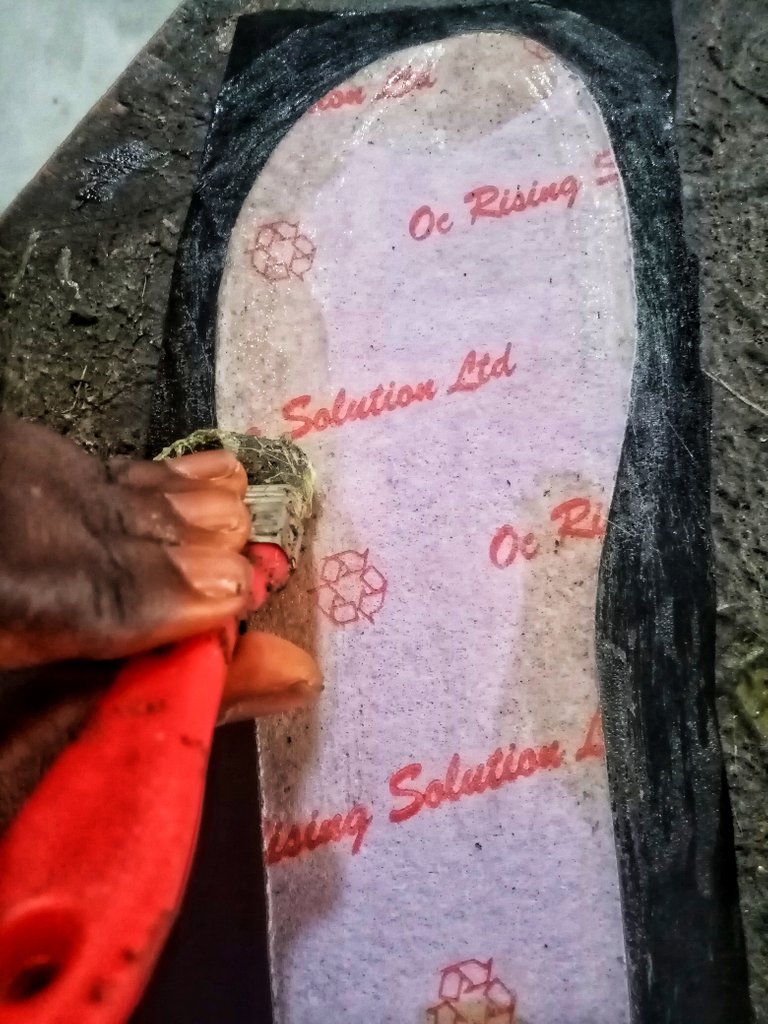
Once it was dry I placed it on the lining leather and cut it with allowance
After that I applied gum around the edges and allowed it to dry
Then I wrapped the insole and used scissors to cut the folded parts
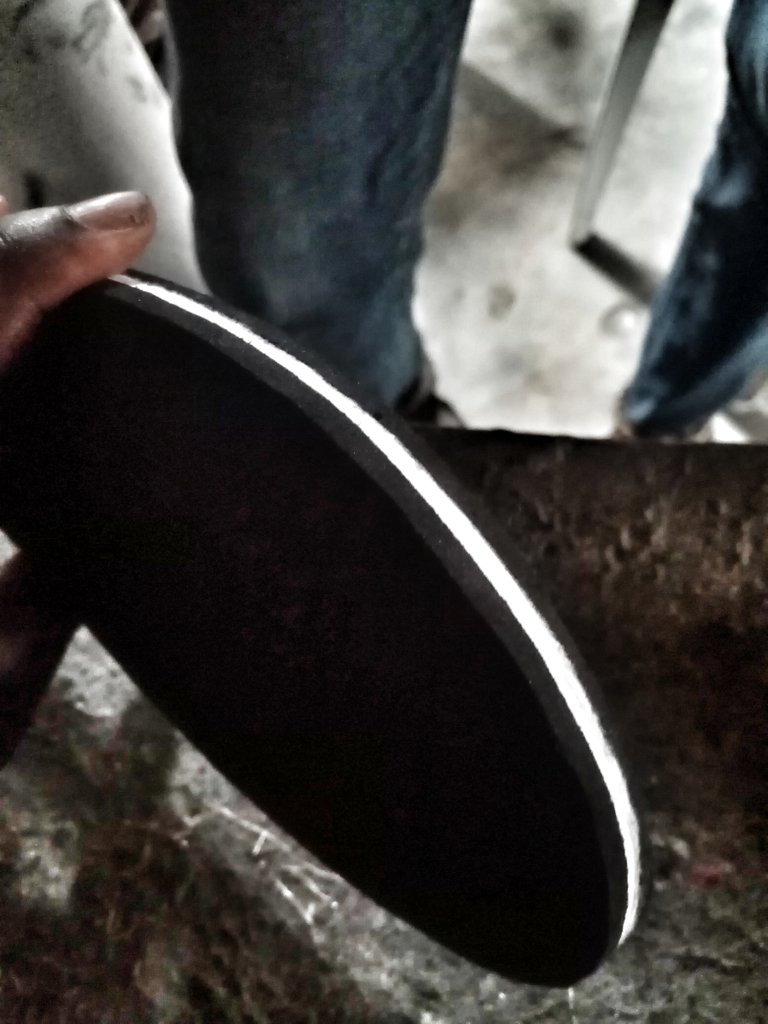
Then I used the filing machine to trim and flatten the places I cut

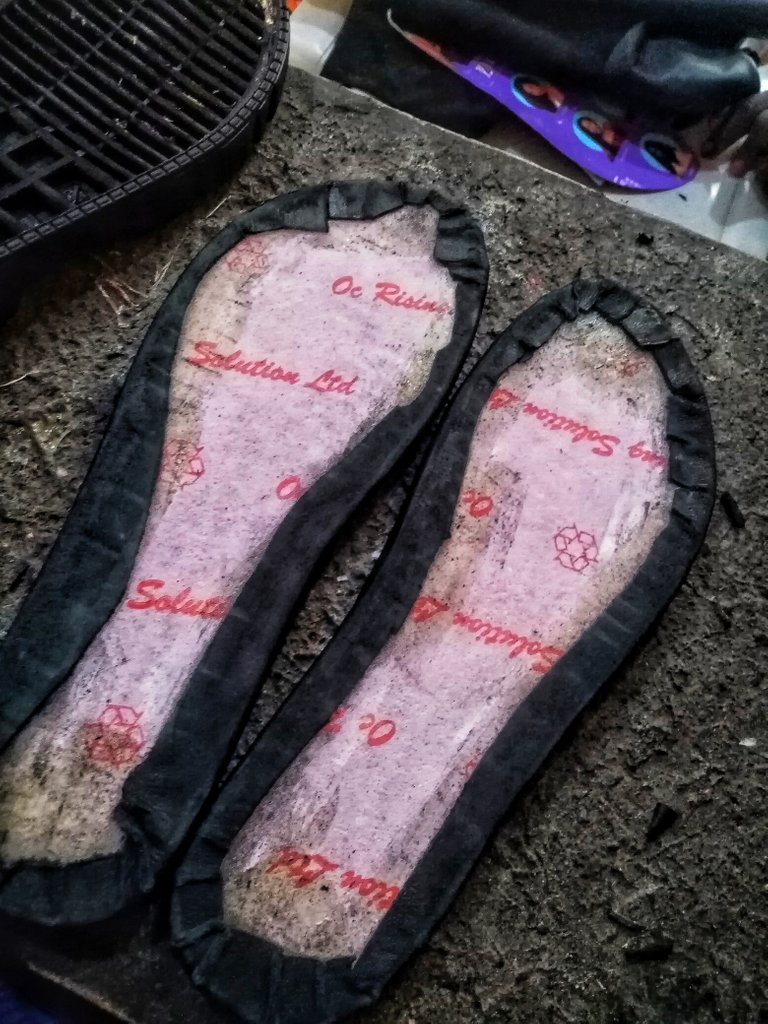
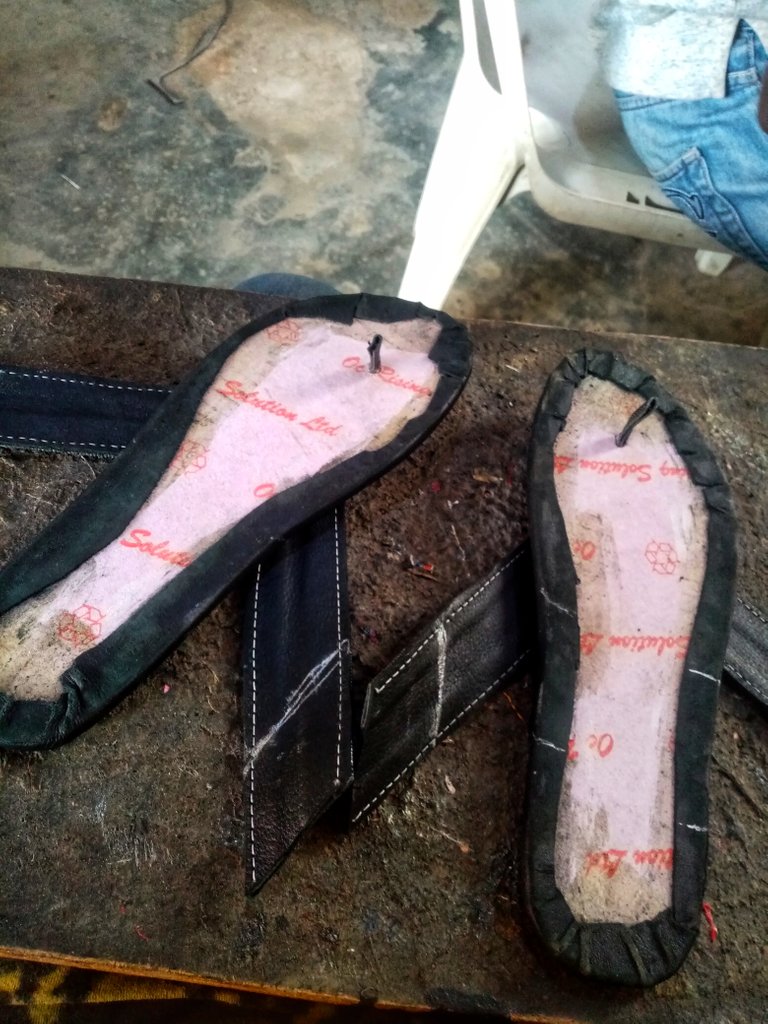
And voila you're done with the insoles
Now the second part is
The upper
they are different designs I could have done but I went for this because It was both simple and beautiful at the same time.
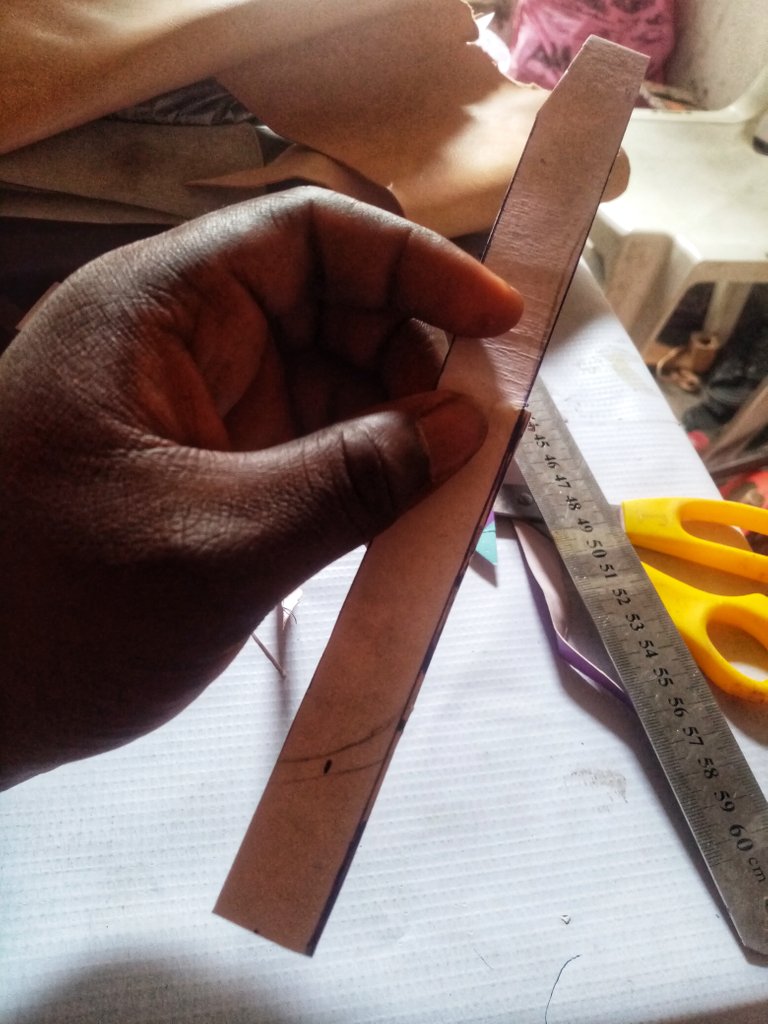
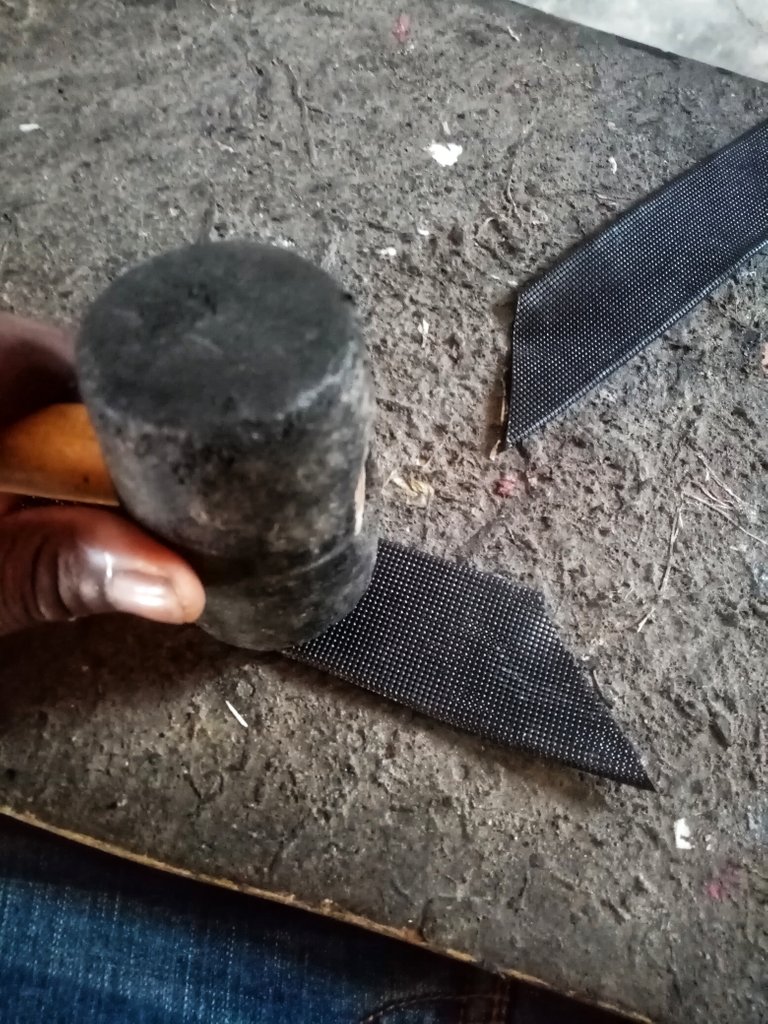
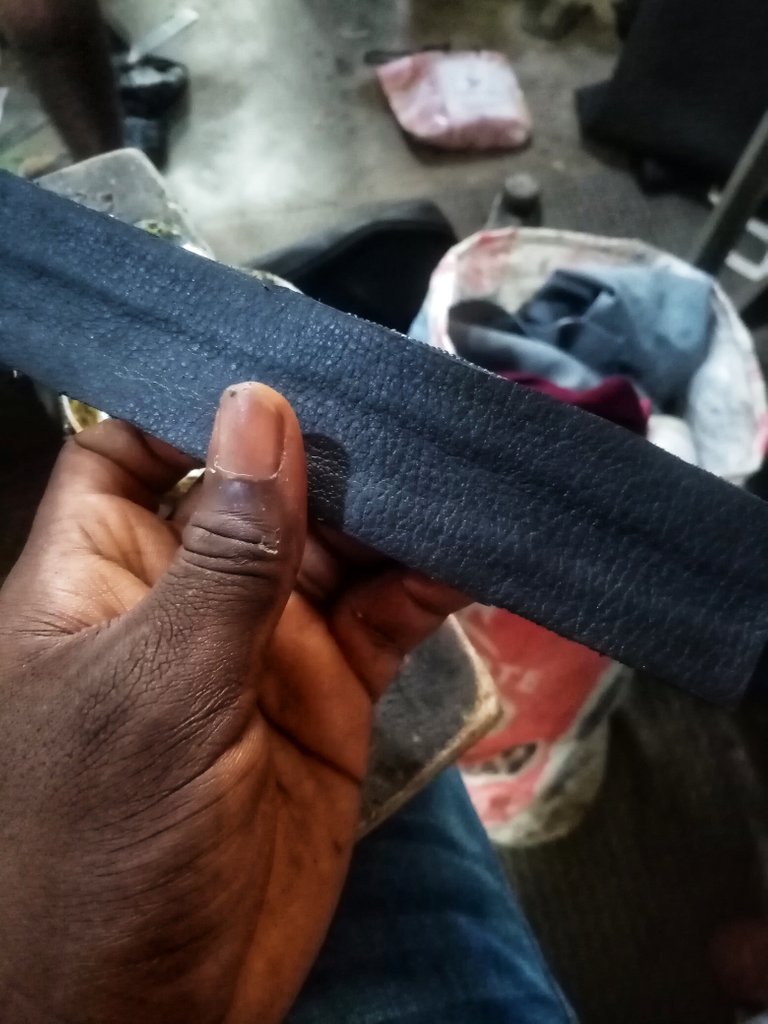
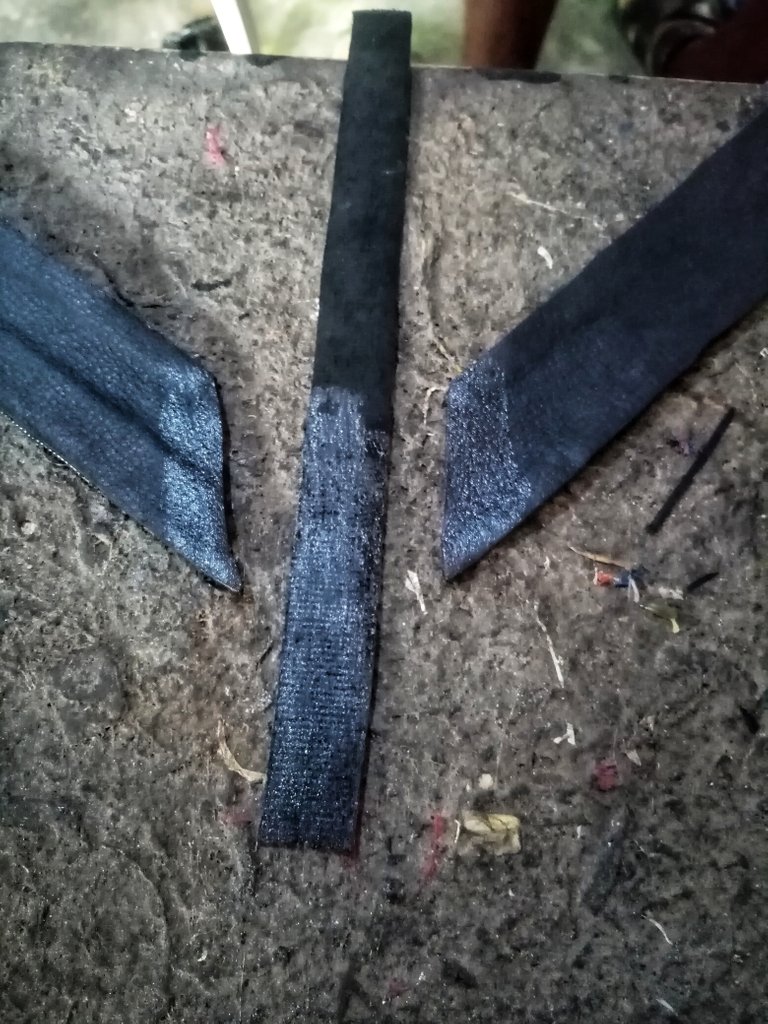
OK, so first of all I drew two 4cm strips of equal length and one 2cm strip which was significantly longer than the 4cm strips
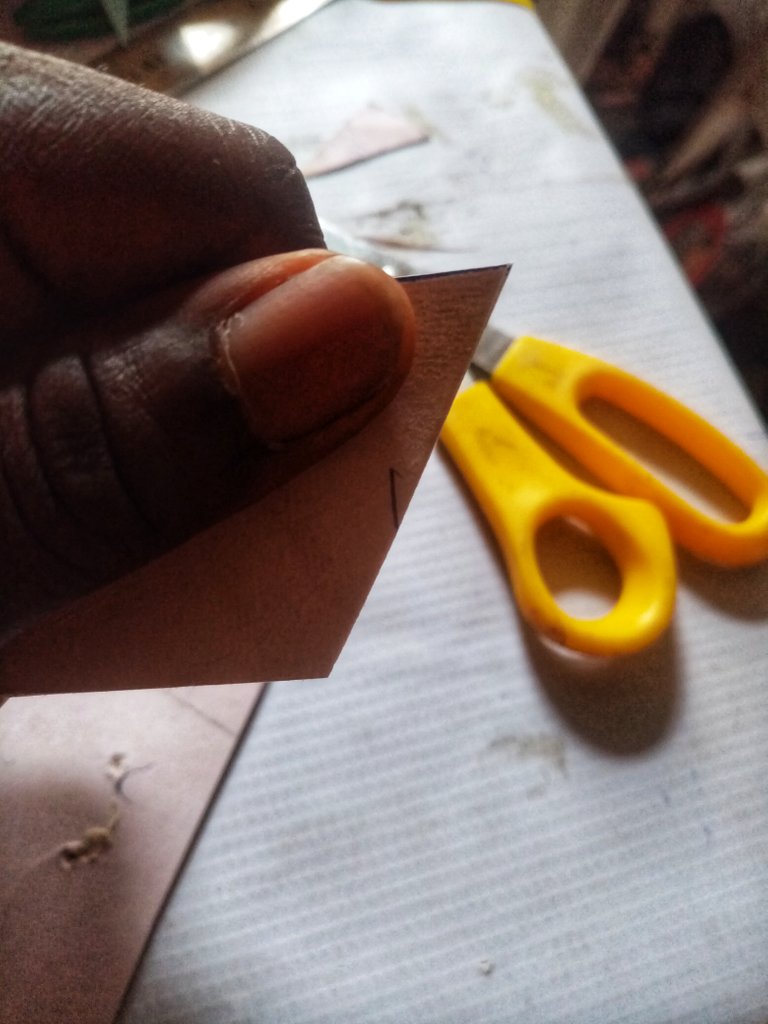
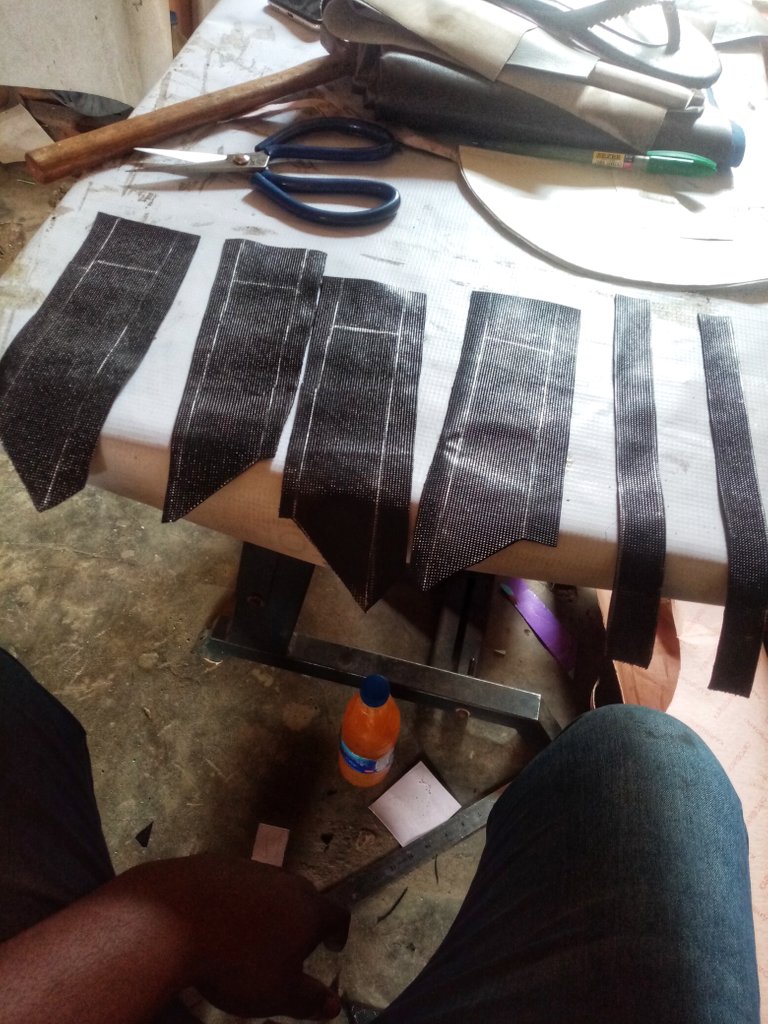
I cut out the two 4cm strips, placed them together and cut it diagonally like this
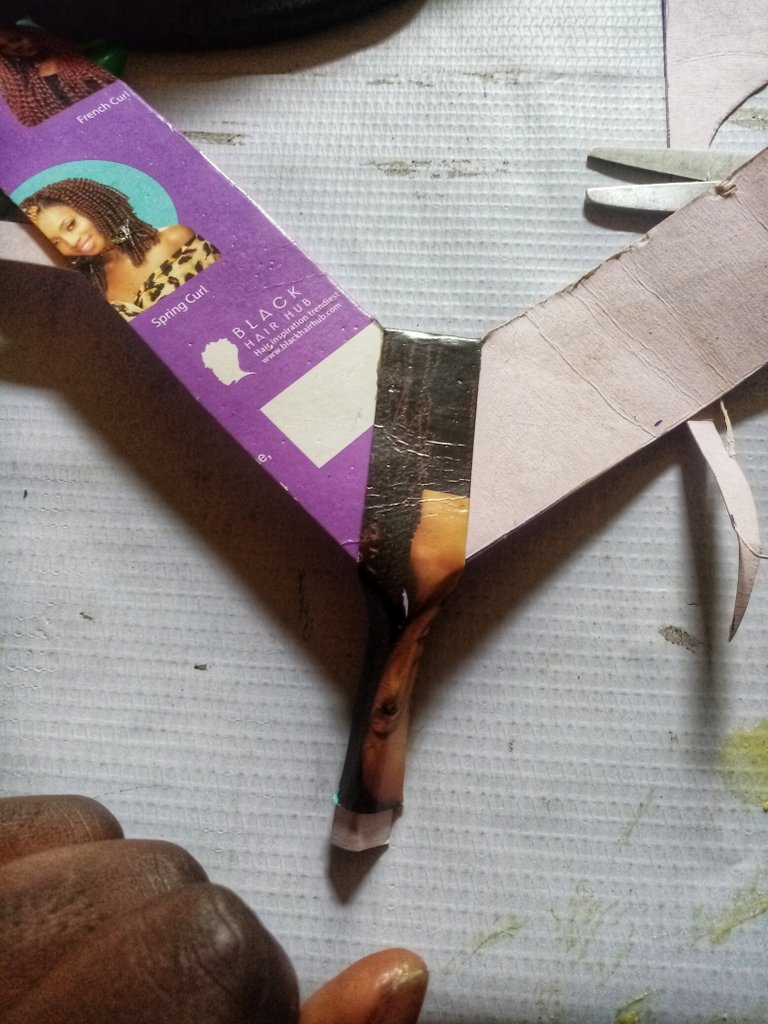
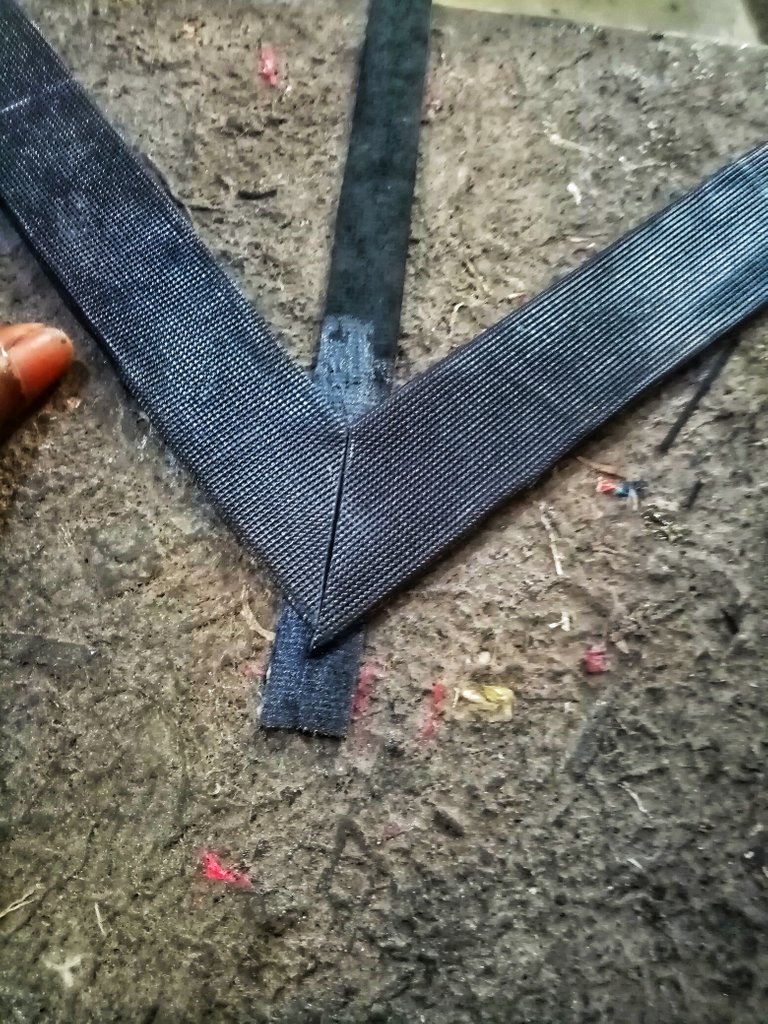
Then I turned one the other way and placed them together like this
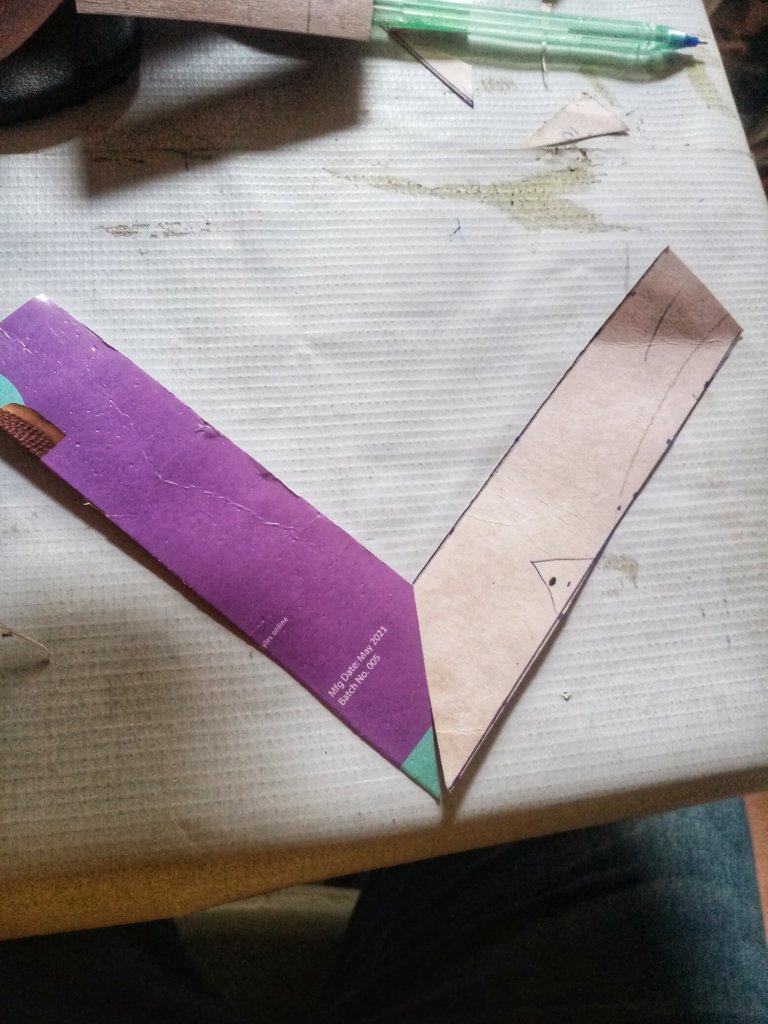
I then cut out the 2cm strip, added little gum on it and folded it unto the 4cm strips like this
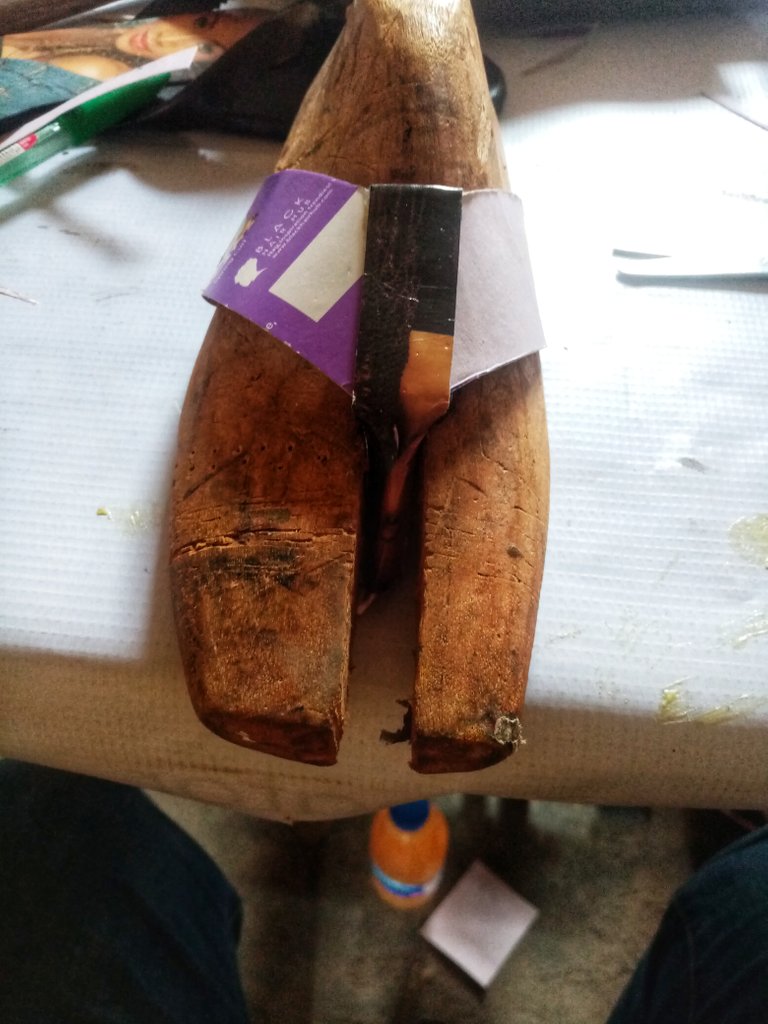
I then placed it on a last to ensure It's angle was good enough(I could have also used my leg)
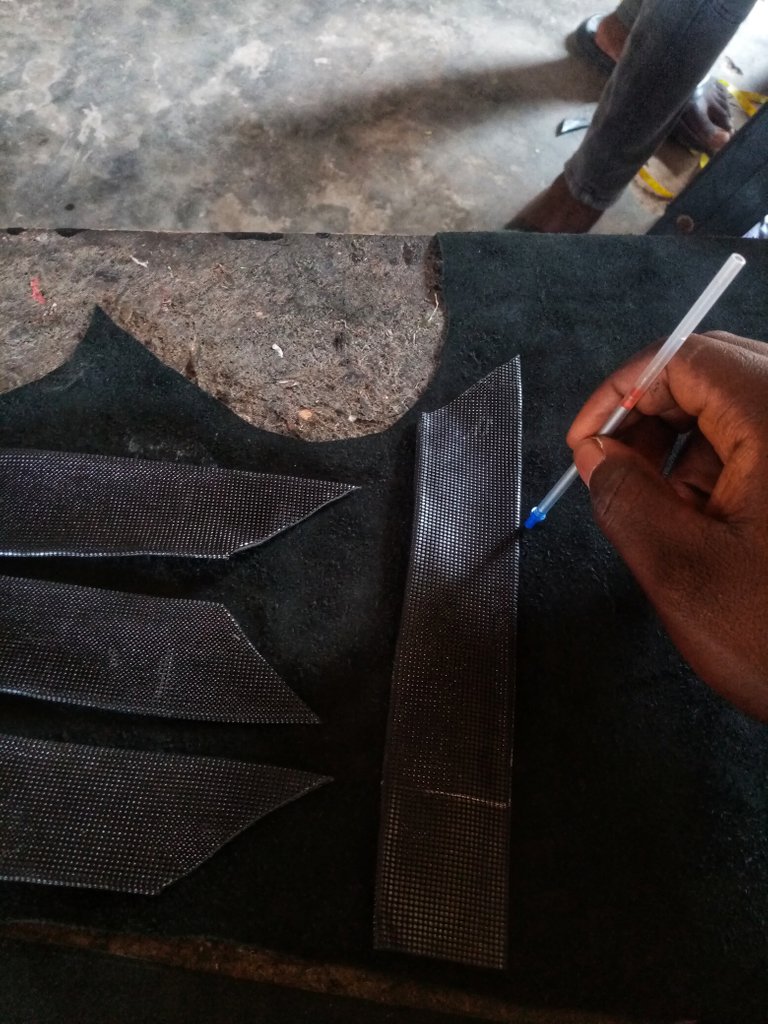
Now, I separated the paper and traced them on my leather
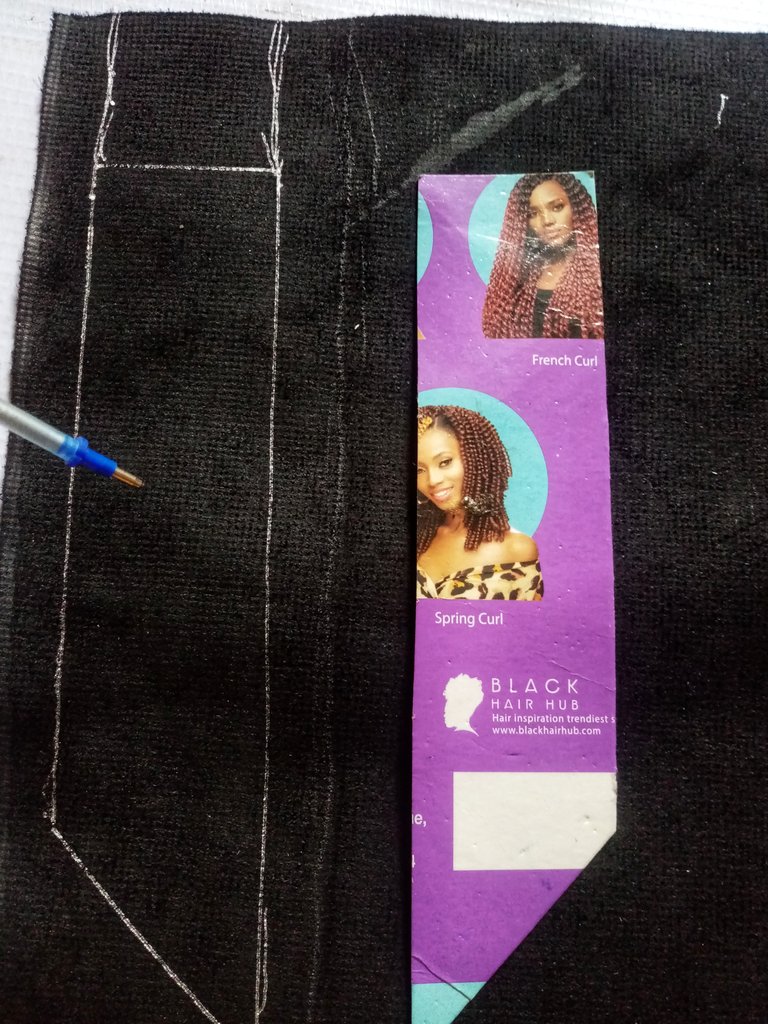
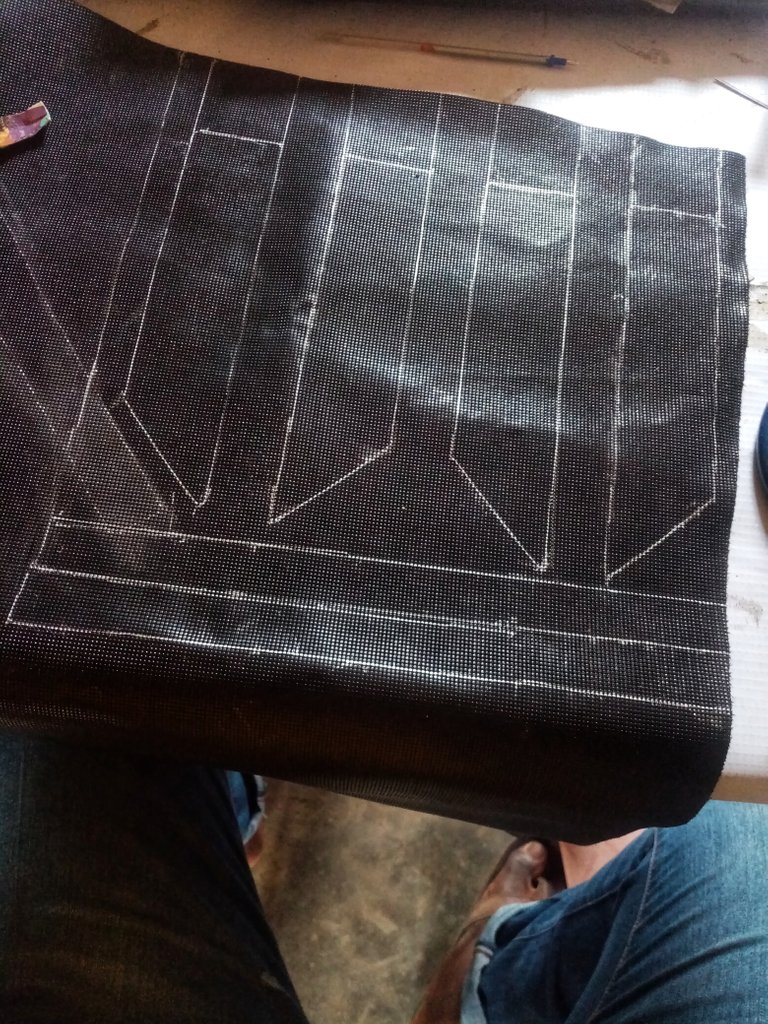
For the 4cm strips when tracing them I left extra space so I could fold it. I then cut it out
And applied at the edges of the 4cm strips
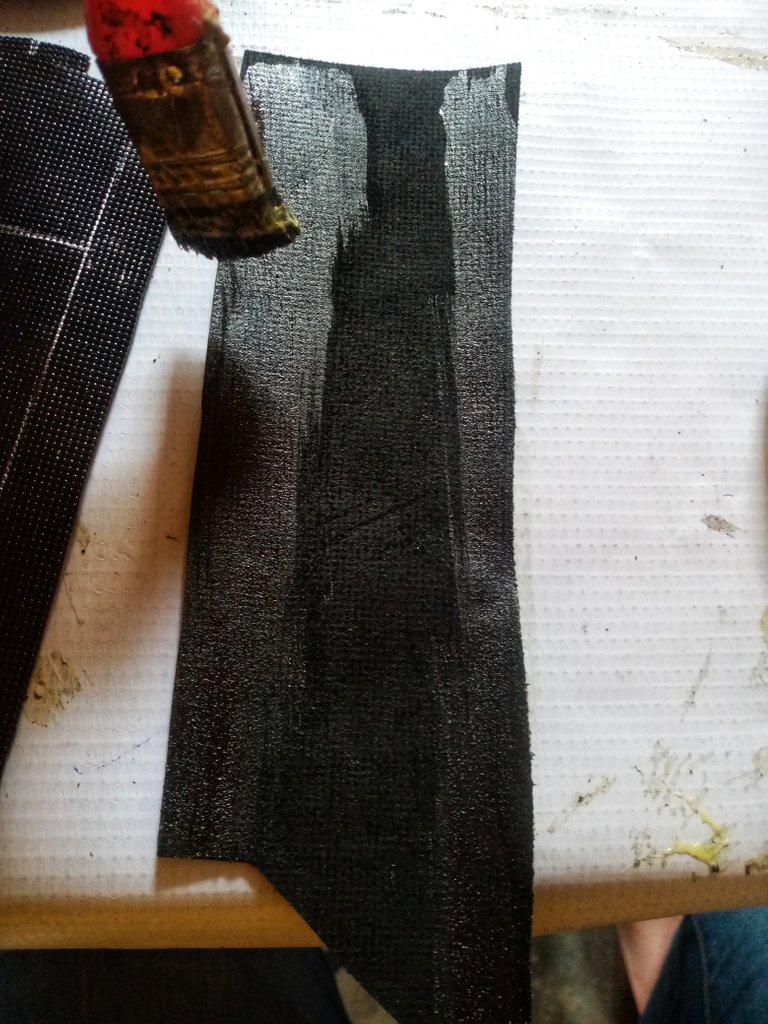
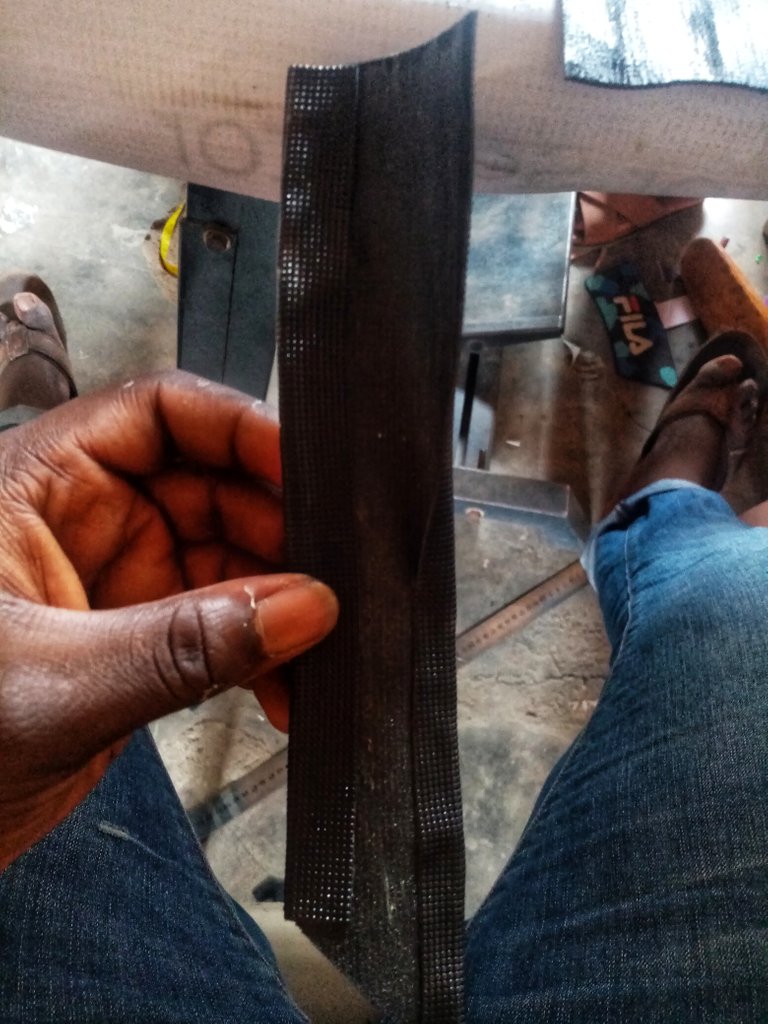
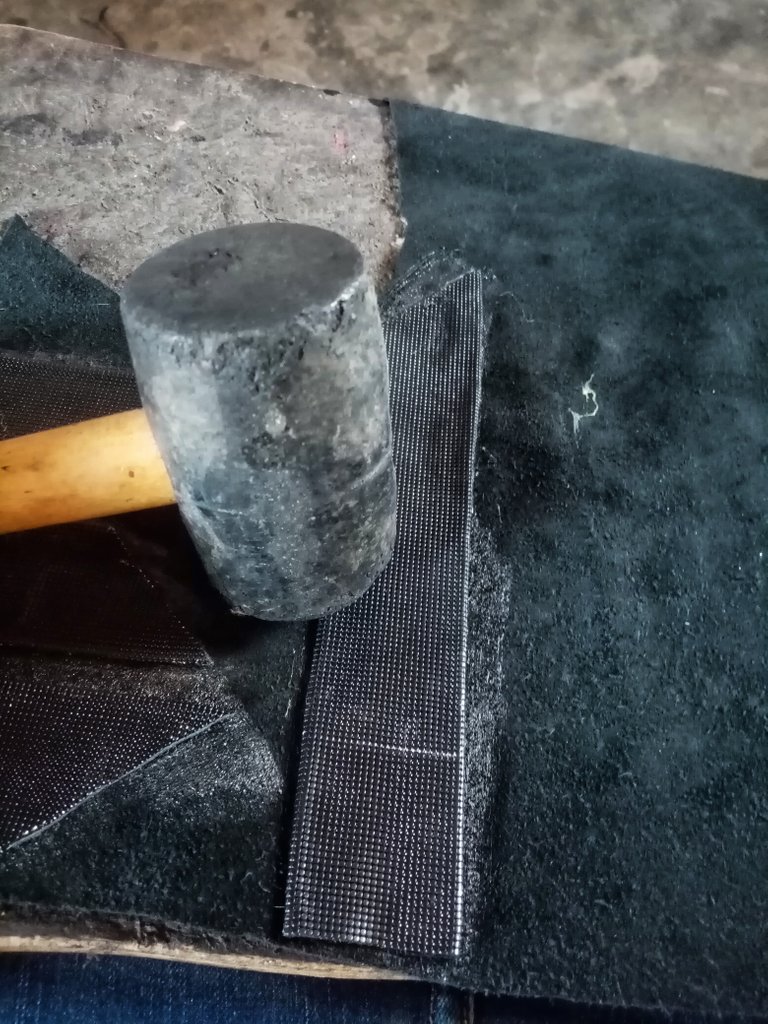
Once the gum dried I folded it and used a mallet to beat it to smoothness
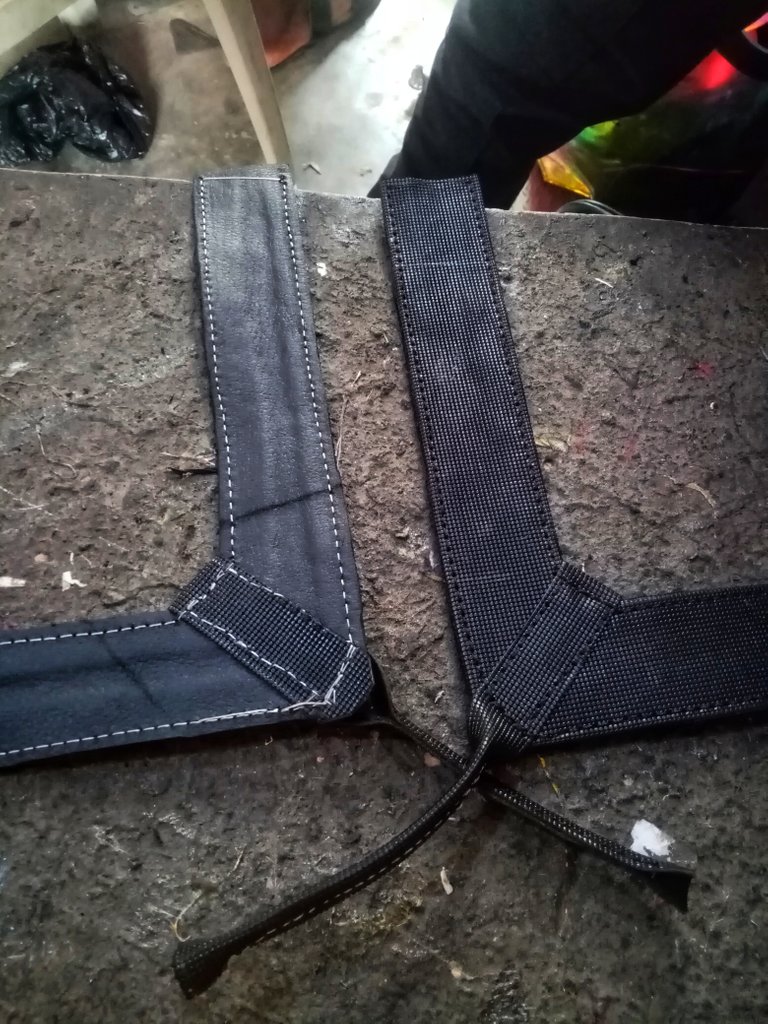
I then placed the strips on my lining leather and traced them out
And applied gum to both the strips and the lining leather
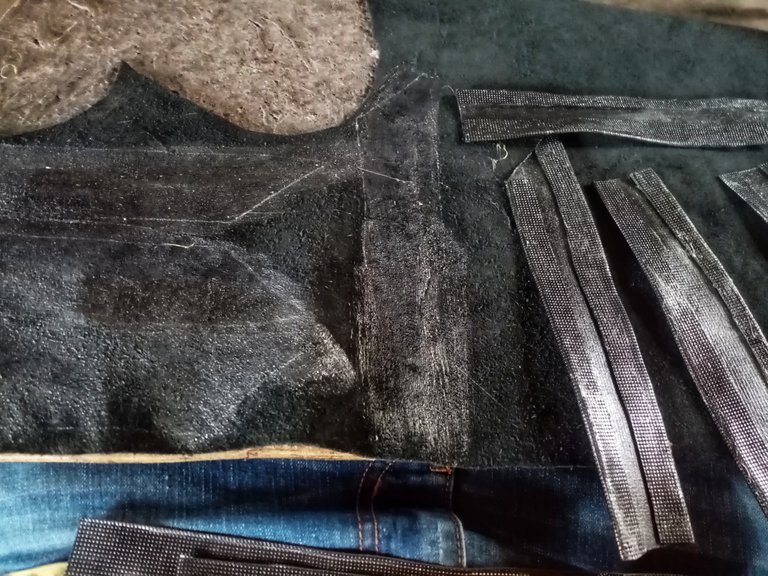
Once it was dry I placed the strips on the lining leather and beat them with my mallet before cutting them out
After that I applied gum to the diagonal edges of the 4cm strips (the lining side) and an edge of the 2cm strip
Once it was dry I put them together

Im still learning how sew so I paid someone to help me sew it round
And that's it for the upper, now all that's left is
The joining
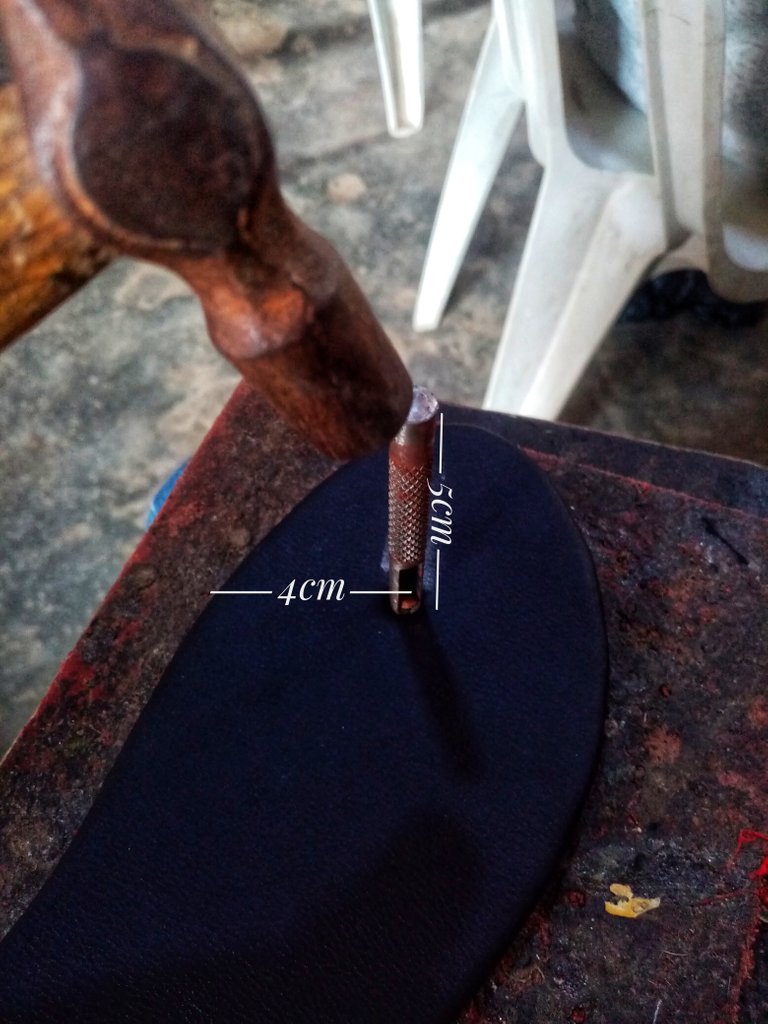
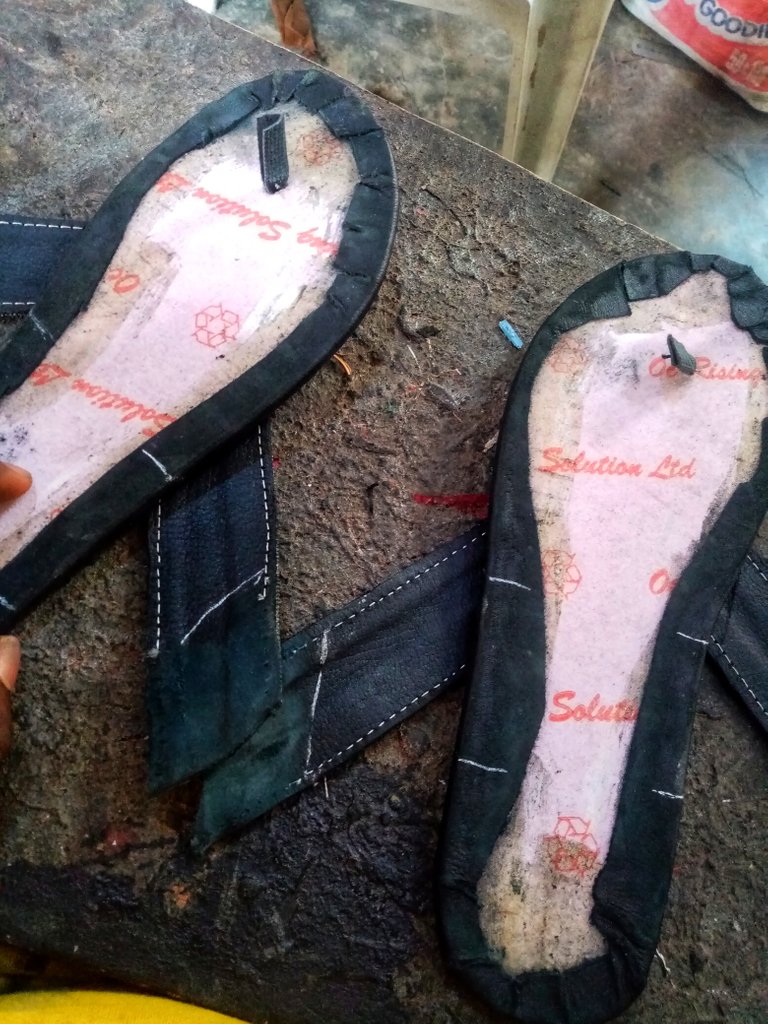
I picked up my insoles and and measured 5cm from the top and 4cm from the big toe side. Where they met i marked it and used my punch and hammer to create a hole. Then I put the thong through the hole
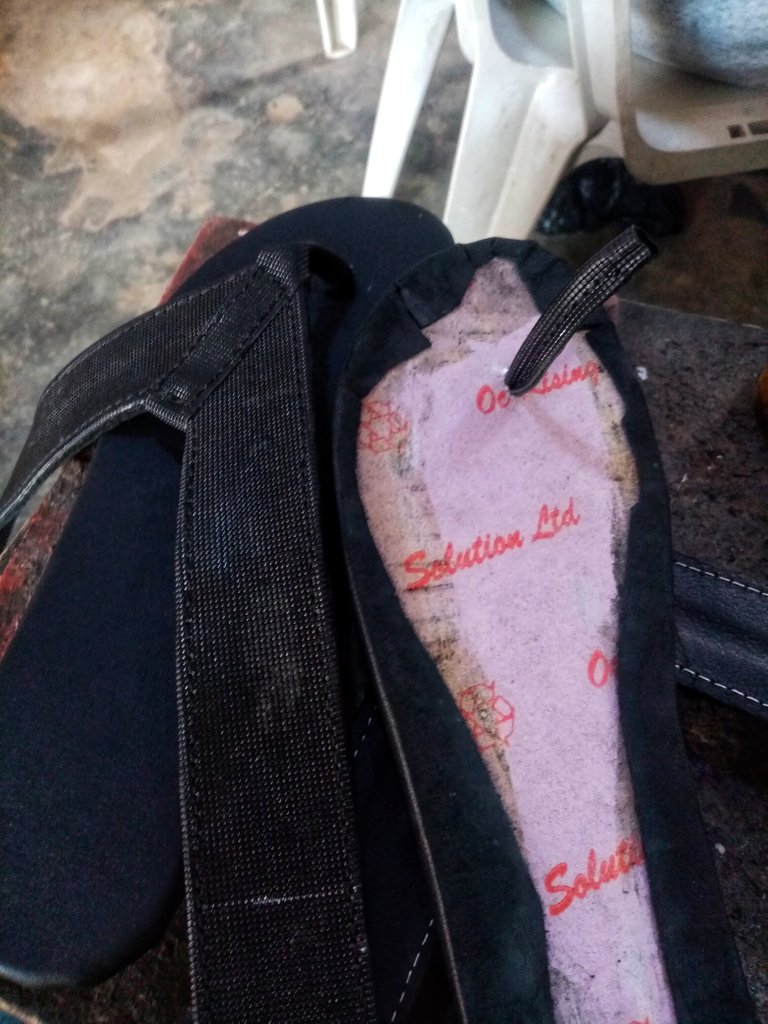
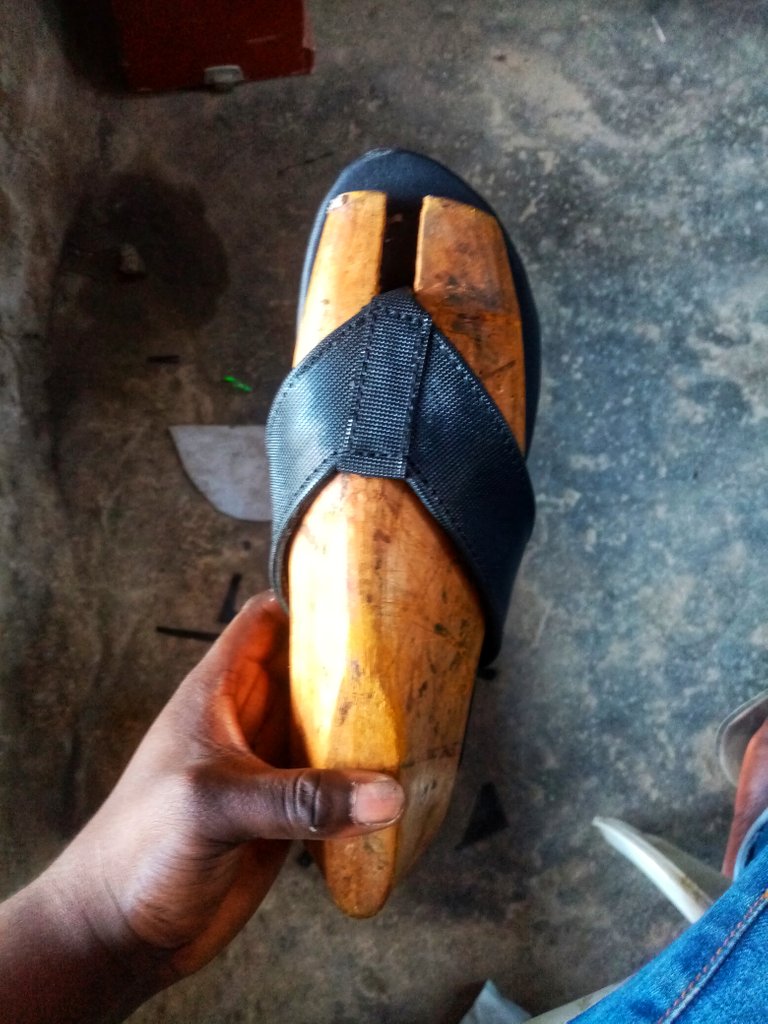
Now this part was a bit tricky but I used my leg to adjust the straps (I guess you can also use a last if you're certain the last is your size) and marked them using my silver pen just so you understand I also put it on a last so I could take a photo
Now I used the filing machine to trim the straps that'll go under (I could also use abrasives or a skiving knife)
Now I applied gum on the trimmed part of the straps and on the marked part on the under of the Insole
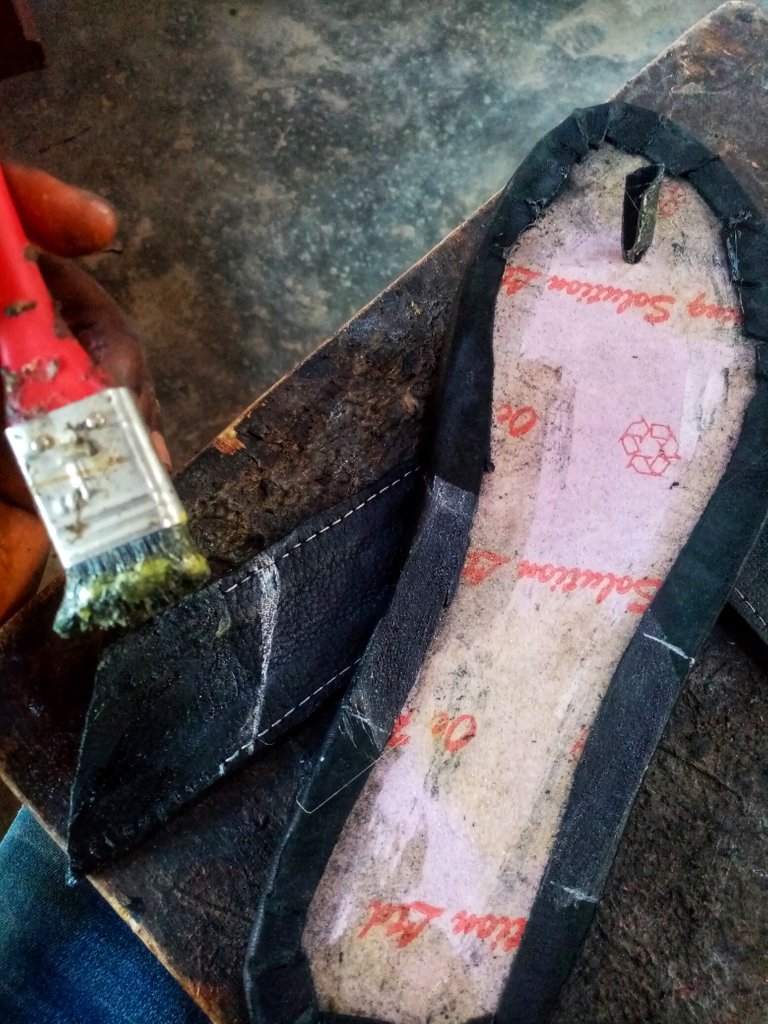
By now you should know once the gum was dry I put them together
Then I used the filing machine (I could also use abrasives or a skiving knife) to flatten the straps a little more.
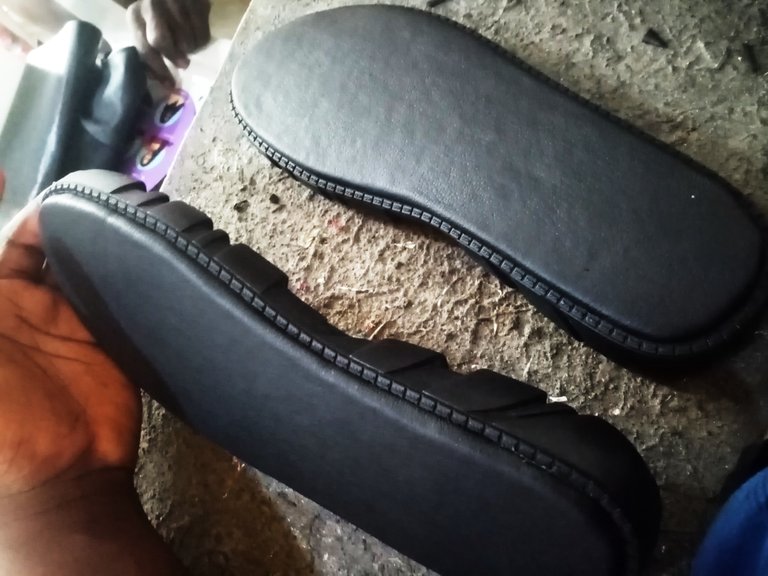
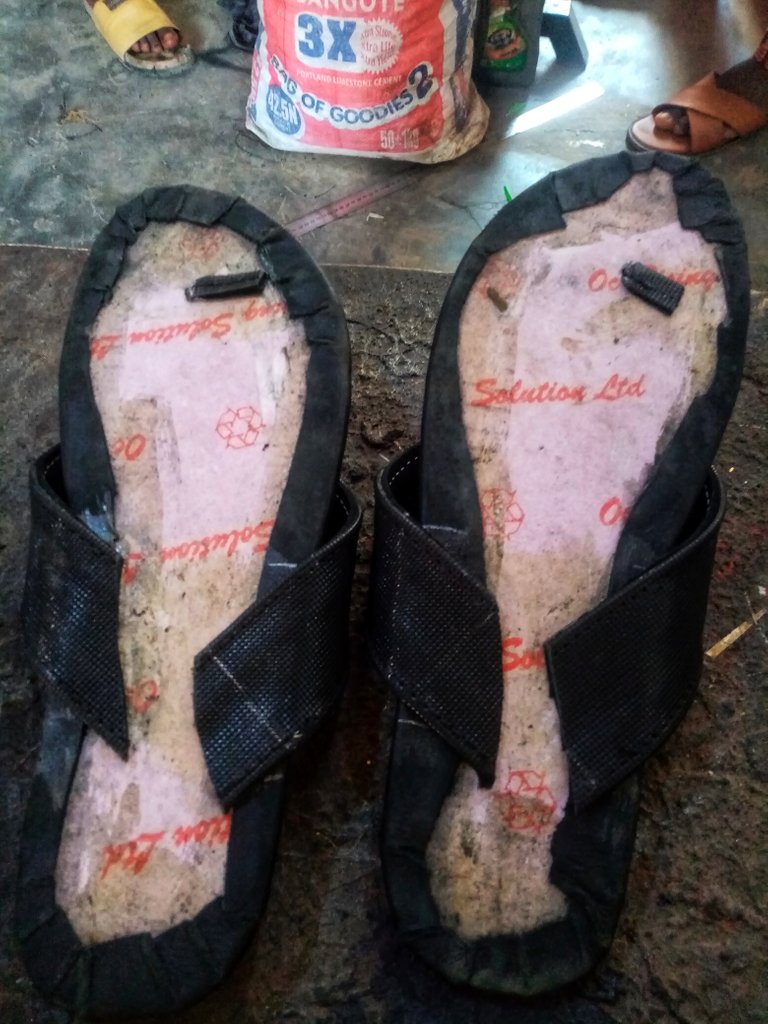
After this I picked up the ready made sole and applied gum to it along with my insole
I left them in the sun for 10 to 15 minutes to ensure that they had dried properly then I put them together and used a mallet to beat them till I was satisfied

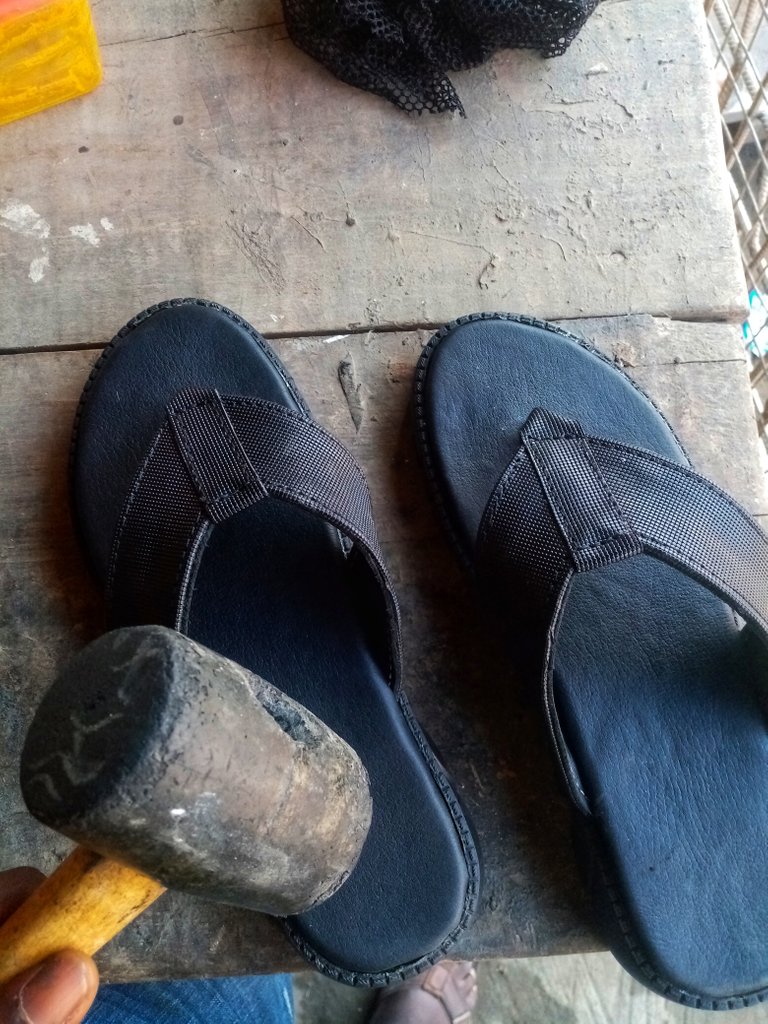
And that's it
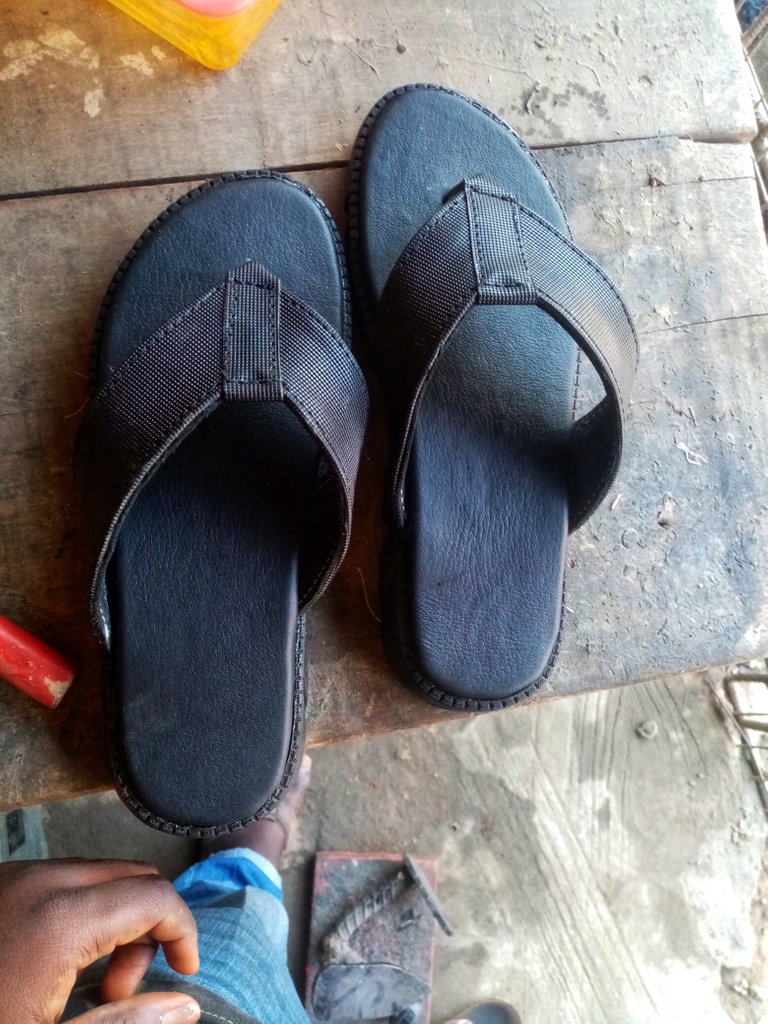
I'm sure by now you must have an idea if not know how your simple slippers are made. To be honest I did not think it was this much work until I started compiling this post.
Thank you for taking your time to read this post your support and feedback is highly appreciated
All photos in this post were taken by me using my huawei y5


