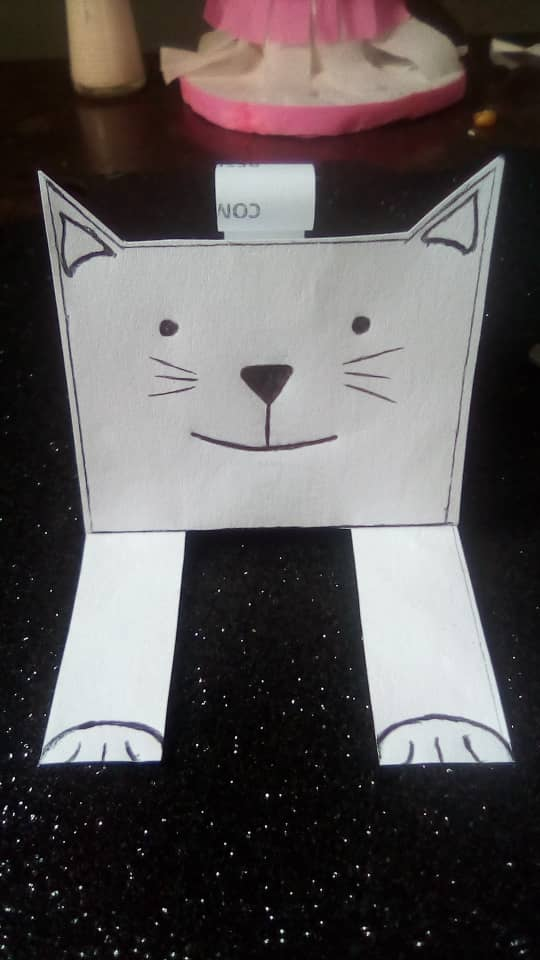
Gente Hive Diy, les saludo muy cordial y efusivamente, hoy les hice un Lindo Gatito al que llamo Lulú, para acompañarle en su escritorio. A pesar de su fácil elaboración, está lleno de amor para dar a quien lo proteja. Agradezco una vez más por la grata acogida que me Han dado en esta hermosa Comunidad.
Hive Diy people, I greet you very cordially and effusively, today I made you a Cute Kitty I call Lulu, to accompany you at your desk. Despite its easy to make, it is full of love to give to whoever protects it. I thank you once again for the warm welcome you have given me in this beautiful Community.
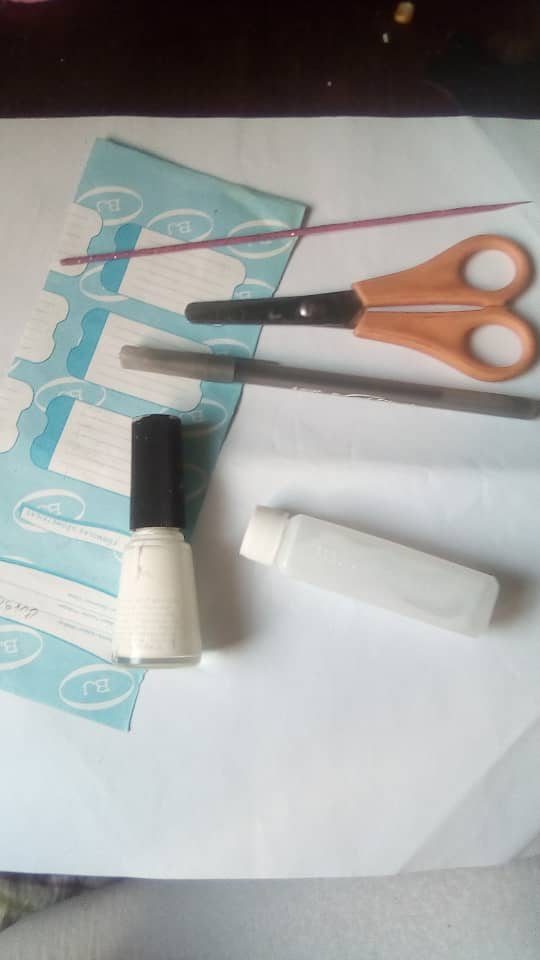
Materiales.
Tijera.
Lapicero o Marcador.
Cartulina blanca.
Hoja reciclables.
Regla.
>Materials
Scissors
Pen or marker
White cardboard
Recyclable sheet
Ruler
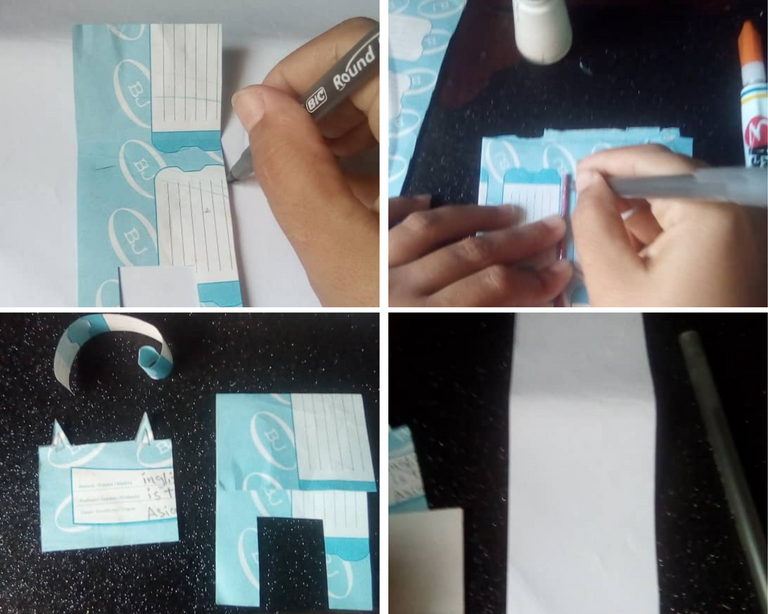
Empezamos marcando con las siguientes medidas:
El cuerpo con la cabeza del gatito:
Largo 15 cm, ancho 5 cm.
La cola de Lulú:
Ancho 1 cm y largo 5 cm.
Empezamos marcando con las siguientes medidas:
El cuerpo con la cabeza del gatito:
Largo 15 cm, ancho 5 cm.
La cola de Lulú:
Ancho 1 cm y largo 5 cm.
Procedemos cortando en la hoja reciclable el molde de nuestro gatito. Luego marcamos el molde en la cartulina blanca y recortamos.
We start by marking with the following measurements:
The body with the kitten's head:
Length 15 cm, width 5 cm.
Lulu's tail:
Width 1 cm and length 5 cm.
We proceed by cutting in the recyclable sheet the mold of our kitten. Then we mark the mold on the white cardboard and cut it out.

procedemos a marcar los bordes, recortar las orejas y hacerle la carita con el lapicero o marcador. Culminado la carita del gatito, continuamos con los dobles del cuerpo, luego picamos las patitas ya marcadas y marcamos tres rayitas para definir los deditos. Procedemos a pegar la parte inferior de la cabeza a la parte media de las patitas para dar la impresión de que está agachado. Para culminar enroscamos la punta de la cola y pegamos la otra punta en el centro de los dobles del cuerpo de esta manera.
We proceed to mark the edges, cut out the ears and make the face with the pencil or marker. Once the kitten's face is finished, we continue with the doubles of the body, then we cut the already marked paws and mark three little lines to define the little fingers. We proceed to glue the lower part of the head to the middle part of the paws to give the impression that it is bending down. To finish we twist the tip of the tail and glue the other tip in the center of the body doubles in this way.
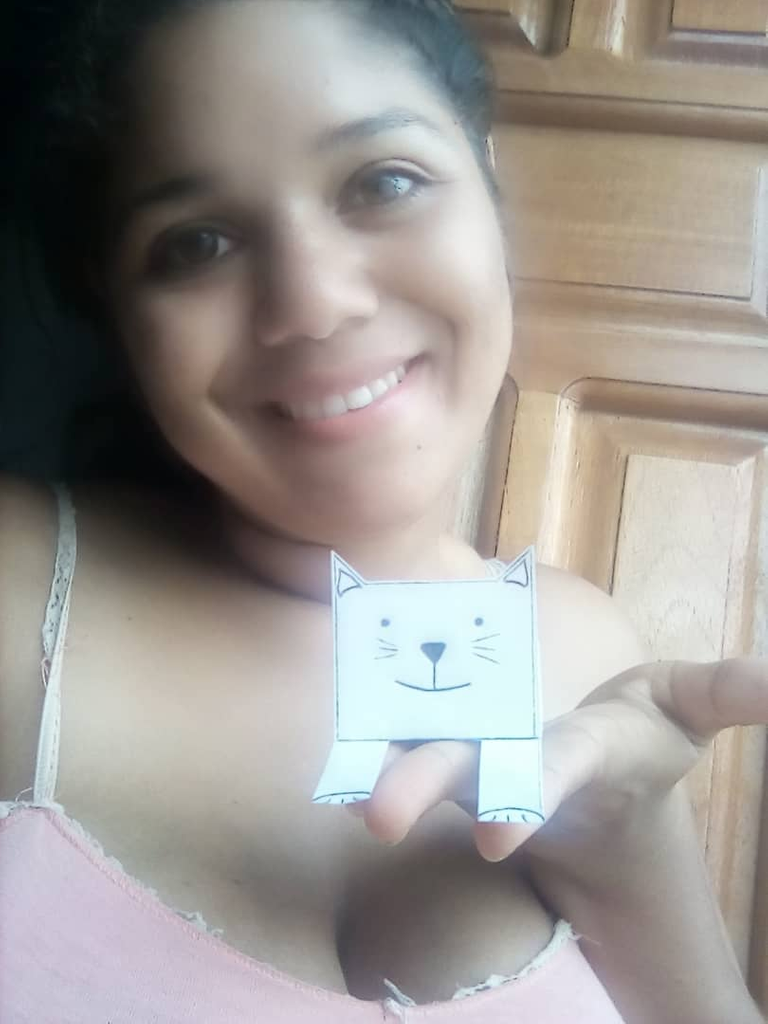
Así quedó nuestro Lindo Gatito Lulú de cartulina. Espero les guste, no olviden seguirme para más instrucciones, los espero como siempre con mucho cariño, les bendigo y gracias por su atención. Mañana les mostraré más sorpresas. Hasta luego mi “Gente Hermosa”.
This is how our cute cardboard kitty Lulu turned out. I hope you like it, don't forget to follow me for more instructions, I wait for you as always with love, I bless you and thank you for your attention. Tomorrow I will show you more surprises. See you later my "Beautiful People".
             Estas fotografias son de mi autoria y estan sin editar.

                 Traducido con www.DeepL.com/Translator (el mejor)

                      "Infinitas Gracias por ver mi contenido"