Well, I promise, today's article will be my last one related in any way to firewood or wood-burning stoves...! At least, not for a while ^^ Hello dear Winters, how are you ?
Since the arrival of this stove, a number of items have found their way into the living room... You'll find them below :
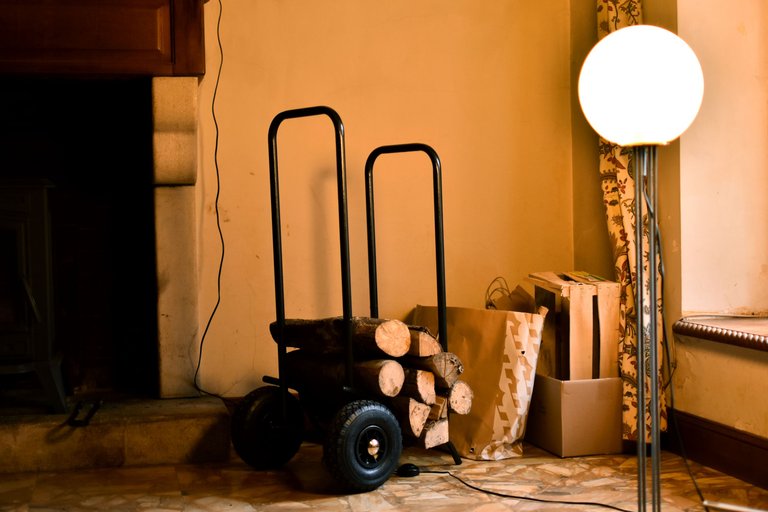
There's this sort of vertical wheelbarrow for the logs, and above all the various containers for kindling, paper and cleaning materials for maintaining the stove.
In truth, I don't mind looking a bit campy, but I do like things to be a bit clear and square !
So, without missing a beat, I got to thinking and sketching out what would look best... In a way, I also embarked on this project after seeing @gogreenbuddy's bench-building project ! Let's just say that it really made me want to start building things again :)

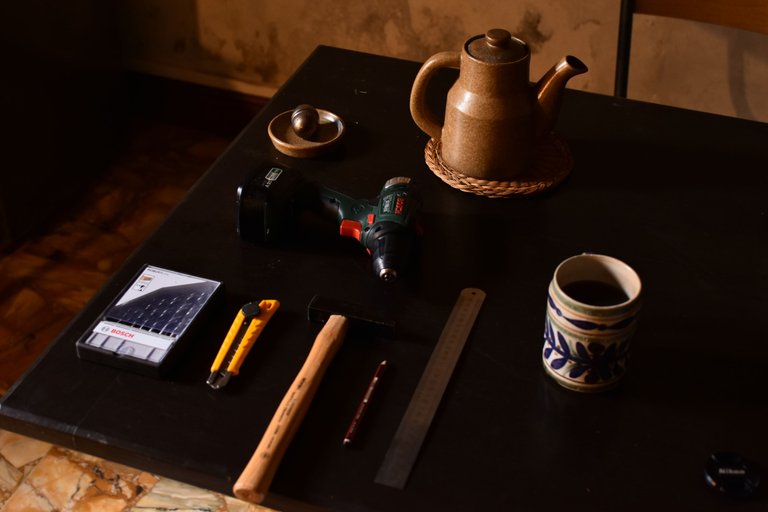
So here's my first sketch and the few tools I've got here that I'm starting to get out when I have my morning chicory. And yes, I don't drink coffee any more, at least not on a daily basis. Too ying and acidic, at least for me !
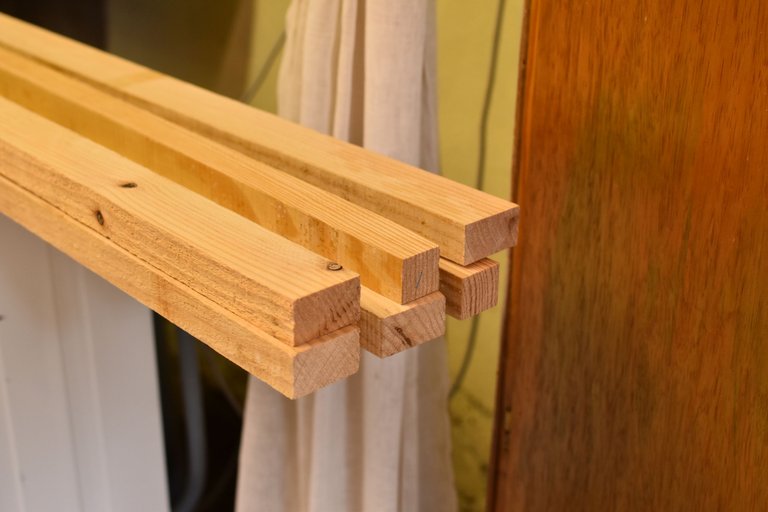
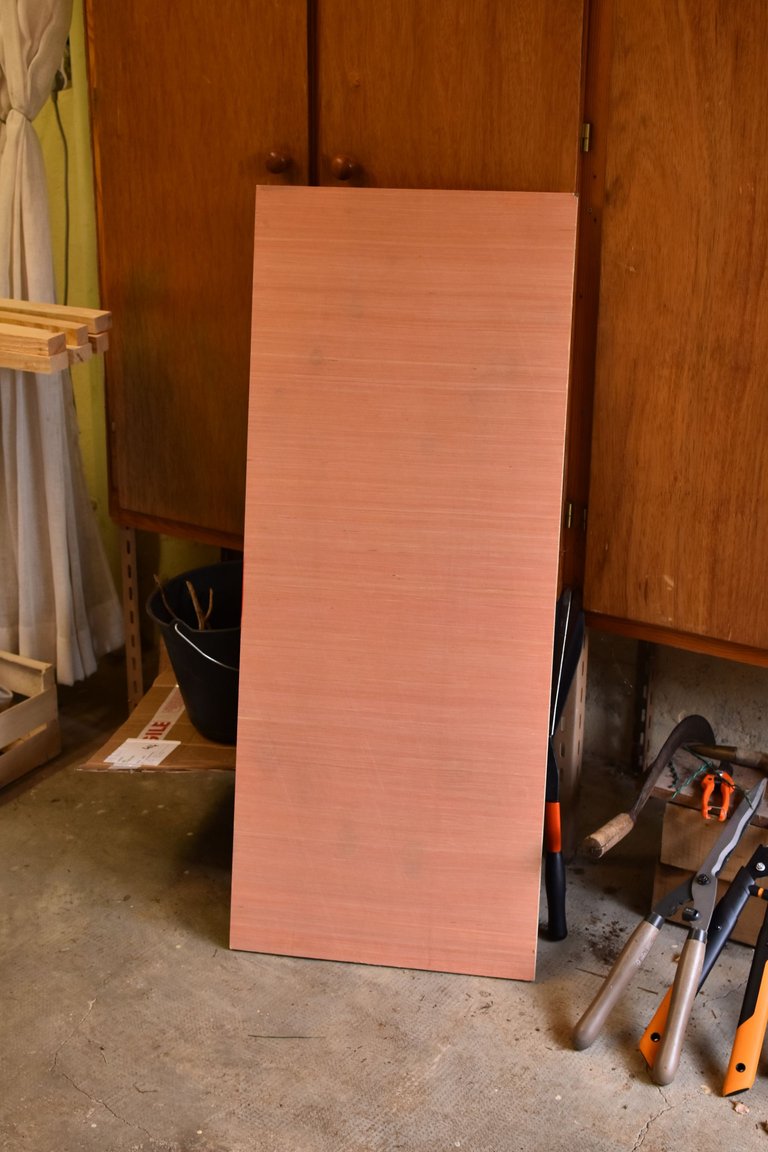
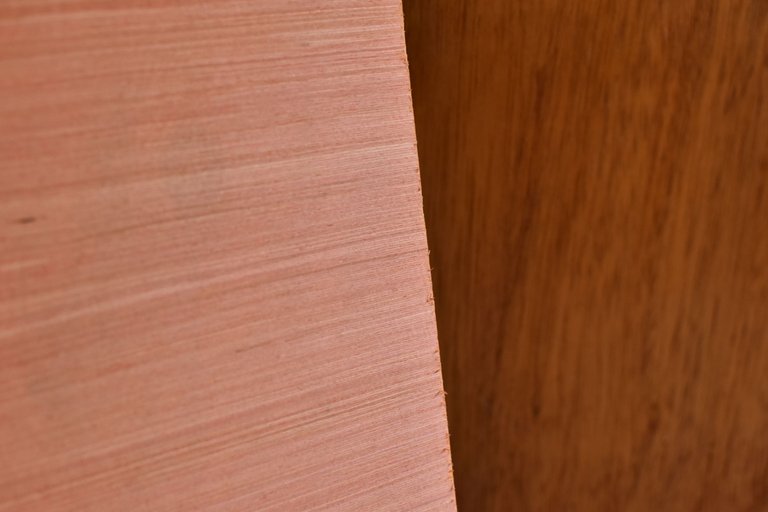
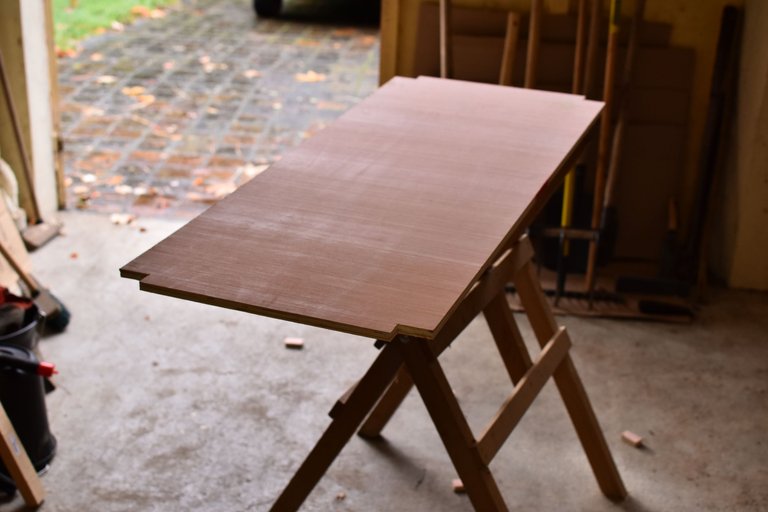
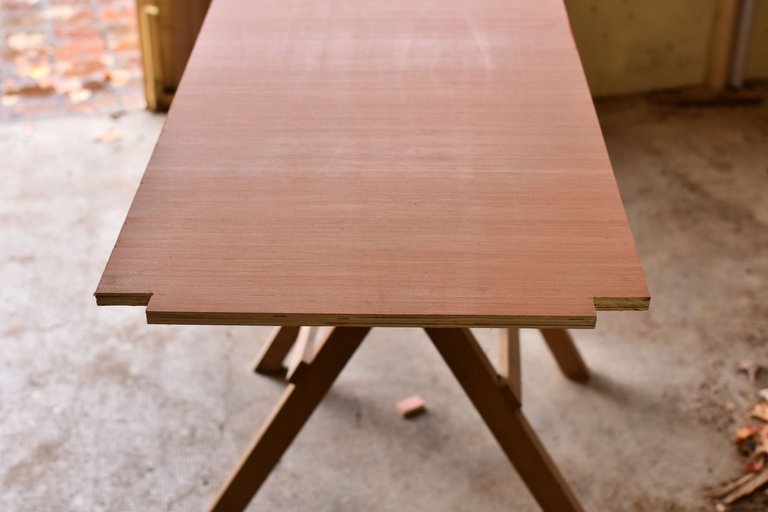
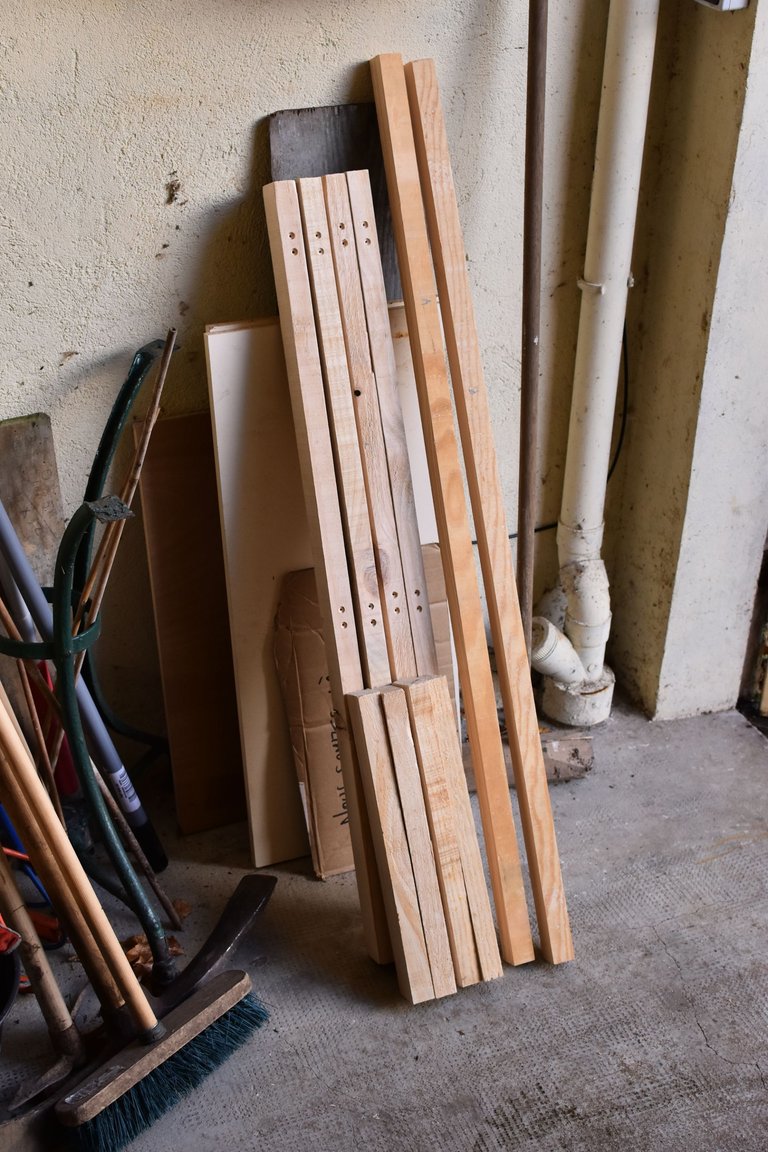
Here's the wood I had available. 6 rough sawn fir strips and a plywood board I found for 2€ in a DIY shop. But let's get on with the building !
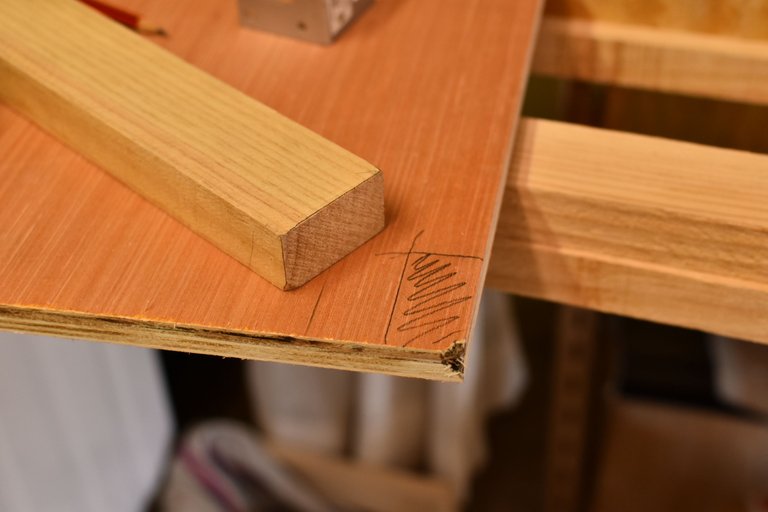
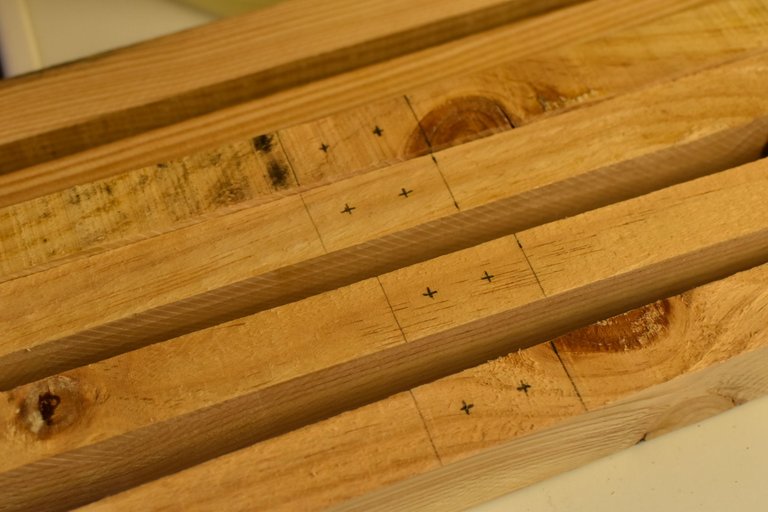
I start by marking the sections of my cleats that I'm going to use as legs and uprights at the four corners of the board.
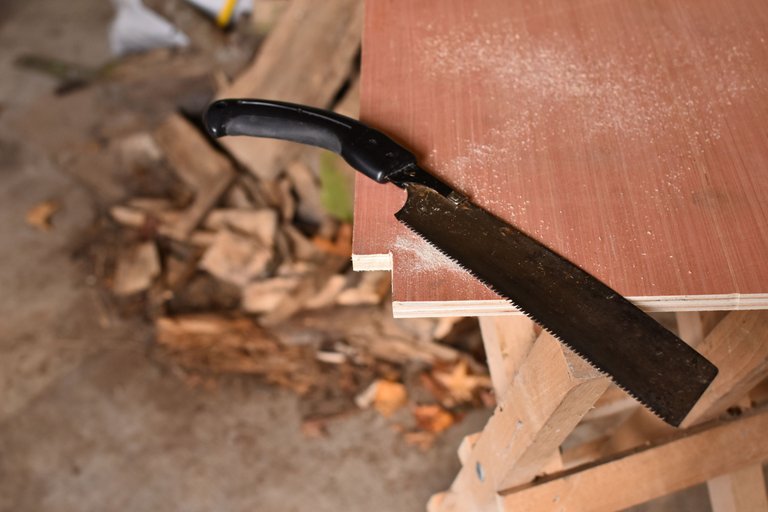
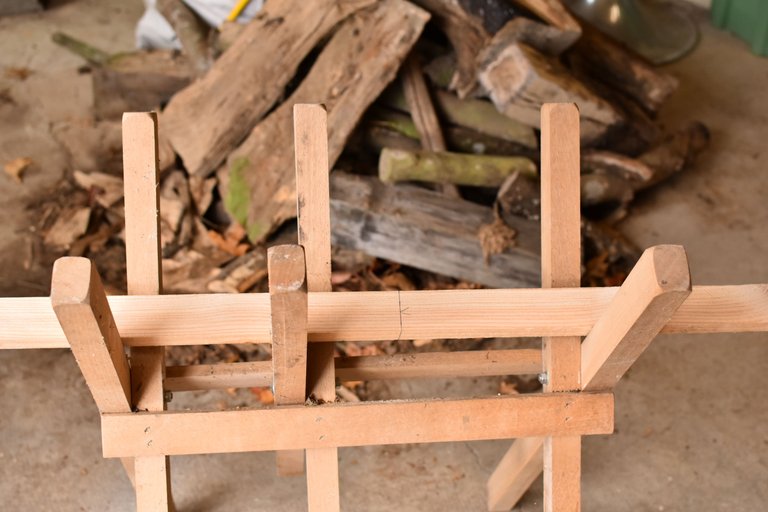
Then I make a quick cut with a Japanese saw and use the cutting bench for the logs...
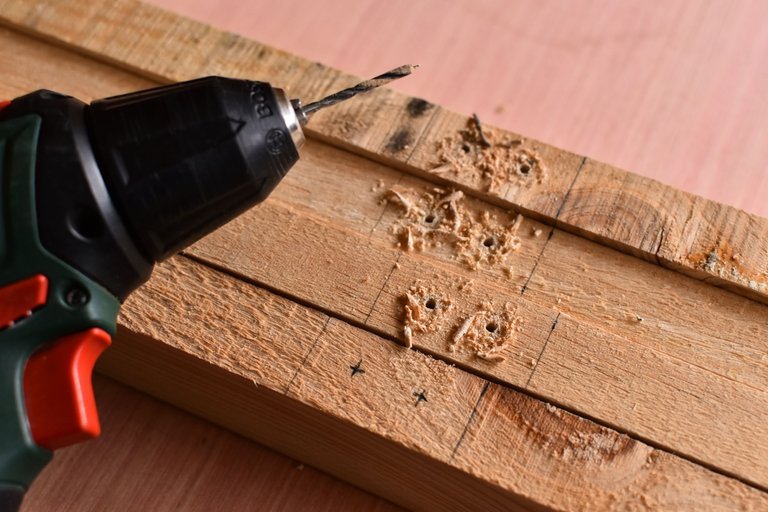
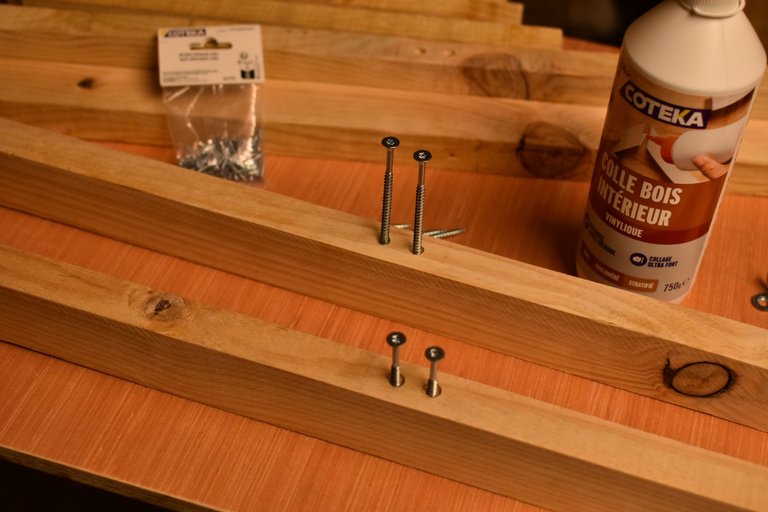
Next, I cut the uprights. I cut them to a metre in length and start pre-drilling the positions where I will place the crosspieces that will support the board.
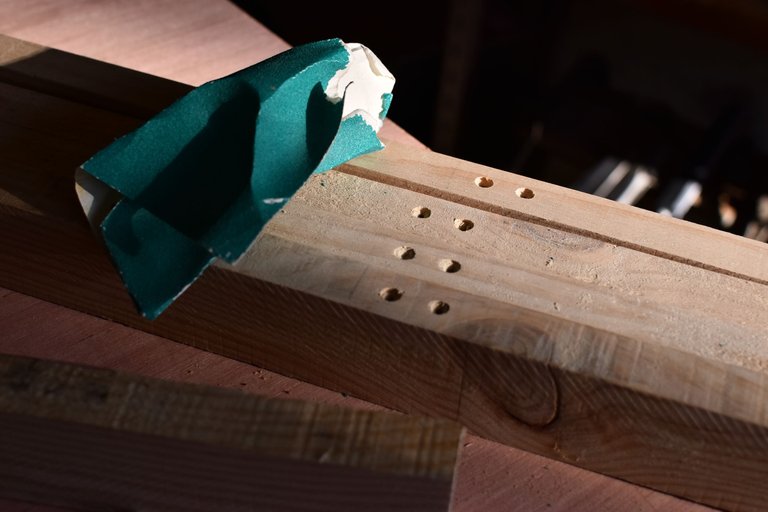
After drilling, I chamfer each of the holes so that the screws don't protrude.
And here are my boards, ready and lightly sanded. It's nearly midday and I'm still missing several elements, so I'm off to do a few errands in the next town...
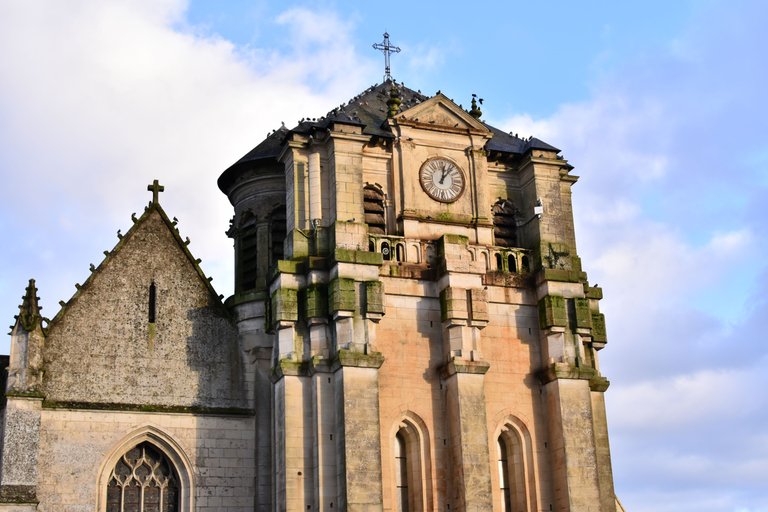
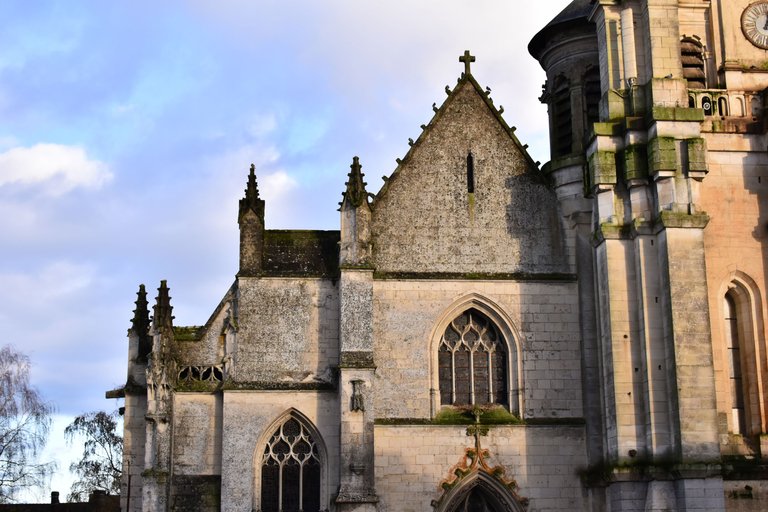
A short interlude with these two images of the cathedral in Mortagne-au-Perche in the light at the end of the day... Just goes to show, I'm not going to finish until nightfall !
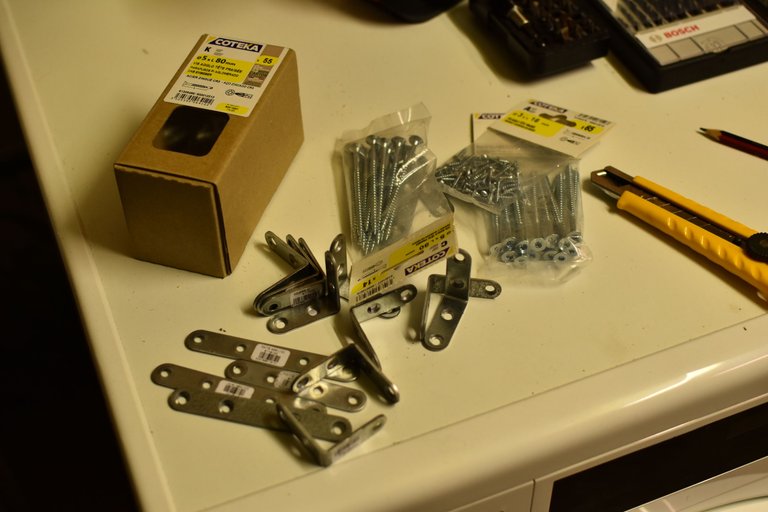
And now I'm back with my screws and mounting brackets to make my furniture even more solid.
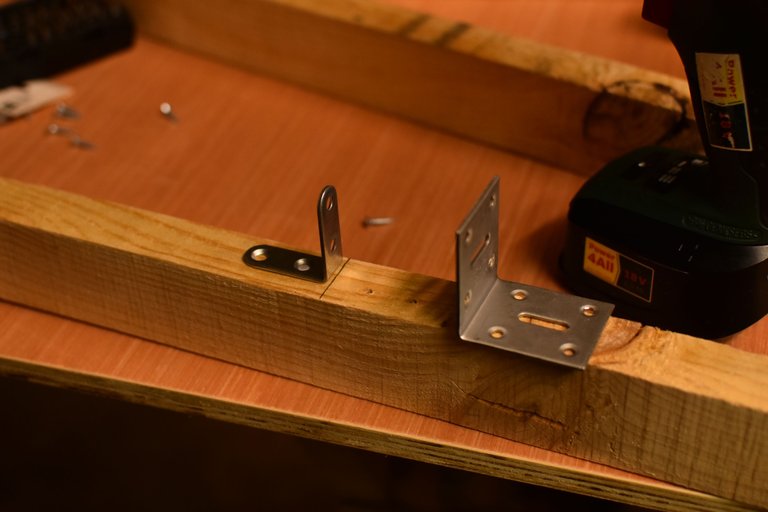
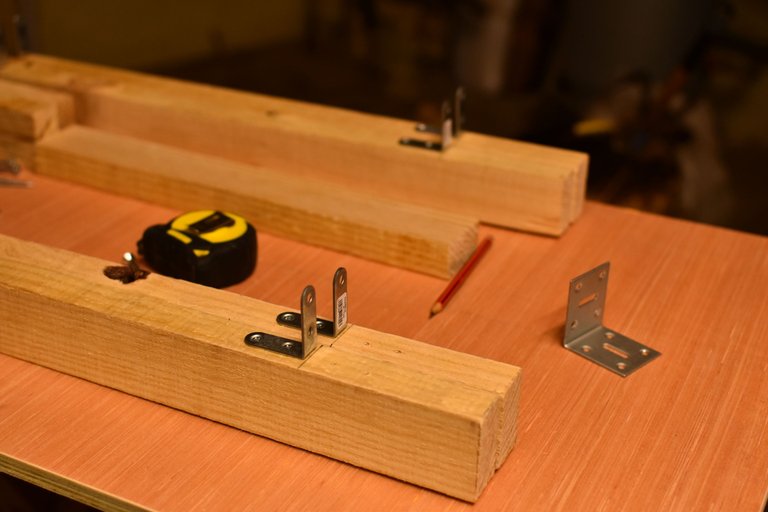
Without further ado, as you can see from the images, I set about installing the brackets. Because now it's really dark !
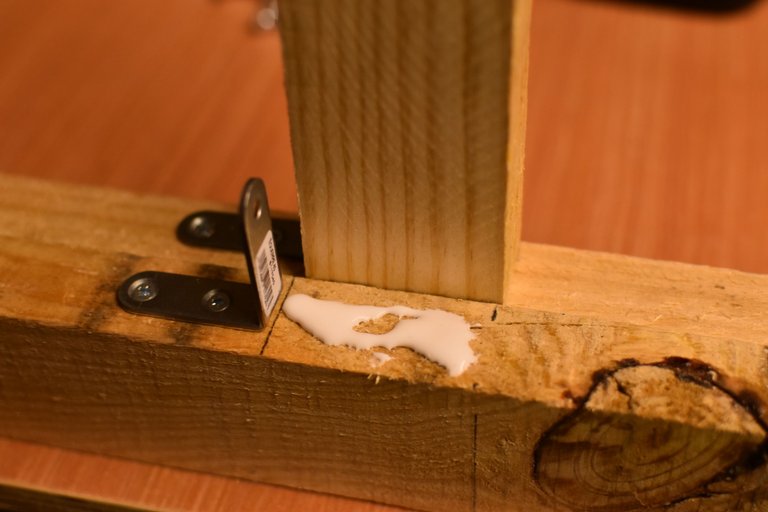
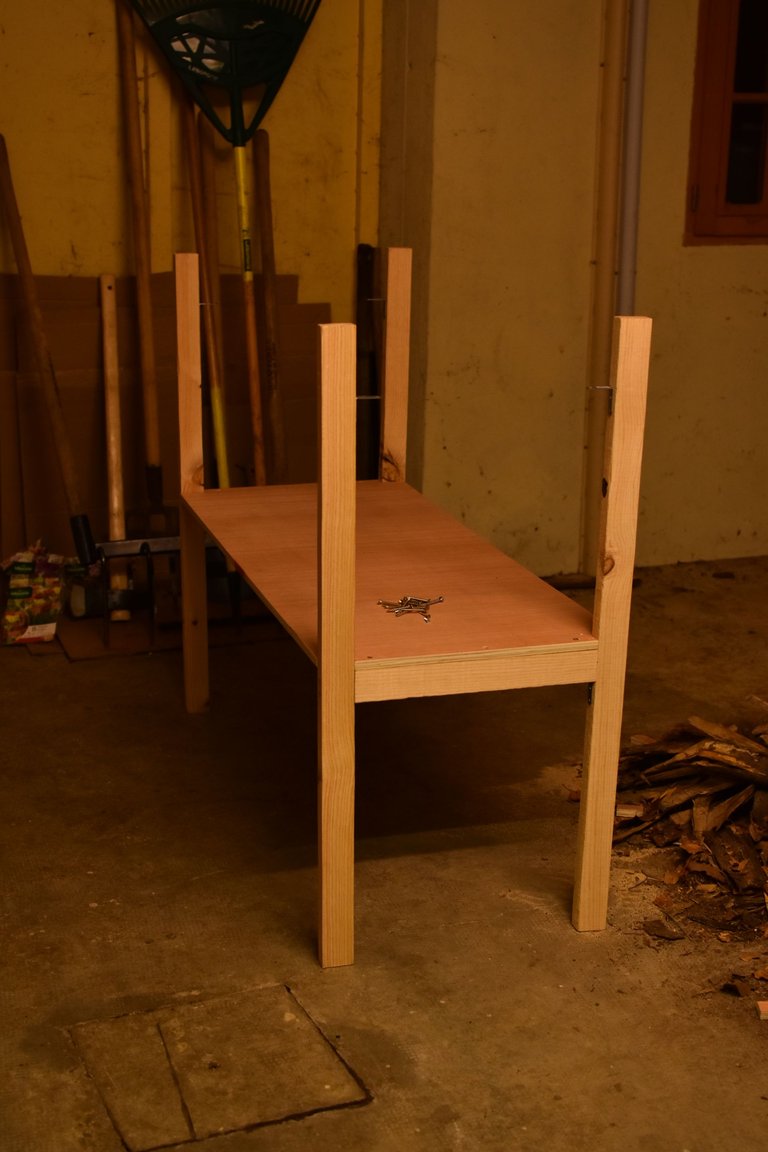
That's it, I'm starting to really assemble the different elements. To make it even more solid, I'm taking the trouble to glue each part.
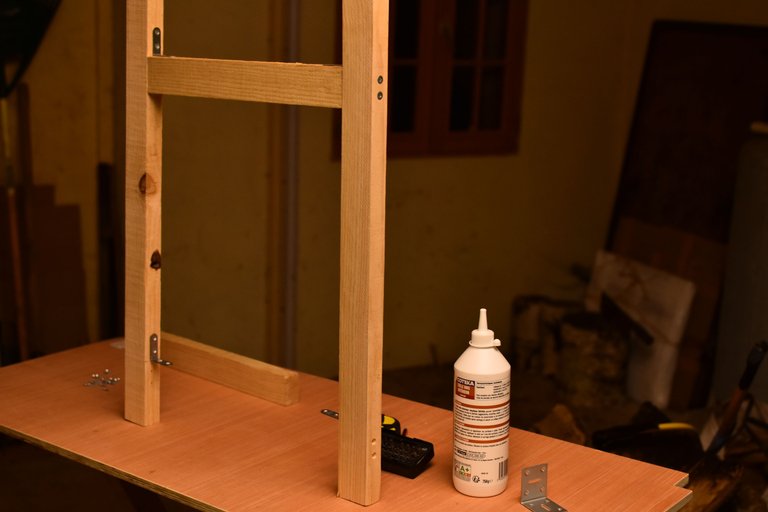
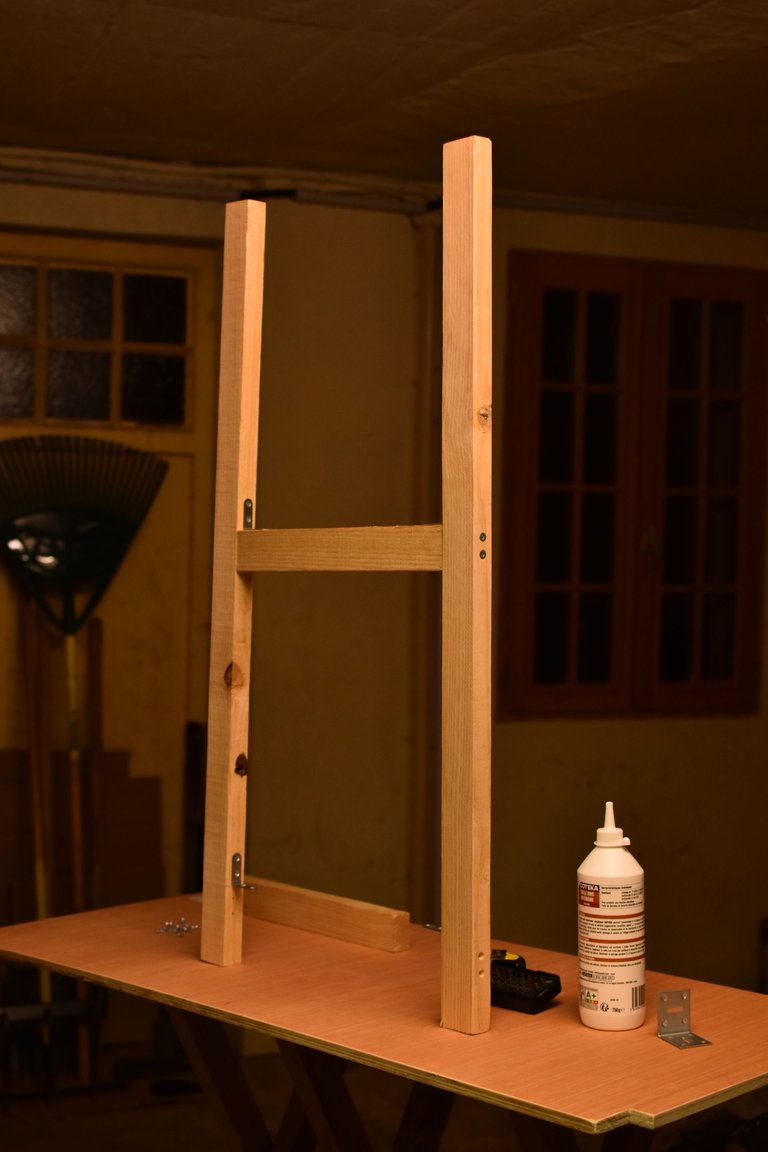
So you can see at a glance that my ladders aren't straight. In any case, the uprights aren't parallel. But don't worry, everything will be back to normal in the next stage :)
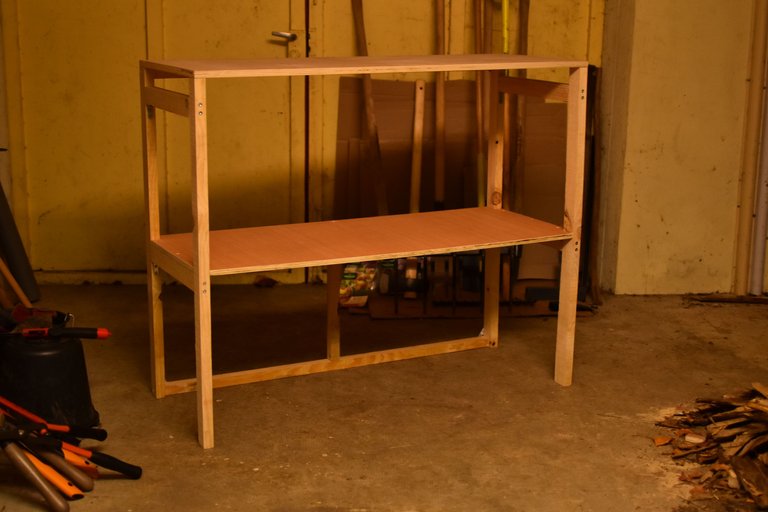
And here's the finished piece of furniture... I admit I skipped the last few operations a bit, but I imagine you'll be able to see how it progressed! I mainly put the top board in place and just solidified the base and squared the whole thing up a bit.
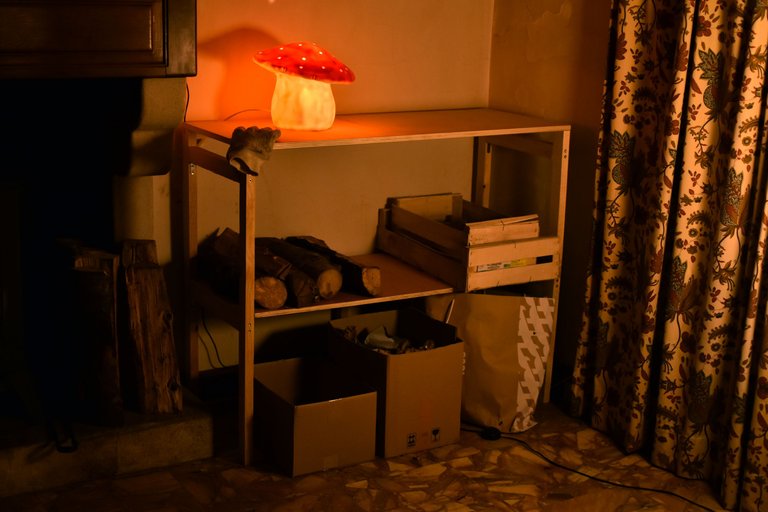
I don't wait until the next morning to install it, and I put it in place as soon as it's finished !
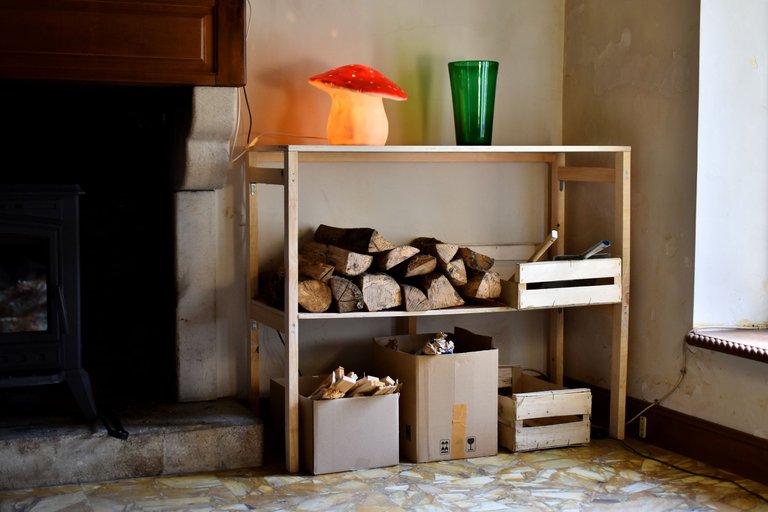
But in the end, the image I took the next morning was still of much better quality, both in terms of colour and light.
So now all I have to do is bring in some logs and simply enjoy the fire ! I hope you've enjoyed this modest little article, which does what I wanted it to do :)
Thank you for visiting, I wish you a lovely day,
<3
Tous les textes et images présentés ici sont les miens.
Bon promis, cet article d'aujourd'hui sera mon dernier lié de près ou de loin au bois de chauffage ou au poêle à bois..! En tout cas, avant quelques temps ^^ Bonjour chers Hivers, comment allez-vous ?
Depuis l'arrivée de ce poêle, logiquement, plusieurs éléments sont arrivés dans le salon... On les retrouve ci-dessous :
On retrouve cette sorte de brouette verticale pour les bûches, et surtout les différents contenants avec le petit bois, le papier et les éléments de nettoyage pour l'entretien du poêle.
En vrai, ça ne me dérange pas d'avoir l'air d'un peu camper, mais j'aime quand même que les choses soient un peu claires et carrées !
Alors ni une ni deux, je me suis mis à réfléchir et à dessiner un peu ce qui serait le mieux... D'une certaine manière, je me suis aussi lancé dans ce projet après avoir vu le projet de construction de banc de @gogreenbuddy ! On va dire que cela m'a vraiment donné envie de me remettre à construire des choses :)
Alors voilà mon premier croquis et les quelques outils que j'ai ici et que je commence à sortir au moment de la chicorée matinale. Et oui, je ne bois plus de café, en tout cas plus quotidiennement. Trop ying et acide, en tout cas pour moi !
Voilà le bois que j'avais à disposition. 6 tasseaux de sapin bruts de sciage et une planche de contreplaqué trouvée pour 2€ dans un magasin de bricolage. Mais lançons-nous dans les opérations de constructions !
Je commence à par marquer les sections de mes tasseaux qui vont me servir de pieds et de montants aux quatre coins de la planche.
Ensuite, je coupe ça rapidement à la scie japonaise et comme tréteaux, je me sers du banc de coupe pour les bûches...
Ensuite, je passe aux montants. Je les coupe à un mètre de longueur et je commence à pré-percer les positions où je placerai les traverses qui soutiendront la planche.
Après le perçage, je chanfreine chacun des trous pour que les vis ne dépassent pas.
Et voilà mes tasseaux prêts et légèrement poncés, il est bientôt midi et il me manque plusieurs éléments et je pars donc pour quelques courses dans la ville d'à côté...
Petit intermède avec ces deux images de la cathédrale à Mortagne-au-Perche dans la lumière de la fin de journée... Comme quoi, je ne vais terminer qu'à la nuit tombée !
Et me voilà de retour avec mes vis et mes équerres de montage qui me permettront de solidifier encore davantage mon meuble.
Sans plus tarder, et on le voit sur les images à leur colorimétrie, je me lance dans la mise en place des équerres. Car ça y est, il fait vraiment nuit !
Voilà, ça y est, je commence à réellement assembler les différents éléments. Pour que cela soit encore plus solide, je prends la peine de coller chacune des parties.
Alors on s'aperçoit au premier coup d'oeil, mais mes échelles ne sont pas droites. En tout cas, les montants ne sont pas parallèles. Mais pas d'inquiétude, tout va rentrer dans l'ordre durant la suite des opérations :)
Et voilà le meuble terminé.. j'avoue que j'ai sauté un peu les dernières opérations, mais j'imagine que vous verrez comment ça a avancé ! J'ai surtout mis en place la planche du haut et me suis contenté de solidifier le piétement et à équerrer un peu l'ensemble.
Je n'attends pas le lendemain matin pour l'installer et je le mets en place dès que celui-ci est terminé !
Mais au final, l'image que je prends le lendemain matin est quand même de bien meilleure qualité, tant au point de vue colorimétrique qu'au niveau de la lumière.
Voilà, maintenant, il me reste à ramener des bûches et à tout simplement, profiter du feu ! J'espère que vous aurez apprécié ce petit article de construction certes modeste, mais qui fait ce que je désirais :)
Merci pour votre visite, je vous souhaite une excellente journée,
<3
Tous les textes et images présentés ici sont les miens.