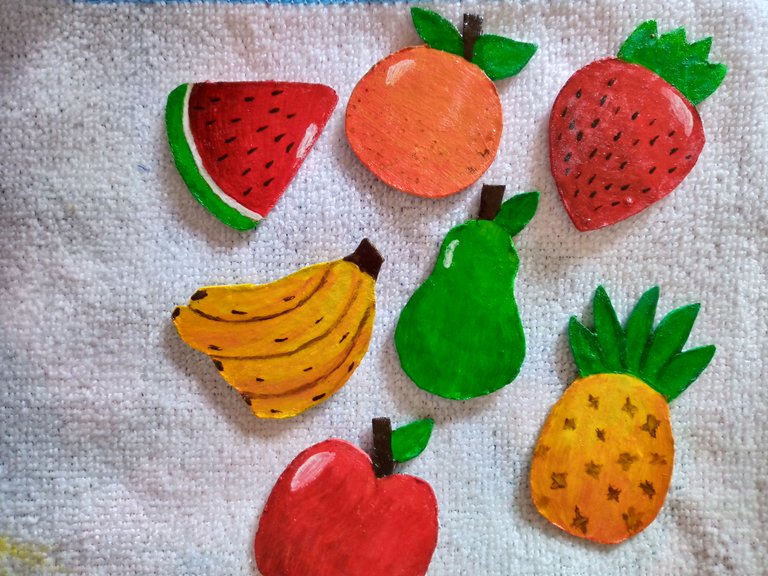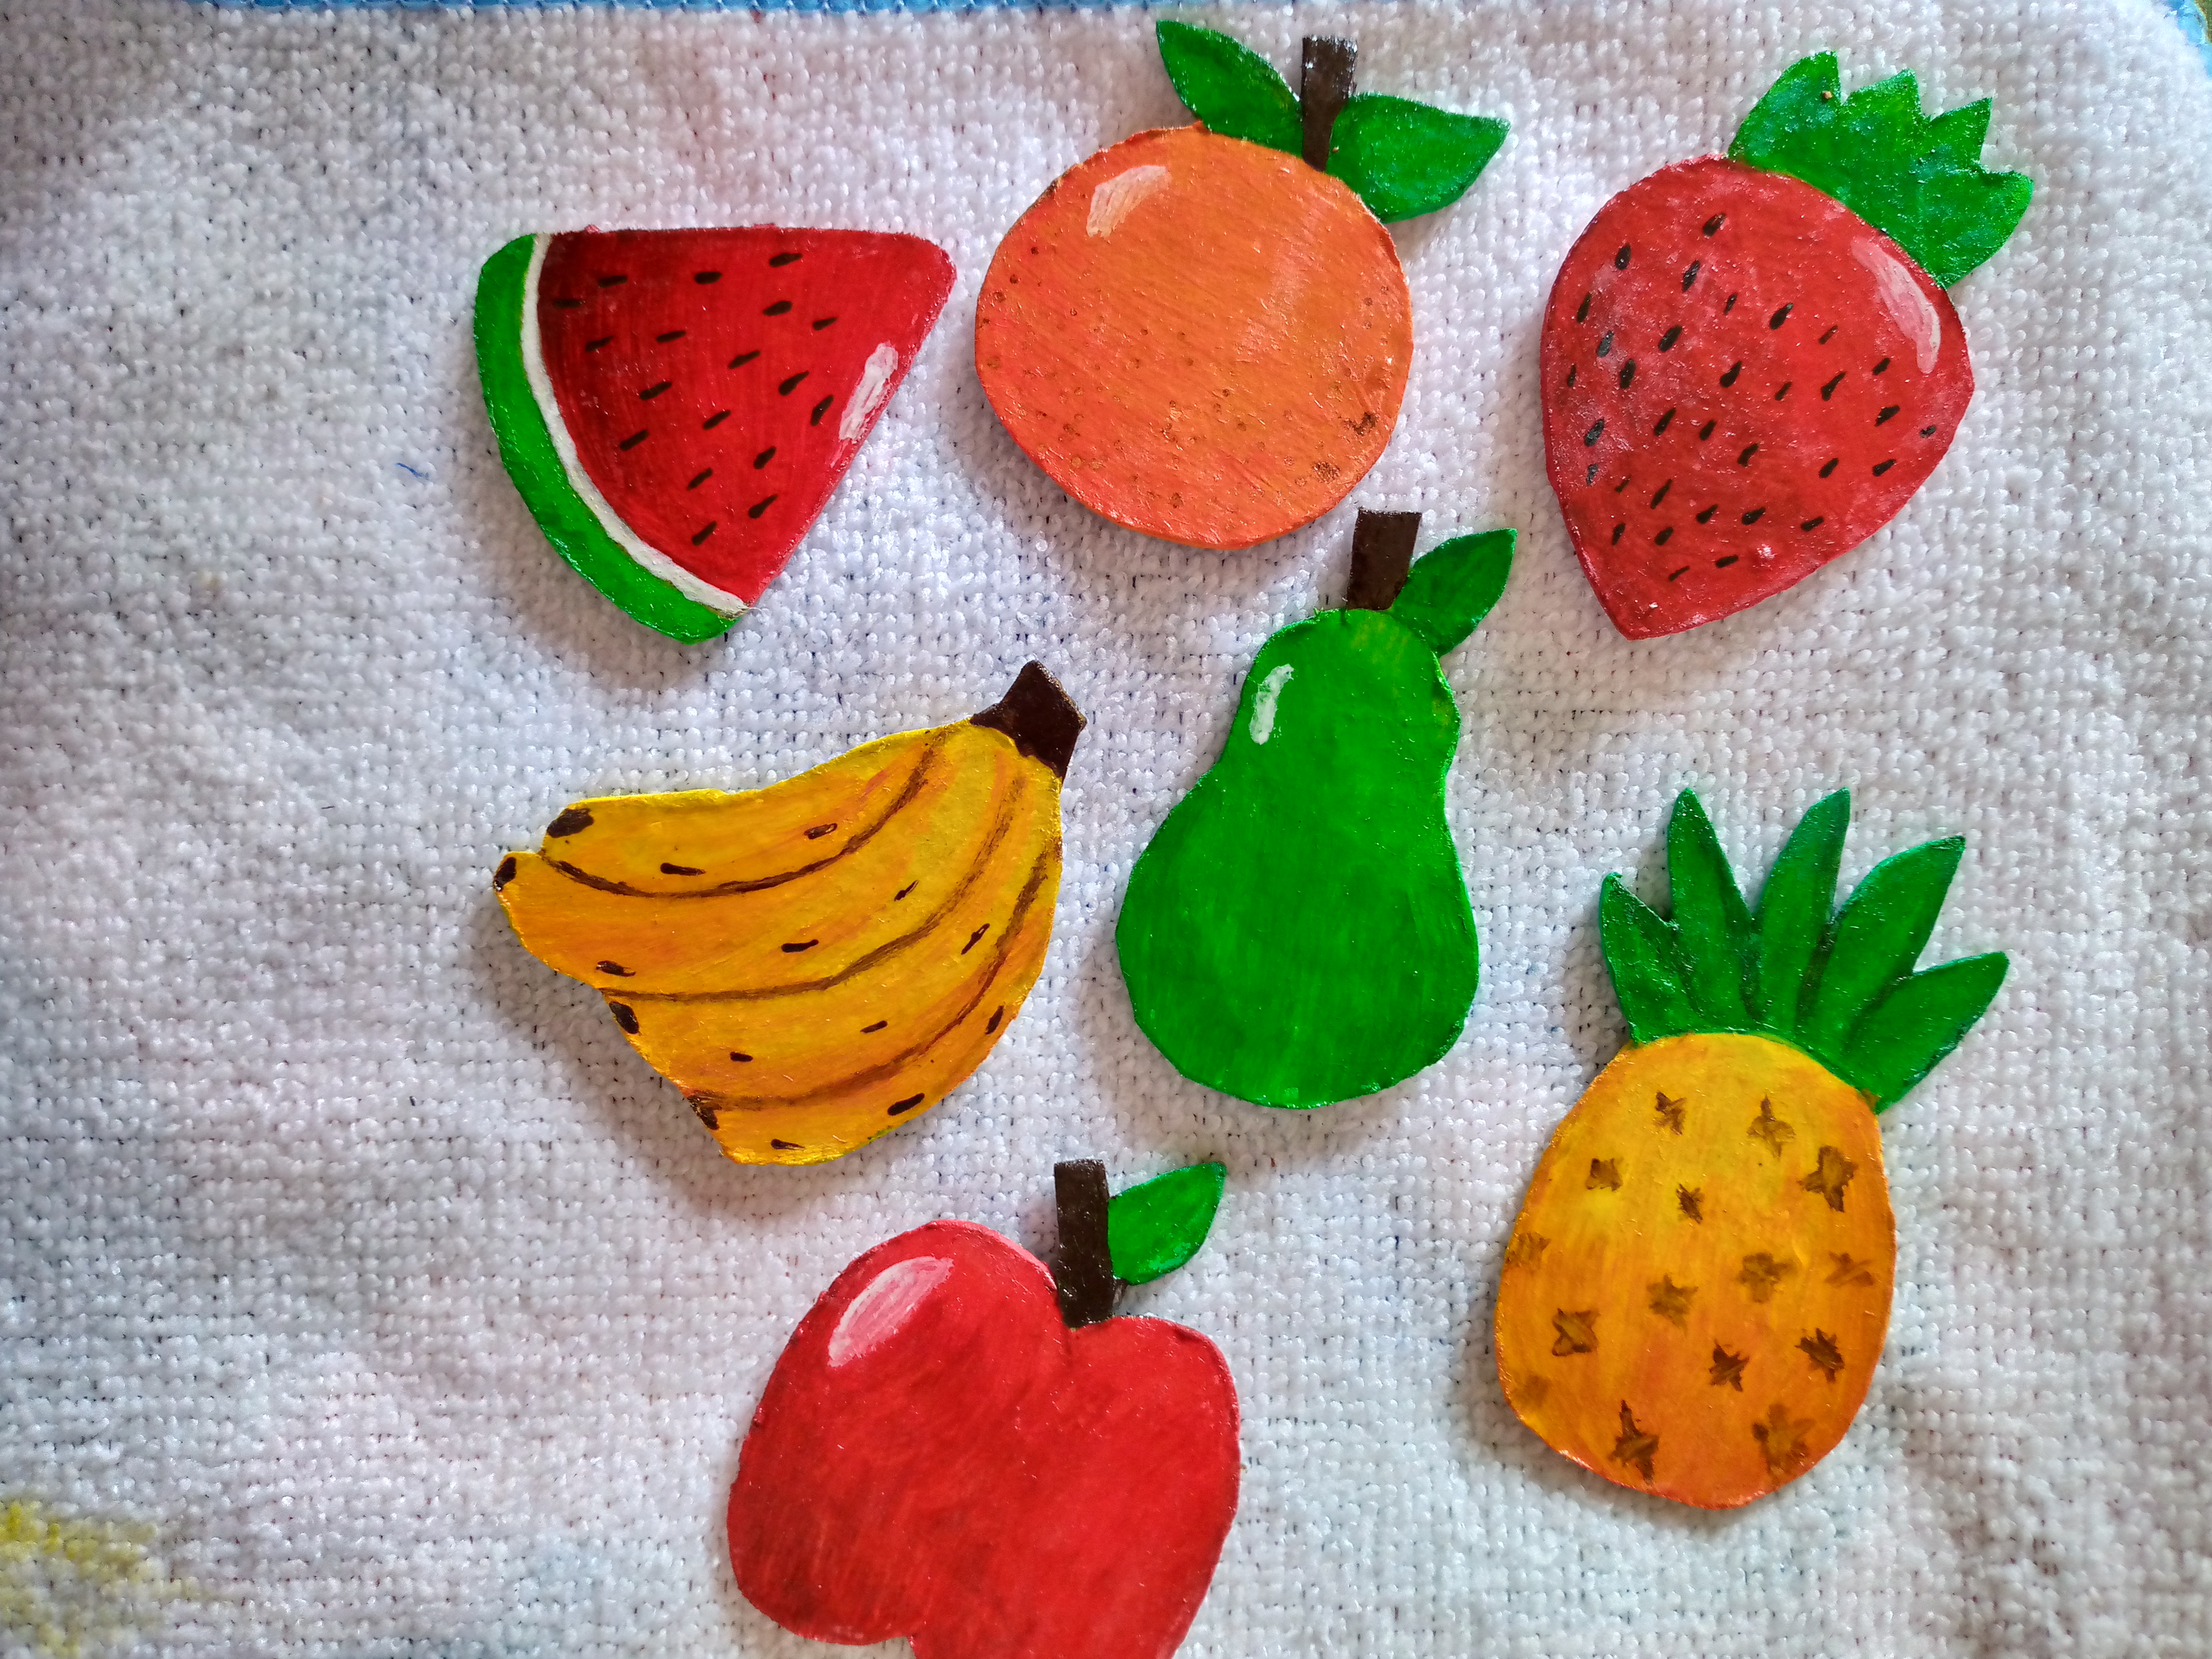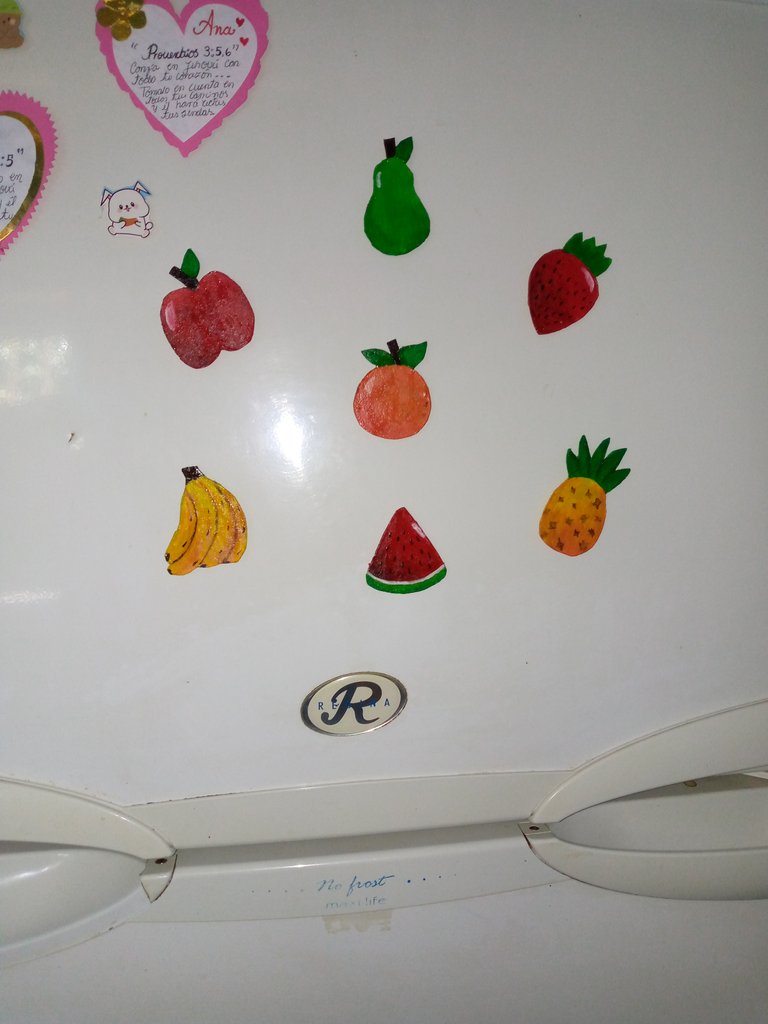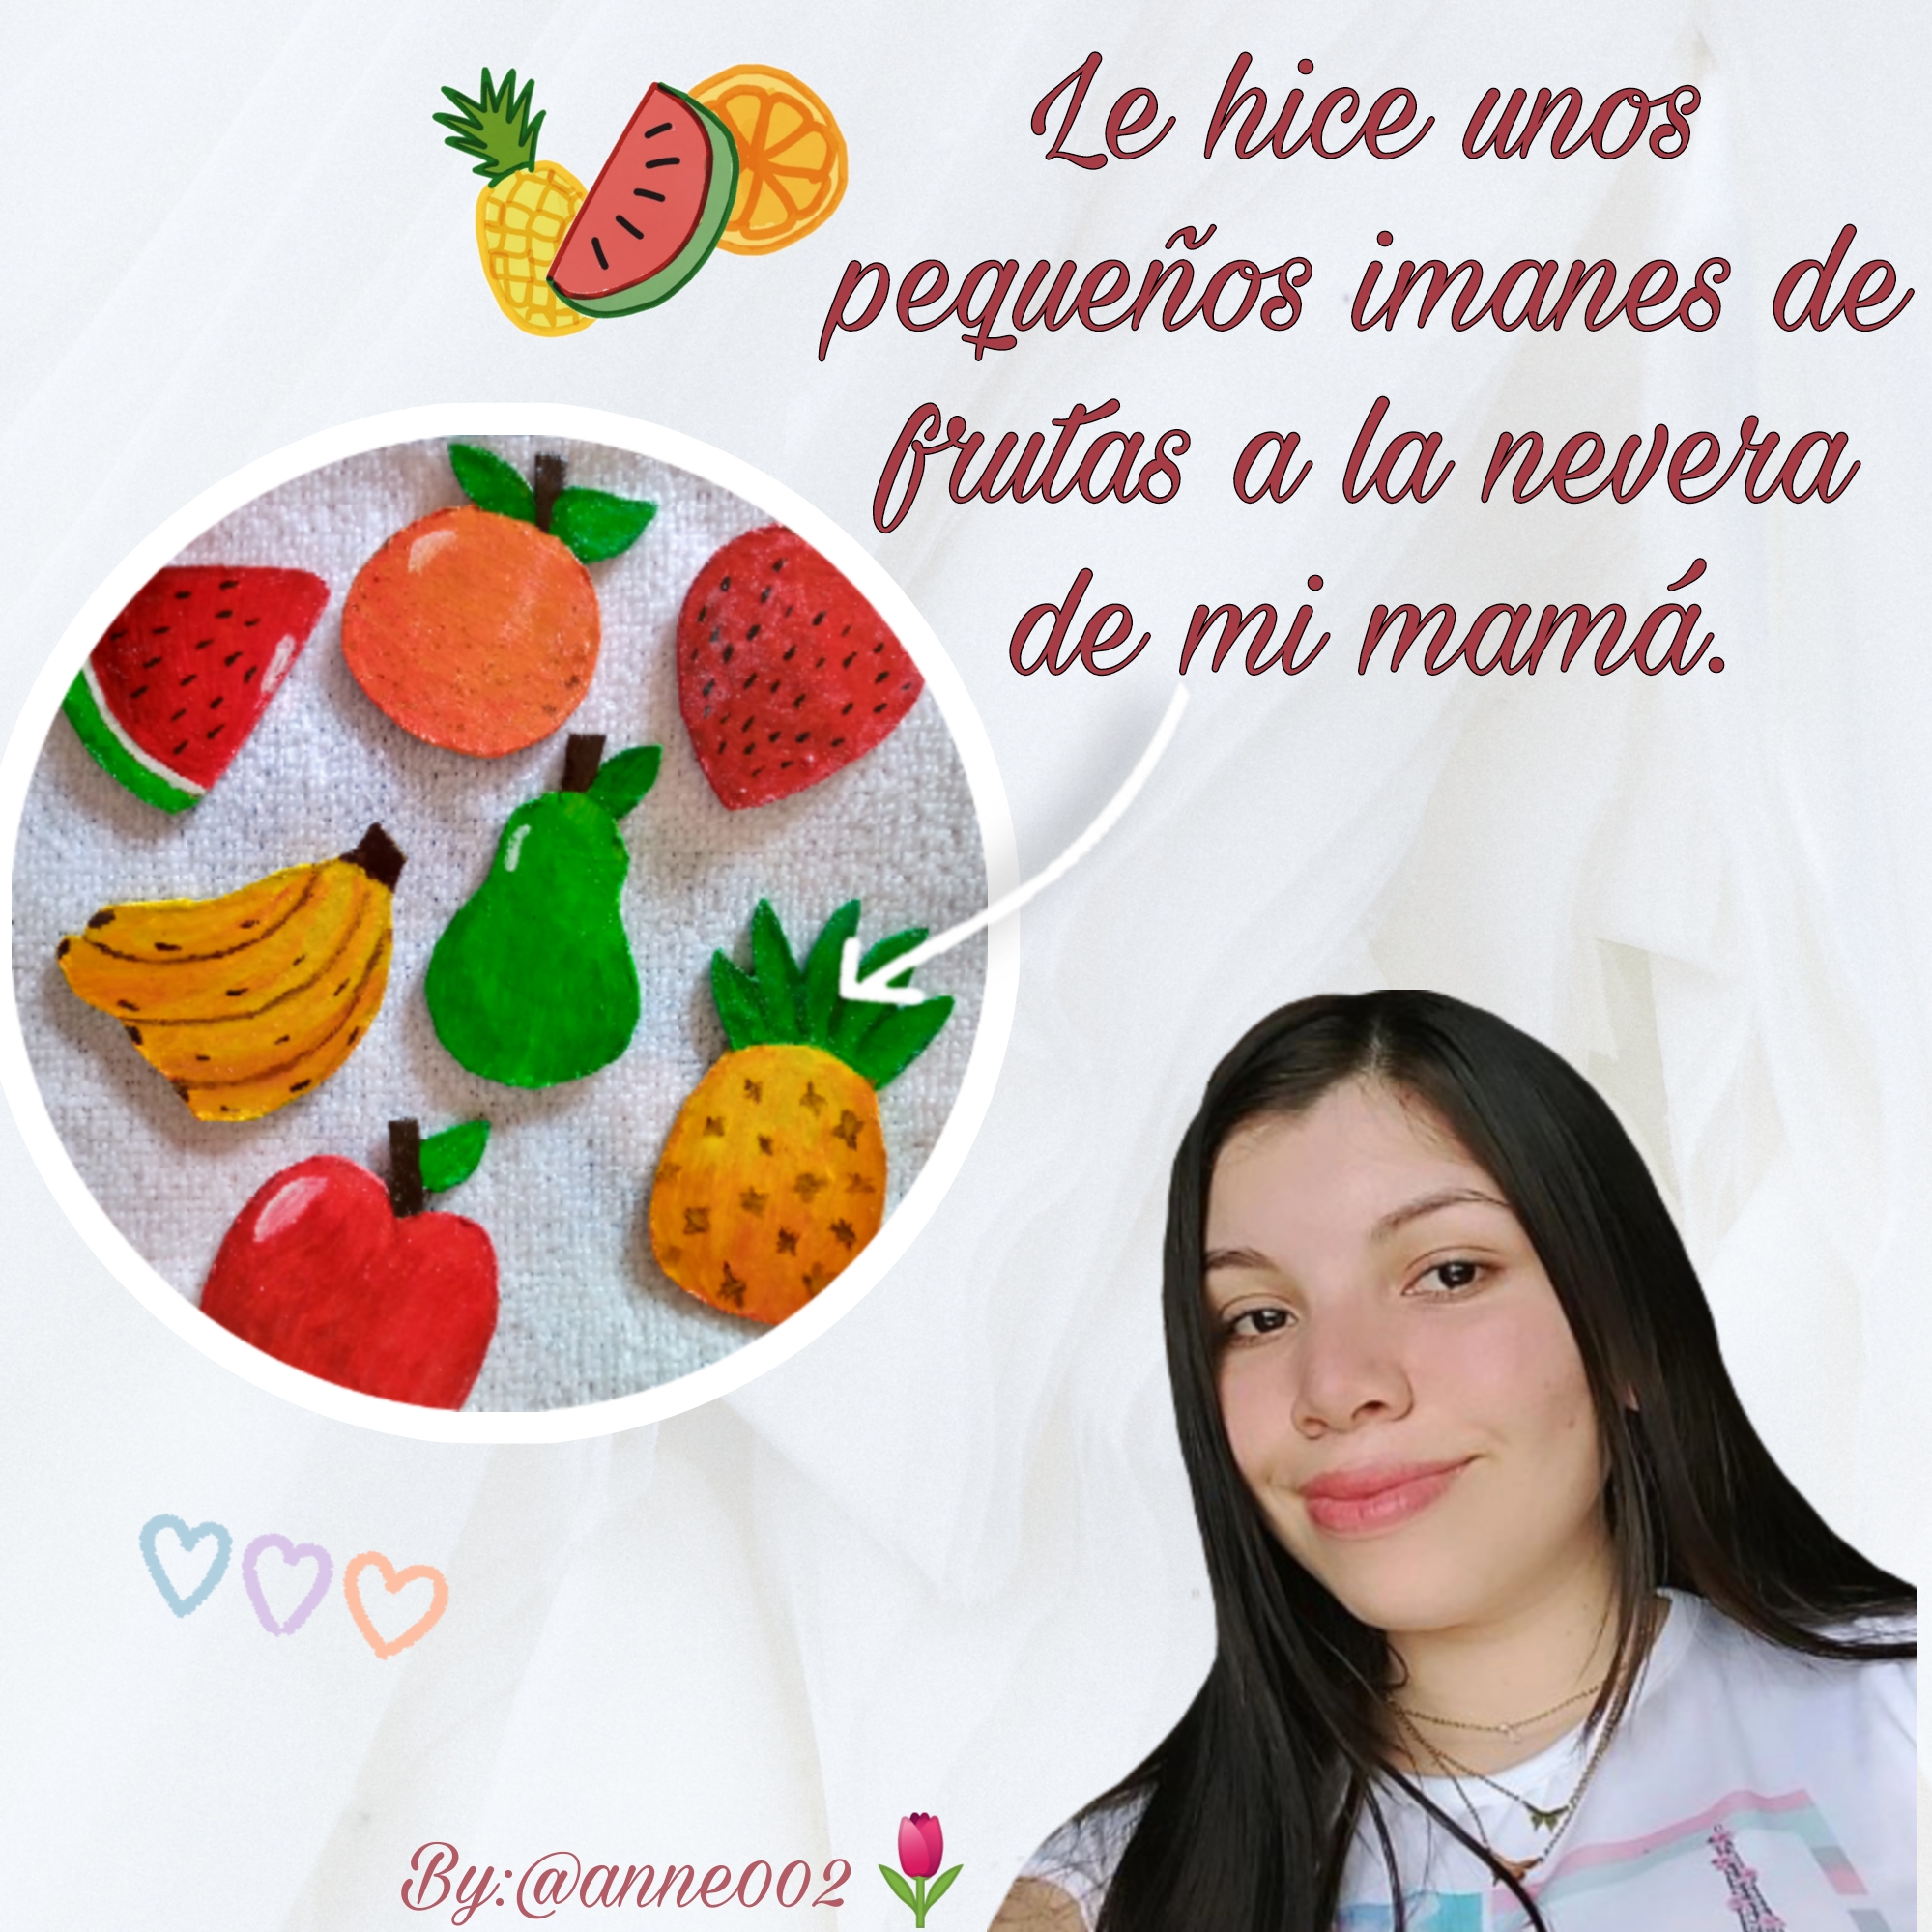
🍓🍊🍉Le hice unos imanes en forma de frutas a la nevera de mi mamá//I made some fruit-shaped magnets for my mom's fridge🍎🍍🍐[Esp~Eng]

in #hive-1896412 months ago

Picsart_24-08-14_13-17-59-262.jpg

Picsart_24-06-14_18-51-45-771.jpg

¡Hola amigos! ya la mesa está servida para empezar el banquete 😊,hoy les traigo una idea muy en particular se que les va a encantar muchísimo ,le hice unos imanes a la nevera de mi mamá ya que los que tenían estaban viejos 🤭asi que se que a veces pues no encontramos los imanes perfectos para adornar la cocina y to hoy te vengo a mostrar como es que podéis hacerlos con materiales reciclables que tú tengas en casa,quédate conmigo oara que asi aprendas como los he realizado y lo lindo que han quedado.😊

Hello friends! The table is now set to begin the banquet 😊, today I bring you a very particular idea that I know you will love very much, I made some magnets for my mom's refrigerator since the ones they had were old 🤭 so I know that sometimes we can't find the perfect magnets to decorate the kitchen and today I come to show you how you can make them with recyclable materials that you have at home, stay with me so that you can learn how I made them and how beautiful they turned out. 😊

IMG_20240814_110115_691.jpg

Picsart_24-06-14_18-51-45-771.jpg

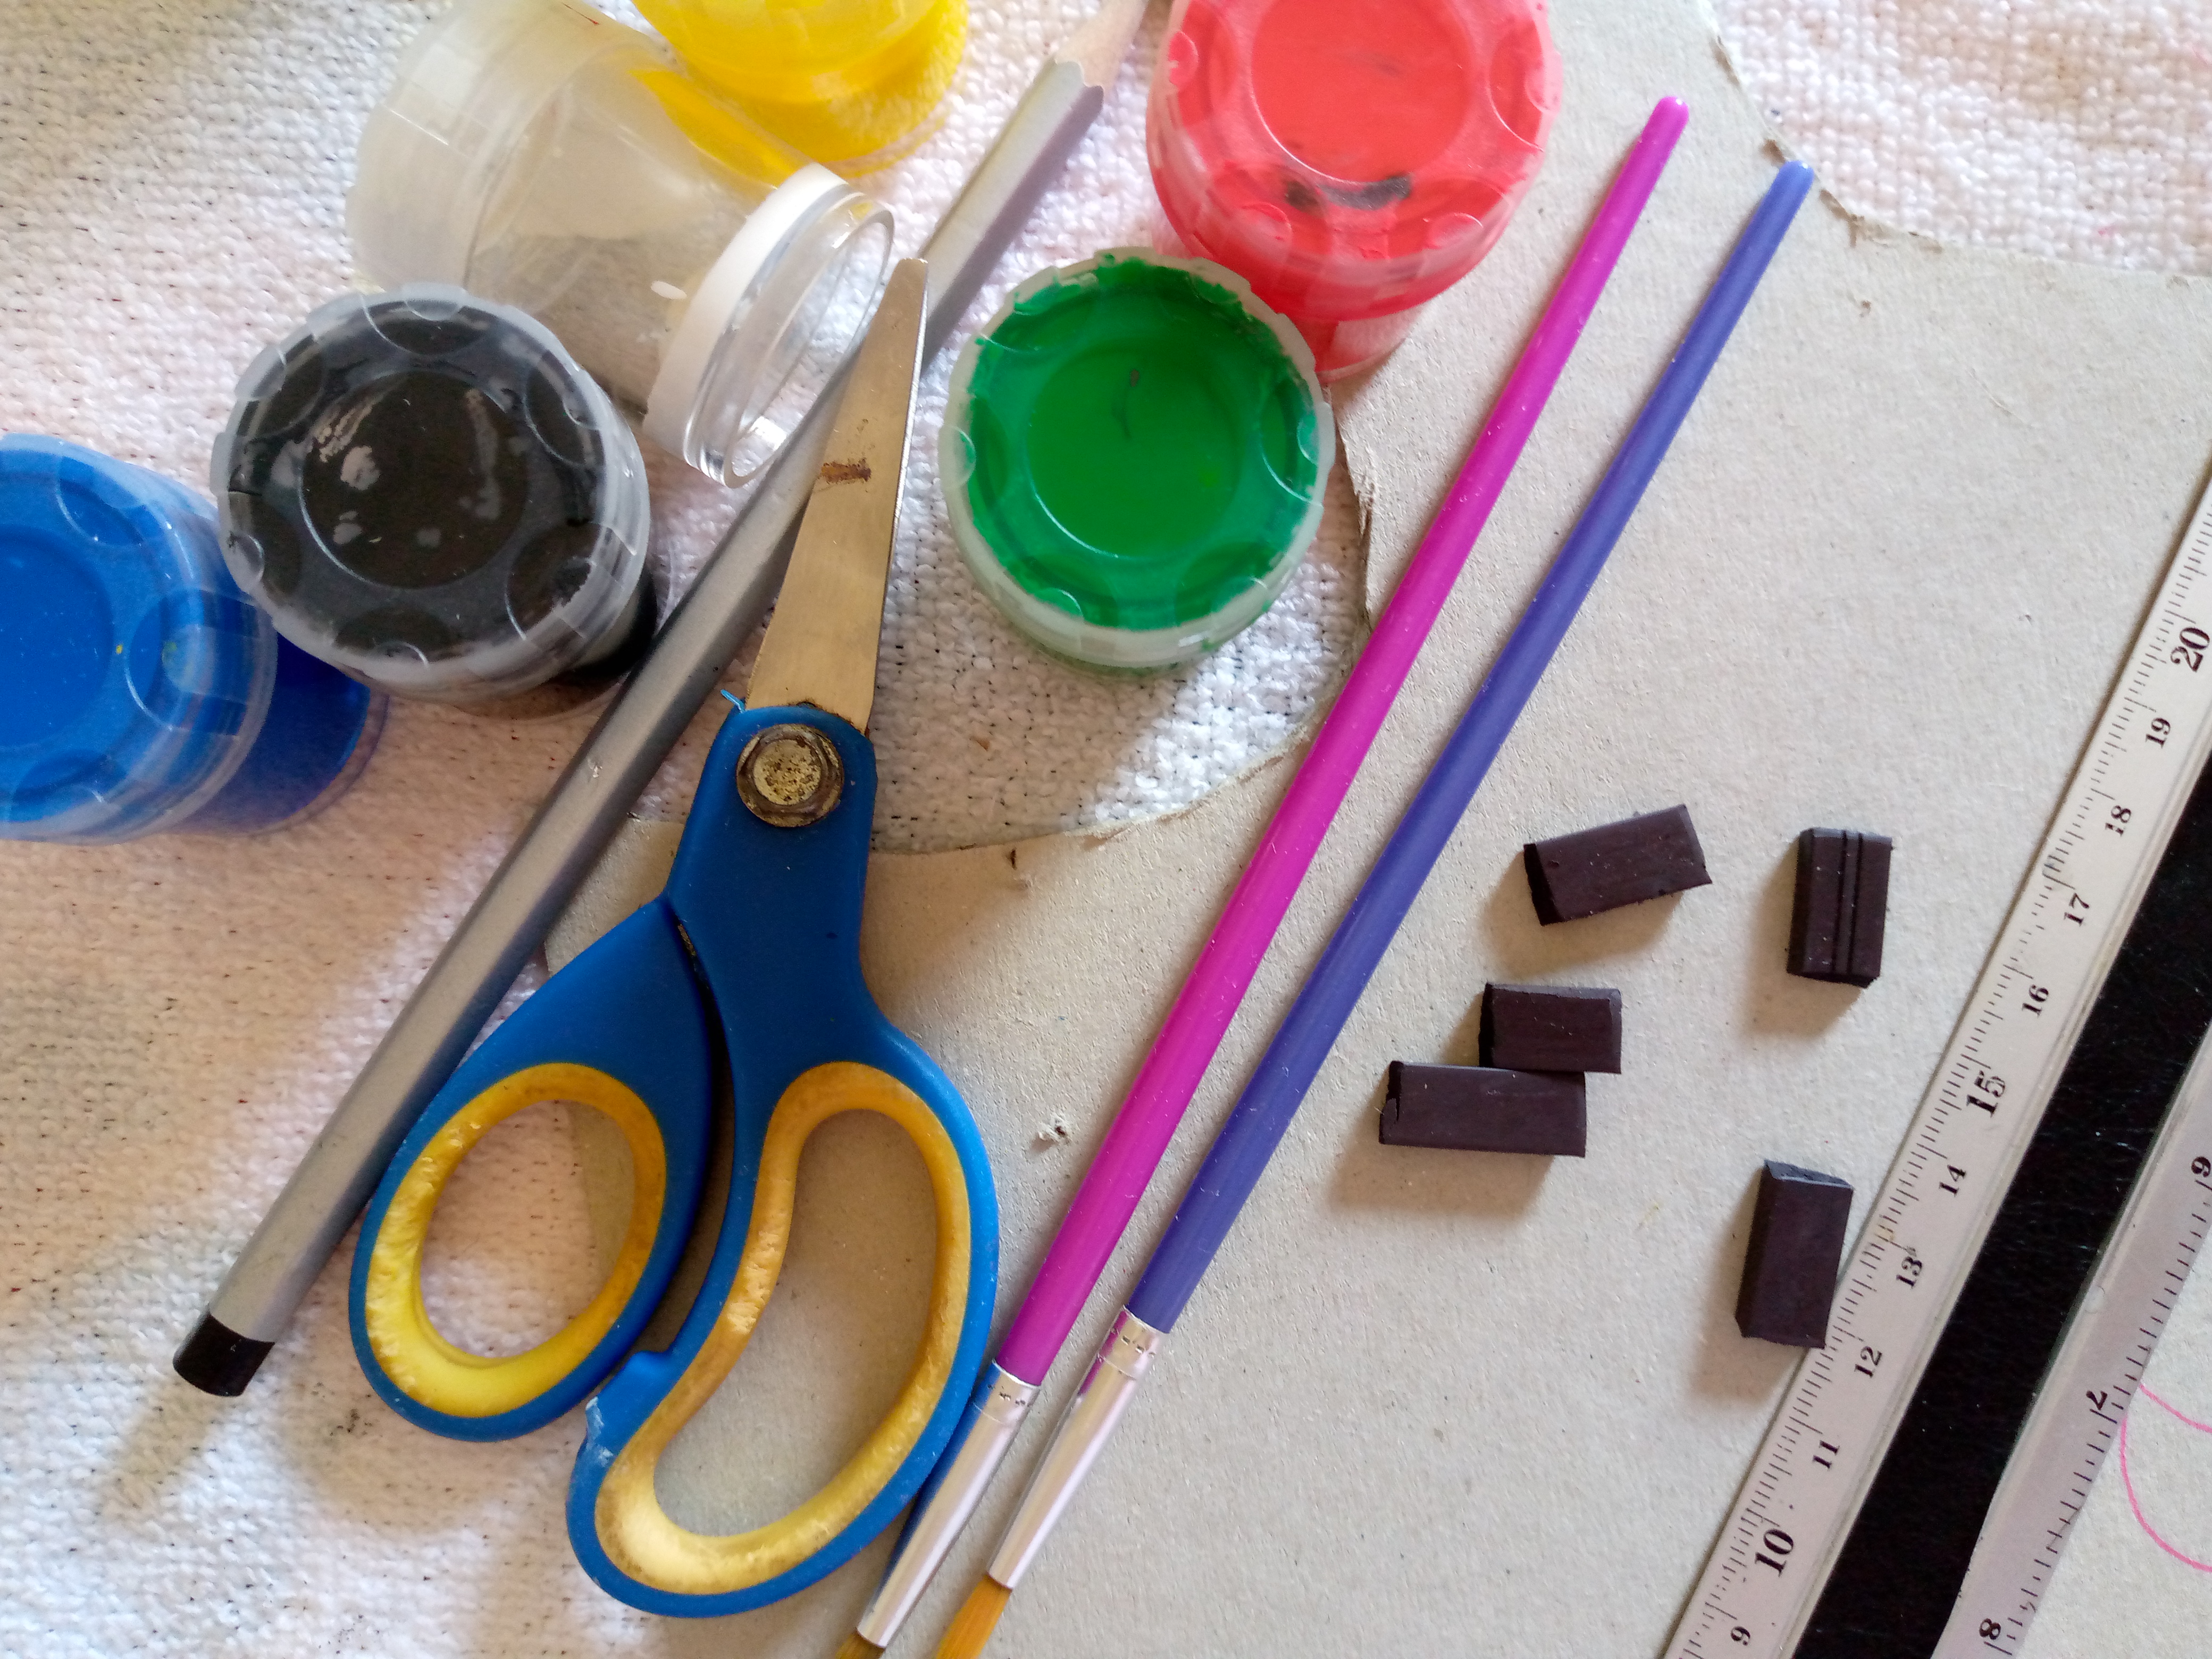
Materiales que usé:

Materials i used :

Picsart_24-06-14_18-51-45-771.jpg

  • Regla
  • Trozo de cartón plano
  • Tijeras
  • Pinturas del color de las frutas
  • Lápiz
  • Esmalte de uñas transparente
  • Trozos pequeños de imanes
  • Silicón
  • Pinceles
  • Lima de uñas

  • Ruler
  • Flat piece of cardboard
  • Scissors
  • Fruit-colored paints
  • Pencil
  • Clear nail polish
  • Small pieces of magnets
  • Silicone
  • Paintbrushes
  • Nail file

Picsart_24-06-14_18-51-45-771.jpg

Pasos a seguir:

Steps to follow:

Picsart_24-06-14_18-51-45-771.jpg

Paso 01

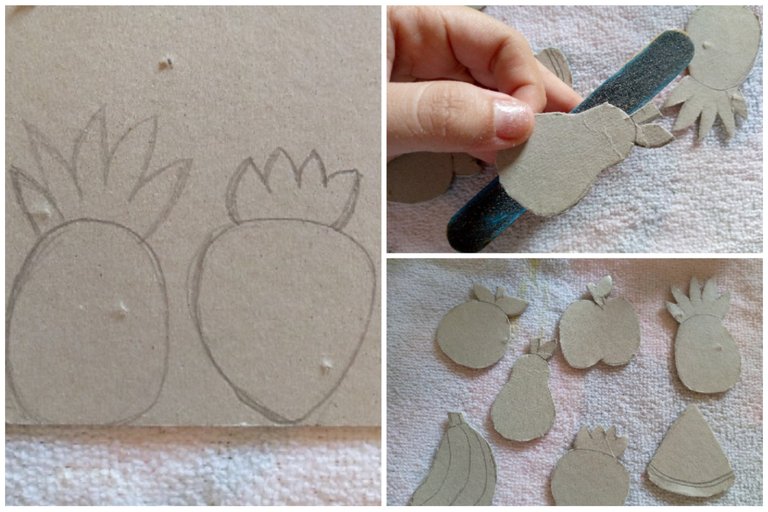
Lo primero que haremos será agarrar nuestro cartón y empezaremos a dibujar aquí figuras de frutas , yo empecé haciendo una piña una fresa y asi con las siguientes aqui no solo podéis hacer frutas tambien hortalizas como maiz ,esparragos ,calabazas aguacate y mas, puedes jugar con tu imaginacion y hacerlos del motivo que tu prefieras,una vez hechas en el cartón pasaremos a recortarlas y con ayuda de la lima voy a quitar los excedentes que me han quedado del cartón cuando corte la figura.

Step 01

The first thing we will do is grab our cardboard and start drawing fruit figures here. I started by making a pineapple, a strawberry, and so on with the following ones. Not only can you make fruit, but also vegetables like corn, asparagus, pumpkins, avocado, and more. You can play with your imagination and make them whatever design you prefer. Once they are made on the cardboard, we will cut them out and with the help of the file I will remove the excess cardboard that I have left when I cut the figure.
Picsart_24-08-14_13-19-16-558.jpg


Paso 02

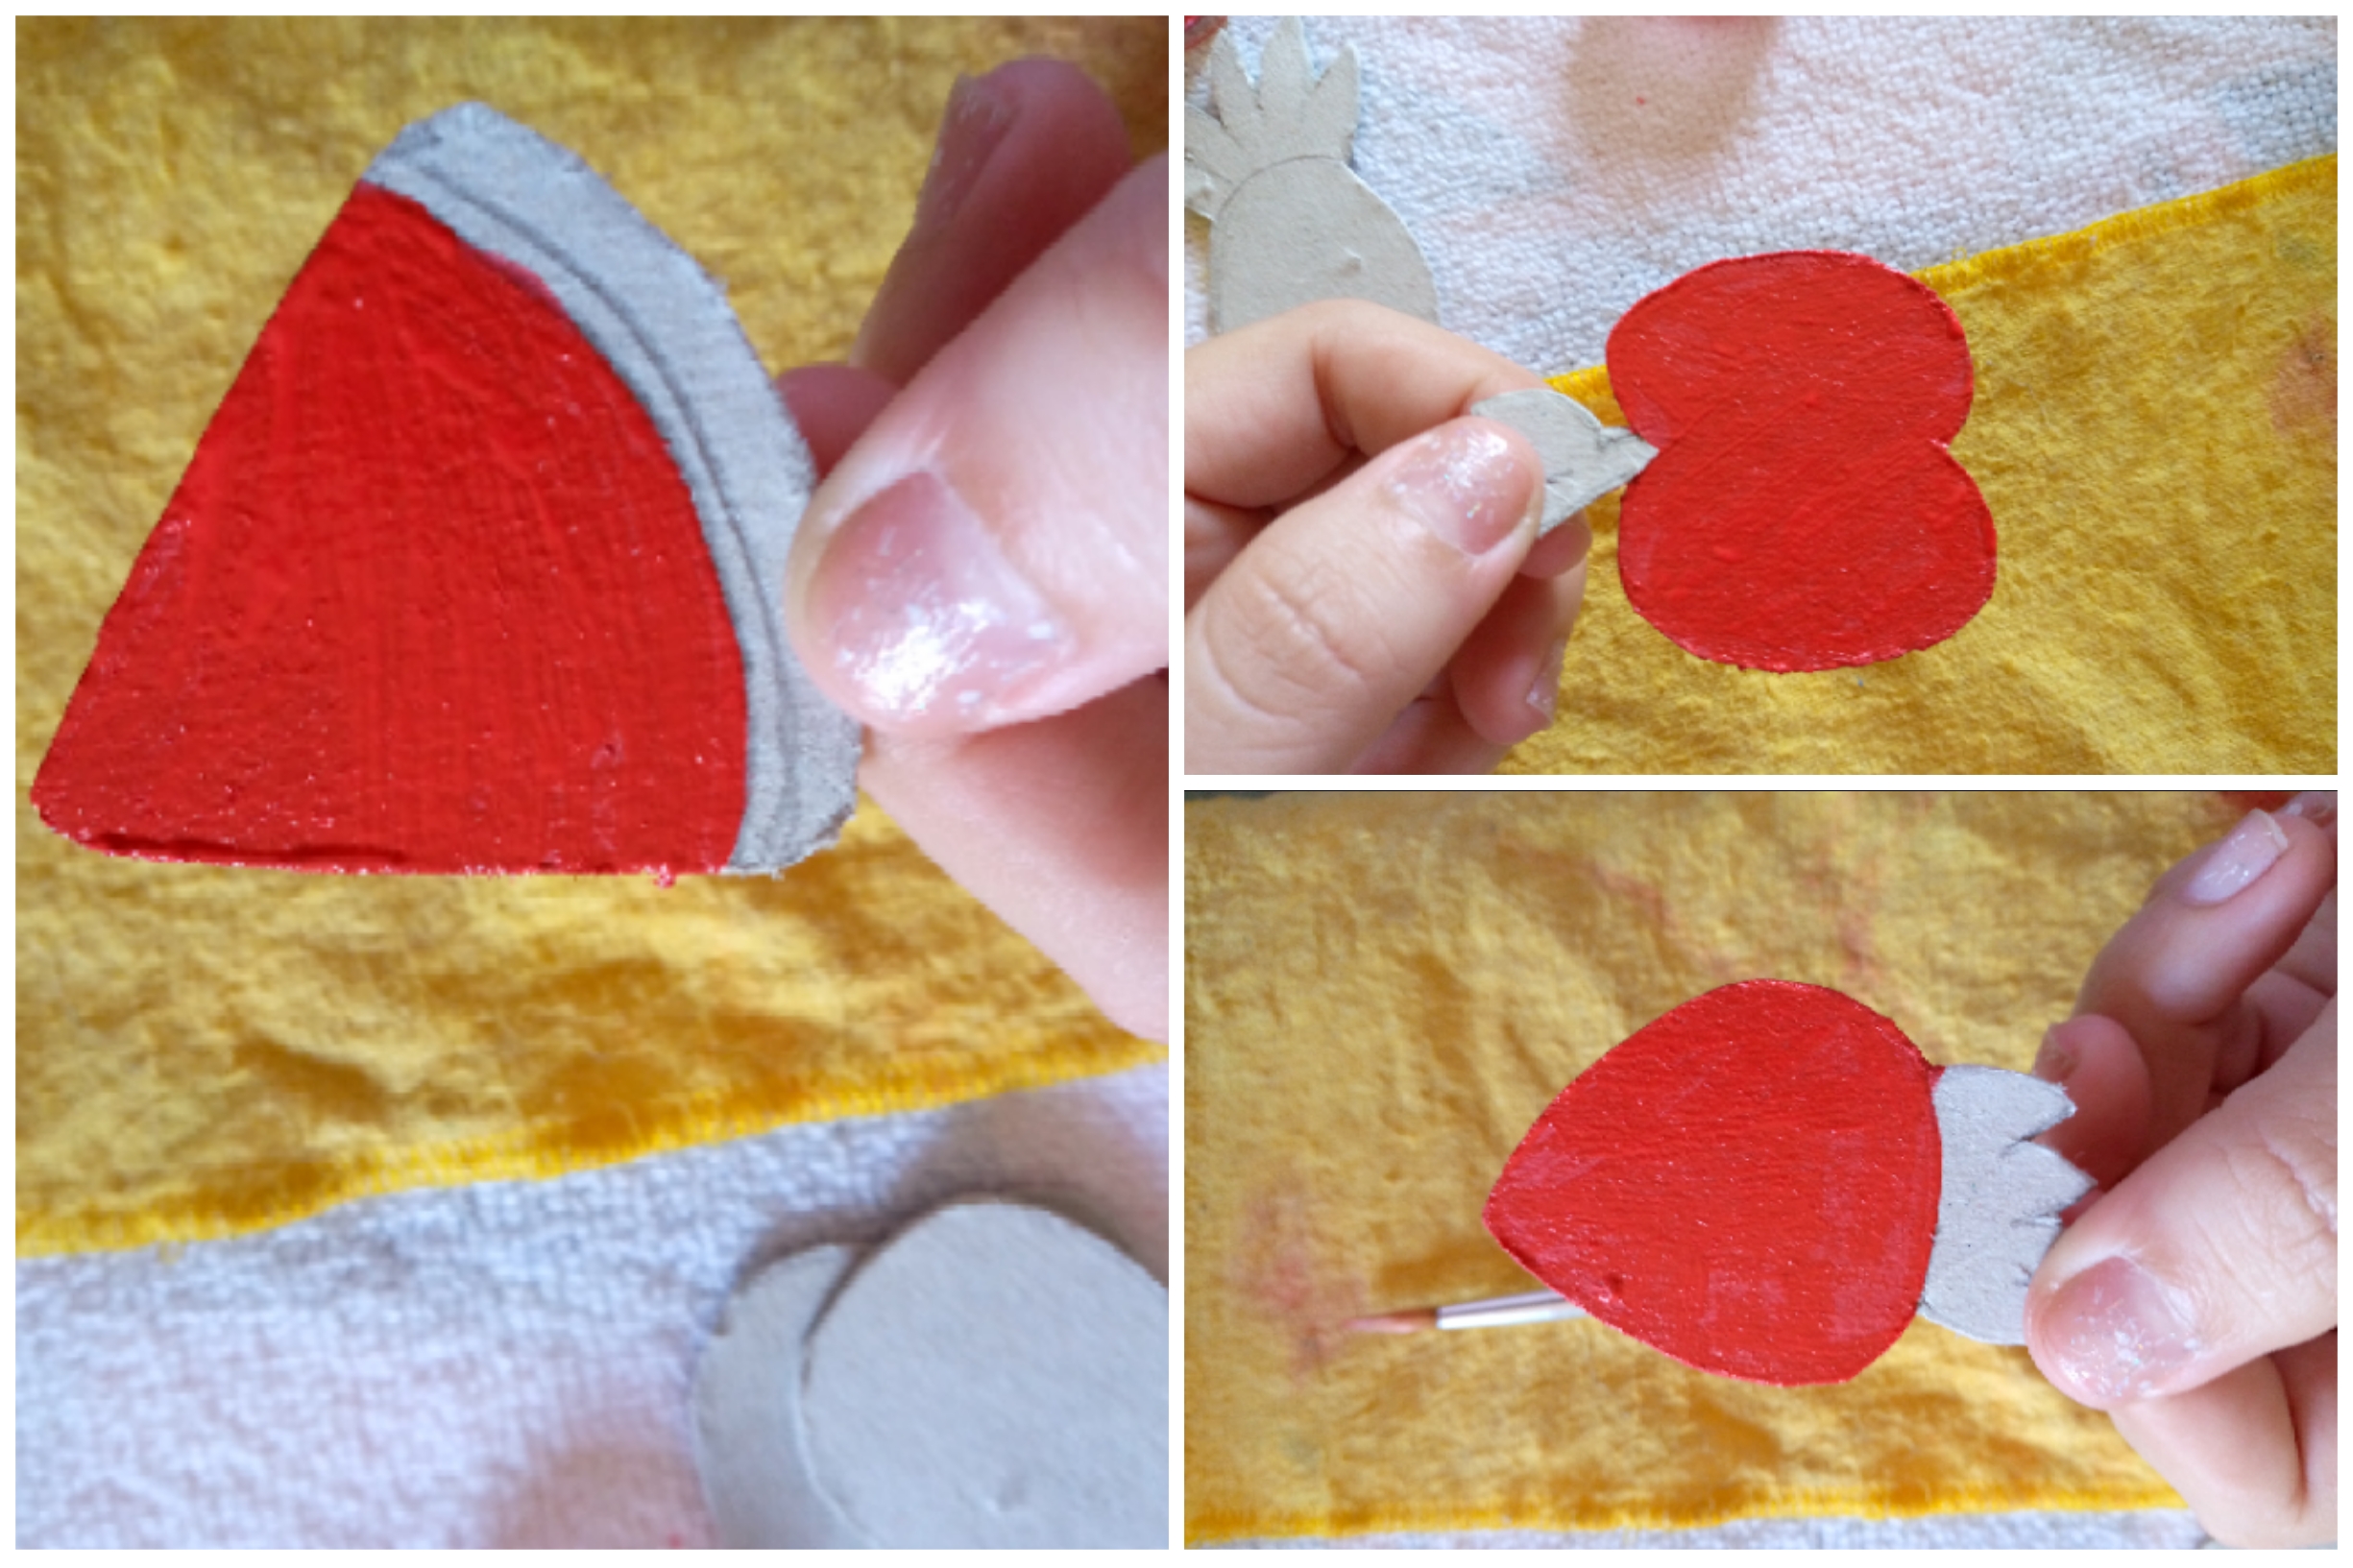
Pasamos a pintar con la pintura en color rojo las frutas que sean de este color aprovecho a hacerlo así para que se puedan secar completas y se me hiciera más fácil pintar los otros colores.

Step 02

We move on to painting the fruits that are red with the paint. I take advantage of doing it this way so that they can dry completely and it will be easier for me to paint the other colors.
Picsart_24-08-14_13-20-14-638.jpg


Paso 03

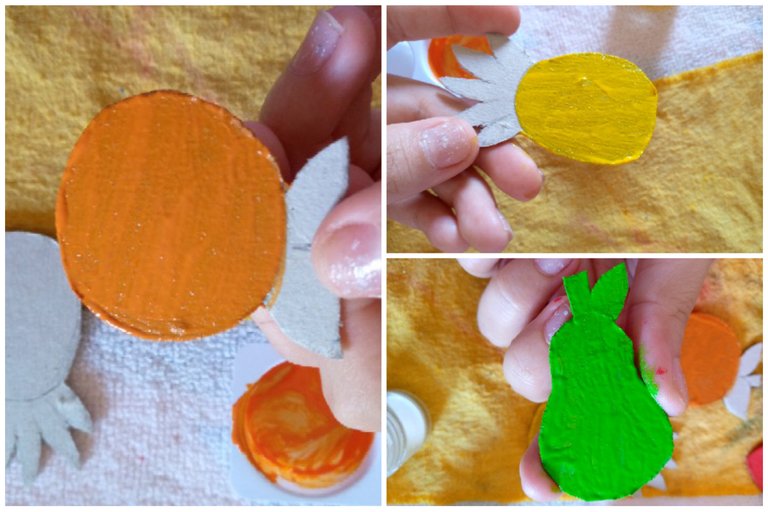
Seguimos pintando las otras frutas como la naranja la piña y la pera ,que lindas se ven así ya pintadas me encantan como quedan los colores súper brillantes de éstas frutas 😍.

Step 03

We continue painting the other fruits like the orange, the pineapple and the pear. They look so pretty already painted. I love how the super bright colors of these fruits look 😍.
Picsart_24-08-14_13-20-58-560.jpg


Paso 04

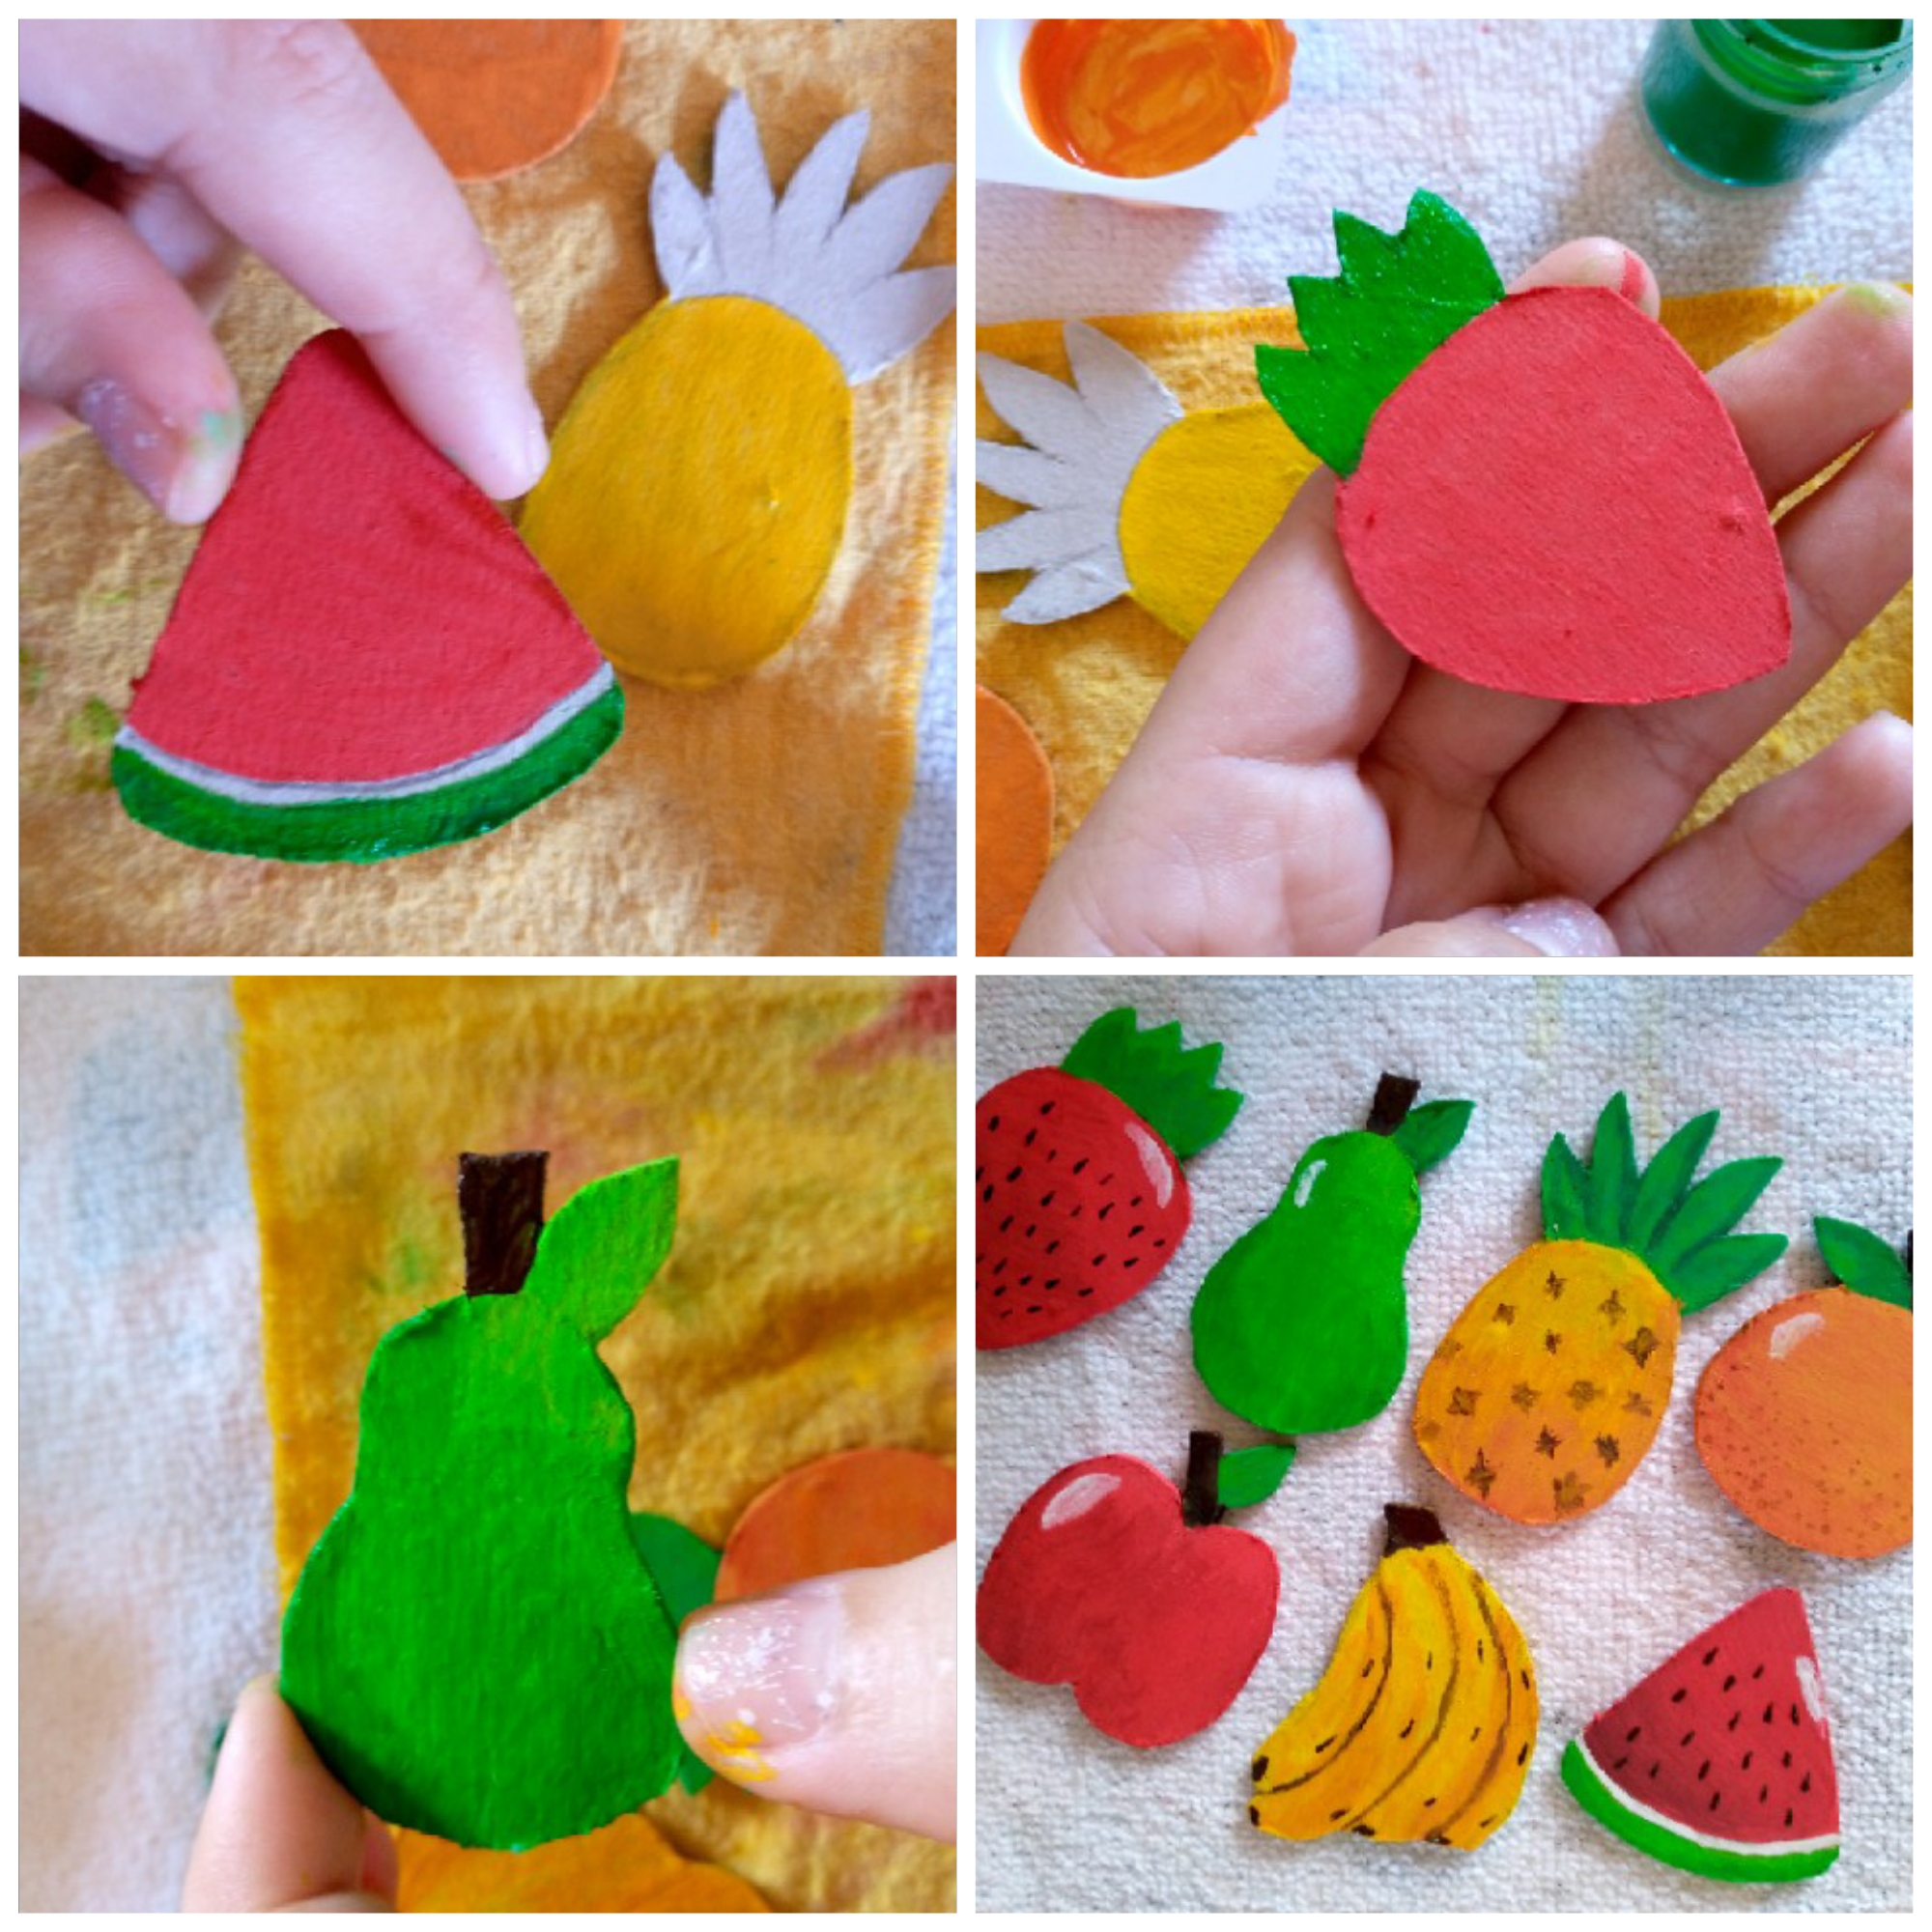
Procedo a pintar los detalles de las frutas como la franja de la patilla en blanco las semillas ,y también quise pintar y difuminarlas cada una con sus sombras y los detalles de las frutas ,como no tenía colores de pintura en tono marrón para pintar los palitos de algunas y asi bueno las pinté todas.

Step 04

I proceed to paint the details of the fruits such as the stripe of the watermelon in white, the seeds, and I also wanted to paint and blur each one with its shadows and the details of the fruits, as I did not have brown paint colors to paint the sticks of some and so well I painted them all.
Picsart_24-08-14_13-21-51-038.jpg


Paso 05

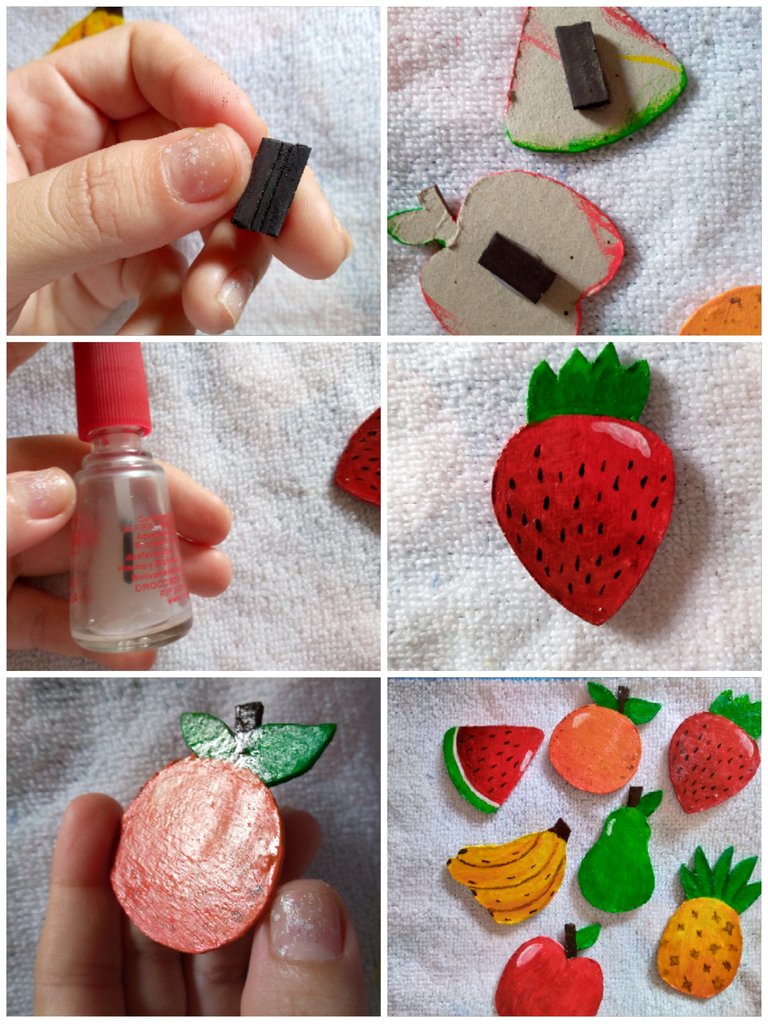
Con los trozos de mi imán voy a pegarlos por la parte inferior entonces con el esmalte transparente lo que haremos es cubrir con una capa del mismo la parte de arriba de los imanes esto es para darle un efecto mas duradero y brillante a los imanes de frutas ,de esta forma terminamos.

Step 05

With the pieces of my magnet I am going to glue them on the bottom part then with the transparent enamel what we will do is cover the top part of the magnets with a layer of it, this is to give a more durable and shiny effect to the fruit magnets, this way we finish.
Picsart_24-08-14_13-23-05-368.jpg


Picsart_24-06-14_18-51-45-771.jpg

Resultado:

Result:

Picsart_24-06-14_18-51-45-771.jpg

Me alegraría saber que te ha gustado mucho esta idea creativa 😊a mí me mamá le encantó muchísimo 🥺no me lo esperaba la verdad pero le encantó mucho y estoy feliz por eso🤭si te ha gustado comenta que tal te ha parecido y espero podernos leer en otro próximo tutorial 😉 estaré realizando nuevas cositas,los quiero mucho amigos cuidense ,bendiciones para ustedes y pasen una bella y feliz tarde ❤️.

I would be happy to know that you really liked this creative idea 😊 My mom loved it a lot 🥺 I didn't expect it, to be honest, but she loved it a lot and I'm happy about that 🤭 If you liked it, comment on what you thought and I hope to read each other in another upcoming tutorial 😉 I will be making new things, I love you very much friends, take care of yourselves, blessings to you and have a beautiful and happy afternoon ❤️.

Screenshot_20240814-130122 (1).jpg

IMG_20240814_125306_605.jpg

IMG_20240814_125308_562.jpg

IMG_20240814_125607_041.jpg

🦋✨Todas las imágenes de esta publicación son de mi autoria ,📱tomadas con mi celular TecnoSpark8C |📸Fotos editadas en PicsArt. Texto traducido en el traductor de Google.

🦋✨ All the images in this publication are my author ,📱taken with my TecnoSpark8C cell phone |📸Photos edited in PicsArt. Text translated in Google Translate.


Post de Instagram Podcast Beige Neutro _20240517_133002_0000.png


Sort:  

It is a cute way to design and decorate the fridge.

Thank you for your support and appreciation for this beautiful creation, it is a pleasure for me😊