Combat helicopter made with cardboard.

Hello my friends, nice to greet you again. I am with you again to bring you another craft that I like to do, but this time I did not go to make cars as in previous posts, this time it was the turn of aviation and specifically a helicopter is not really a model in I only drew, designed and put together according to the ideas that came to my mind, so in this post I will show you how to do it, I hope you like it.
Hola mis amigos, un gusto saludarle de nuevo. Estoy de nuevo con uds para traerles otra manualidad lo que me gusta hacer, pero esta vez no me fui por realizar carros como en post anteriores, en esta ocasión le tocó el turno a la aviación y específicamente un helicóptero en realidad no es un modelo en específico solo dibuje diseñé y iba armando Según las ideas que se me venían a la mente así que en este post les mostrare como lo realice, espero les guste.
- Paperboard
- Cold paint
- Silicon in bar
- wooden pallets
- Scalpel
- Cartón
- Pintura al frío
- Silicon en barra
- paletas de madera
- Bisturi
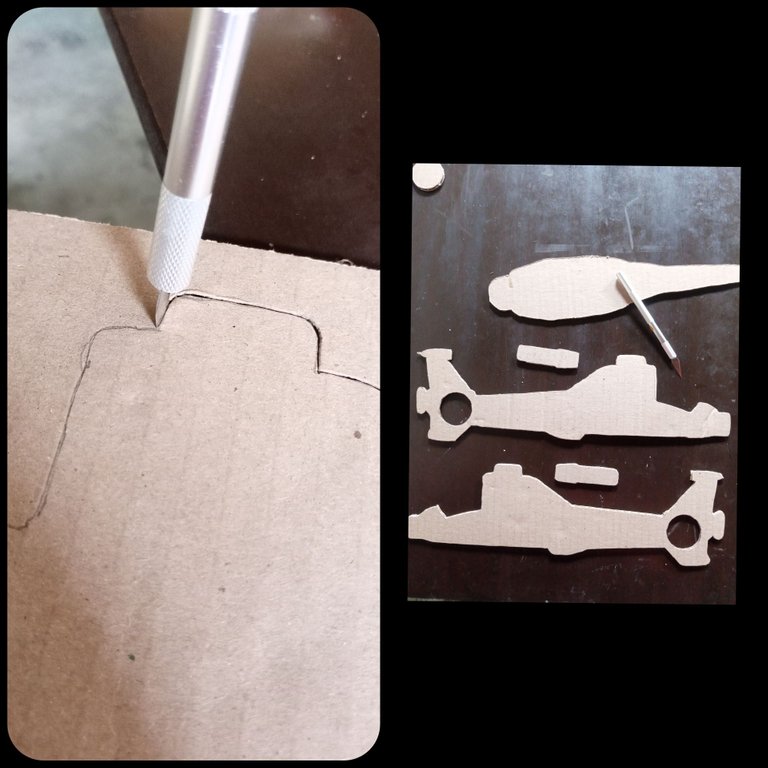
In this first step we will design the helicopter, draw the left, right and bottom faces of the helicopter, we will cut with the scalpel so that the cuts are more precise
En este primer paso diseñaremos el helicóptero dibuje las cara izquierda, derecha y la parte de abajo de helicóptero, cortaremos con el bisturí para que los cortes sean más precisos
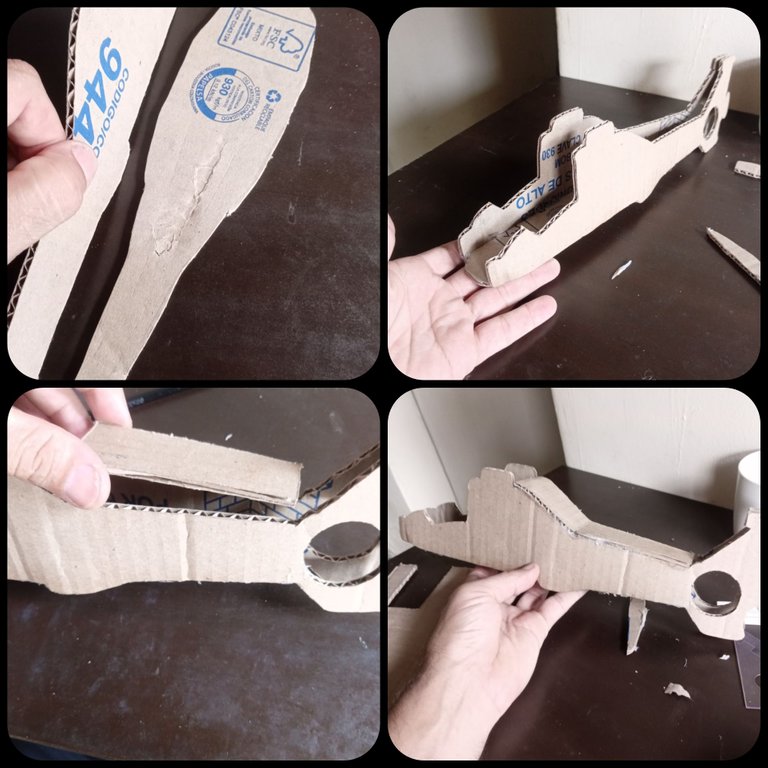
After drawing and cutting the molds we start gluing the first parts, in this case it would be the left and right part together with the bottom and top part that we will cut to size, it is just going measuring the pieces that it requires and sticking them as shown in the following image
Luego de dibujar y cortar los moldes comenzamos a pegar las primeras partes, en este caso sería parte izquierda y derecha junto con la parte inferior y superior que la cortaremos a medida, no es más que ir midiendo los trozos que está requiere e ir pegandolos así como se muestra en la imagen siguiente
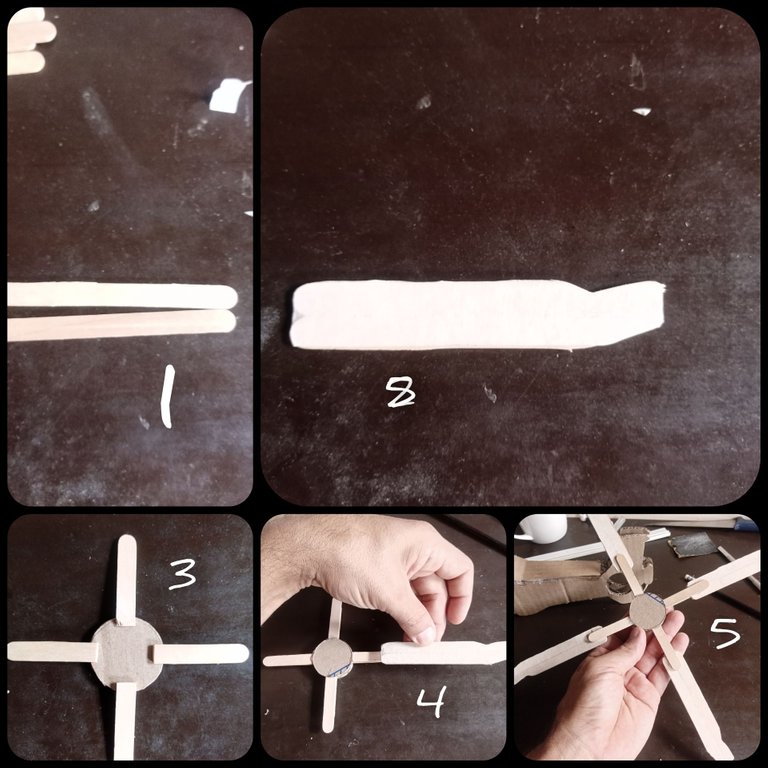
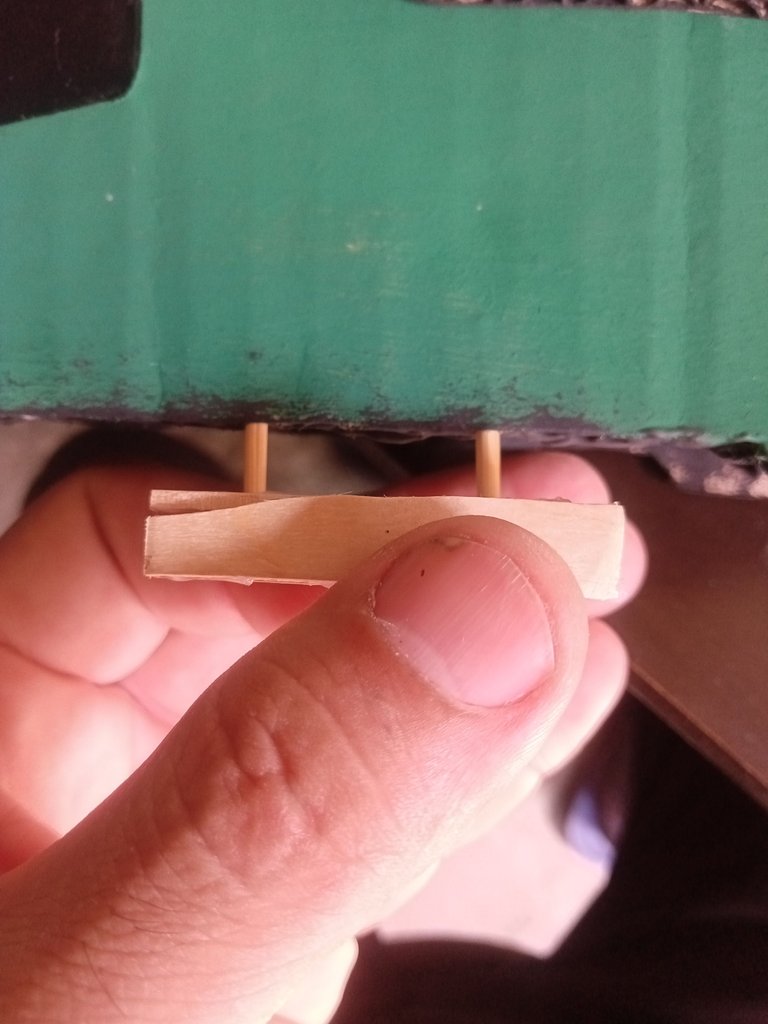
In this step we will make the propellers, to do this I took 8 wooden pallets and glued them on, I made a design on the tip and set aside, Then I cut 2 pieces of cardboard in a circular shape and I was gluing the propellers , paint them and set aside for a moment.
En este paso realizaremos las helices, para ello tome 8 paletas de madera las pegue en hice un diseño en la punta y reserve, Luego corte 2 trozos de cartón en forma circular e iba pegando las hélices, las pinte y reserve por un momento.
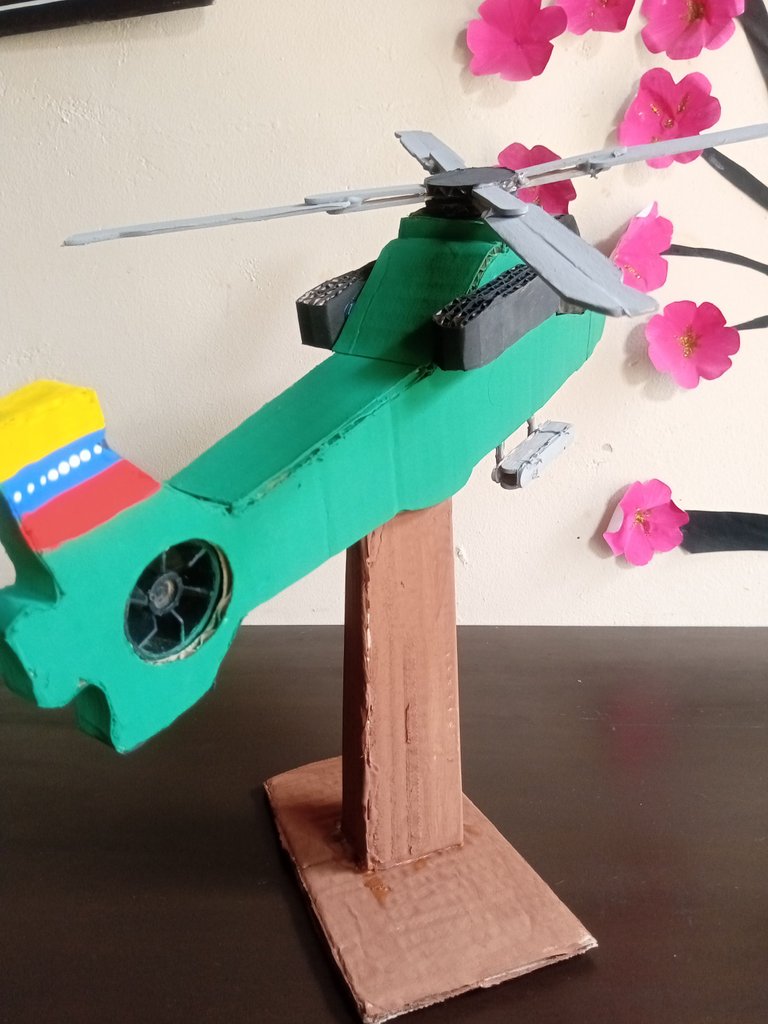
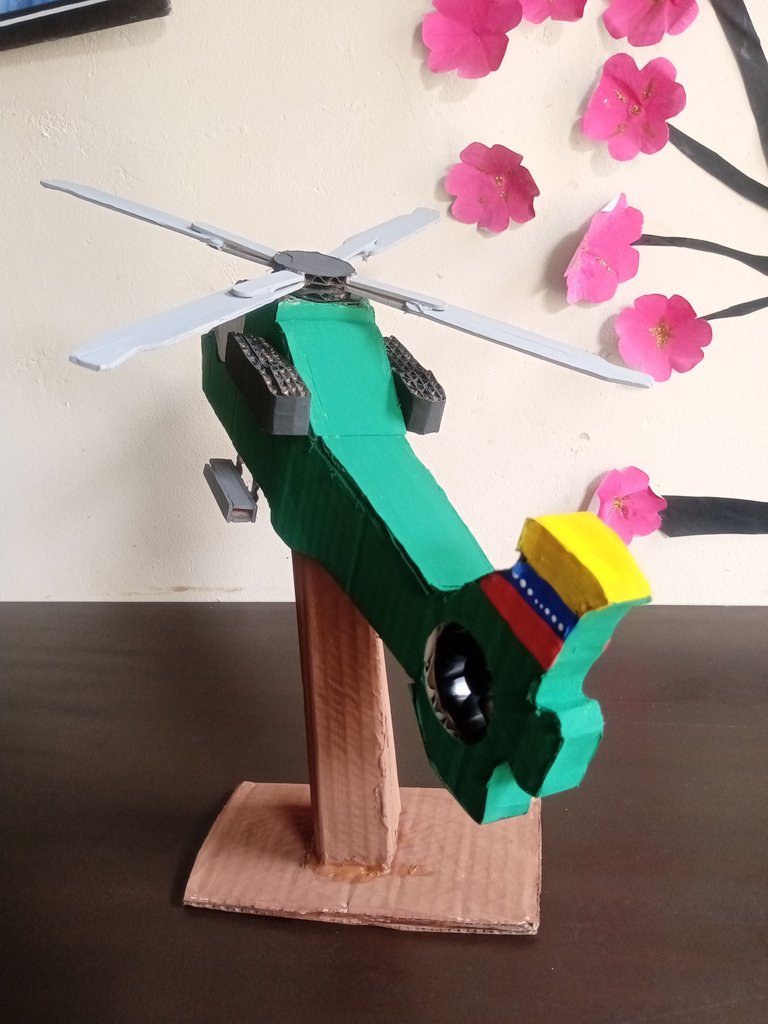
Then make a couple of turbines or motors, these would be placed one on each side a little close to where the propellers go, as shown in the following image
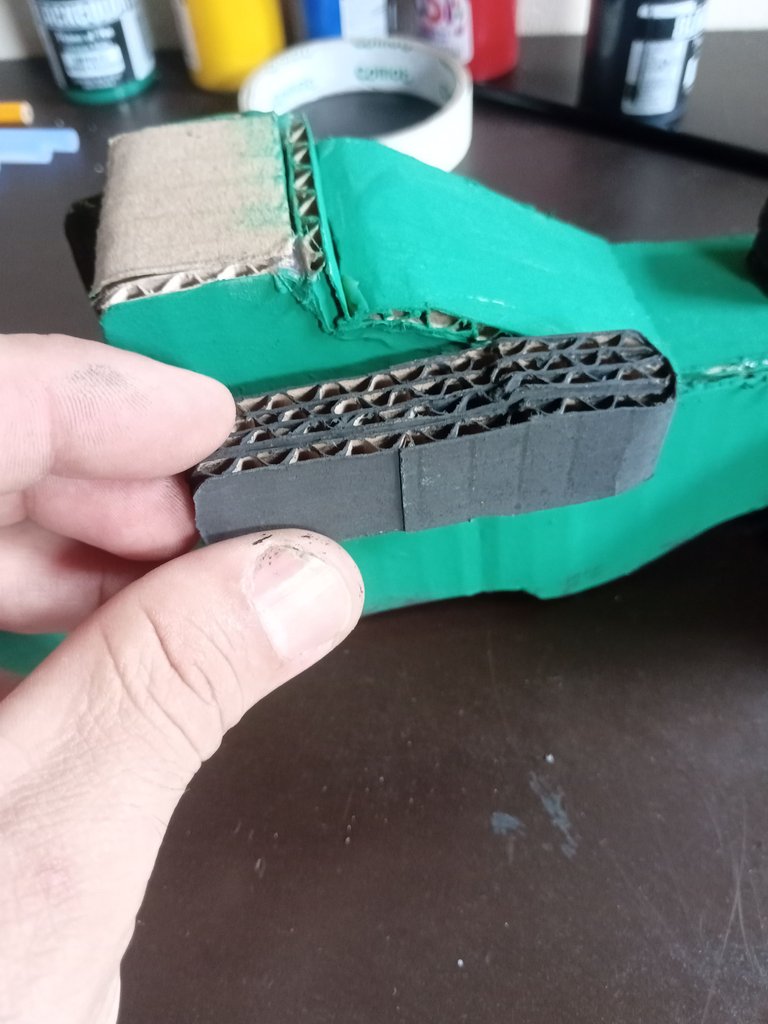
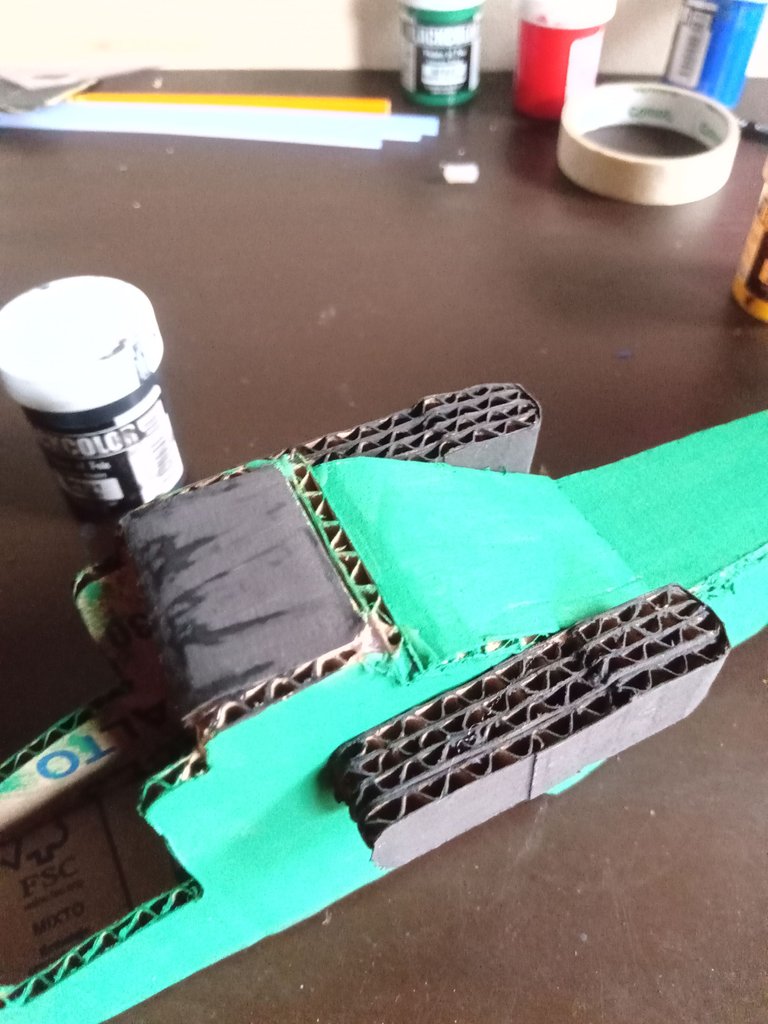
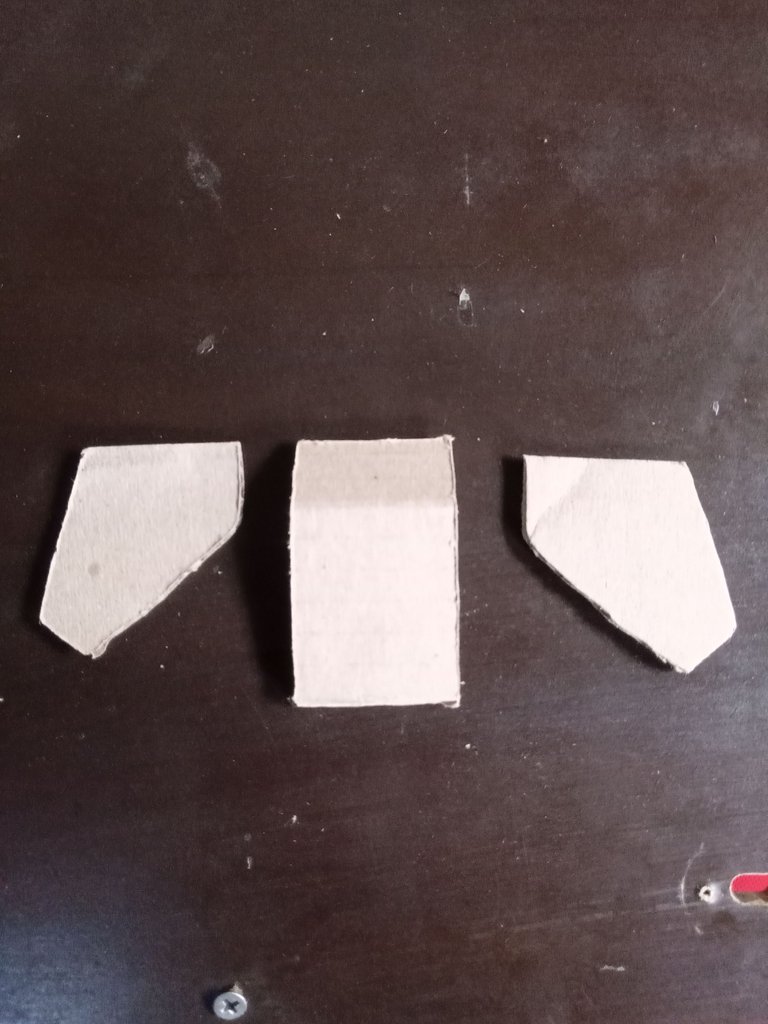
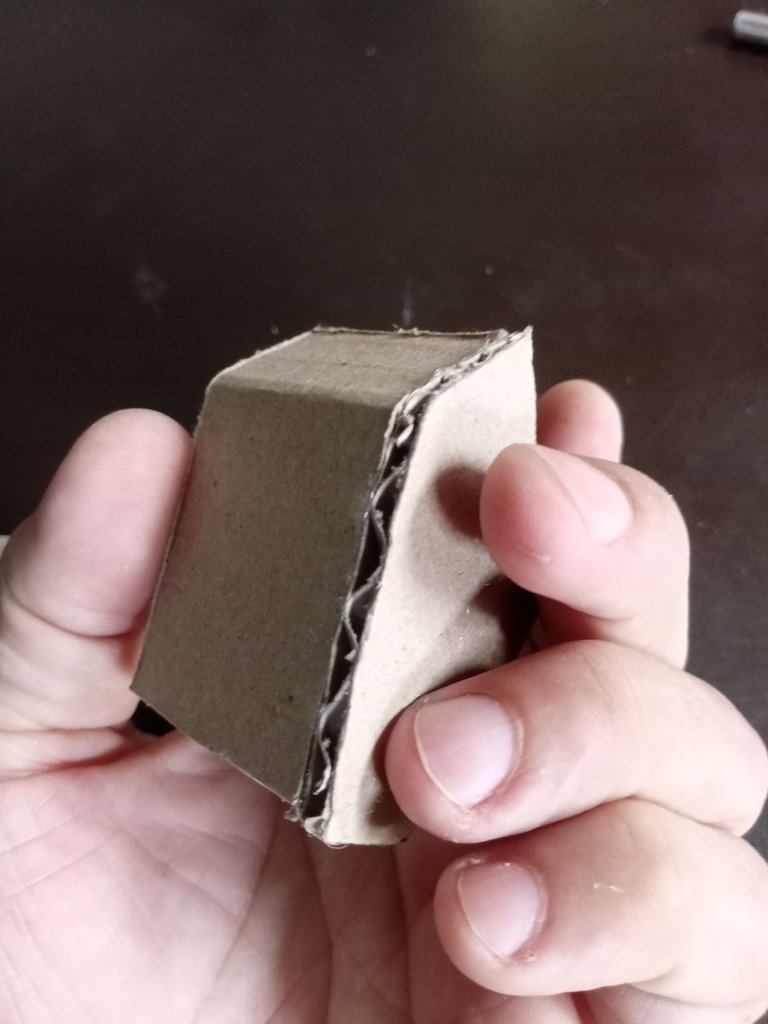
It is time to make the cabin, for this we measure the front part of the helicopter and as this is a combat one, we will cut a single cabin 3 parts of cardboard which we will glue later and it would be as shown in the following image.
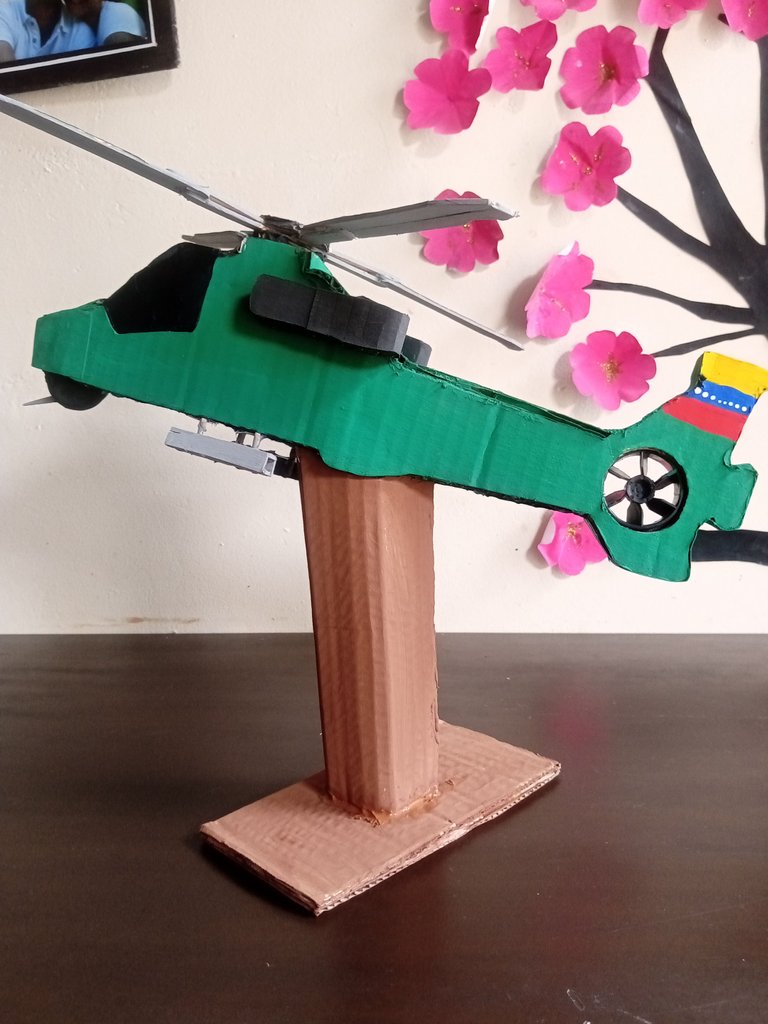
In this step I will be making what will be the armament of the helicopter which will be two missile launchers on the sides and a machine gun at the tip of the ship
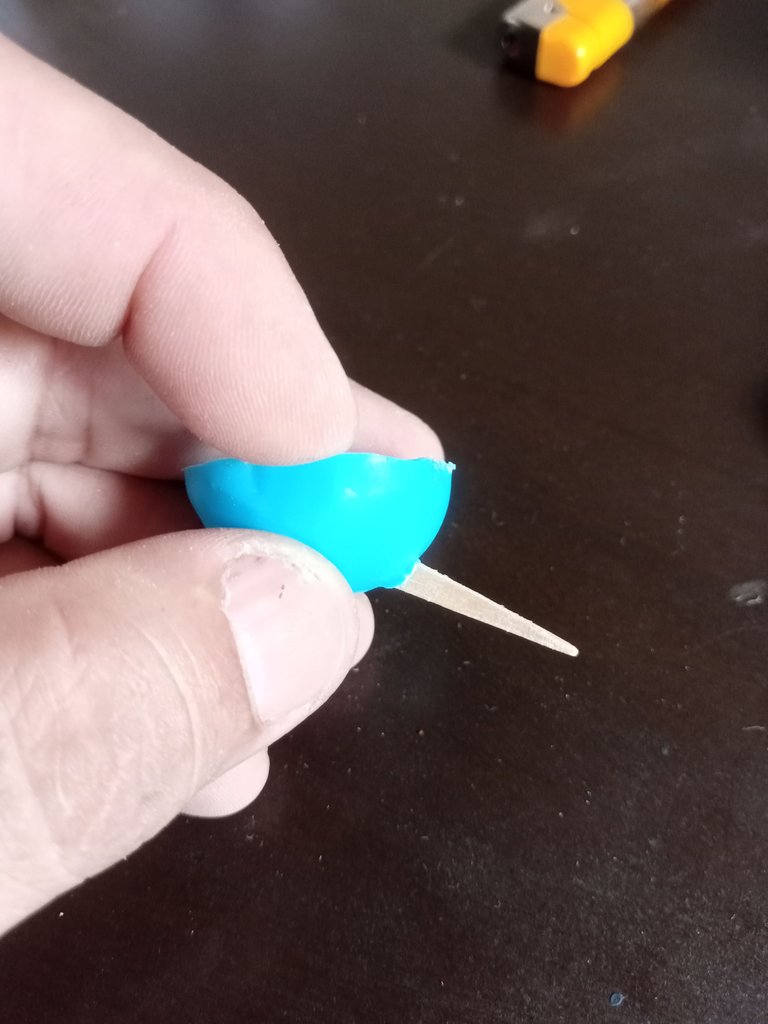
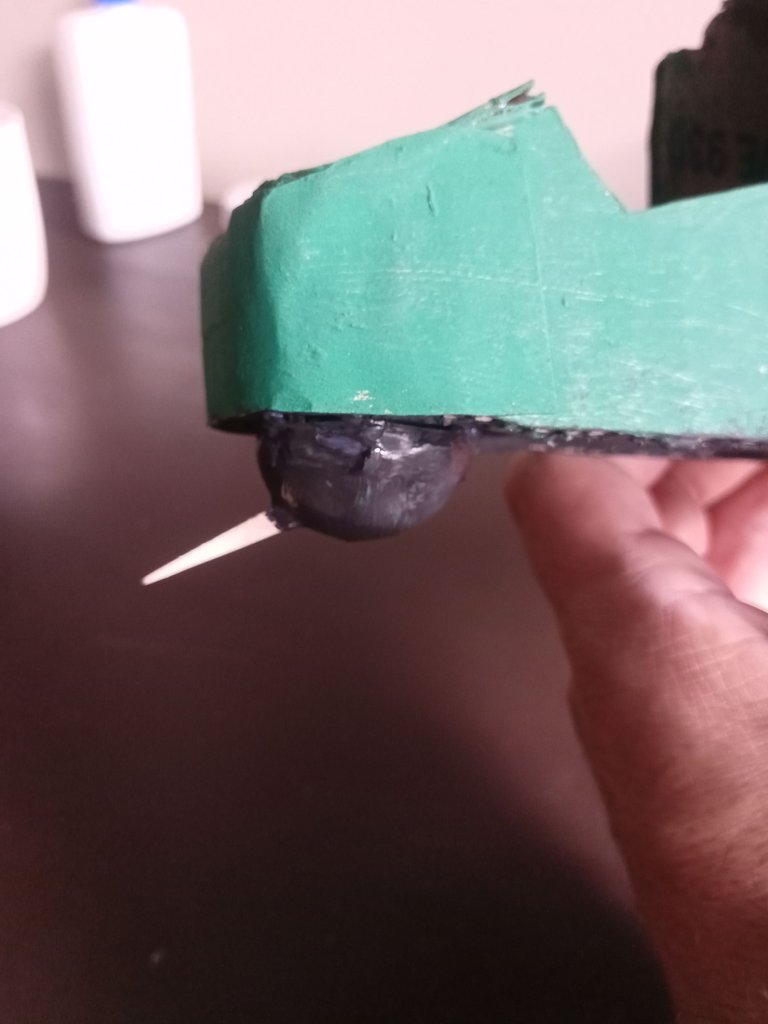
For the latter, take a plastic ball and pique it in half and paste it in front as shown in the images.
para esta última tome una pelota de plástico y la Piqué a la mitad y pegue en frente así como se está mostrando en las imágenes.
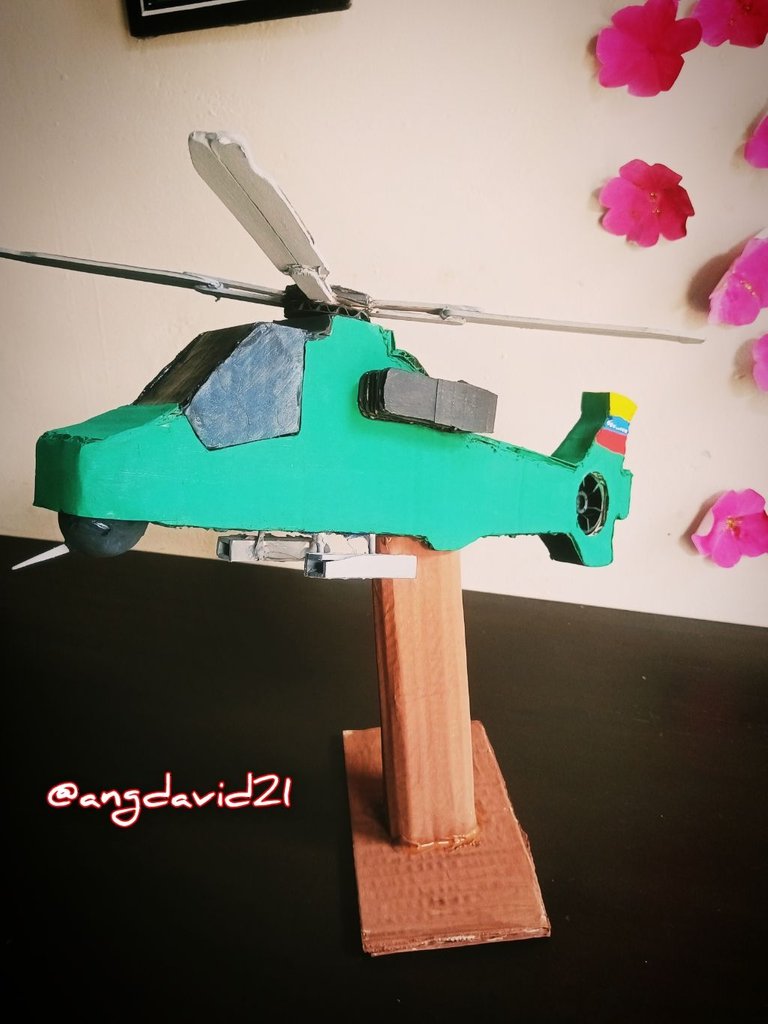
Well, my friends, with these last accessories, we only have to give a few touch-ups of paint, for this model I left it as an ornament, so I made a base for it to pose there and decorate a good space at home, so I I show the final result.
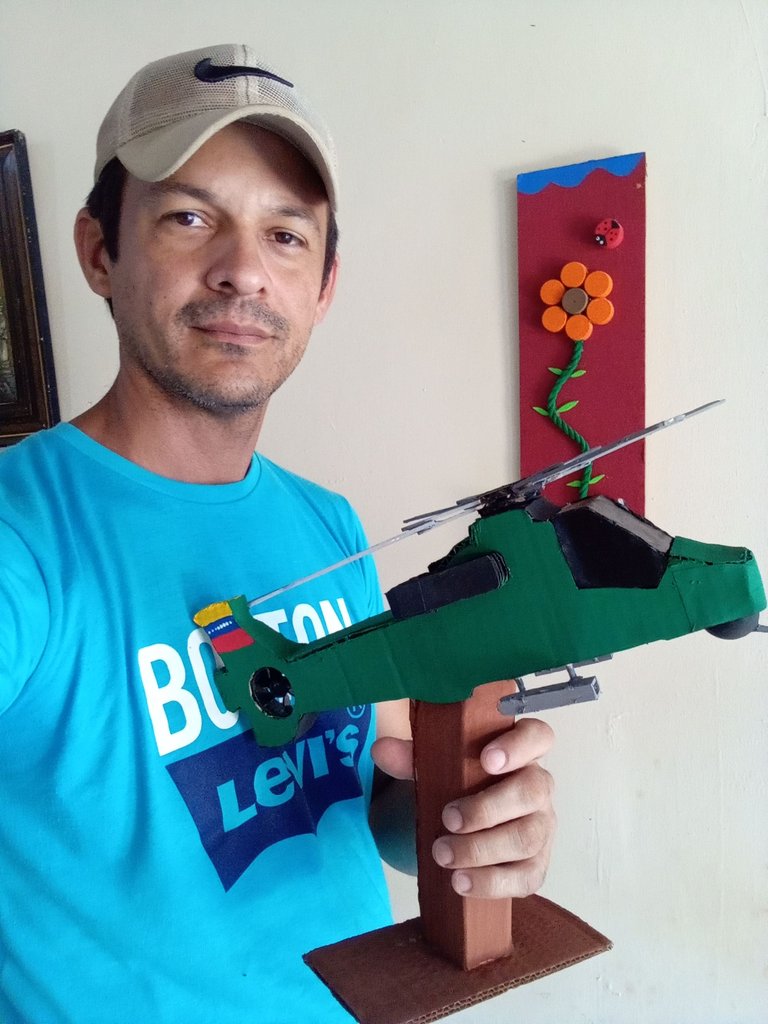
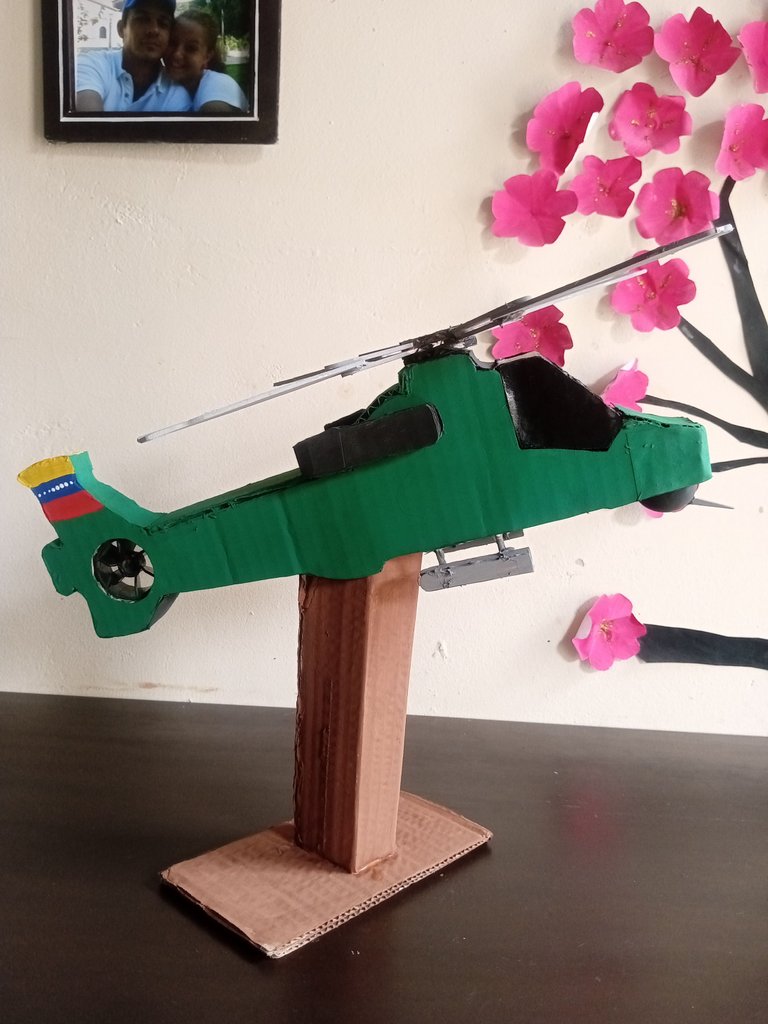
And in this way my friends made this craft today, I hope you liked it and thank you very much in advance for visiting my post. See you another time God bless you greatly 🙏.
Imágenes editadas en photocollage de Android
This post is translated by android app Google translate
All photos were taken by my Alcatel 1v Smartphone

