Captain America shield with recycling material
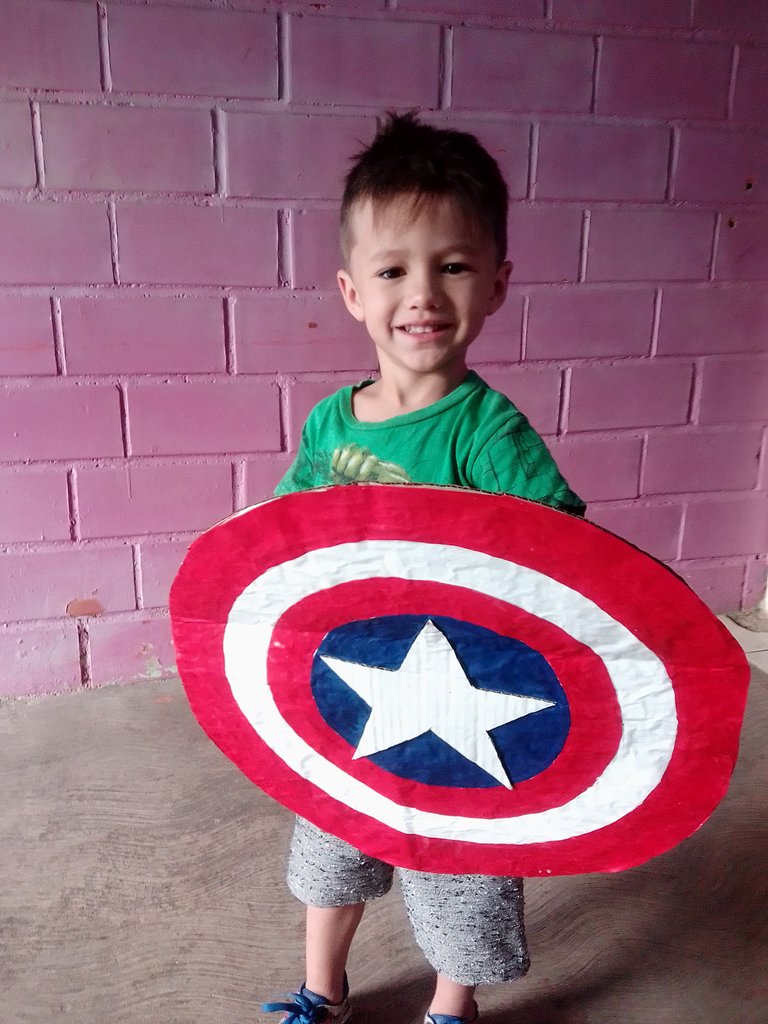
Hello friends, a pleasure to be with you again, today I want to share the elaboration of a Captain America shield made of cardboard, and who else to enjoy this work than my little ones from the house, which is one of their favorite superheroes so I wanted to make them this accessory. In this post I will show you how to do it. Next I show you the step by step.
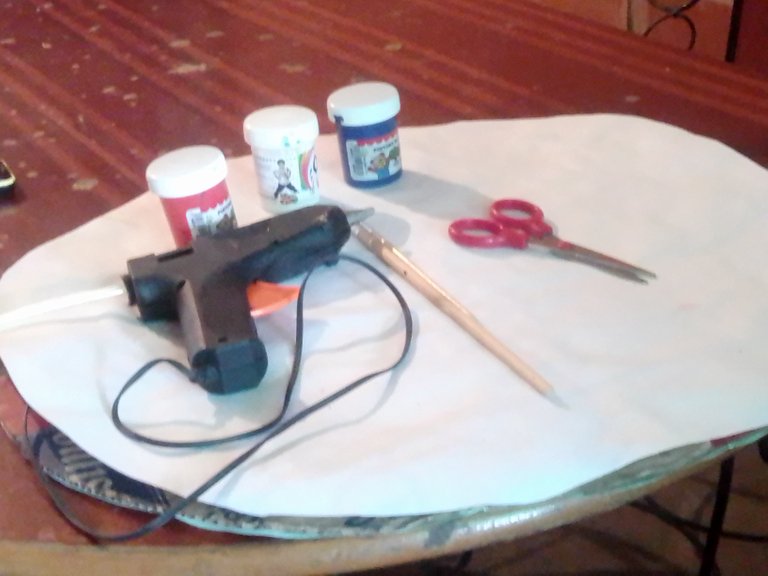
- Tijera✂
- Cartón 📦
- Pinceles🖌
- Pintura azul/blanca y roja.🎨
- Papel bond reutilizado📄
- pega blanca y barra de silicón 🖍⌛
Step 1
Paso 1
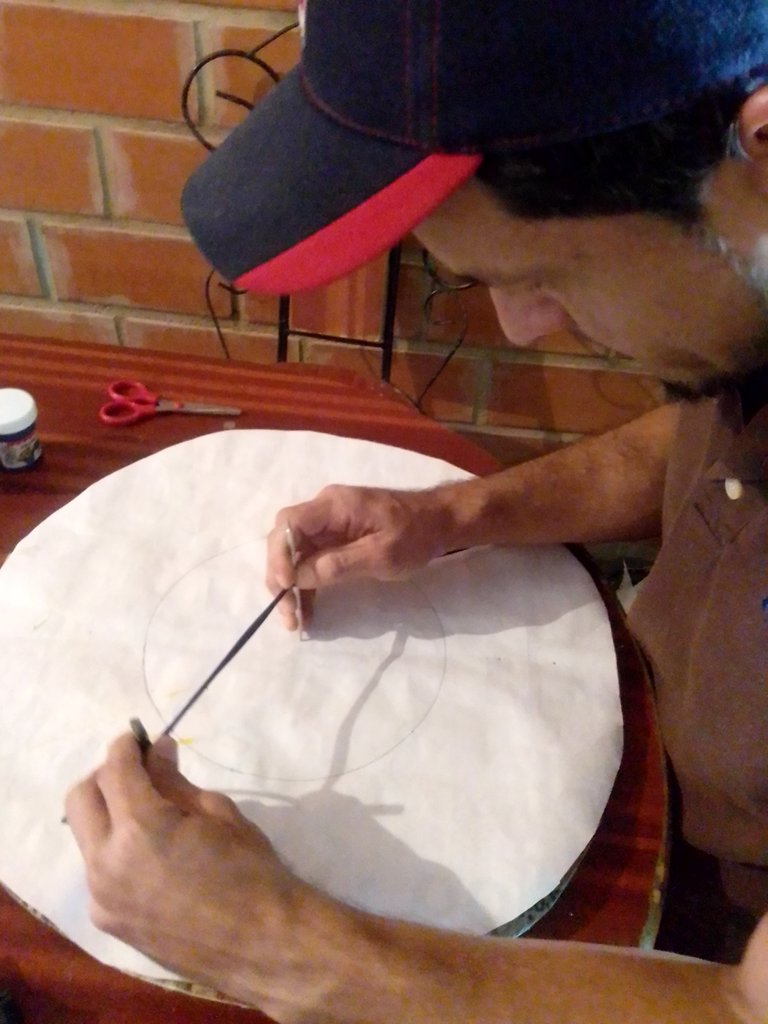
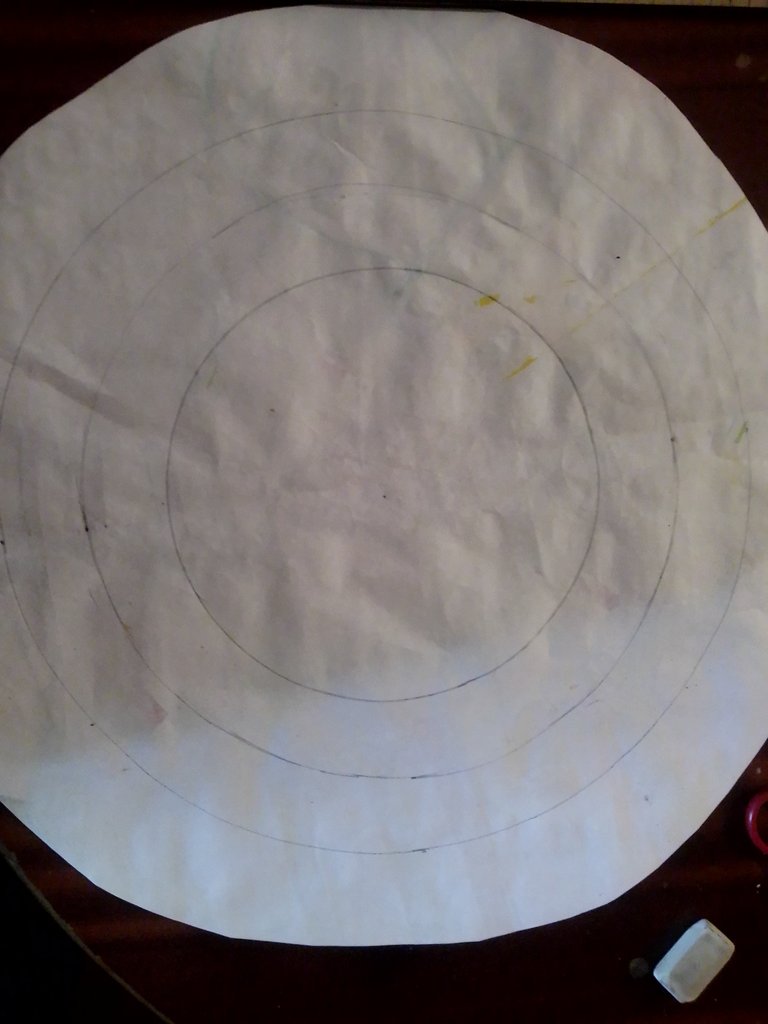
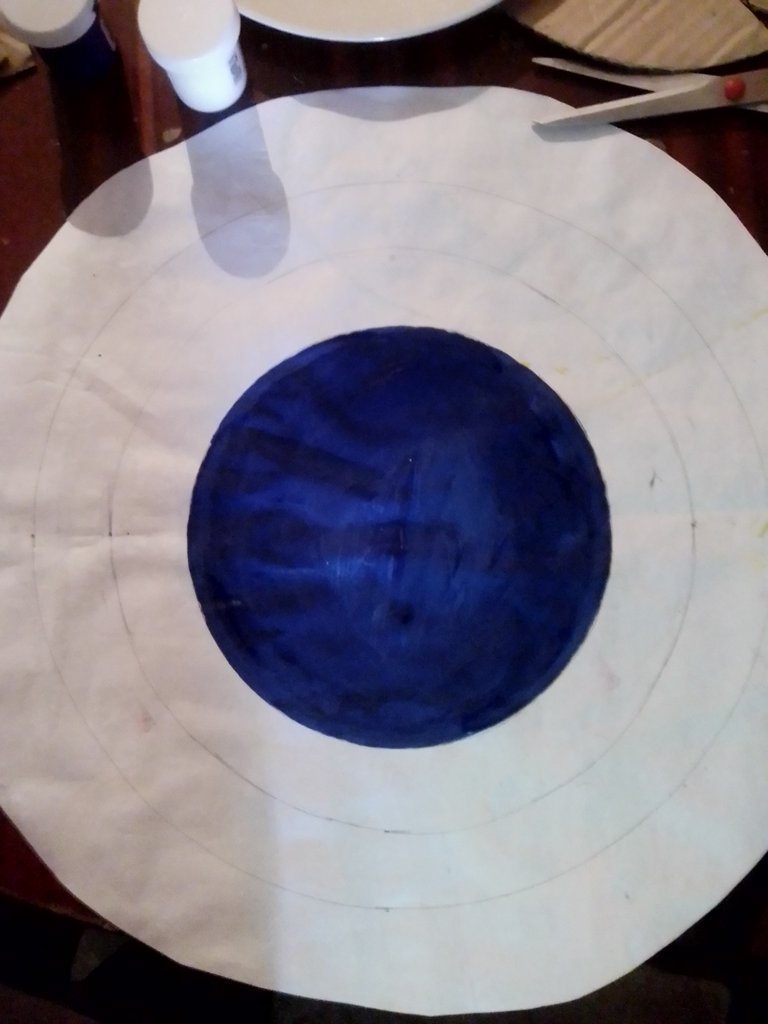
For this shield we start by drawing the circumferences on the bond paper, according to the shield and design there are 3 circles, one larger than the others as shown in the following images.
Step 2
Paso 2
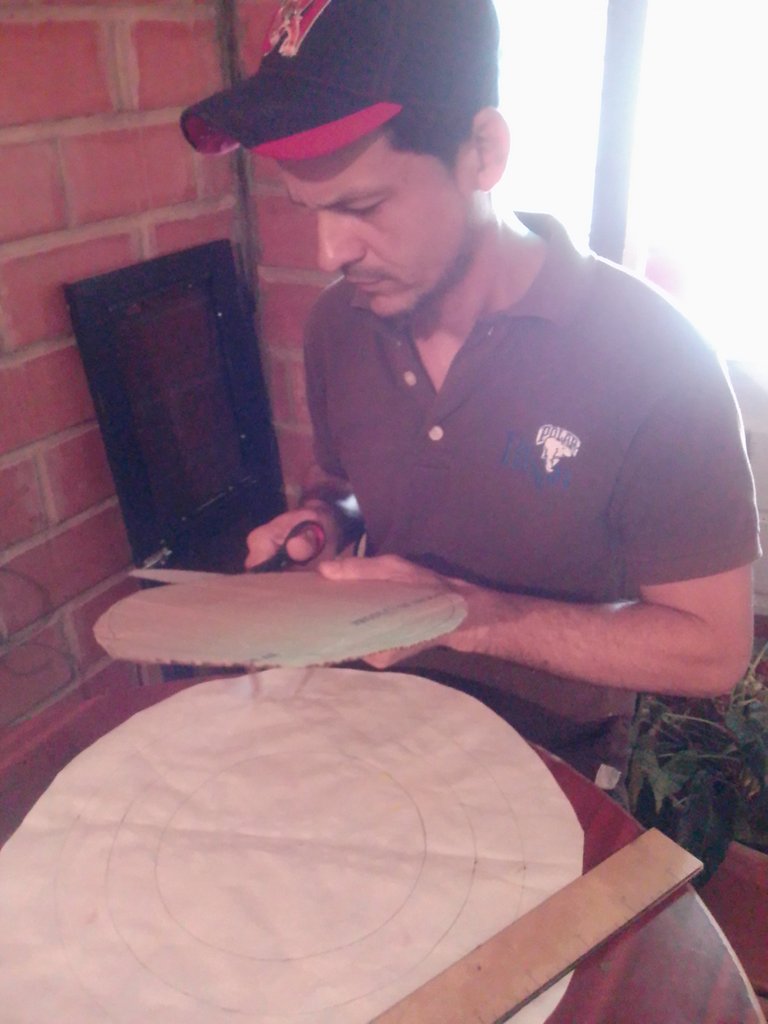
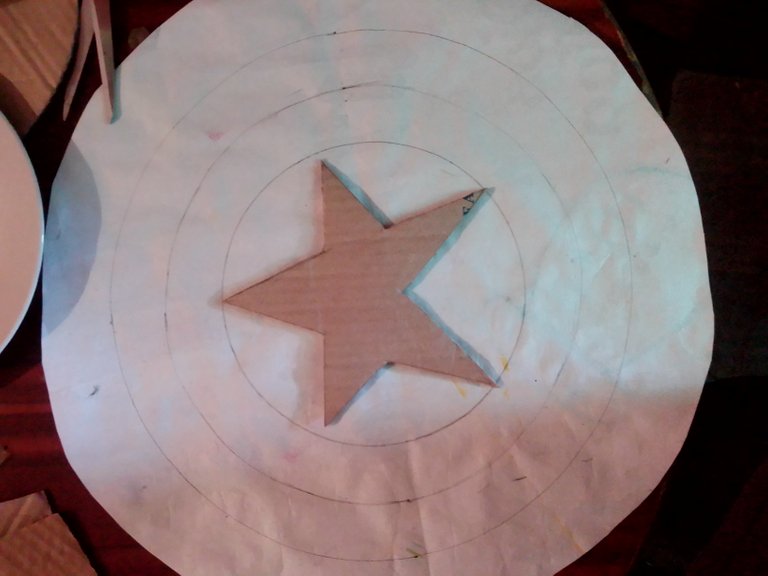
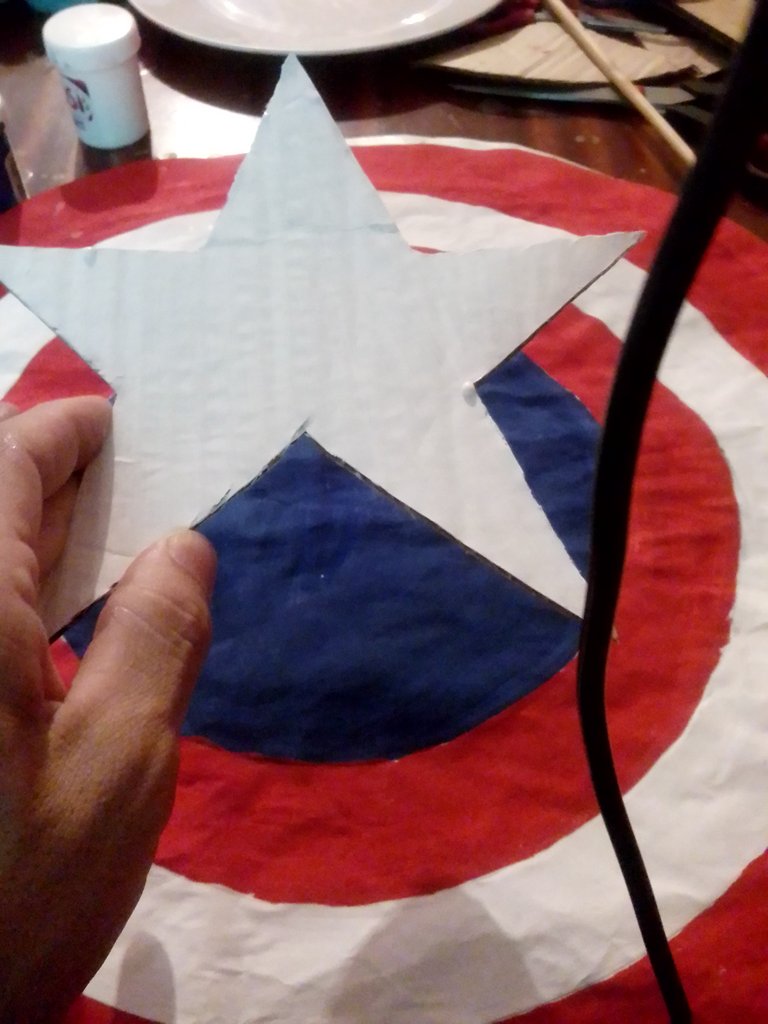
Then on a separate piece of cardboard draw the star, cut it out, and paint it white. And to be honest, the star came out kind of crooked 😃 I almost never get to draw a star. It should be centered on the shield design.
Step 3
Paso 3
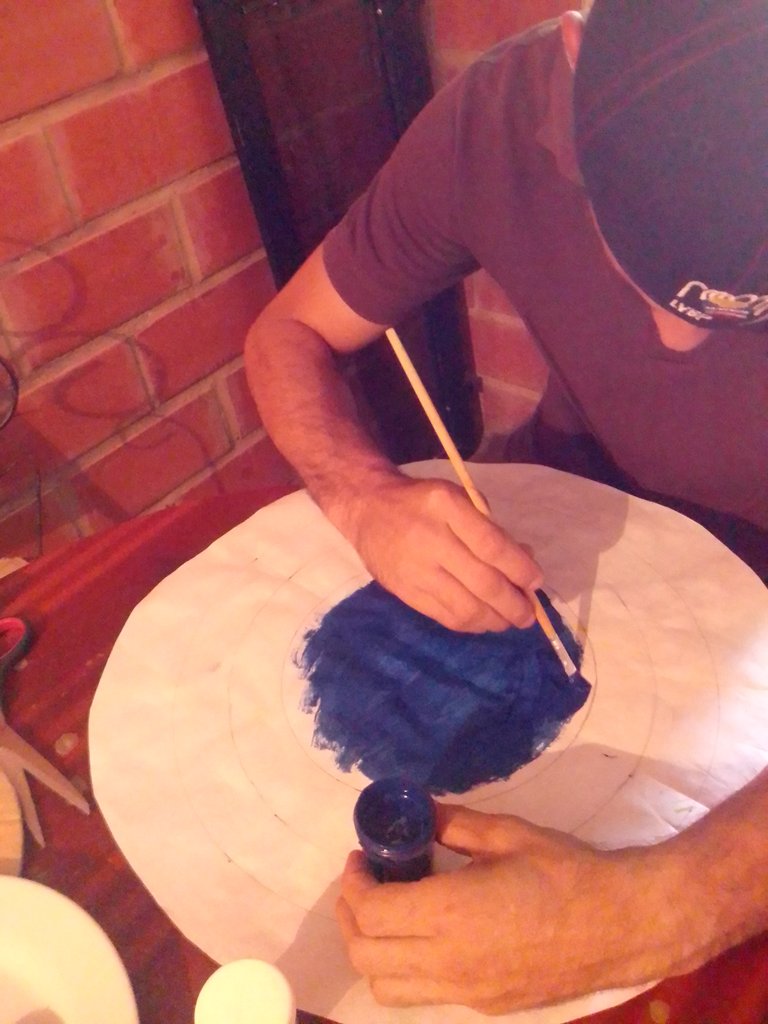
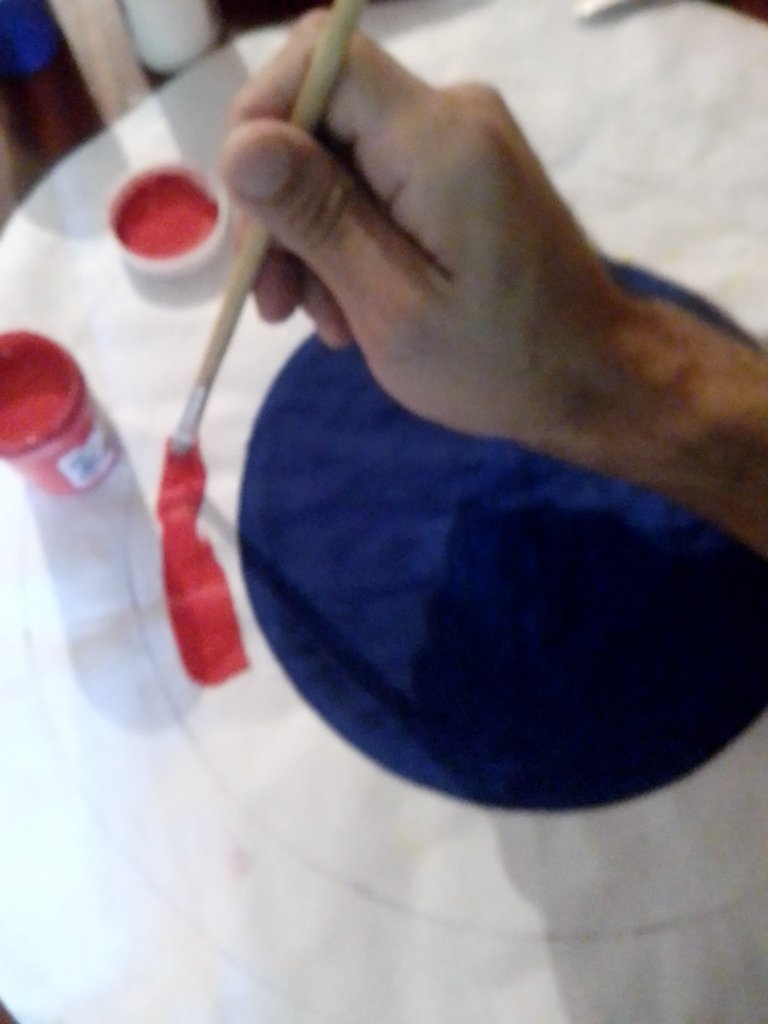
In this step we begin to paint with its characteristic colors such as red, blue and white with a lot of pulse we will paint so as not to leave the lines.

Step 4
Paso 4
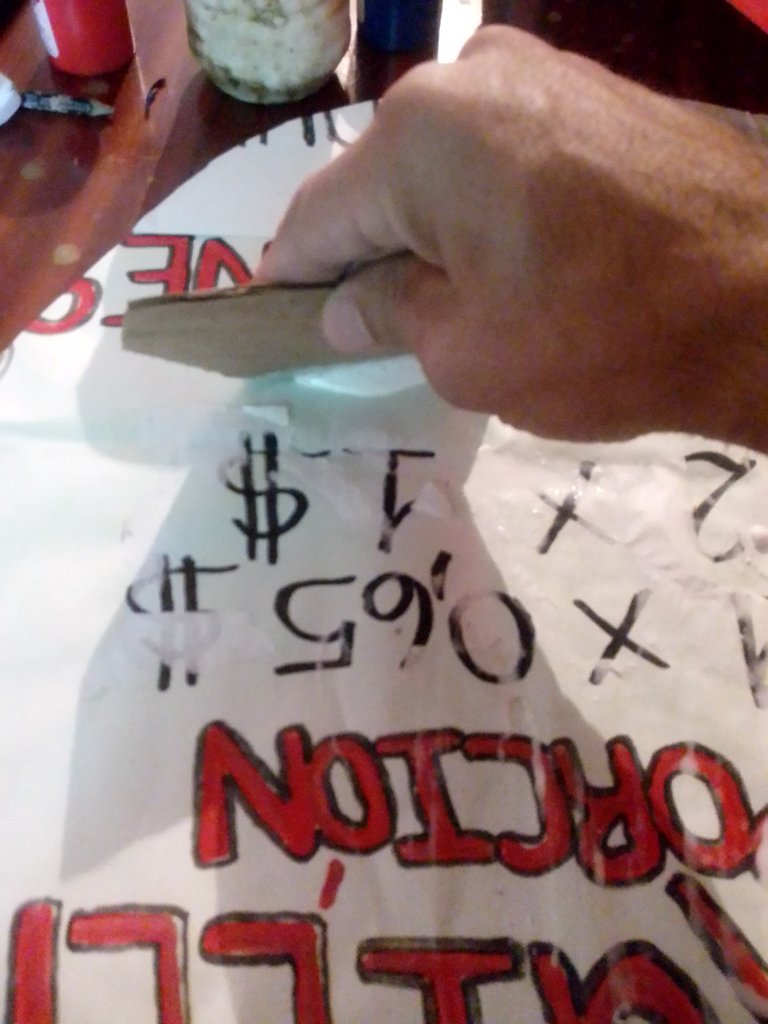
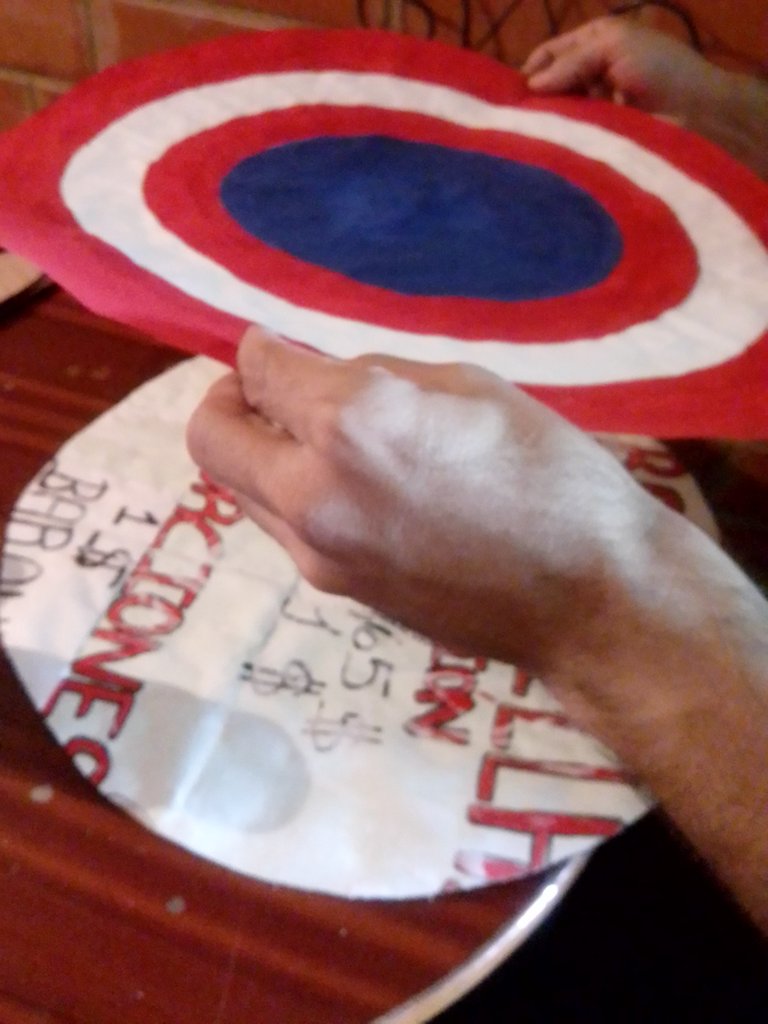
Then we take the already painted Bond paper and Paste it on the cardboard so that it is more firm and resistant for when they are going to use it.
Step 5
Paso 5
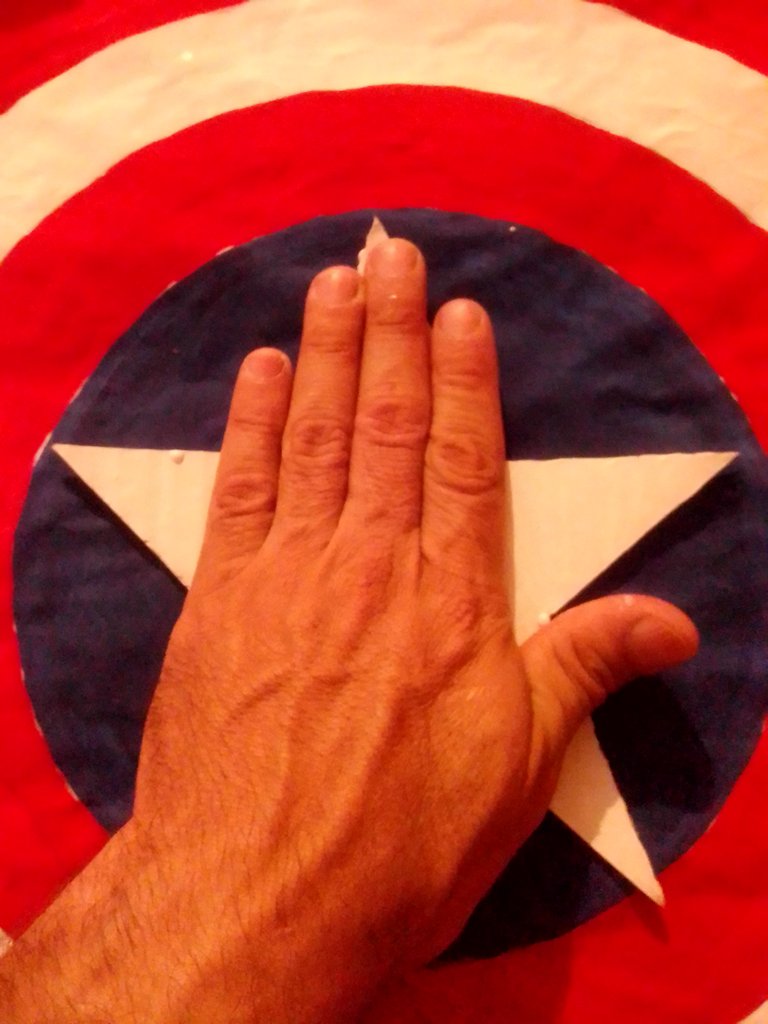
Once we have the previous step ready, we have to paste the star, as this figure was not perfect, I tried to find a position for it to look the same and in the following image I show it to you.
Step 6
Paso 6
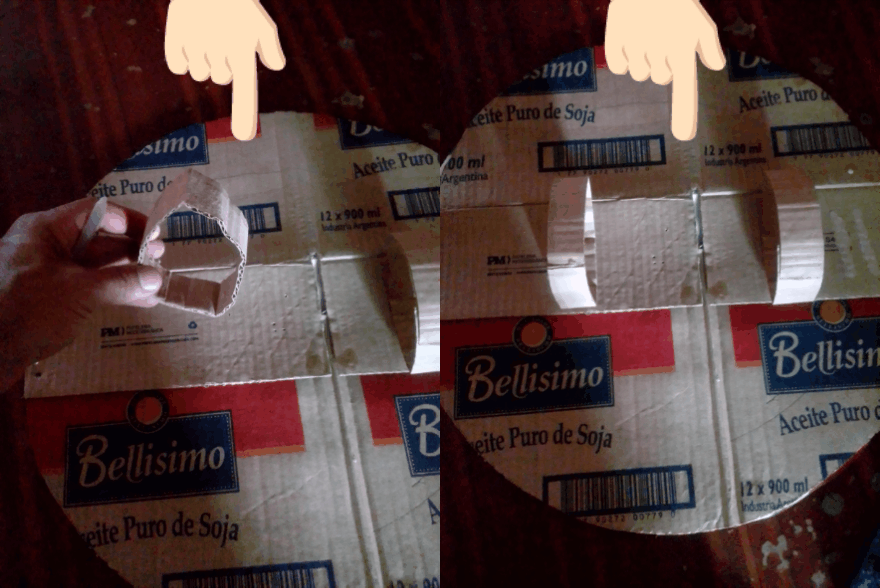
We cut out a couple of cardboard rings to place on the back of the shield, so that the child can put his arm in and hold the shield and play emulating the superhero he likes.
Step 7
Paso 7
In this last step, once the paint is dry, we apply white glue all over the shield to give the color a more striking, bright and durable finish.
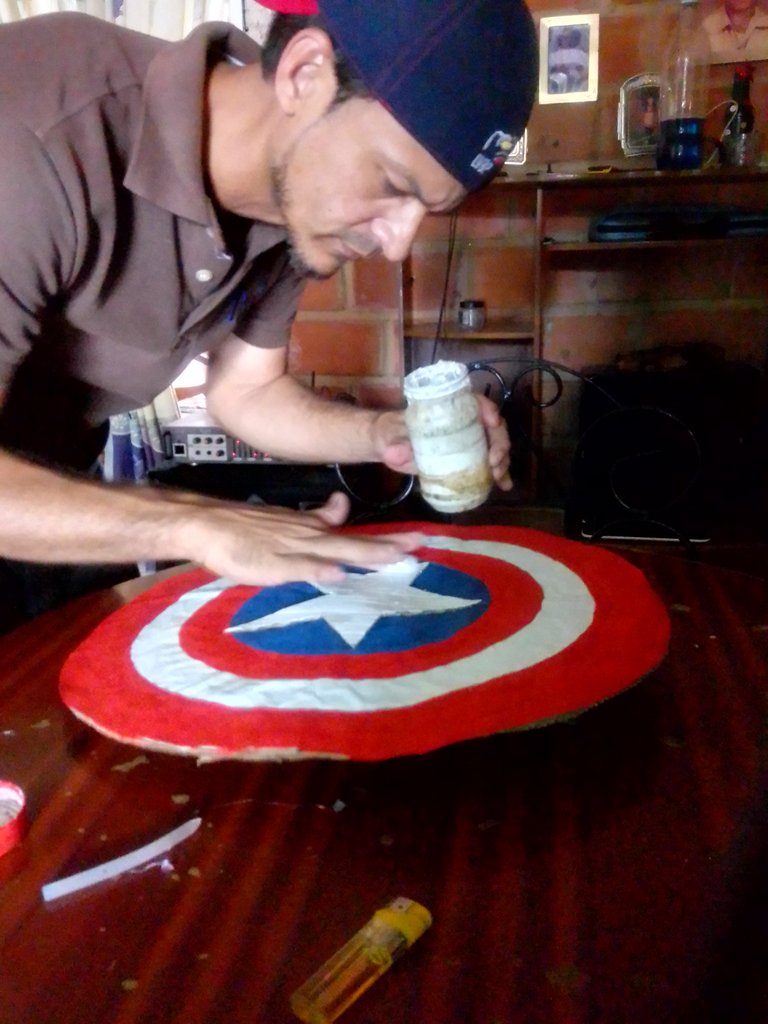
Then I will show you the final result
Final result
Resultado final
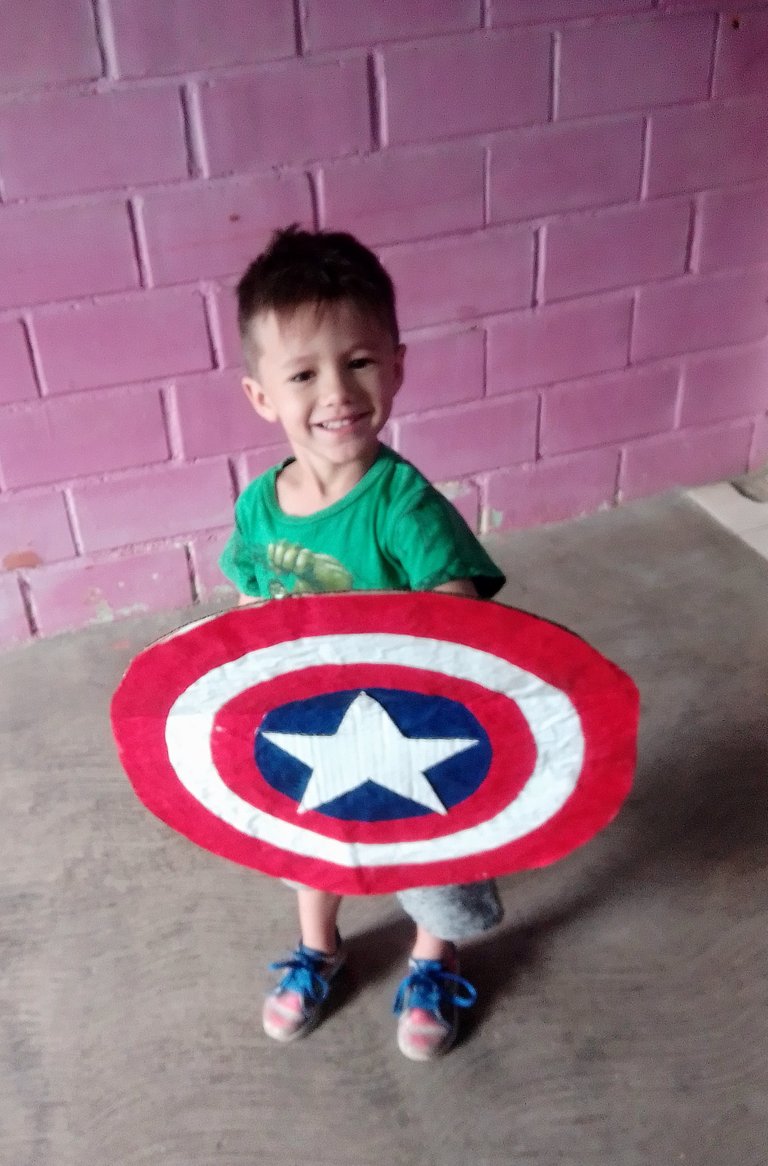
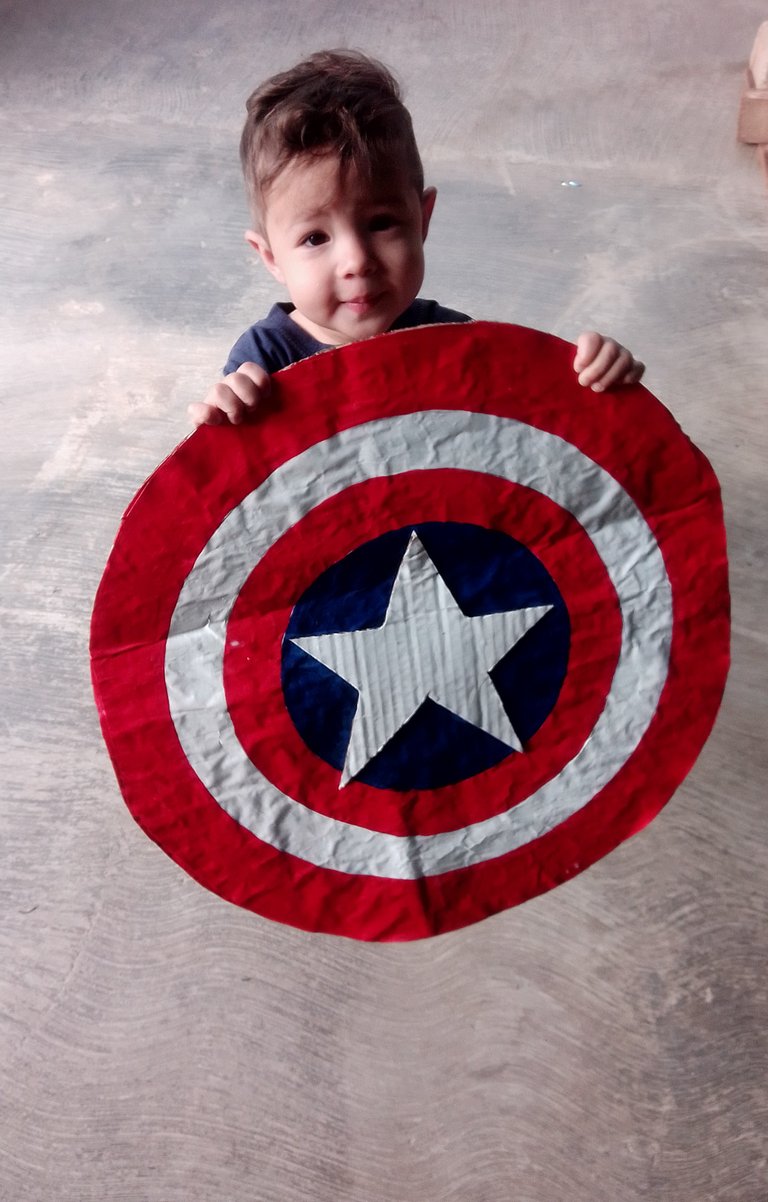
And in this way, friends, I made this craft with cardboard, I hope you liked it because the little ones were very happy 😃😄 and thank you very much in advance for visiting my post, we'll come another time
Imágenes editadas en photocollage de Android
All photos were taken by my Alcatel 1v Smartphone
This post is translated by android app Google translate
