🇪🇸 ESPAÑOL
¿Cómo están hive amigos?
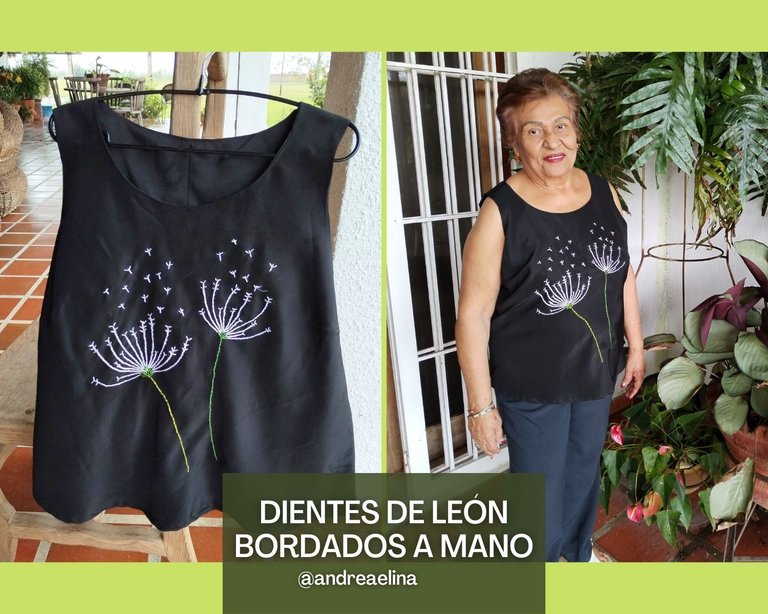
Hoy quiero mostrarles como le di un toque de alegría y color a una franela negra de mi abuela.
Pará empezar les cuento que a mi abuela Elina no le gusta mucho la ropa que es toda negra mate, porque ella dice que le recuerda a momentos fúnebres.
Ella prefiere la ropa negra con algo de brillo para ocasiones elegantes o con colores que le den alegría.
Por esa razón me pidió que si podía ayudarle a buscar la forma de alegrar un poco una franela negra que guardaba en su closet y no le gustaba. Ya tenía que tiempo con ella guardada y quería buscar la manera de hacerle algo para tener una excusa para usarla.
Fue entonces cuando se me ocurrió ayudarla a agregarle un toque de color realizando un lindo bordado a mano de unos dientes de León.
Pará proceder a hacer este bordado utilizamos:
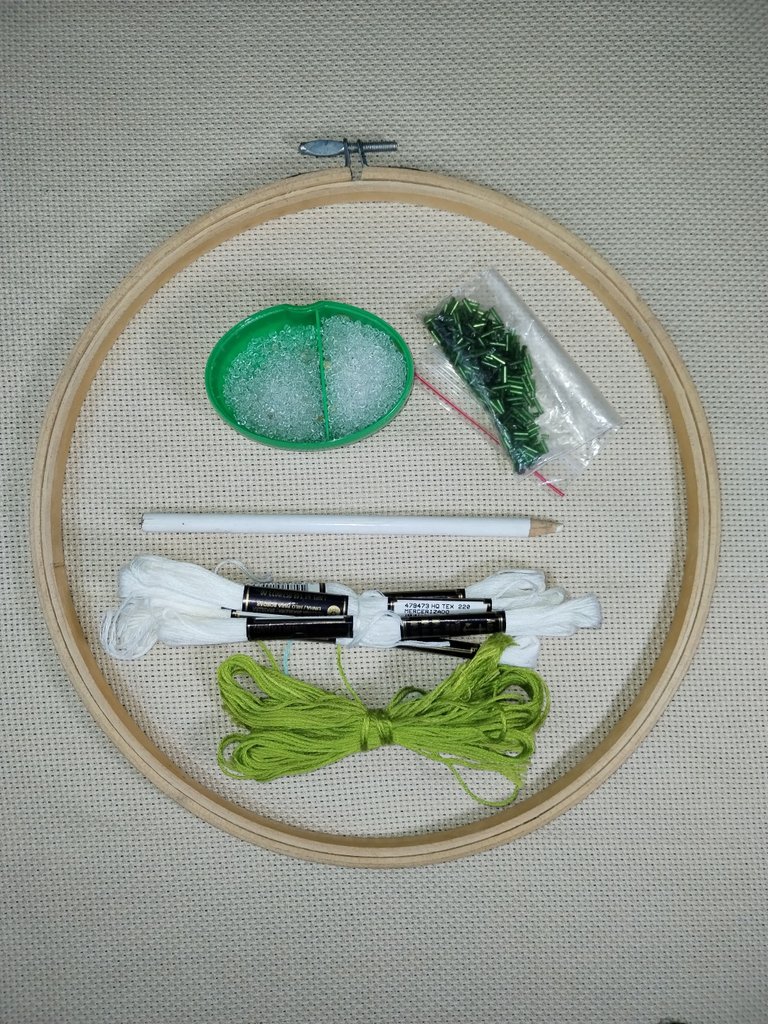
- Hilo de bordar blanco y verde
- Un crayón blanco (para realizar el boceto de nuestro bordado, ya que se realizó sobre una tela negra)
- Unos canutillos verdes para hacer el centro del diente de León.
- El tamborcito de bordar

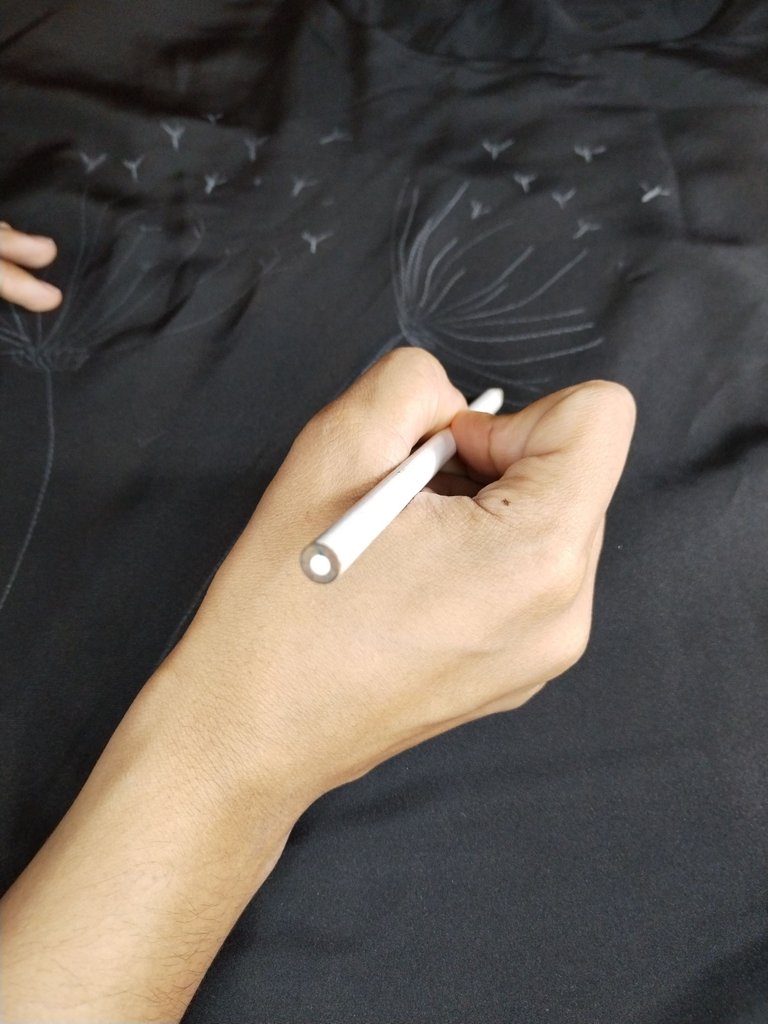
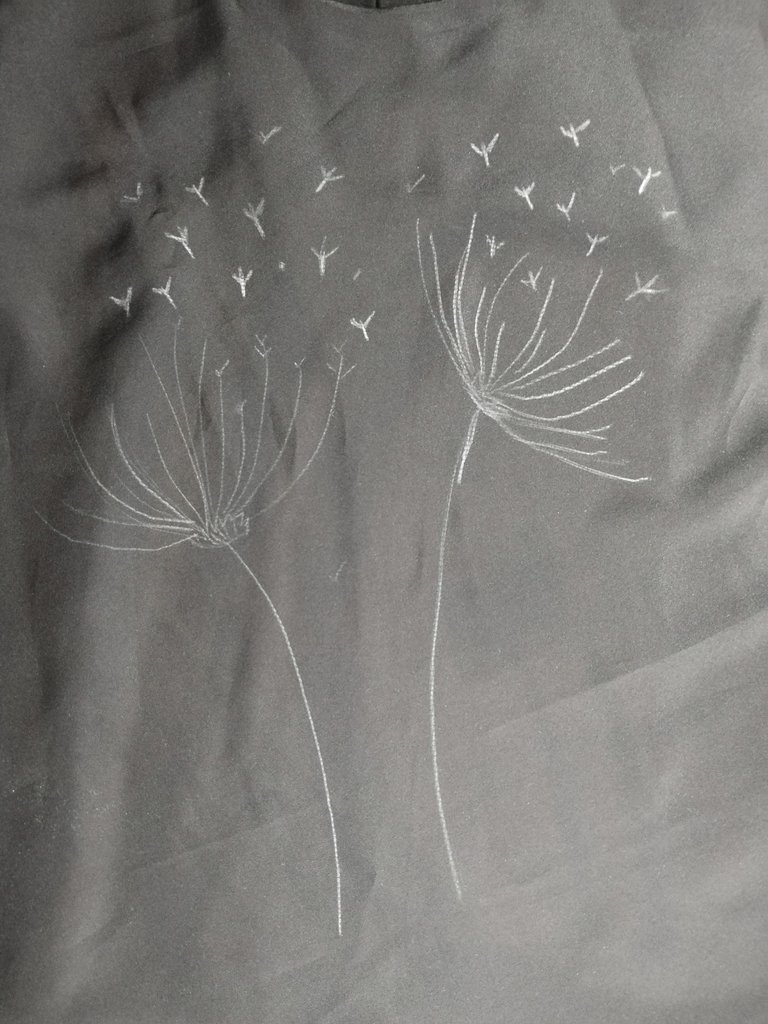
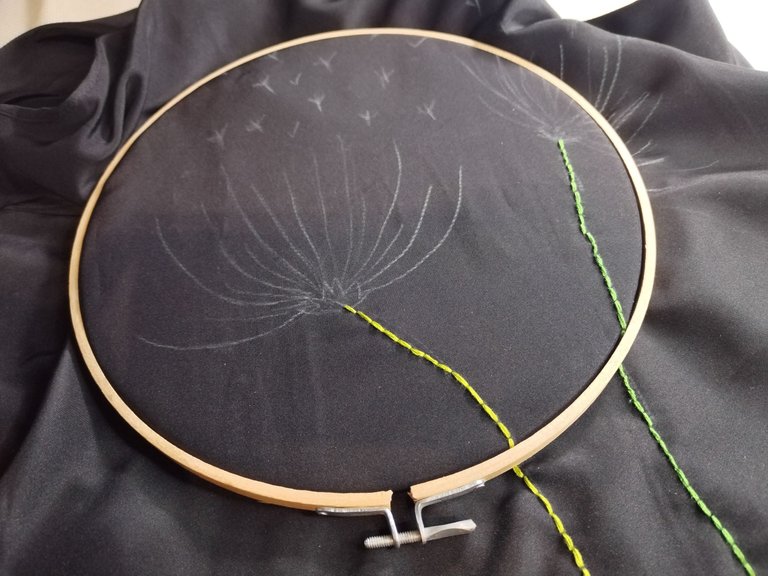
Lo primero que hice fue trazar el boceto del dibujo.
Esto se hace para saber por donde vamos a ir realizando cada puntada de hilo y así no perdernos a medida que se va creando el diseño.
Normalmente, este boceto se realiza con lápiz de grafito, por si acaso quieren hacer alguna modificación se borra fácilmente en la tela, sin embargo, como en esta ocasión la tela a usar es de color negro y el boceto lo realice con un crayón blanco.
Si por algún motivo quisieran hacer alguna modificación al boceto, para borrar el crayón se puede utilizar un poquito de alcohol como método para borrar y luego corregir.
Otro dato que me gustaría darles es que mientras más afilada esté la punta del lápiz o crayón, mejor y más fácil les saldrá su dibujo.
Hay quienes imprimen sus diseños en papel de arroz (ese de repostería) lo colocan sobre la tela y bordan sobre ese papel, cuando terminan su diseño lo lavan y él se deshace. Pero a mí me gusta hacer mis propios bocetos a mano de lo que quiero bordar.
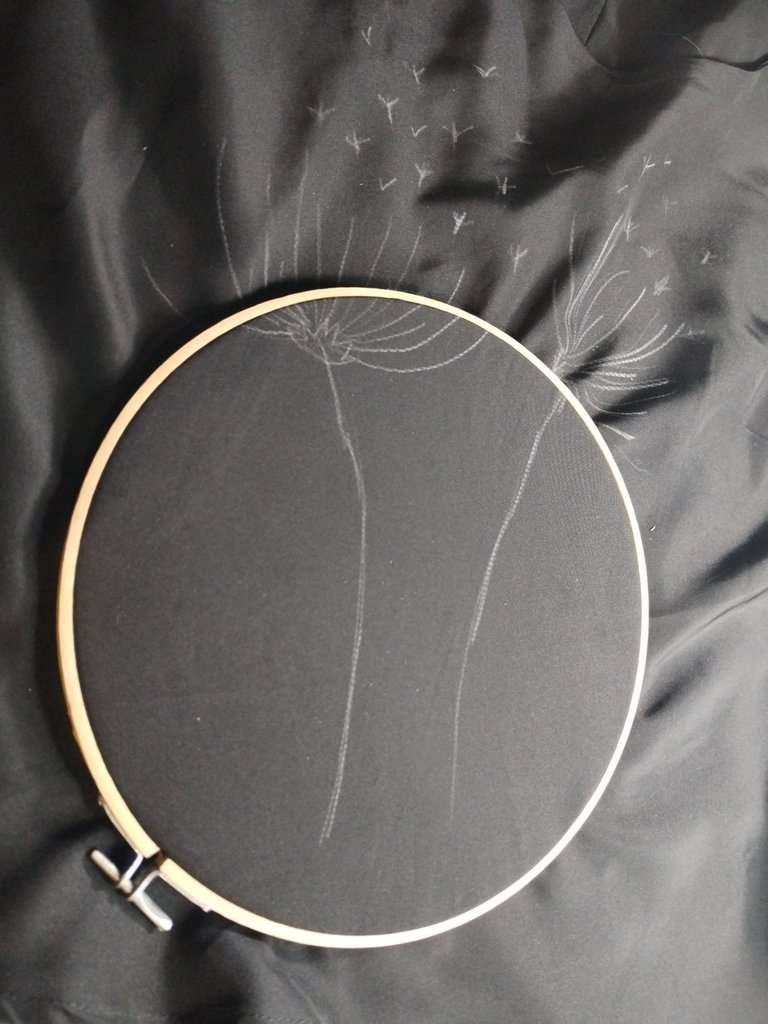
Luego de tener el boceto listo posiciono el tamborcito para templar la tela por donde iré bordando y que el trabajo se haga mucho más cómodo. Este tamborcito lo consiguen de muchos tamaños, todo va a depender de con cuál ustedes se sientan más cómodos. A mí me gustan medianos y si el dibujo es muy grande, lo voy rodando a medida que voy creando.
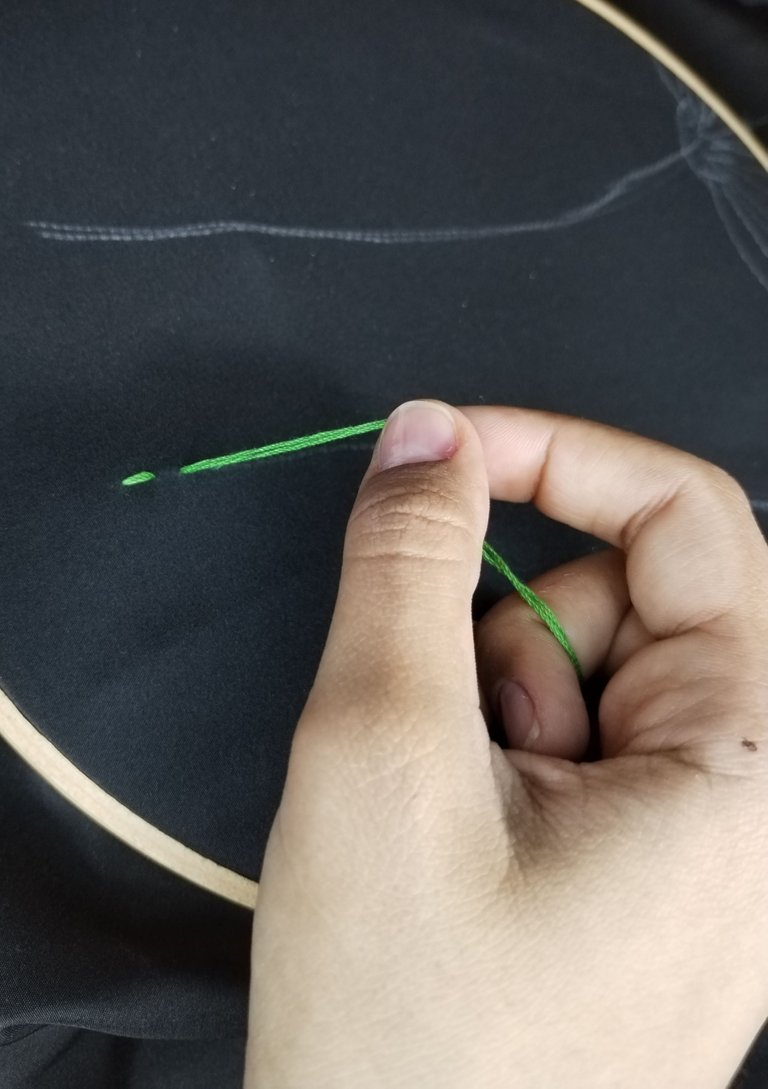
Inicio a realizar mis puntadas con el tallo de mi diente de León. Para esto utilicé un punto que yo le llamo "punto atrás", ya que la aguja la introducimos aproximadamente 1 cm o (el ancho que ustedes quieran darle) por encima del primer punto realizado y luego se regresan al extremo del punto anterior y así sucesivamente les irá quedando su línea de puntos.
Este punto les sirve para hacer cualquier borde que deseen, yo en este caso lo use para realizar el tallo de mi flor.
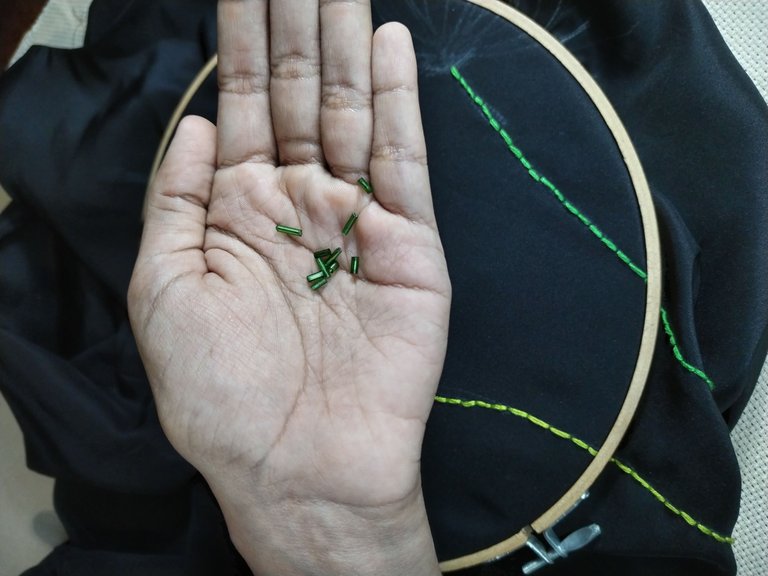
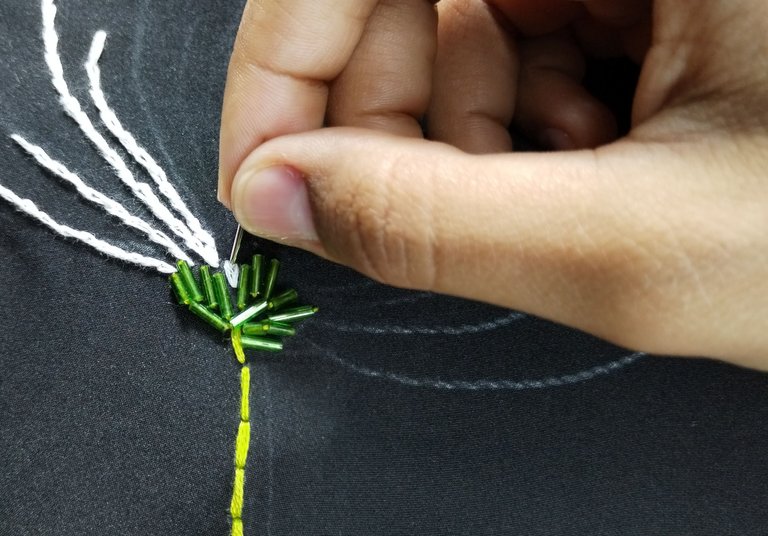
Pará hacer el centro de la flor, quise ponerle un delicado toque de brillo y eso lo logré bordándolo con unos canutillos verdes.
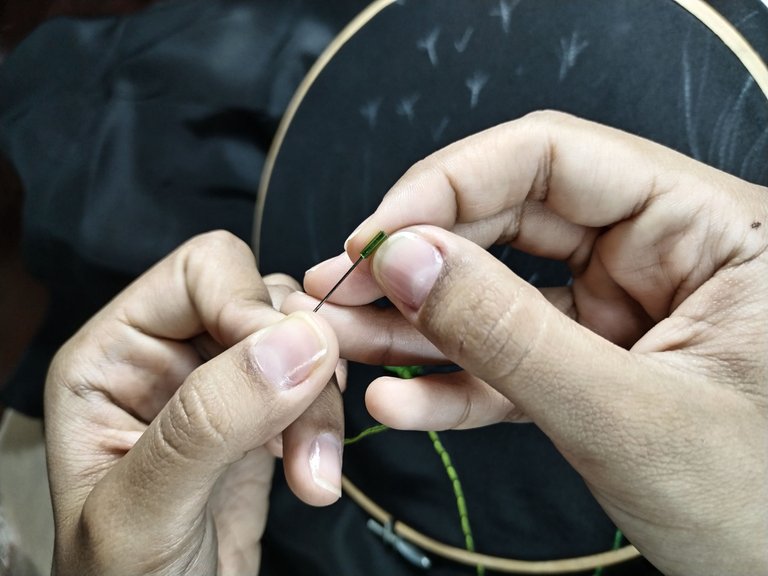
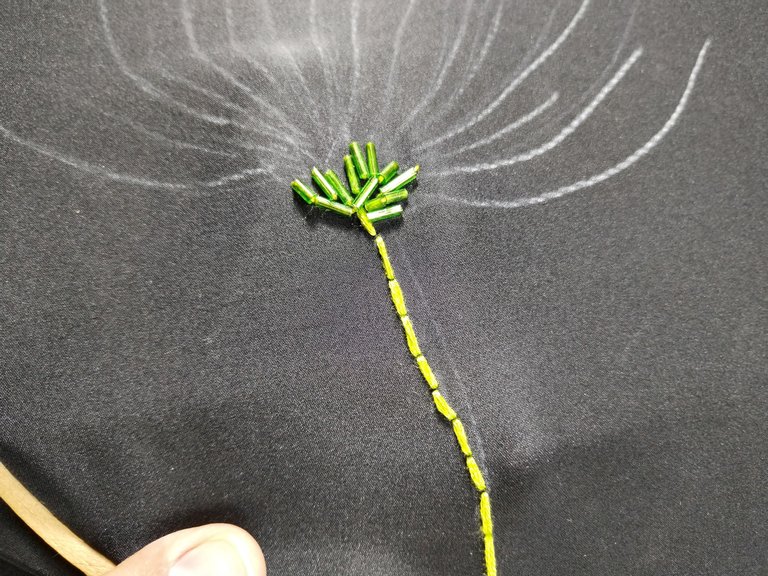
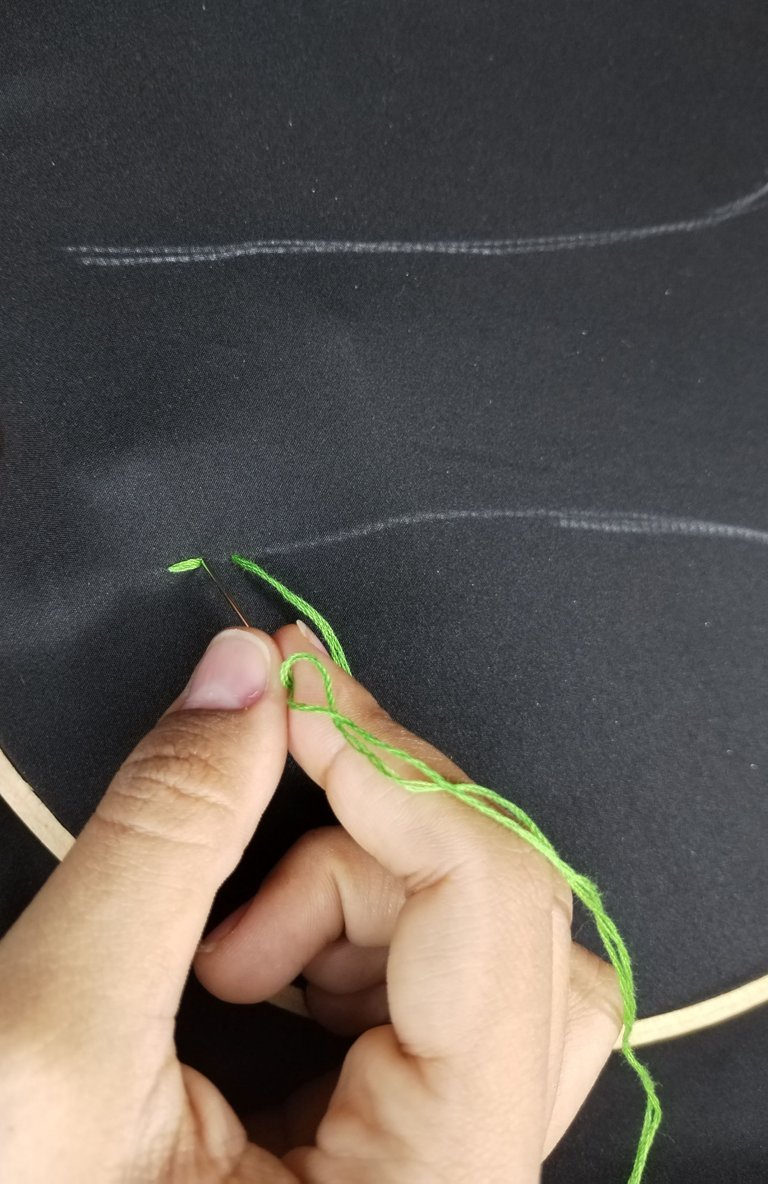
Pará bordar las espigas que conforman como tal este diente de León, realicé un punto en cadena, este se realiza introduciendo la aguja desde atrás por el medio de nuestro punto anterior y entre punto y punto se va creando ese efecto que da la impresión de ser una delicada cadeneta de puntos.
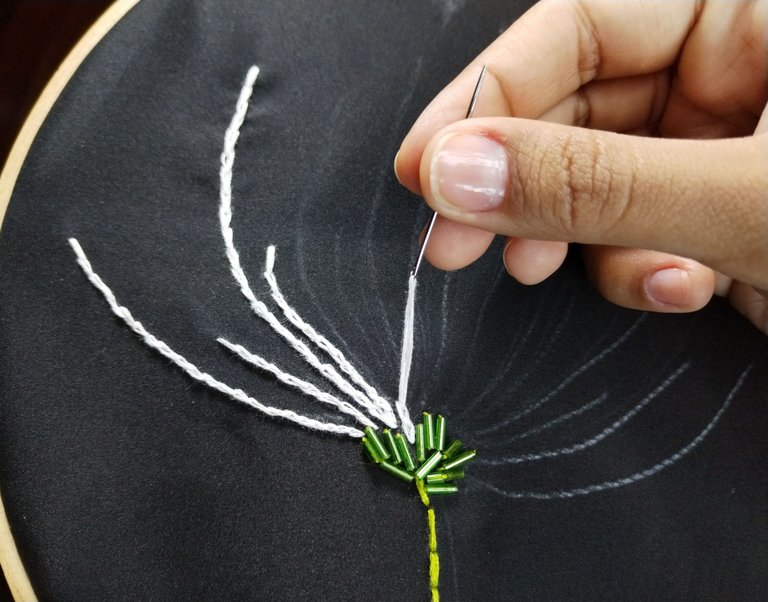
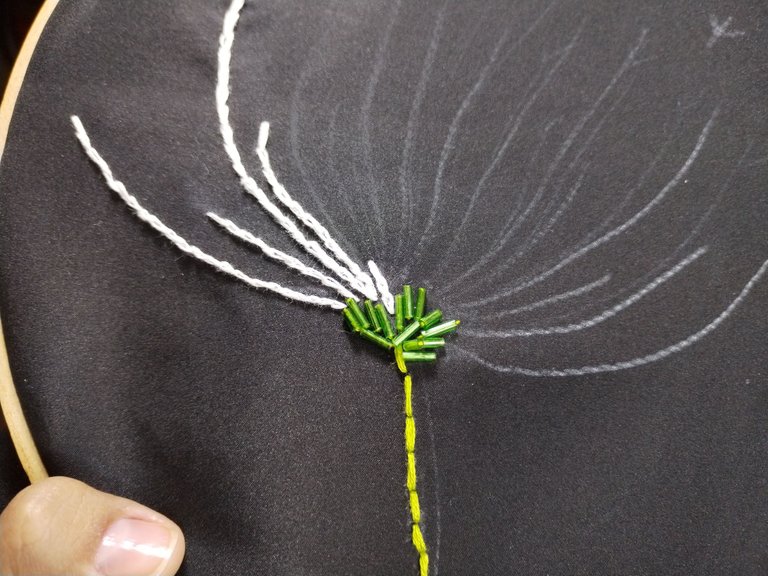
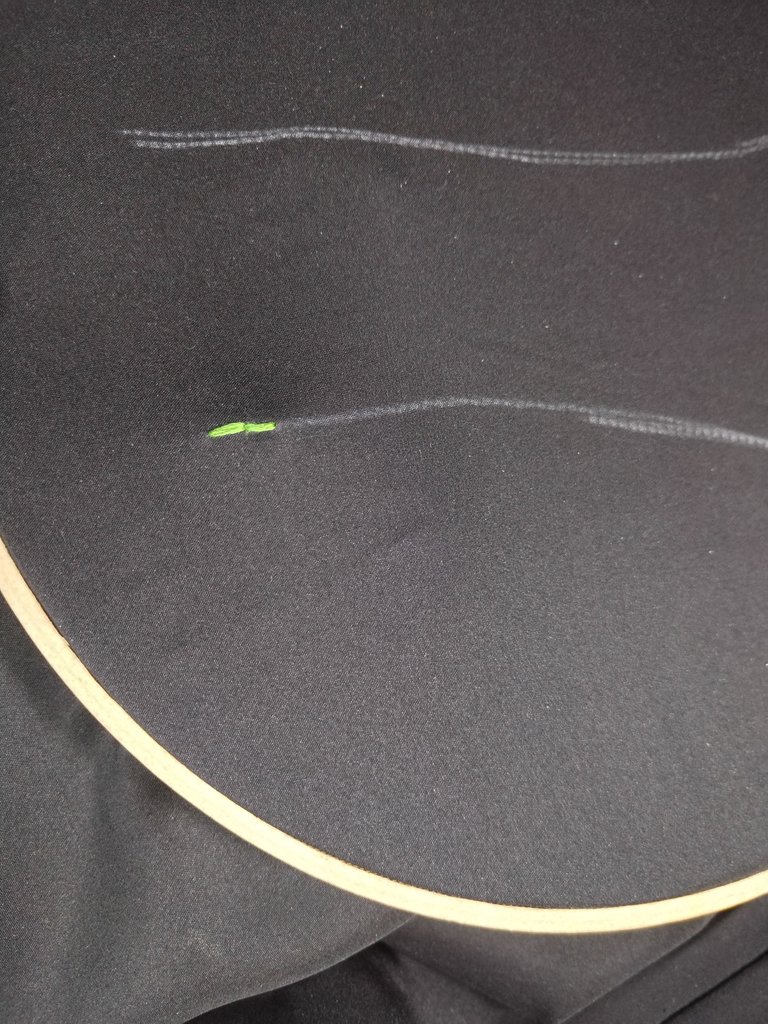
A continuación borde unos pequeños pétalos del diente león sueltos por alrededor de la flor que dieran la impresión de que el viento los había arrancado.
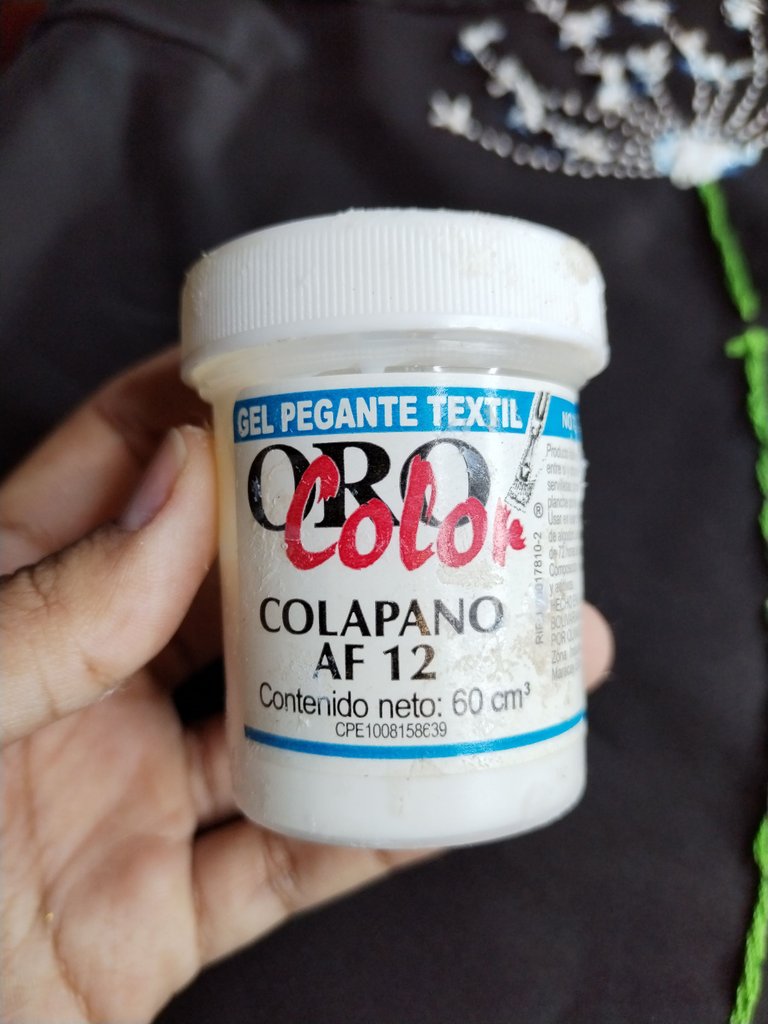
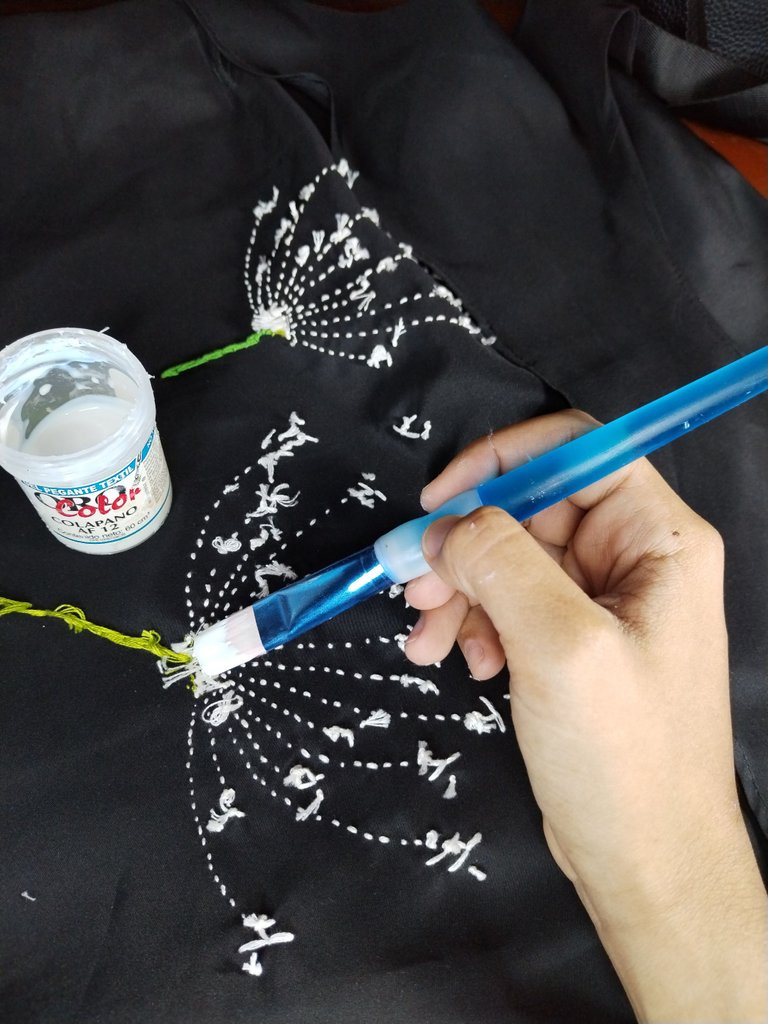
Y para finalizar, a mí me gusta darle un acabado final a mis bordados colocándoles Colapano, que es un gel de pegamento textil. Con esto evitó que a futuro los puntos se deshagan y se pueda lavar sin miedo a que se va a romper el hilo.
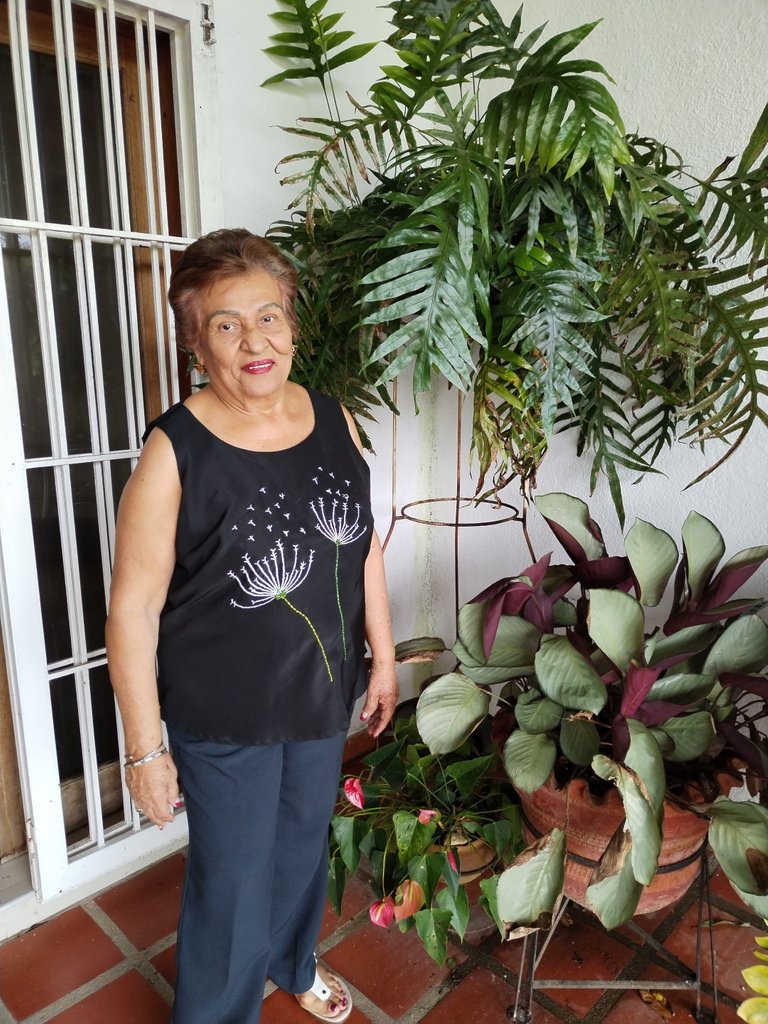
Así es como me quedo la franela de mi abuela, ¡¡a ella le encantó!!
Dice que ahora si la puede usar para cualquier ocasión. Espero que a ustedes también les guste, próximamente les estaré mostrando más de mis manualidades, saludos!!
🇺🇸 ENGLISH
How are hive friends?
Today I want to show you how I gave a touch of joy and color to my grandmother's black flannel.
To begin with, I'll tell you that my grandmother Elina doesn't really like clothes that are all matte black, because she says that they remind her of funeral moments.
She prefers black clothes with some shine for elegant occasions or with colors that give her joy.
For that reason she asked me if I could help her find a way to brighten up a little black flannel that she kept in her closet and she didn't like. He already had that time with her saved and wanted to find a way to make something of her to have an excuse to use her.
That's when it occurred to me to help her add a touch of her color by making a beautiful hand embroidery of some dandelions.
To proceed to make this embroidery we use:
- White and green embroidery thread
- A white crayon (to make the sketch of our embroidery, since it was done on a black cloth)
- Some green beads to make the center of the dandelion.
- The embroidery drum
The first thing I did was trace the sketch of the drawing.
This is done to know where we are going to make each thread stitch and thus not get lost as the design is created.
Normally, this sketch is done with a graphite pencil, just in case you want to make any changes, it is easily erased on the canvas, however, as on this occasion the fabric to be used is black and the sketch is made with a white crayon.
If for some reason you want to make any changes to the sketch, to erase the crayon you can use a little alcohol as a method to erase and then correct.
Another piece of information that I would like to give you is that the sharper the tip of the pencil or crayon, the better and easier your drawing will be.
There are those who print their designs on rice paper (that of pastry) they place it on the fabric and embroider on that paper, when they finish their design they wash it and it falls apart. But I like to make my own hand sketches of what I want to embroider.
After having the sketch ready, I position the drum to temper the fabric where I will be embroidering and that the work becomes much more comfortable. They get this little drum in many sizes, everything will depend on which one you feel more comfortable with. I like medium sizes and if the drawing is very large, I roll it as I create.
I start to make my stitches with the stem of my Dandelion. For this I used a stitch that I call 'back stitch', since we introduce the needle approximately 1cm or (the width that you want to give it) above the first stitch made and then return to the end of the previous stitch and so on. they will be left with their dotted line.
This point is used to make any edge you want, in this case I use it to make the stem of my flower.
To make the center of the flower, I wanted to add a delicate touch of glitter and I did that by embroidering it with some green beads.
To embroider the spikes that make up this dandelion, I made a chain stitch, this is done by inserting the needle from behind through the middle of our previous stitch and between stitch and stitch that effect is created that gives the impression of being a delicate chain of stitches.
Then I edged a few small loose dandelion petals around the flower to give the impression that the wind had ripped them off.
And finally, I like to give my embroideries a final finish by placing Colapano on them, which is a textile glue gel. With this, it prevented the stitches from coming undone in the future and it can be washed without fear of the thread breaking.
This is how my grandma's flannel fit me, she loved it!!
She says that now she can use it for any occasion. I hope that you also like it, soon I will be showing you more of my crafts, greetings!


