Español
Mini corona de adviento
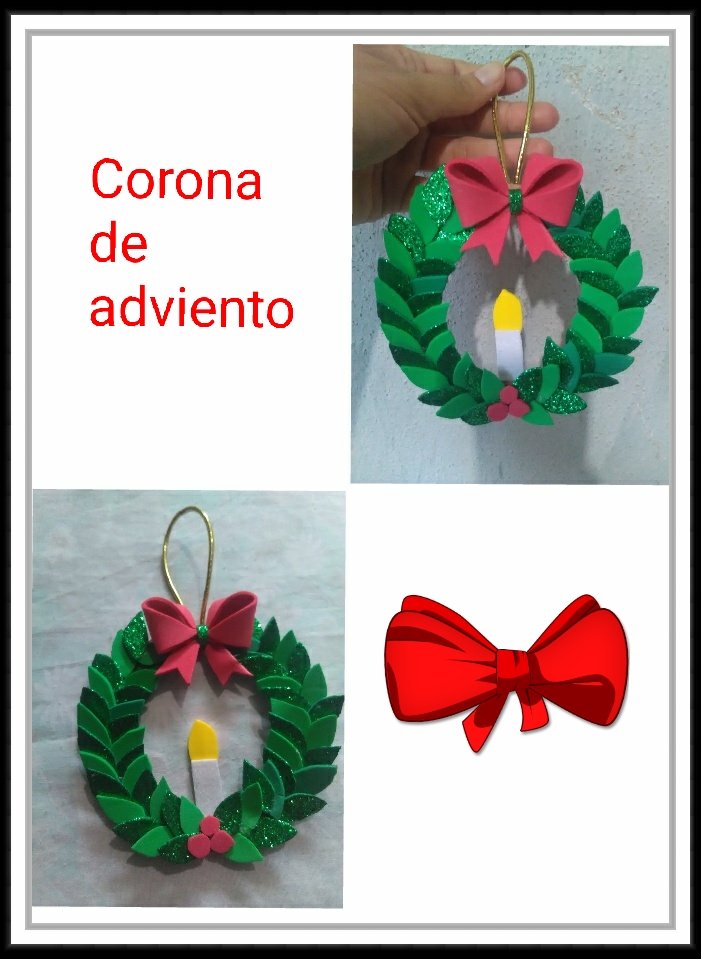
Hermoso día amigos de Hive-Diy, que gusto poder estar con todos ustedes una vez más para compartir en esta ocasión un trabajo cuyo contenido se adelanta un poco pues ya estamos cada vez más cerca de la época favorita del año la "Navidad" y es que el ambiente festivo se siente más y más.
Diciembre es el mes de la reconciliación, de la unión familiar, de los mejores deseos, de la renovación del espíritu, una época donde llenamos nuestras casas, trabajos, avenidas de mucho brillo, color y luces de esperanza para despedir el año agradeciendo lo bueno y lo malo deseando siempre que el año nuevo sea mejor. Contagiada de la magia de la navidad quise comenzar con los preparativos haciendo algunos mini arreglos para decorar mi hogar, es por eso que hoy les quiero compartir la elaboración de una mini corona de adviento muy fácil de hacer.
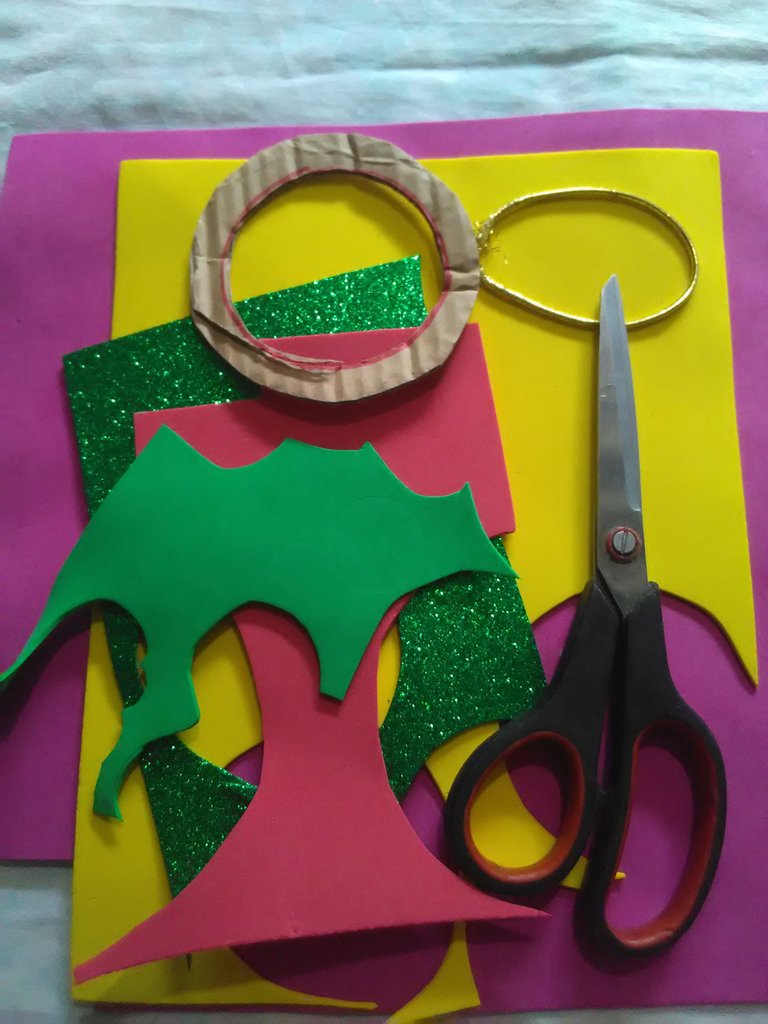
Para este trabajo utilice los siguientes materiales:
. Foami escarchado verde
.foami verde, amarillo, blanco, rojo
. tijeras
. silicon
. aro de cartón
. cstring
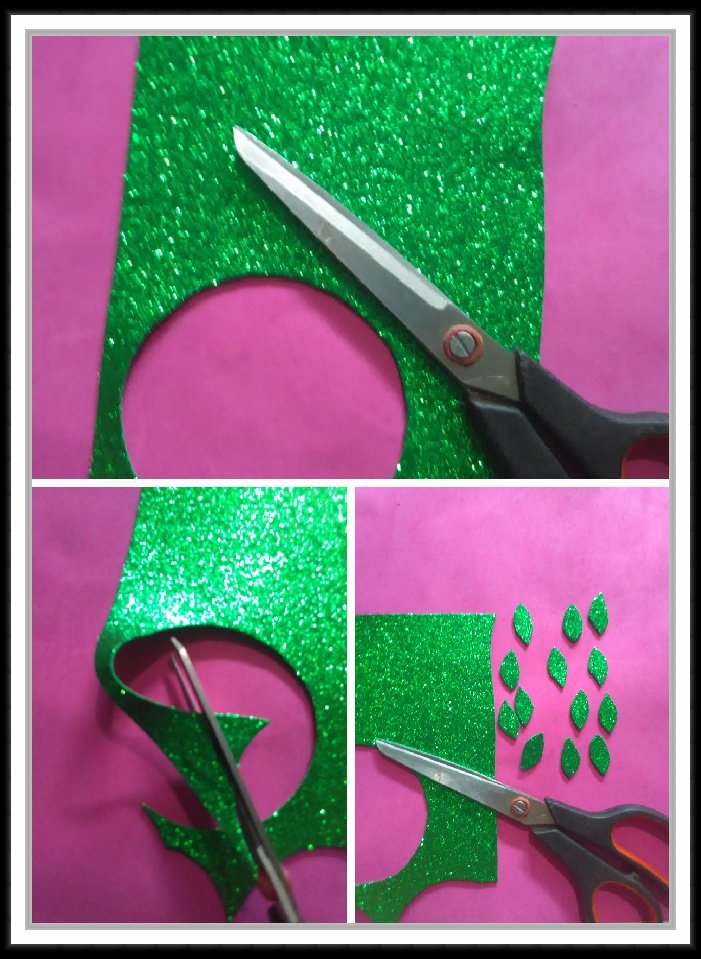
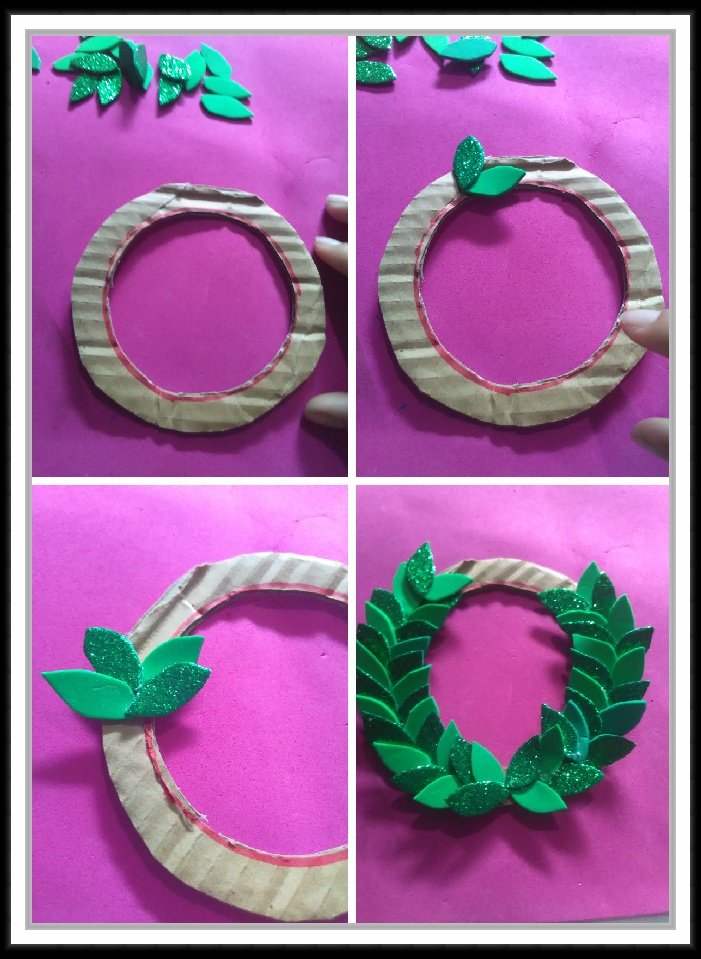
Para mi primer paso use el foami escarchado verde para recortar unos pequeños pétalos como se ve en las imágenes.
De la misma manera realice el proceso pero esta vez con el foami verde de manera de obtener dos tonalidades de pétalos
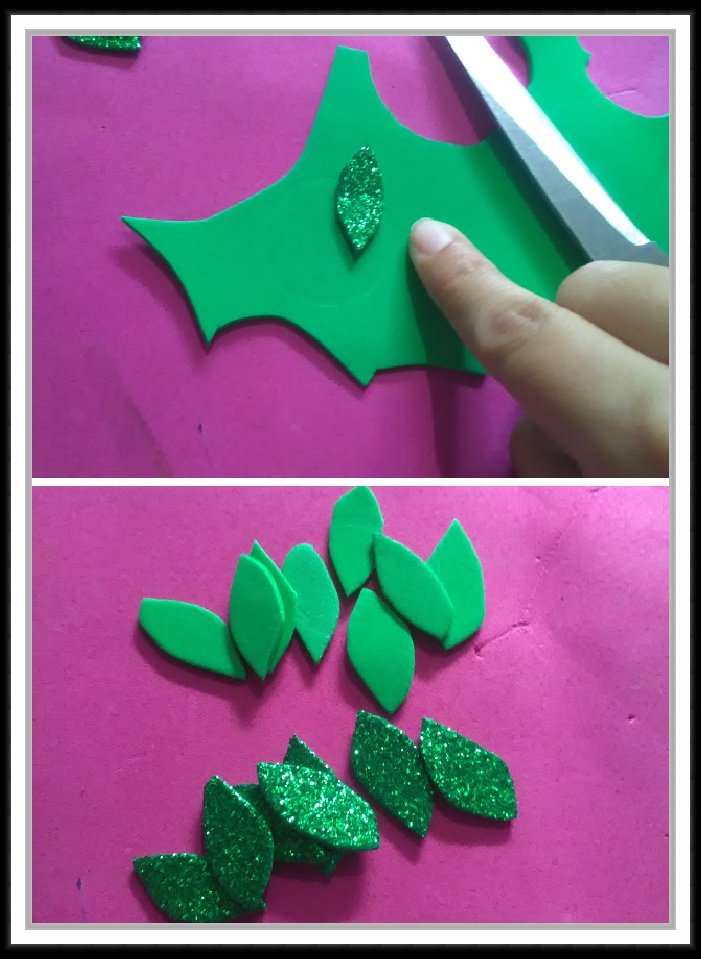
Comenzando a pegar los pétalos en el aro de cartón de manera entrelazados como se puede observar en las imagenes dejando un espacio en la parte superior.
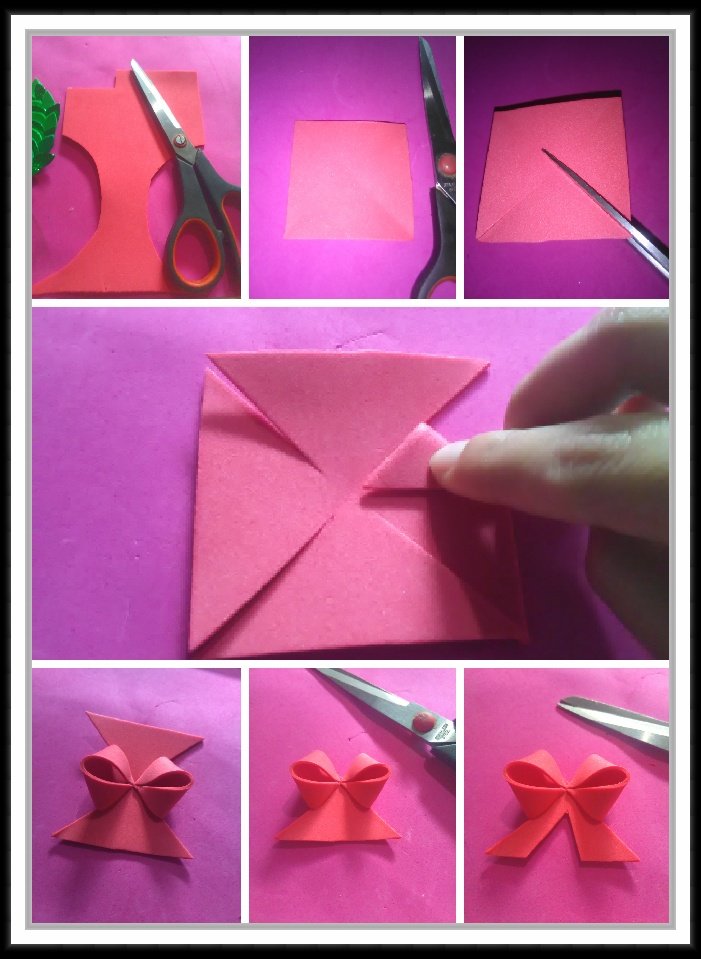
Para el lazo use el foami rojo recortando un cuadrado de 4×4 cm
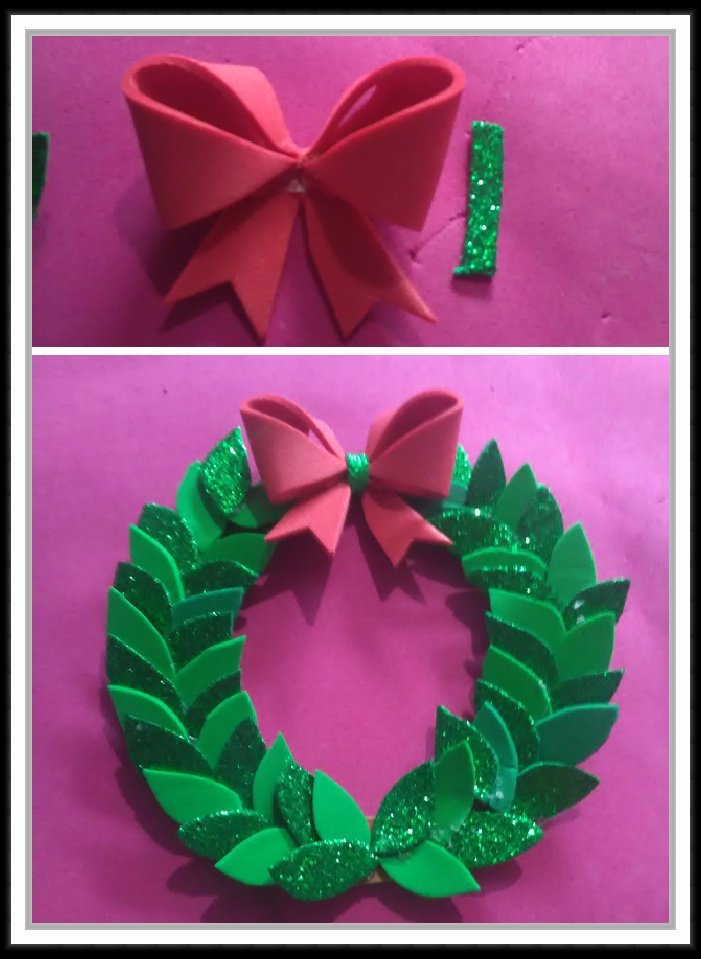
Luego de realizar el lazo procedí a pegarlo a mi corona.
El siguiente paso fue incluir una velita hecha con el foami blanco y amarillo colocándola en la parte posterior de la corona
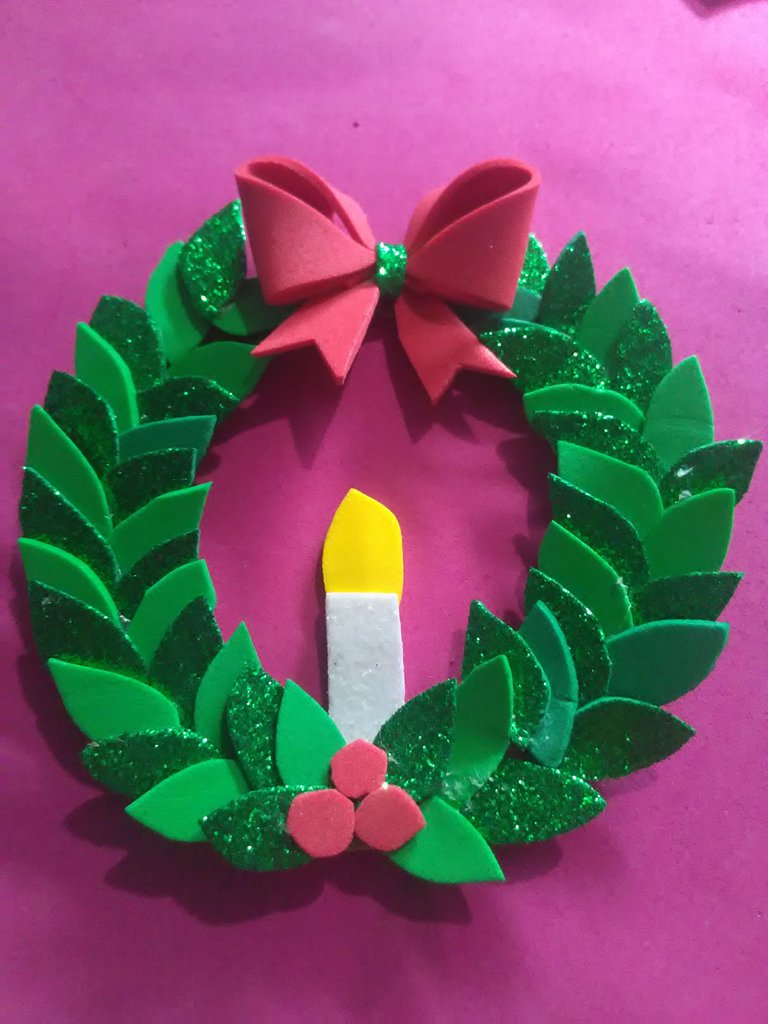
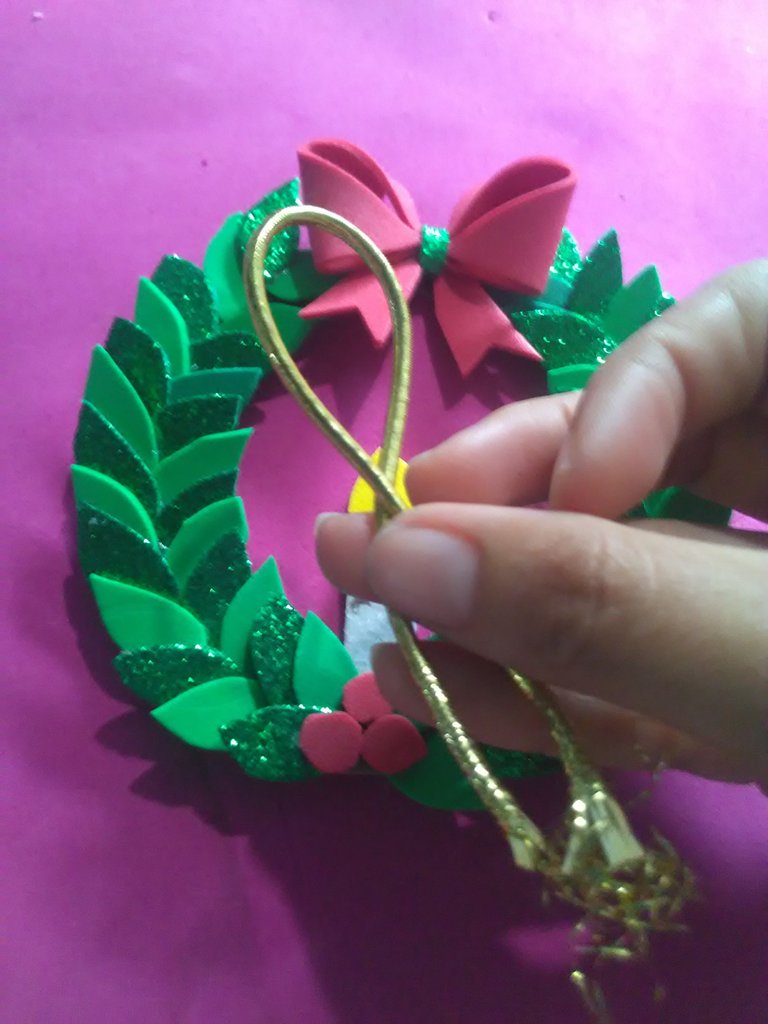
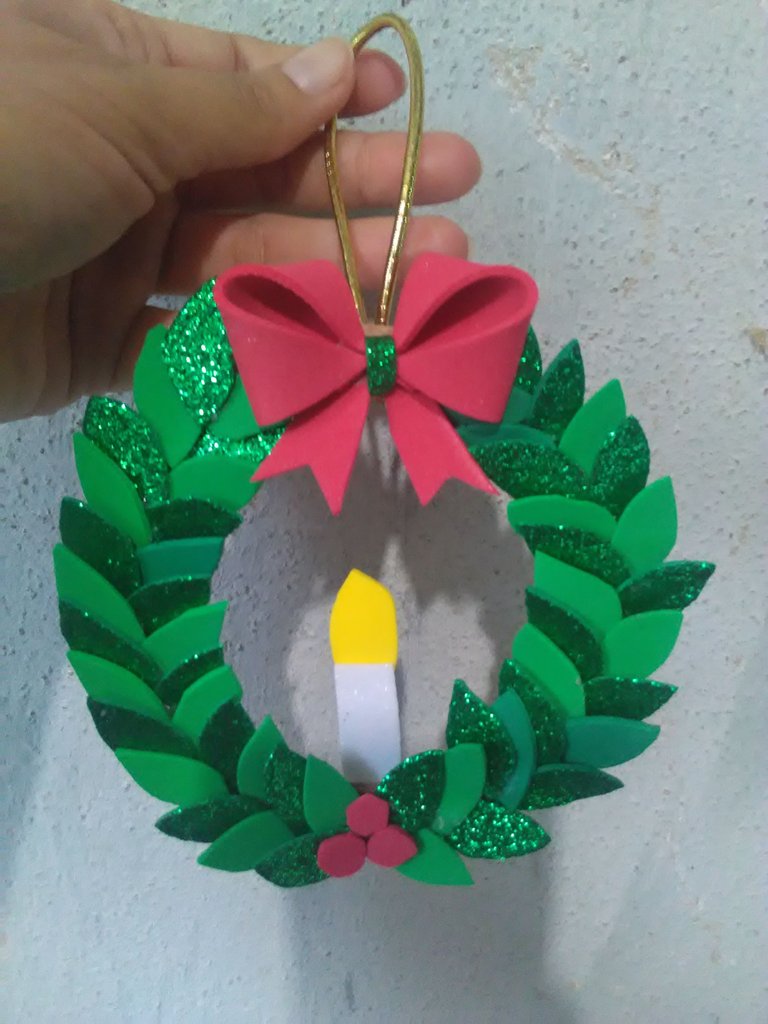
Como ultimo paso tome el cordón para pegarlo a la corona y así poderla colgar en cualquier lugar de nuestros hogares, cuyo resultado es esta hermosa mini corona de adviento.
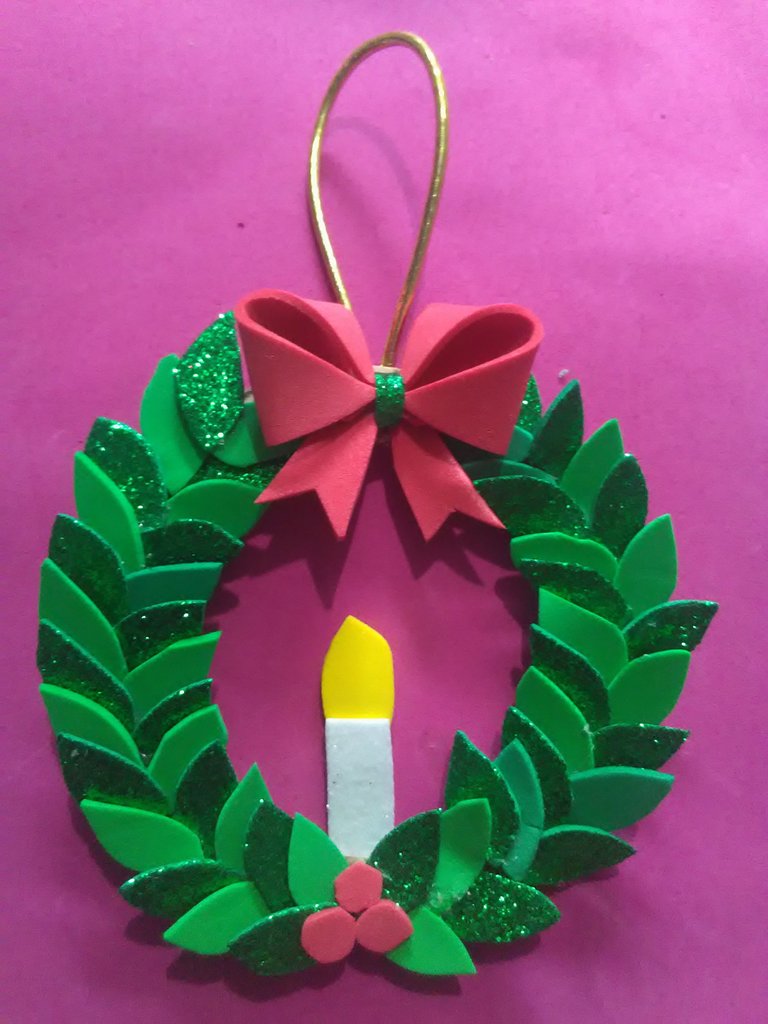
Sin duda una genial idea para llenar nuestros hogares de la alegría de la navidad y mas cuando con tus propias manos vas creando estos arreglos dándole un toque personal
Quisiera agradecer el que me prestaran un poco de su tiempo para visitar mi publicacion, siempre trabajando con mucho cariño para compartir mis manualidades y que puedan darme su punto de vista. Me despido hasta una nueva oportunidad nos vemos en el proximo post. Bendiciones
English
Mini Advent Wreath

Beautiful day friends of Hive-Diy, what a pleasure to be with you all once again to share on this occasion a work whose content is advanced a little because we are getting closer and closer to the favorite time of the year "Christmas" and is that the festive atmosphere is felt more and more.
December is the month of reconciliation, family unity, best wishes, renewal of spirit, a time where we fill our homes, jobs, avenues of brightness, color and lights of hope to say goodbye to the year thanking the good and the bad always wishing that the new year will be better. Contagious of the magic of Christmas I wanted to start with the preparations making some mini arrangements to decorate my home, that's why today I want to share with you the elaboration of a mini advent wreath very easy to make.
For this work I used the following materials:
. Green frosted foami
.green, yellow, white, red foami
. scissors
. silicon
. cardboard ring
. string

For my first step I used the green frosted foami to cut out some small petals as shown in the pictures.

In the same way I did the same process but this time with the green foami in order to get two shades of petals.

Start gluing the petals on the cardboard ring in an intertwined way as you can see in the pictures leaving a space at the top.

For the ribbon I used the red foami cutting out a 4×4 cm square.

After making the bow I proceeded to glue it to my wreath.

The next step was to include a candle made with the white and yellow foami placing it on the back of the wreath.


As a last step I took the cord to glue it to the wreath and thus be able to hang it anywhere in our homes, the result is this beautiful mini advent wreath.
Undoubtedly a great idea to fill our homes with the joy of Christmas and more when with your own hands you create these arrangements giving it a personal touch.

I would like to thank you for lending me a little of your time to visit my publication, always working with love to share my crafts and to give me your point of view. I say goodbye until a new opportunity, see you in the next post. Blessings

- All images are my property edited and taken from my Android Caribe 5.
- Text translated from Deepl