Hola nuevamente amigos de este maravilloso mundo digital🌼
Hello again friends of this wonderful digital world🌼
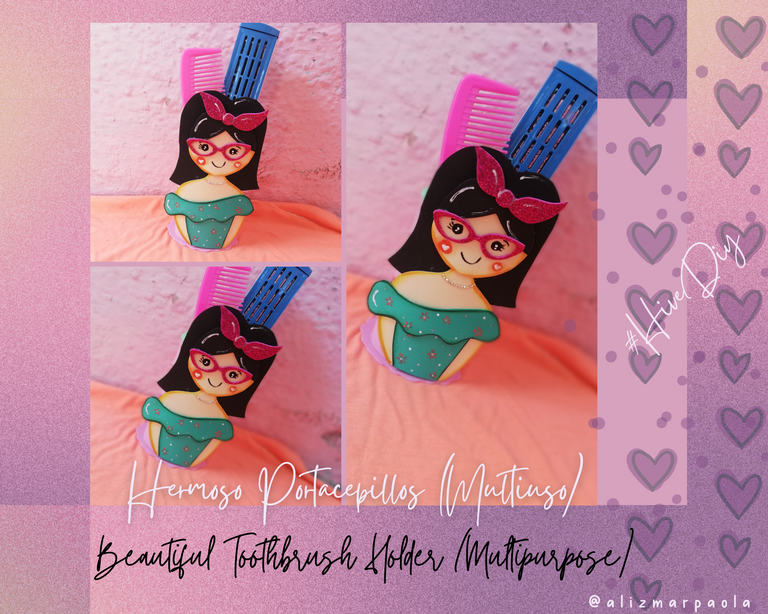
Como ya saben, en Marzo es uno de nuestros meses. Se celebra el día Internacional de La Mujer y que mejor que obsequiar, u obsequiarte a ti misma algún detalle, hecho con amor.. Hoy les muestro por medio de esta comunidad creativa #HiveDiy un hermoso Portacepillos con una linda mujer, a decir verdad la hice muy similar a mi, jaja..
As you know, March is one of our months. International Women's Day is celebrated and what better than to give a gift, or give yourself some detail, made with love... Today I show you through this creative community #HiveDiy a beautiful toothbrush holder with a beautiful woman, to tell you the truth I made it very similar to me, haha.....

Materiales | Materials🌼
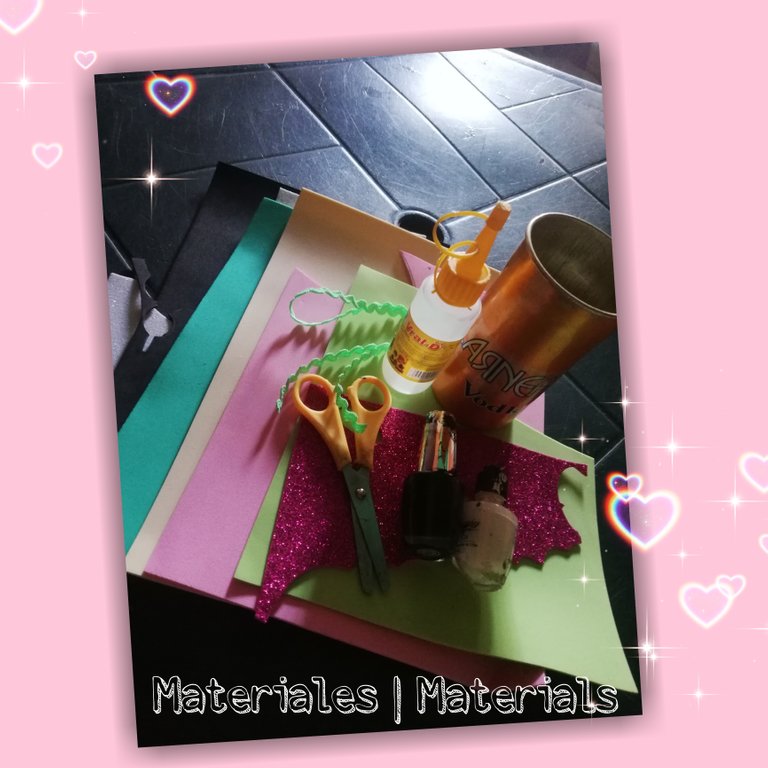
🌼Foami color piel
🌼Foami color turquesa
🌼Foami rosado
🌼Foami negro
🌼Retazo de foami fucsia escarchado
🌼Esmalte de uñas color negro y blanco
🌼Cinta color turquesa
🌼Silicon liquido
🌼Tijeras
🌼Pedrería para uñas
🌼Vaso a decorar
🌼Foami skin color
🌼Foami turquoise color
🌼Foami pink
🌼Foami black
🌼Frosted fuchsia foami patchwork
🌼Black and white nail polish
🌼Turquoise ribbon
🌼Liquid silicon
🌼Scissors
🌼Nail art stones
🌼 Glass to decorate
NOTA Los esmaltes de uñas que aqui utilizo, son aquellos que ya para las uñas no funcionan, es decir estan espesas y para no tirarlas a la basura les doy esta utilidad♻️♻️
NOTE The nail polishes that I use here are those that no longer work for my nails, i.e. they are thick and so as not to throw them away I give them this use♻️♻️️

Paso a Paso | Step by Step🌼
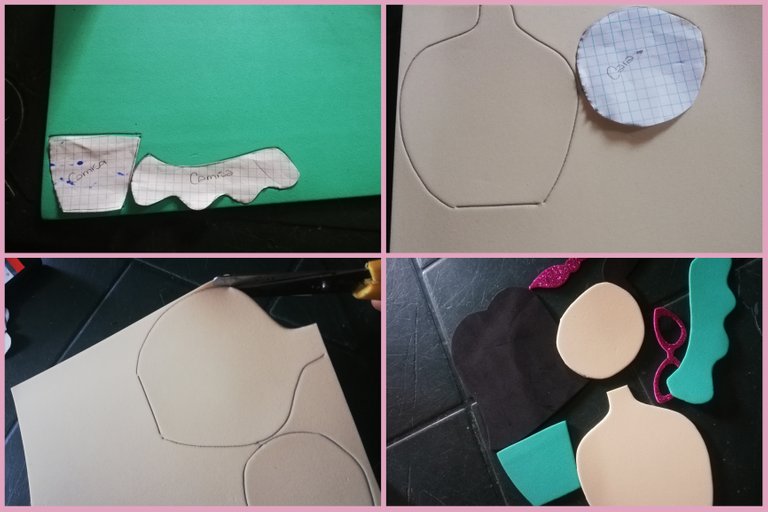
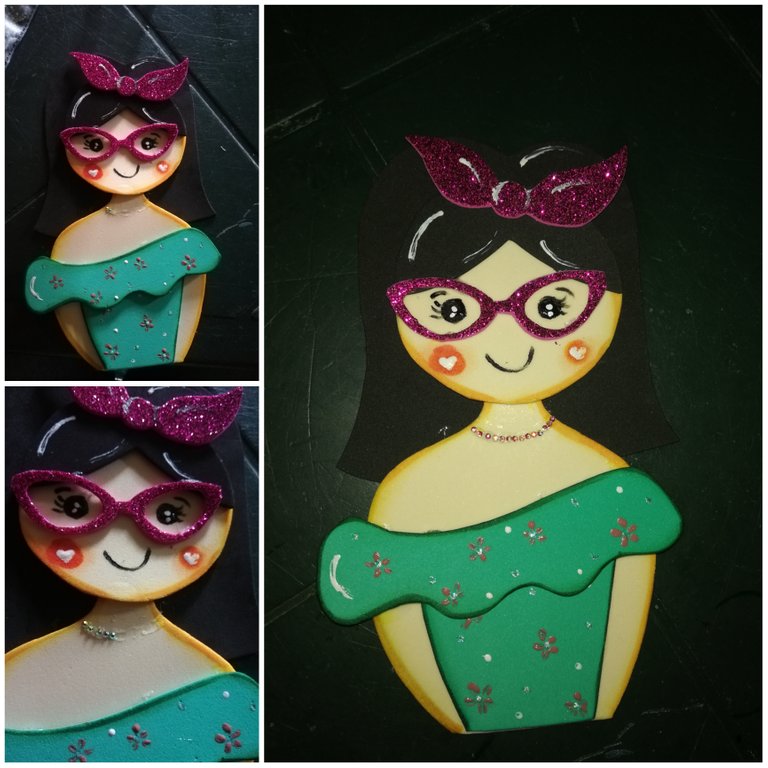
🌼Primero dibuje la muñeca que quería, luego realice los patrones por separado y recorté.
🌼First I drew the doll I wanted, then I made the patterns separately and cut out.
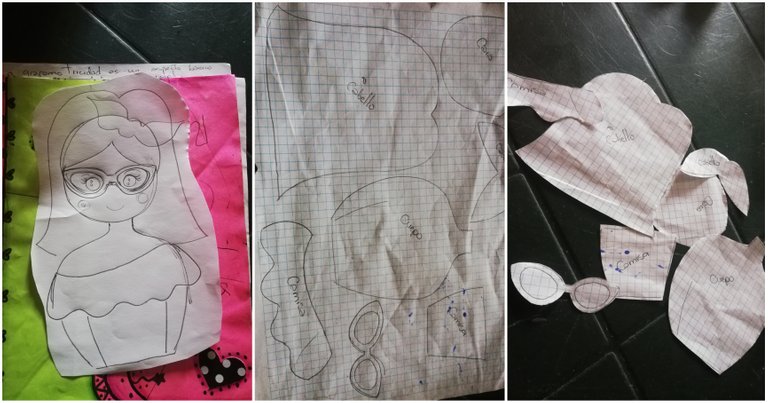
🌼Marque los patrones en el foami correspondiente a cada color, luego los recorté.
🌼 I marked the patterns on the foami corresponding to each color, then cut them out.
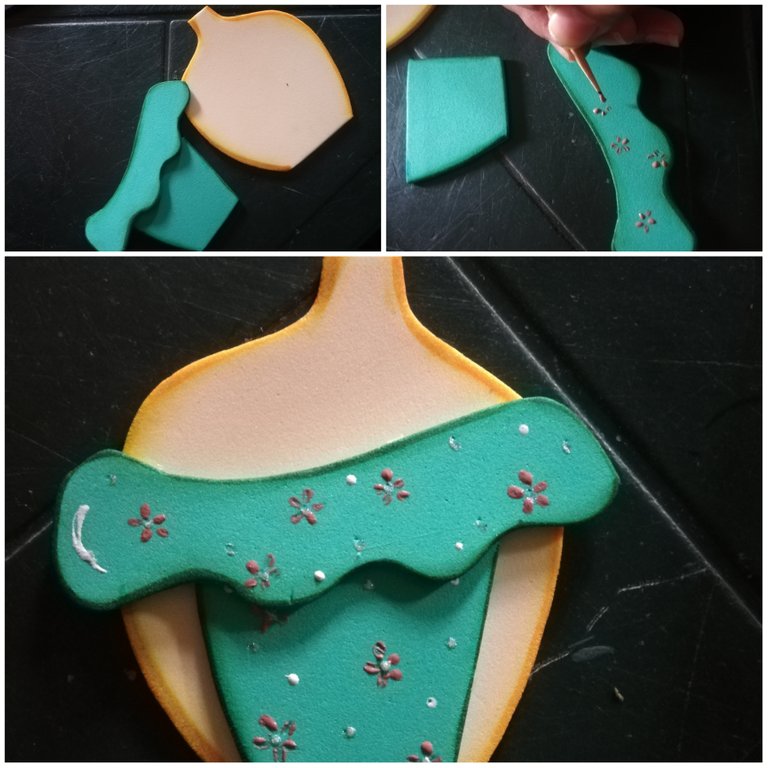
🌼Comencé armando el cuerpo, para esto difumine con color naranja el borde de lo que sería pecho y brazos. De igual forma con marcador verde difumine la blusa y con una pintura de uñas y un palillo de dientes realice algunos detalles a la blusa (florecitas). Pegue con silicon cada pieza.
🌼I started by putting together the body, for this I blurred with orange color the edge of what would be the chest and arms. In the same way with green marker I blurred the blouse and with a nail polish and a toothpick I made some details to the blouse (little flowers). Glue with silicone each piece.
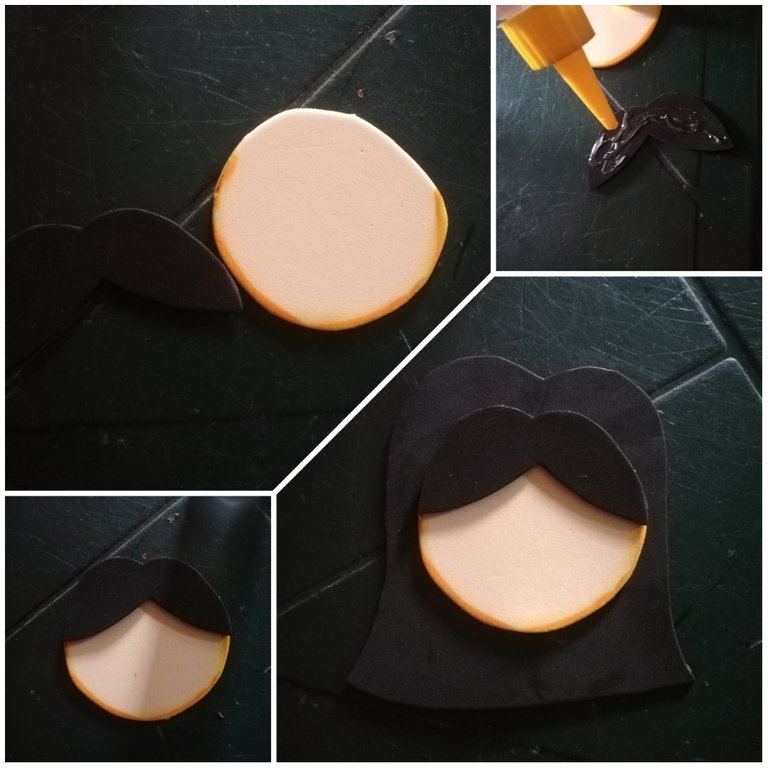
🌼Para el rostro, tambien difumine el borde con marcador naranja y sobre este pegue el fleco para luego pegar esto sobre el resto de cabello.
🌼For the face, also blur the edge with orange marker and on this glue the fringe and then glue this on the rest of the hair.
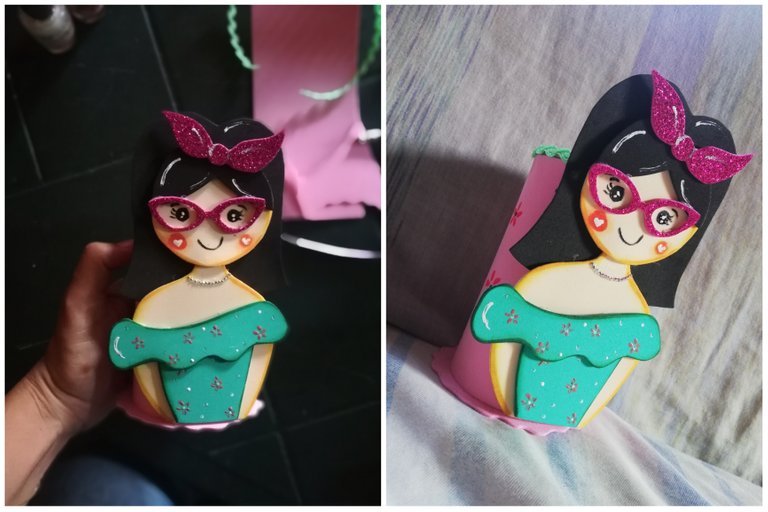
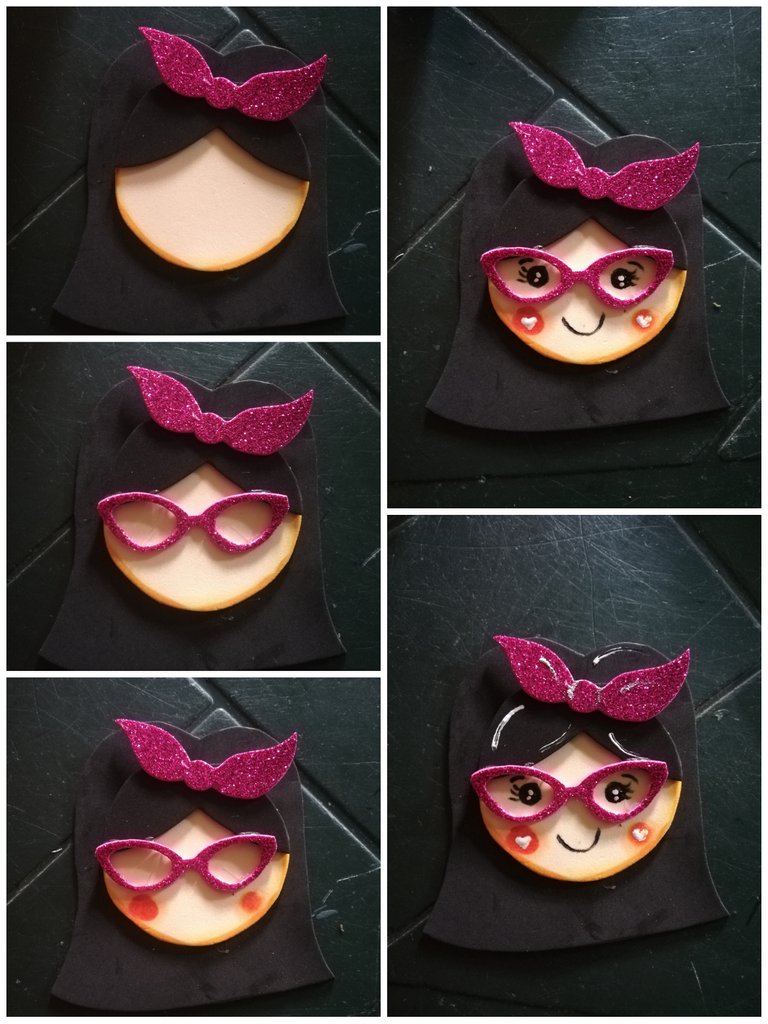
🌼Pegue sobre el cabello una diadema, luego en el rostro pegue las gafas. Con marcador fucsia realice las mejillas ara posteriormente con esmalte de uñas color negro hice los ojos y boca. Di un poco de luz con esmalte blanco.
🌼Glue on the hair a headband, then on the face I glued the glasses. With fuchsia marker I made the cheeks and then with black nail polish I made the eyes and mouth. I gave a little light with white nail polish.
🌼Uní el rostro al cuerpo, pero sentia que para ser yo faltaba algun detalle. Asi que con pedreria de uñas comence a pegar una a una en el cuello para formar un delicado collar. ¡Esto me encantó!
🌼I attached the face to the body, but I felt that to be me I was missing some details. So with nail rhinestones I started to glue one by one on the neck to form a delicate necklace. i loved this!
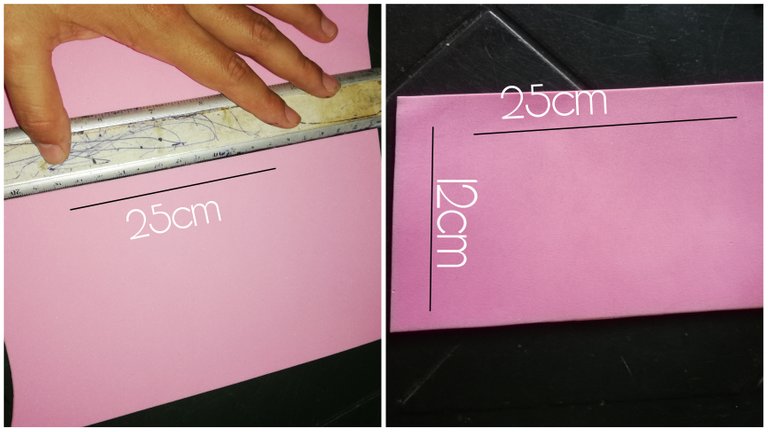
🌼Una vez que tenia lista la muñeca, medi en foamo coloe rosado 12cm de ancho por 25cm de largo. Esto con la finalidad de forrar el vaso.
🌼Once I had the doll ready, I measured in foamo coloe pink 12cm wide by 25cm long. This with the purpose of lining the glass.
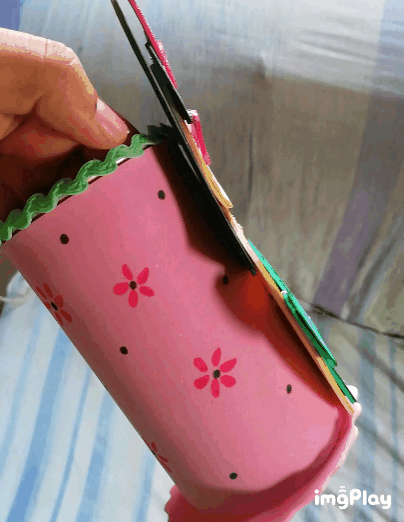
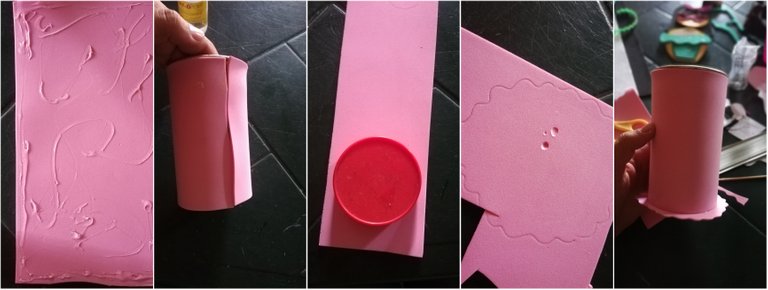
🌼Con silicon pegue la tira anteriormente hecha, al vaso y con ayuda de una tapa (de mayonesa) me ayude para usar como referencia y hacer un circulo dislocado jaja el cual pegue en la parte inferior del vaso.
🌼With silicone I glued the strip previously made, to the glass and with the help of a (mayonnaise) lid helped me to use as a reference and make a dislocated circle haha which I glued on the bottom of the glass.
🌼Con cinta verde, cubri el borde al inicio del vaso.
🌼With green tape, cover the rim at the beginning of the glass.
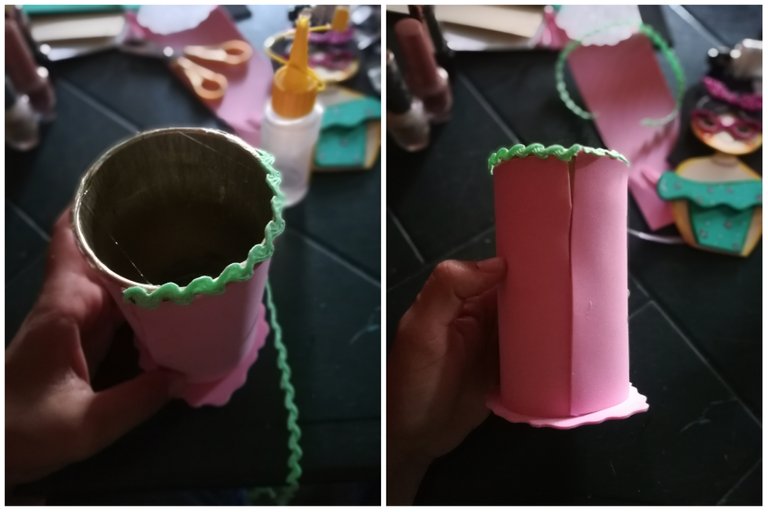
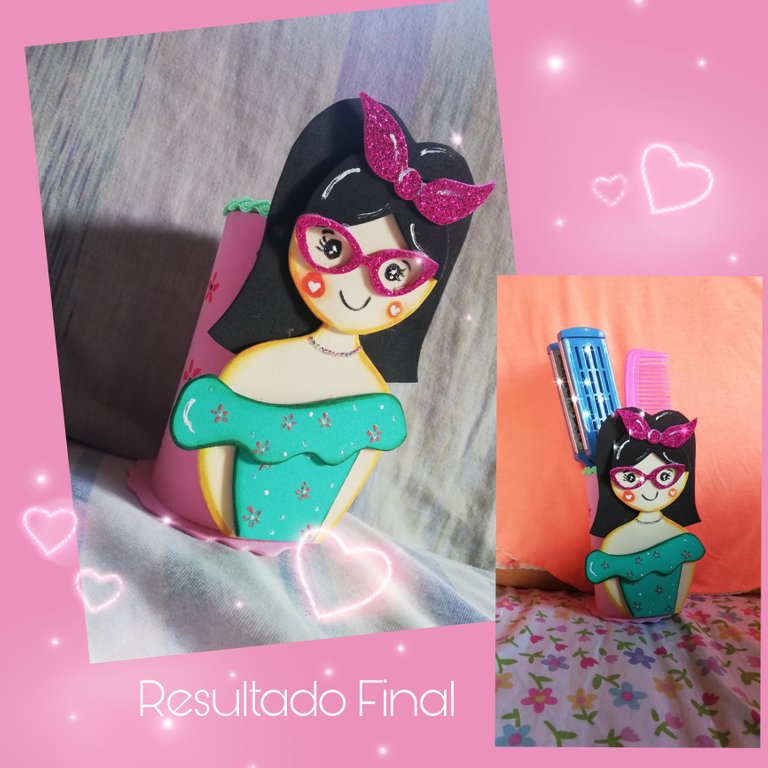
🌼Justo en la union del foami, pegue la muñeca y listo ¡tenemos un detalle listo par obsequiar, y si es para uso personal, listo para usar!
🌼Right at the junction of the foami, glue the doll and voila, we have a gift ready to give, and if it is for personal use, ready to use!
