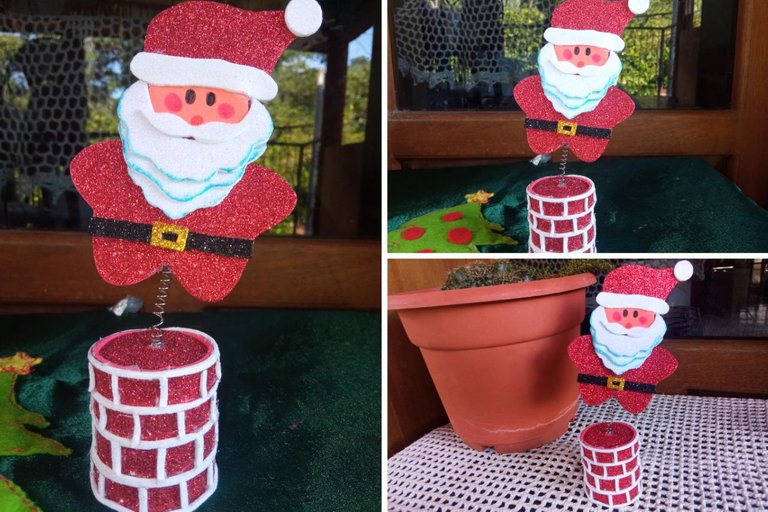
Greetings artisan friends and DIY lovers from the #HIVEDIY community, receive infinite blessings on this new day. Christmas is approaching and I continue to do my crafts to decorate my home, share this important date with my loved ones and also share my projects with all of you, all done with a lot of love and enthusiasm, because love cannot be lacking in homes. In this new craft I want to share with you a delicate and tender project that I have developed with great joy and enthusiasm, and it is that Christmas is joy in its maximum splendor, it is a souvenir or memory that has as its protagonist a Santa who is willing to dance before any movement that is applied or just with the Christmas breeze. This Santa dances from Christmas carols, bagpipes, Christmas gifts and even bachatas. I show you in the following tutorial how I made it with materials that I had available at home, so that you can also do it from home and dance to the rhythm of Christmas.
Saludos amigos artesanos y amantes del bricolaje de la comunidad de #HIVEDIY, reciban infinitas bendiciones en este nuevo día. Se aproxima la navidad y continúo realizando mis manualidades para decorar mi hogar, compartir esta fecha tan importante con mis seres amados y también compartir mis proyectos con todos ustedes, todo realizado con mucho amor y entusiasmo, porque el amor no puede faltar en los hogares. En esta nueva manualidad quiero compartirles un delicado y tierno proyecto que he elaborado con gran alegría y entusiasmo, y es que la navidad es alegría en su máximo esplendor, se trata de un souvenir o recuerdo que tiene como protagonista a un Santa que está dispuesto a bailar ante cualquier movimiento que se le aplique o tan solo con la brisa navideña. Este Santa baila desde villancicos, gaitas, aguinaldos y hasta bachatas. Te muestro en el siguiente tutorial como lo elaboré con materiales que tenía disponible en casa, para que tú también lo puedas realizar desde casa y bailes al ritmo de la navidad.
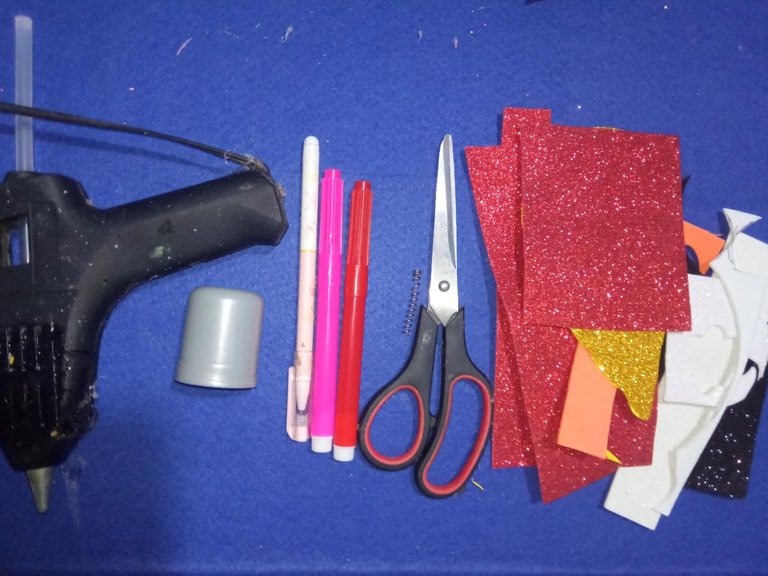
Used materials:
Roll-on deodorant cap.
Unused pen spring.
Foam cutouts or frosted Eva rubber colors: red, black, white, gold, and skin color.
Markers: light blue, black, red and pink.
Stick silicone with your gun.
Pair of scissors.
Materiales utilizados:
✓ Tapa de desodorante de roll-on.
✓ Resorte de bolígrafo sin uso.
✓ Recortes de foami o goma Eva escarchada colores: rojo, negro, blanco, dorado, y color piel.
✓ Marcadores: azúl claro, negro, rojo y rosa.
✓ Silicón en barra con su pistola.
✓ Tijeras.
Start of my creative project:
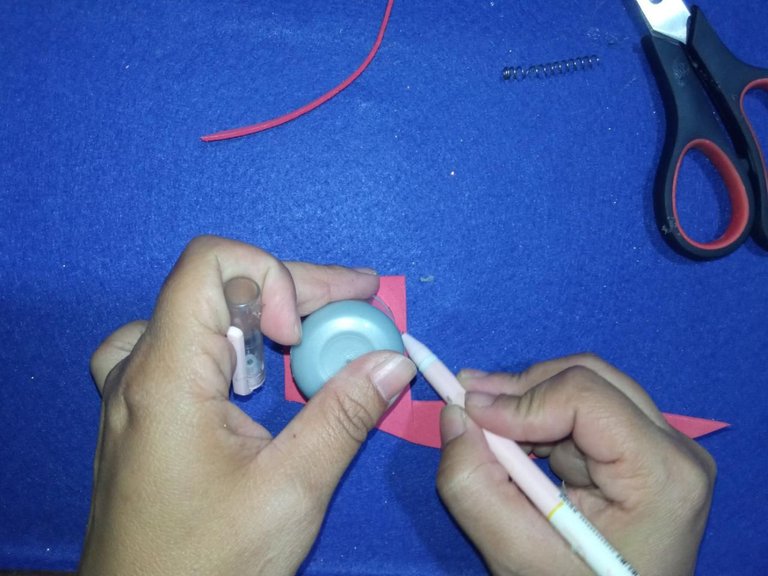
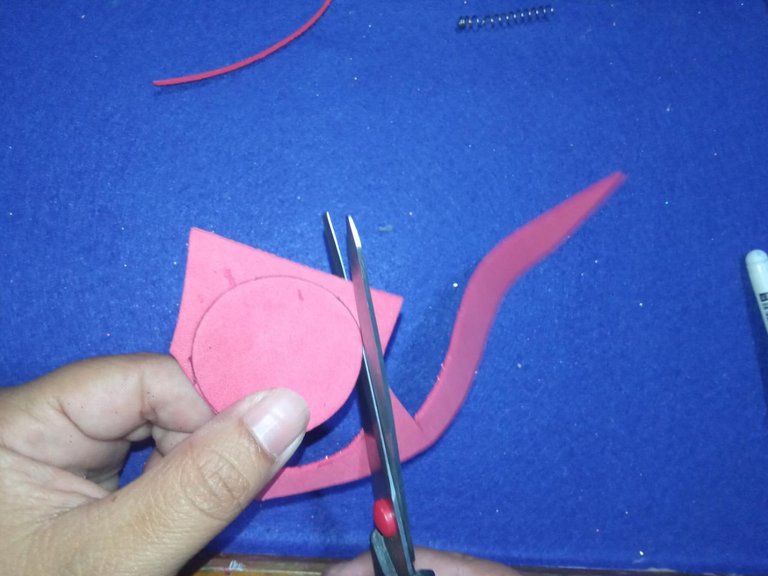
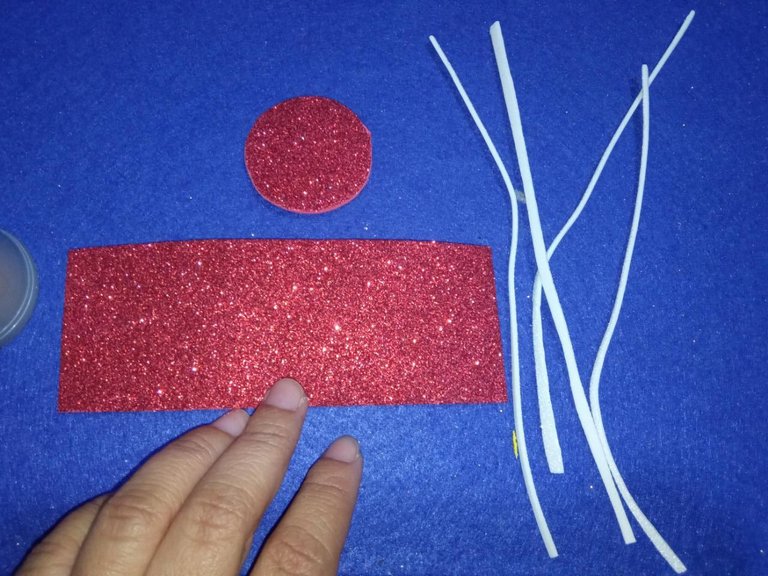
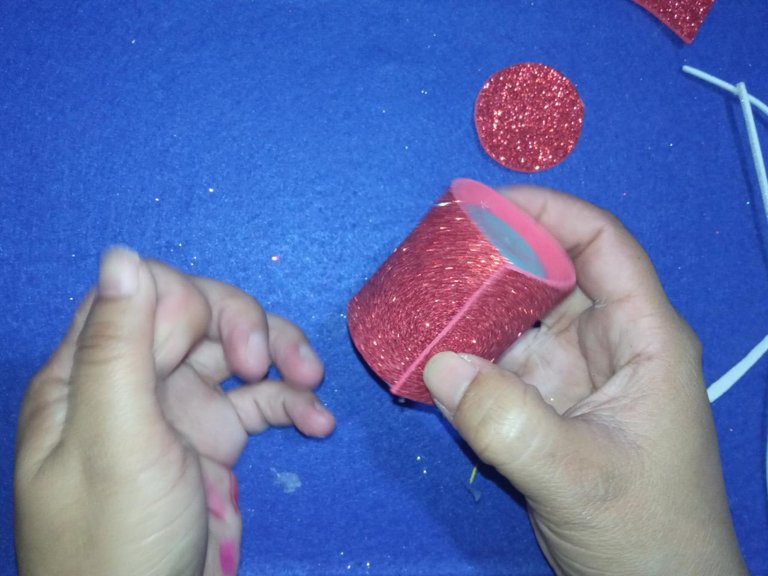
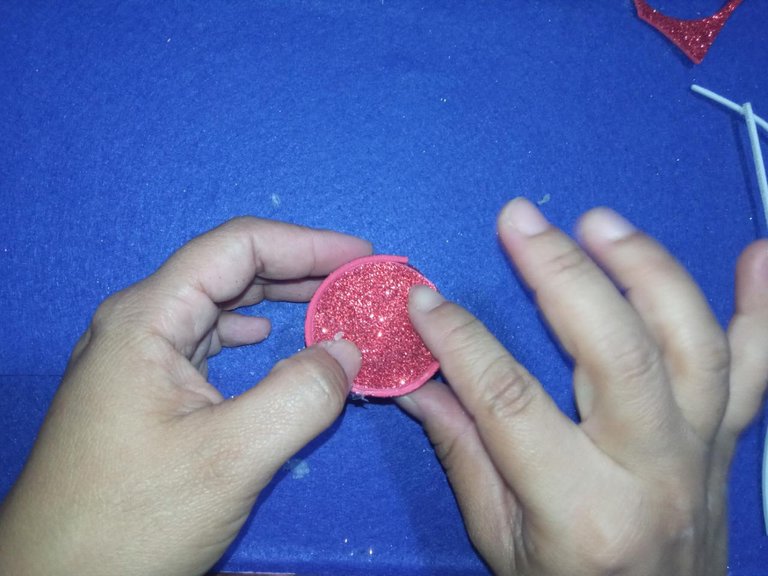
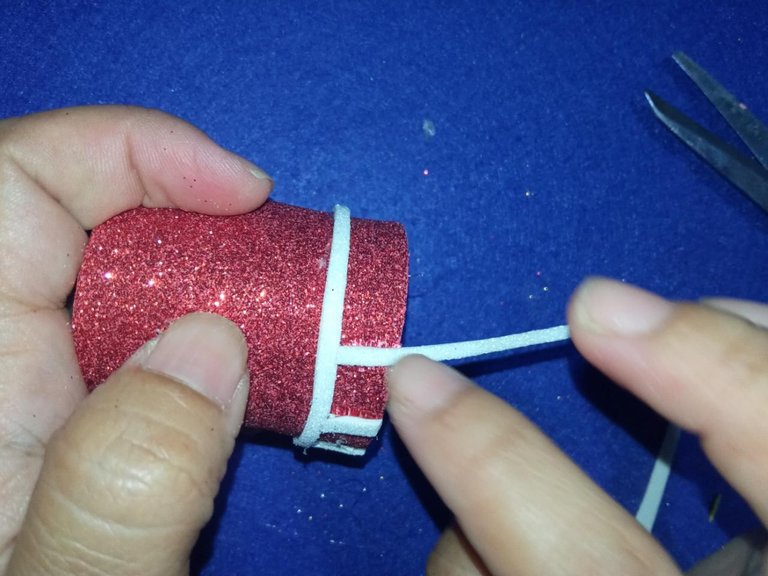
For the chimney-shaped base: I start by marking the circumference of the deodorant cap on the red Eva rubber and cut out with the scissors, also cut out a rectangle of the same height and size as the deodorant cap and some small strips of about 0.5cm wide of white Eva rubber to make the divisions of the bricks. With the hot silicone I line the deodorant cap with the rectangle and the red Eva rubber circumference.
Inicio de mi proyecto creativo:
Para la base con forma de chimenea: Comienzo marcando la circunferencia de la tapa de desodorante en la goma Eva roja y recortó con las tijeras, también recortó un rectángulo de igual altura y tamaño que la tapa de desodorante y unas pequeñas tiras de unos 0.5cm de ancho de goma Eva blanca para realizar las divisiones de los ladrillos. Con el silicón caliente forro la tapa de desodorante con el rectángulo y la circunferencia de goma Eva roja.
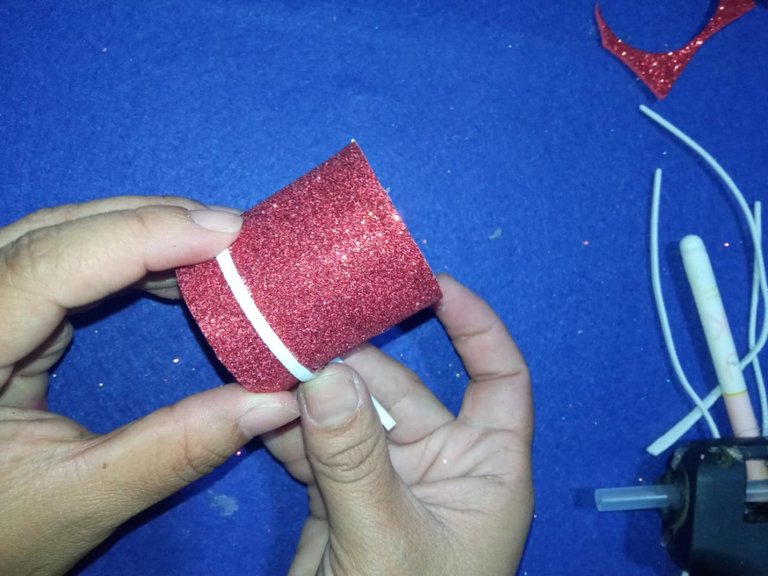
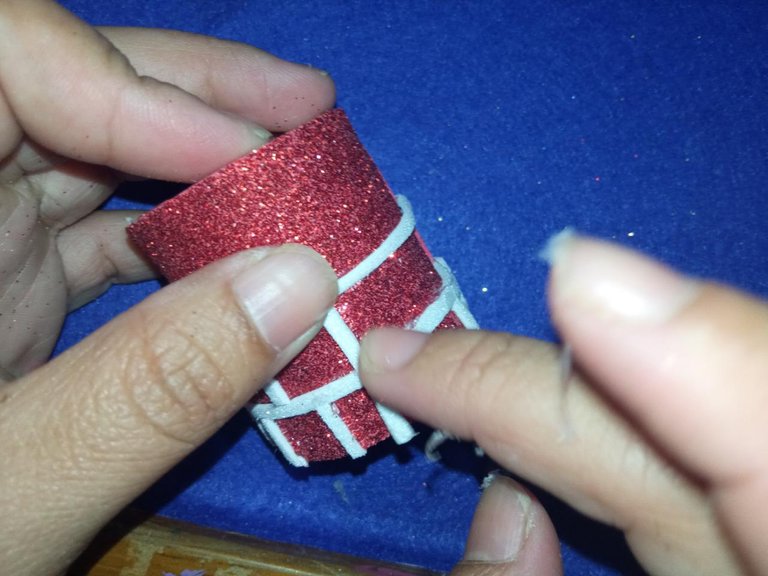
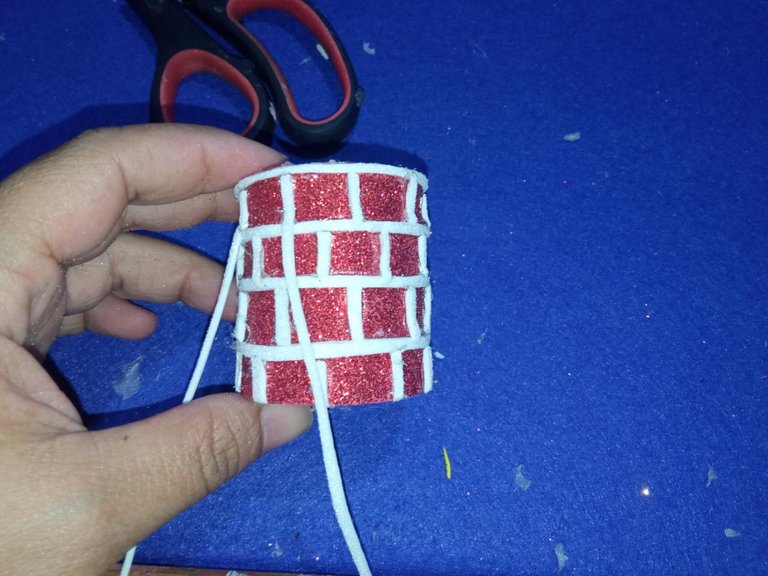
Now I start to glue the divisions of the bricks by gluing the white strips around the entire circumference of the lid and made divisions by gluing the remaining strips horizontally throughout the lid, trimmed the excess rubber with the scissors, to shape the chimney Strips from the top of the boloques should be glued in the center of the blocks below. Then, with the hot silicone I glue the spring in the center of the formed chimney. The spring will serve so that our Santa can dance when moving the base or when giving a breeze to our souvenir.
Ahora comienzo a pegar las divisiones de los ladrillos pegando las tiras blancas en toda la circunferencia de la tapa y realizó divisiones pegando las tiras restantes en forma horizontal por toda la tapa recortó los excesos de goma con las tijeras, para dar forma a la chimenea las tiras de la parte superior de los boloques las debes pegar en el centro de los bloques de abajo. Luego, con el silicón caliente pego el resorte del centro de la chimenea formada. El resorte servirá para que nuestro Santa pueda bailar al mover la base o al darle brisa a nuestro souvenir.
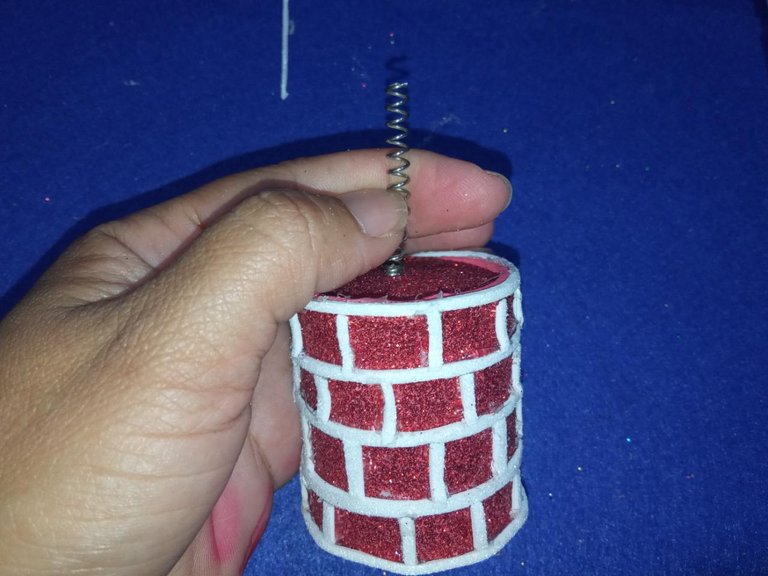
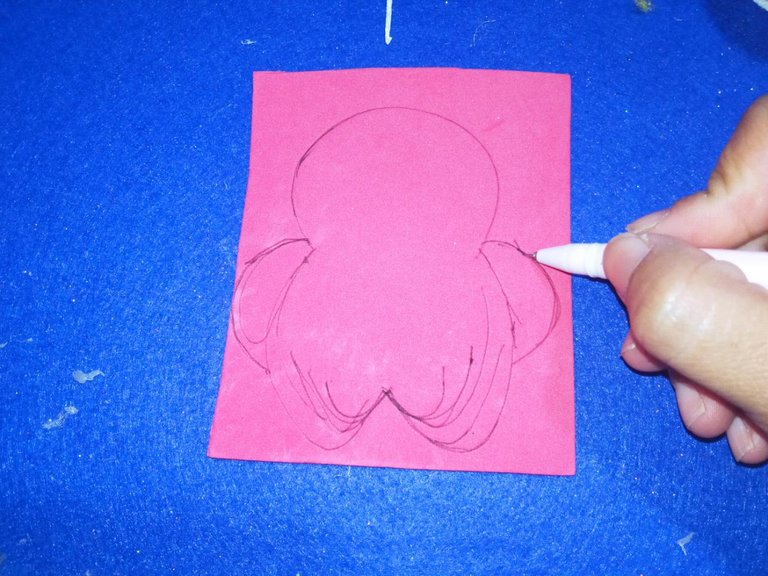
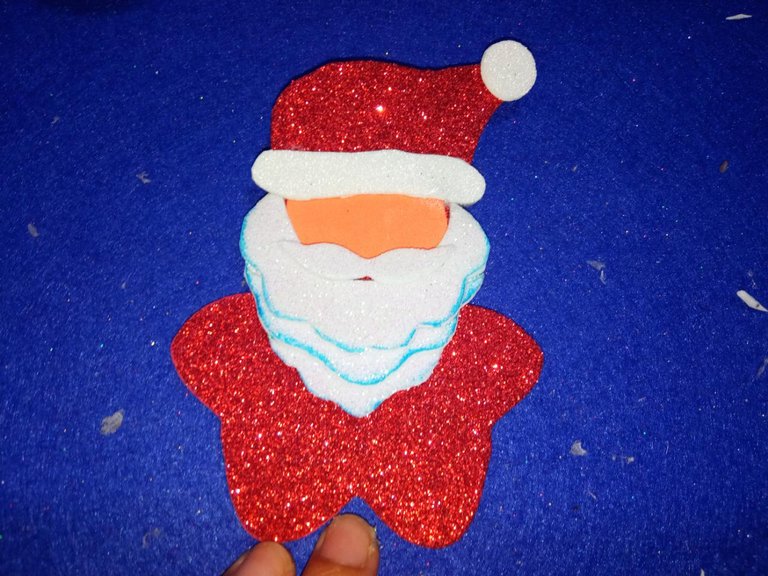
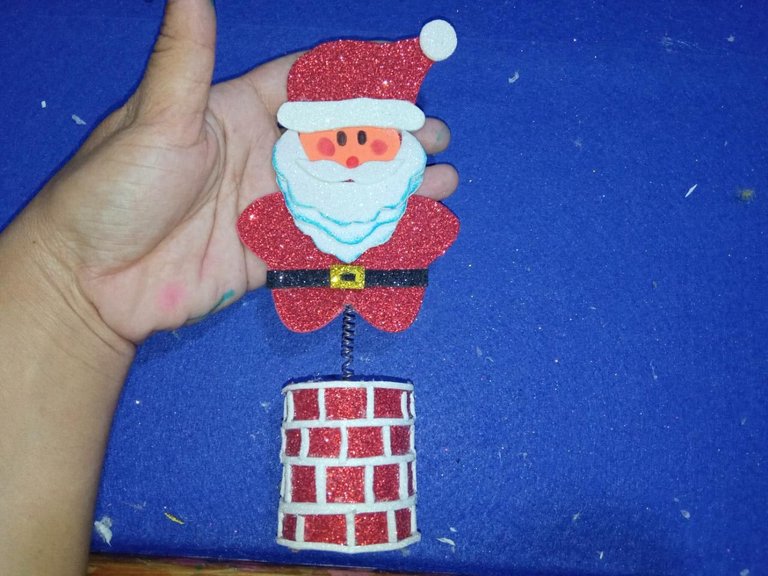
It is time to elaborate my Santa that I will then fix with hot silicone on the top of the spring.
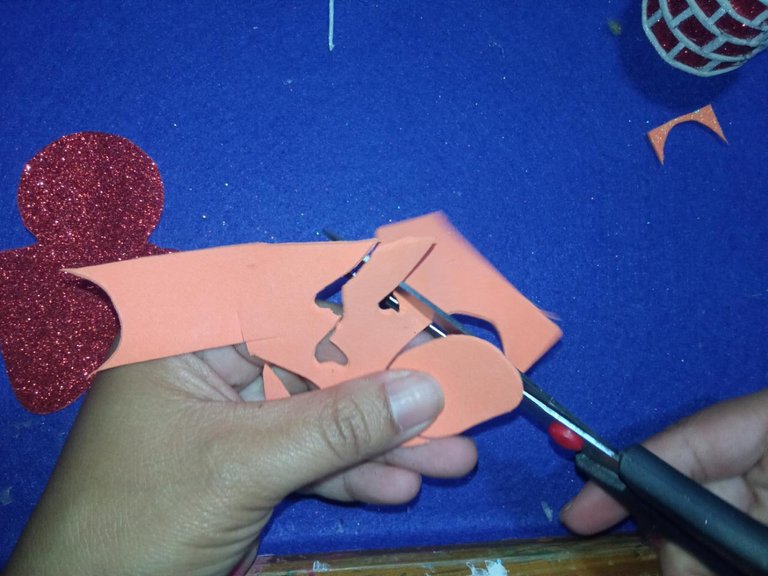
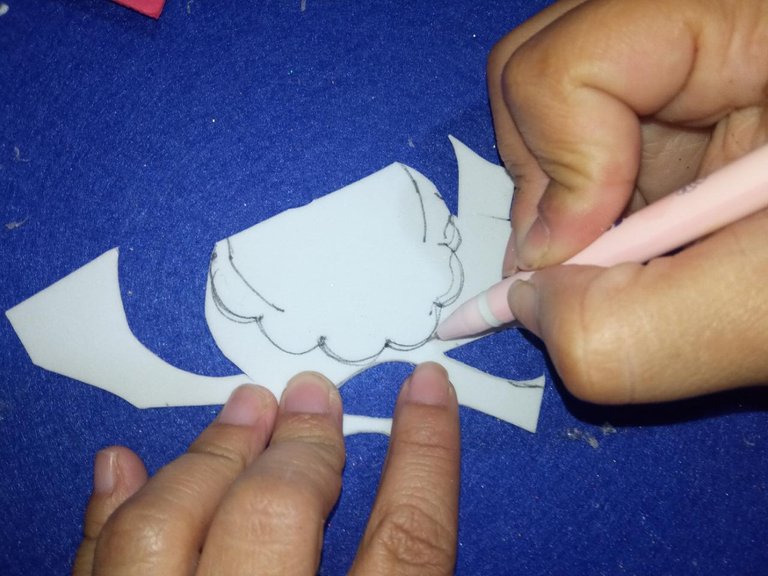
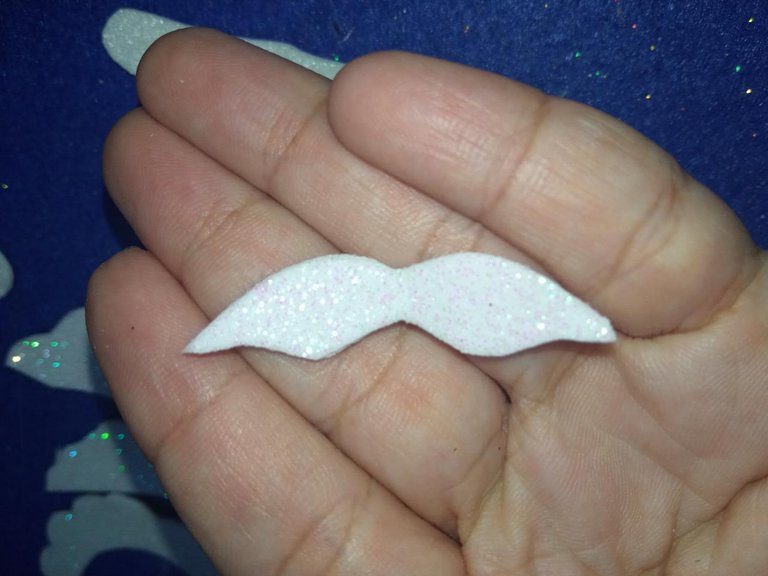
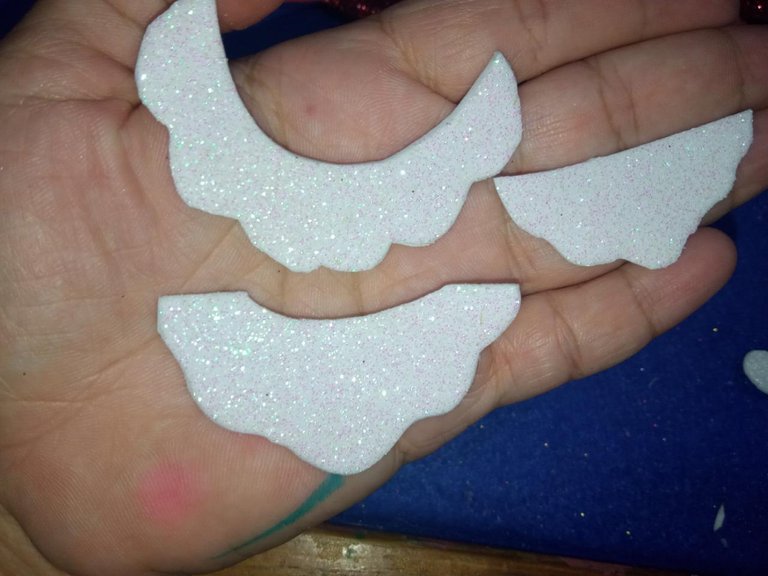
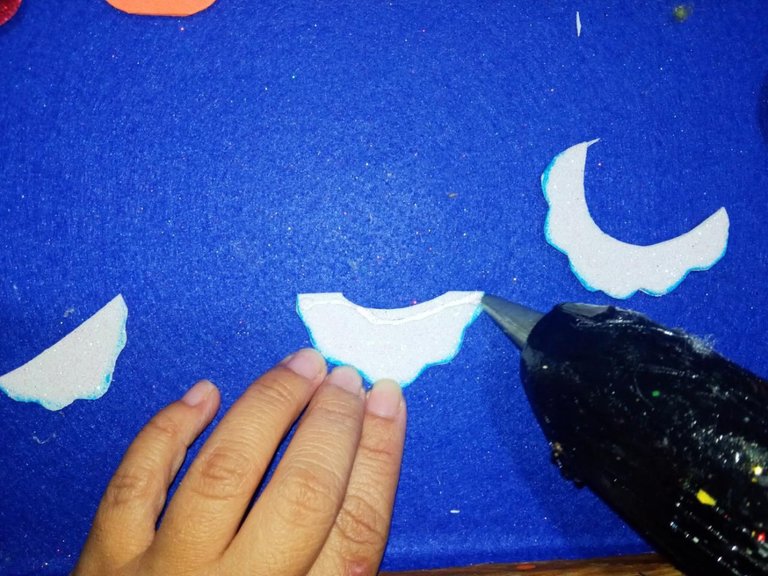
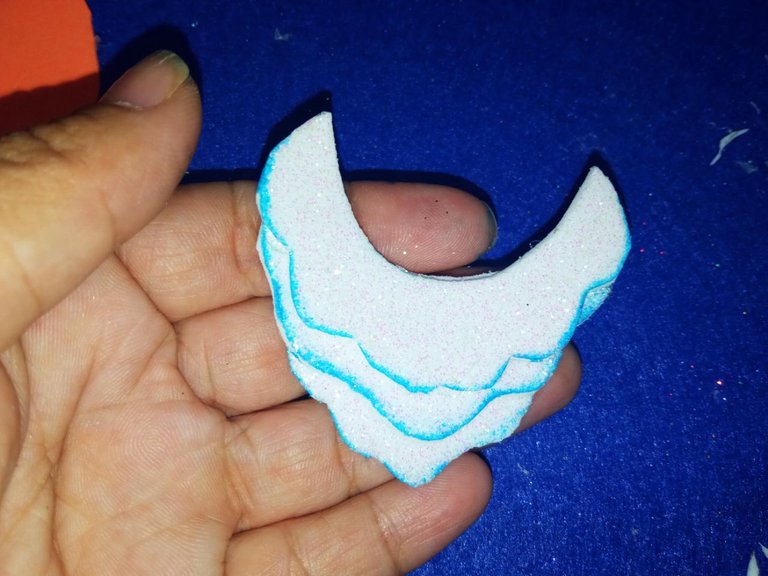
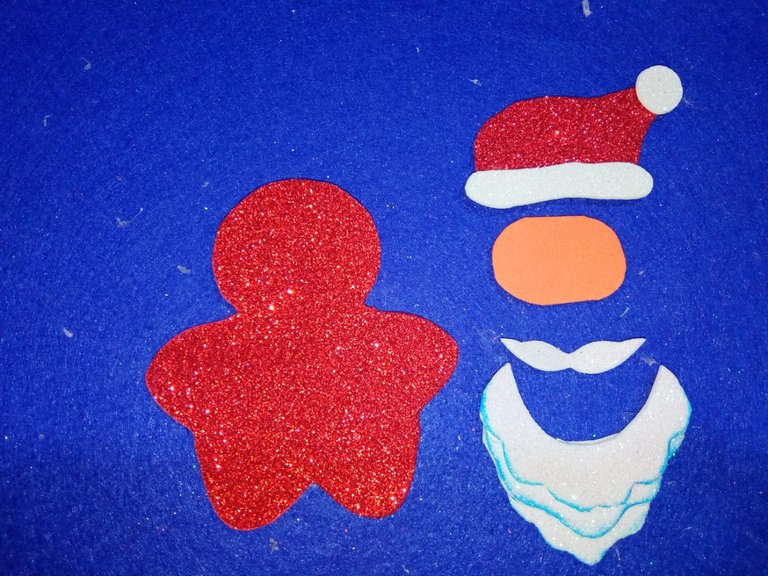
On the red Eva eraser I draw Santa's body as if it were a five-pointed star, but the top point should be a circle for our Santa's head and I mark his hat, cut out Santa's body and now I start to mark the others details: for the face I cut out a circle in the skin-colored Eva rubber that I must use for the part without frost. He also trimmed Santa's beard from the white Eva eraser (cut the beard into three pieces because I didn't have enough white Eva eraser, you can cut it into one piece) cut the white mustache, the hat ribbon and a small circle for its tip. With the light blue marker I paint the edges of Santa's mustache and glue each piece of the beard and put together the Santa hat.
Es momento de elaborar a mi Santa que luego fijaré con silicón caliente en la parte superior del resorte.
En la goma Eva roja dibujo el cuerpo de Santa como si fuera una estrella de cinco puntas, pero la punta superior debe ser un círculo para la cabeza de nuestro Santa y marco su gorro, recortó el cuerpo de Santa y ahora comienzo a marcar los otros detalles: para la cara recortó un círculo en la goma Eva color piel que debo usar por la parte sin escarchas. También recortó en la goma Eva blanca la barba de Santa (corte la barba en tres piezas porque no tenía suficiente goma Eva blanca, ustedes pueden cortarla en una pieza) corte el bigote blanco, el listón del gorro y un pequeño círculo para su punta. Con el marcador azúl claro pinto los bordes del bigote de Santa y pego cada pieza de la barba y armó el gorro de Santa.
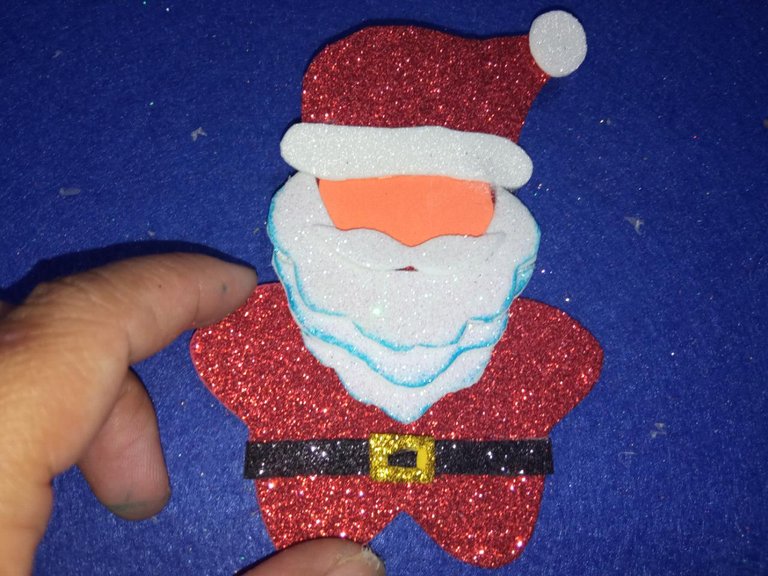
With the hot silicone I glued each piece where it belongs on Santa's body, with the black Eva rubber she cut his belt and for the buckle she cut out a rectangle of golden Eva rubber and glued with. The silicone client of Santa's waist.
Con el silicón caliente pego cada pieza donde corresponde en el cuerpo de Santa, con la goma Eva negra recortó su cinturón y para la hebilla recortó un rectángulo de goma Eva dorada y pego con. El silicón cliente de la cintura de Santa.
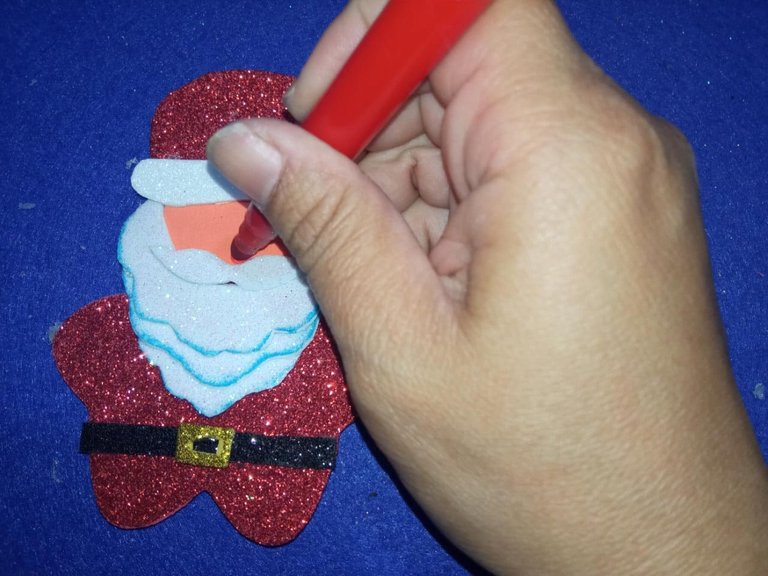
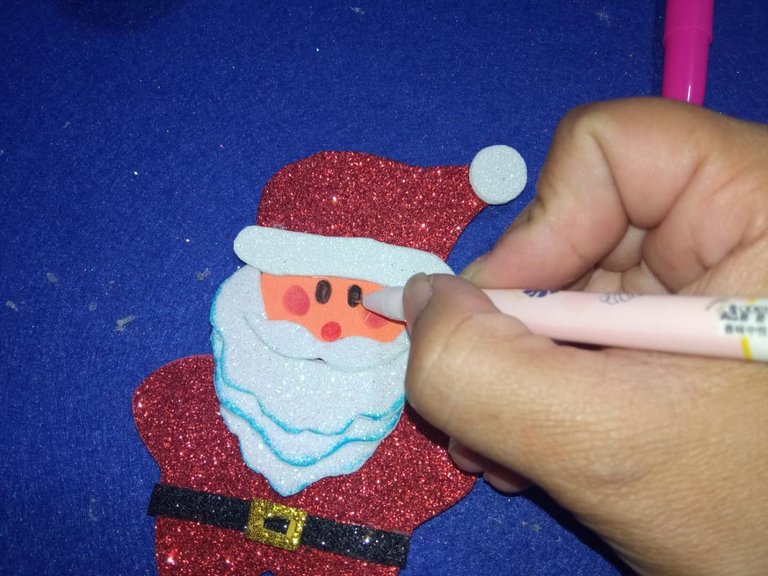
To finish, I mark Santa's nose with the red marker, with the pink marker I paint his blush and with the black fine point marker I mark his little eyes. Then I hit Santa off the tip of the spring.
Para finalizar, marco la nariz de Santa con el marcador rojo, con elarcador rosa pinto su rubor y con el marcador punta fina negro marco sus ojitos. Luego, pego a Santa de la punta del resorte.
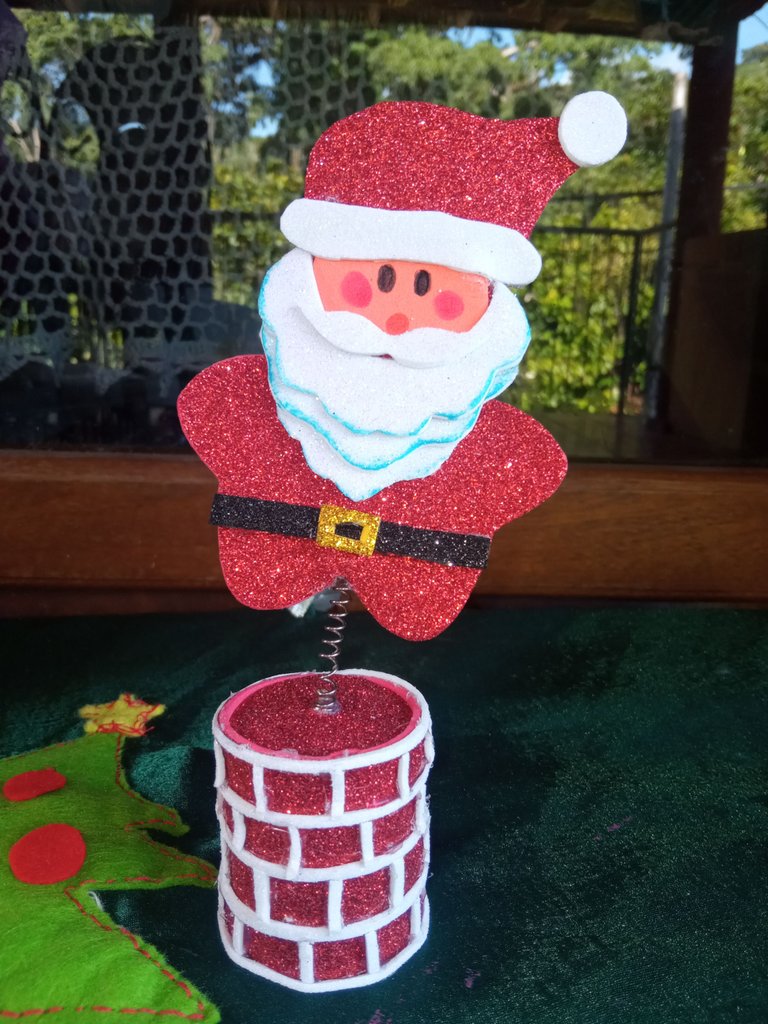
This has been the final result of my souvenir Santa dances this Christmas.
Este ha sido el resultado final de mi souvenir Santa baila en estás navidades.
THANKS FOR READING ME // GRACIAS POR LEERME.
Translated by: google translator // Traducido por: google traductor.
All photos are my property // Todas las fotos son de mi propiedad.
The collage were made with the collage maker android app // Los collage fueron realizado con la app para android collage maker.