Hola, comunidad de @NeedleWork, aquí una vez más vuestra AbuelaCosturas con un nuevo tutorial para vuestro deleite, esperando que les sea muy útil, y que puedan sacarle provecho para el bienestar propio y de su amada familia.
Recuerden que el tiempo de costura puede ser un buen tiempo para compartir con sus seres amados, a la vez que les enseñan este hermoso arte como herencia para las siguientes generaciones.
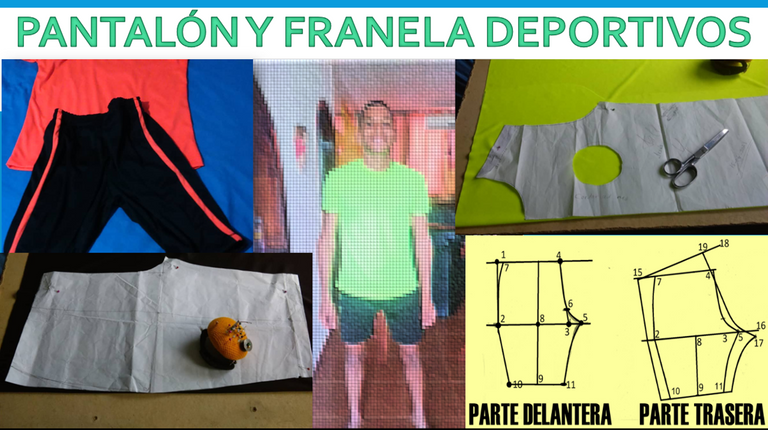
En esta oportunidad quiero compartir con ustedes cómo hacer un conjunto de short (pantalón corto) y franela deportivo, que realicé en ocasión del cumpleaños de quien considero un nieto de cariño.
¡Manos a las tijeras!
Materiales:
0,70 cm tela franela
0,60 cm elástico
0,60 short
Hilo
Tijeras
Maquinas de coser
Hello, @NeedleWork community, here once again your AbuelaCosturas with a new tutorial for your delight, hoping you find it very useful, and that you can take advantage of it for your own and your beloved family's well being.
Remember that sewing time can be a good time to share with your loved ones, while teaching them this beautiful art as an inheritance for the next generations.
In this opportunity I want to share with you how to make a set of shorts and sport flannel, which I made on the occasion of the birthday of whom I consider a grandson of affection.
¡Hands to the scissors!
Materials:
0,70 cm T-shirt fabric
0,60 cm elastic
0,60 shorts
Thread
Scissors
Sewing machine
REALIZACIÓN DE PATRONES / PATTERN MAKING
FRANELA / T-SHIRT:
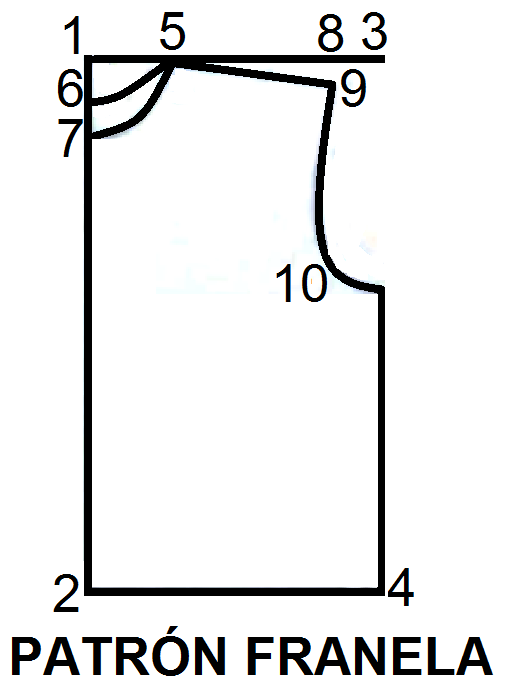
1. Del 1 al 2 marcamos el largo de la franela (0,65 cm)
From 1 to 2 we mark the length of the T-Shirt (0,65 cm).
2. Del 1 al 3 y 2 al 4, tomamos una 1/4 parte del contorno de pecho (25 cm)
From 1 to 3 and 2 to 4, we take a 1/4 part of the chest contour (25 cm).
3. En la recta del 1 al 3, a 10 cm del punto, marcamos el punto 5, que es el ancho del cuello.
On the line from 1 to 3, 10 cm from the point, we mark point 5, which is the width of the neck.
4. Del 1 al 2, a 3 cm del punto 1 para la parte trasera, marcamos el punto 6 (largo de cuello trasero, y, a 10 cm del punto 1 para la parte delantera, marcamos el punto 7 (largo de cuello delantero).
From 1 to 2, 3 cm from stitch 1 for the back, we mark stitch 6 (back neck length, and, 10 cm from stitch 1 for the front, we mark stitch 7 (front neck length).
NOTA: El patrón trasero es igual al delantero, solo varía el largo del cuello.
NOTE: The back pattern is the same as the front, only the length of the neck varies.
5. Unimos con líneas curvas los puntos 5 y 6 para marcar el escote trasero y 5 y 7 para marcar el escote delantero.
We join with curved lines points 5 and 6 to mark the back neckline and 5 and 7 to mark the front neckline.
6. A partir del punto 5 marcamos el punto 8, ancho del hombro (11 cm).
From point 5 we mark point 8, shoulder width (11 cm).
7. Desde el punto 5, 2,5 cm hacia abajo, marcamos el punto 9 (caída del hombro).
From point 5, 2.5 cm down, we mark point 9 (shoulder drop).
8. A partir del punto 9, 21 cm hacia abajo, marcamos el punto 10 (largo de la sisa).
From point 9, 21 cm down, we mark point 10 (armhole length).
9. Unimos con línea curva los puntos 9 y 10, prolongándola hasta la recta 3-4.
Join points 9 and 10 with a curved line, extending it to straight line 3-4.
MANGA / SLEEVE:
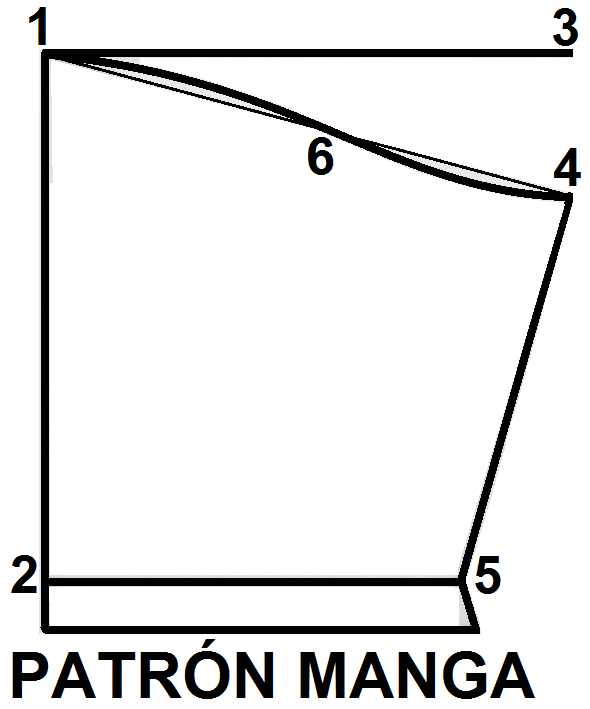
NOTA: Este patrón se realiza luego de haber unido las partes delantera y trasera de la franela.
NOTE: This pattern is made after having joined the front and back parts of the T-shirt.
1. Marcamos el punto 1, bajamos 23 cm y marcamos el punto 2 (largo de la manga), del 1 a la derecha marcamos el punto 3 (ancho de la manga), esta medida la obtenemos midiendo el contorno de la sisa.
We mark point 1, go down 23 cm and mark point 2 (sleeve length), from 1 to the right we mark point 3 (sleeve width), this measurement is obtained by measuring the contour of the armhole.
2. Del punto 3, 6,5 cm hacia abajo marcamos el punto 4 (caída de la manga).
From point 3, 6.5 cm down we mark point 4 (sleeve drop).
3. Del punto 2, hacia la derecha marcamos el punto 5 (ancho de la manga), tomamos la mitad de la medida del contorno del brazo.
From point 2, to the right we mark point 5 (sleeve width), we take half the measurement of the arm circumference.
4. Unimos con línea recta 1 y 4, 4 y 5, buscamos la mitad de 1 y 4, desde ese punto subimos 1 cm y marcamos el punto 6.
We join with a straight line 1 and 4, 4 and 5, we look for the middle of 1 and 4, from that point we go up 1 cm and we mark point 6.
5. Unimos con curva abierta hacia arriba 1 y 6, y con curva abierta hacia abajo 6 y 4 y con línea recta 4 al 5 y 5 al 2.
We join with open curve upward 1 and 6, and with open curve downward 6 and 5 and with straight line 4 to 5 and 4 to 2.
PANTALÓN CORTO / SHORT:
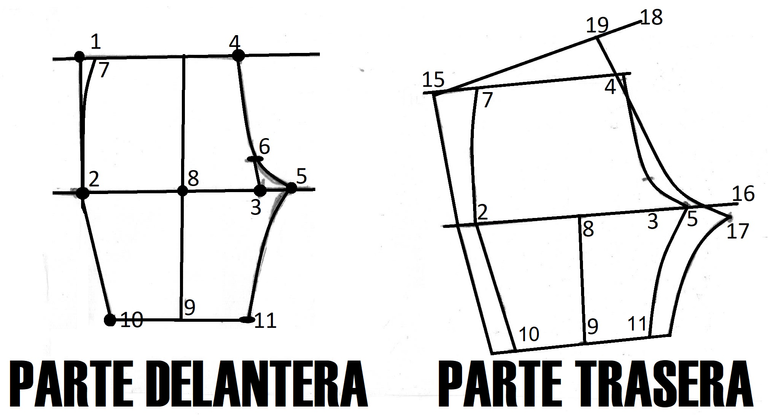
PARTE DELANTERA / FRONT SIDE:
1- Colocamos el papel o tela y trazamos el punto 1 al 2 tomando el largo del tiro.
We place the paper or fabric and trace the point 1 to 2 taking the length of the draft.
2- Del 2 al 3 cuarta parte de cadera más 1 cm.
2- From 2 to 3 quarter of hip plus 1 cm.
3- Del 1 al 4 cuarta parte de la cadera, unimos 4 con 3 con línea recta.
From 1 to 4 quarter of the hip, join 4 with 3 with a straight line.
4- Del 3 al 5 y del 3 al 6 quinta de base (5,7 cm) unir con línea curva.
From 3 to 5 and from 3 to 6 fifth of base (5.7 cm) join with curved line.
5- Del 4 al 7 cuarta parte de cadera.
From 4 to 7 fourth part of hip.
6- Marcar la mitad desde el punto 5 al 2 marcando el punto 8, trazar una línea recta a todo el largo del patrón.
Mark the middle from point 5 to 2 by marking point 8, draw a straight line along the whole length of the pattern.
7- Desde el margen superior marcamos el punto 9 (largo total 51 cm).
From the top margin mark point 9 (total length 51 cm).
8- Del 9 al 10 y al 11 (1/4 de rodilla).
From 9 to 10 and 11 (1/4 of the knee).
PARTE TRASERA / BACK
1- Colocamos la parte delantera sobre otro papel o tela, dejando un márgen horizontal de 6 cm y uno vertical de 9 cm.
Place the front part on another piece of paper or fabric, leaving a horizontal margin of 6 cm and a vertical one of 9 cm.
2- Prolongamos las líneas bota (ruedo) rodilla y cadera.
Extend the lines of the boot, knee and hip.
3- Del punto 7 al punto 15 y del punto 5 al 16, aumentamos la quinta de base (5,7 cm).
From stitch 7 to stitch 15 and from stitch 5 to stitch 16, increase the base fifth (5,7 cm).
4- Del 16 al 17 bajamos 1 cm.
From 16 to 17 we decrease 1 cm.
5- Del 4 al 18 quinta de base (5,7 cm).
From sts 4 to 18, we knit a fifth of base (5,7).
***6- Unimos el 16 con el 15 con una diagonal. **
We join 16 with 15 with a diagonal. *
7- Del 15 al 19 se marca 1/4 de la cadera más 4 cm.
From 15 to 19 we mark 1/4 of the hip plus 4 cm.
8- Del 6 se aumenta 1 cm hacia afuera, unir con el 19 con 6, línea recta, 6 y 17 con línea curva.
From 6 increase 1 cm outward, join 19 with 6, straight line, 6 and 17 with a curved line.
9- En los puntos 2, 10 y 11 aumentarle 2 cm que es el margen de costura.
On points 2, 10 and 11 increase 2 cm, which is the seam allowance.
NOTA: Al patrón trasero y delantero, le vamos a agregar, de la cintura hacia arriba, 2 veces el ancho del elástico que vamos a colocar, para luego doblarlo, eso sería la pretina.
NOTE: To the back and front pattern, we are going to add, from the waist upwards, 2 times the width of the elastic that we are going to place, and then fold it, that would be the waistband.
Corte y confección / Cutting and sewing:
FRANELA / T-SHIRT:
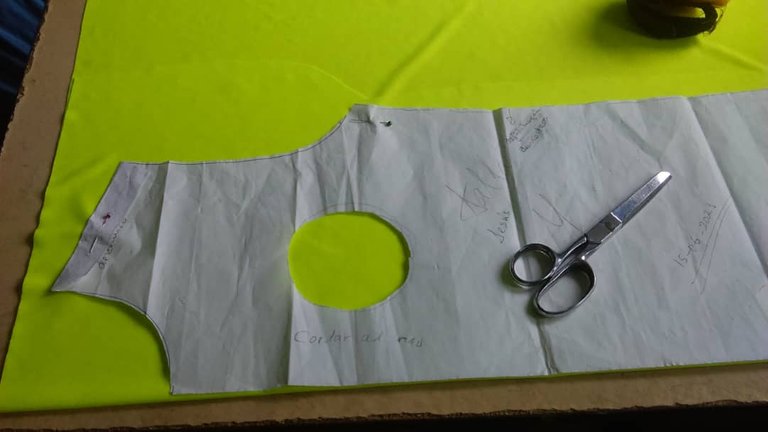
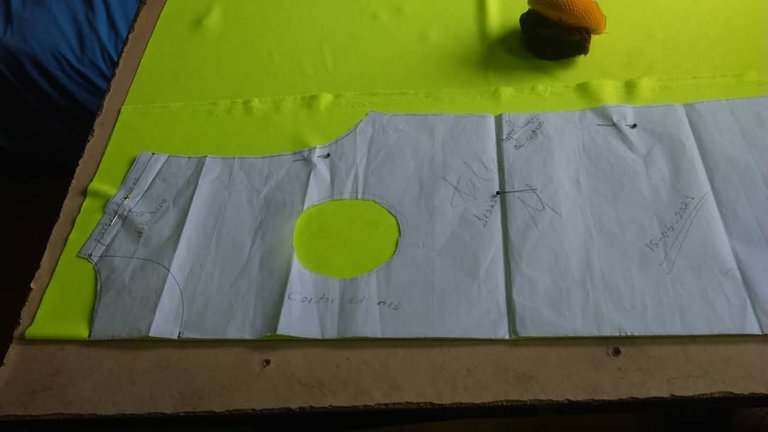
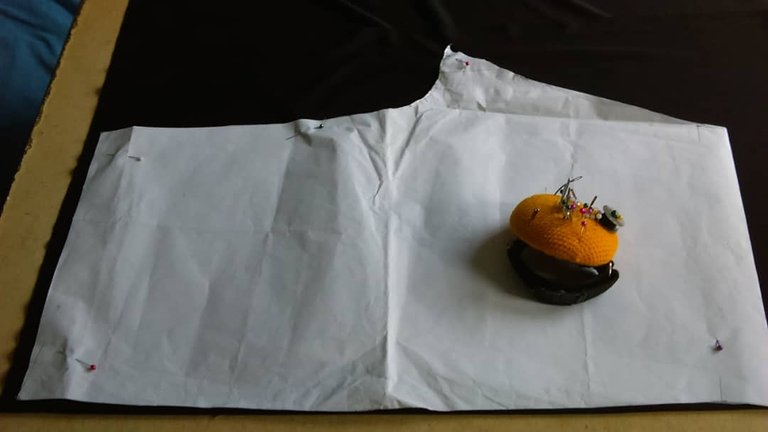
1. Procedemos a colocar el patrón sobre la tela doblada del delantero y trasero.
We proceed to place the pattern on the folded fabric of the front and back.
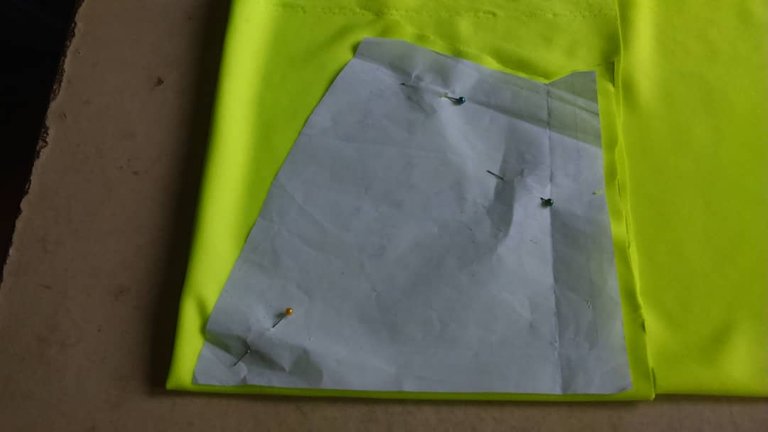

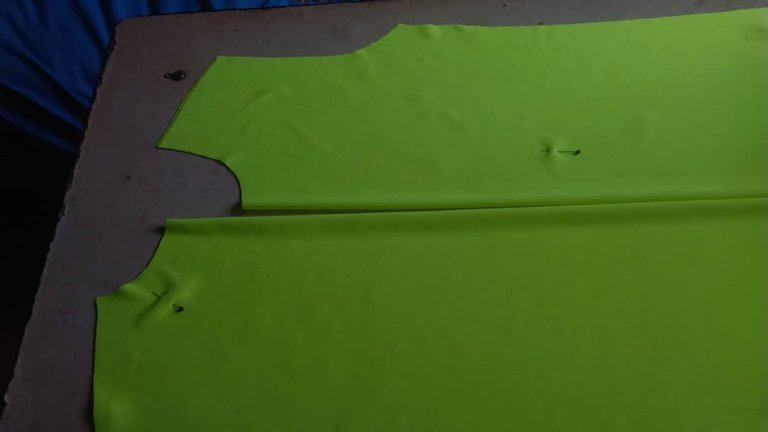
2. Cortamos las mangas y una cinta al bies para el cuello.
We cut the sleeves and a bias tape for the neck.
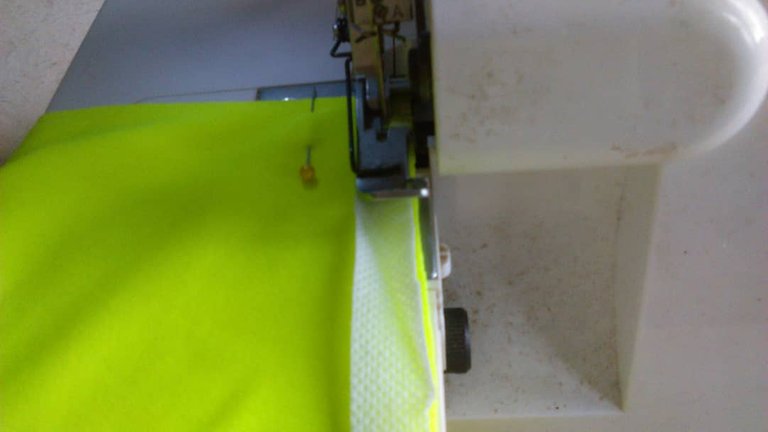

3. Unimos trasero y delantero por los hombros (coloco una cinta de entretela delgada para darle firmeza a la tela), repisando luego la costura por la parte exterior.
Join the back and front at the shoulders (I place a thin interlining tape to give firmness to the fabric), and then we smooth the seam on the outside.

4. Colocamos y unimos las mangas a la pieza, repisando también esta costura.
We place and join the sleeves to the piece, also facing this seam.
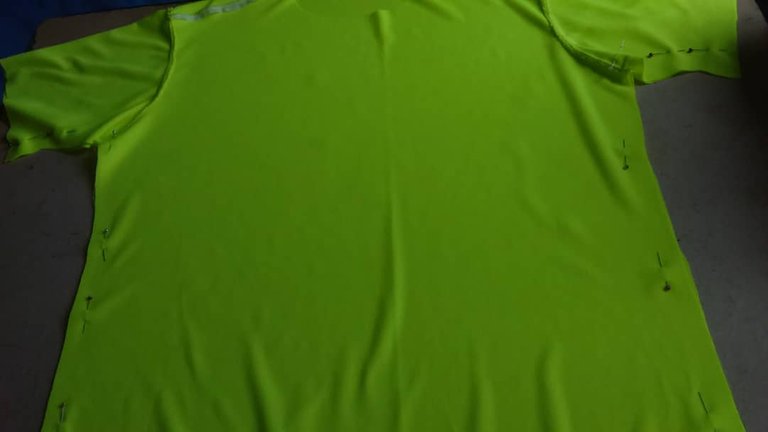
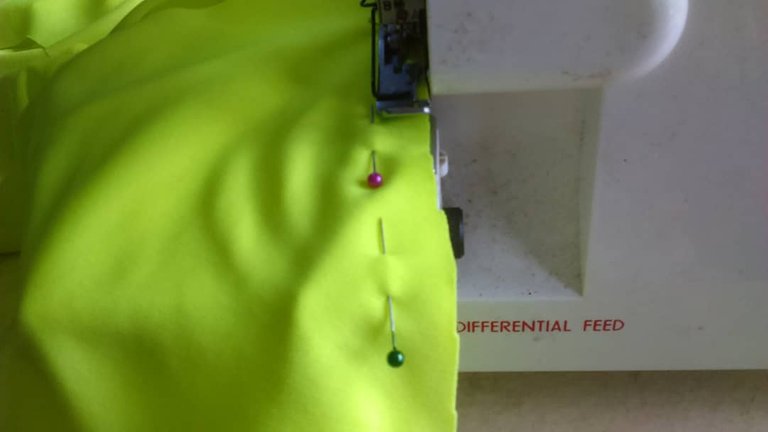
5. Unimos por los costados.
We join the sides.
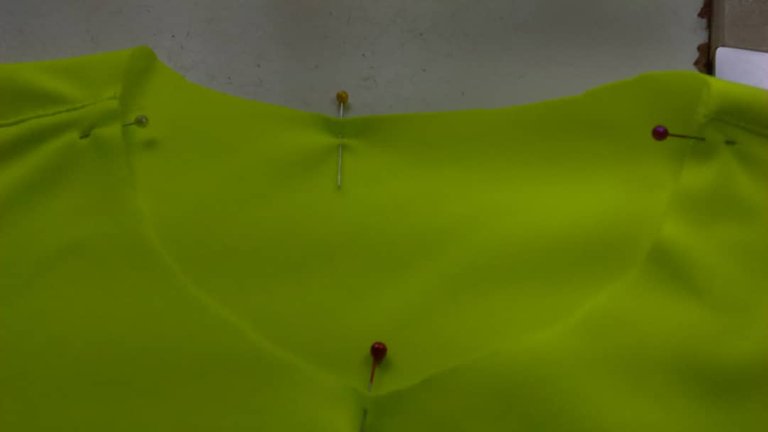
6. El cuello lo dividimos en 4 partes iguales, cortamos la cinta al bies con una longitud de 3/4 partes del cuello, cosemos y unimos la cinta.
Divide the collar into 4 equal parts, cut the bias tape with a length of 3/4 of the collar, sew and join the tape.
7. Doblamos y la separamos en 4 partes iguales, colocamos sobre el cuello haciendo coincidir las partes, estirando un poco la cinta.
Fold and separate it into 4 equal parts, place it on the collar matching the parts, stretching the ribbon a little.
8. Cosemos el ruedo de las mangas y en la parte inferior de la franela.
Sew the hem of the sleeves and the bottom of the T-shirt.
SHORT

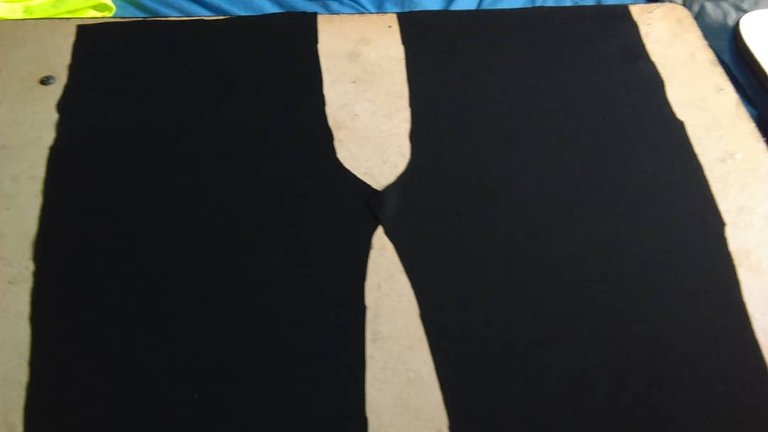
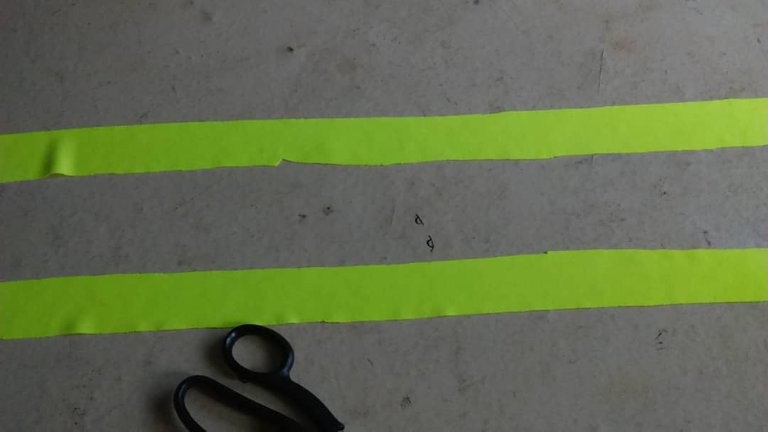
1. Cortamos con la tela doblada el delantero y trasero, y dos franjas del mismo largo del short de la tela usada en la franela.
We cut with the folded fabric the front and back, and two strips of the same length of the shorts from the fabric used in the T-shirt.
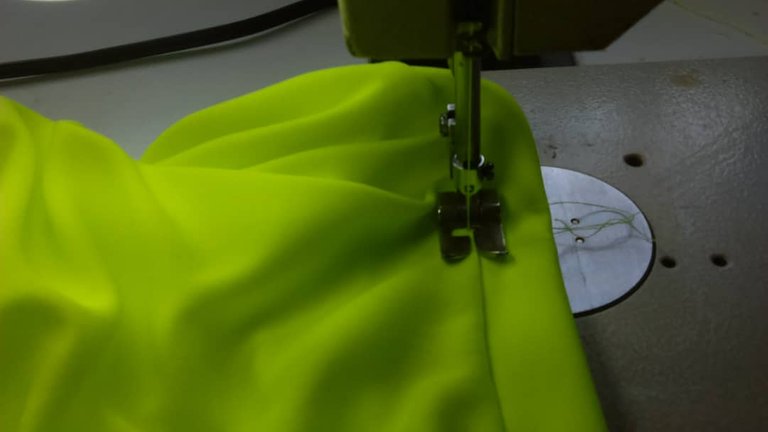
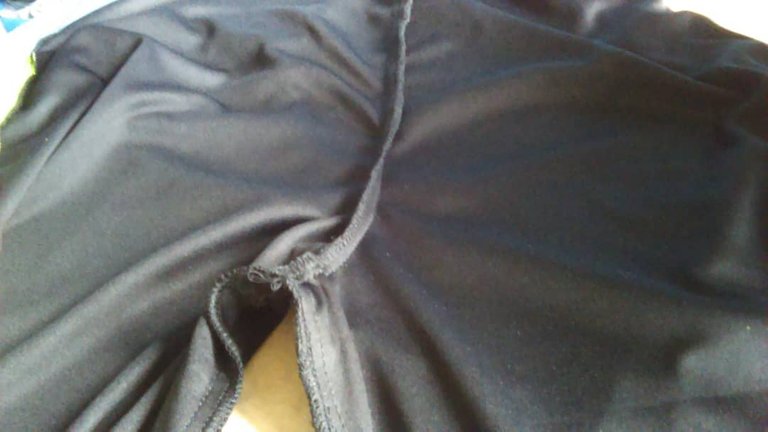
2. Unimos las piezas por el centro
Join the pieces in the center.
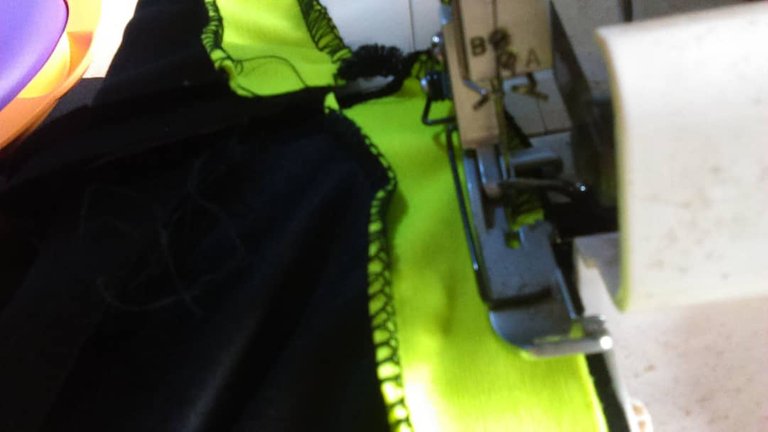
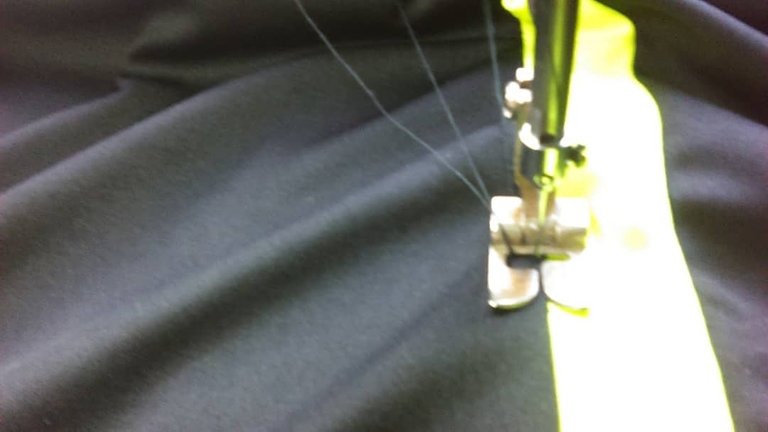
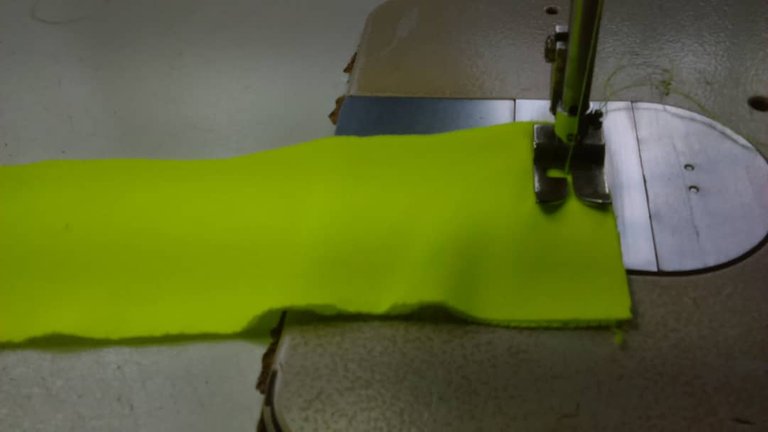
3. A los costados colocamos las franjas cortadas anteriormente y repisamos la costura.
On the sides we place the previously cut strips and repeat the sewing.
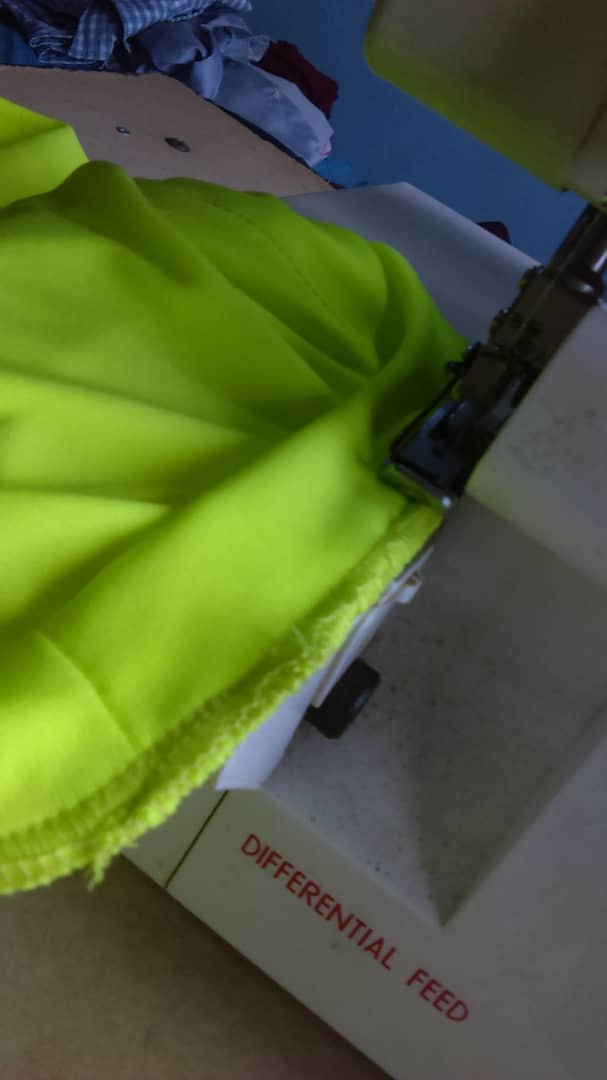
4. Unimos por la parte inferior trasero y delantero.
Join the bottom front and back.
5. Dividimos la cintura en 4 partes iguales.
Divide the waist in 4 equal parts.
6. Cortamos un elástico que mida 3/4 partes de la cintura.
Cut an elastic that measures 3/4 of the waist.
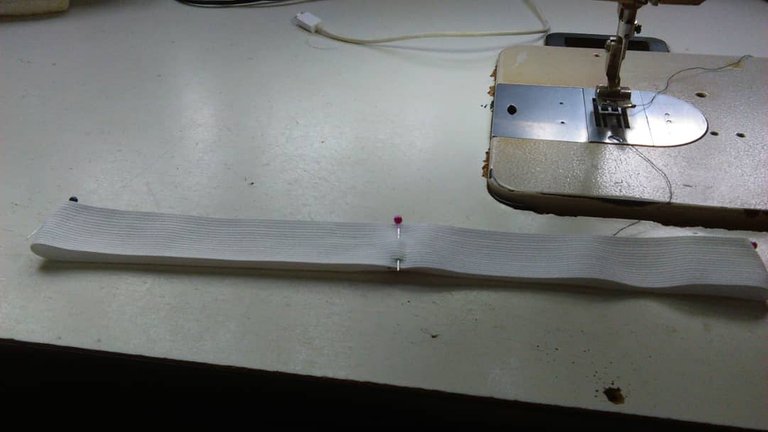
7. Dividimos el elástico en 4 partes iguales, cosemos, haciendo coincidir las partes, estirando el elástico.
Divide the elastic into 4 equal parts, sew, matching the parts, stretching the elastic.
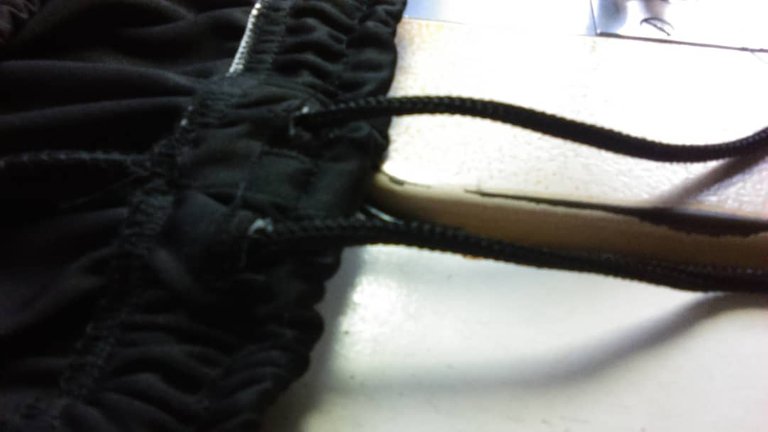
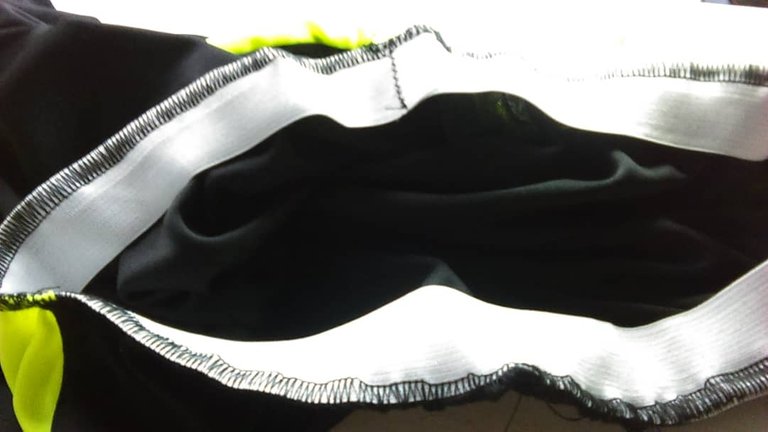
8. Doblamos y fijamos la elástica al short por la parte inferior. Opcionalmente podemos agregar un cordón.
Fold and attach the elastic to the bottom of the shorts. Optionally we can add a cord.

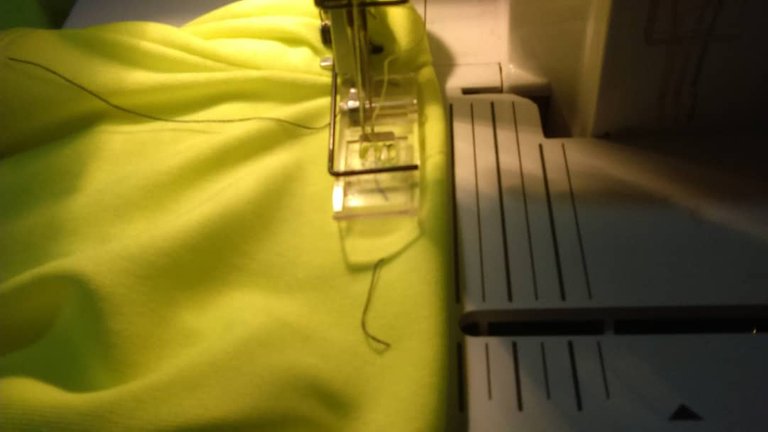
9. Cosemos el ruedo.
Sew the hem.
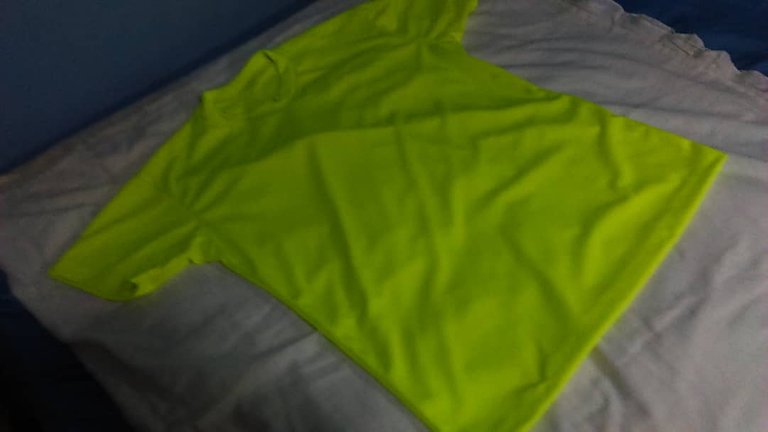
La franela terminada.
The finished T-shirt.
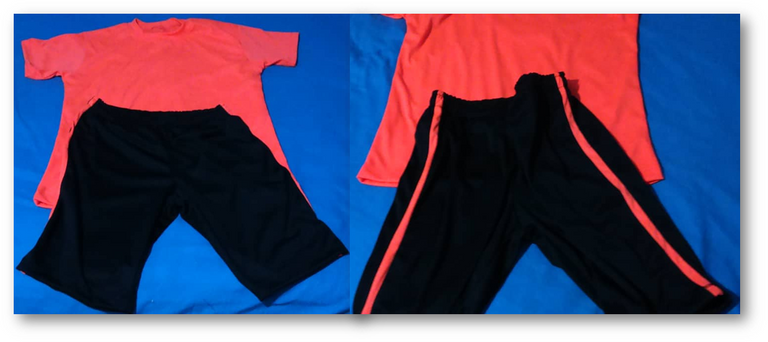
Otro conjunto con distintos colores.
Another set with different colors.
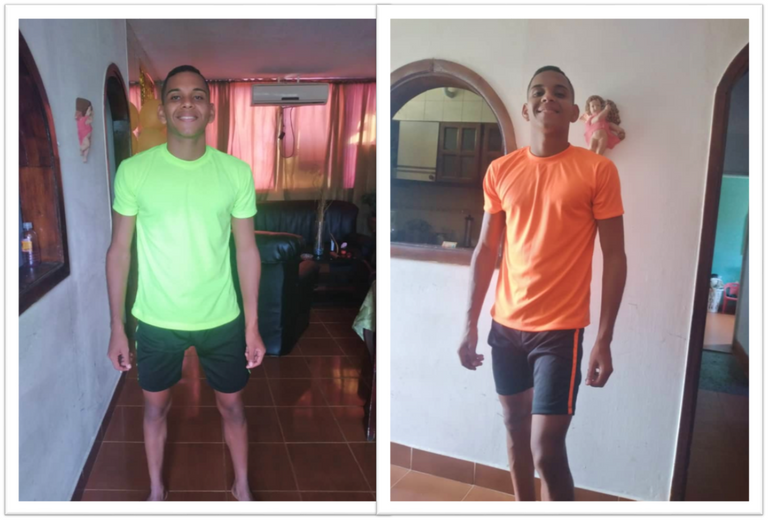
Mi querido casi-nieto posando contento su regalo de cumpleaños.
My dear almost-grandson happily posing for his birthday present.
Eso es todo en esta oprtunidad. Espero que haya sido comprensible en todo y que puedan aprovecharlo, pero no olviden que estoy atenta para responder cualquier pregunta que me hagan en las preguntas.
¡Hasta una próxima puntada!
That's all for this oprtunity. I hope I've been understandable in everything and that you can take advantage of it, but don't forget that I'm attentive to answer any questions you ask me in the questions.