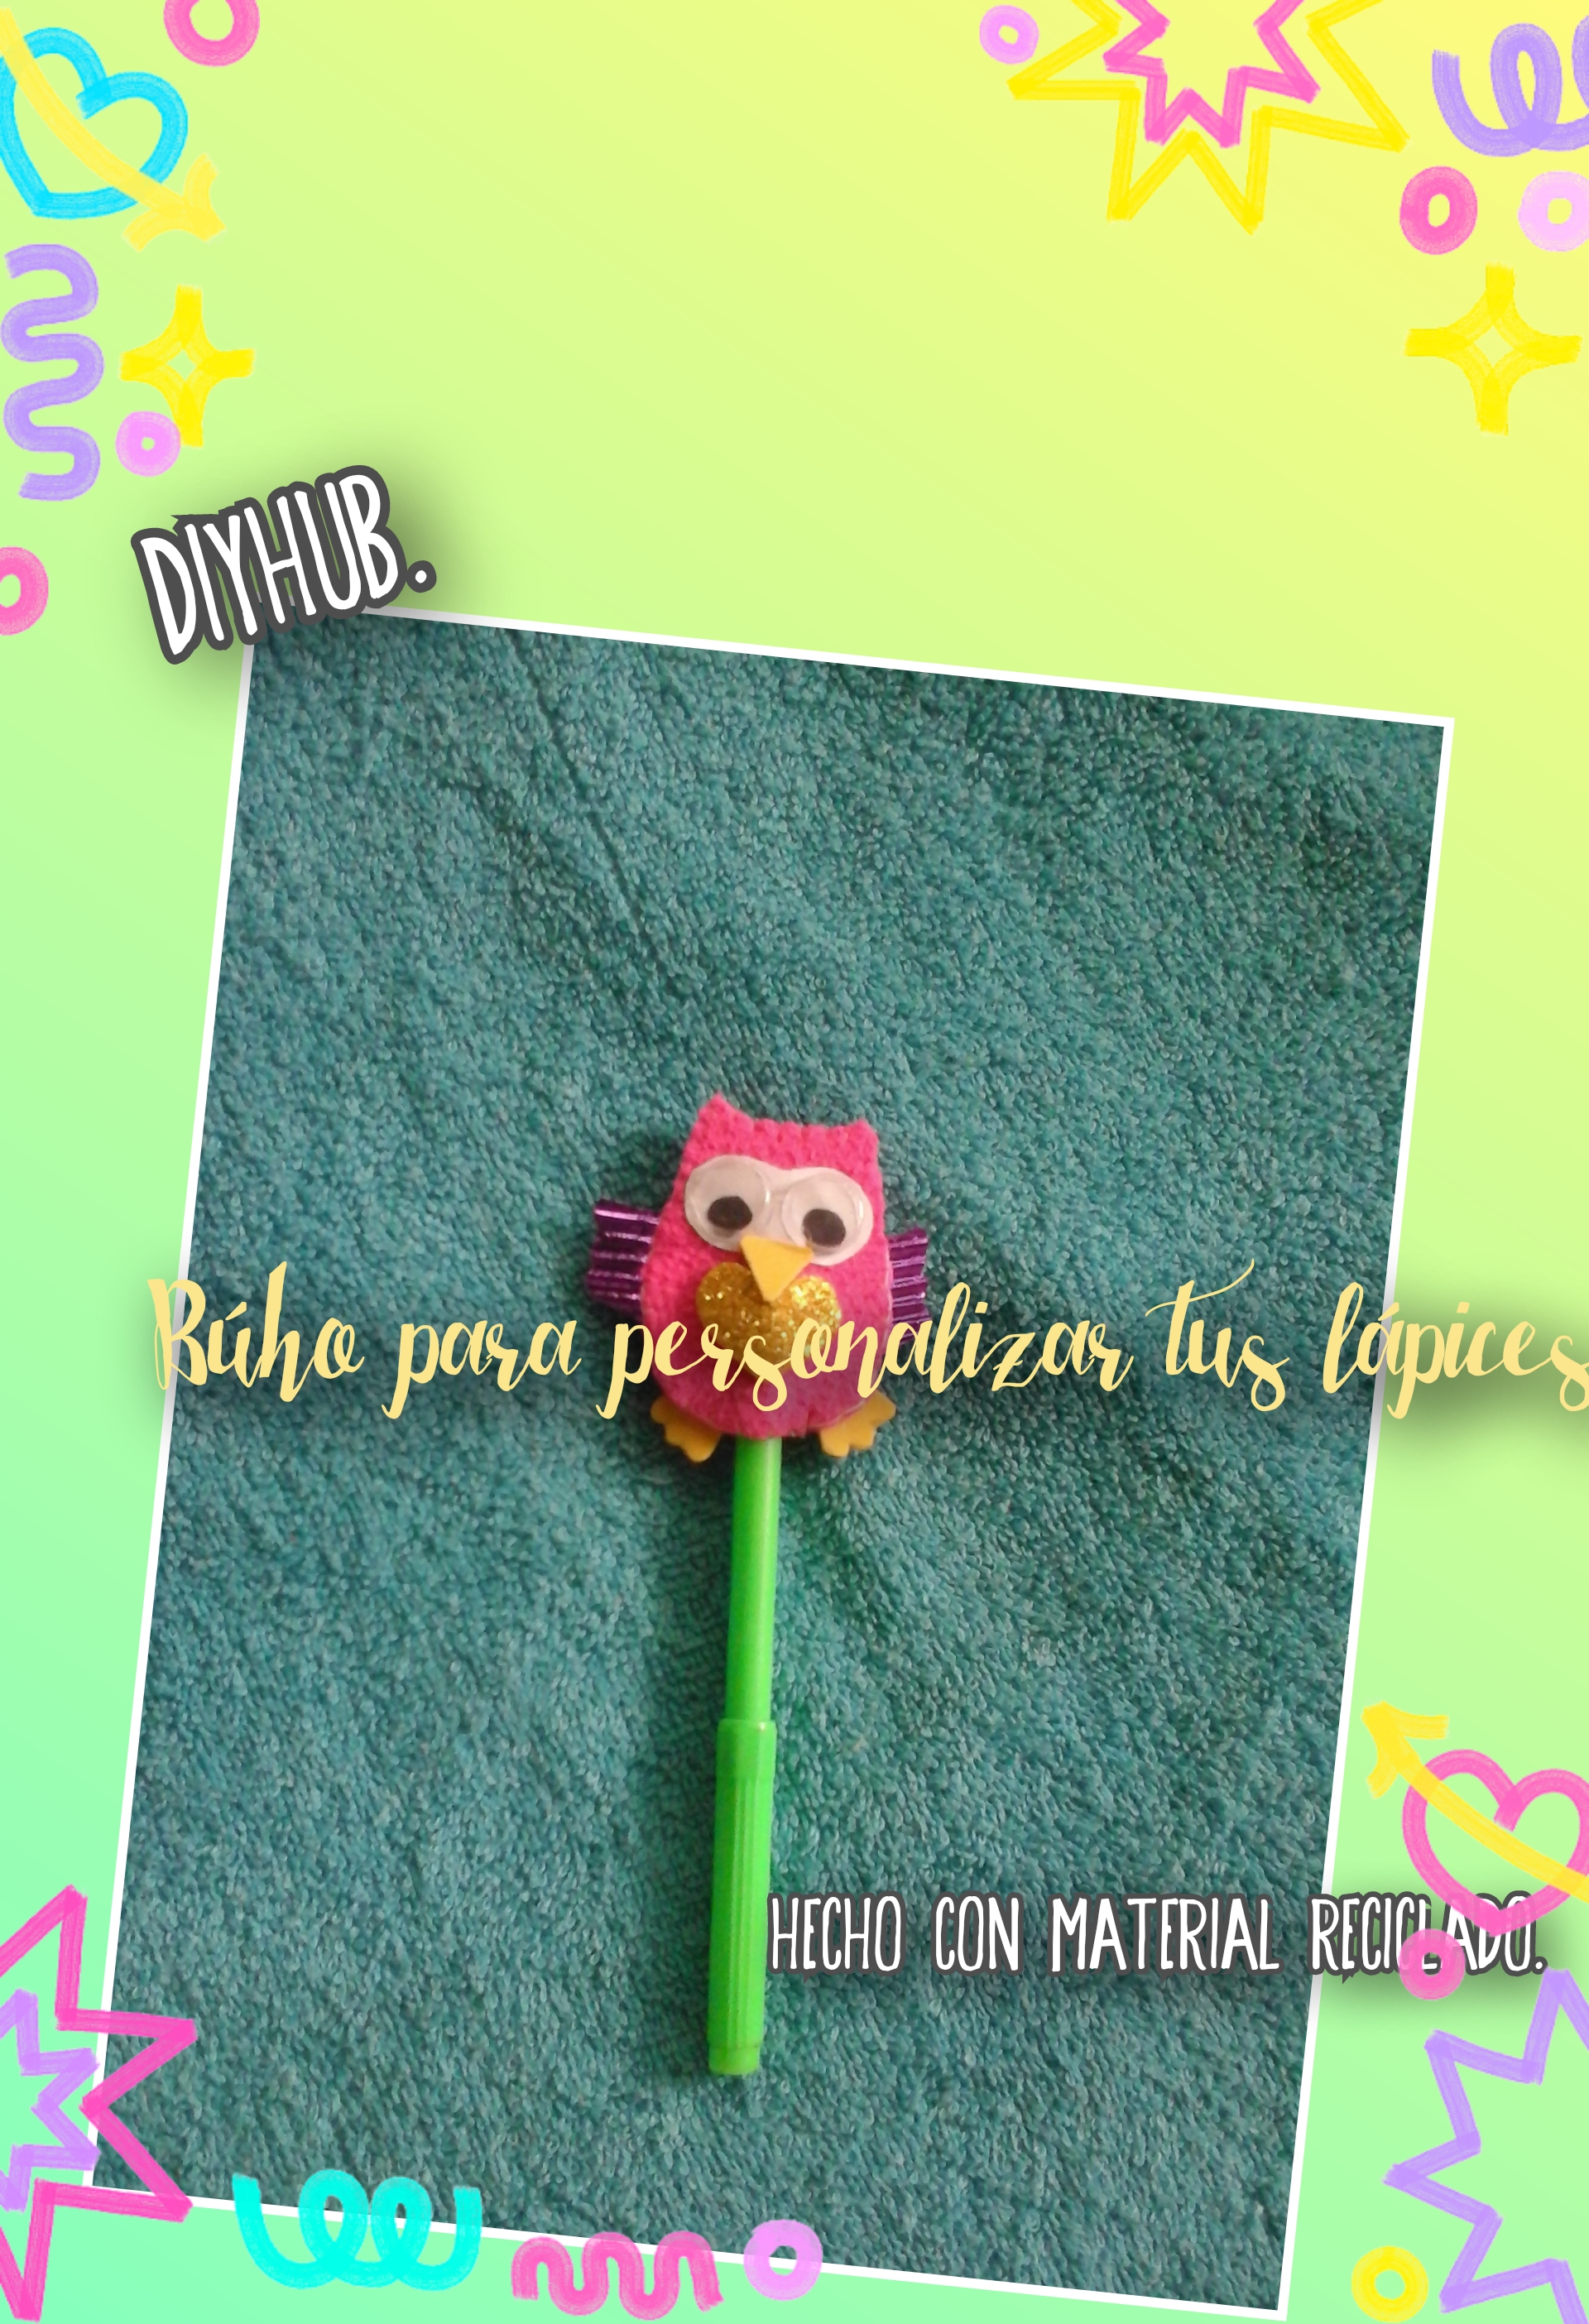
Feliz y hermosa noche para todos mis amigos queridos de diyhub, bendiciones!! Es un gusto saludarles nuevamente y poder compartir un nuevo proyecto con todos ustedes. Les cuento que hace días vi unas preciosuras, se trata de estos adornos que se usan mucho para decorar y personalizar los lápices, bolígrafos entre otros. Estos adornos los había visto antes, pero hechos con foami no con tela, así que, hoy les muestro como hacer uno muy lindo y en forma de buho, utilizando esos pequeño retazos de tela como material principal, foami y Catulina. Si les gusta este tutorial, pueden acompañarme hasta el final.
Happy and beautiful night to all my dear diyhub friends, blessings!! It is a pleasure to greet you again and to be able to share a new project with all of you. I tell you that a few days ago I saw some beautiful things, these are these decorations that are often used to decorate and personalize pencils, pens, among others. I had seen these ornaments before but made with foam, not fabric, so today I show you how to make a very cute one in the shape of an owl, using those small scraps of fabric as the main material, foam and Catulina. If you like this tutorial, you can follow me to the end.
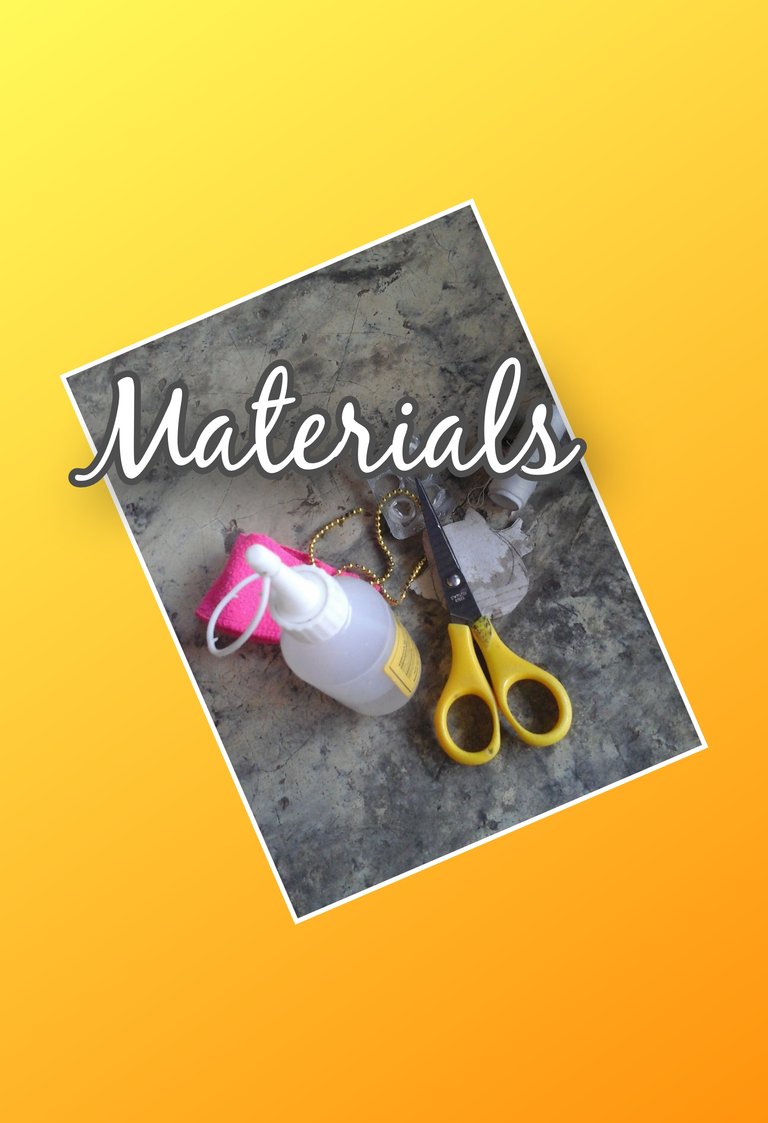
Materiales.
- Tijera.
- Lápiz.
- Silicon frío.
- Aguja e hilo.
- Tela para hacer mono, cartón, foami y cartulina.
- Bliste de pastillas.
Materials.
- Scissors.
- Pencil.
- Cold sylicon.
- Needle and thread.
- Fabric to make monkey, cardboard, foam and cardboard.
- Blist of pills.
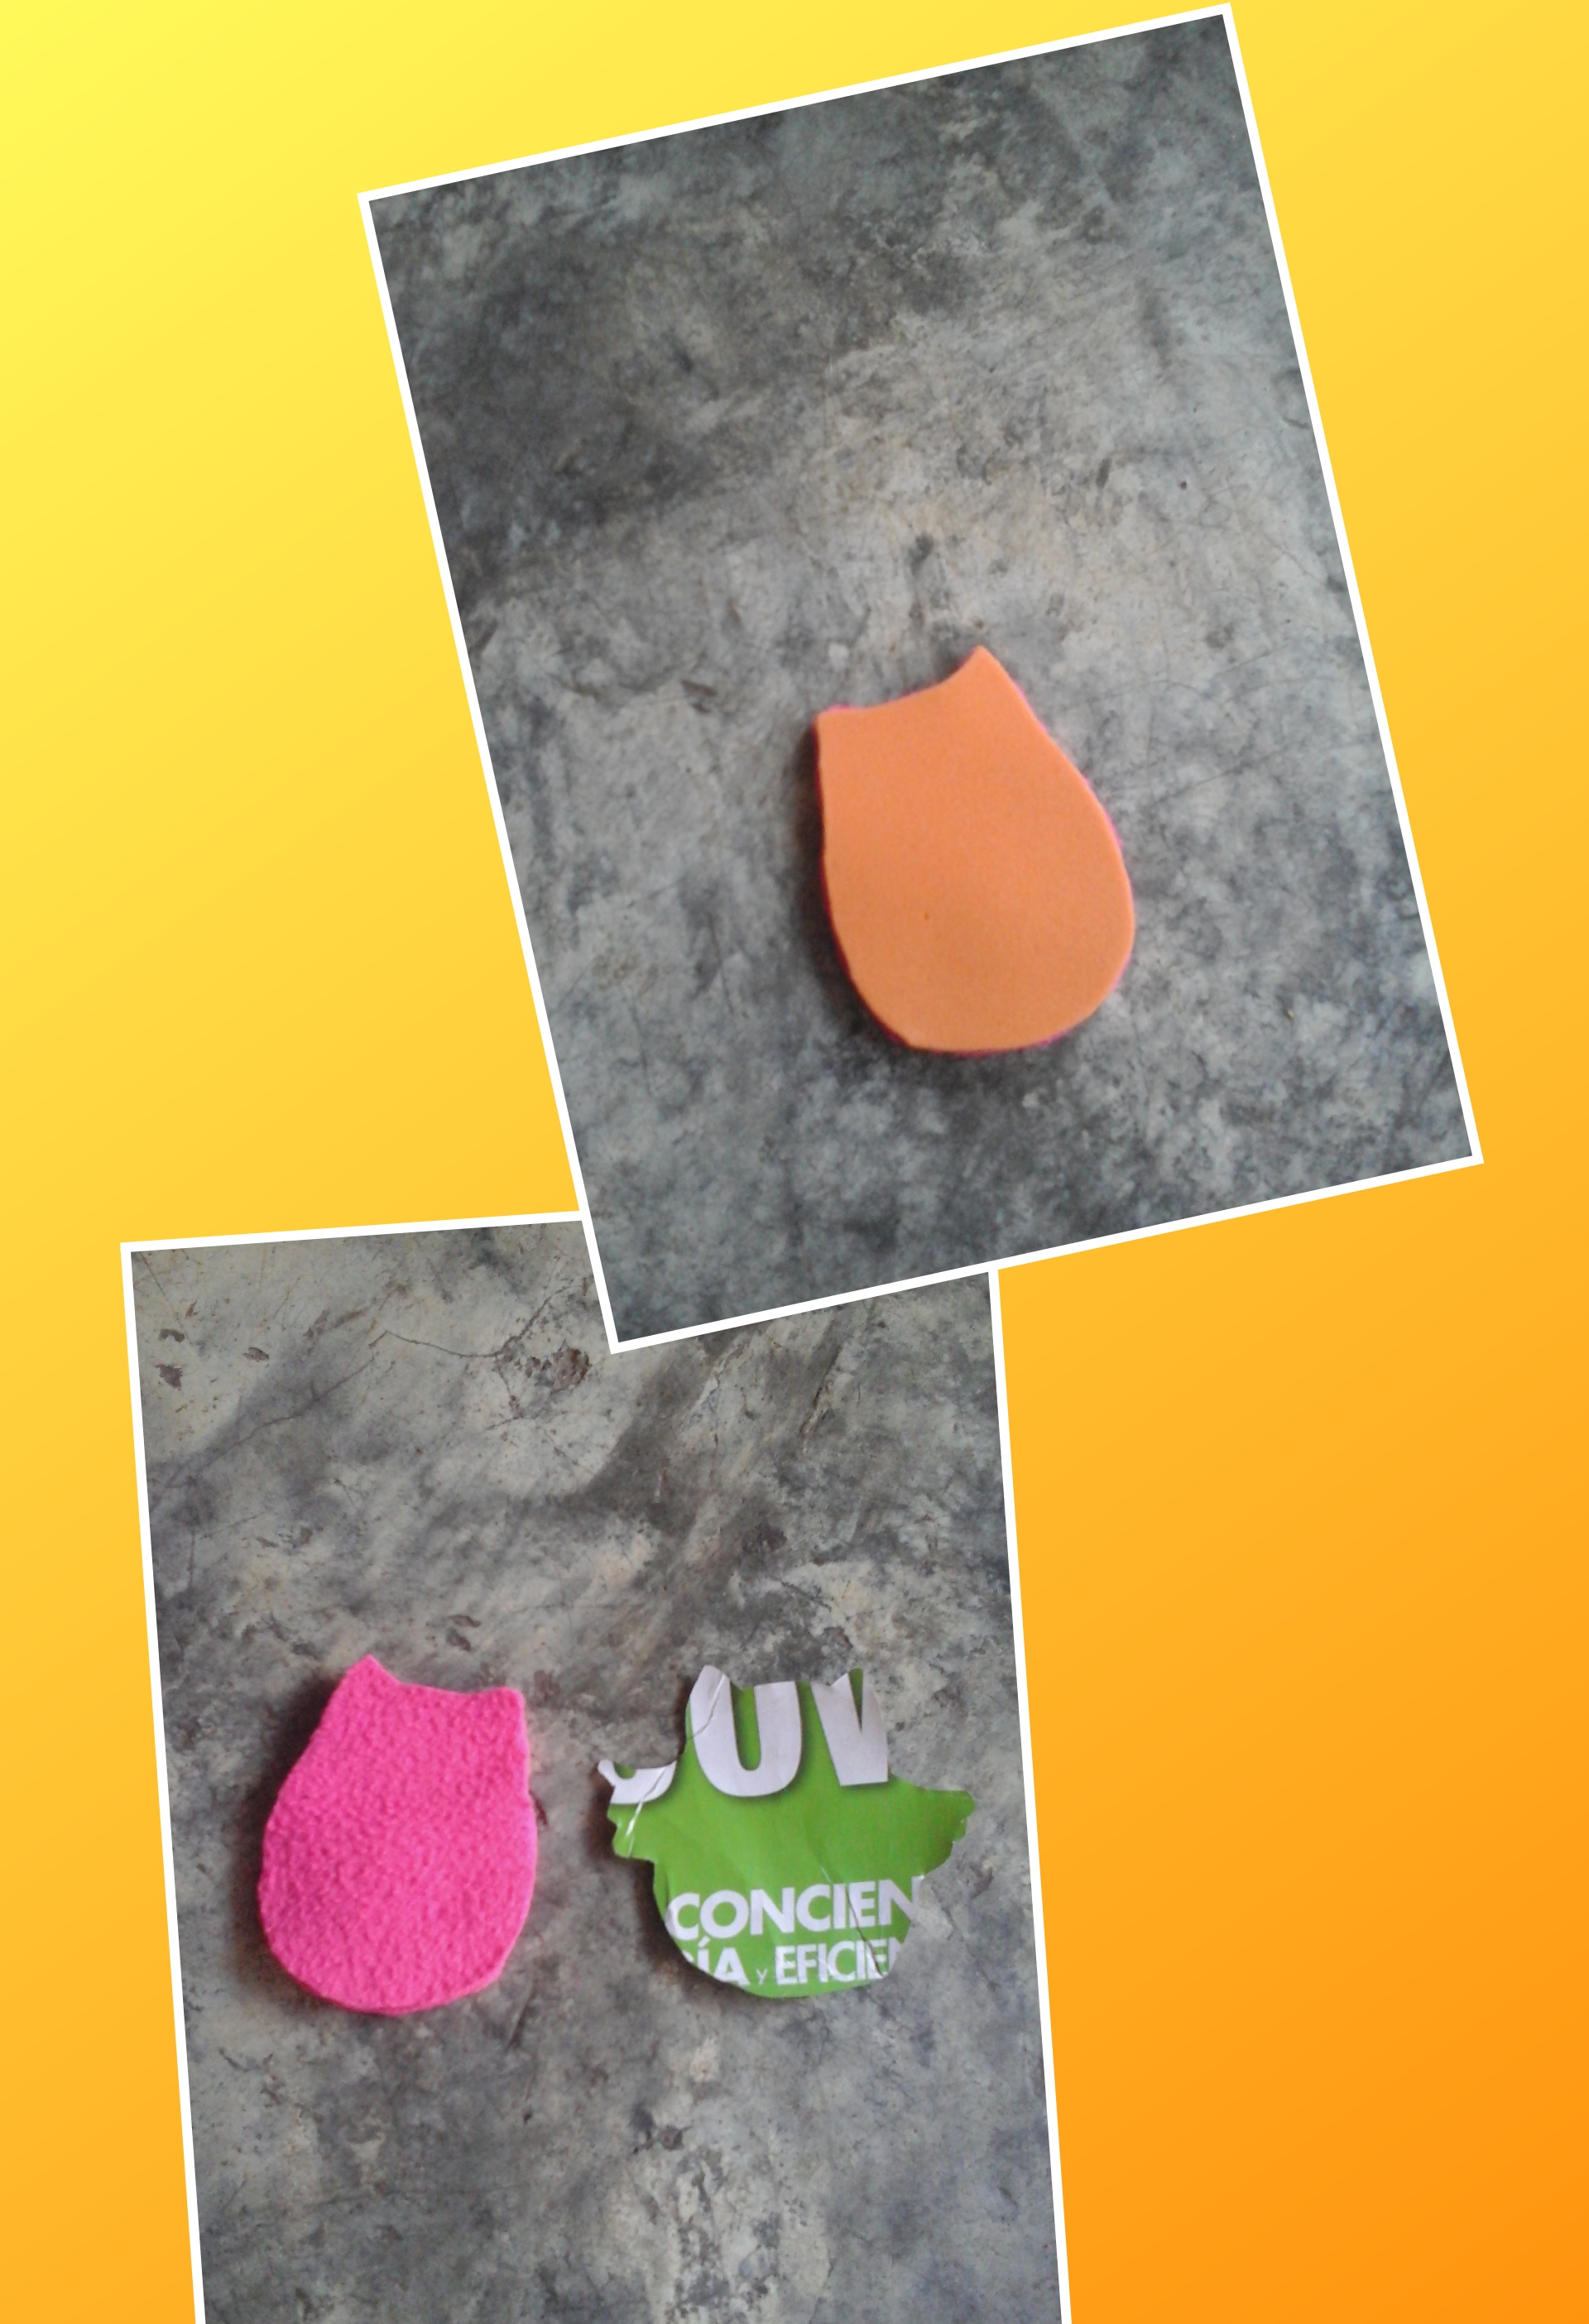
Paso 1.
Para iniciar, vamos a dibujar en un trozo de cartón un buho pequeño aproximadamente 4 o 5cm y recortamos. De esta manera tenemos un patrón que nos ayudará al momento de cortar la tela, este patrón lo colocamos sobre la tela y recortamos un par y uno en foami. Esta tela que he utilizado es excelente para este tipo de trabajos ya que no se deshilacha. También puedes utilizar fieltro o felpa para hacer estos adornos.
Step 1.
To start, we are going to draw a small owl approximately 4 or 5cm on a piece of cardboard and cut it out. This way we have a pattern that will help us when cutting the fabric. We place this pattern on the fabric and cut out a couple and one in foam. This fabric that I have used is excellent for this type of work since it does not fray. You can also use felt or plush to make these ornaments.
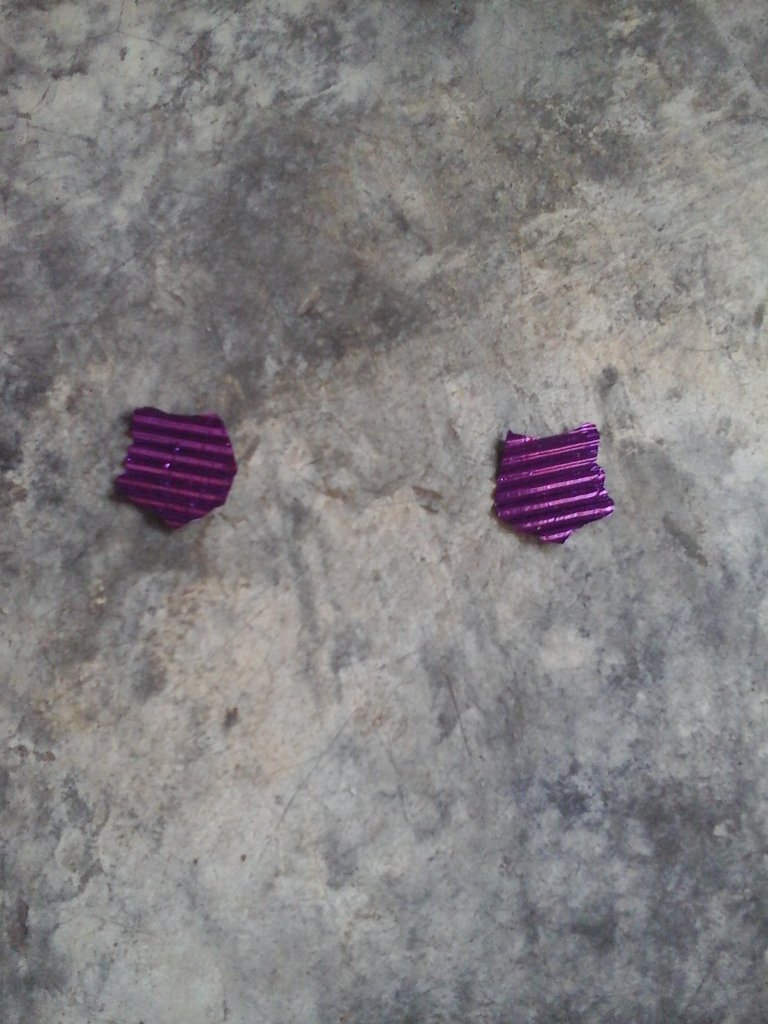
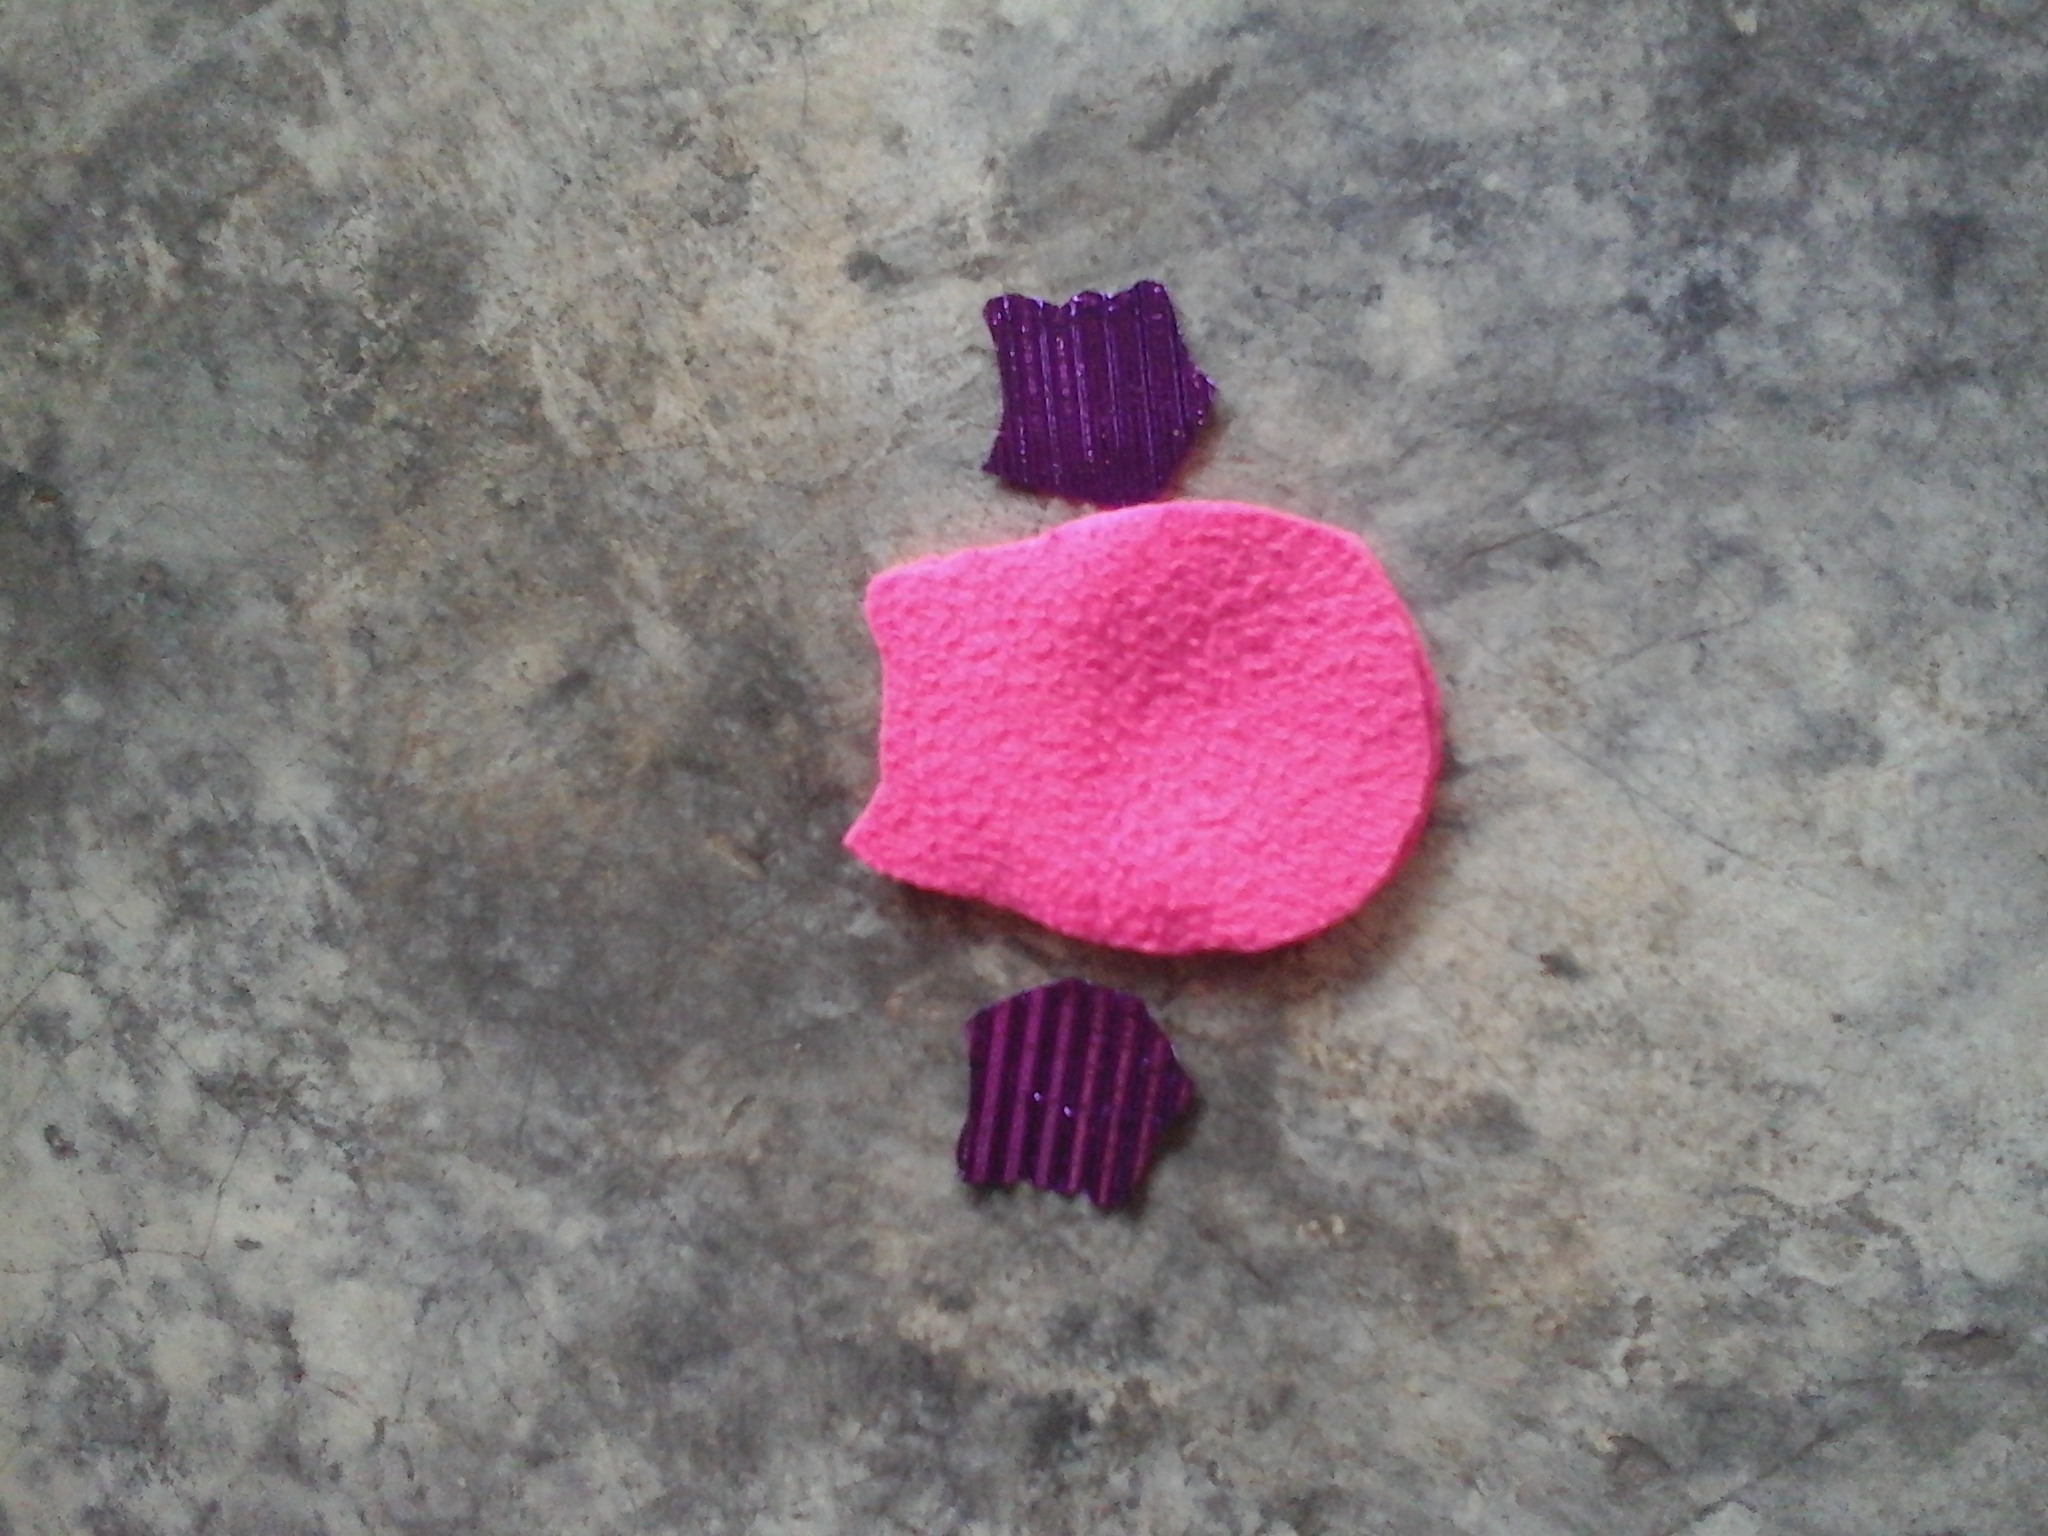
Paso 2.
Ahora vamos hacer las alas del buho, tomamos la cartulina del color que tengas, siempre combinando con las demás piezas, si tienes tela estampada puedes hacerlas, no hay problema.
Step 2.
Now we are going to make the owl's wings, we take the cardboard of the color you have, always combining with the other pieces, if you have printed fabric you can make them, no problem.
Paso 3.
También recortamos las patitas del buho, marcamos las patas en el foami y recortamos, si tienes diferentes colores de esta misma tela las puedes hacer igual quedará muy bien.
Step 3.
We also cut out the owl's legs, we mark the legs on the foam and cut them out, if you have different colors of this same fabric you can make them anyway, it will look very good.
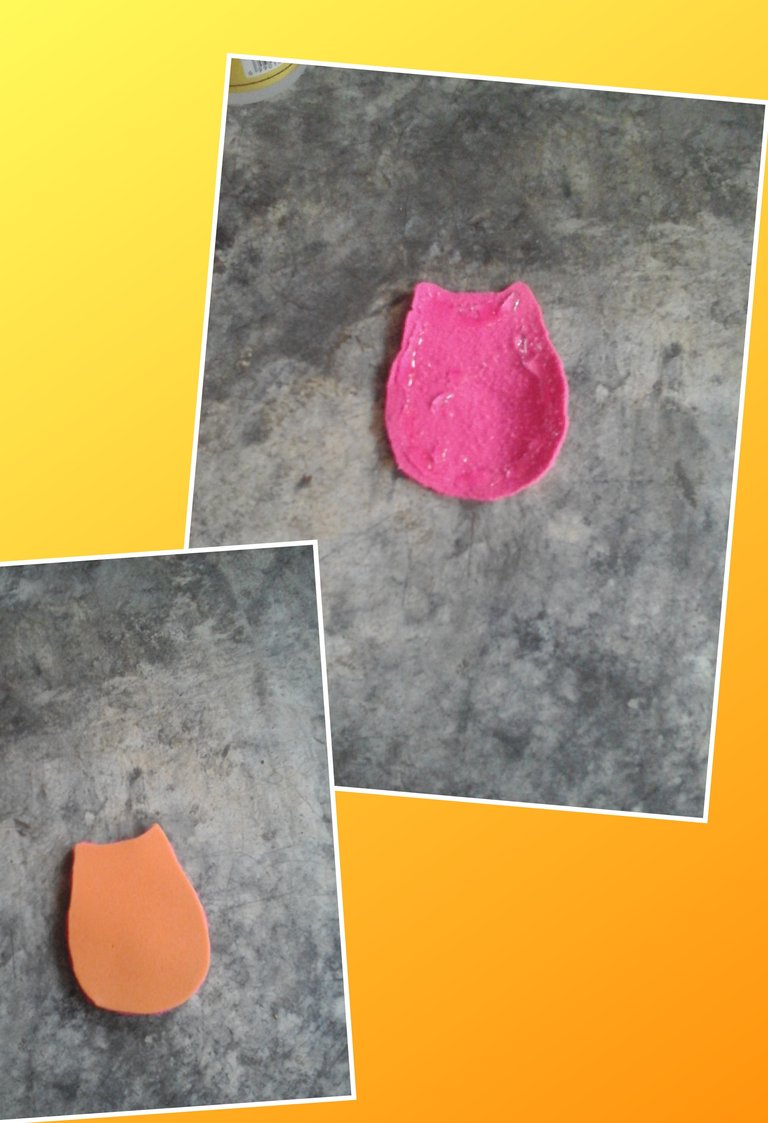
Paso 4.
Tomamos la pieza delantera del cuerpo del buho y la pegamos a la de foami, esto es para darle firmeza al buho, puedes sustituir el foami por algodón e introducir un poco de relleno.
Step 4.
We take the front piece of the owl's body and glue it to the foam, this is to give firmness to the owl, you can replace the foam with cotton and insert a little filler.
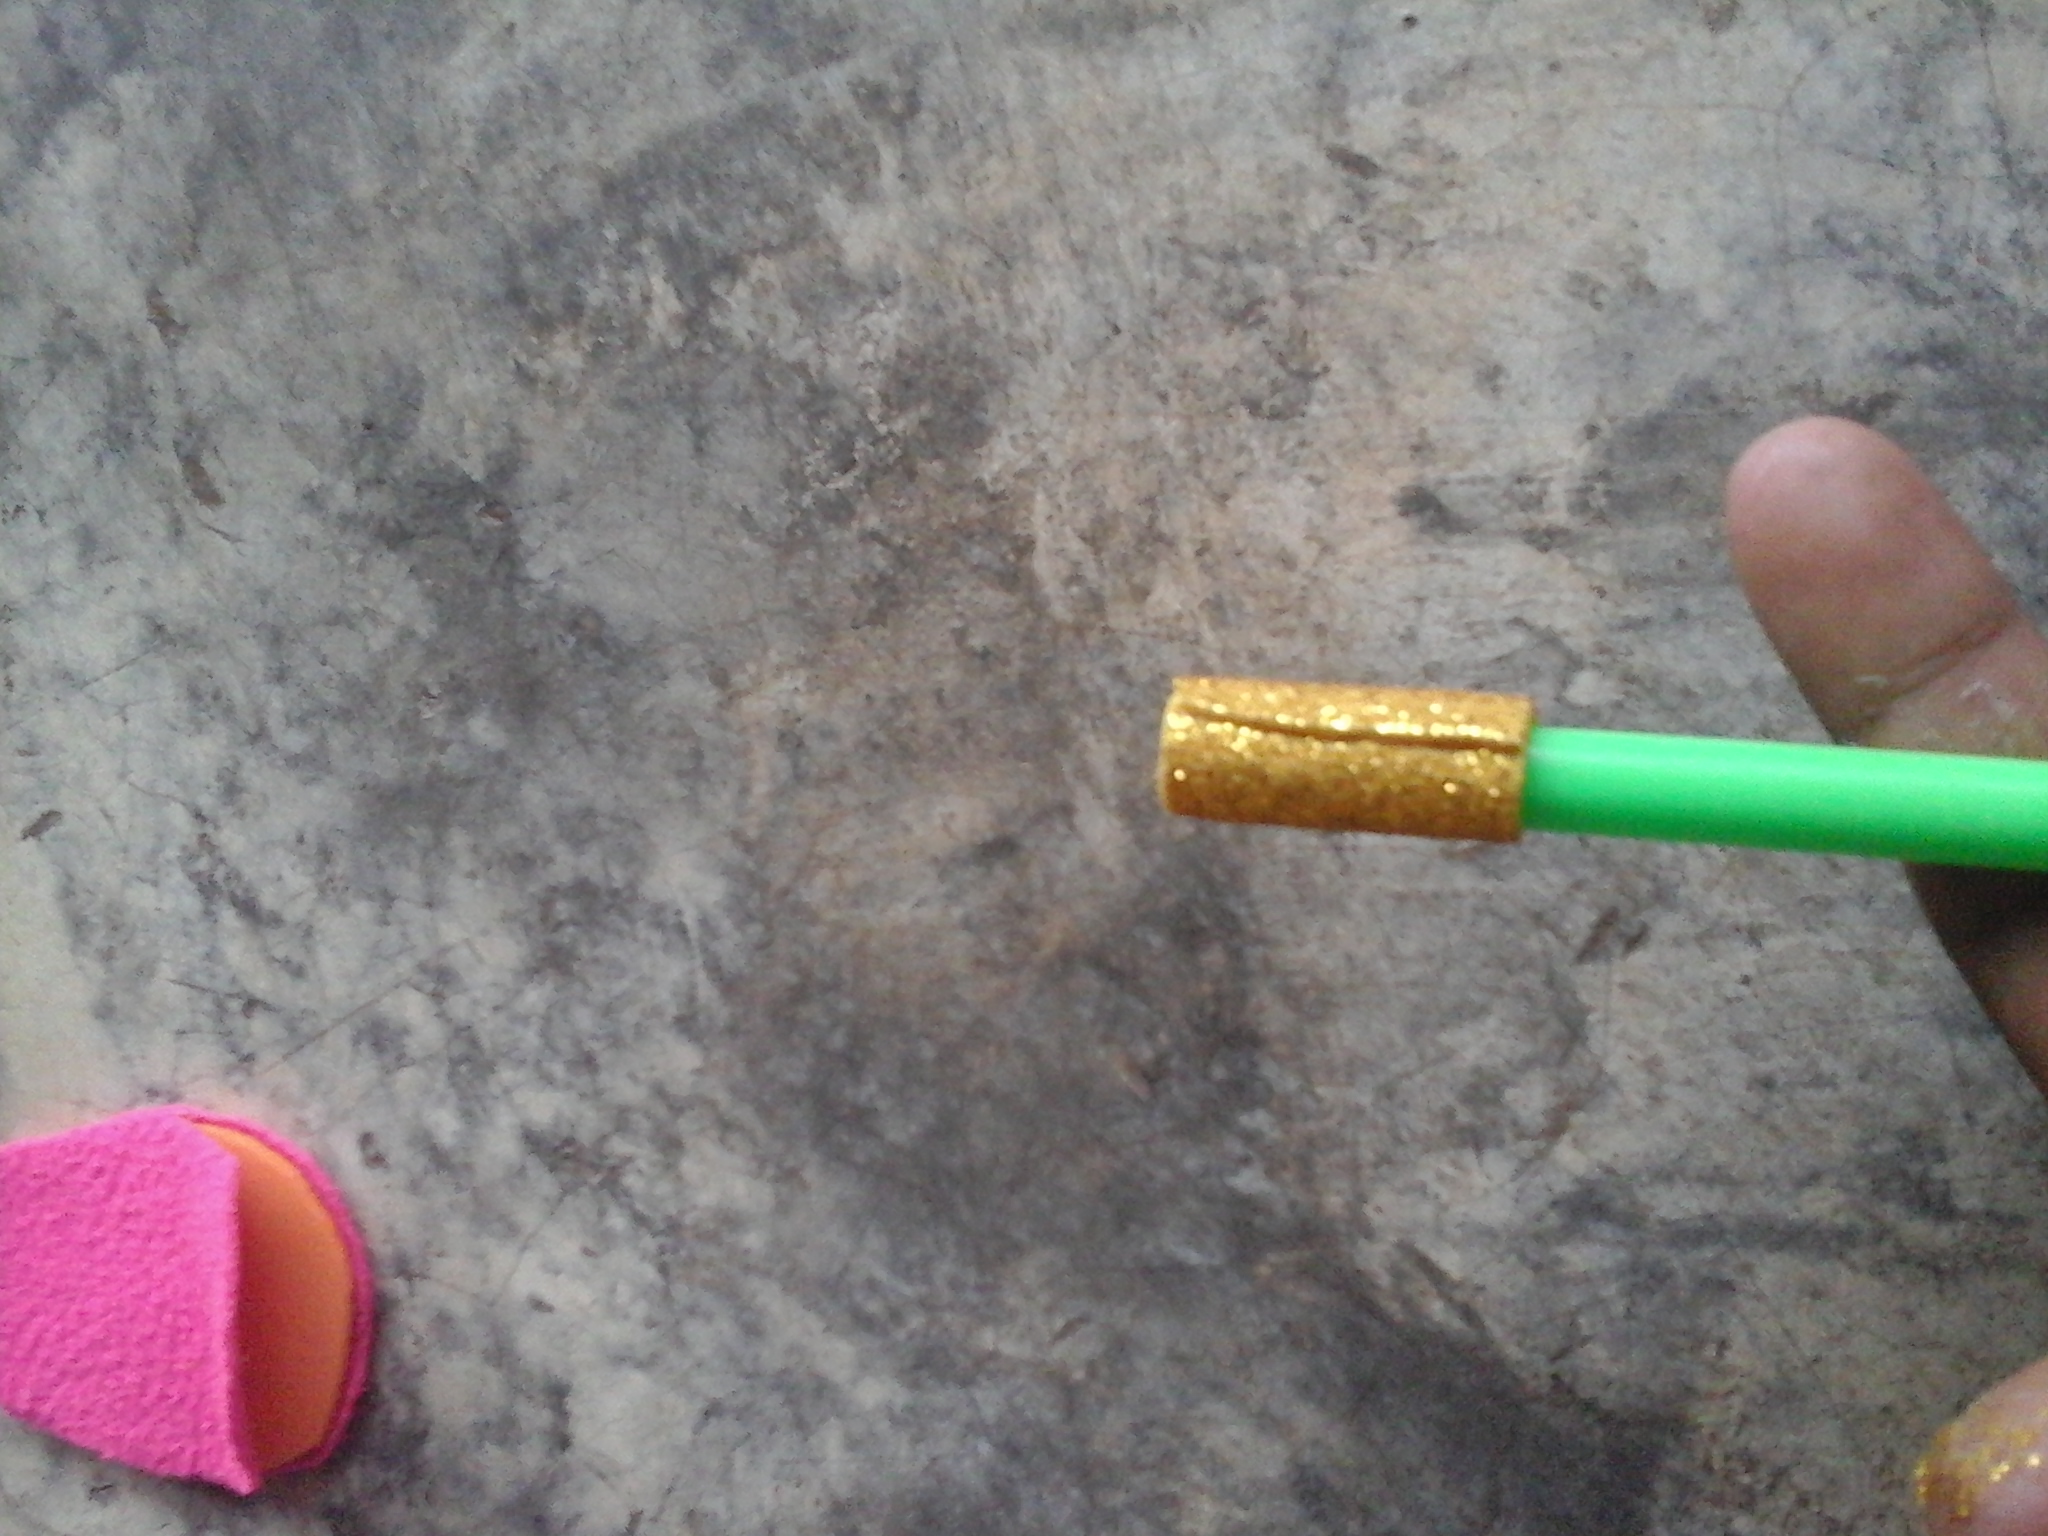
Paso 5.
Para hacer la parte donde insertaremos el lápiz, debemos recortar un rectángulo o sesgo de foami, enrollamos para crear un pequeño silindro donde podamos insertar el lápiz. Pegamos los extremos del sesgo con un poco de silicon frío.
Step 5.
To make the part where we will insert the pencil, we must cut out a rectangle or foam bias, roll it to create a small cylinder where we can insert the pencil. We glue the ends of the bias with a little cold silicone.
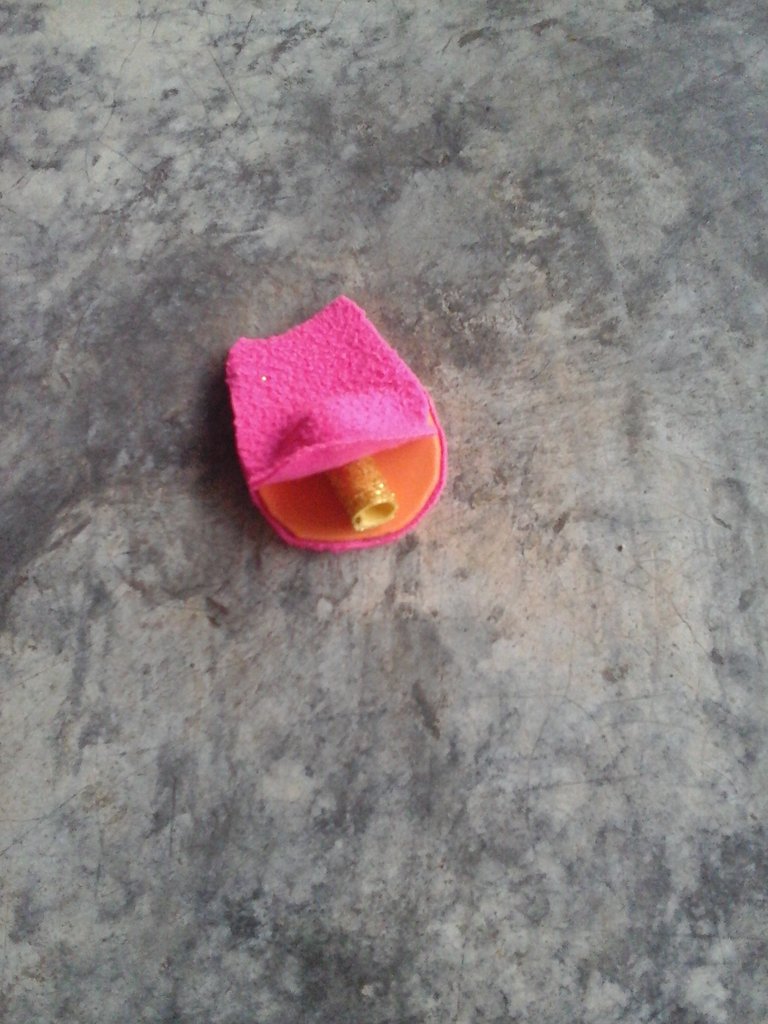
Paso 6.
Ahora aquí te explico como debes colocar éste silindro de foami dentro del buho, no lo he pegado aún, solo les muestro como lo deben colocar antes de pegarlo.
Step 6.
Now here I explain how you should place this foam cylinder inside the owl, I haven't glued it yet, I'm just showing you how you should place it before gluing it.
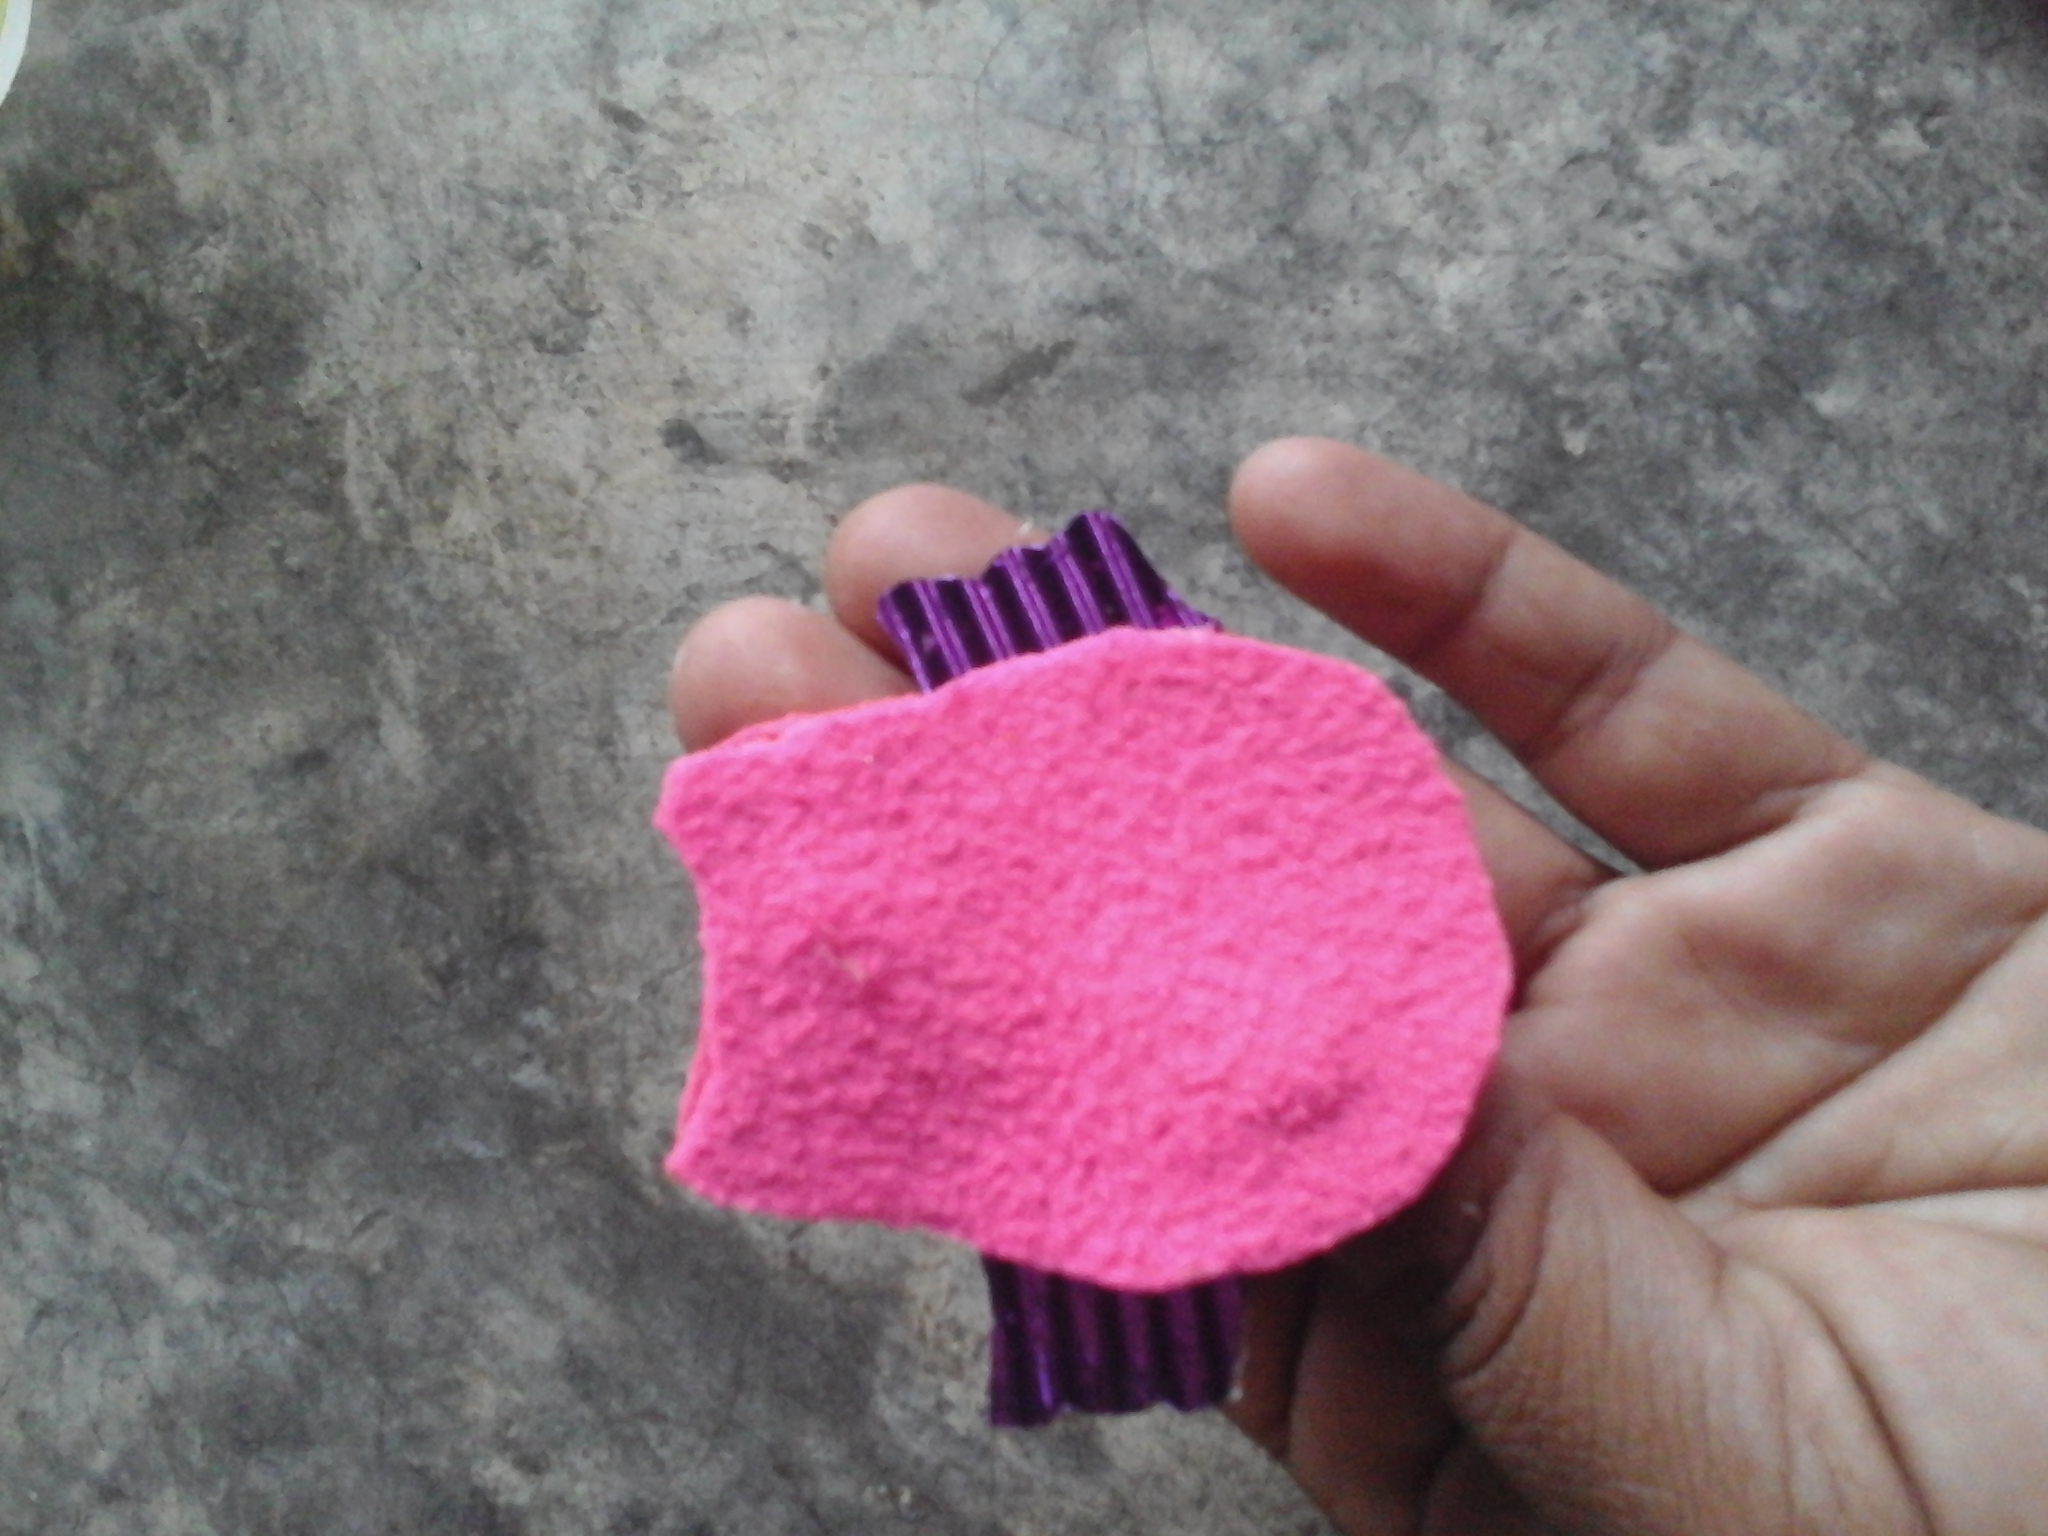
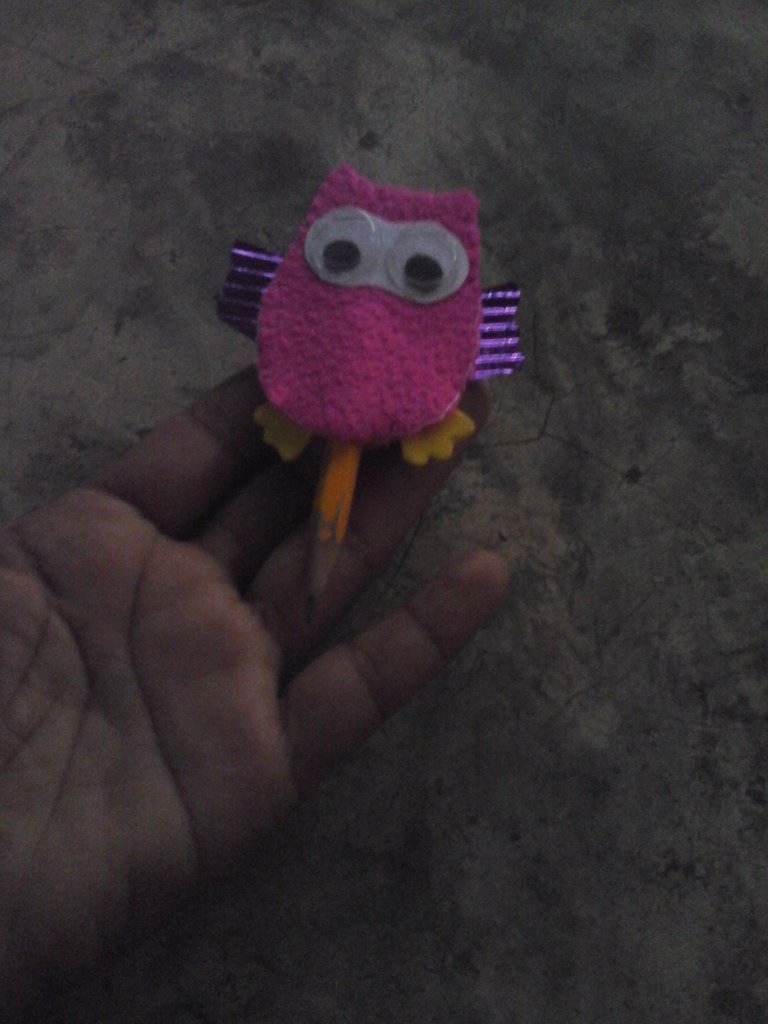
Paso 7.
Ahora pegamos las alas y las patitas del buho, una vez que hayamos pegado estas piezas, procedemos a pegar el silindro y por último la parte trasera que cubrirá los detalles.
Step 7.
Now we glue the wings and the legs of the owl, once we have glued these pieces, we proceed to glue the cylinder and finally the back part that will cover the details.
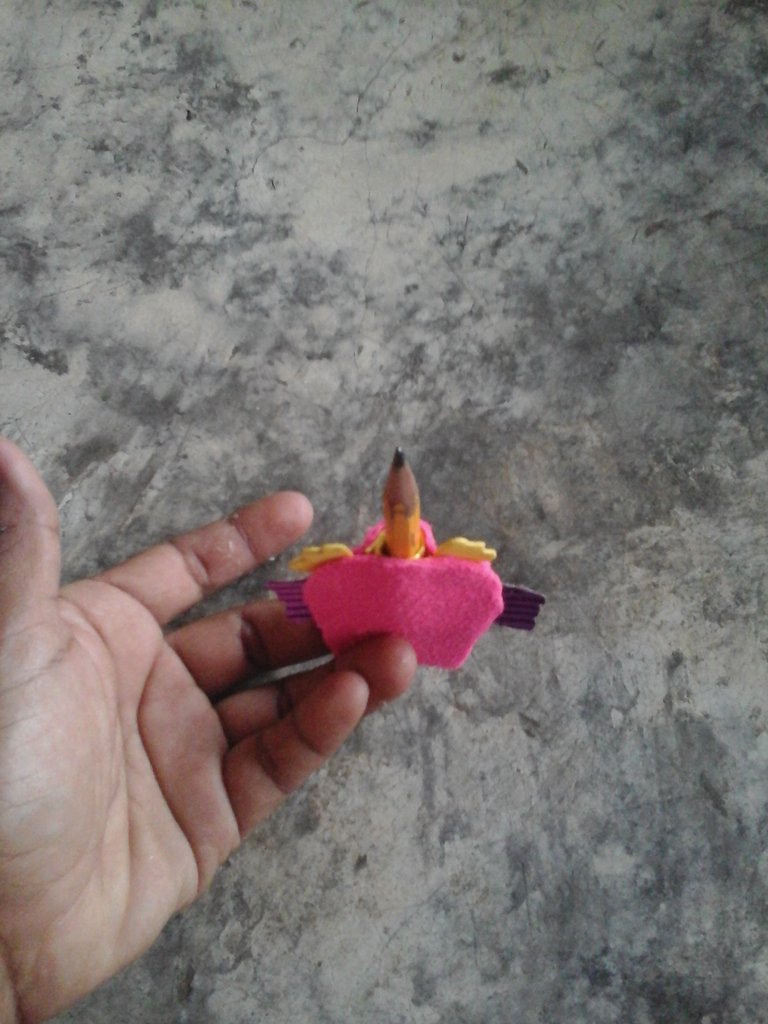
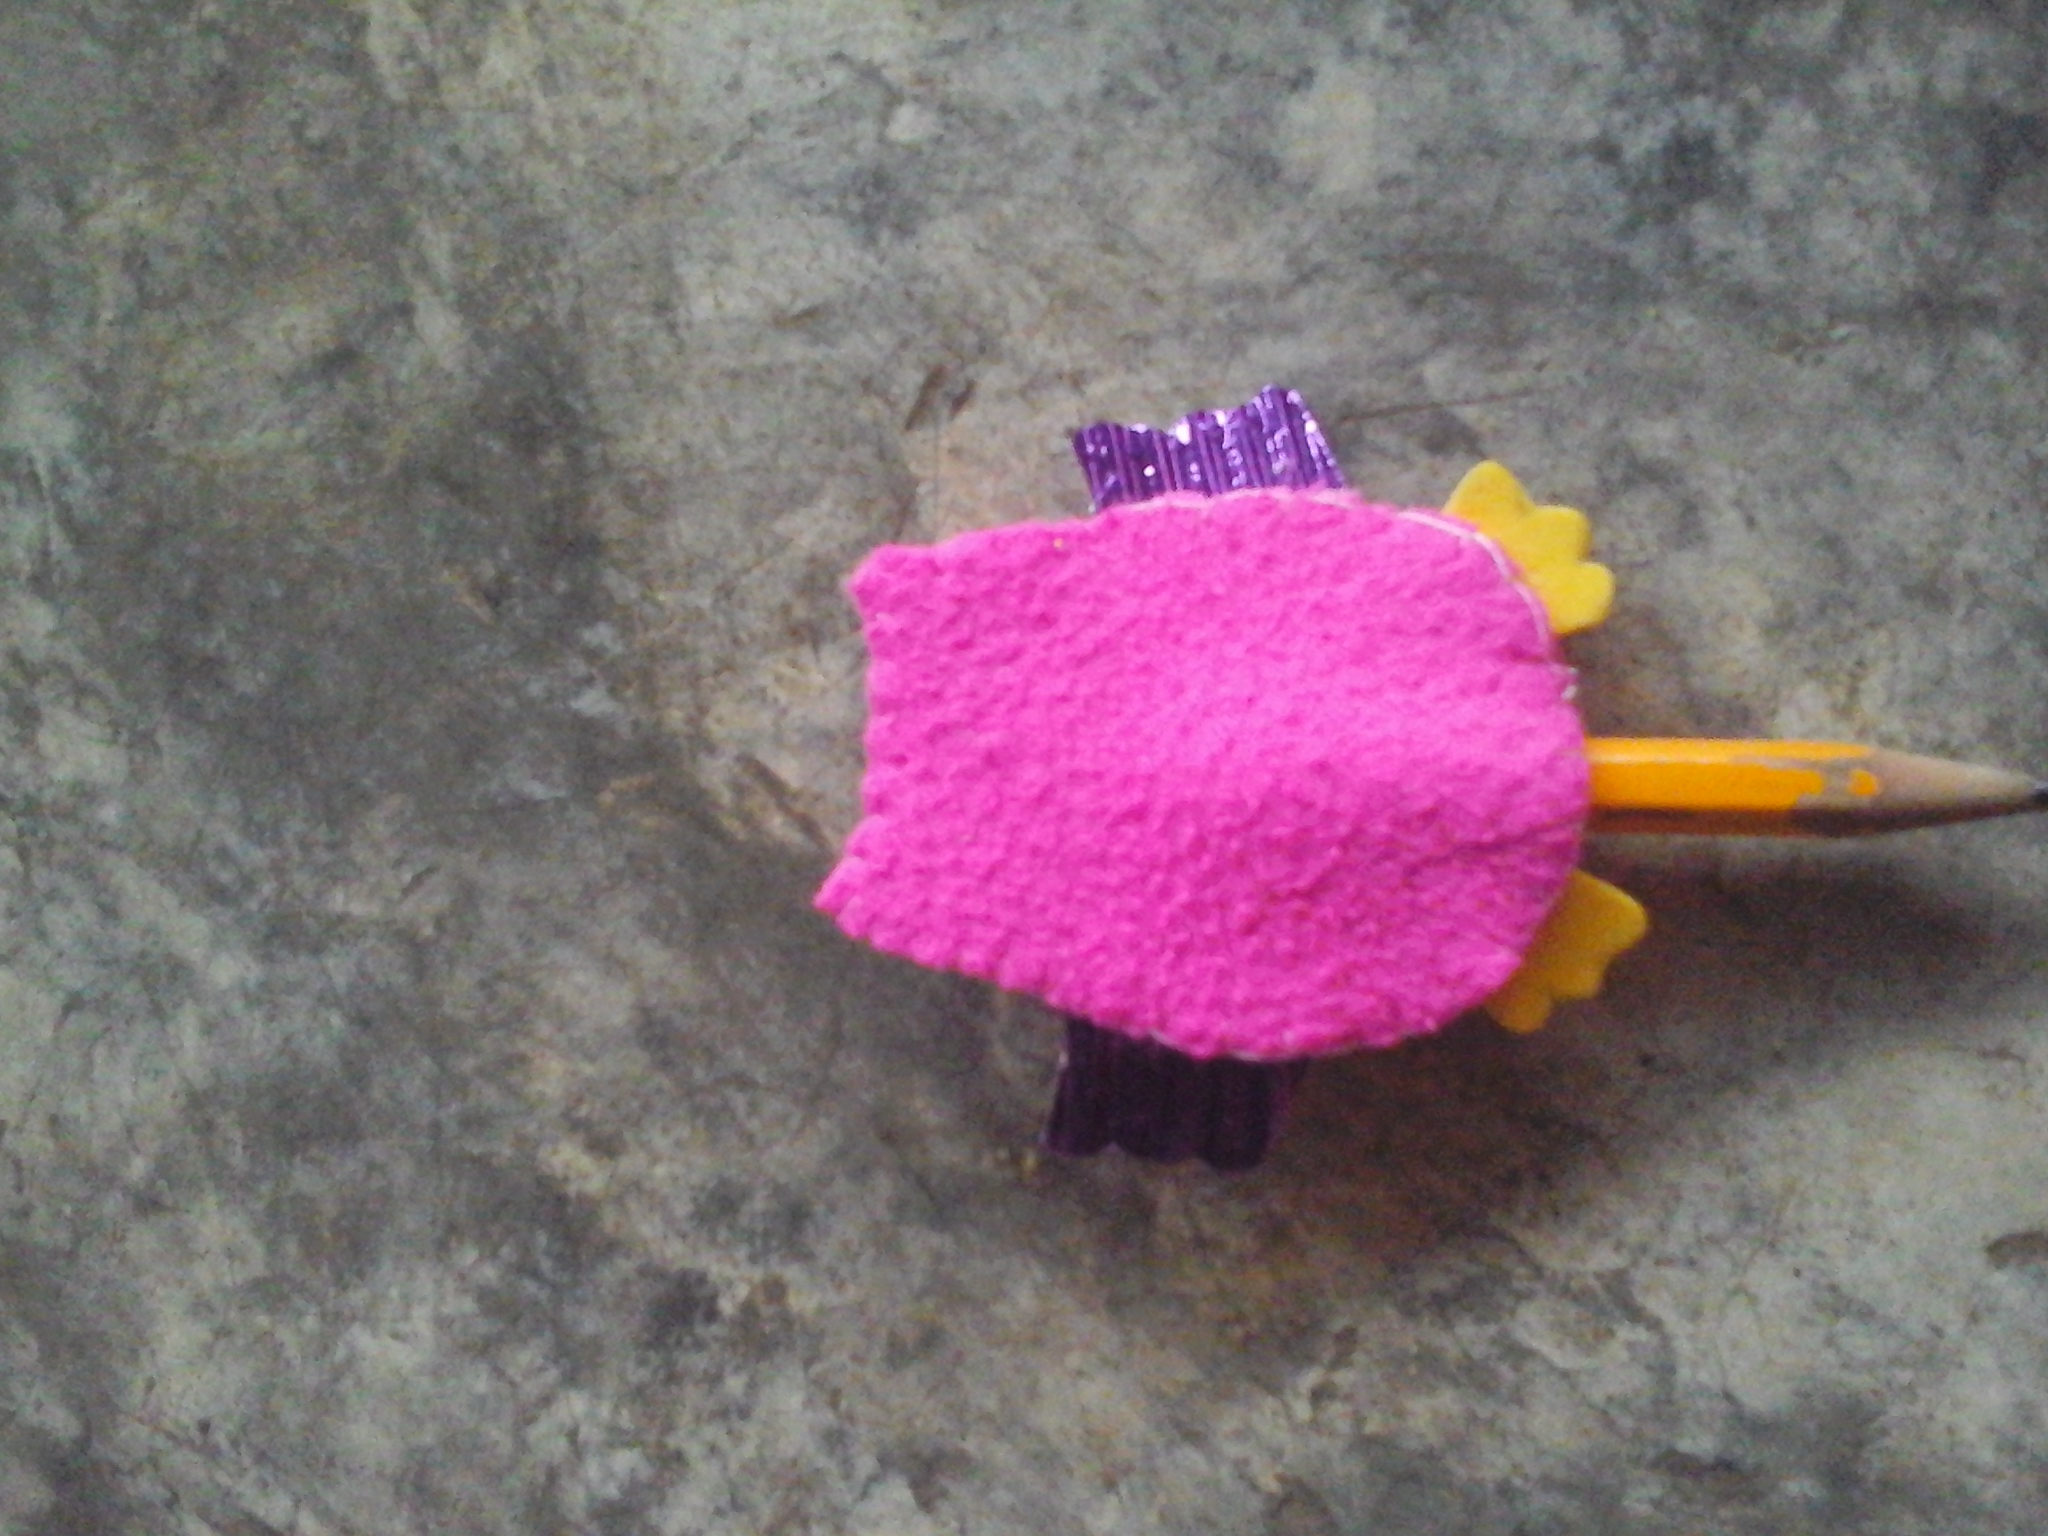
Observen como debe quedar al introducir el lápiz, es muy fácil de hacerlo.
Observe how it should look when you insert the pencil, it is very easy to do so.
Paso 8.
En este paso hice costura en el borde del buho, pero esto es opcional, dolo lo hice para darle ese toque de costura, pueden colocar algun otro accessorio al rededor del buho.
Step 8.
In this step I sewed the edge of the owl, but this is optional, I only did it to give it that sewing touch, you can place some other accessory around the owl.
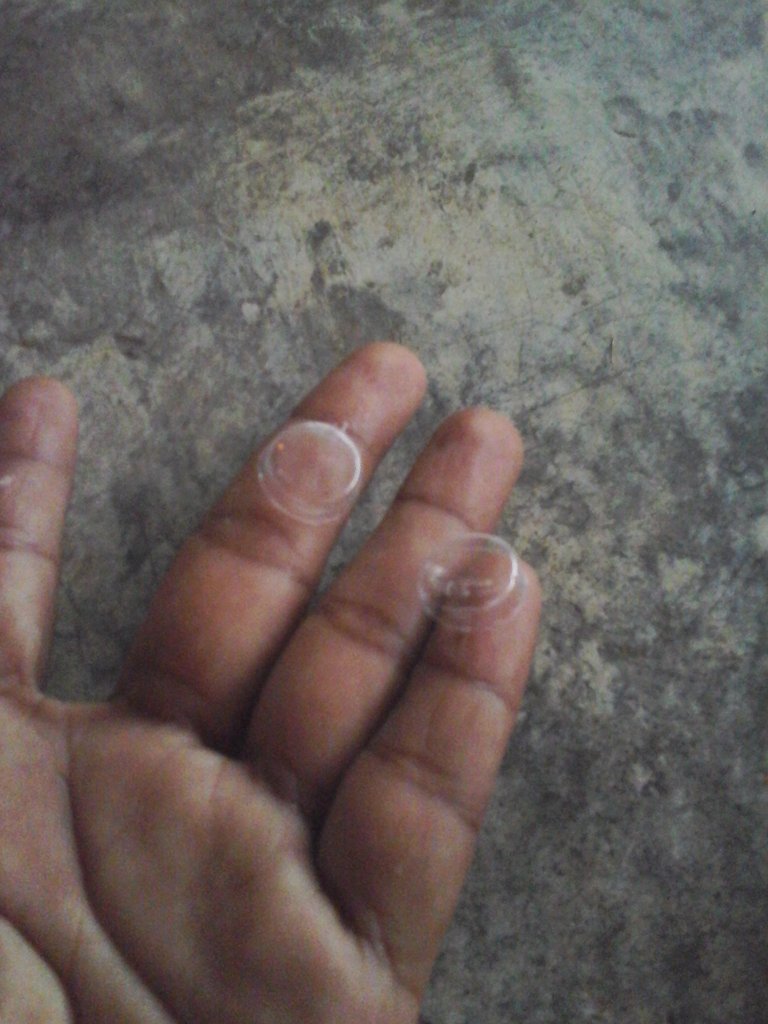
Paso 9.
Para hacer los ojos de nuestro buho, recortamos la parte transparente del bliste, yo he utilizado estas que son un poco más grandes, pero ustedes pueden utilizar unos pequeños, de esta manera comenzamos hacer los ojos.
Step 9.
To make the eyes of our owl, we cut out the transparent part of the blister, I have used these that are a little larger, but you can use small ones, This way we start making the eyes.
Paso 10.
En un trozo de foami, cartulina o papel, pegamos estas piezas una al lado de otra sin olvidar introducir pequeños círculos de foami negro.
Step 10.
On a piece of foam, cardboard or paper, we glue these pieces next to each other without forgetting to insert small circles of black foam.
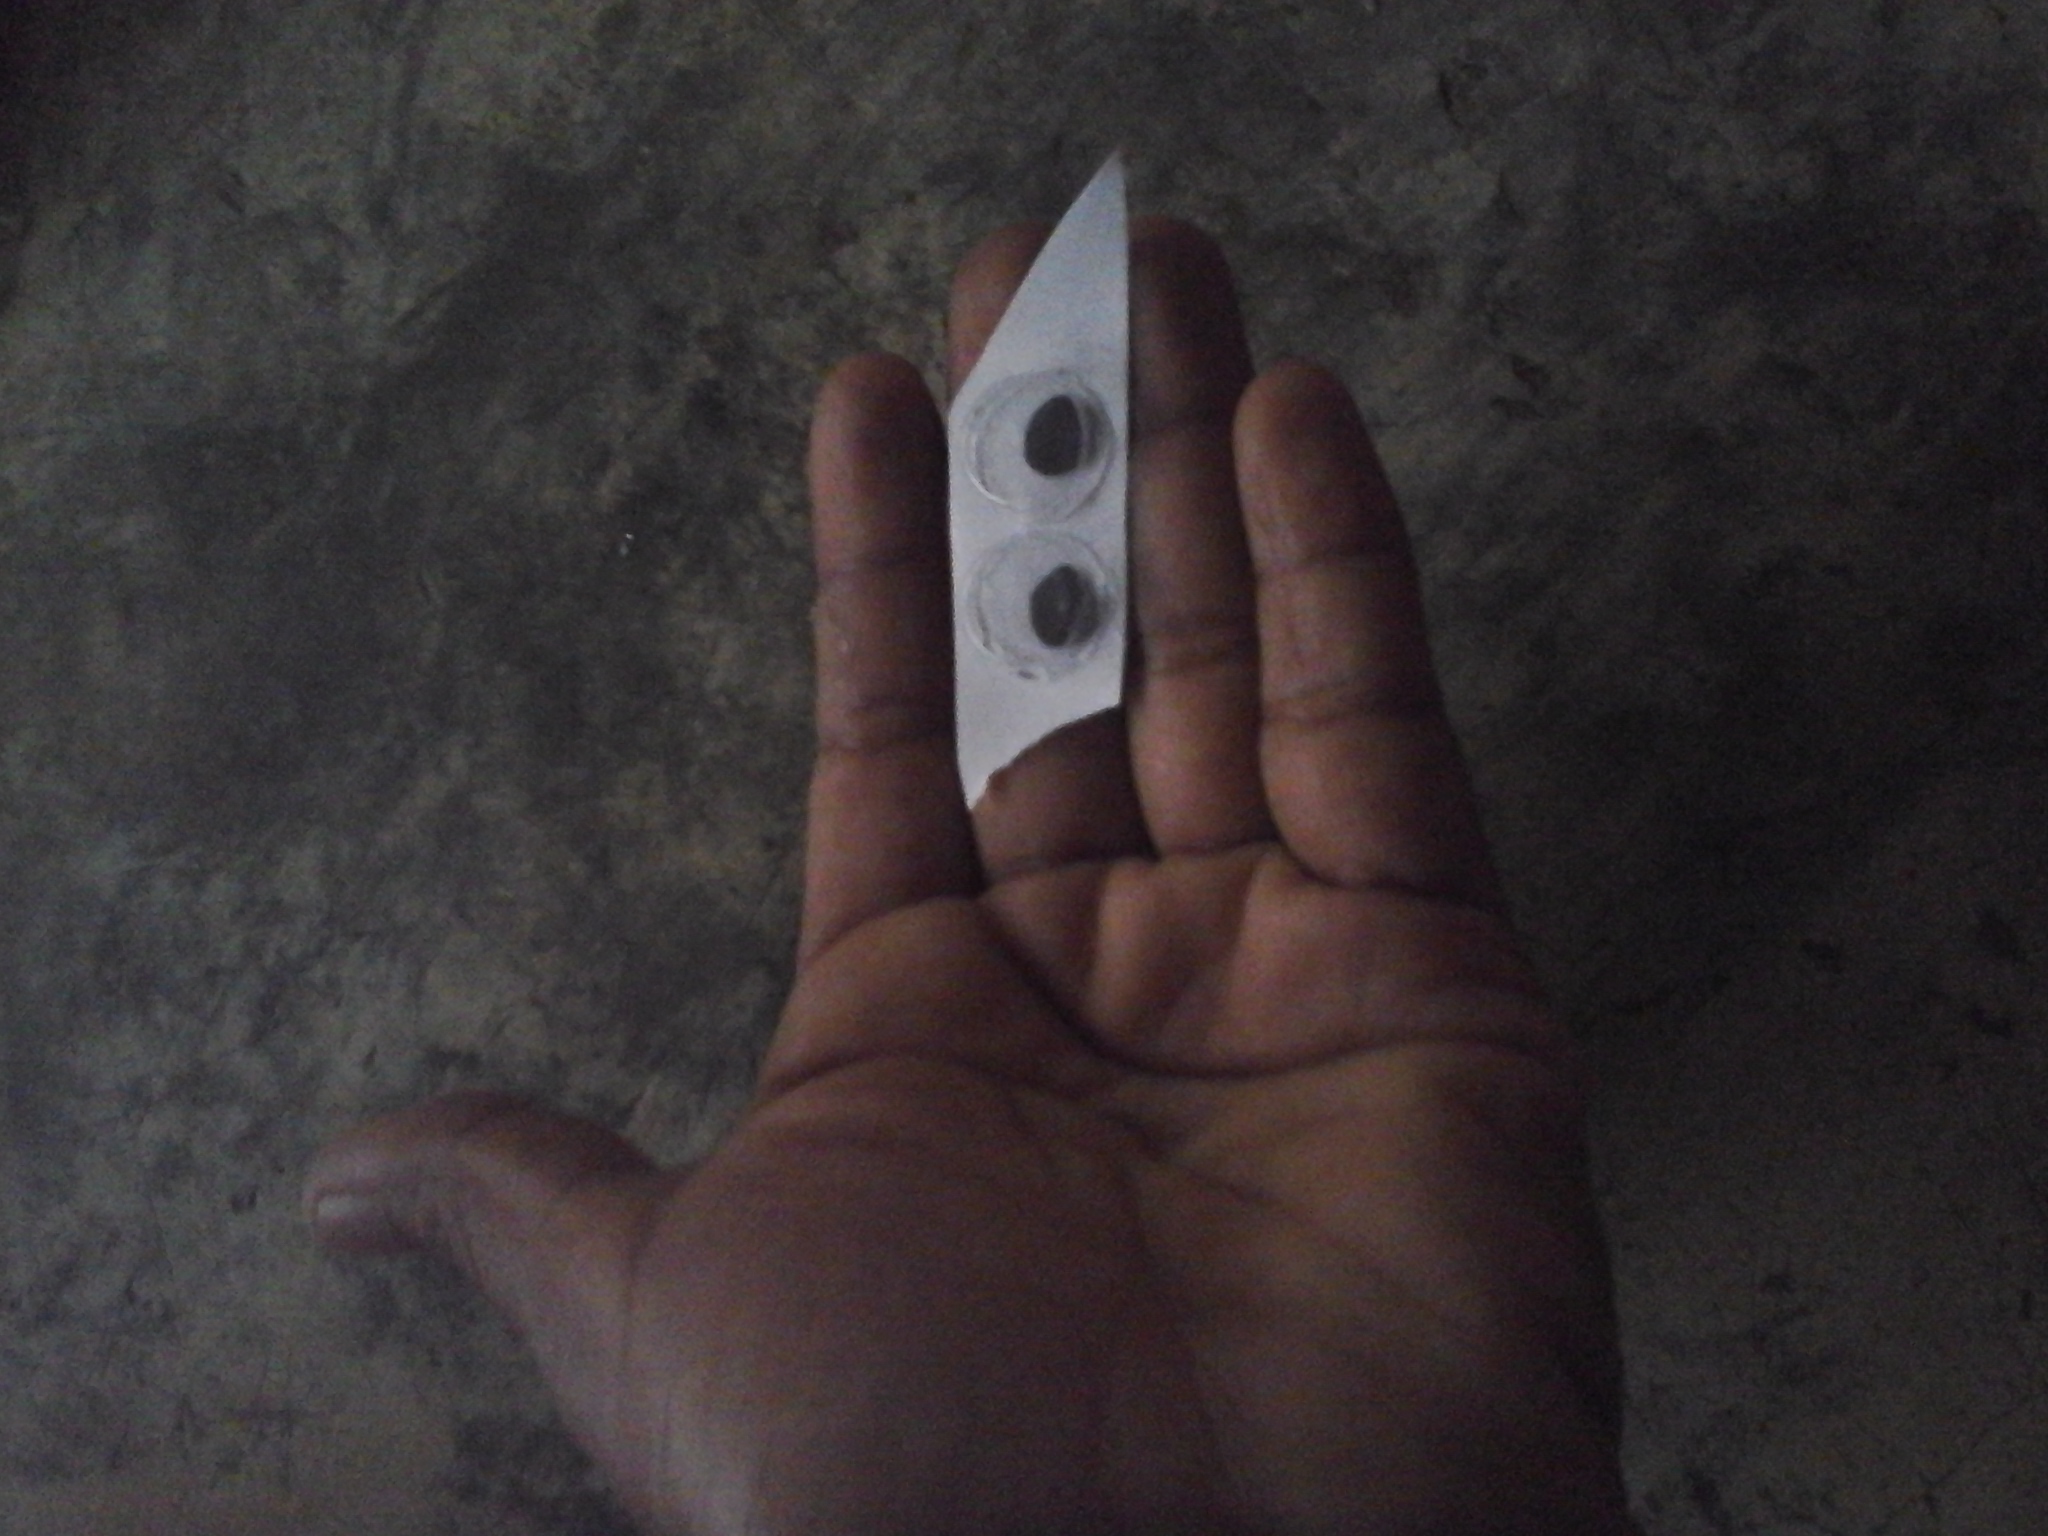
Paso 11.
Finalmente recortamos esta pieza, dando forma de mani y pegamos a nuestro buho, así han quedo unos ojos muy grande que es lo que buscaba.
Step 11.
Finally we cut out this piece, giving it a mani shape and glued our owl, so we have very large eyes, which is what I was looking for.
Paso 12.
Terminamos pegando un corazón de foami en el centro y así puedes seguir añadiendo más elementos para decolarlo.
Step 12.
We finish by gluing a foam heart in the center so you can continue adding more elements to decorate it.
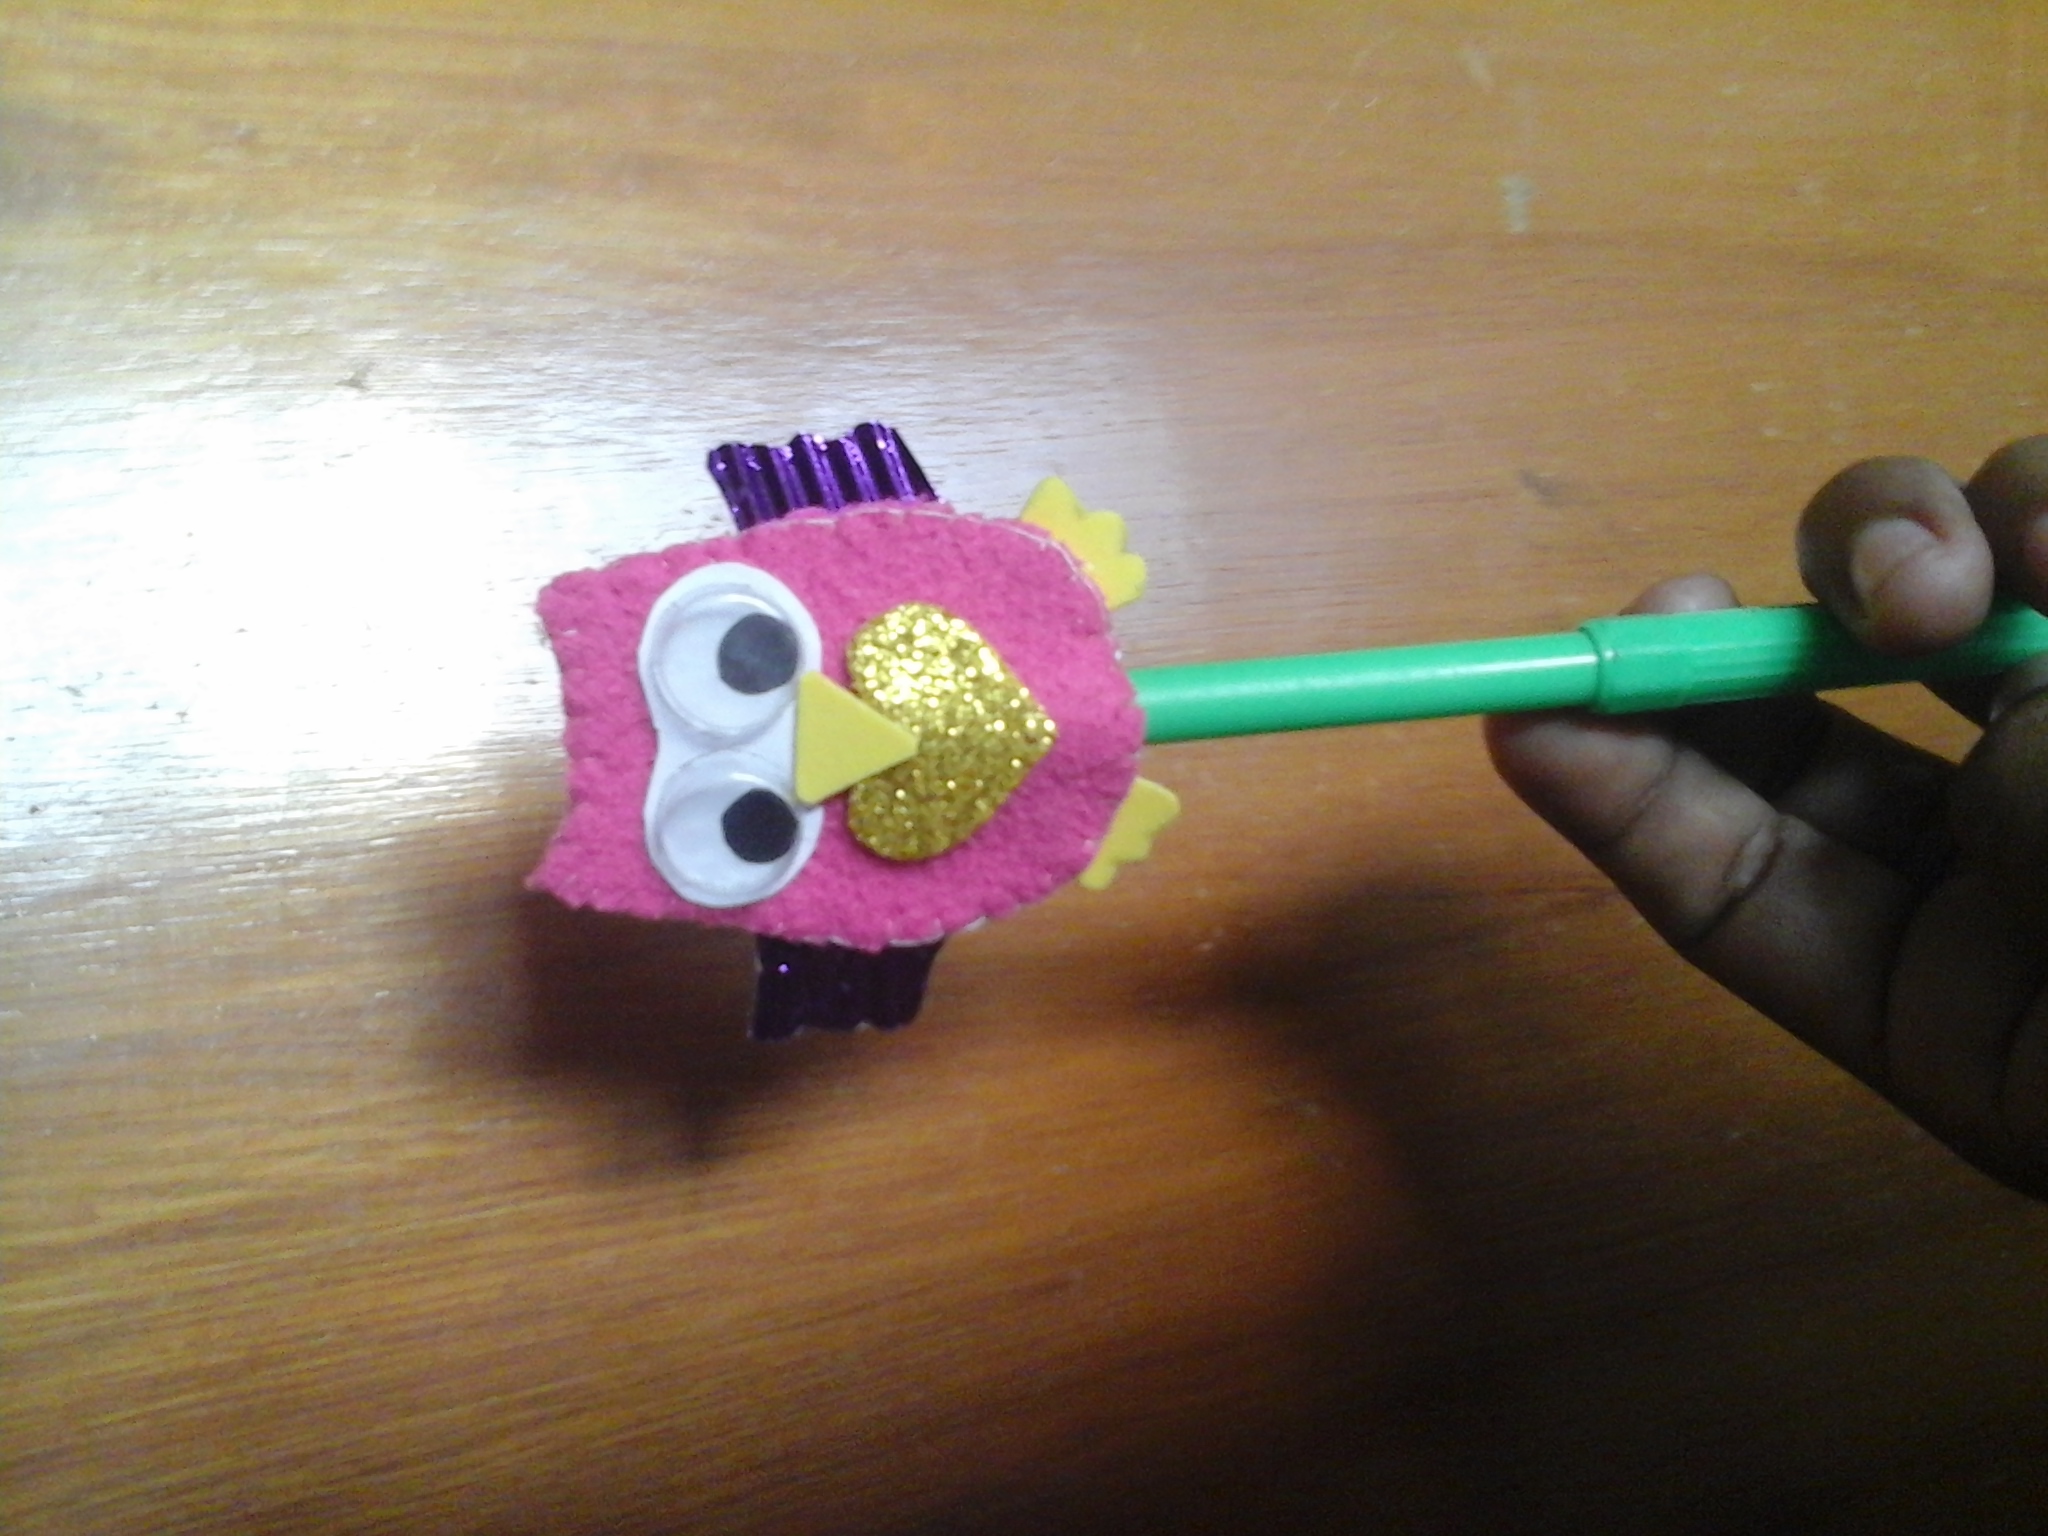
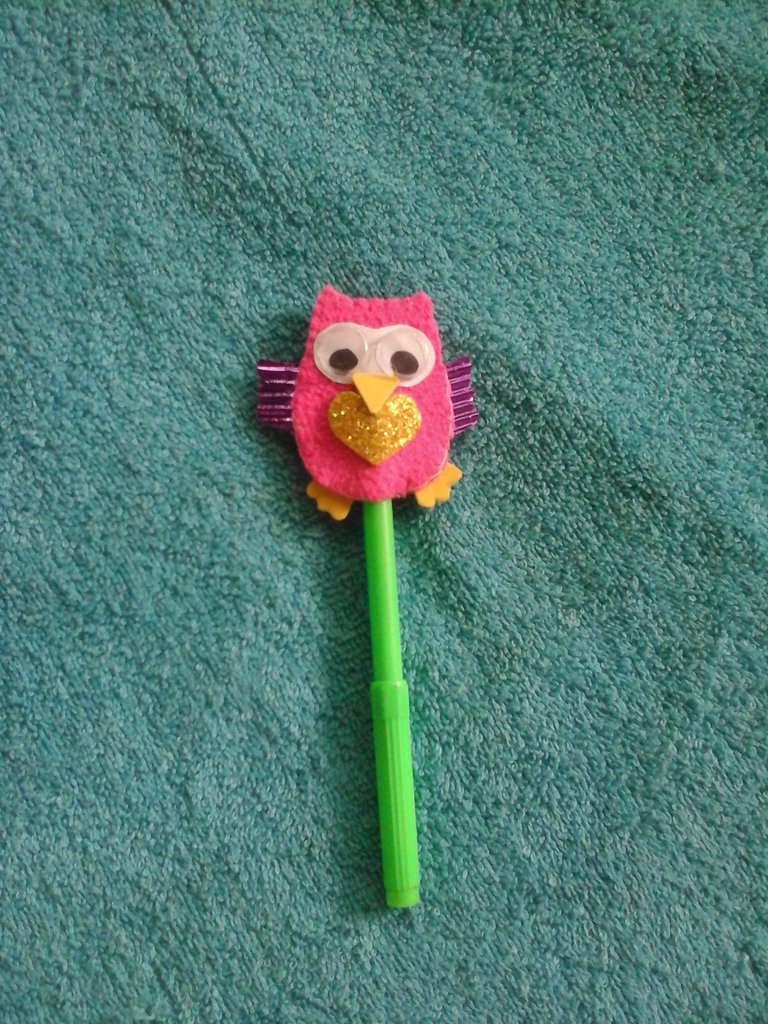
Este es el resultado, es un lindo adorno que podemos hacer en casa de una manera muy fácil y con retazos de tela, foami y cartón, todos estos recortes los puedes utilizar y sacarle provecho. Espero que les guste y lo disfruten.
This is the result, it is a nice ornament that we can make at home in a very easy way and with scraps of fabric, foam and cardboard, you can use all these scraps and take advantage of them. I hope you like it and enjoy it.
Es un placer poder compartir con todos ustedes esta manualidad, siempre haciendolo con mucho cariño. Gracias por visitar mi blog y apoyarme, se les quiere mucho, bendiciones.
It is a pleasure to be able to share this craft with all of you, always doing it with great love. Thank you for visiting my blog and supporting me, you are loved very much, blessings.
Contenido de mi autoria, las fotos fueron capturada por mi tablet Samsung galaxy y editadas por Gridart y photocollage. Traductor Google.com
Content of my authorship, the photos were captured by my Samsung galaxy tablet and edited by Gridart and photocollage. Google.com Translator
