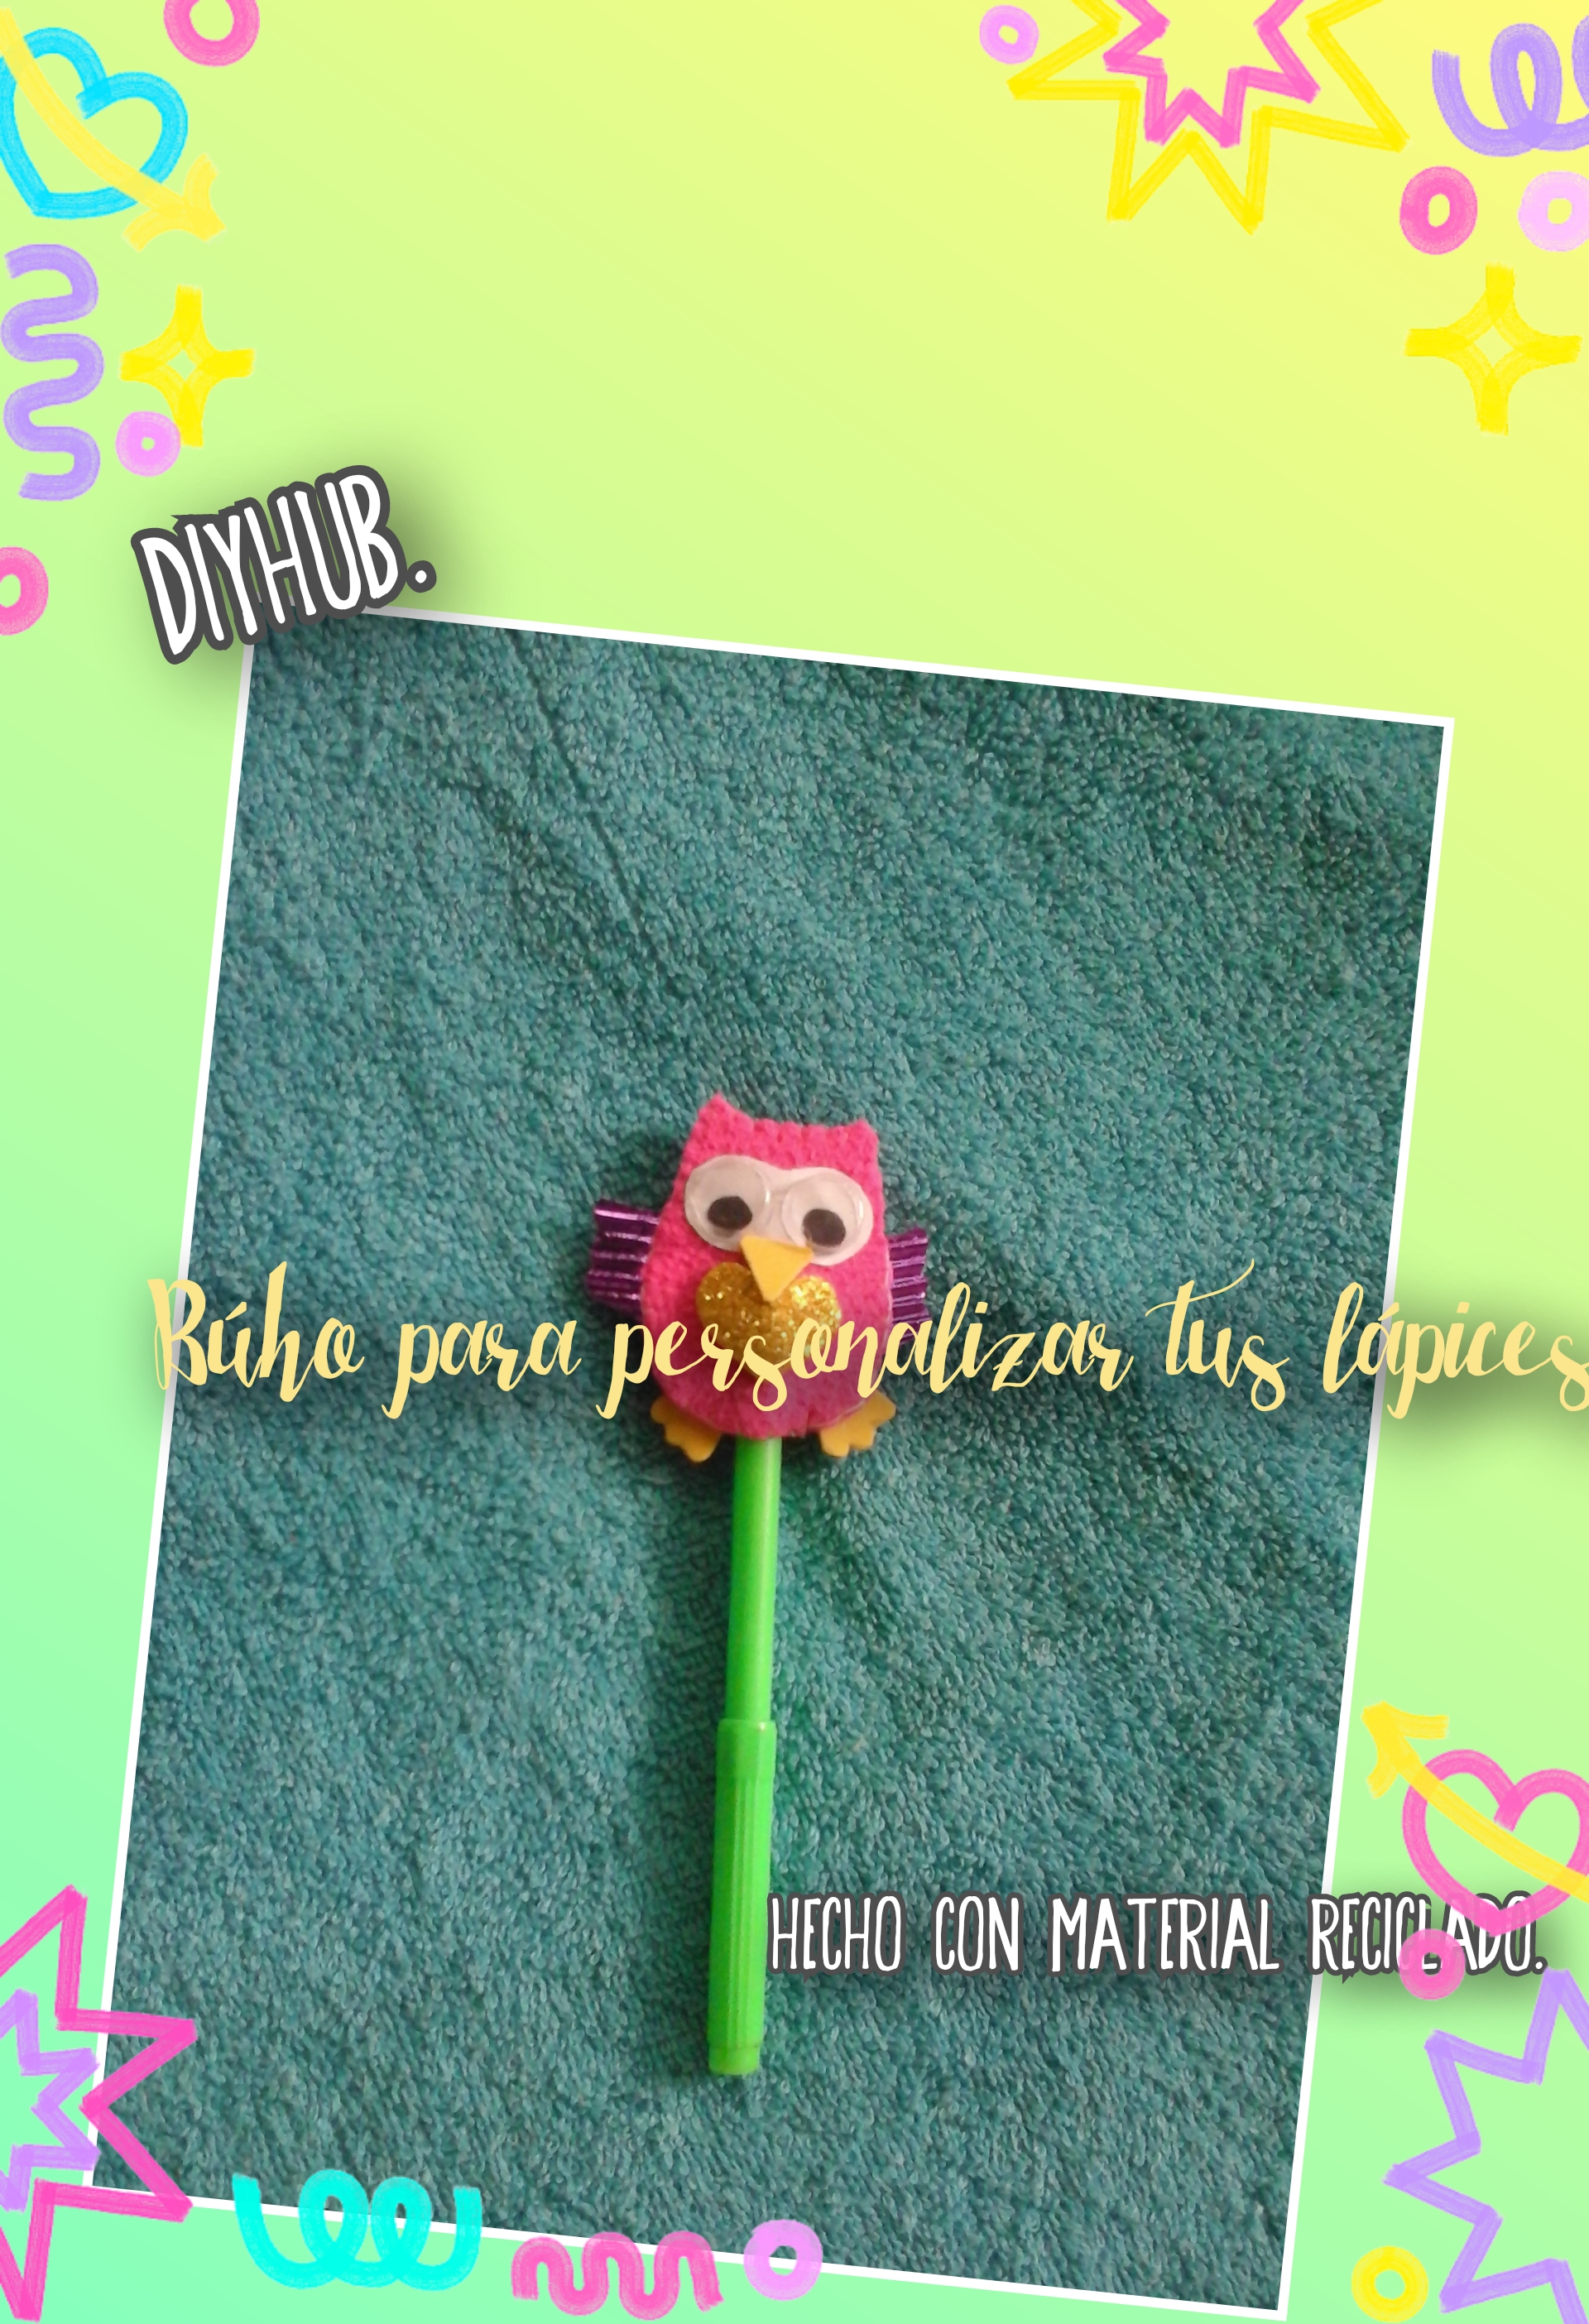
Happy and beautiful night to all my dear diyhub friends, blessings!! It is a pleasure to greet you again and to be able to share a new project with all of you. I tell you that a few days ago I saw some beautiful things, these are these decorations that are often used to decorate and personalize pencils, pens, among others. I had seen these ornaments before but made with foam, not fabric, so today I show you how to make a very cute one in the shape of an owl, using those small scraps of fabric as the main material, foam and Catulina. If you like this tutorial, you can follow me to the end.
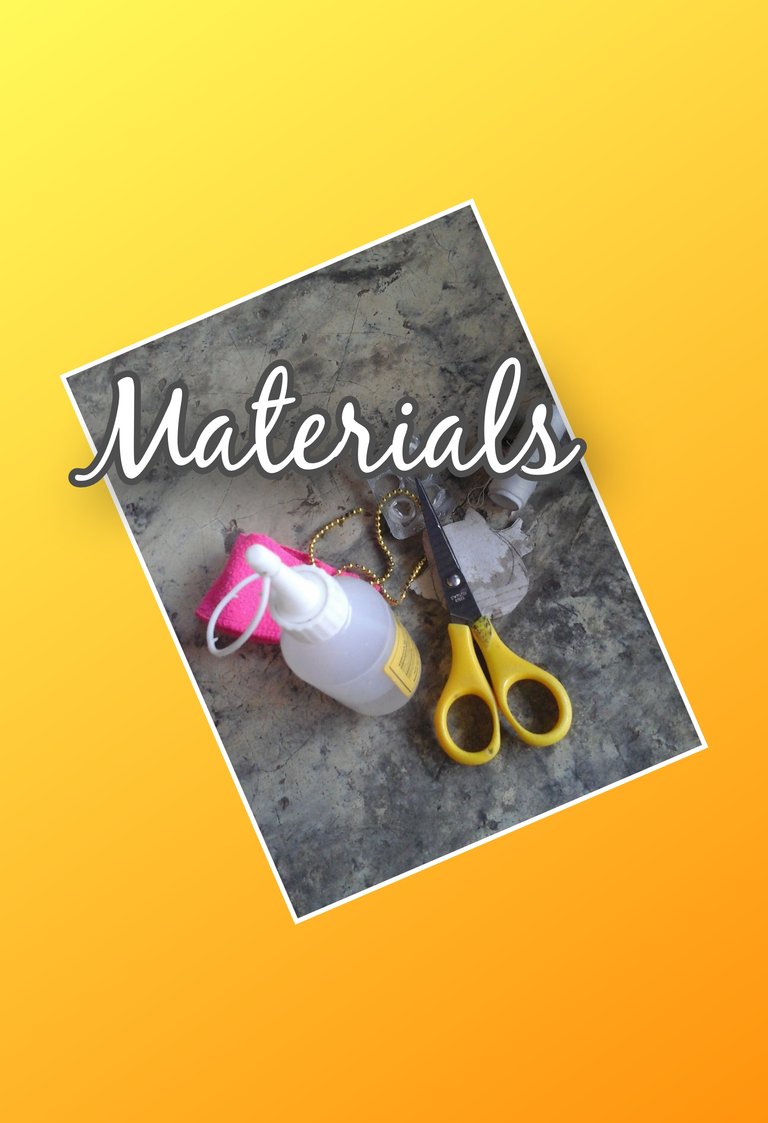
Materiales.
- Tijera.
- Lápiz.
- Silicon frío.
- Aguja e hilo.
- Tela para hacer mono, cartón, foami y cartulina.
- Bliste de pastillas.
Materials.
- Scissors.
- Pencil.
- Cold sylicon.
- Needle and thread.
- Fabric to make monkey, cardboard, foam and cardboard.
- Blist of pills.
Paso 1.
Step 1.
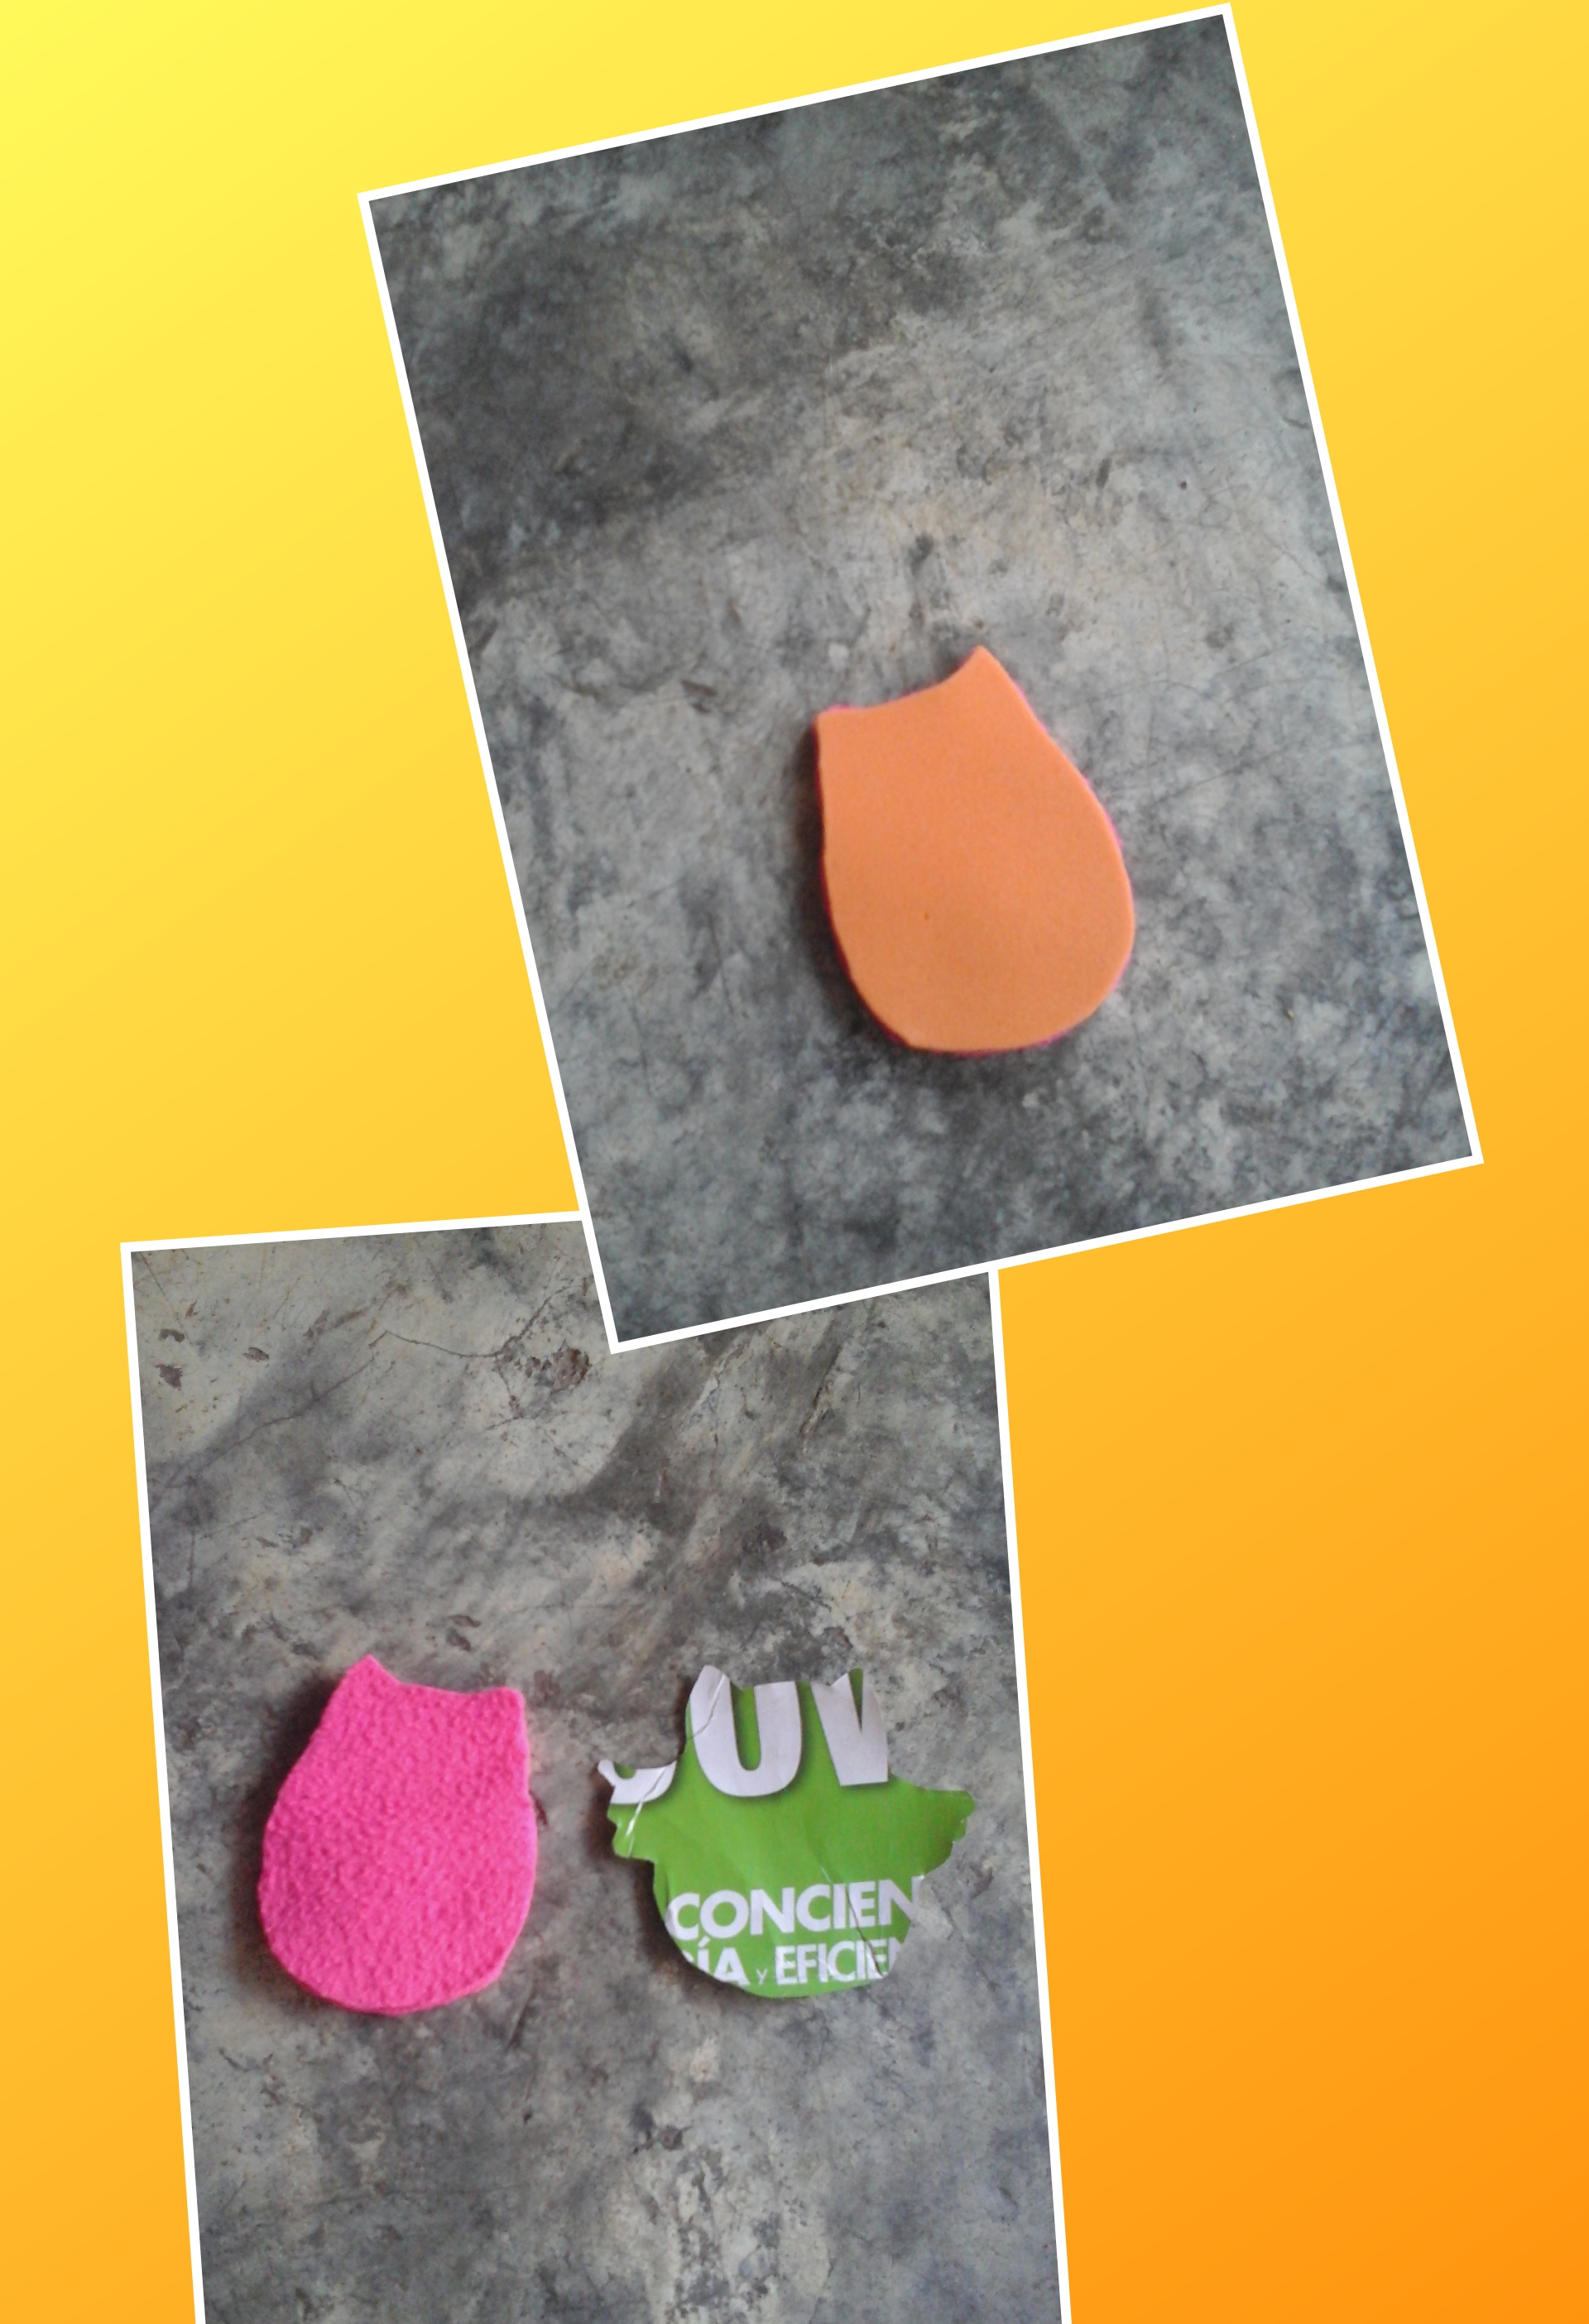
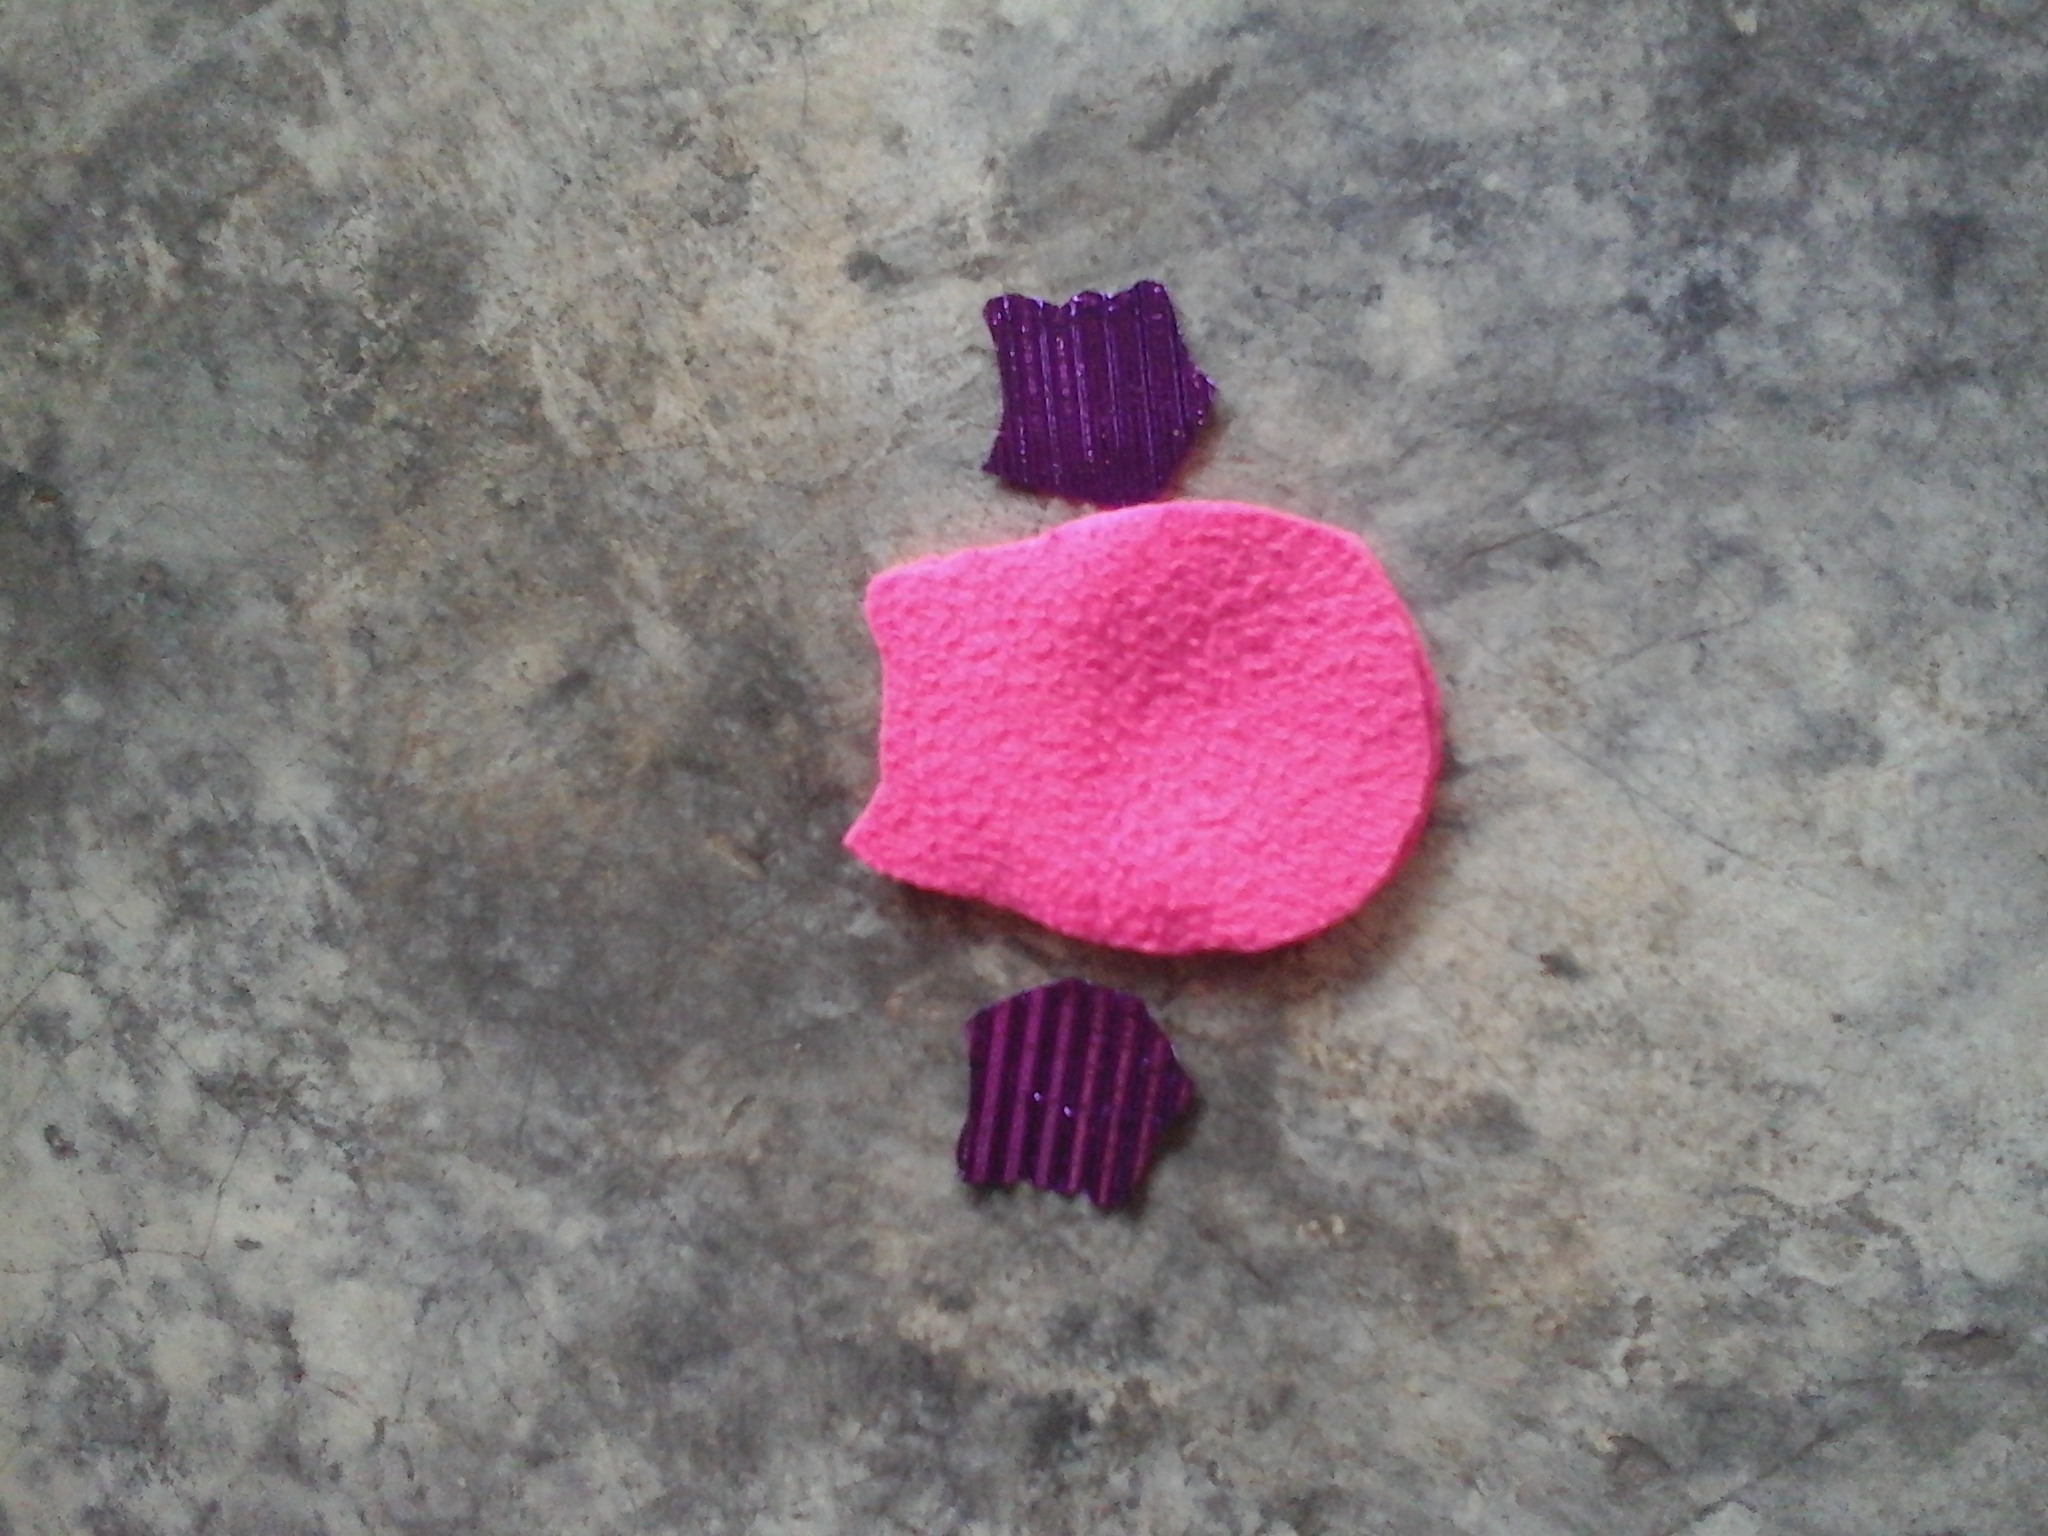
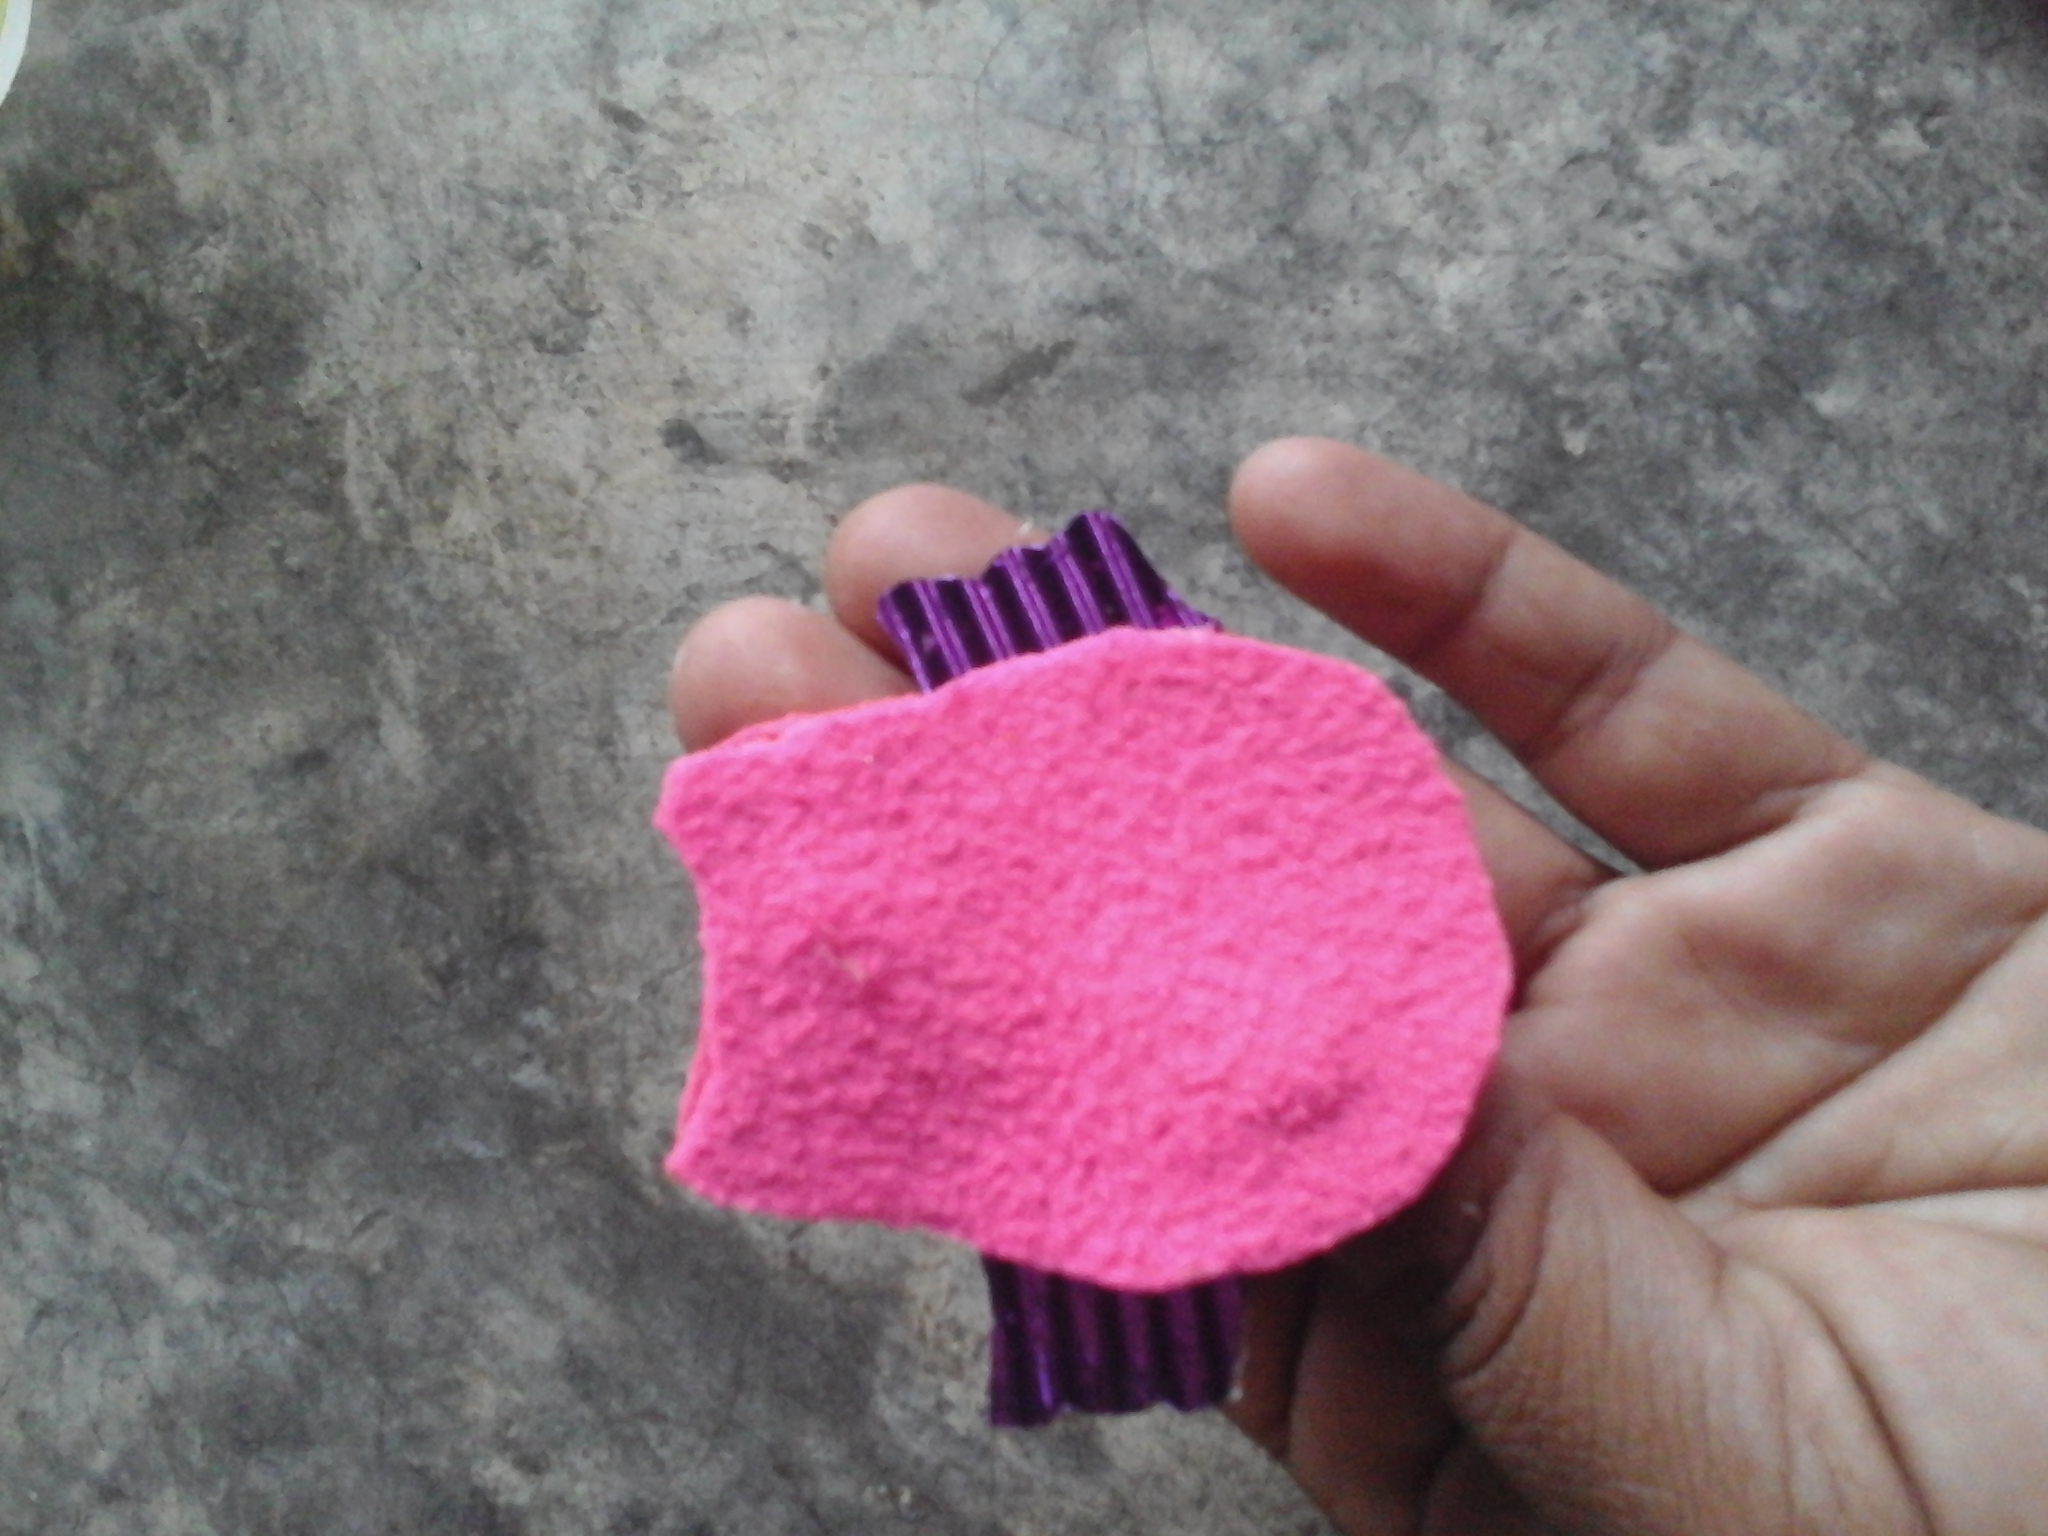
To start, we are going to draw a small owl approximately 4 or 5cm on a piece of cardboard and cut it out. This way we have a pattern that will help us when cutting the fabric. We place this pattern on the fabric and cut out a couple and one in foam. This fabric that I have used is excellent for this type of work since it does not fray. You can also use felt or plush to make these ornaments.
Paso 2.
Step 2.
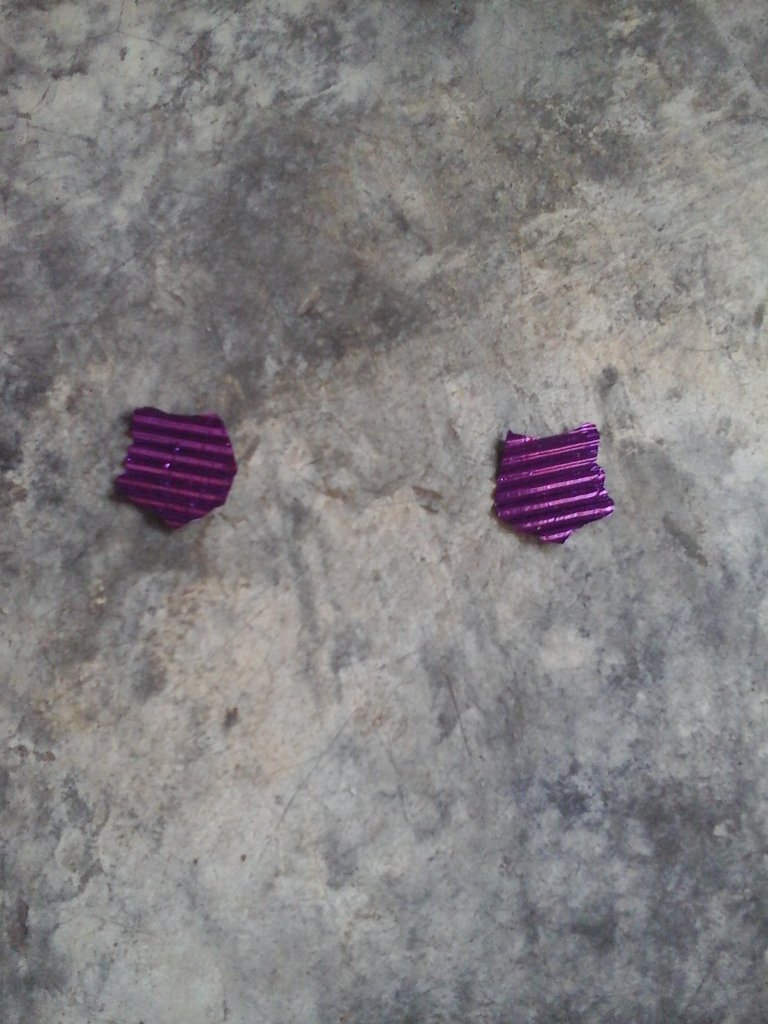
Now we are going to make the owl's wings, we take the cardboard of the color you have, always combining with the other pieces, if you have printed fabric you can make them, no problem.
Paso 3.
Step 3.
We also cut out the owl's legs, we mark the legs on the foam and cut them out, if you have different colors of this same fabric you can make them anyway, it will look very good.
Paso 4.
Step 4.
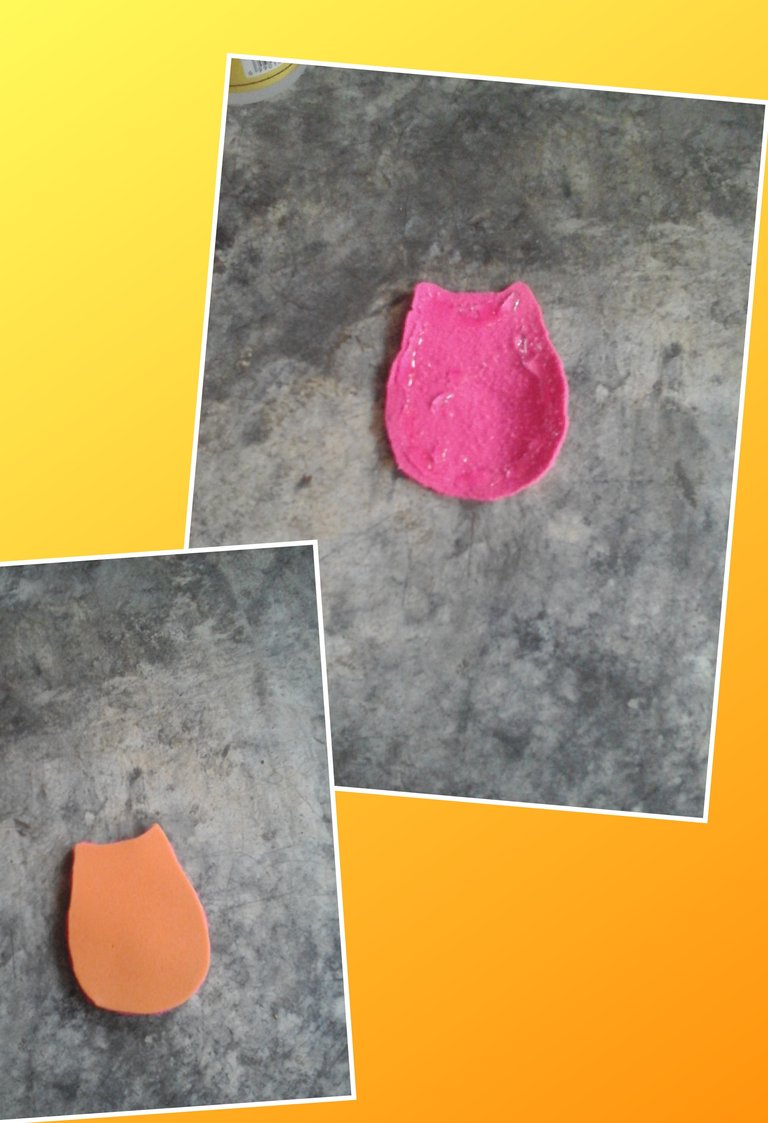
We take the front piece of the owl's body and glue it to the foam, this is to give firmness to the owl, you can replace the foam with cotton and insert a little filler.
Paso 5.
Step 5.
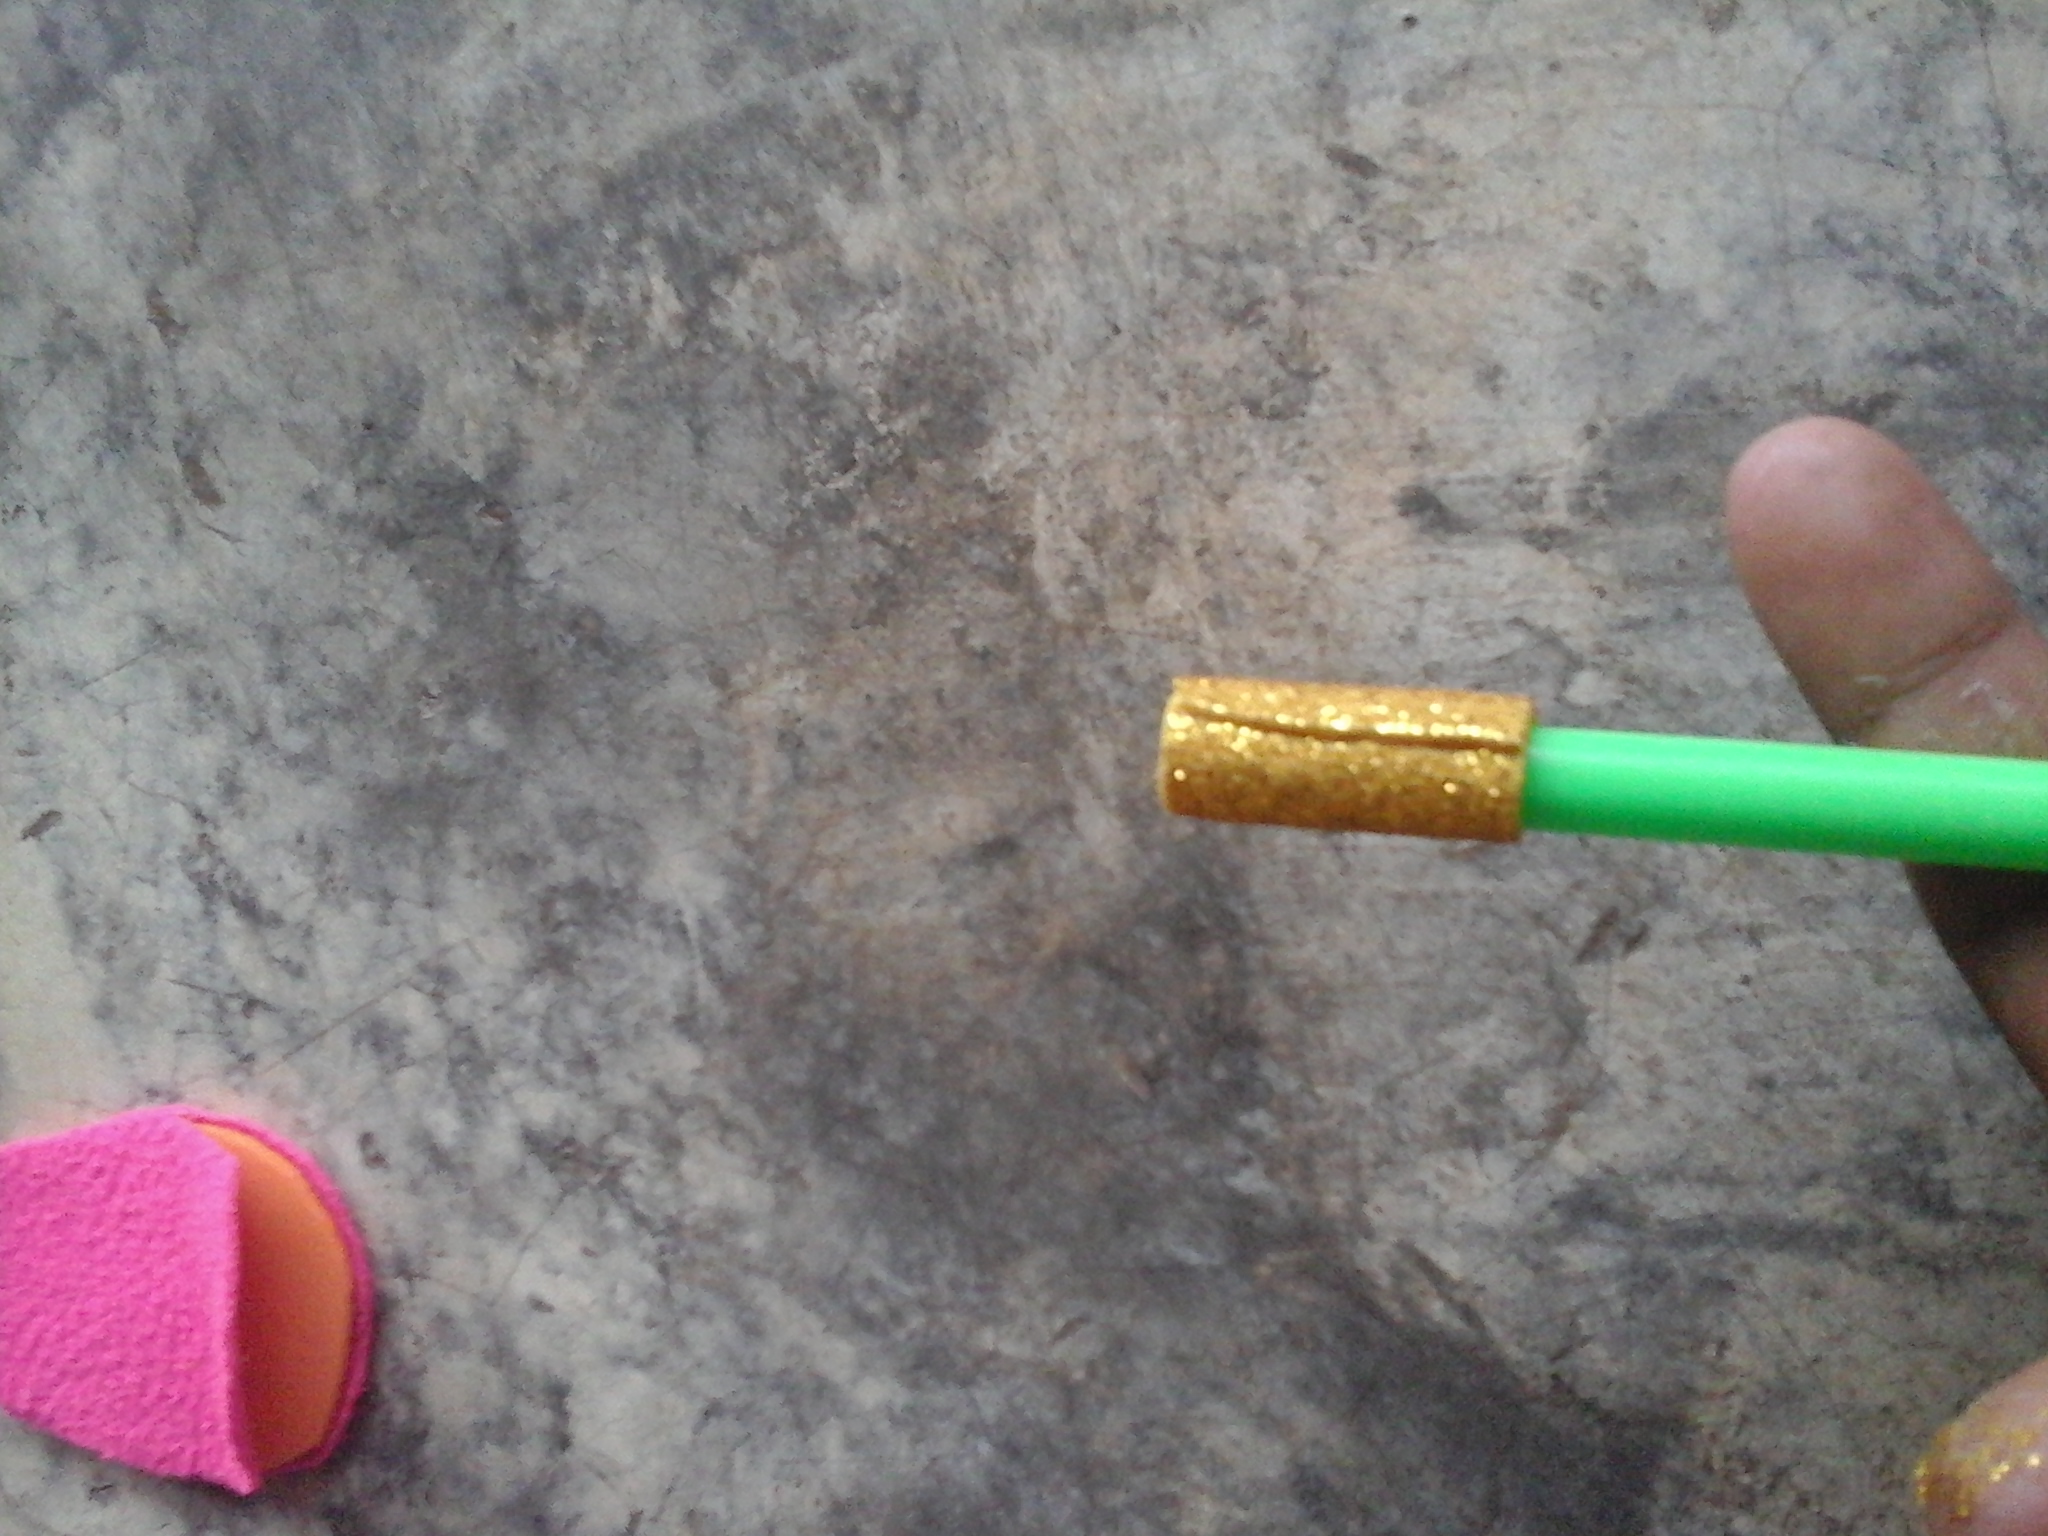
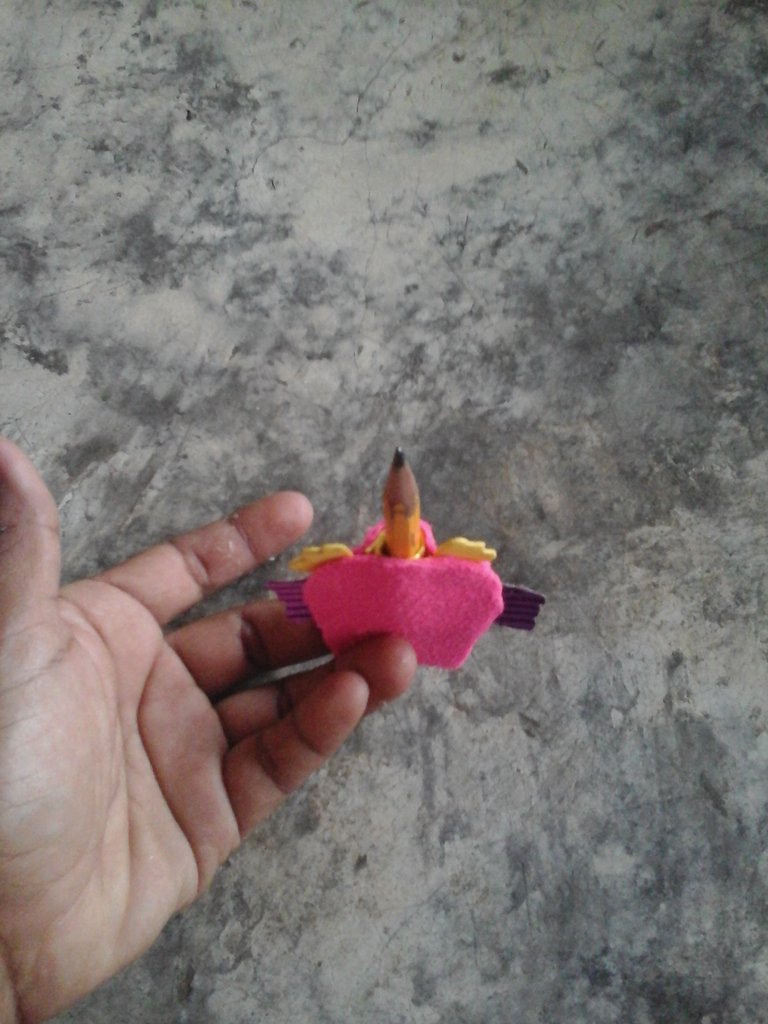
To make the part where we will insert the pencil, we must cut out a rectangle or foam bias, roll it to create a small cylinder where we can insert the pencil. We glue the ends of the bias with a little cold silicone.
Paso 6.
Step 6.
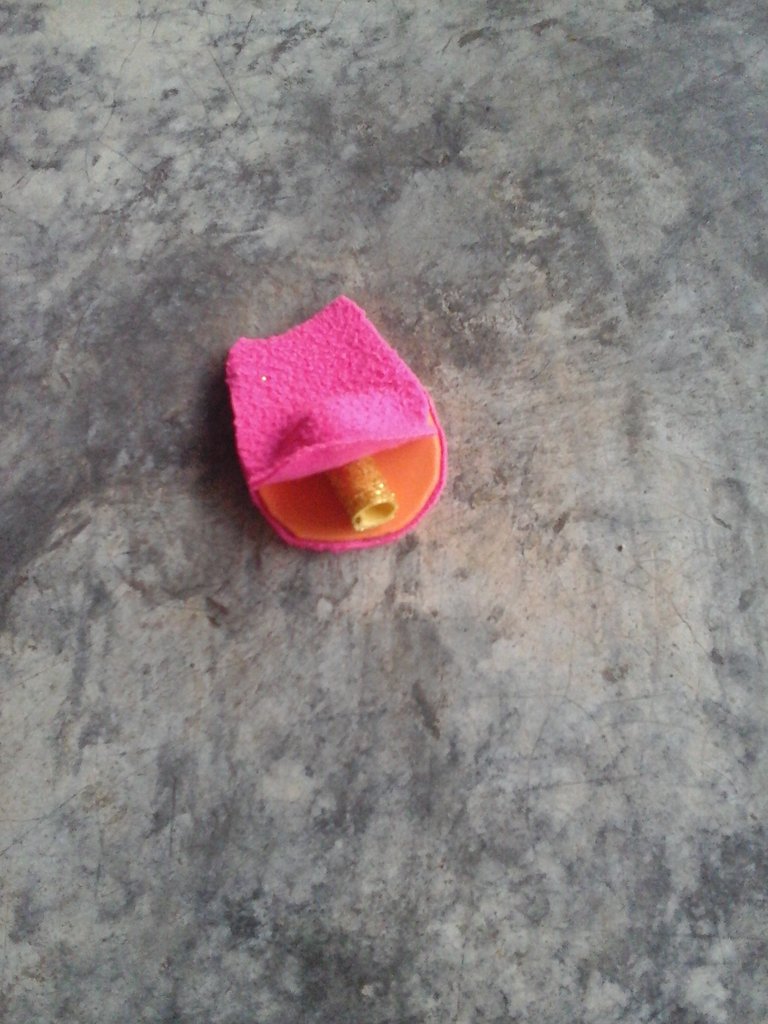
Now here I explain how you should place this foam cylinder inside the owl, I haven't glued it yet, I'm just showing you how you should place it before gluing it.
Paso 7.
Step 7.
Now we glue the wings and the legs of the owl, once we have glued these pieces, we proceed to glue the cylinder and finally the back part that will cover the details.
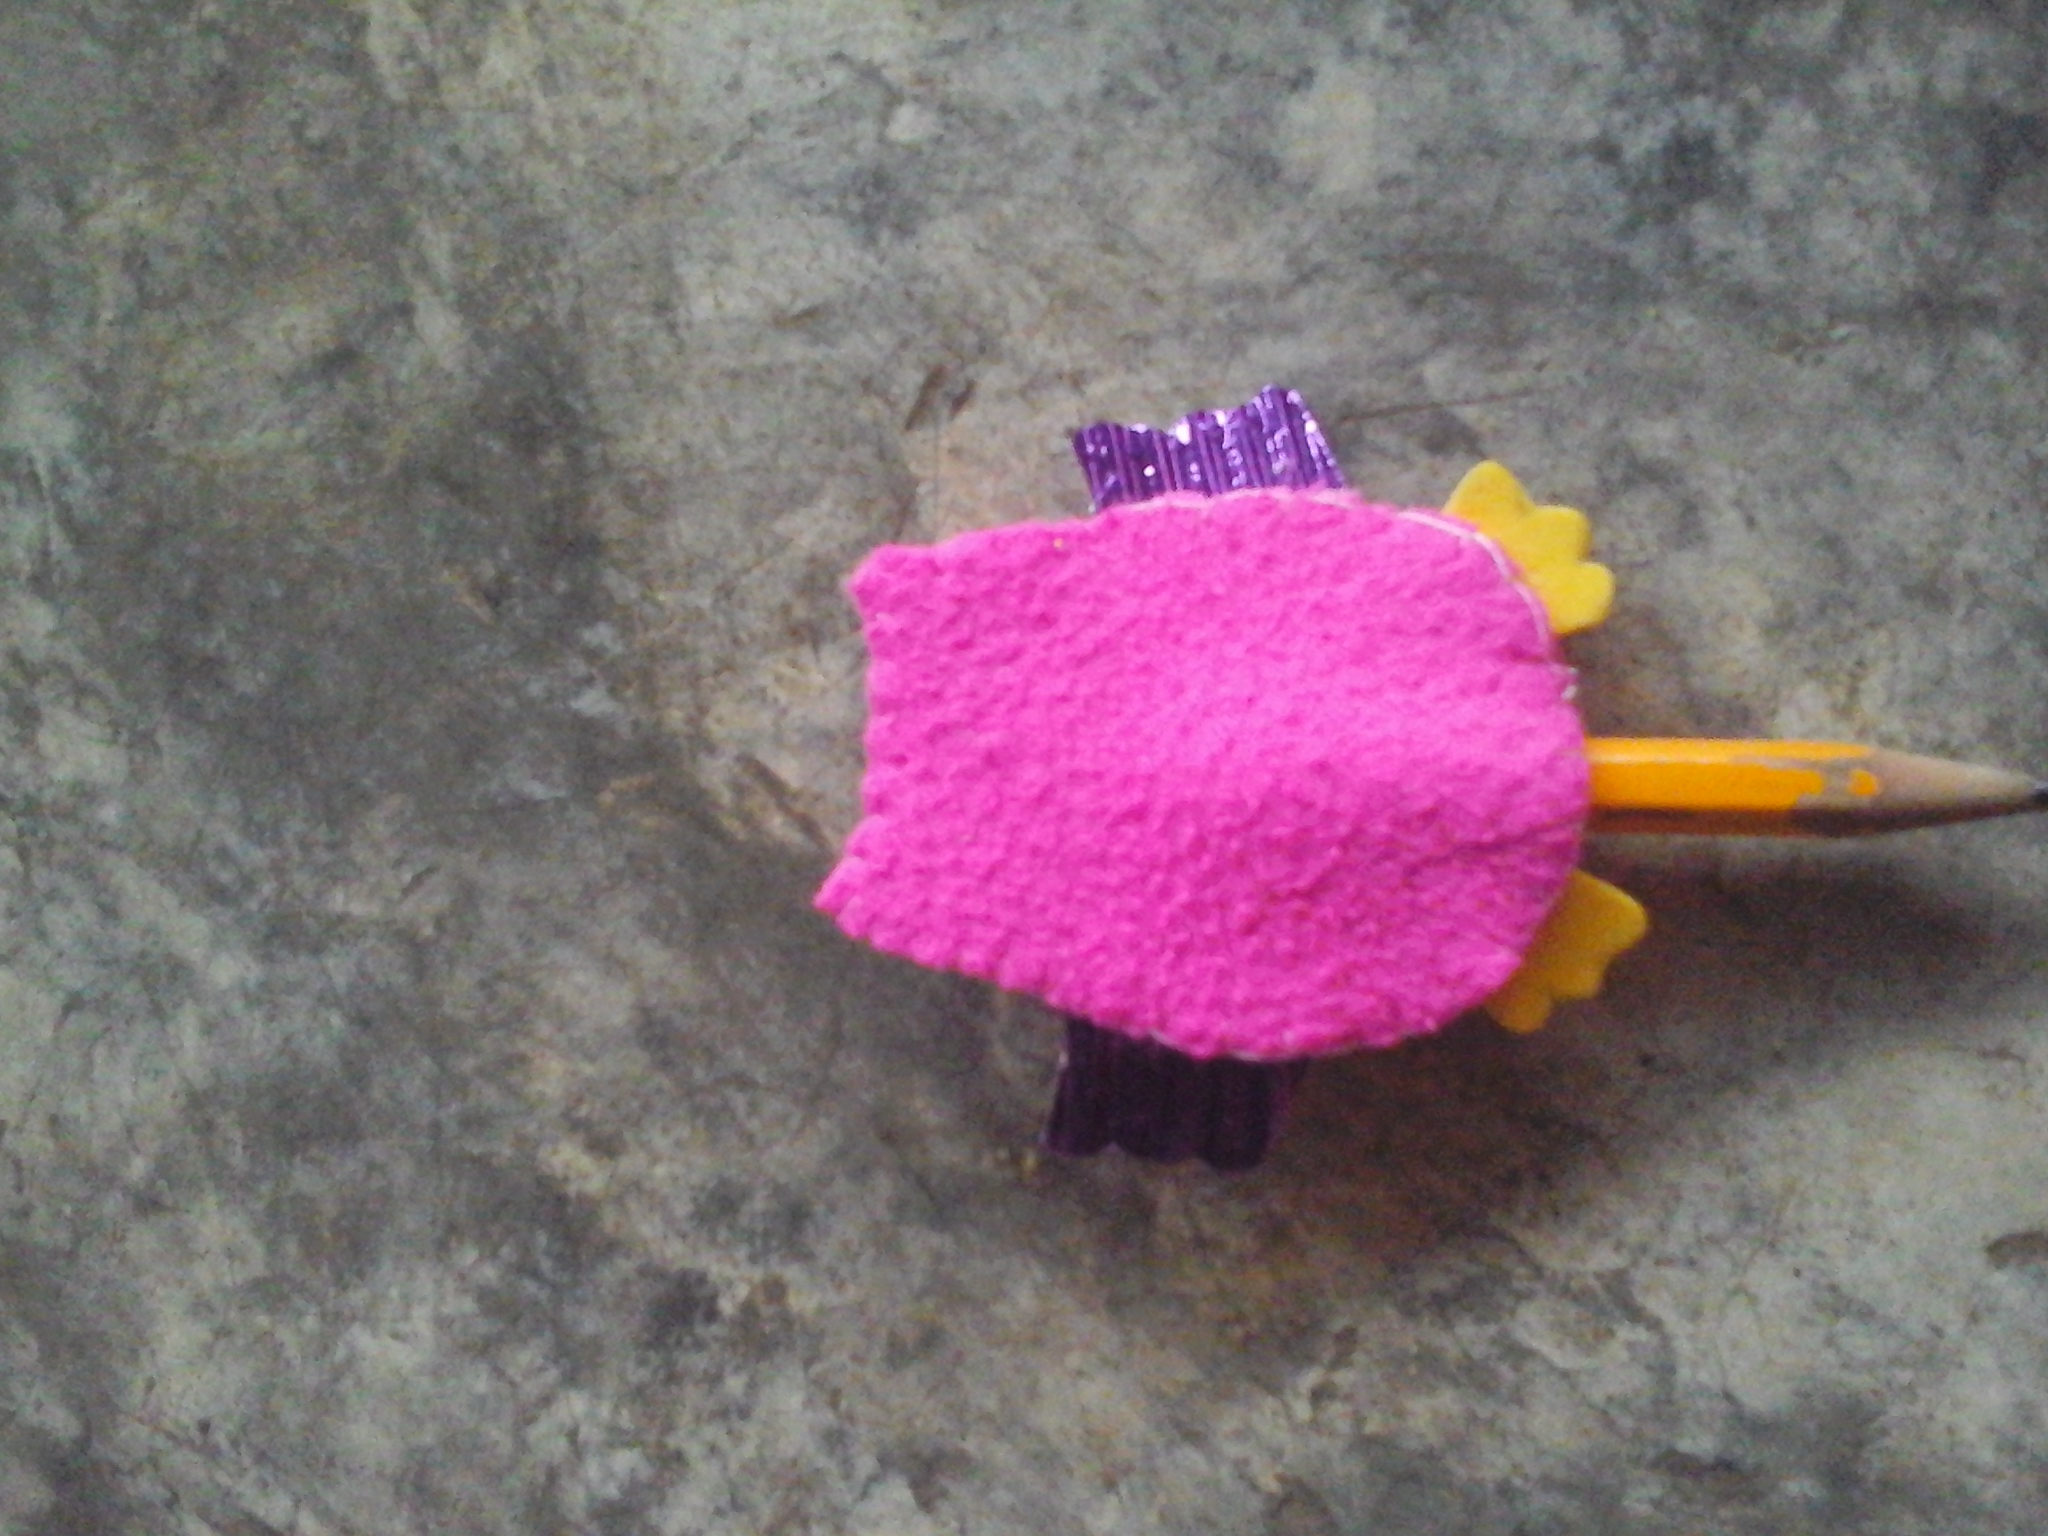
Observen como debe quedar al introducir el lápiz, es muy fácil de hacerlo.
Observe how it should look when you insert the pencil, it is very easy to do so.
Paso 8.
Step 8.
In this step I sewed the edge of the owl, but this is optional, I only did it to give it that sewing touch, you can place some other accessory around the owl.
Paso 9.
Step 9.
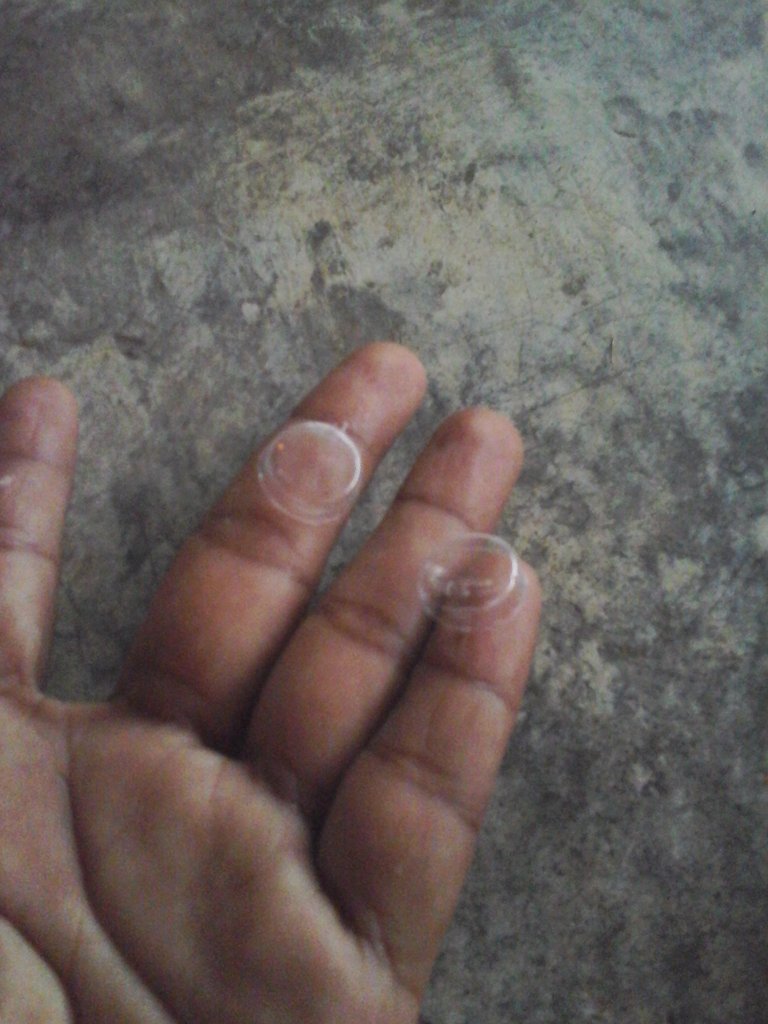
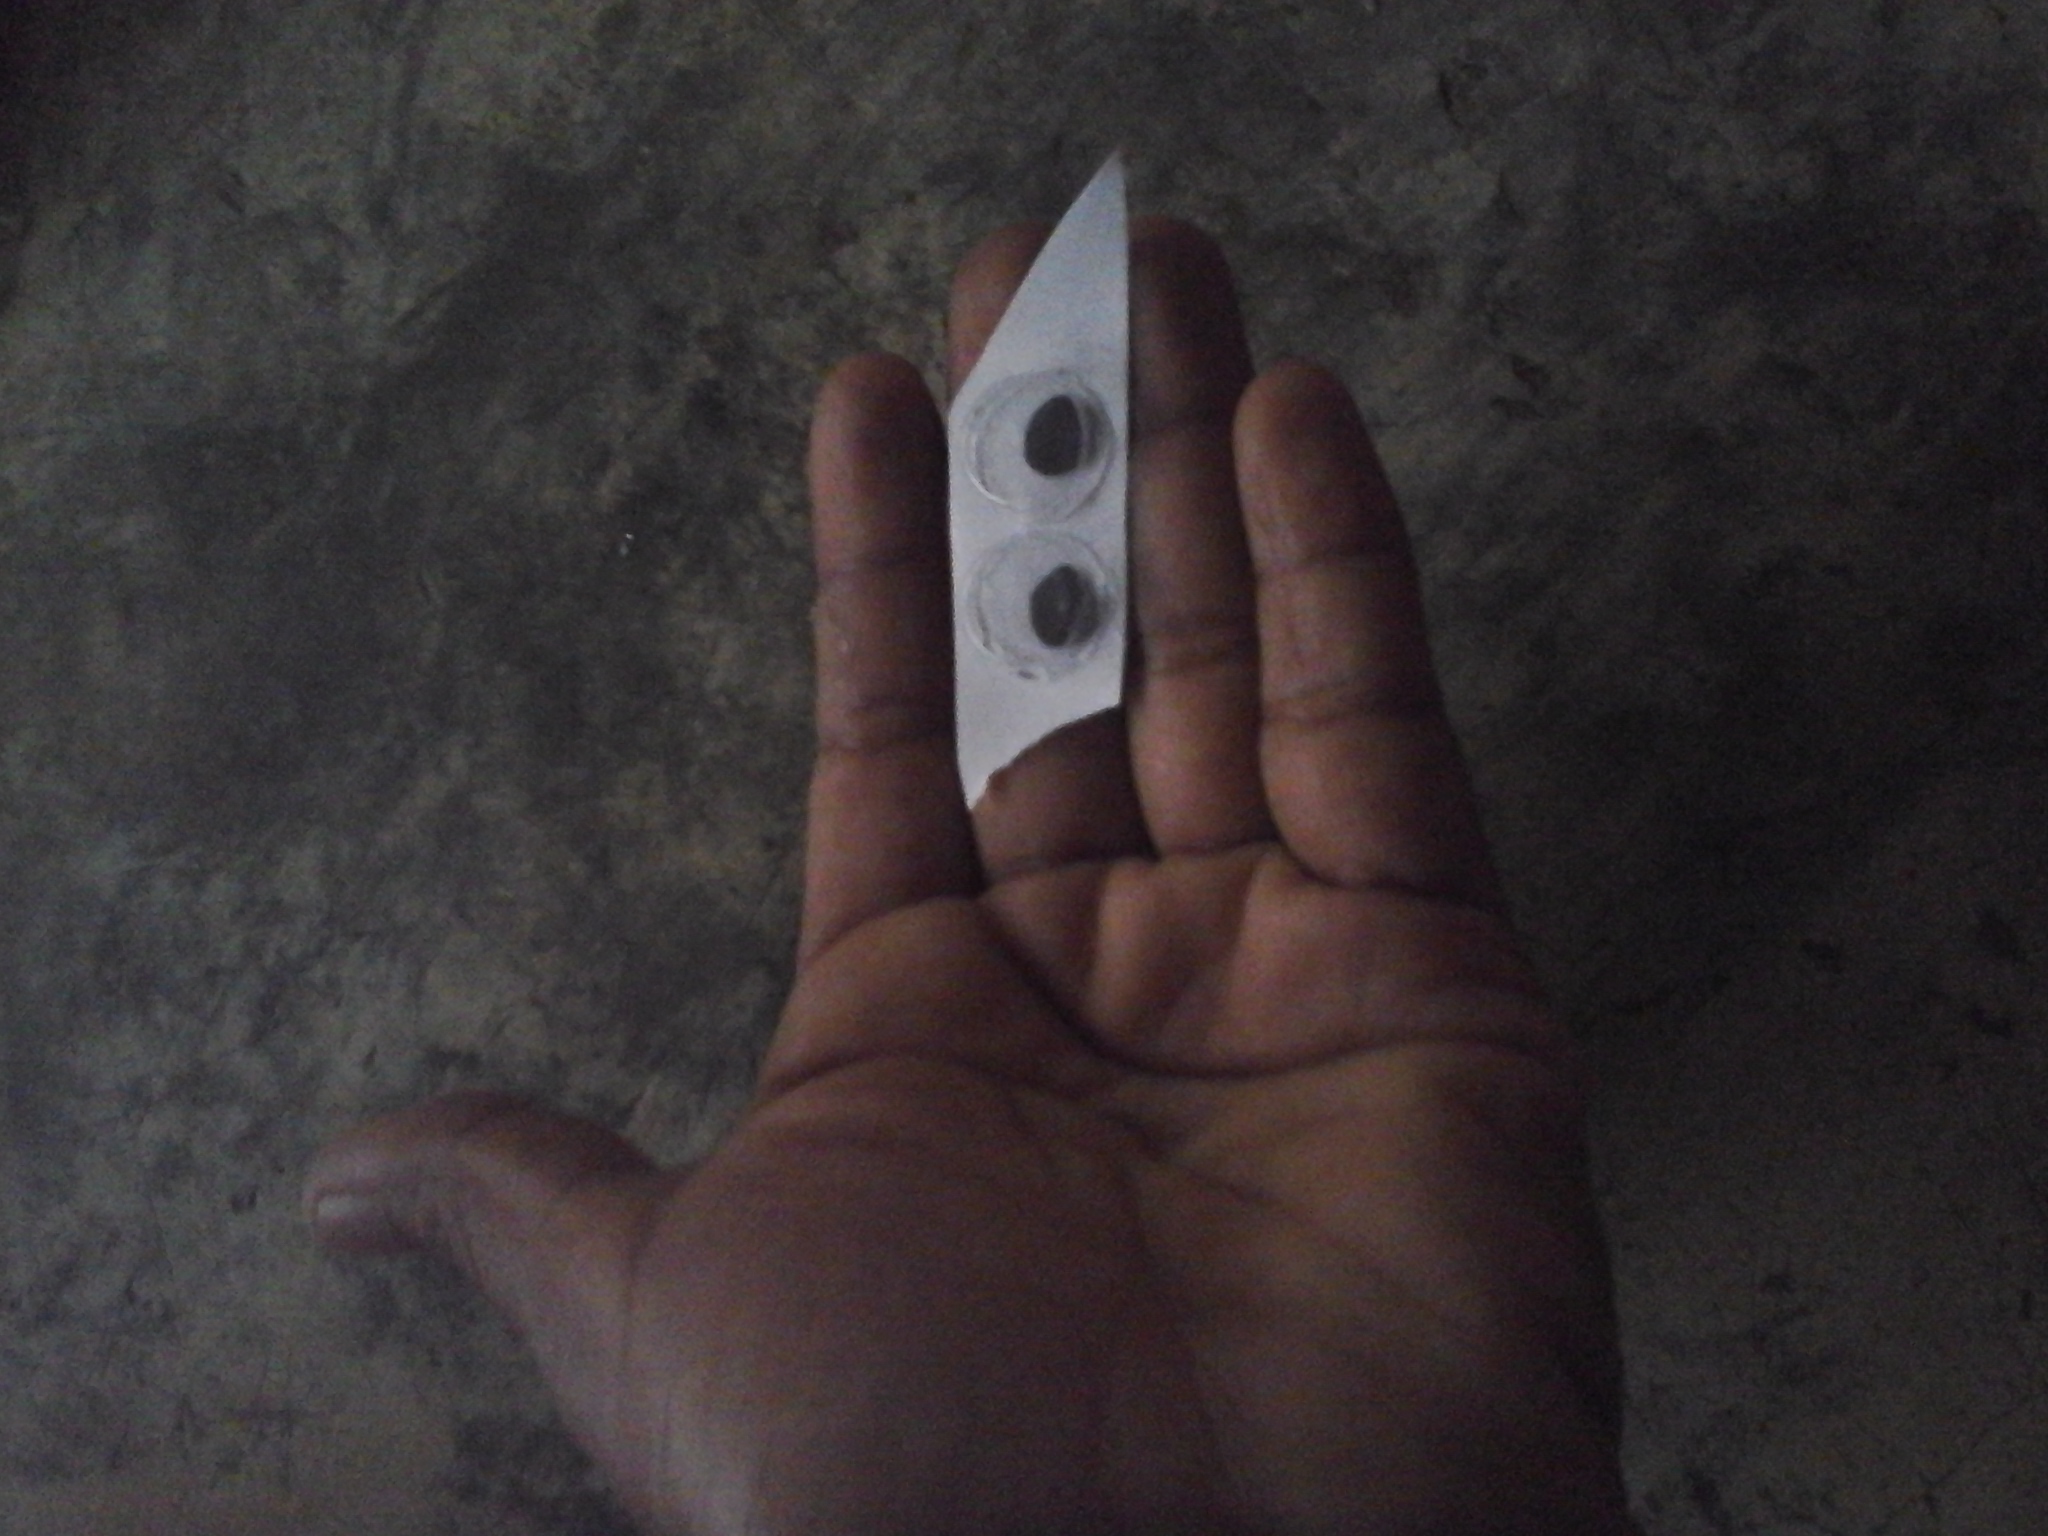
To make the eyes of our owl, we cut out the transparent part of the blister, I have used these that are a little larger, but you can use small ones, This way we start making the eyes.
Paso 10.
Step 10.
On a piece of foam, cardboard or paper, we glue these pieces next to each other without forgetting to insert small circles of black foam.
Paso 11.
Step 11.
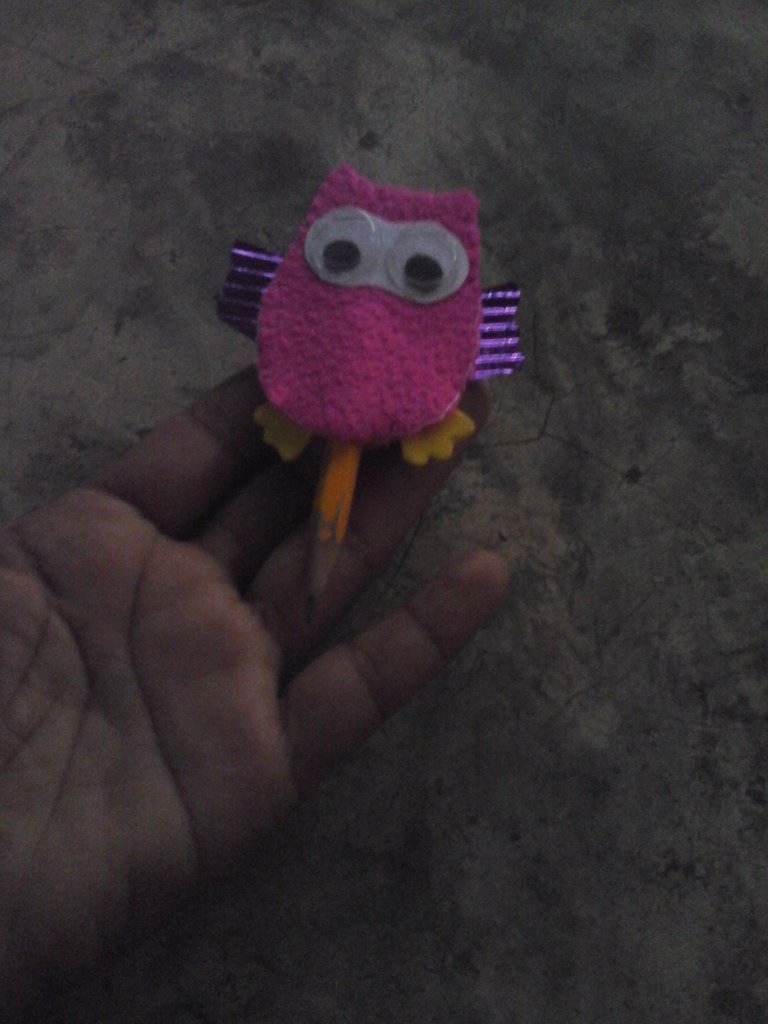
Finally we cut out this piece, giving it a mani shape and glued our owl, so we have very large eyes, which is what I was looking for.
Paso 12.
Step 12.
We finish by gluing a foam heart in the center so you can continue adding more elements to decorate it.
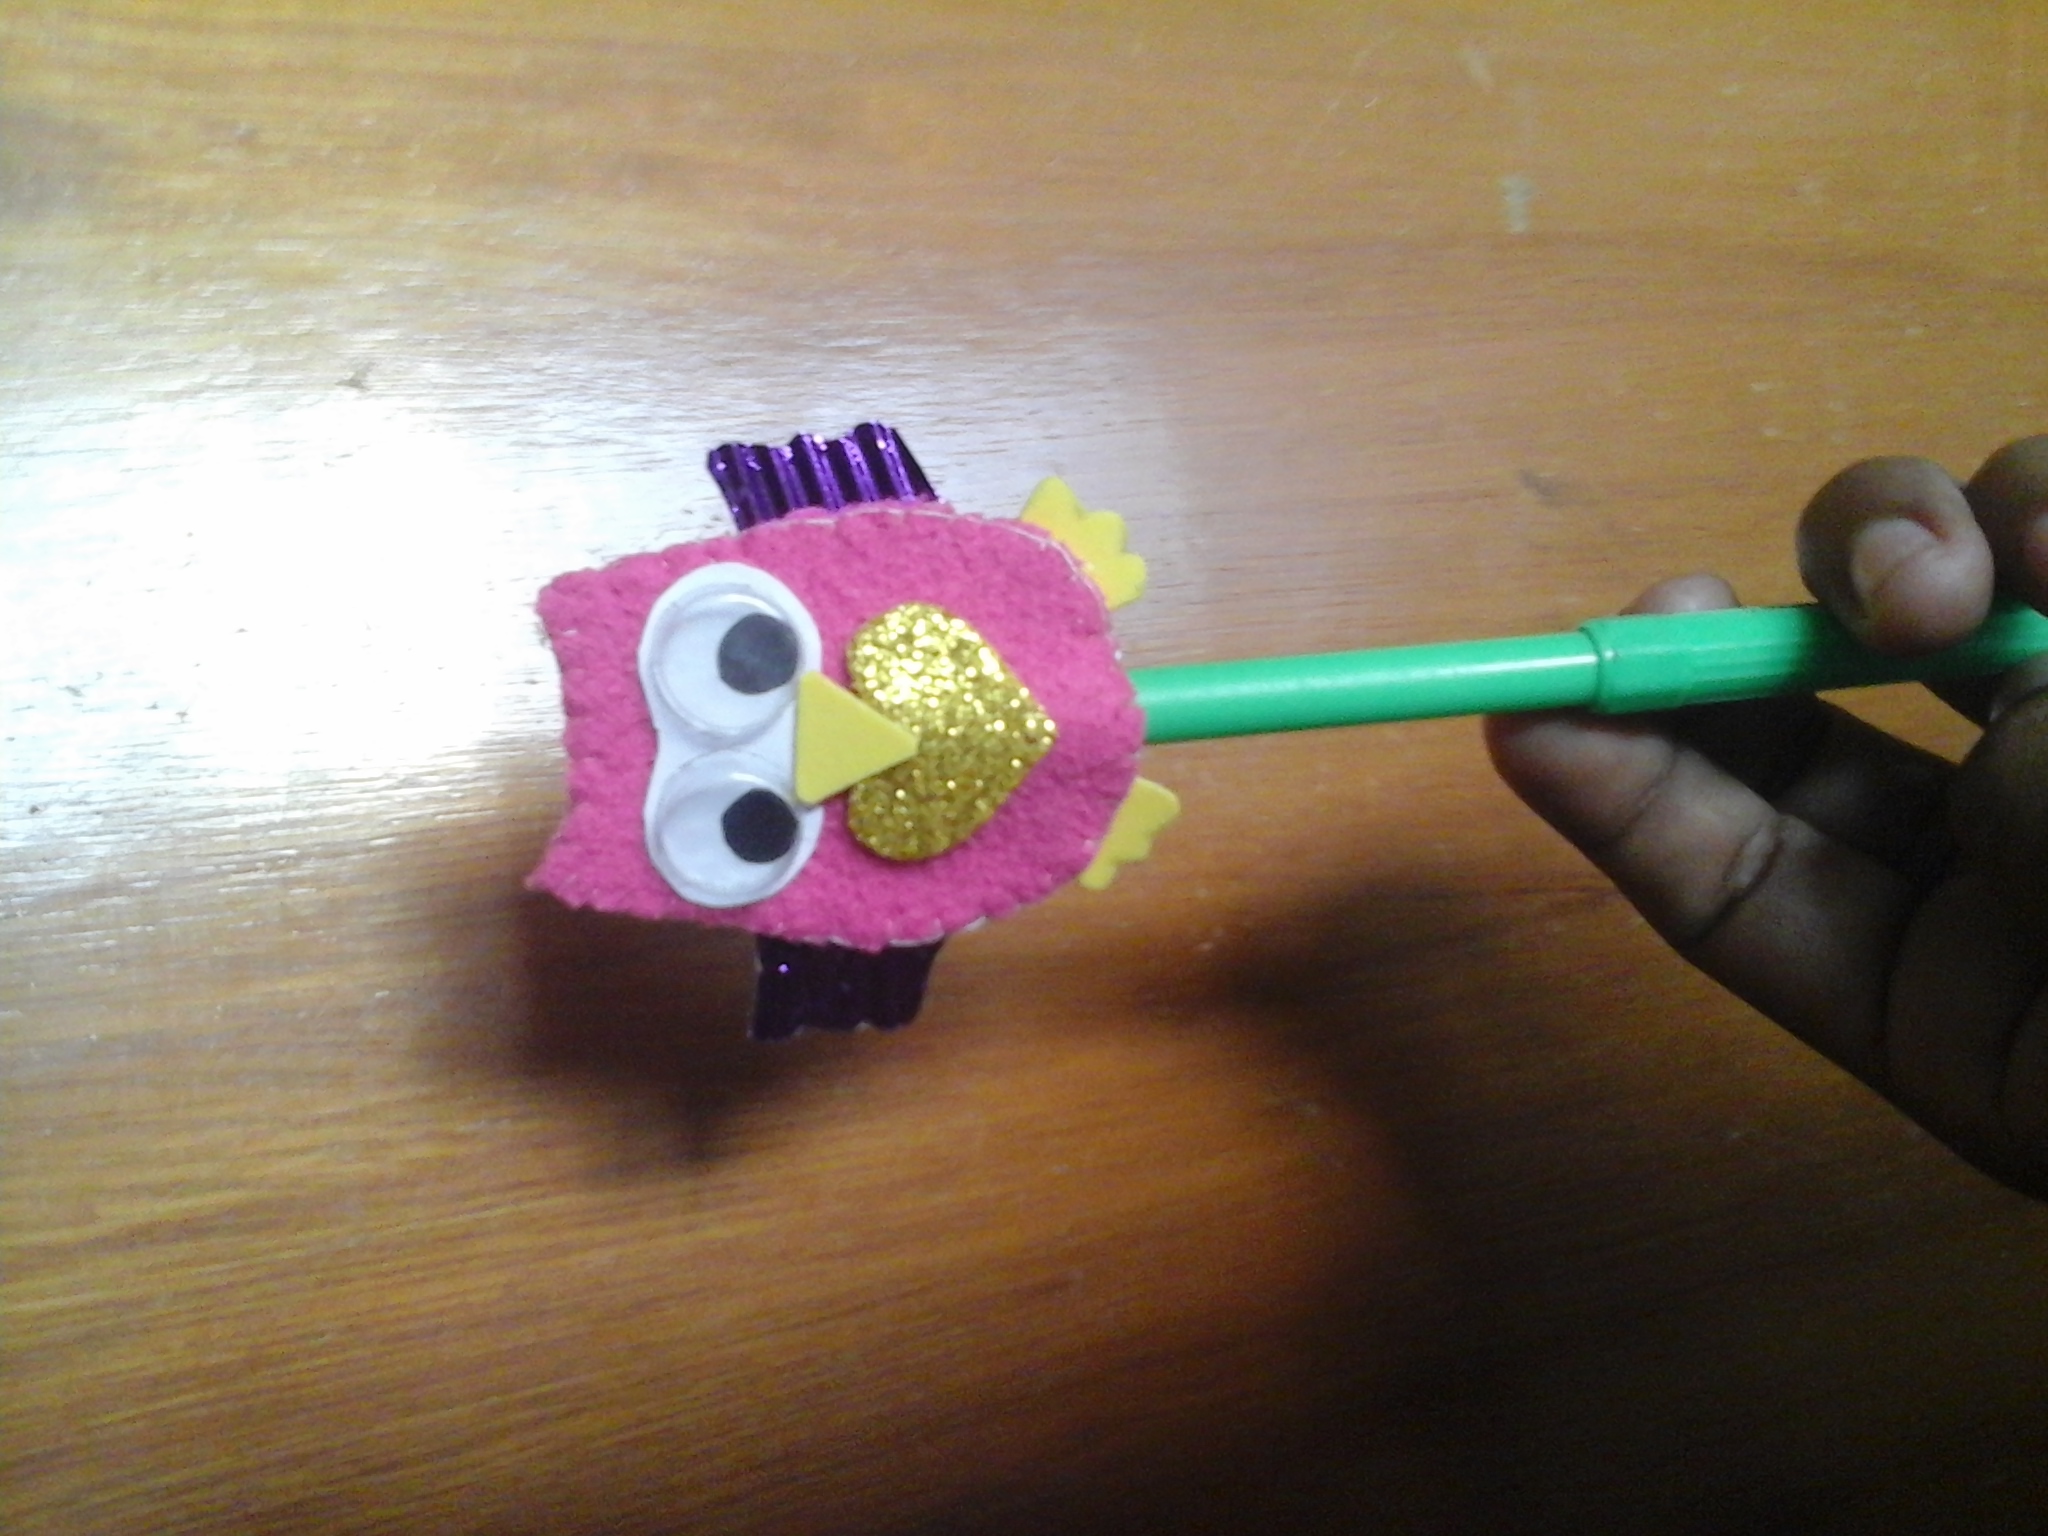
This is the result, it is a nice ornament that we can make at home in a very easy way and with scraps of fabric, foam and cardboard, you can use all these scraps and take advantage of them. I hope you like it and enjoy it.
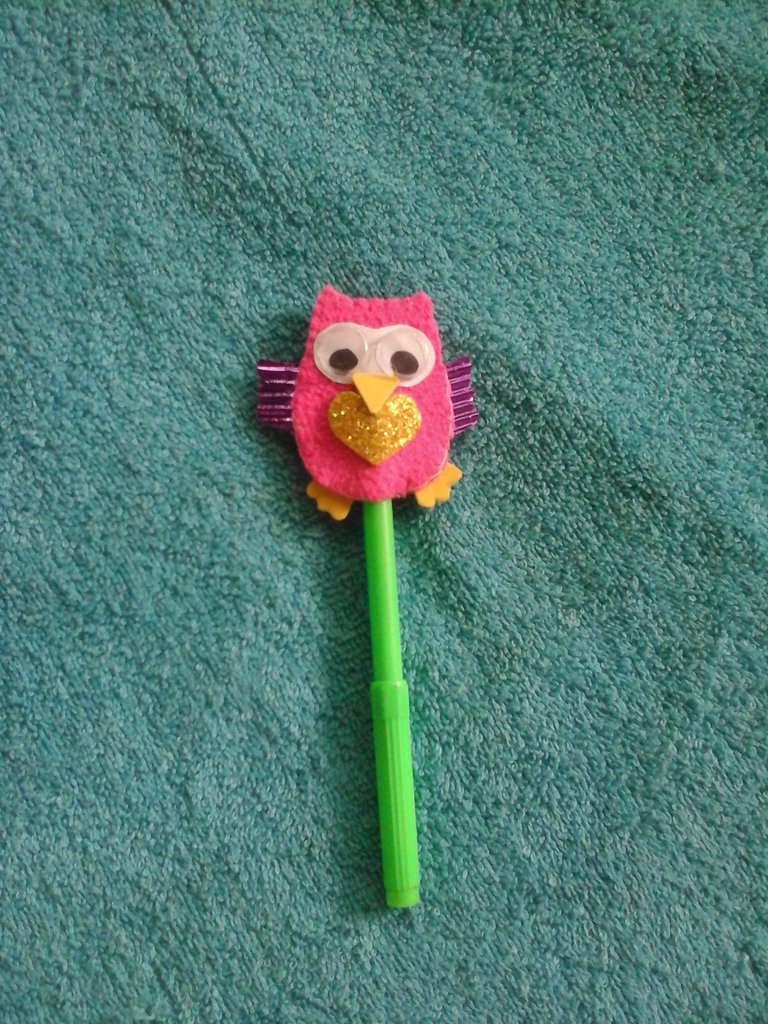
It is a pleasure to be able to share this craft with all of you, always doing it with great love. Thank you for visiting my blog and supporting me, you are loved very much, blessings.

Contenido de mi autoria, las fotos fueron capturada por mi tablet Samsung galaxy y editadas por Gridart y photocollage. Traductor Google.com
Content of my authorship, the photos were captured by my Samsung galaxy tablet and edited by Gridart and photocollage. Google.com Translator
