ENG/ESP Captain America shield with recycling material. Escudo de Capitán América con material de reciclaje

in #hive-1305603 years ago

Captain America shield with recycling material
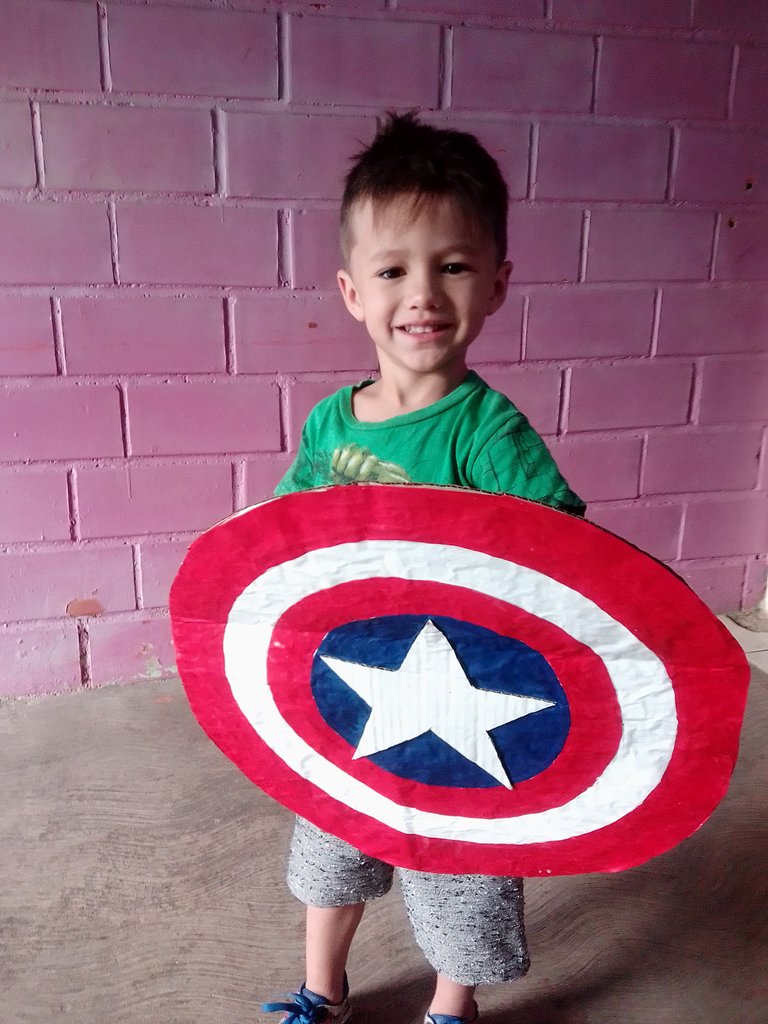

Hello friends, a pleasure to be with you again, today I want to share the elaboration of a Captain America shield made of cardboard, and who else to enjoy this work than my little ones from the house, which is one of their favorite superheroes so I wanted to make them this accessory. In this post I will show you how to do it. Next I show you the step by step.
Hola amigos un placer estar de nuevo con uds, hoy quiero compartir la elaboración de un escudo del capitán América elaborado en cartón, y quien mas para disfrutar de dicha obra que mis pequeños de la casa, que es uno de su superhéroe favorito así que quise hacerles este accesorio. En este post les mostraré como lo realice. A continuación les muestro el paso a paso.

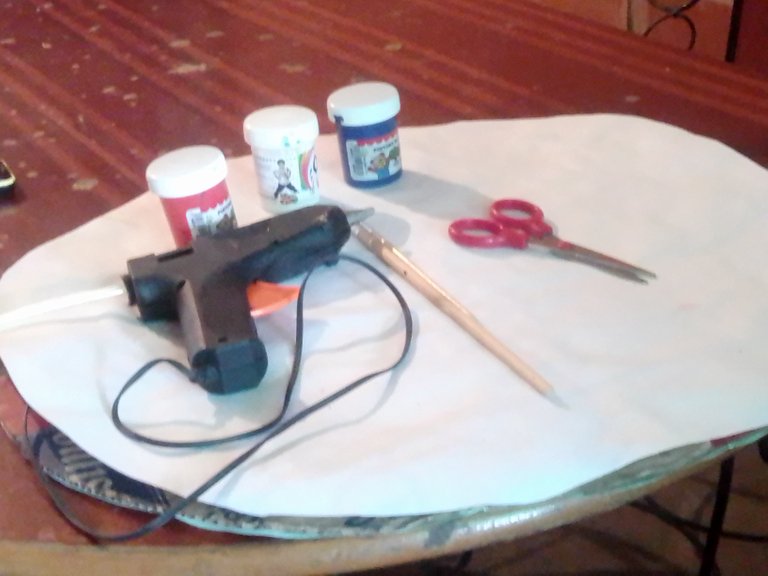
Materiales
IMG_20210331_115925.jpg
  • Tijera✂
  • Cartón 📦
  • Pinceles🖌
  • Pintura azul/blanca y roja.🎨
  • Papel bond reutilizado📄
  • pega blanca y barra de silicón 🖍⌛

Step 1

Paso 1

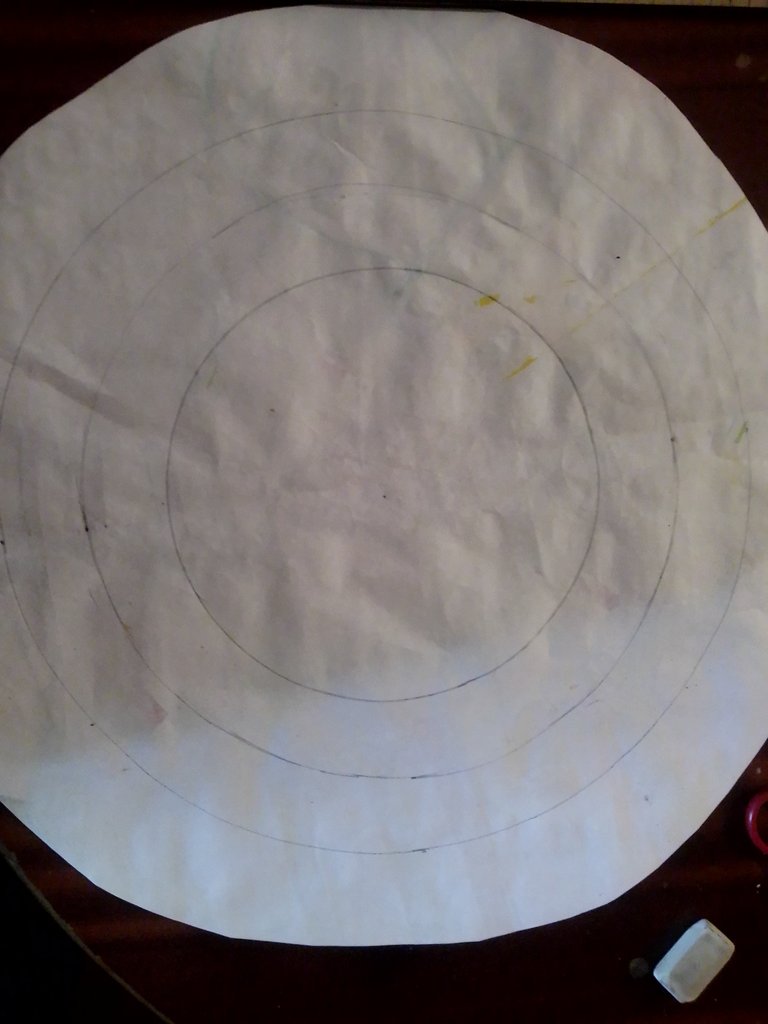
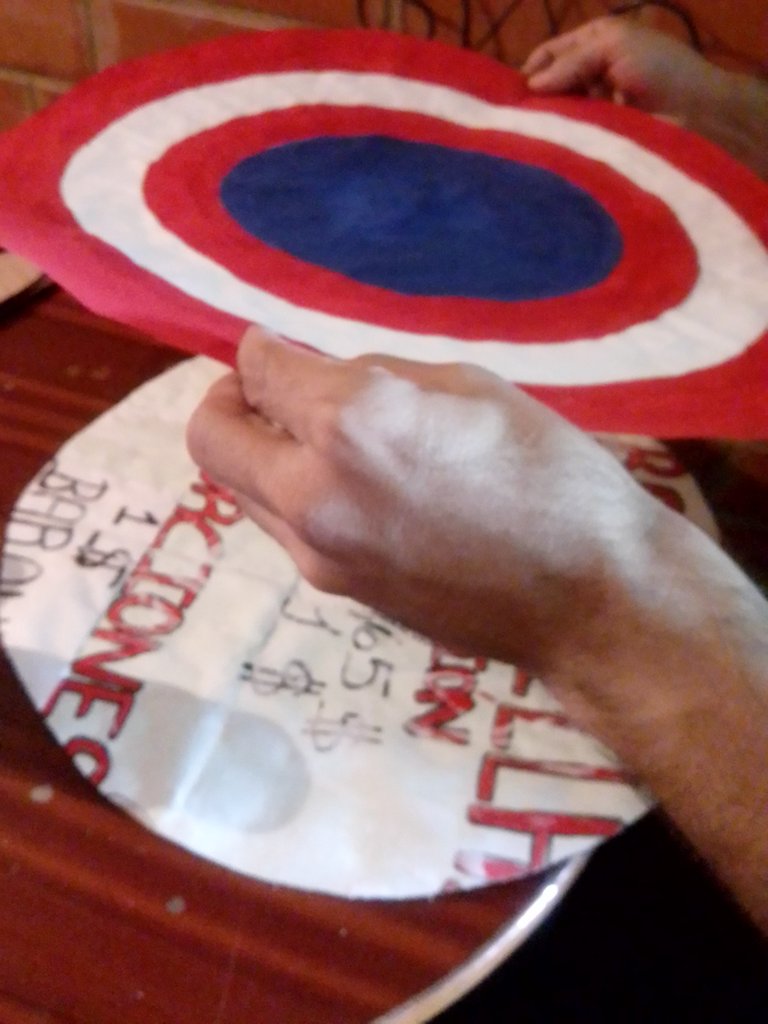
For this shield we start by drawing the circumferences on the bond paper, according to the shield and design there are 3 circles, one larger than the others as shown in the following images.
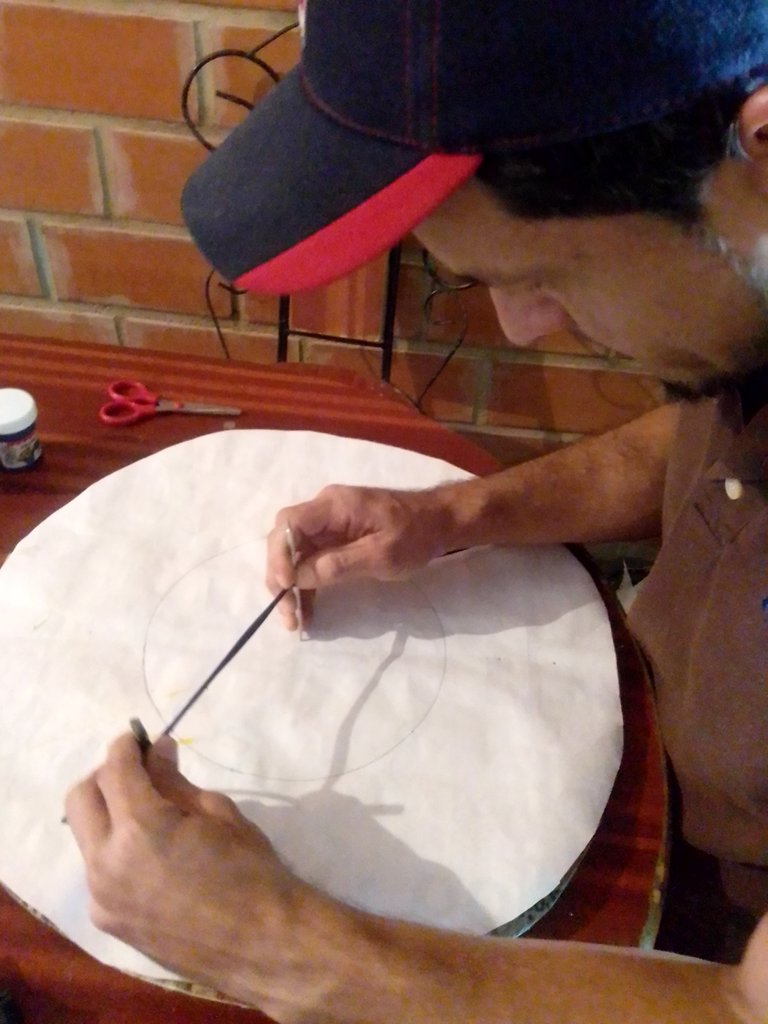
Para este escudo comenzamos Dibujando las circunferencias en el papel bond, de acuerdo al escudo y diseño son 3 circulos, uno mas grande que otros así como se muestra en las siguientes imágenes.


IMG_20210331_125756.jpg


Step 2

Paso 2


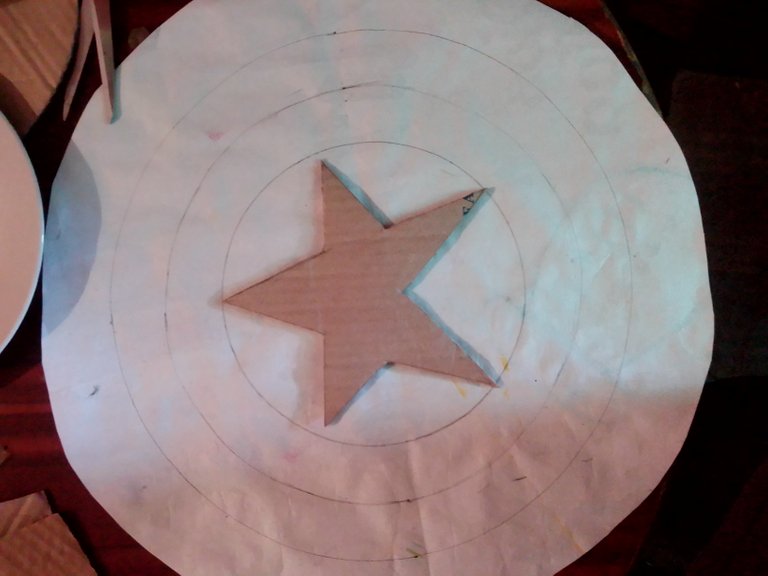
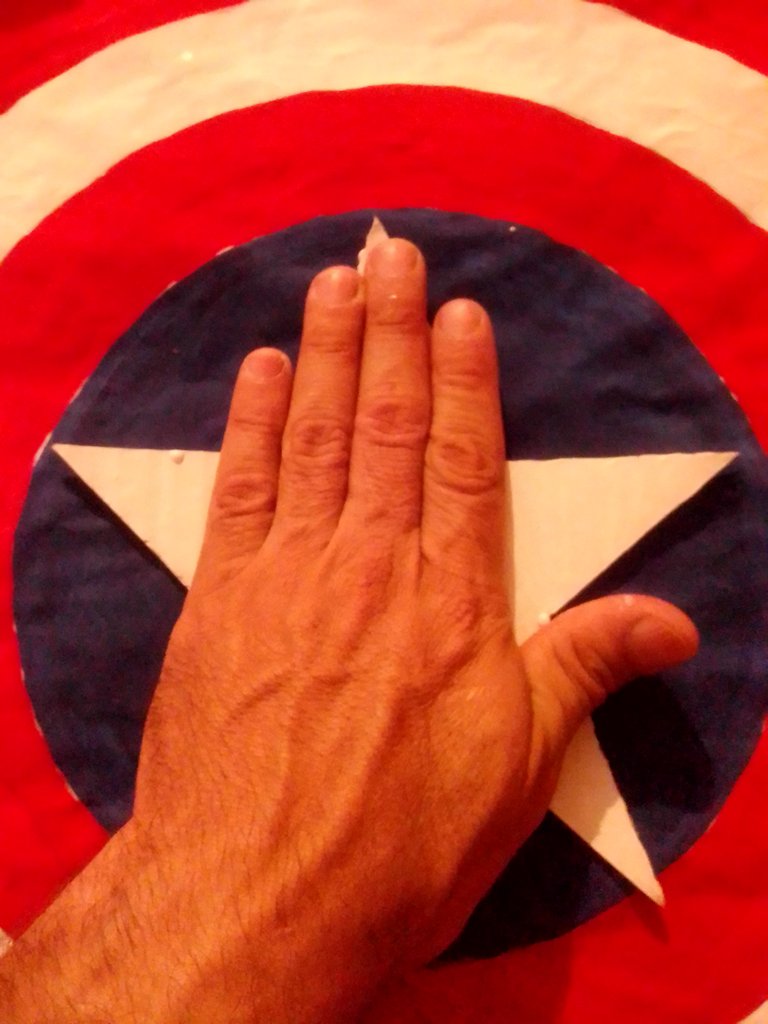
Then on a separate piece of cardboard draw the star, cut it out, and paint it white. And to be honest, the star came out kind of crooked 😃 I almost never get to draw a star. It should be centered on the shield design.
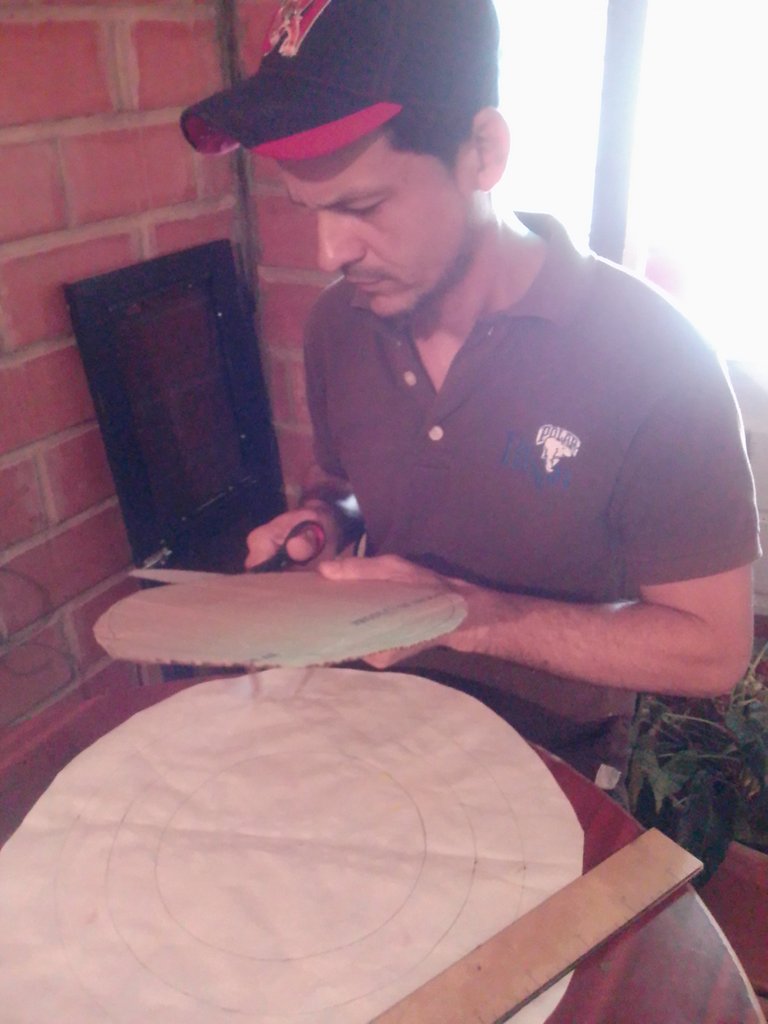
Luego en un cartón aparte dibuje la estrella, recorte,y pinte de blanco. Y para ser sincero la estrella me salió medio torcida 😃 casi nunca me sale poder dibujar una estrella. Está debe Debe ir centrada en el diseño del escudo.


Step 3

Paso 3


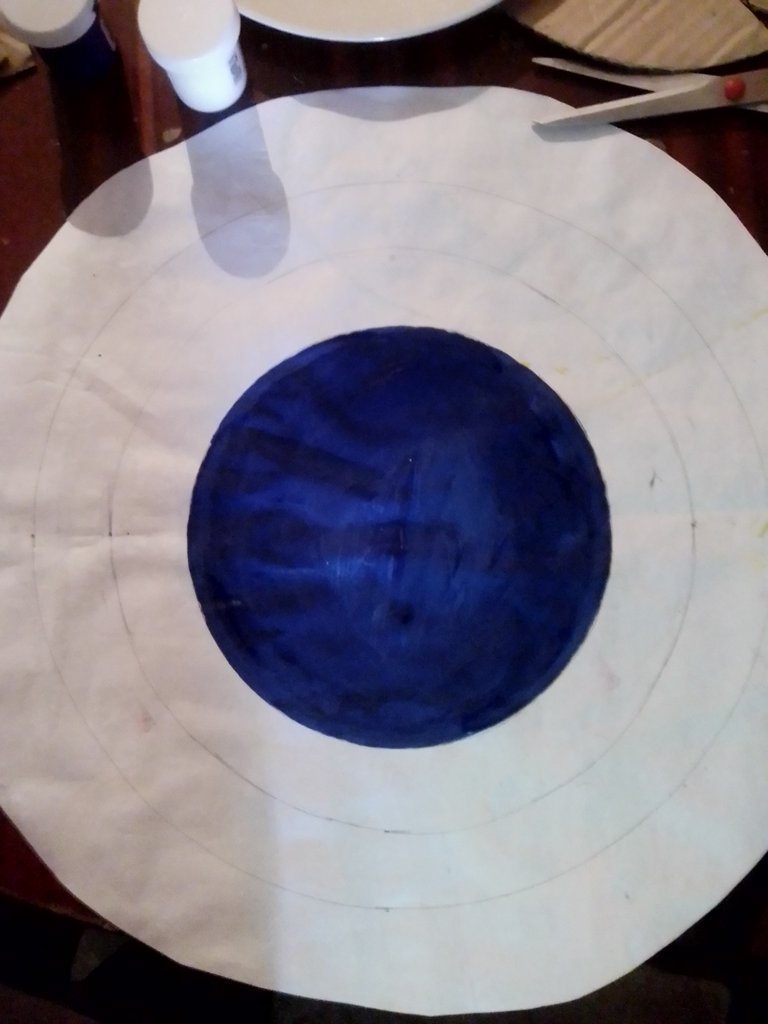
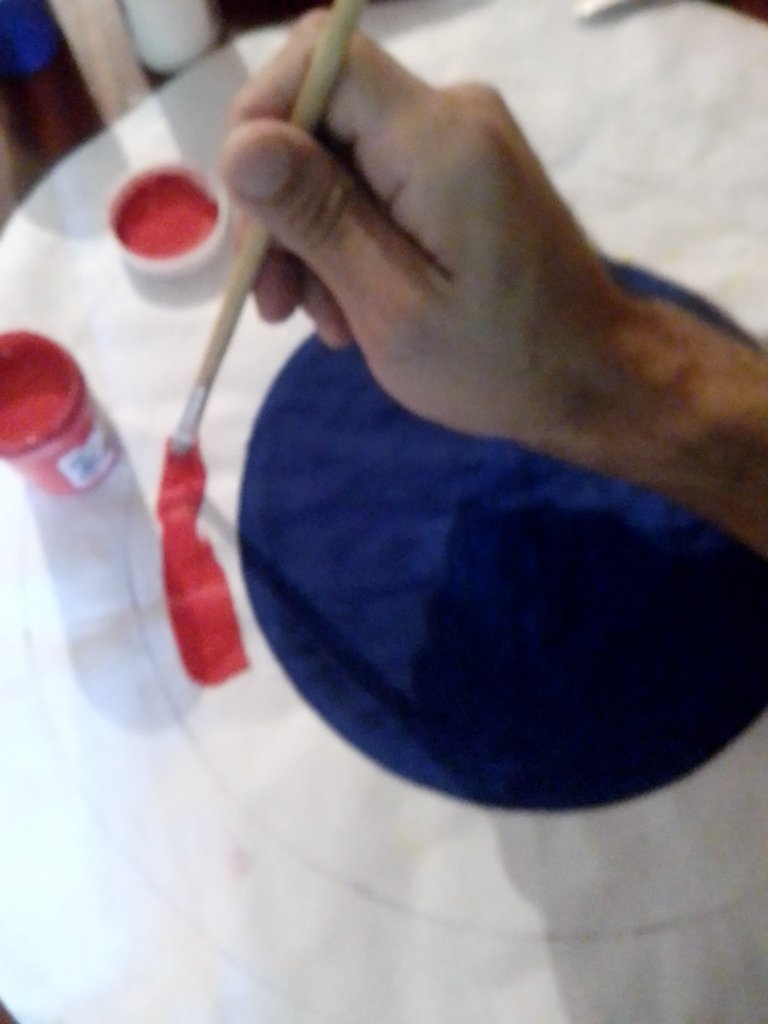
In this step we begin to paint with its characteristic colors such as red, blue and white with a lot of pulse we will paint so as not to leave the lines.
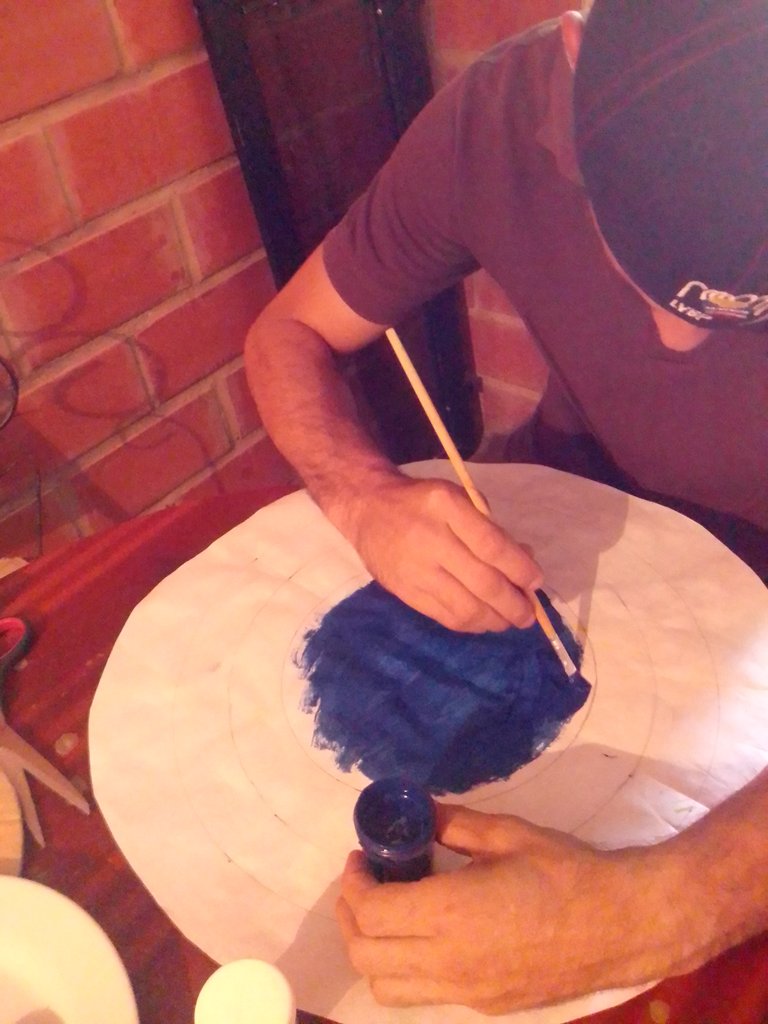
En este paso Comenzamos a pintar con sus colores característicos como lo son rojo azul y blanco con mucho pulso pintaremos para no salir de las lineas.


Step 4

Paso 4

Then we take the already painted Bond paper and Paste it on the cardboard so that it is more firm and resistant for when they are going to use it.
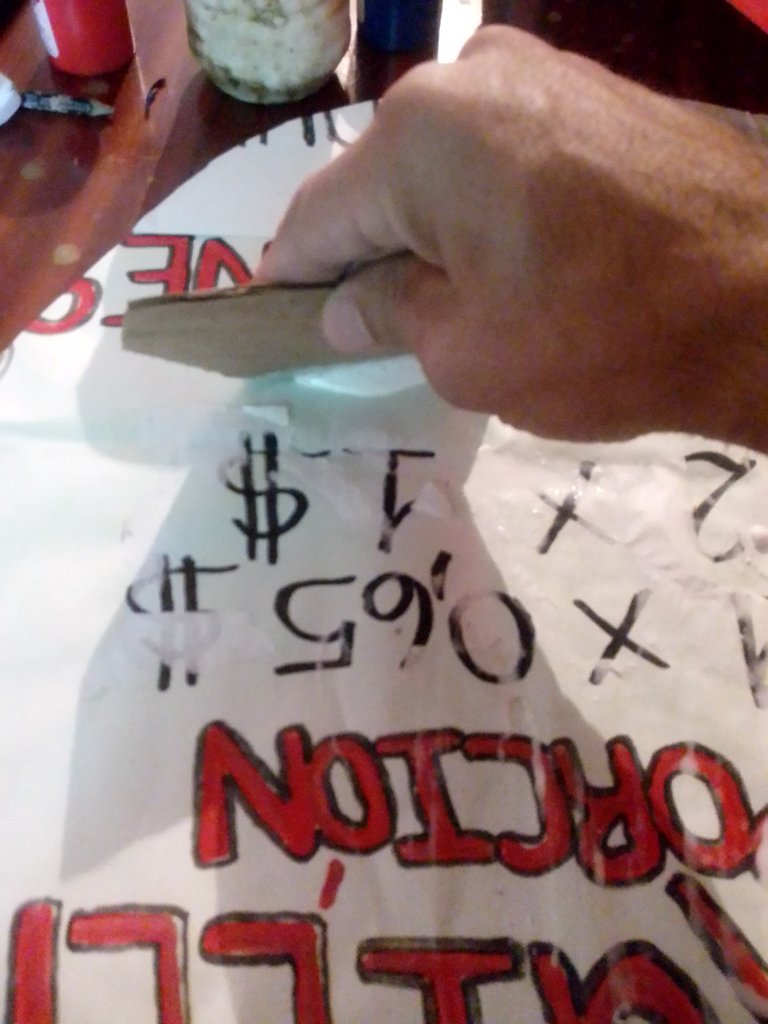
Luego tomamos el papel Bond ya pintado y lo Pegamos sobre el cartón para que este quede mas firme y resistente para cuando lo vallan a usar


Step 5

Paso 5


Once we have the previous step ready, we have to paste the star, as this figure was not perfect, I tried to find a position for it to look the same and in the following image I show it to you.
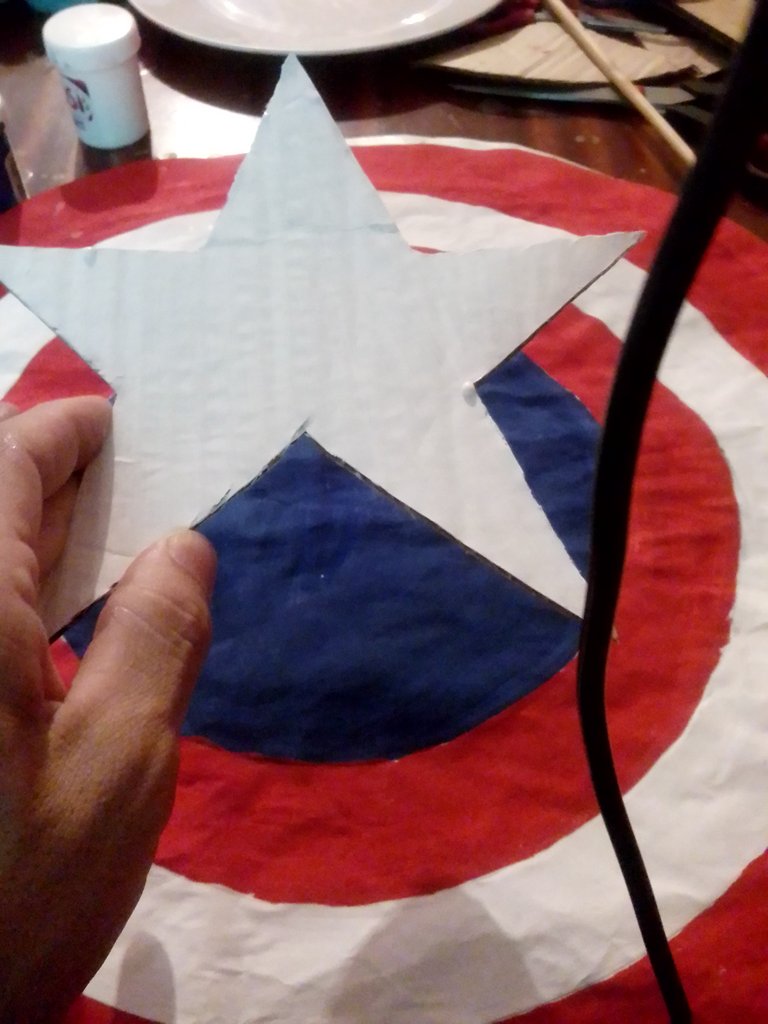
Una vez ya tengamos el paso anterior listo, nos toca pegar la estrella, como está figura no solio perfecta trate de buscarle una posición para que se viera igual y en la siguiente imagen se los muestro.

Step 6

Paso 6


We cut out a couple of cardboard rings to place on the back of the shield, so that the child can put his arm in and hold the shield and play emulating the superhero he likes.
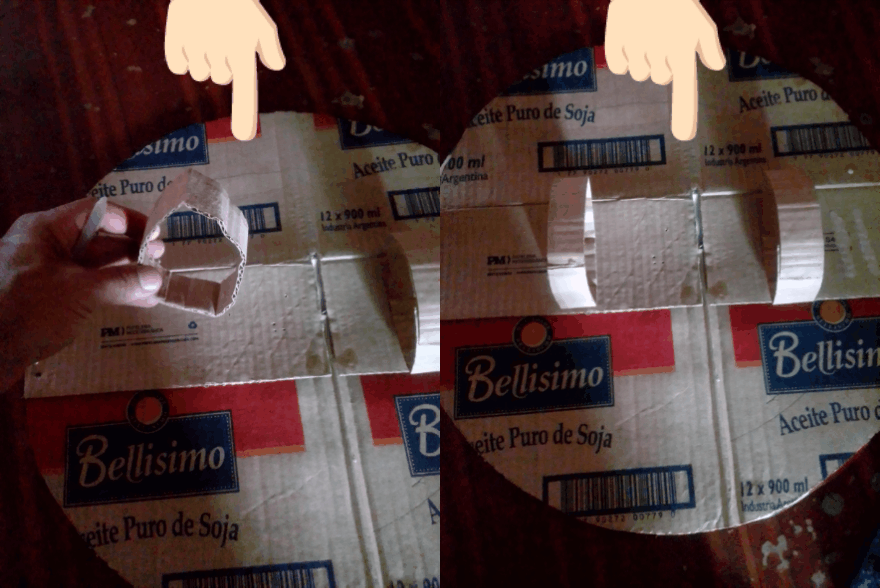
Recortamos un par de aros de cartón para colocar en la parte de atrás del escudo, para que el niño pueda meter su brazo y sostener el escudo y jugar emulando al superhéroe que le gusta.


Step 7

Paso 7


In this last step, once the paint is dry, we apply white glue all over the shield to give the color a more striking, bright and durable finish.
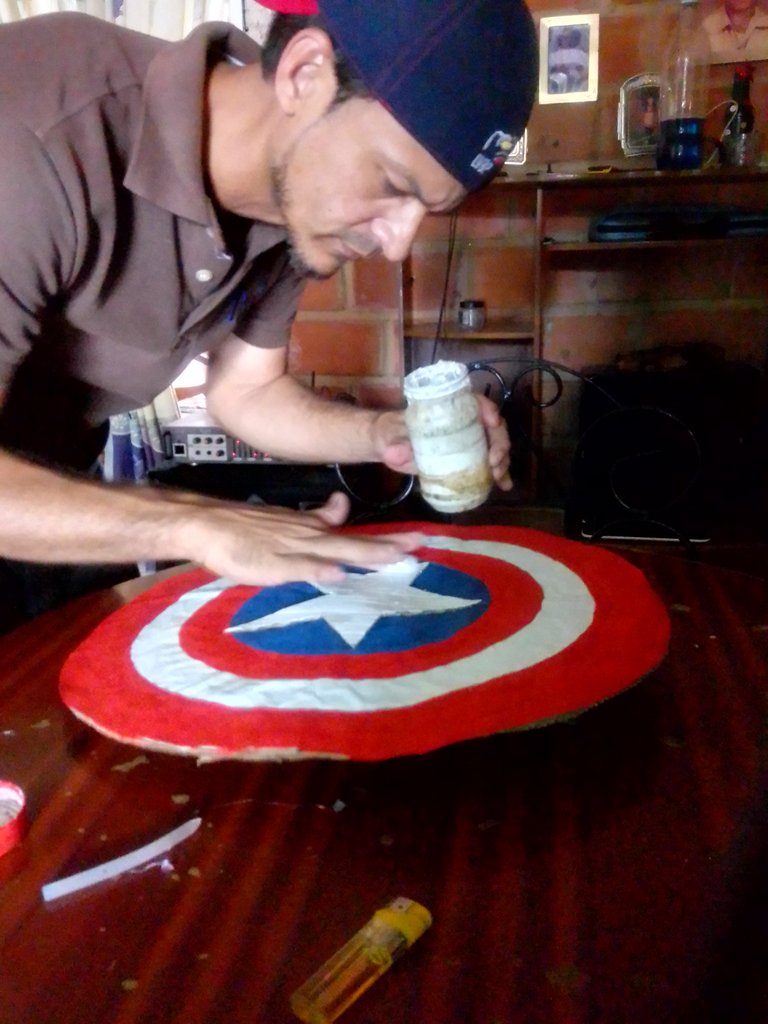
En este ultimo paso una vez seco la pintura aplicamos pega blanca por todo el escudo para que de un acabado mas llamativo, brillante y duradero el color.

IMG_20210331_153330_HDR.jpg

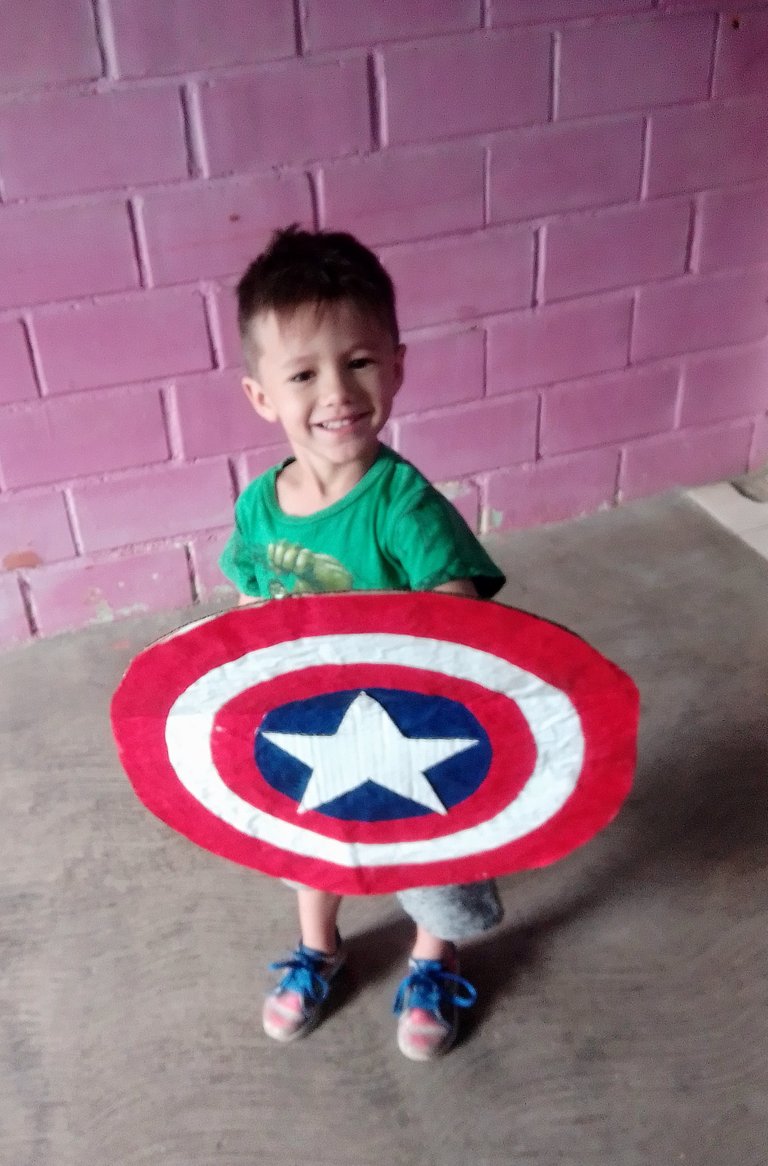
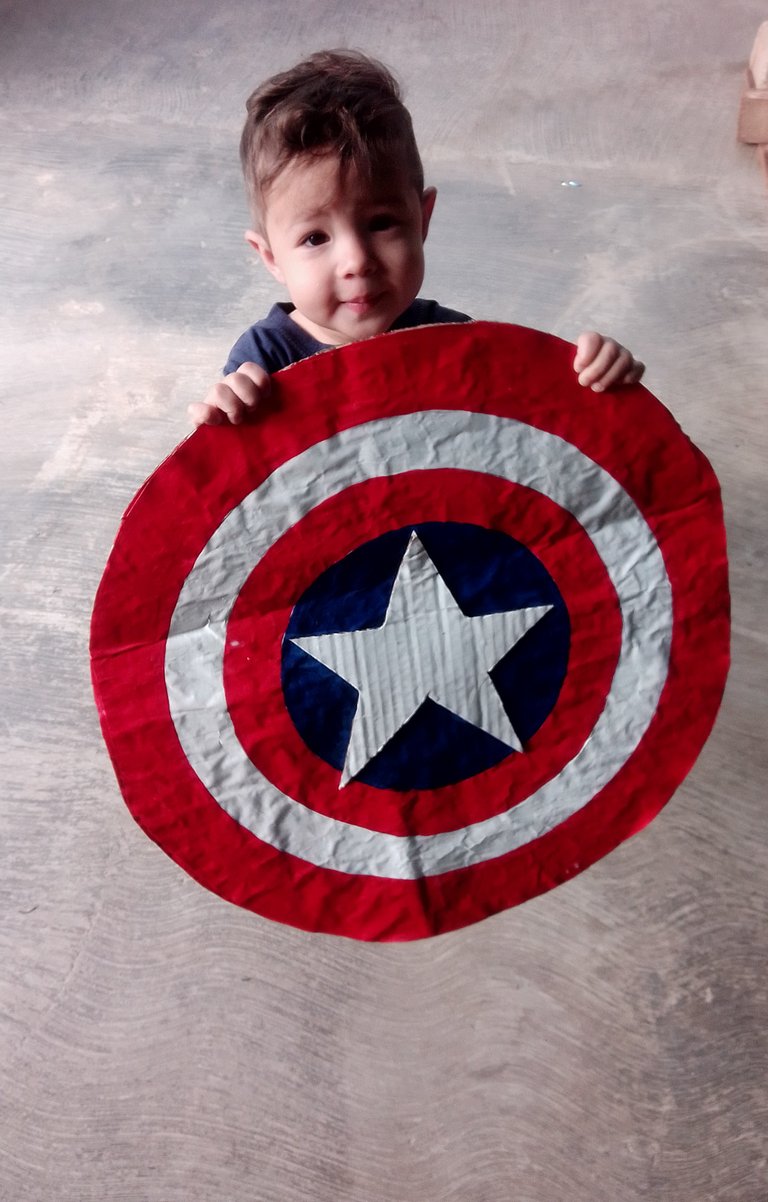
Then I will show you the final result

A continuación les mostraré el resultado final


Final result

Resultado final


And in this way, friends, I made this craft with cardboard, I hope you liked it because the little ones were very happy 😃😄 and thank you very much in advance for visiting my post, we'll come another time

Y de esta manera amigos realice esta manualidad con cartón espero les haya gustado porque los pequeños quedarnos muy contentos 😃😄 y de antemano muchas gracias por visitar mi post, nos venimos en otra oportunidad


Imágenes editadas en photocollage de Android

All photos were taken by my Alcatel 1v Smartphone

This post is translated by android app Google translate
Sort:  

¡Enhorabuena!


Has recibido el voto de PROYECTO CHESS BROTHERS

✅ Has hecho un buen trabajo, por lo cual tu publicación ha sido valorada y ha recibido el apoyo de parte de CHESS BROTHERS ♔ 💪


♟ Te invitamos a usar nuestra etiqueta #chessbrothers y a que aprendas más sobre nosotros.

♟♟ También puedes contactarnos en nuestro servidor de Discord y promocionar allí tus publicaciones.

♟♟♟ Considera unirte a nuestro trail de curación para que trabajemos en equipo y recibas recompensas automáticamente.

♞♟ Echa un vistazo a nuestra cuenta @chessbrotherspro para que te informes sobre el proceso de curación llevado a diario por nuestro equipo.


Cordialmente

El equipo de CHESS BROTHERS

Thank you for sharing this amazing post on HIVE!
  • Your content got selected by our fellow curator @rezoanulvibes & you just received a little thank you via an upvote from our non-profit curation initiative!

  • You will be featured in one of our recurring curation compilations and on our pinterest boards! Both are aiming to offer you a stage to widen your audience within and outside of the DIY scene of hive.

Join the official DIYHub community on HIVE and show us more of your amazing work and feel free to connect with us and other DIYers via our discord server: https://discord.gg/mY5uCfQ !

If you want to support our goal to motivate other DIY/art/music/homesteading/... creators just delegate to us and earn 100% of your curation rewards!

Stay creative & hive on!