Hello Hive, it’s been a while since I last posted here! Even though I regularly check out the content, I’m happy to finally have some time to participate again.
This weekend, the weather wasn’t great on our land, but we really need to move forward with the work to make things more comfortable for winter.
Here’s what we’re working on at the moment:
- Roof insulation (we’re going to lose a bit of ceiling height, but for now, we’re just protected from the elements thanks to a corrugated metal roof).
- Building a shower. The extension of our tiny house is a caravan. There’s already a space for the shower, but there’s still a lot of work to be done to make it watertight.
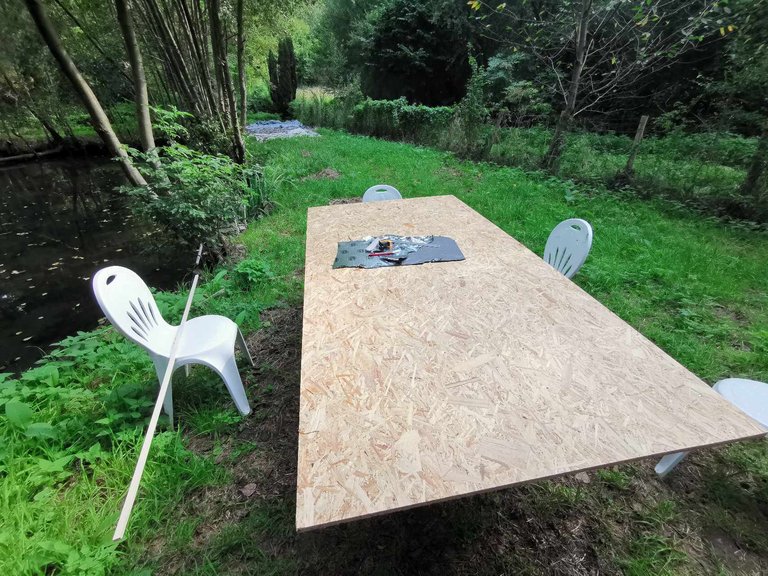
On Friday evening, @altheana and I went to buy a large OSB board measuring 2.50 meters by 1.25 meters. A customer at the store kindly offered to deliver it to our place, and we accepted. Since then, we’ve made a new friend!
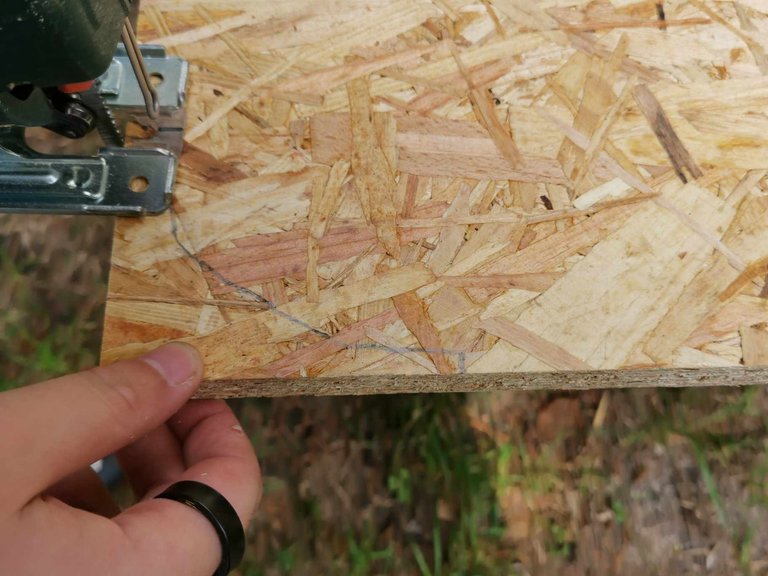
On Saturday morning, we had to cut a smaller board from this large one to add an extra layer to our floor.
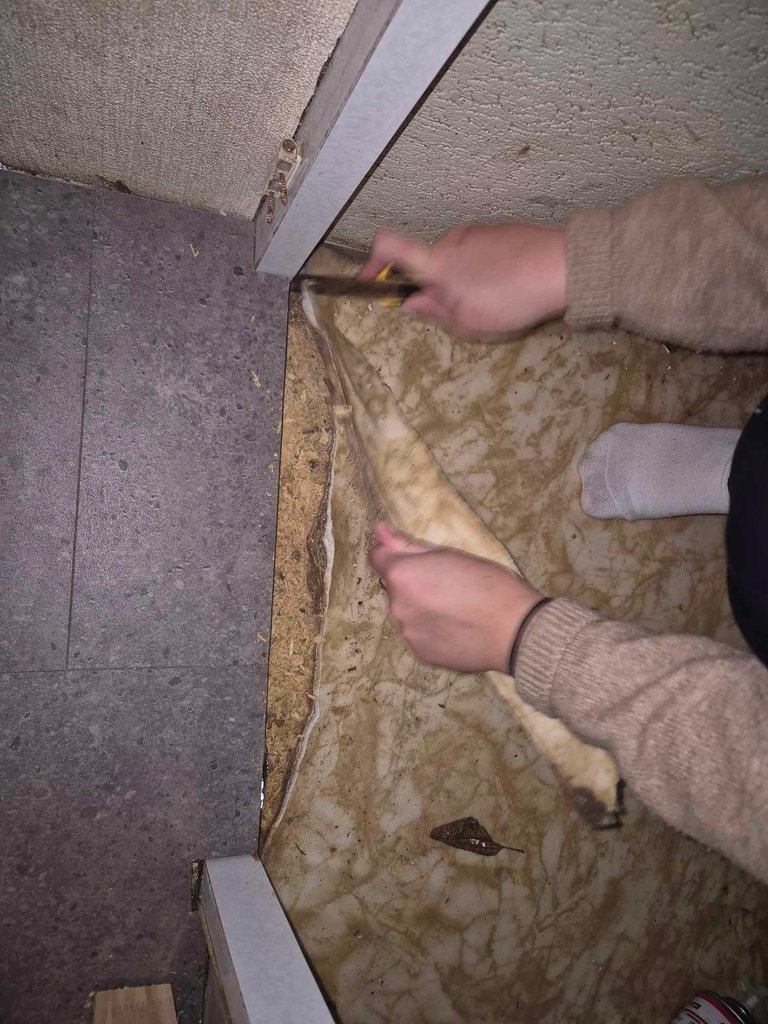
First, in the area where we’ll install the shower, we removed part of the old lino that was sticking out.
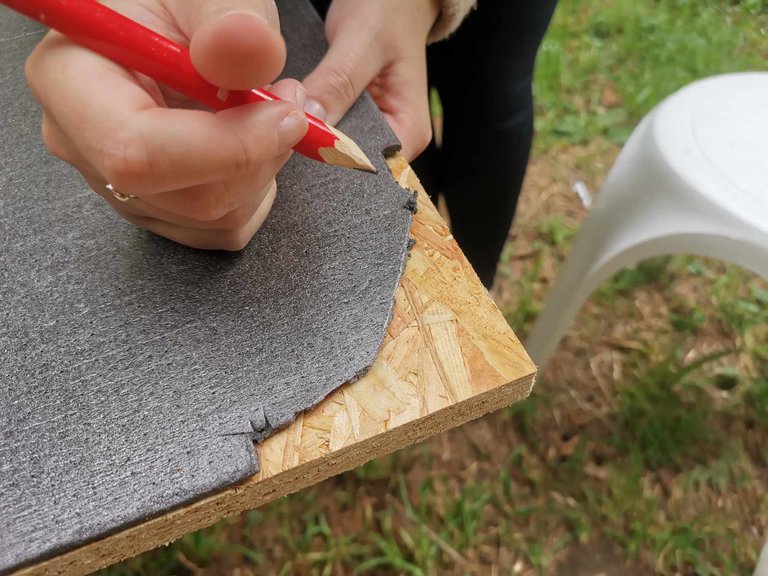
Then, we took the measurements. Since there were rounded corners to cut, we used a piece of cardboard to trace the rounded edges.
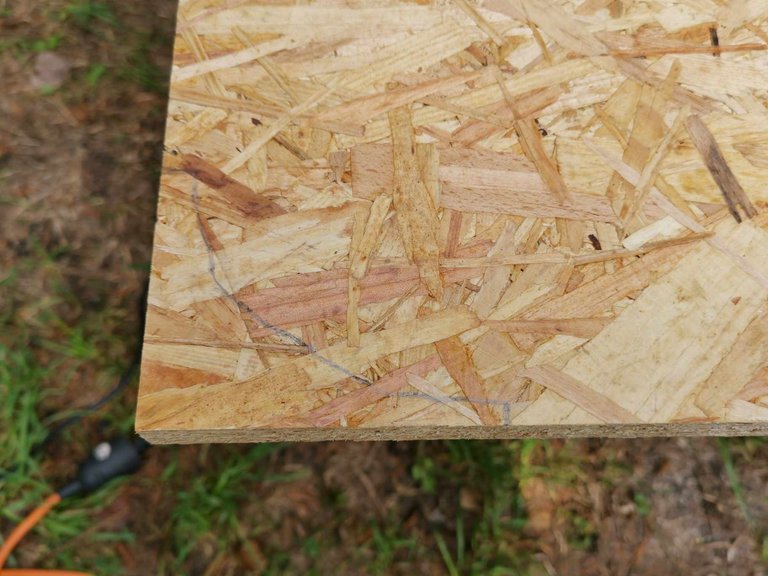
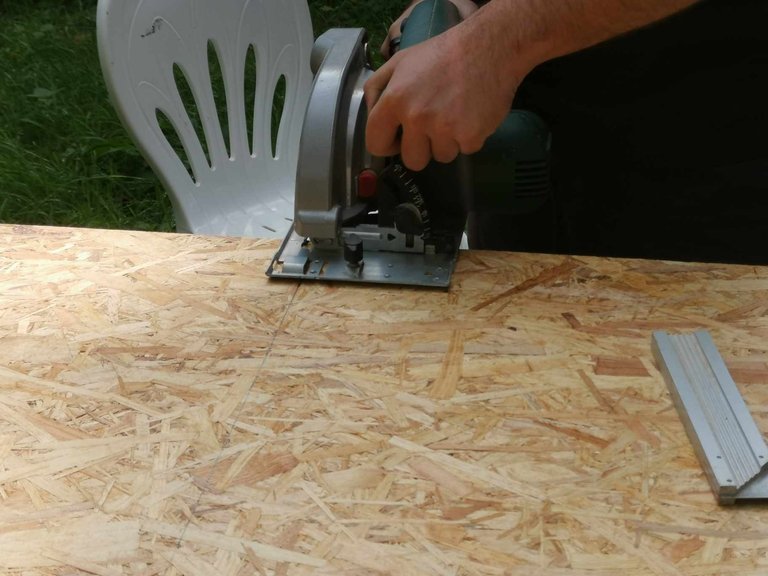
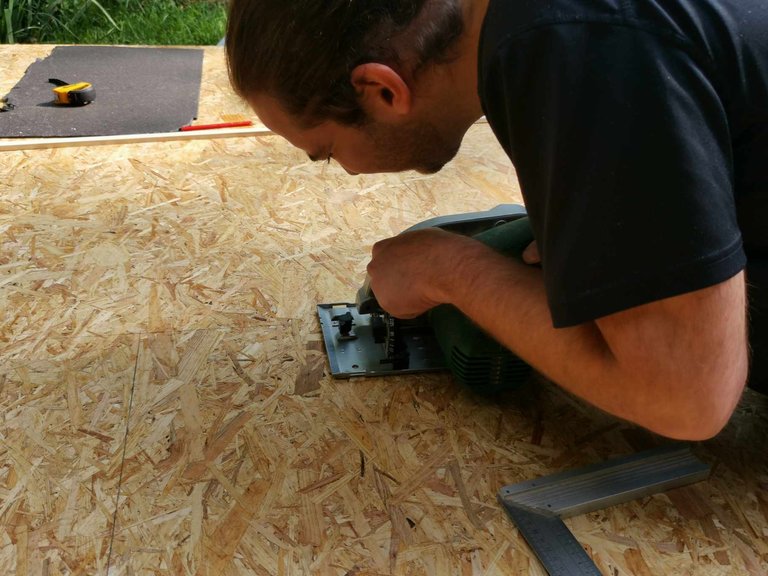
Once the outlines were traced, we used a jigsaw to cut out the necessary section. The advantage of a jigsaw is that it makes these kinds of cuts easier.
For the straight cuts, however, we used a circular saw, as it’s easier to get a straight line with this tool compared to a jigsaw.
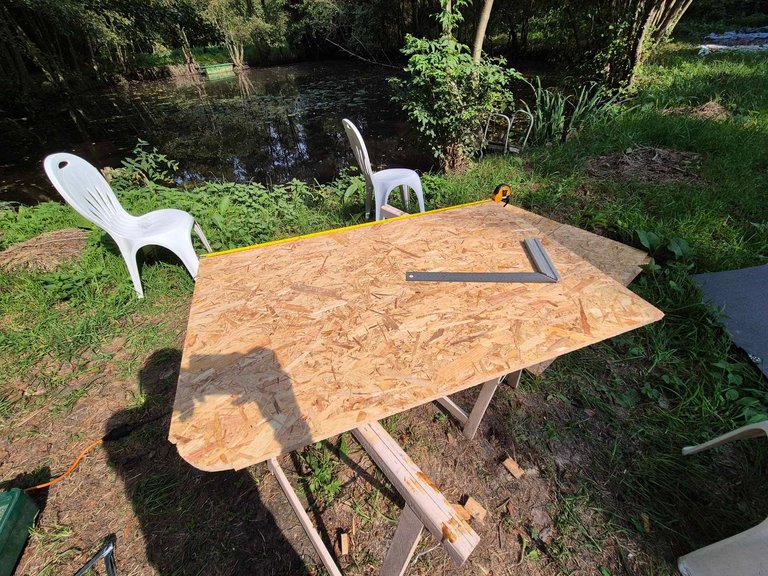
And here is the board installed!

In this space, we’ll need to add a layer of 5 mm okoumé plywood. We’ll do the same for the walls. Unfortunately, our DIY store is out of stock at the moment, so we’ll have to wait for new supplies.
Once these steps are completed, we’ll apply sealant between all the wood joints, followed by a waterproofing coating. This is an essential step to minimize the risk of water infiltration.
Finally, we’ll add PVC, which will serve as the final surface for our shower. There’s still a lot of work to do and quite a bit of money to spend. So if you have any suggestions, we’re all ears!
Our tiny house is surrounded by many trees, just like most of our land. As a result, our solar panel is often in the shade. It was perfect in the summer, but now that the sun is setting earlier and the weather is getting worse, we’ve noticed a significant drop in our energy production.
Around the pond, we have alder trees ranging from 5 to 15 meters in height. A landscape gardener friend advised me to cut them down to about 1.50 meters high. This would allow more light to reach the pond, reduce the number of leaves accumulating at the bottom, and limit the formation of sludge.
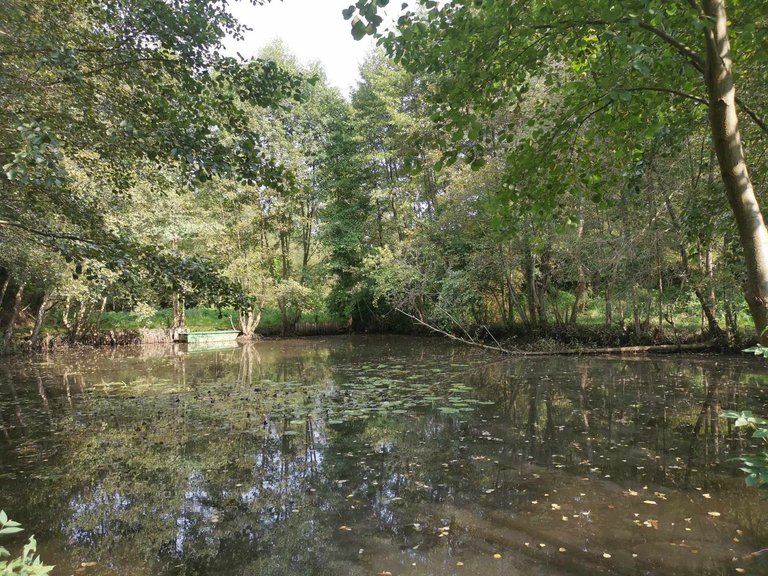
Another benefit of this work is that if I cut down enough alders, I might get sunlight for most of the day in a specific area.
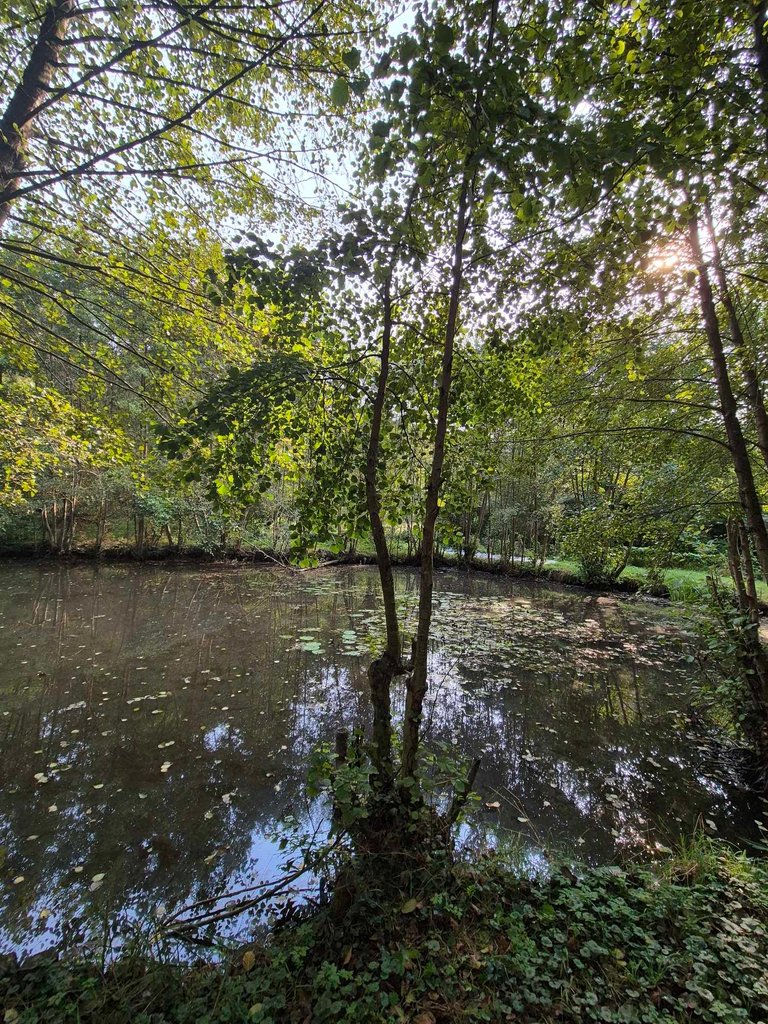
On Sunday, armed with my handsaw, I was determined to start maintaining the pond. The alder trees aren’t very thick (about 10 cm in diameter), but they’re quite tall. I had never cut down a tree before.
(Thanks to you, @flemingfarm, for encouraging me to cut my trees myself. I don’t feel ready to tackle the big pine trees, which are between 15 and 20 meters tall, but I’m gaining confidence with smaller ones.)
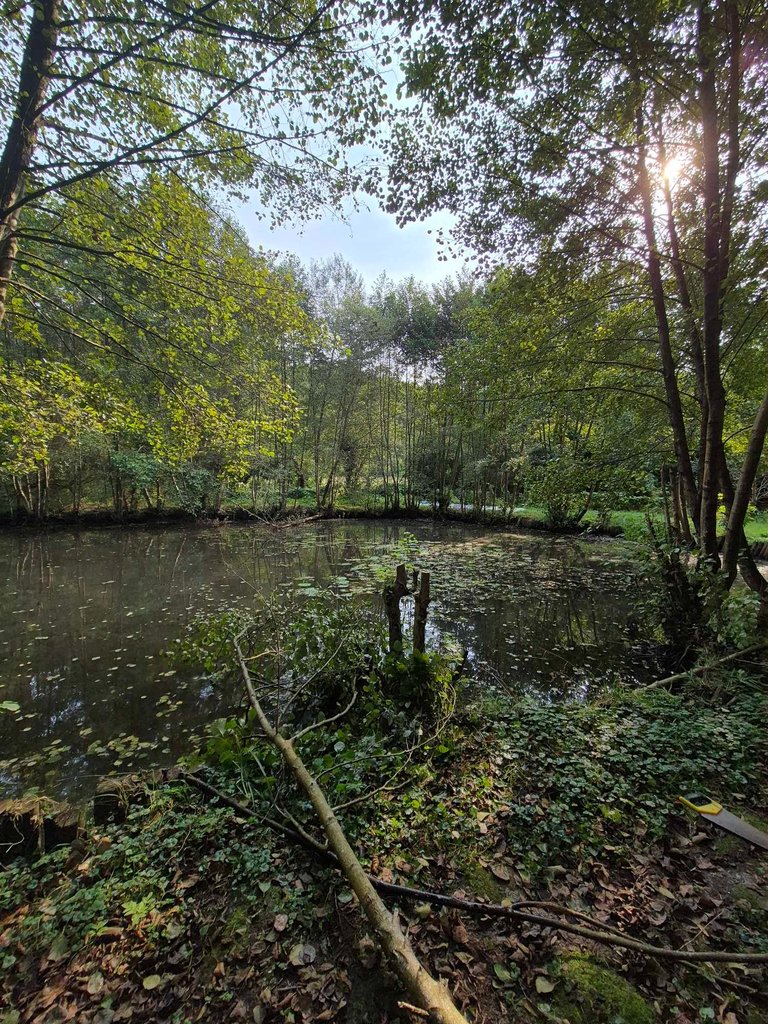
I decided to start with these two “small” alders:
Cutting them down wasn’t too difficult, even with just a handsaw (I don’t own a chainsaw).
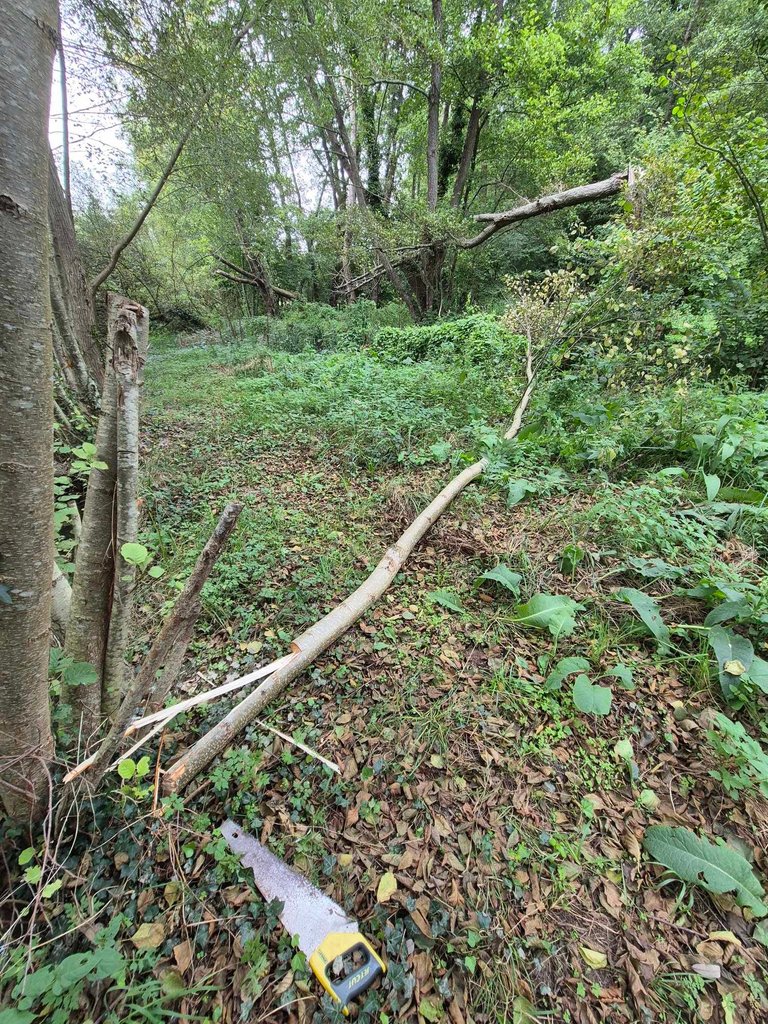
On the other side of the pond, I also sawed down a few other trees, including one that was already quite tilted. When I was halfway through cutting it, the tree fell under its own weight. I just had to finish the cut to bring it down completely.
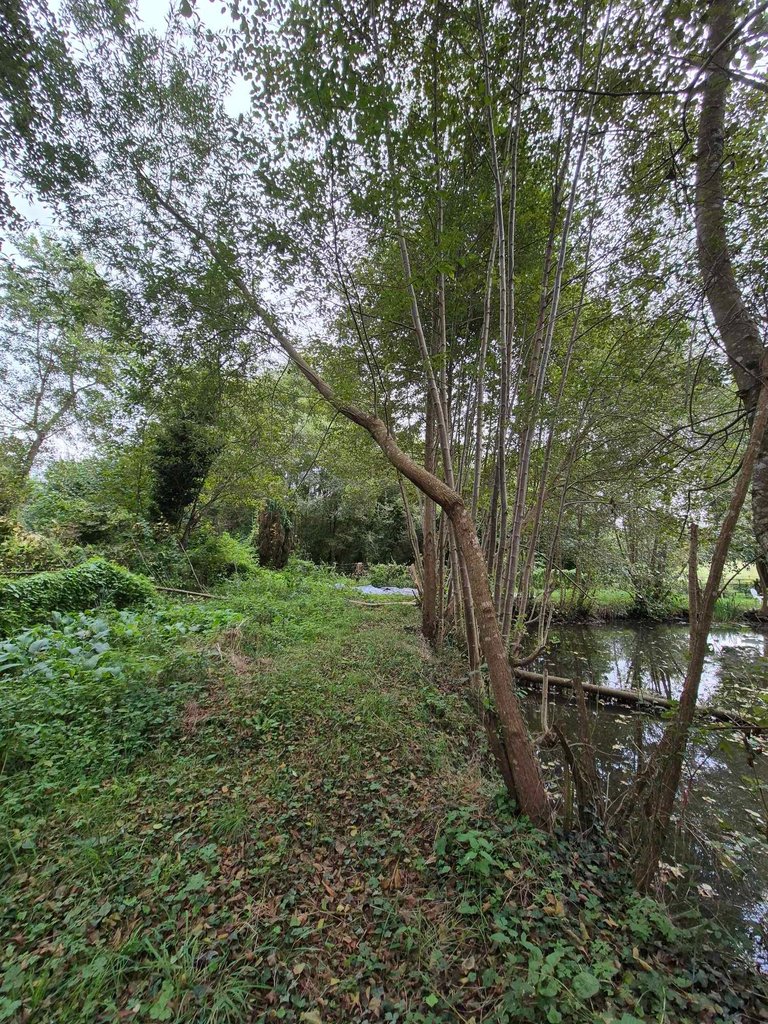
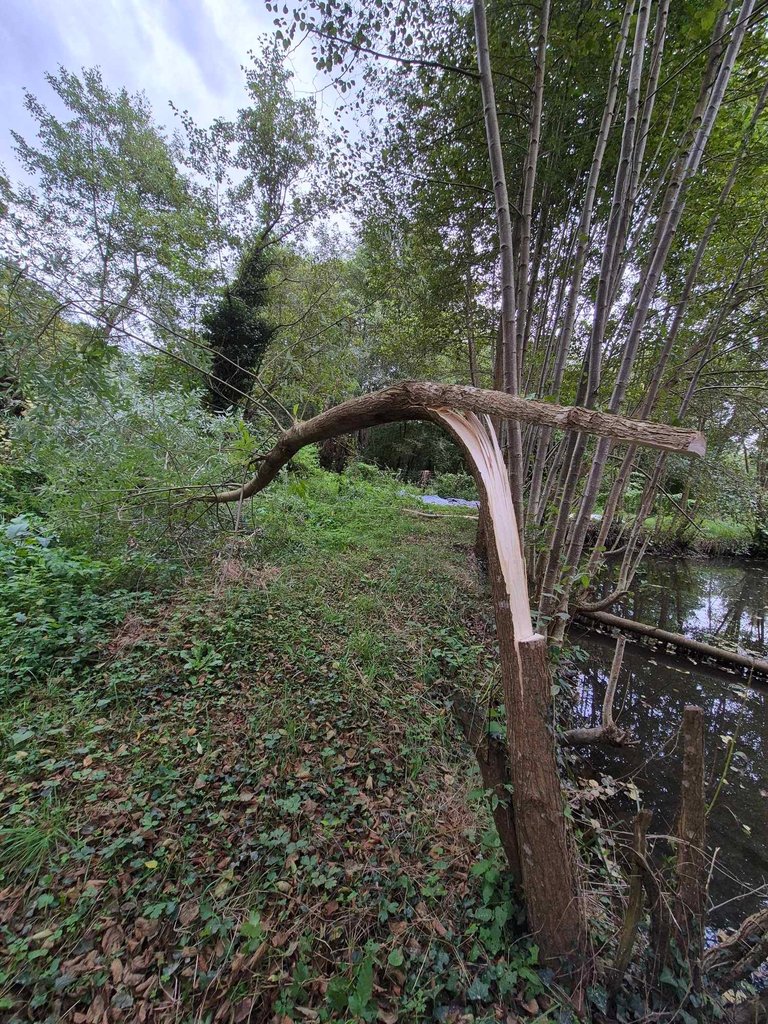
Finally, I brought down a tree that fell on my fence. This one was probably the tallest tree I’ve cut down:
All in all, there’s still plenty of work to do, but with some patience, creativity, and the help of friends (both new and old!), we’re confident we can finish in time. If you have any tips or ideas to optimize our work, feel free to share them with us – any help is welcome!
Version Française
Hello Hive, ça fait longtemps que je n'avais pas publié ici ! Même si je consulte régulièrement les contenus, je suis content d'avoir enfin un peu de temps pour participer à nouveau.
Ce week-end, le temps n'était pas idéal sur notre terrain, mais nous devons vraiment avancer les travaux pour gagner en confort cet hiver.
Voici ce sur quoi nous travaillons en ce moment :
- L'isolation du toit (nous allons perdre un peu de hauteur sous plafond, mais pour l'instant, nous sommes juste protégés des intempéries grâce à un toit en tôle ondulée).
- La création d'une douche. L'extension de notre tiny house est une caravane. Il y a déjà un espace dédié à la douche, mais il reste beaucoup de travaux pour assurer l'étanchéité.
Vendredi soir, avec @altheana, nous sommes allés acheter une grande plaque d'OSB de 2,50 mètres sur 1,25 mètre. Un client du magasin a gentiment proposé de la livrer chez nous, ce que nous avons accepté. Depuis, nous avons donc un nouvel ami !
Samedi matin, nous avons dû découper une plus petite planche dans cette grande plaque pour ajouter une épaisseur supplémentaire à notre plancher.
D'abord, dans la zone où nous allons installer la douche, nous avons retiré une partie de l'ancien lino qui dépassait.
Ensuite, nous avons pris les mesures. Comme il y avait des arrondis à faire, nous avons utilisé un morceau de carton pour reporter les contours arrondis.
Une fois les repères tracés, nous avons utilisé une scie sauteuse pour découper la partie nécessaire. L'avantage de la scie sauteuse est qu'elle permet de réaliser facilement ce type de découpe.
Pour les découpes droites, nous avons utilisé une scie circulaire, car il est plus facile d'obtenir une ligne droite avec cet outil qu'avec une scie sauteuse.
Et voici la planche installée !
Dans cet espace, nous devrons encore ajouter une couche de contreplaqué en okoumé de 5 mm. Nous devons faire de même sur les murs. Malheureusement, notre magasin de bricolage est en rupture de stock pour l'instant, donc nous devons attendre leur réapprovisionnement.
Une fois ces étapes terminées, nous appliquerons du joint entre toutes les jonctions du bois, puis un enduit d'imperméabilisation. C'est une étape essentielle pour minimiser les risques d'infiltration d'eau.
Enfin, nous poserons du PVC, qui constituera la surface finale de notre douche. Il reste encore beaucoup de travail et des dépenses importantes à prévoir. Donc, si vous avez des idées, nous sommes preneurs !
Notre tiny house est située sous de nombreux arbres, tout comme la majeure partie de notre terrain. Par conséquent, notre panneau solaire est souvent à l'ombre. C'était parfait en été, mais maintenant que le soleil décline et que le temps se dégrade, notre production d'énergie a vraiment chuté.
Autour de l'étang, nous avons des aulnes mesurant entre 5 et 15 mètres de hauteur. Un ami paysagiste m'a conseillé de les couper à environ 1m50 de hauteur. Cela permettrait de laisser entrer plus de lumière sur l'étang, de réduire l'accumulation de feuilles au fond, et donc de limiter la formation de vase.
Un autre avantage de ces travaux est que, si je coupe suffisamment d'aulnes, je pourrais potentiellement obtenir du soleil une grande partie de la journée dans un certain espace.
Dimanche, armé de ma scie manuelle, j'étais déterminé à commencer l'entretien de l'étang. Les aulnes ne sont pas très épais (environ 10 cm de diamètre), mais ils sont très hauts. Je n'avais encore jamais coupé d'arbre.
(c'est toi @flemingfarm qui m'a poussé à couper mes arbres moi-même. Je ne me sens pas capable de faire mes grands sapins qui font entre 15 et 20 mètres de haut. Mais je prends confiance avec de plus petits arbres)
J'ai donc décidé de commencer par ces deux "petits" aulnes :
Les couper n'a pas été trop difficile, même avec une simple scie à main (je n'ai pas de tronçonneuse).
De l'autre côté de l'étang, j'ai aussi scié quelques autres arbres, dont un qui était déjà bien incliné. Lorsque j'étais à mi-chemin de la coupe, il est tombé de son propre poids. Il ne me restait plus qu'à terminer la coupe pour le faire tomber complètement.
Enfin, j'ai fait tomber un arbre qui est tombé sur ma clôture. C'était probablement le plus grand arbre que j'ai abattu :
En somme, nous avons encore beaucoup à faire, mais avec un peu de patience, d'astuce et l'aide de nos amis (nouveaux et anciens !), nous pouvons terminer à temps. Si vous avez des conseils ou des idées pour optimiser nos travaux, n’hésitez pas à nous les partager, toute aide est la bienvenue !
All photos were taken with my smartphone. The English translation is done with DeepL.


 )
)