In the @foodiesbeehive community we have great chefs like @marlyncabrera and @aguamiel who make sweet preparations using coconut flour, milk and oil, but the wonderful thing about these preparations is that they themselves make these ingredients from scratch, opening the coconut and extracting its pulp to then work their magic in the kitchen. The truth is that I find this work very inspiring and admirable and I have often wanted to replicate it to make my desserts, since I am trying to consume more organic products. Unfortunately, I have not been able to do it, because the coconut that arrives to the city where I live is brought from another country and its flavor is not fresh at all, in fact it comes with a rancid taste.
Due to the above, a couple of months ago I was in the supermarket and I came across a coconut flour that claimed to be organic, so I bought it to try it and by the way I also bought some extra virgin coconut oil. To test the flour I made some pancakes and the truth is that I really liked the taste, they were delicious. So I thought that maybe I could make a biscuit with these flours to eat at home.
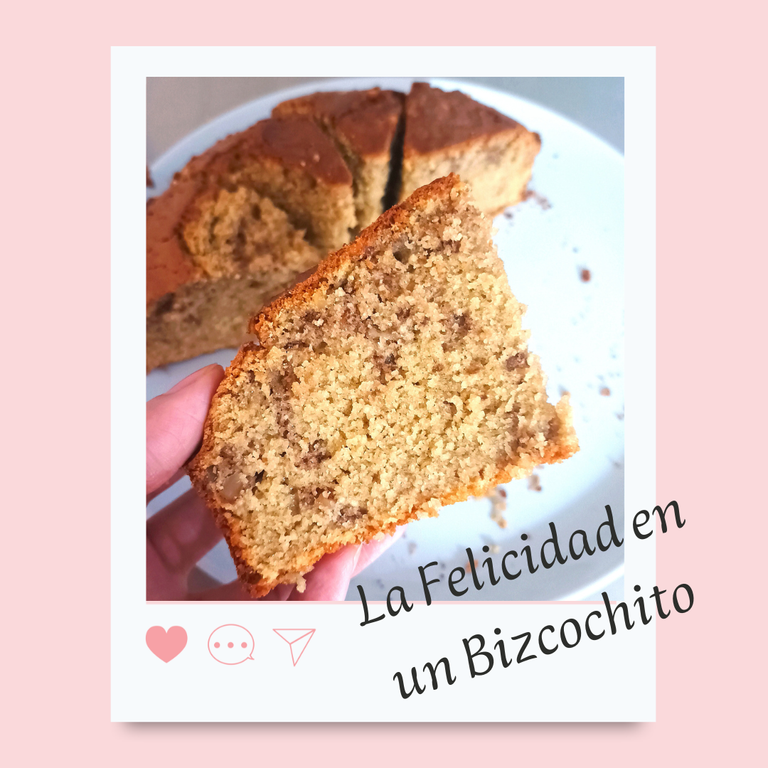
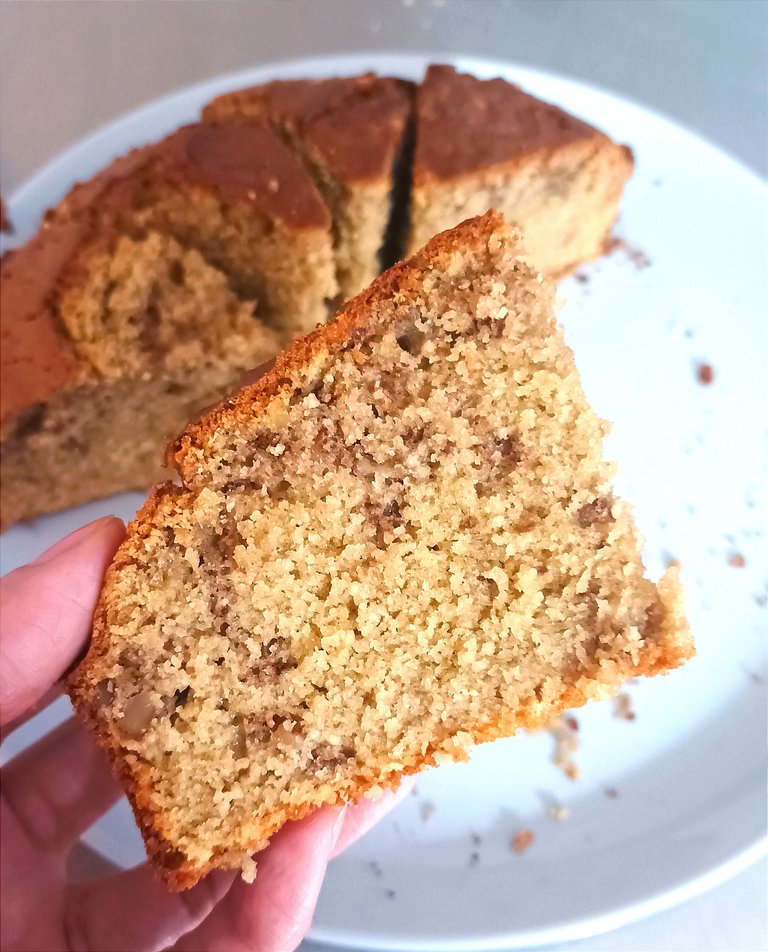
In this sense, one afternoon I had a craving for a healthy pancake and I remembered that I had all the ingredients in my pantry, but since I was really craving and didn't want to wait too long I decided to make it in the blender, so I launched into this little adventure and I must tell you that the result surprised me in a very pleasant way, because the cake was soft, with a perfect crumb and I felt the coconut flavor, which was just what I was looking for.
I won't go on any longer and I'll tell you how I made this cake that I called Happiness in a Sponge Cake because it's not only delicious, it also felt great on my tummy.
So put on your apron and join me in my kitchen, "Zu cocina"!
You will need the following ingredients:
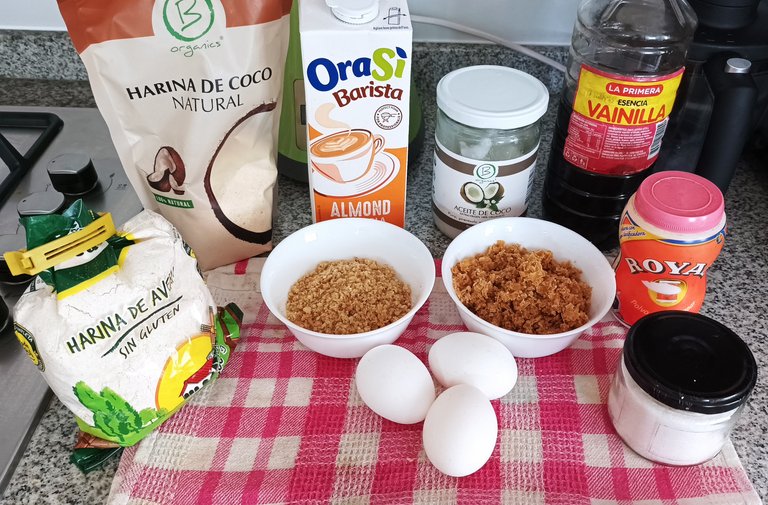
•150 gm gluten free oat flour.
•2 tablespoons of coconut flour.
•120 gm grated panela.
•30 gm crushed walnuts (Optional).
•2 ½ tsp baking powder.
•125 ml of milk (I used vegetable drink, but you can use the one of your preference).
•3 eggs.
•50 gm of extra virgin coconut oil.
•½ teaspoon vanilla essence.
•¼ teaspoon salt.
Preparation
Start by adding the milk, the eggs, the coconut oil, the vanilla essence, the baking powder and the grated panela to the glass of a blender. Then, we blend at high speed for about 2 minutes.

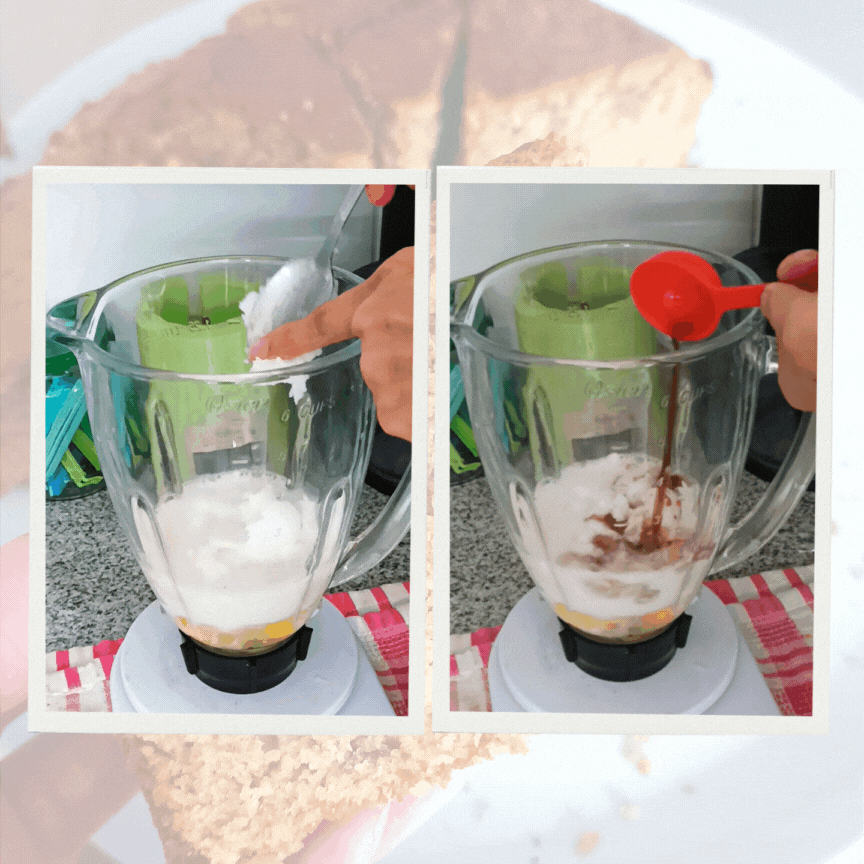

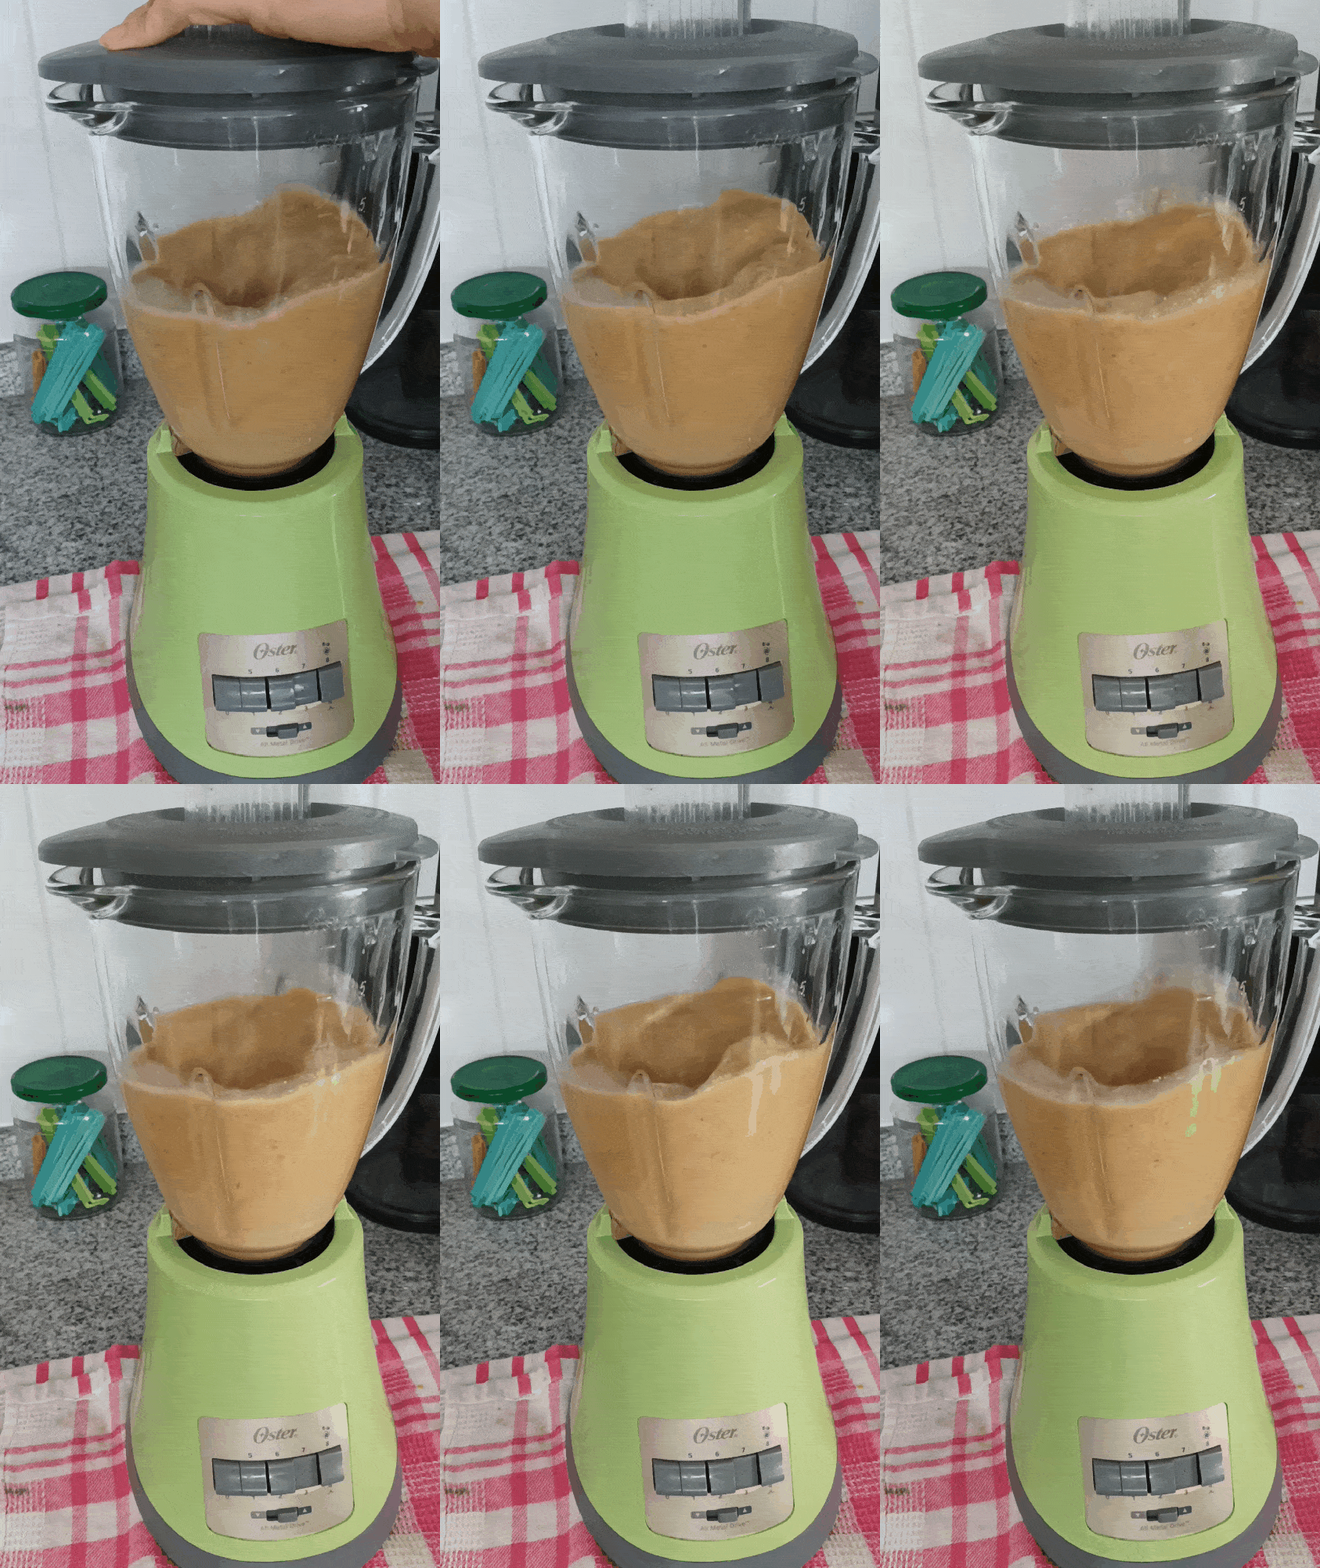
After this time, it is time to add the coconut flour and the oat flour, then with a spoon incorporate all the ingredients and blend until you have a homogeneous mixture.


Once this is done, add the nuts and pour the mixture into a 16 cm diameter mold and take it to a preheated oven at 180 degrees Celsius for approximately 45 minutes.

When it is ready, take it out of the oven and let it rest at room temperature for about half an hour and you can start enjoying this delicious healthy cake, gluten free and refined sugar free.
I admit that I only let it rest for 15 minutes. I couldn't wait another minute to cut it and eat a good portion with a hot cup of coffee. In fact, a friend came to visit me and took her good portion, so you can see in the photo that some pieces are missing.

I hope you are encouraged to make this bizcochito and you will see that it will make you happy in every bite.
Thanks for sticking around until the end and for all your support!
Your friend, Zuuu!

You can also find me on instagram as: @zu_pasteleria, @tayiitos and on RedBubble in my clothes and products store.
All photos and videos in this post were taken with my Xiaomi Redmi 10 cell phone.
Resources: Canva, Gifty and DeepL Translator.
ESPAÑOL
En la comunidad de @foodiesbeehive tenemos grandes chef como lo son @marlyncabrera y @aguamiel que hacen preparaciones dulces usando harina, leche y aceite de coco, pero lo maravilloso de estas preparaciones es que ellas mismas hacen estos ingrediente desde cero, abriendo el coco y extrayendo su pulpa para luego hacer su magia en la cocina. La verdad es que me parece muy inspirador y admirable esta labor que muchas veces he querido replicar para hacer mis postres, pues estoy tratando de consumir productos más orgánicos. Lamentablemente, no lo he podido hacer, porque el coco que llega a la ciudad donde vivo lo traen de otro país y su sabor no es nada fresco, de hecho viene con un sabor rancio.
Debido a lo antes dicho, hace un par de meses estaba en el supermercado y me topé con una harina de coco que decía ser orgánica, así que la compré para probarla y de paso aproveché y compré también un aceite de coco extra virgen. Para probar la harina hice unas panquecas y la verdad que me gustó mucho su sabor, quedaron riquísimas. Así que pensé que tal vez podría hacer un bizcochito con estas harinas para comerla en casa.
En este sentido, una tarde me antojé de comer una tortita saludable y recordé que tenía todos los ingredientes en mi despensa, pero como estaba con mucho antojo y no quería esperar mucho tiempo decidí hacerla en la licuadora, así que me lancé a esta pequeña aventura y debo decirles que el resultado me sorprendió de manera muy grata, porque el bizcocho quedó suave, con una miga perfecta y se sentía el sabor del coco que era justo lo que andaba buscando.
No me extiendo más y te cuento cómo hice este bizcocho que lo llamé La Felicidad en un Bizcochito porque no solo es delicioso, también le cayó muy bien a mi pancita.
¡Así que ponte tu delantal y acompáñame a mi Cocina, "Zu cocina"!
Vas a necesitar los siguientes ingredientes:

•150 gm de harina de avena sin gluten.
•2 cdas de harina de coco.
•120 gm de panela rallada.
•30 gm de nueces trituradas (Opcional).
•2 ½ cditas de polvo para hornear.
•125 ml de leche (Yo usé bebida vegetal, pero puedes usar la de tu preferencia).
•3 huevos.
•50 gm de aceite de coco extra virgen.
•½ cdita de esencia de vainilla.
•¼ cdita de sal.
Prepración
Empezaremos agregando a al vaso de una licuadora la leche, los huevos, el aceite de coco, la esencia de vainilla, el polvo para hornear y la panela rallada. Luego, licuamos a velocidad alta por unos 2 minutos.


Pasado este tiempo, es el momento añadir la harina de coco y la harina de avena, después con una cuchara incorpora un poco todos los ingredientes y licua hasta que tengas una mezcla homogénea.


Hecho esto, agrega las nueces y verte la mezcla en un molde de 16 cm de diámetro y lleva a un horno pre calentado a 180 grados centígrados por unos 45 minutos aproximadamente.

Cuando esté listo, lo sacas del horno y lo dejas reposar a temperatura ambiente por una media hora y ya puedes empezar a disfrutar de este delicioso bizcocho saludable, sin gluten y sin azúcar refinada.
Admito que yo solo lo dejé reposar 15 minutos. No me aguante ni un minuto más para cortarlo y comerme una buena ración con un cafecitos bien caliente. De hecho, una amiga vino a visitarme y se llevó su buena ración, por eso pueden ver en la foto que faltan algunos pedazos.
Espero te animes a hacer este bizcochito y verás que te hará feliz en cada bocado.

¡Gracias por quedarte hasta el final y por todo tu apoyo!
¡Tu amiga, Zuuu!

También me puedes encontrar en instagram como: @zu_pasteleria, @tayiitos y en RedBubble en mi tienda de ropas y productos.
Todas las fotos y videos de esta publicación fueron realizadas con mi celular Xiaomi Redmi 10.
Recursos: Canva, Gifty y DeepL Translator.


