En Español
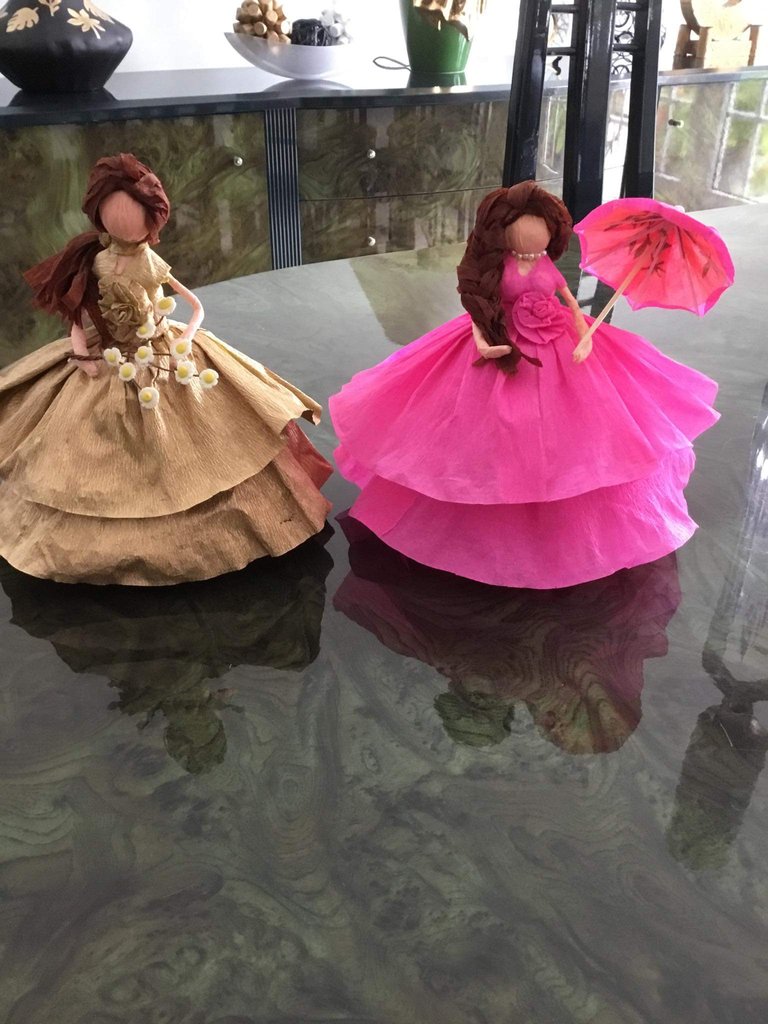
Hola mi gente bella y creativa reciban un caluroso saludo de mí parte Dios me los bendiga a todos los miembros de esta gran familia de Hive🤗❤. En el tutorial de hoy vamos a realizar unas hermosas muñecas de papel crepes y un rollo de papel higiénico súper económicas y fácil de hacer; con éstas muñecas podemos decorar las fiestas de las princesas de la casa, para unos 15 años o también para decorar la habitación de nuestras hijas.
Con el papel crepes podemos realizar una gran variedad de manualidades para la escuelas y también en los cumple de nuestros hijos. Yo con este papel decoro las piñatas, chupeteras, centro de mesas el mantel para mesa de la torta, la pared, bambalinas, entre otras...así que queridos amigos acompañenme a realizar estas bellas muñecas de papel.
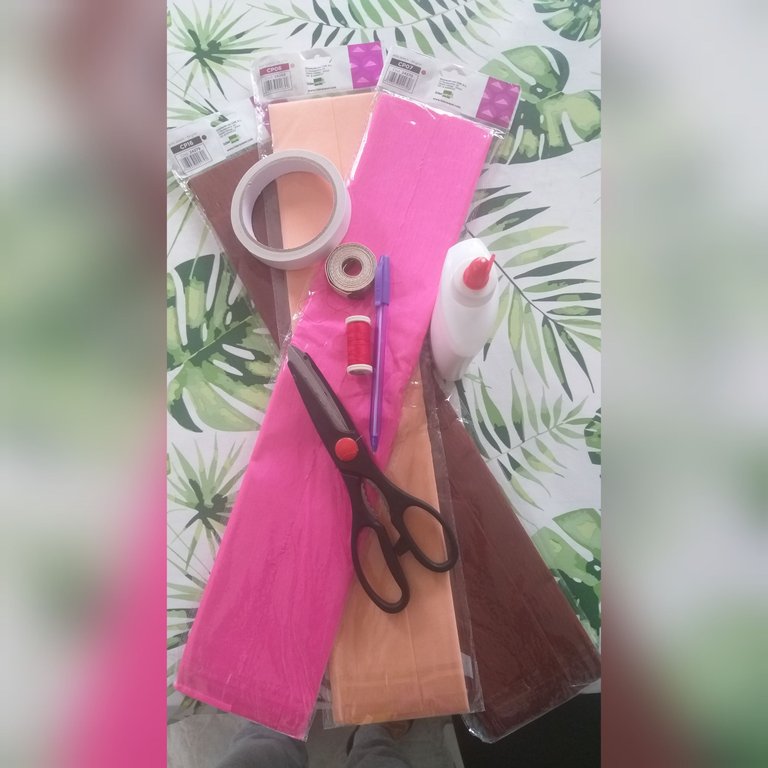
Los Materiales a utilizar para realizar las muñecas son:
Papel crepe del color que guste. En este caso se utilizó amarillo y fucsia, color carne y marrón.
Tijera
Pegamento blanco
Pistola de silicona y barras de silicona
Papel higiénico
Dos rollos de papel higiénico
Masa flexible de color amarillo y blanco
Un pedazo de alambre de floristería fino
Un paragua para decorar cócteles
Perlitas pequeñas
Cinta métricao regla
Lápiz o bolígrafo
Cinta de doble pegamento
Hilo de costura
Una aguja
Pasos a seguir para realizar las muñecas
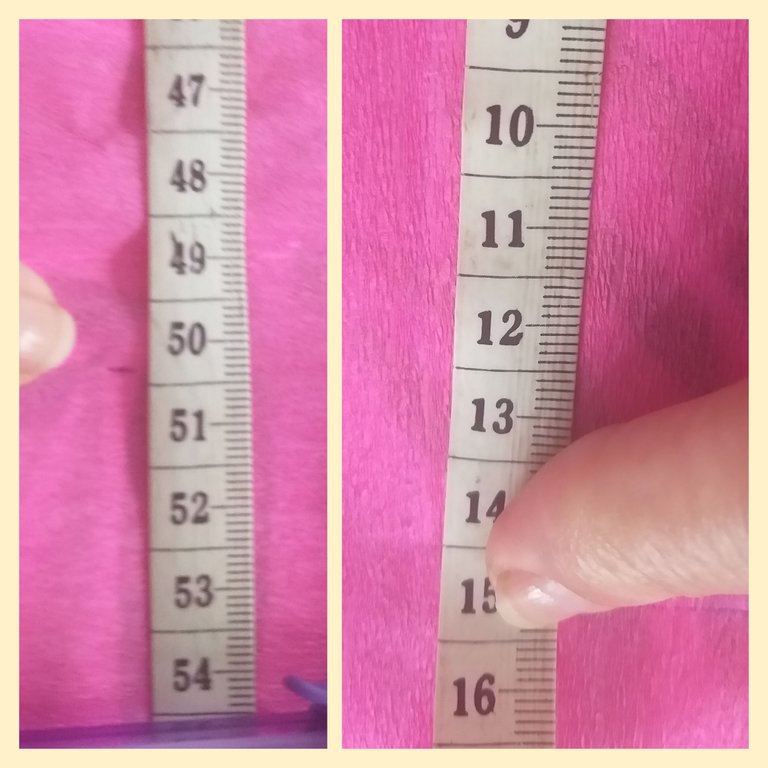
1👣. Lo primero que tenemos que hacer es medir con la cinta métrica el papel crepe del color que seleccionamos y medimos 50 cm ancho por 15 cm largo y luego con la tijera recortamos. Debemos recortar dos tiras del mismo tamaño.
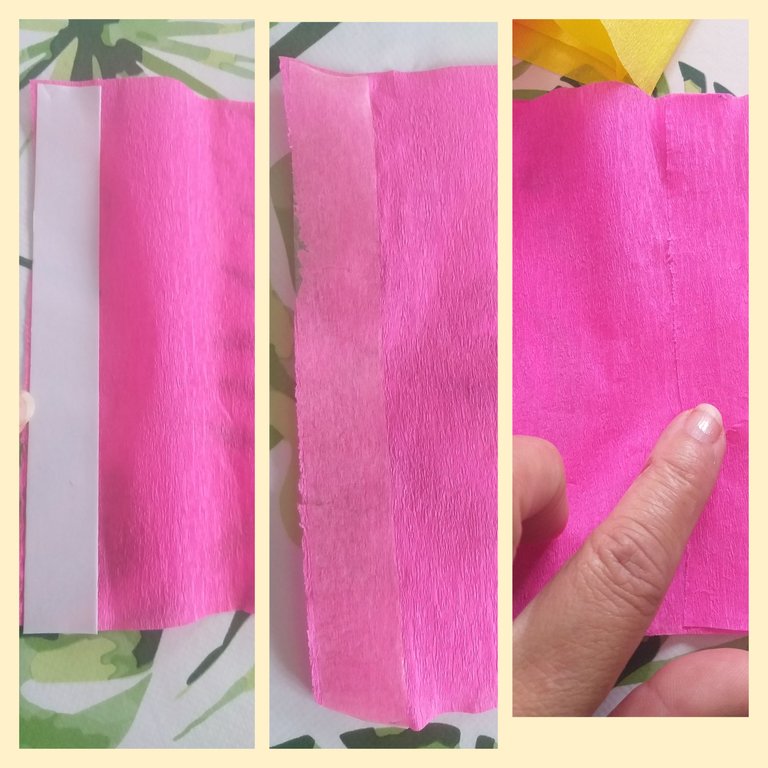
2👣. Lo siguiente es pegar las puntas de cada cuadro que recortó con la cinta de doble pega. También puede utilizar pegamento. La punta de un lado debe quedar encima de la otra punta donde tiene el pegamento.Observar las tres imágenes como guía.
3👣. En este tercer paso con los dedos gordos de la mano vamos estirando el papel crepe con cuidado no se vaya a romper. La idea de estirar el papel crepe es que quede como vuelos; ya que serán los faldones de un vestido para las muñecas. Recuerden que son dos tiras que debemos hacerle lo mismo.
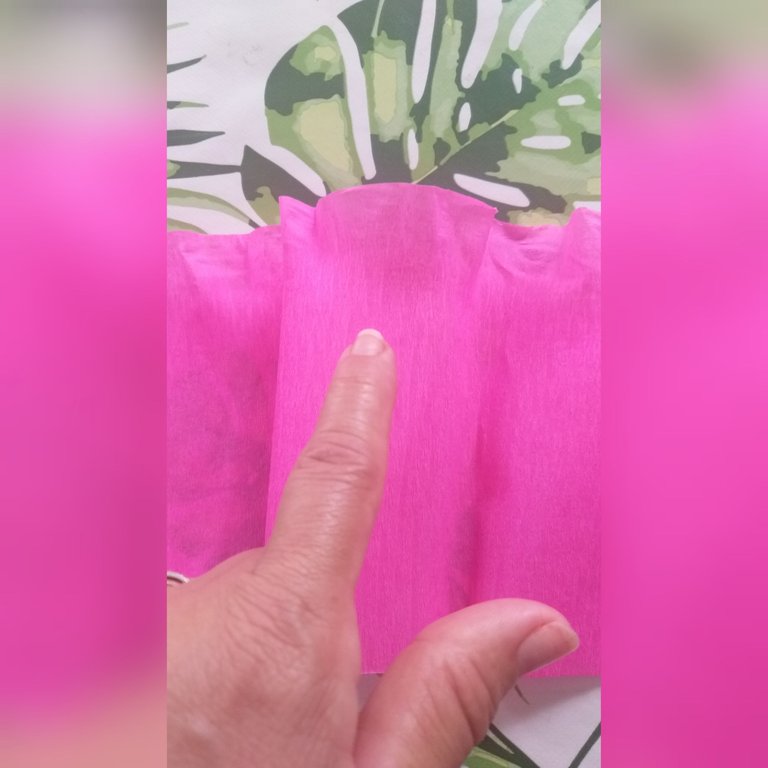
4👣. Con la aguja y el hilo vamos a vamos a coser como si fuera una cortina; debe hacerlo en ambos pedazos. Después amarar ambas puntas del hilo y por último amarrar el final de la punta con él hilo. Si van a realizar varias muñecas hagan de una vez las piezas todas de cada color.
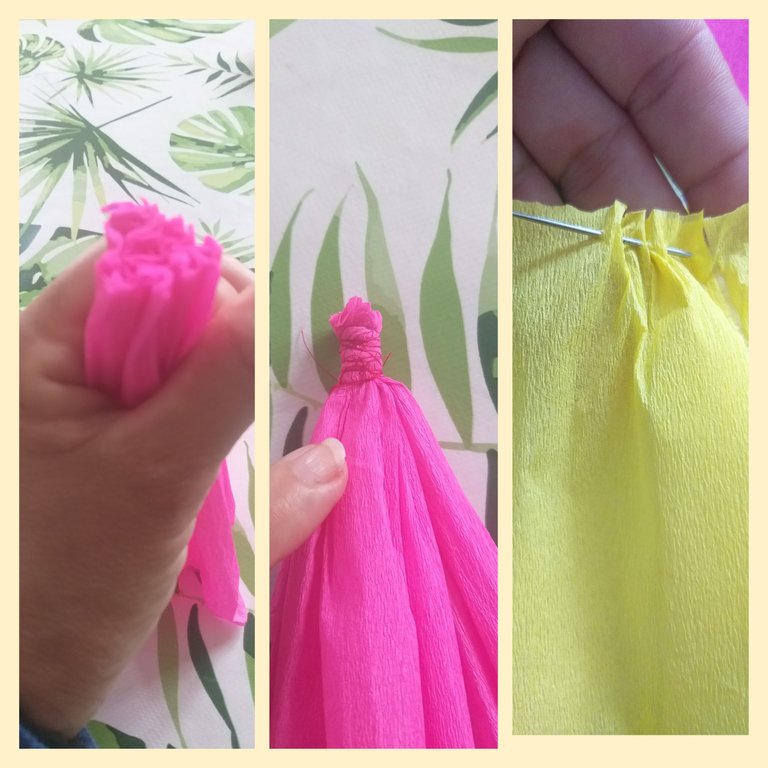
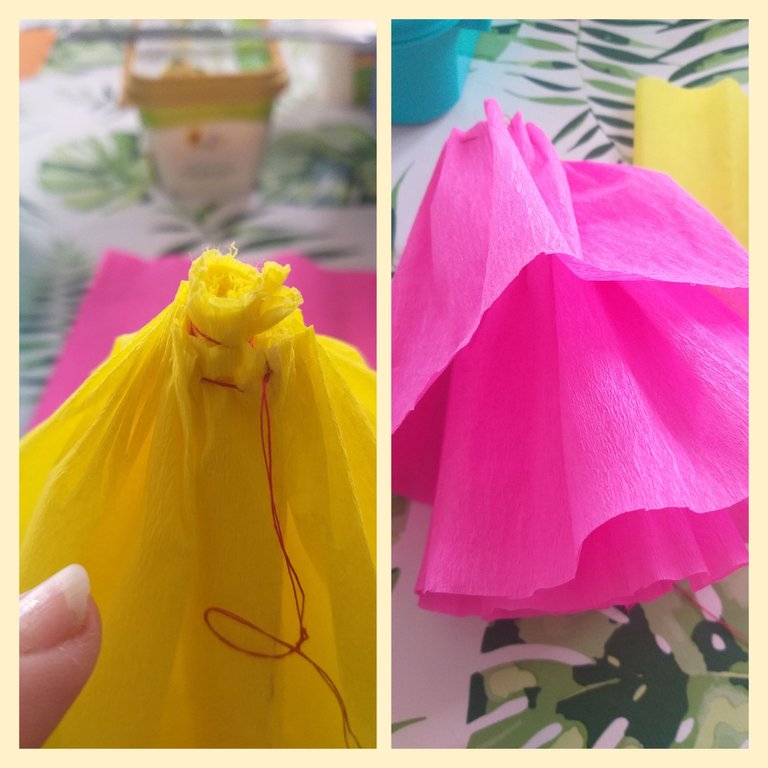
5👣.Luego que tengamos las piezas bien atadas; vamos ahora a recortar una tira con las medidas de 50cm ancho por 12cm largo y después recortar. Después repetimos los pasos anteriores y este deberá quedar por encima de los dos, este quedará como un sobre vuelo.Observar la imagen. Este vuelo debe colocarlo encima y después amarrarlo.
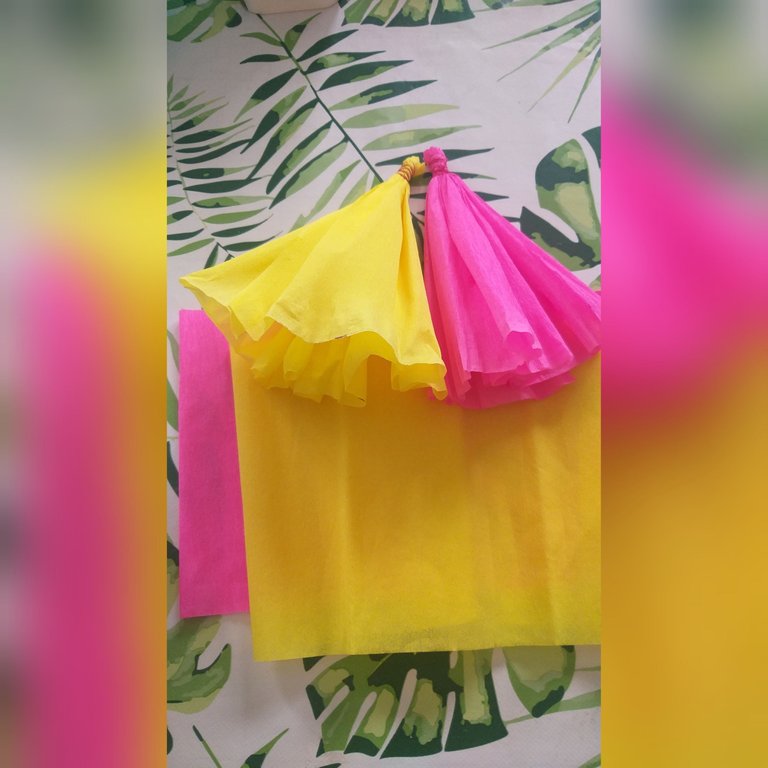
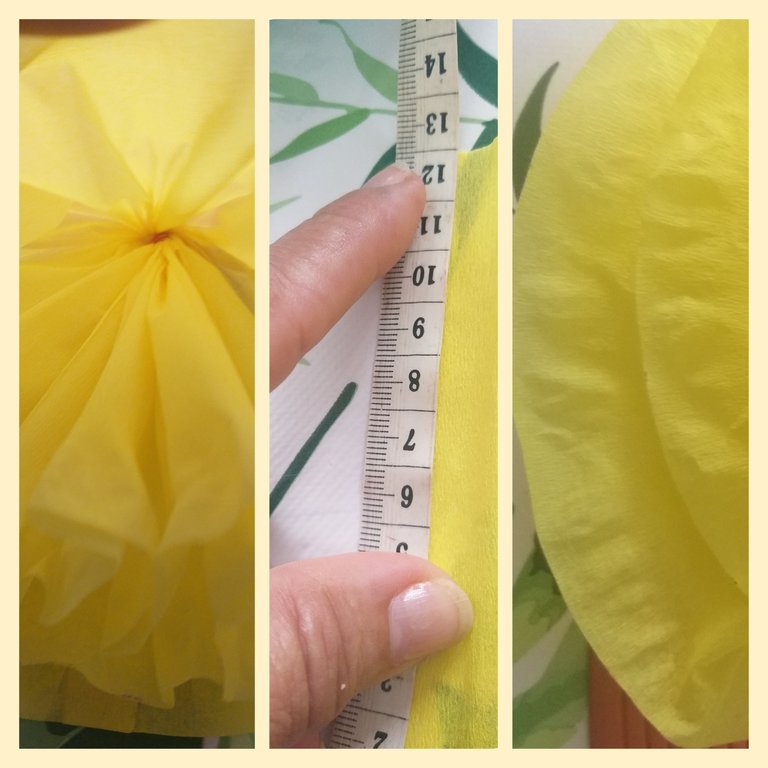
6👣. En este paso haremos los senos con papel higiénico. Enrollar bien hasta formar una bolita y después coloque pegamento blanco para que no se habrán. Recuerde que deberá hacer 4 bolitas. También con el papel higiénico vamos hacer una bola más grande que sería la cabeza y después recortamos una tira de 7cm de ancho y largo, después colocamos pegamento blanco y pegamos la cinta forrando cabeza y senos. Procure que quede lo más liso posible sin romper.
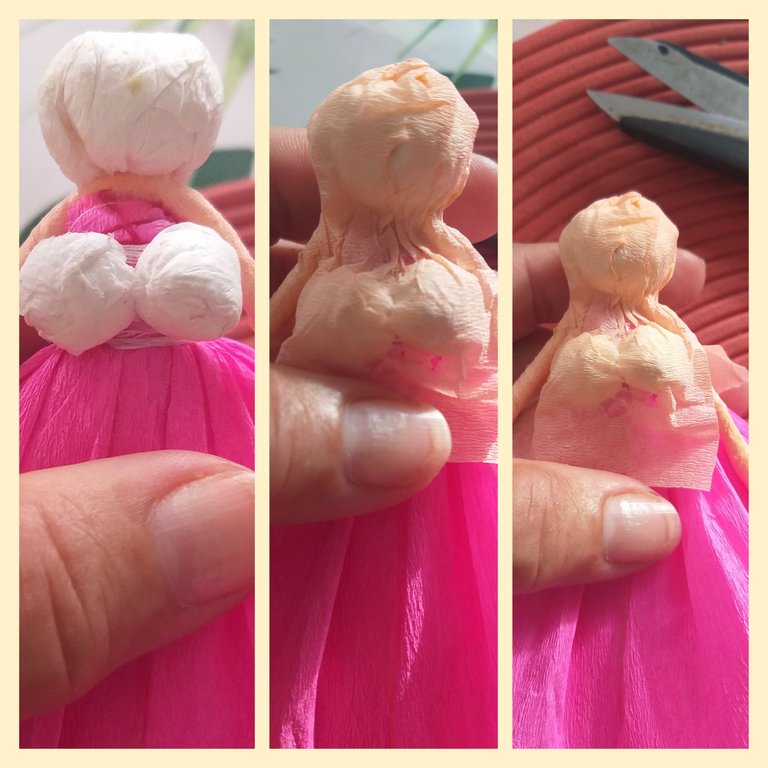
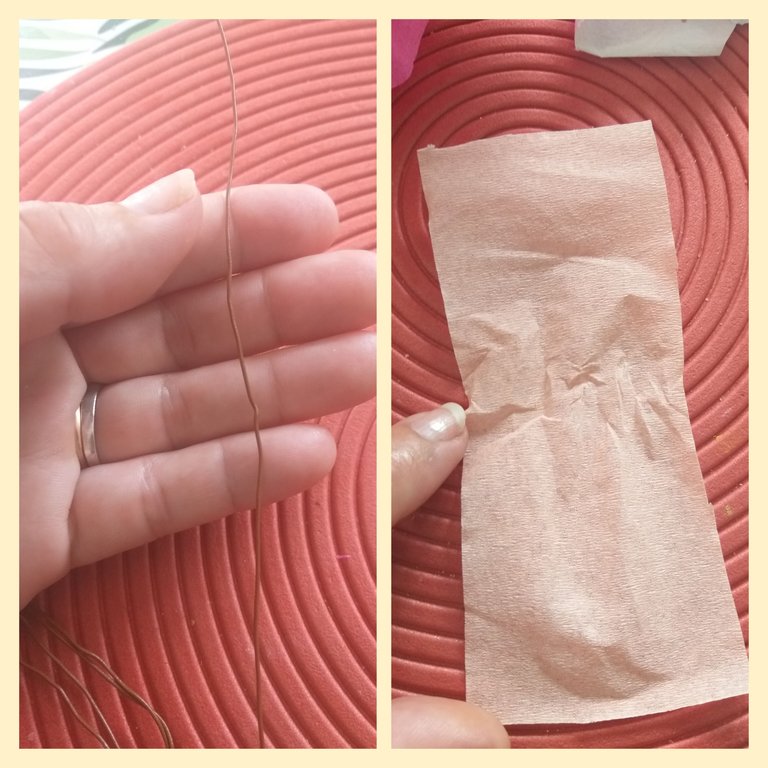
7👣. Ya tenemos los dos faldones de los dos vestidos y la cabeza y senos Ahora vamos hacer los brazos con un pedazo de alambre fino con la medidas de 8cm cada uno para las dos muñecas y después las forramos con el papel crepe de color carne. En las dos puntas dele más grosor. Los brazos debe pegarlos antes de la cabeza con silicon caliente.Observar la imagen
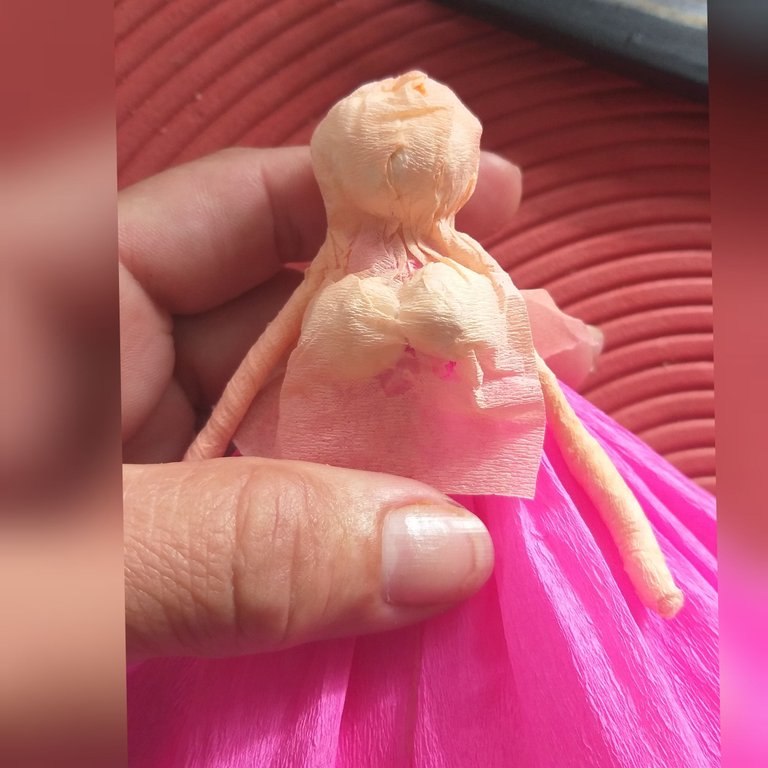
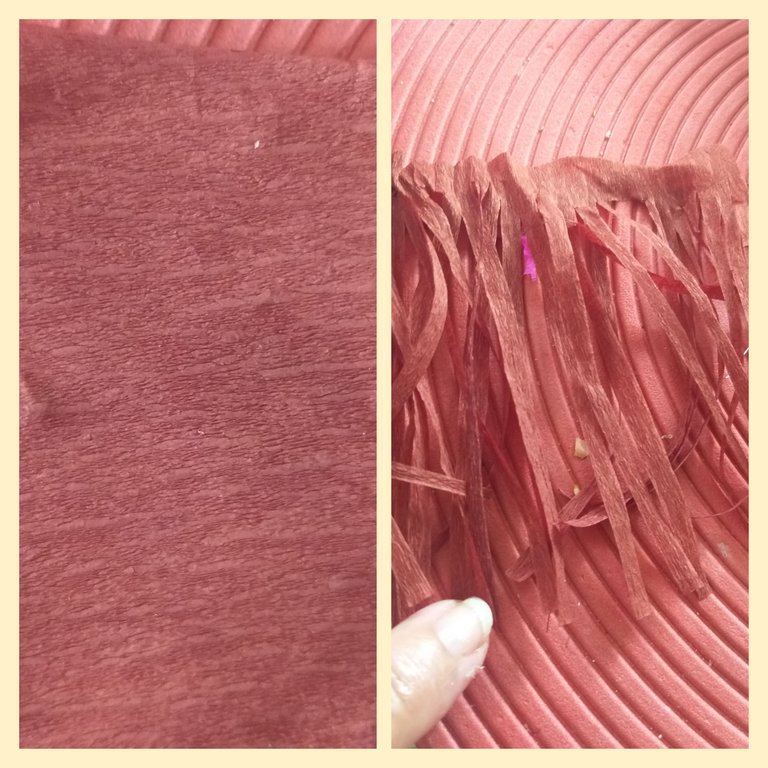
8👣. Ya tenemos pegado la cabeza, brazos y senos al faldo del vestido y los senos, vamos hacer el cabello con una tira de 12cm de ancho por 5cm de largo. Con la tijera recortamos tiras finas sin llegar a la punta .
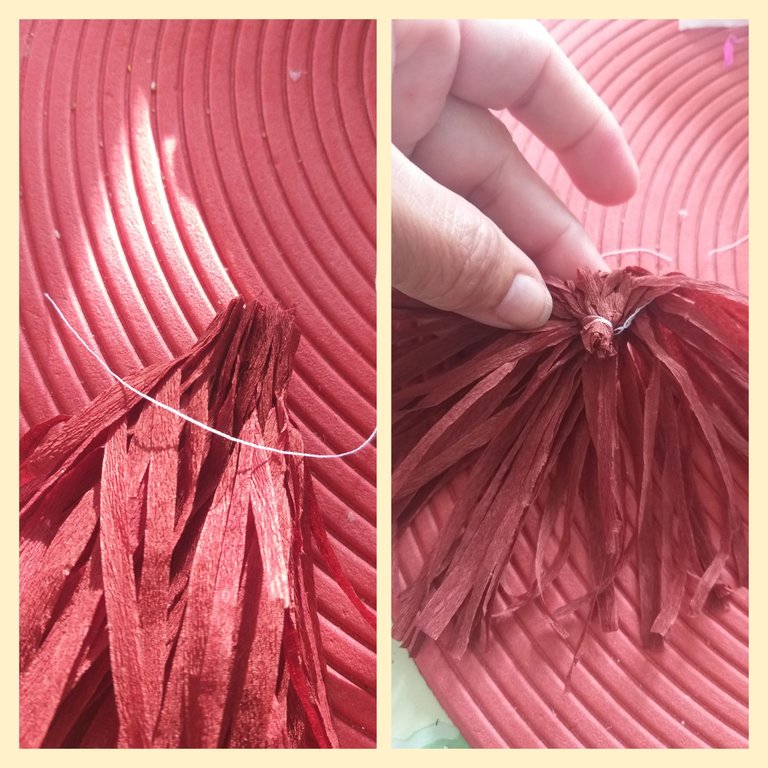
9👣. Después amarramos la punta con el hilo dándole varias vueltas.
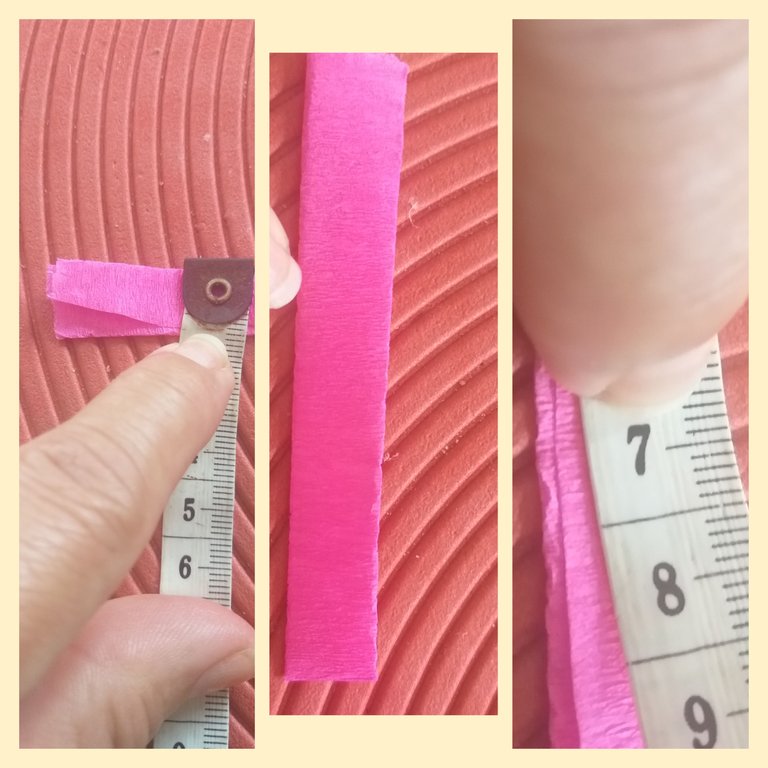
10👣. En este paso vamos a recortar dos tiras de 7cm de ancho por 4cm largo; luego doble un poquito las orillas y entre cruce las tiras en el espalda y en la parte de los senos. Luego con una tira con las mismas medidas pegar a la cintura.
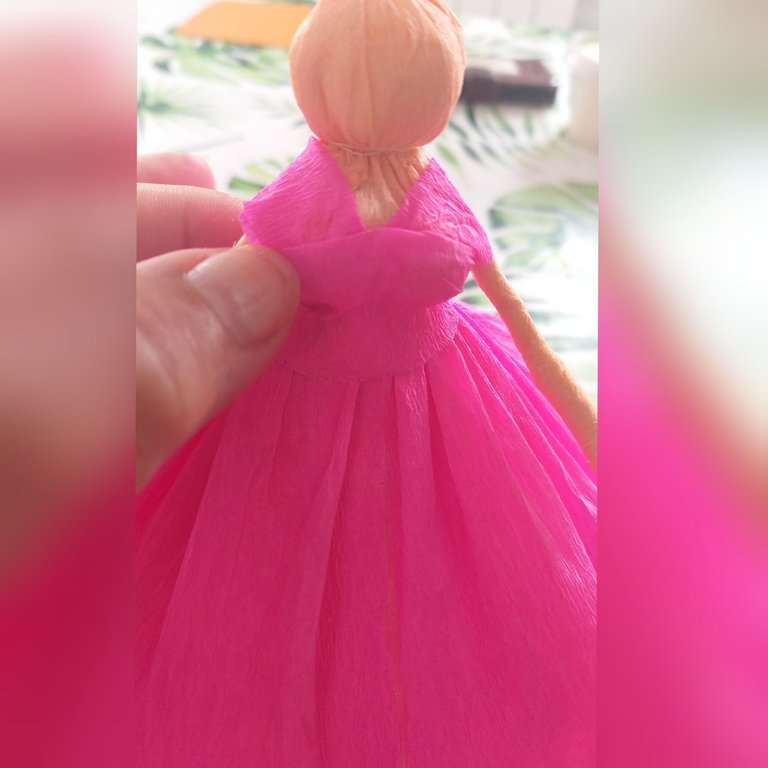
11👣. Pegamos con pegamento blanco el cabello metiendo la punta hacia dentro y deje secar.
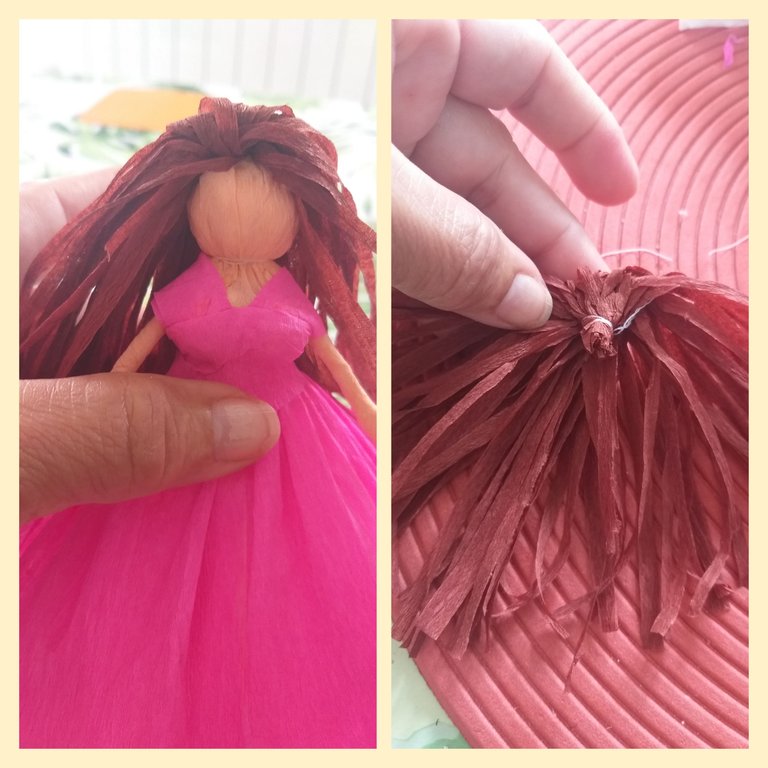
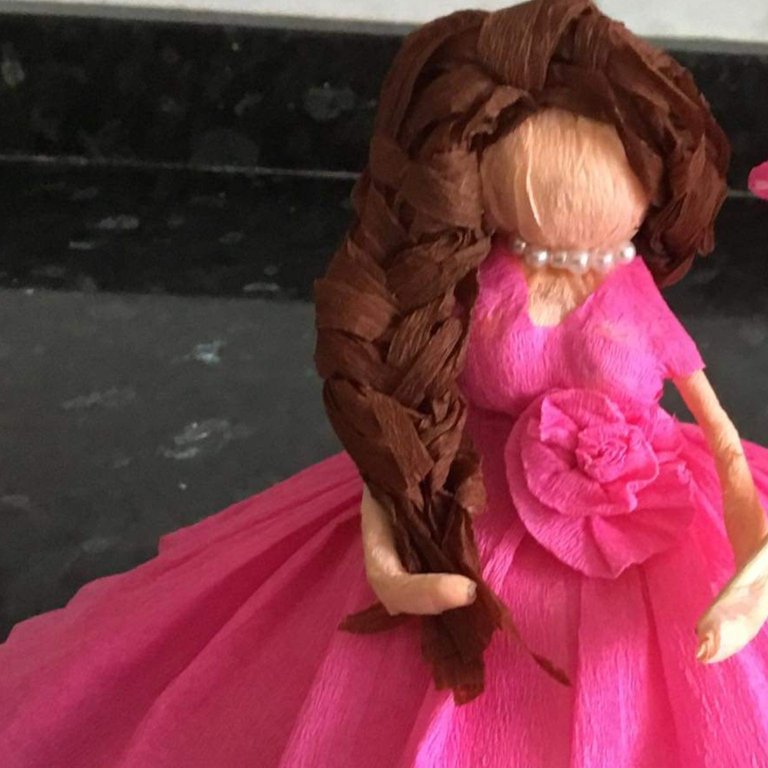
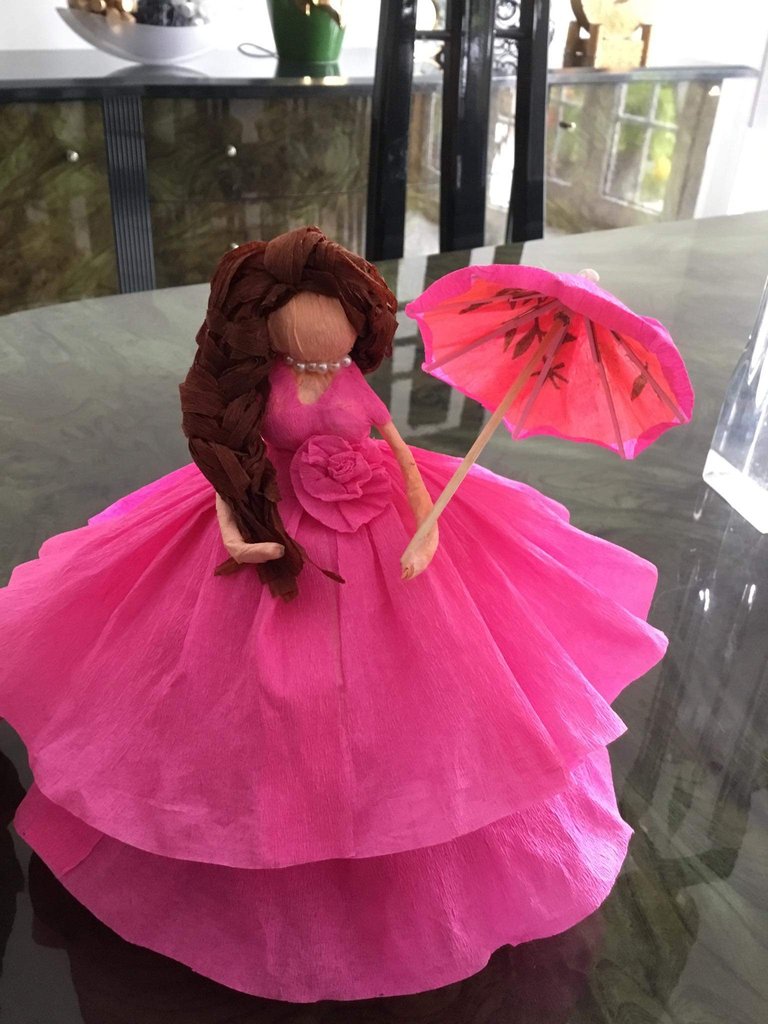
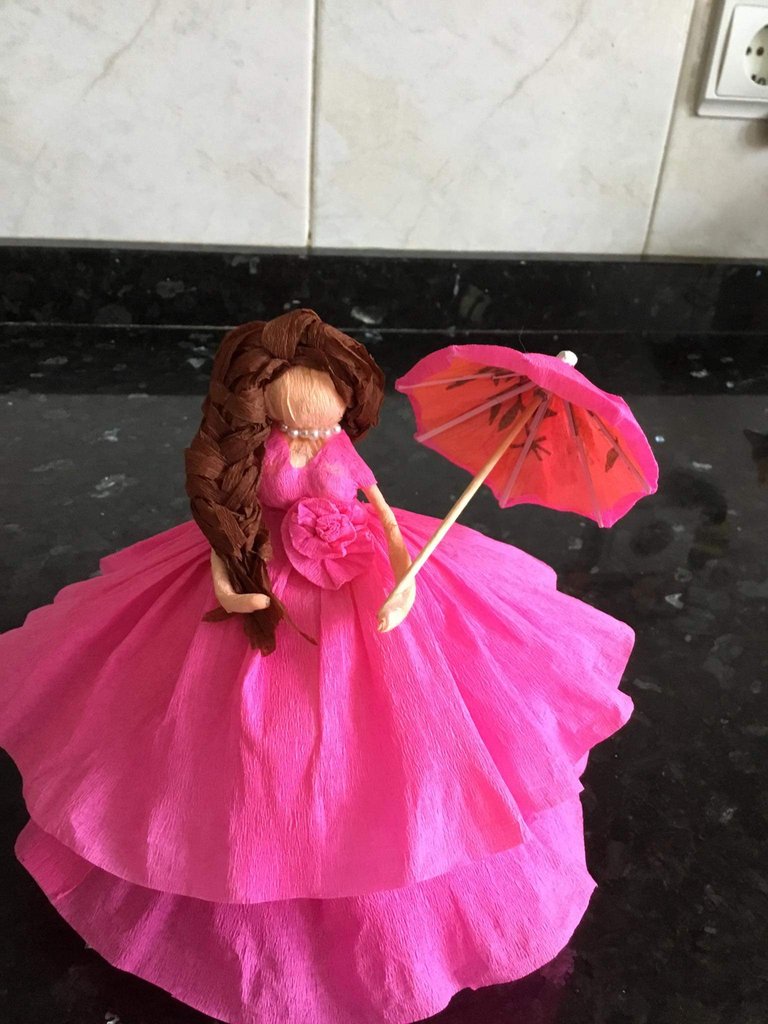
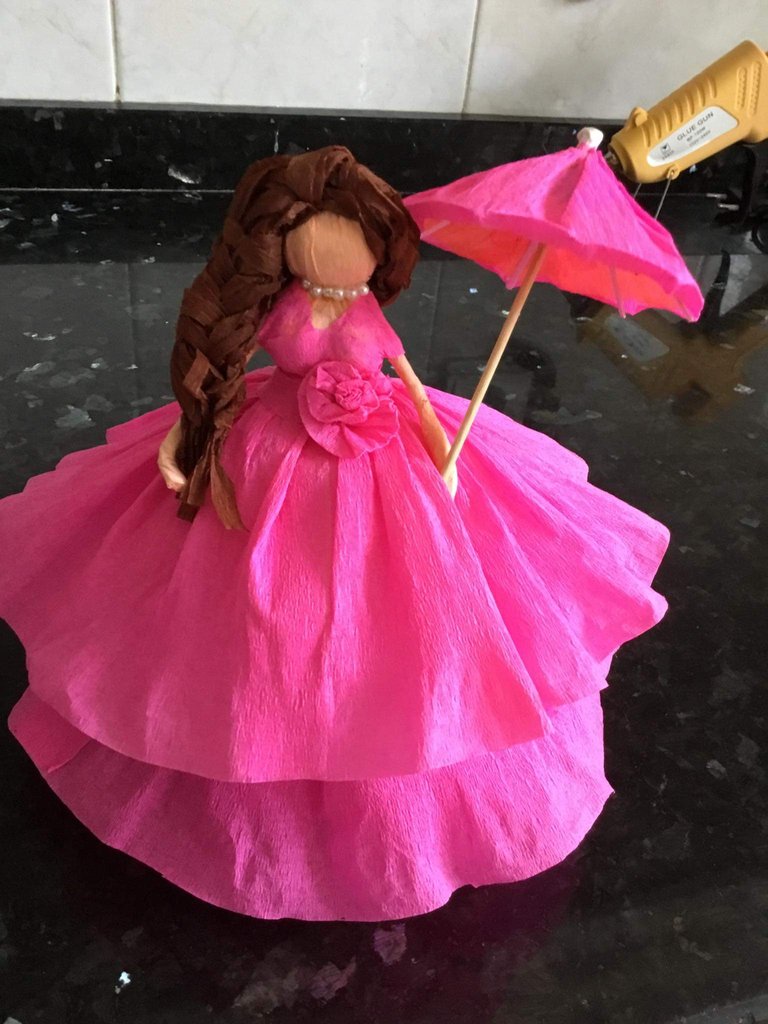
12👣. Ahora vamos a decorar la muñeca; recuerden que yo les doy las ideas y cada quién la decora a su gusto😉. Con una cinta del mismo papel crepe de un centímetro de largo por tres de ancho enrollé y hice una flor que se las pegué en la cintura. A una le realicé una trenza y coloqué perlita alrededor del cuello.
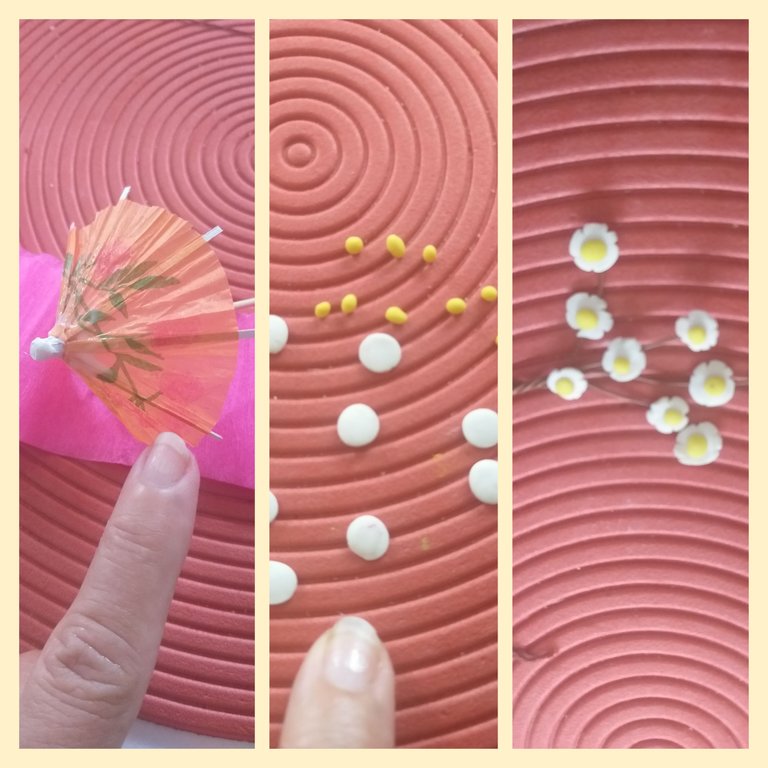
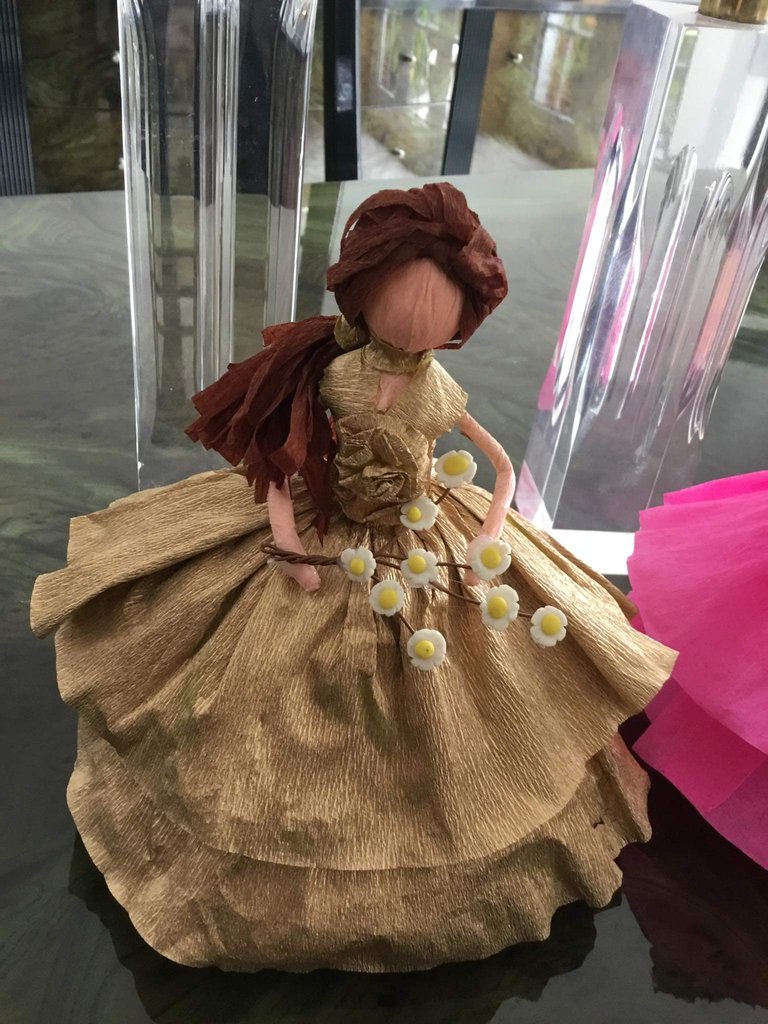
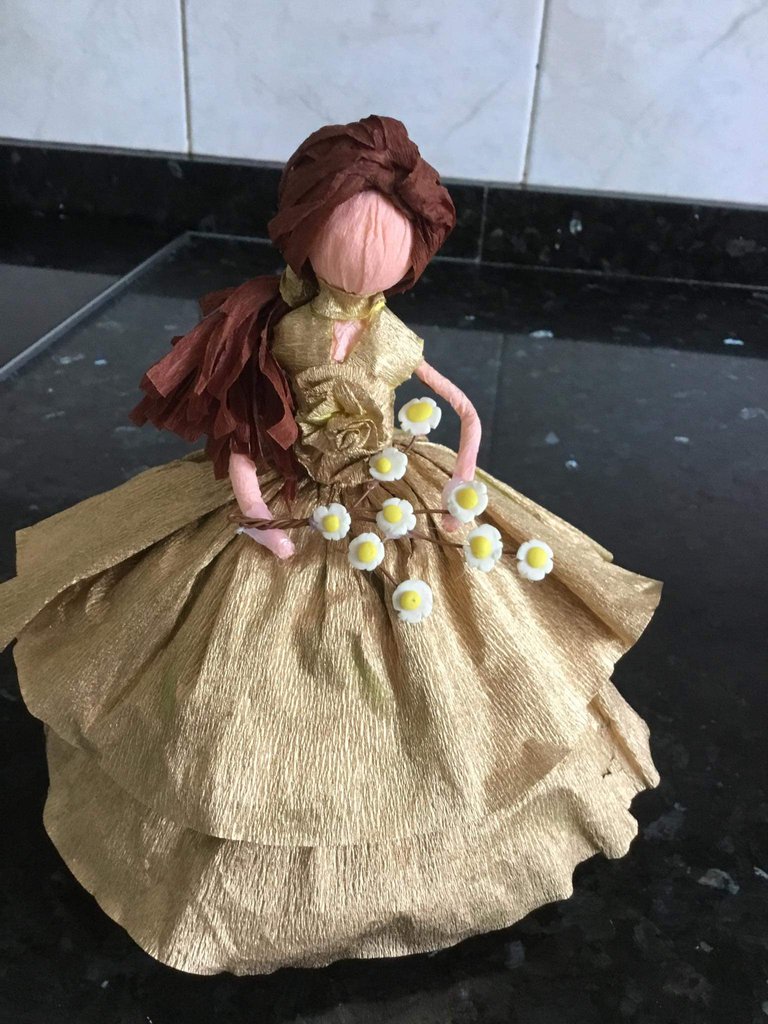
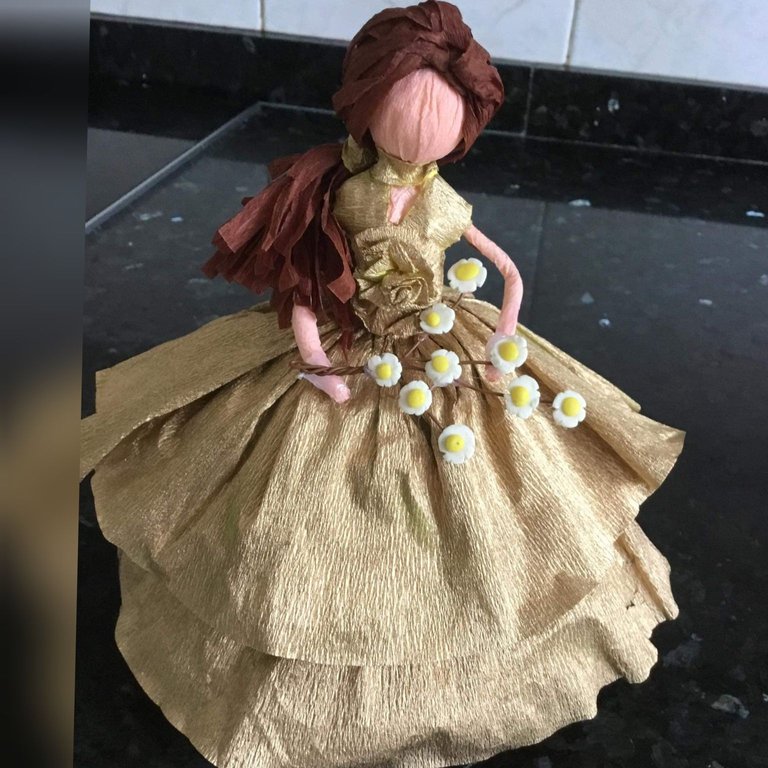
13👣. Con el paragua de cócteles lo forre con papel crepe del color fucsia y se lo pegué con silicona caliente en la mano de la muñeca y a otra le hice un ramo de flores con pedacito de alambre y las flores son de masa de modelar.
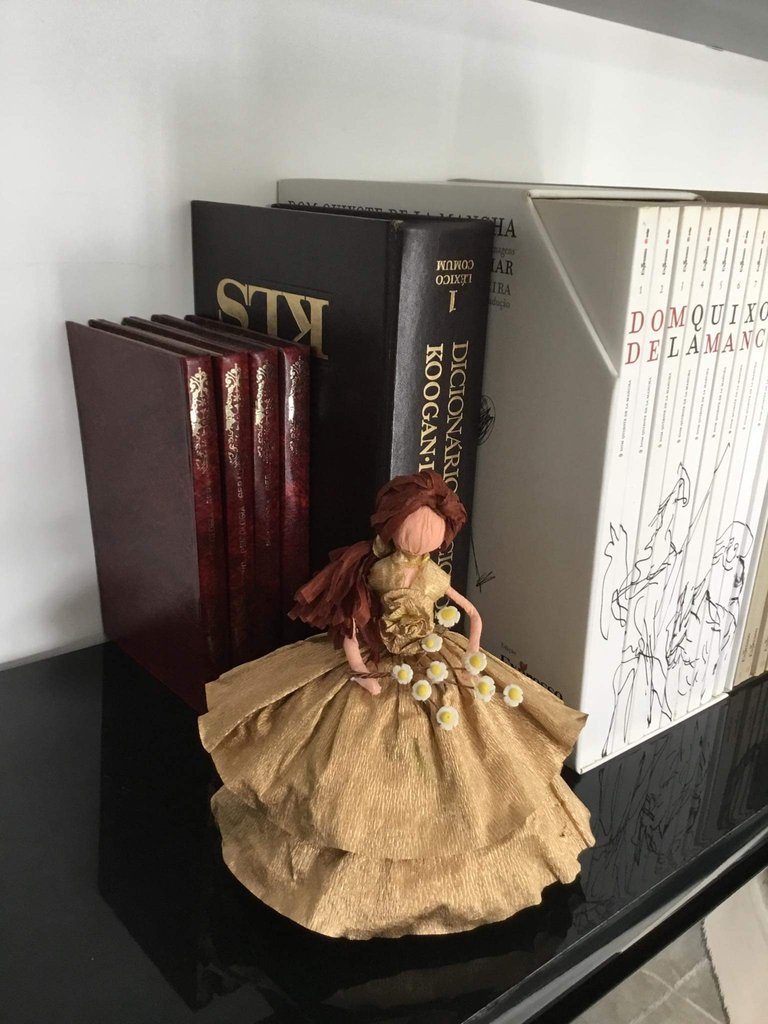
🧐🤔🤯 Una idea que se me ocurrió es pintar la muñeca de color dorado, tapé los brazos y cabeza con papel y luego con spray pinté de dorado.
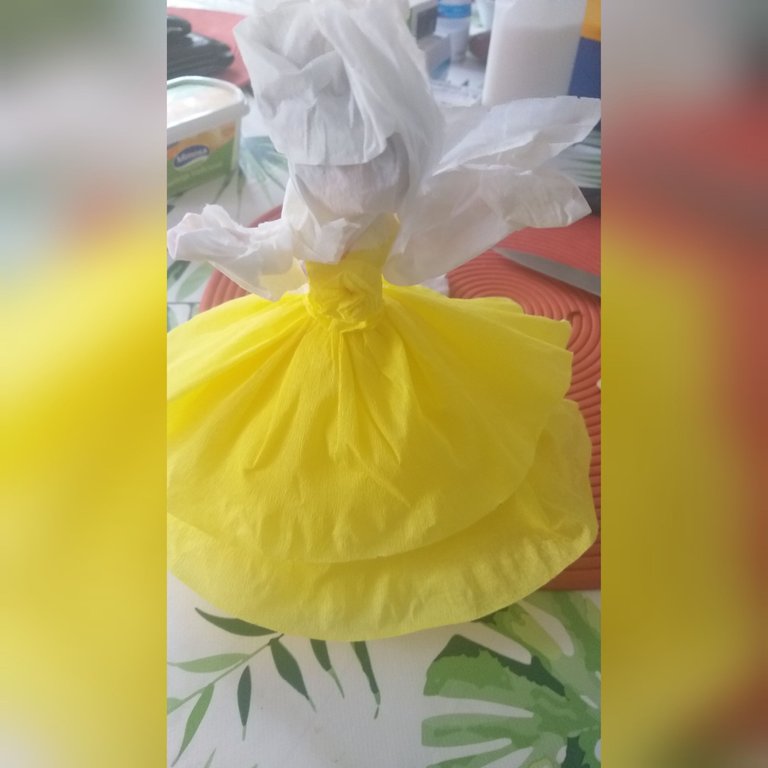
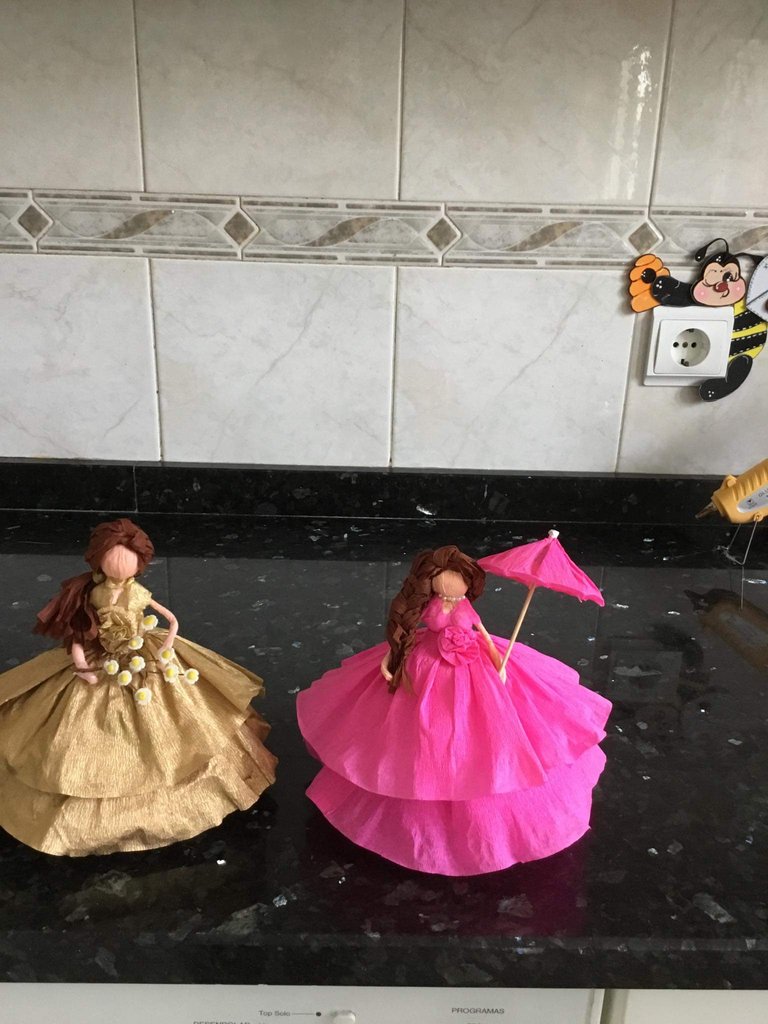
Miren el resultado de ambas muñecas
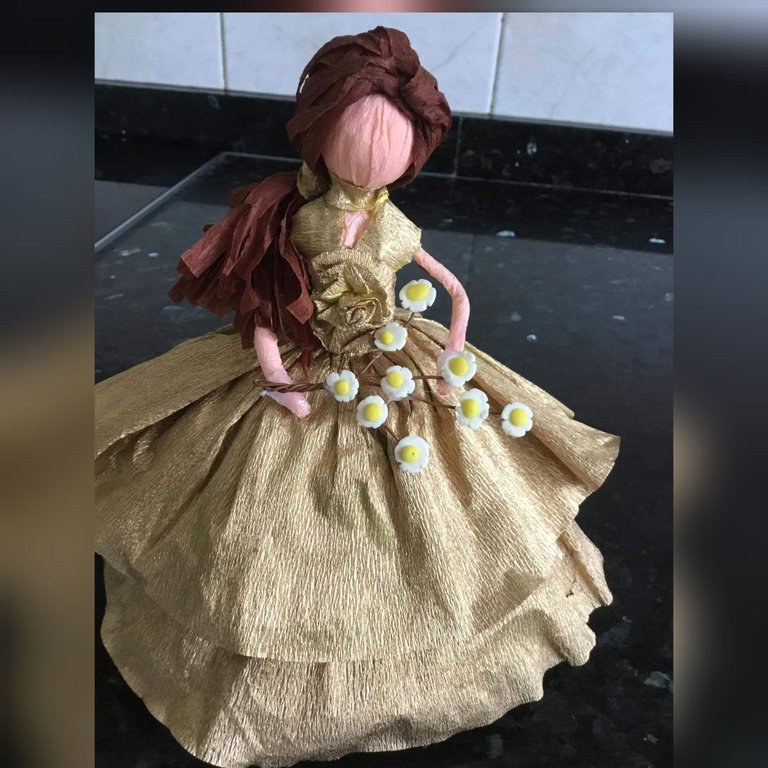
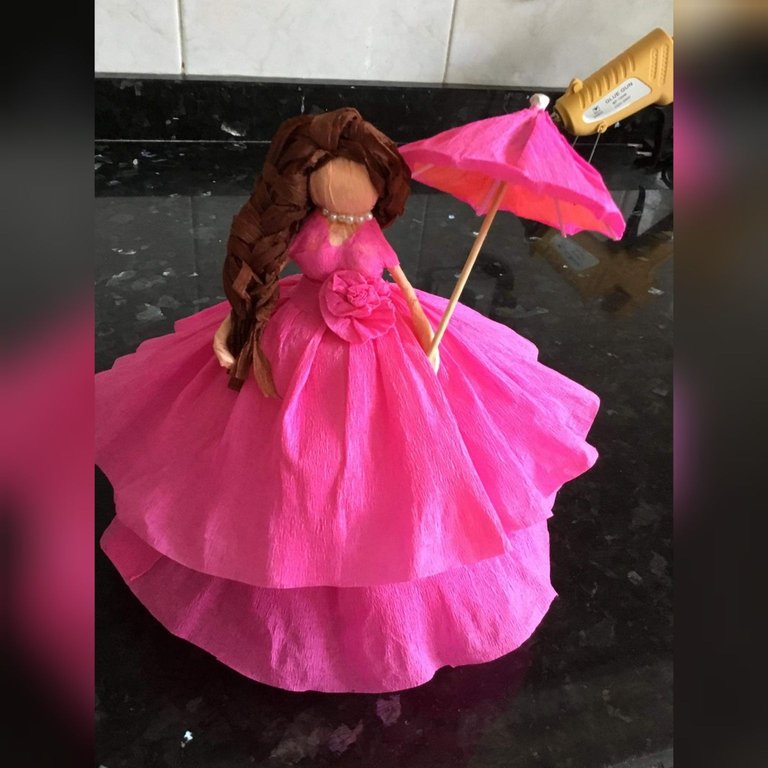
14👣. Este último paso vamos a forrar el rollo de papel higiénico con el color de cada muñeca y pegar con el silicon caliente en el medio de la primera falda que hicimos en el medio.
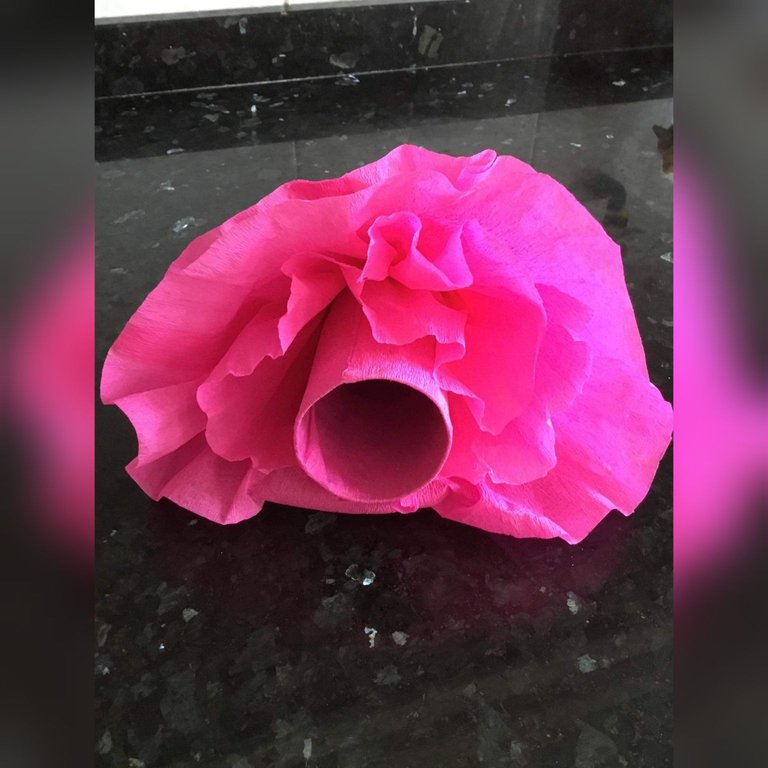
Hermosas muñecas para decorar la habitación y fiestas de las princesas de la casa🤩👍. Qué tal les parece el resultado de estas muñecas de papel y reciclando los rollos de cartón del papel higiénico. Espero que les guste dejando su comentario. Gracias por su apoyo de siempre a las comunidades y personas que leen mis tutoriales.
Las fotos son tomadas por mi teléfono móvil Samsung Galaxy A6 y organizadas por la aplicación GridArt. Gracias

English
Hello, my beautiful and creative people, receive a warm greeting from me. God bless all the members of this great Hive family🤗❤. In today's tutorial we are going to make some beautiful crepe paper dolls and a super cheap and easy to make toilet paper roll; With these dolls we can decorate the parties of the princesses of the house, for about 15 years or also to decorate the room of our daughters.
With crepe paper we can make a wide variety of crafts for schools and also for our children's birthdays. With this paper I decorate the piñatas, lollipop holders, centerpieces, the tablecloth for the cake table, the wall, backstage, among others... so dear friends, come with me to make these beautiful paper dolls.
The Materials to use to make the dolls are:
Crepe paper of the color you like. In this case yellow and fuchsia, flesh color and brown were used.
Scissor
White glue
Silicone gun and silicone bars
Toilet paper
Two rolls of toilet paper
Yellow and white flexible mass
A piece of fine florist's wire
An umbrella to decorate cocktails
small pearls
Tape measure or ruler
Pencil or pen
Double glue tape
Sewing thread
A needle

Steps to follow to make the dolls
1👣. The first thing we have to do is measure the crepe paper of the color we selected with the tape measure and measure 50 cm wide by 15 cm long and then cut with scissors. We must cut two strips of the same size.

2👣. The next thing is to glue the ends of each square that you cut out with the double-sided tape. You can also use glue. The point of one side should be on top of the other point where you have the glue. Observe the three images as a guide.

3👣. In this third step with the thumbs of the hand we are stretching the crepe paper carefully so that it does not break. The idea of stretching crepe paper is to make it look like flights; since they will be the skirts of a dress for the dolls. Remember that there are two strips that we must do the same

4👣. With the needle and the thread we are going to sew as if it were a curtain; you must do it on both pieces. Then tie both ends of the thread and finally tie the end of the end with the thread. If you are going to make several dolls, make the pieces all of each color at once.


5👣.After we have the pieces well tied; We are now going to cut out a strip measuring 50cm wide by 12cm long and then cut it out. Then we repeat the previous steps and this should be above the two, this will be like a flyover. Observe the image. This flight must place it on top and then tie it


6👣. In this step we will make the breasts with toilet paper. Roll up well until it forms a ball and then put white glue so that they will not be. Remember that you must make 4 balls. Also with the toilet paper we are going to make a bigger ball that would be the head and then we cut a strip of 7cm wide and long, then we put white glue and stick the tape covering the head and breasts. Try to make it as smooth as possible without breaking.

7👣. We already have the two skirts of the two dresses and the head and breasts. Now we are going to make the arms with a piece of fine wire measuring 8cm each for the two dolls and then we cover them with the flesh-colored crepe paper. At the two ends give it more thickness. The arms must be glued before the head with hot silicone. Observe the image


8👣. We already have the head, arms and breasts glued to the skirt of the dress and the breasts, we are going to make the hair with a strip of 12cm wide by 5cm long. With the scissors we cut thin strips without reaching the tip

9👣. Then we tie the end with the thread giving it several turns.

10👣. In this step we are going to cut two strips 7cm wide by 4cm long; then fold the edges a little and cross the straps in between at the back and at the breasts. Then with a strip with the same measurements stick to the waist.


11👣. We glue the hair with white glue, putting the tip inwards and let it dry.

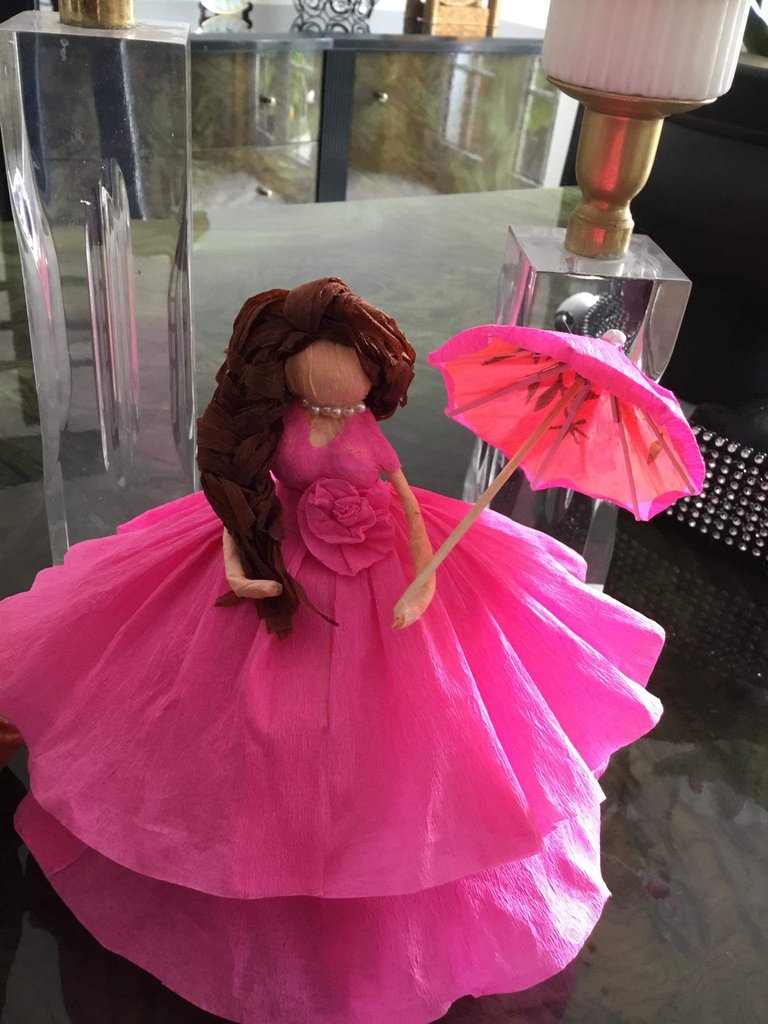
12👣. Now we are going to decorate the doll; remember that I give you the ideas and everyone decorates it to their liking😉. With a ribbon of the same crepe paper one centimeter long by three wide, I rolled it up and made a flower that I glued to the waist. I braided one of them and placed a pearl around her neck.

🧐🤔🤯 An idea that occurred to me is to paint the doll gold, I covered the arms and head with paper and then spray painted gold.

Look at the result of both dolls


14👣. This last step we are going to line the toilet paper roll with the color of each doll and paste with hot silicone in the middle of the first skirt that we made in the middle.

Beautiful dolls to decorate the room and parties of the princesses of the house🤩👍. How about the result of these paper dolls and recycling the cardboard rolls of toilet paper. I hope you like it by leaving your comment. Thank you for always supporting the communities and people who read my tutorials.
The photos are taken by my Samsung Galaxy A6 mobile phone and organized by the GridArt application. Thank you


