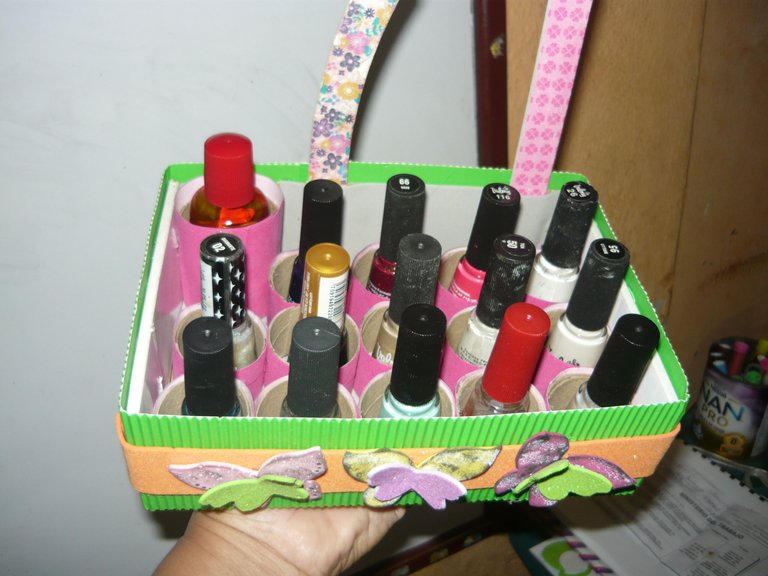
Hola mis abejitas laboriosas y creativas aquí les comparto un organizador de pinturas de uñas que le hice a mi hija, de la cual y también me beneficio ja ja ya que me pinta las uñas a mi, pero no me gustaba ver el caos al buscar las mismas, así que le hice este organizador.
Si esta era una idea que tenia desde hace tiempo queriéndola hacer hasta que la hice.
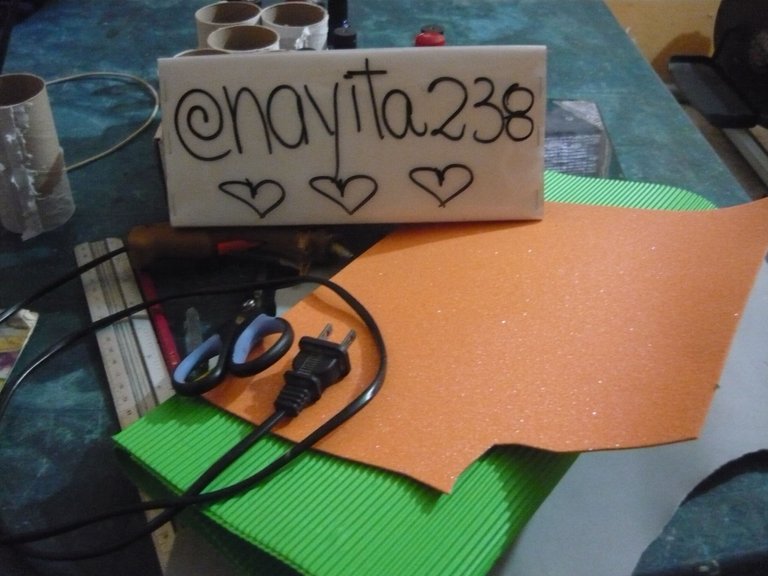
Los materiales muchos de ellos son reciclados:
- Una cajita mediana o sea no muy alta.
- Tubos de carton del papel sanitario, porque son mas suaves o menos duros.
- Cartulna corrugada yo use una verde la que tenia.
- Foami de varios colores y texturas.
- Figuras de foami use unas mariposas que ya tenia hechas.
- Pistola y barras de silicon.
- Regla, tijera, lapiz.
- Papel gamuzado rosado (este papel es dificil de conseguir actualmente lo tenia guardado de hace años).
Ahora el paso a paso:
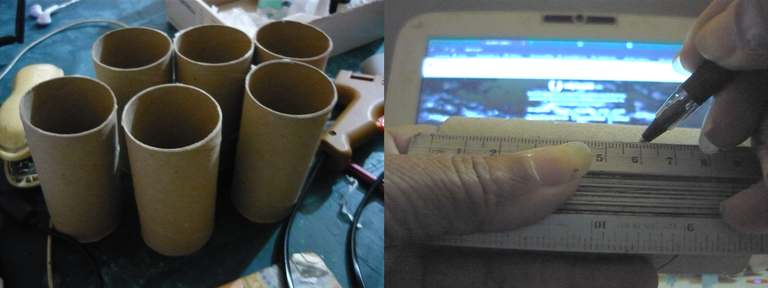
1.- Busque los tubos de cartón, los fui midiendo cada uno con la regla, de 3 cms cada franja de cada tubo salieron tres, salieron muchos, es mejor que sobren algunos a que falten.
2.- Para cortarlos no se debe doblar el cartón, así mismo en su forma recortar con la tijera, si se dobla luego pierde la forma circular.
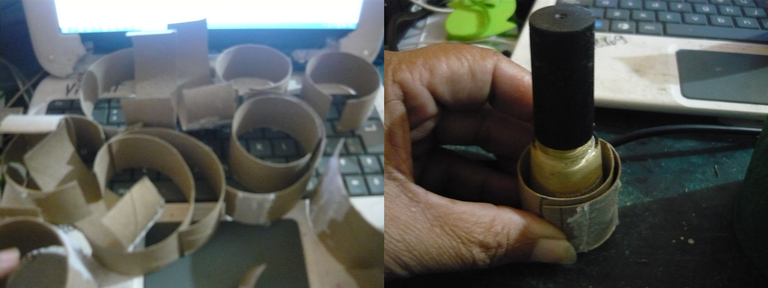
3.- Ya cortados los cartones, veo cuantos voy a usar, tambien le tomo la medida al contorno de la pintura de uñas o esmalte, y asi cortar el sobrante, dejar un poquito donde voy a pegar con silicon los extremos.
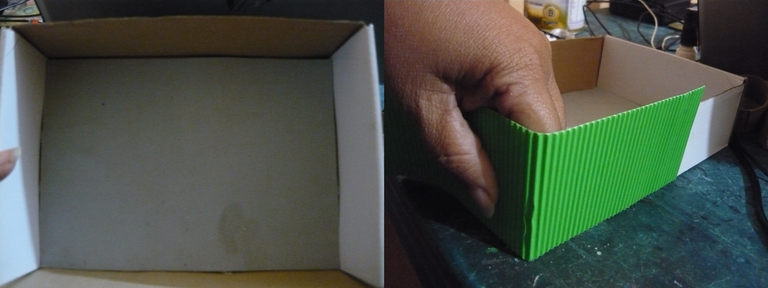
4.- La caja tenia una de corte mediano, como de 5 cms de alto, en la parte interna, tome las medidas y de las mismas corte un rectángulo en foami color gris, para el fondo.
5.- En el contorno de la caja tome las medidas, y recorte una cartulina corrugada color verde, pero de 6 cms que quedara un bordecito.
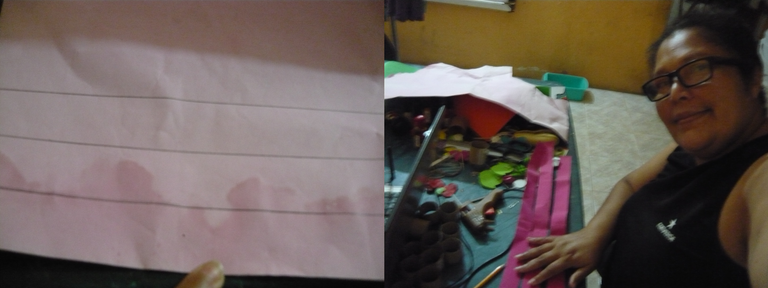
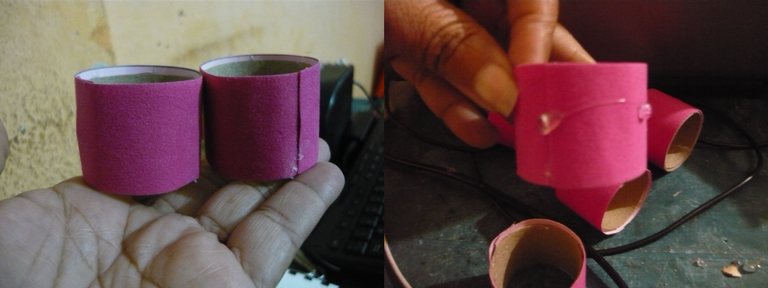
6.- Volviendo a los aros de los circulos de carton, de acuerdo a sus medidas,marque en el papel gamuzado, color rosado, tantas franjas como aros, les deje un pequeño bordecito.
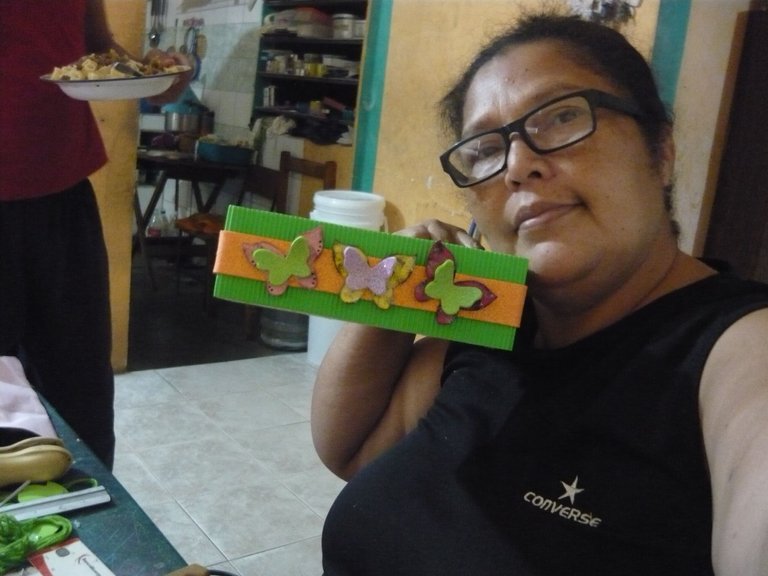
7.- Iba alternado las cosas je je, de nuevo con la caja ya forrada en su contorno le coloque en el medio una franja de foami escarchado nacarado color anaranjado que hacia un contraste especial. La decore con unas mariposas también de foami, que ya tenia hechas y guardadas.
8.- Reserve la caja para ahora continuar con los cartones, los forre uno a un, estos van dentro de la caja para evitar que se aflojen, coloque puntos de silicon, para pegarlos de una vez con los otros y con los lados de la caja, así quedan todos fijos.
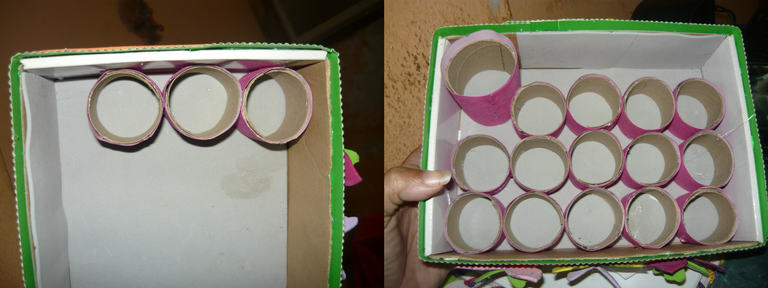
9.- Así fueron quedando dentro de la caja para un total de 14 pinturas y uno mas grande para la acetona o quita esmalte, por la parte interna a un lado deje unas franjas pegadas con espacio para las limas de uñas.
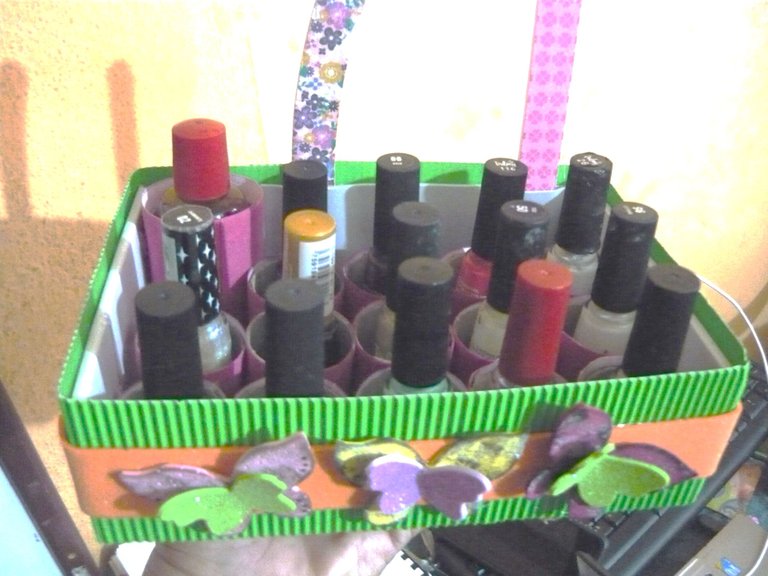
10.- Trabajo final.
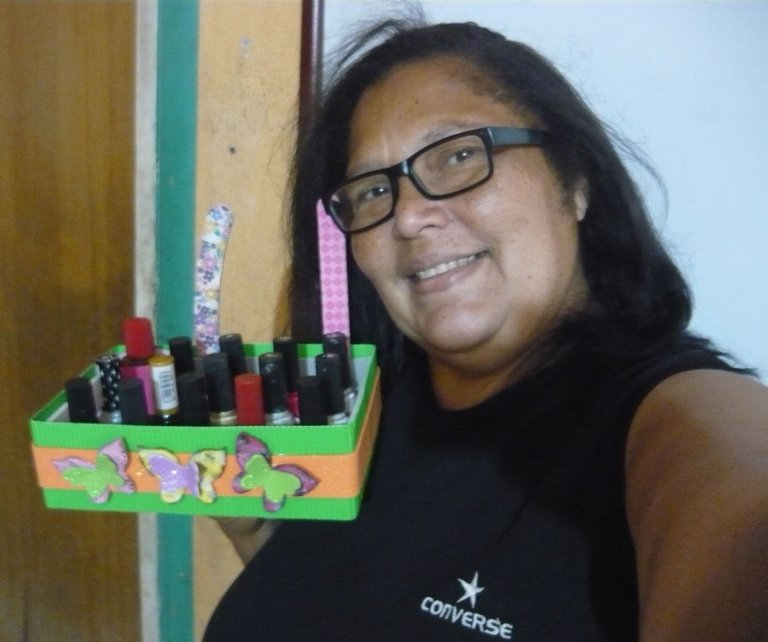
11.- Y yo feliz con mi trabajo, para mi hija,
Espero que mi trabajo les guste y que puedan tomar la idea para ustedes o de crear otro tipo de organizador pero ya tienen una idea.
Todo el paso a paso le fui tomando foto con mi cámara Panasonic.
Traducido al ingles con la aplicación DeepL, excelente recomendada.

Hello my industrious and creative bees here I share with you a nail polish organizer that I made for my daughter, which I also benefit from ha ha ha since she paints my nails, but I didn't like to see the chaos when looking for them, so I made this organizer for her.
Yes this was an idea I had been wanting to do for a long time until I did it.
The materials, many of them are recycled:
- A medium sized box, not too tall.
- Cardboard toilet paper tubes, because they are softer or less hard.
- Corrugated cardboard, I used a green one I had.
- Foami of various colors and textures.
- Foami figures I used some butterflies that I already had made.
- Glue gun and glue sticks.
- Ruler, scissors, pencil.
- Pink chamois paper (this paper is hard to get nowadays I had it saved from years ago).
Now the step by step:
1.- I looked for the cardboard tubes, I was measuring each one with the ruler, 3 cm each strip of each tube came out three, there were many, it is better to have some left over than missing.
2.- To cut them, do not bend the cardboard, and also cut the cardboard with the scissors, if it is bent then it loses its circular shape.

3.- Already cut the cardboard, I see how many I will use, I also take the measure to the contour of the nail polish or nail polish, and so cut the excess, leave a little bit where I will stick with silicone ends.

4.- The box had a medium cut, about 5 cm high, on the inside, take the measurements and cut a rectangle in gray foami, for the background.
5.- In the contour of the box take the measurements, and cut a green corrugated cardboard, but of 6 cm that will be a little edge.

6.- Going back to the cardboard circles, according to your measurements, mark on the pink chamois paper as many stripes as rings, leaving a small border.

7.- I was alternating things heh heh, again with the box already lined in its contour I placed in the middle a strip of frosted foami pearly orange color that made a special contrast. I decorated it with some butterflies also made of foami, which I had already made and saved.
8.- Reserve the box to now continue with the cartons, I lined them one by one, these go inside the box to prevent loosening, put silicone dots to glue them at once with the others and with the sides of the box, so they are all fixed.

9 .- So they were staying inside the box for a total of 14 paints and a larger one for the acetone or nail polish remover, on the inside to one side I left some strips glued with space for nail files.

10.- Final work.

11.- And me happy with my work, for my daughter,

I hope you like my work and that you can take the idea for you or create another type of organizer but you already have an idea.
All the step by step I was taking pictures with my Panasonic camera.
Translated to English with the application DeepL, excellent recommended.

