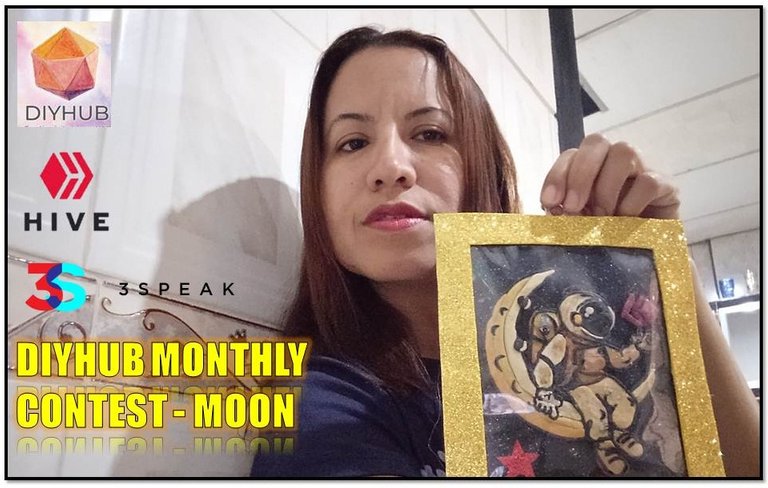
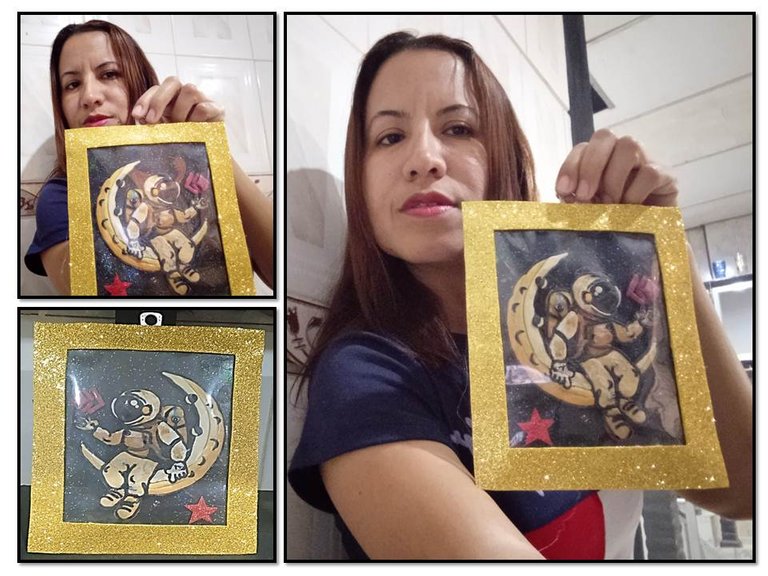
Hello dear community of @diyhub, today I am joining the contest of the month of the community that has as main theme the Moon so I have given myself the task of making this particular art that I left as a beautiful painting for the decoration of the interior spaces of my house.
I made a short video of 90 seconds for the dapp @3speak in Hive who is one of the hoster of the contest. To them thank you very much for supporting this initiative. So here we go!
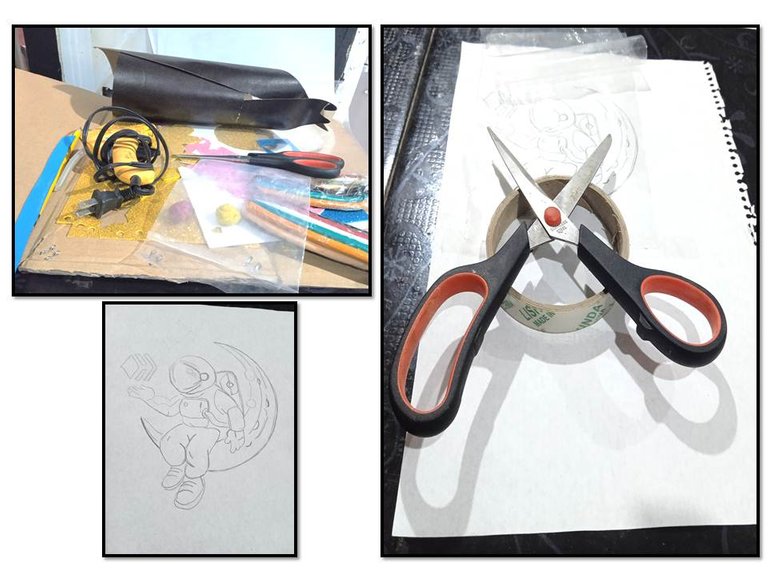
Hola querida comunidad de @diyhub, hoy me estoy uniendo al concurso del mes de la comunidad que tiene como tema principal a la Luna por lo que me he dado a la tarea de realizar este particular arte que me quedó como un hermoso cuadro para la decoración de los espacios interiores de mi casa.
He realizado un vídeo corto de 90 seg para la dapp @3speak en Hive quien es uno de los hoster del concurso. A ellos muchas gracias por apoyar esta iniciativa. Así que vamos allá!
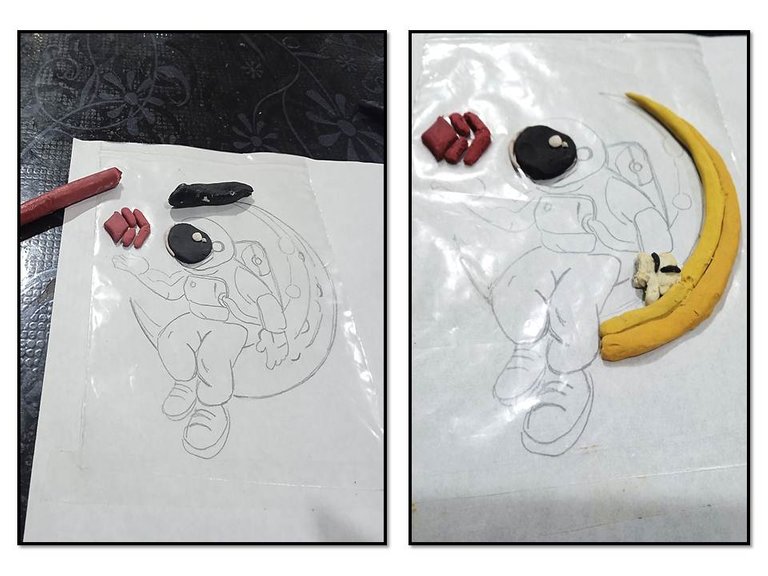
Materials:
1.- Cardboard
2.- Foami
3.- Plasticine
4.- Scissors
5.- Silicone stick
6.- Rulers
7.- Pencils
8.- Markers
9.- Transparent acetate sheet
10.- Frosting
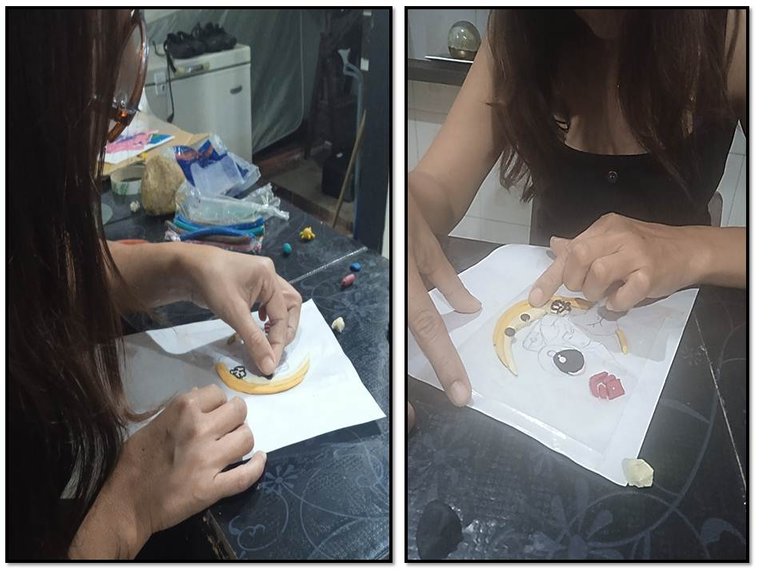
Materiales:
1.- Cartón
2.- Foami
3.- Plastilina
4.- Tijeras
5.- Silicone en barra
6.- Reglas
7.- lapices
8.- Marcadores
9.- Hoja de acetato transparente
10.- Escarcha
11.- Pega Blanca
Tutorial:
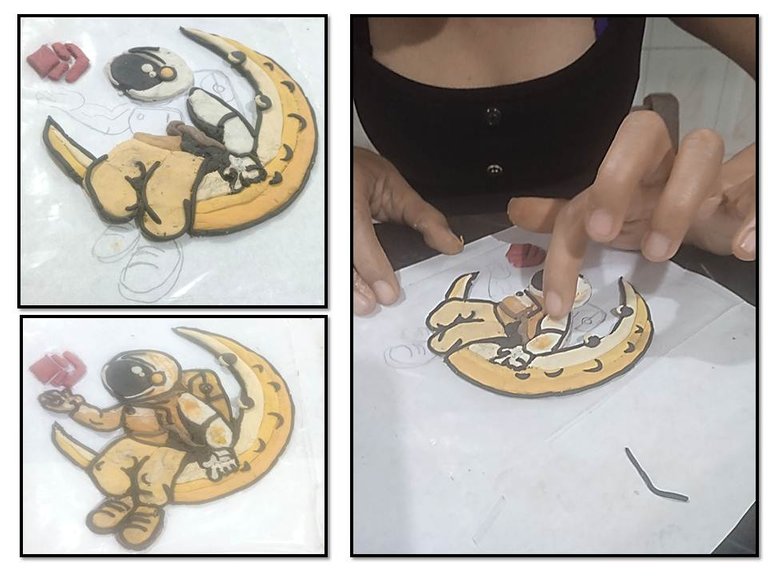
Steps 1: first we draw the base of the work we want to do in this case the astronaut on a sheet of white paper, with the base drawing ready we begin to decorate the parts of it with colored plasticine adhering it slowly on the support of a sheet of transparent acetate that will be superimposed on the drawing.
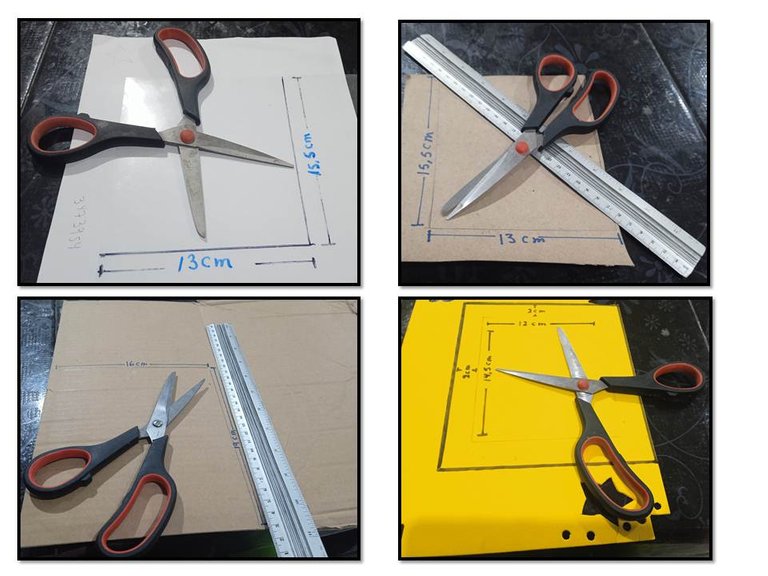
Steps 2: Once this process is finished, we cut a sheet of hard cardboard that will serve as a support for the painting or painting that is being built with specific measures according to the size of the drawing as shown in the images. To do this we use a ruler, markers and then scissors.
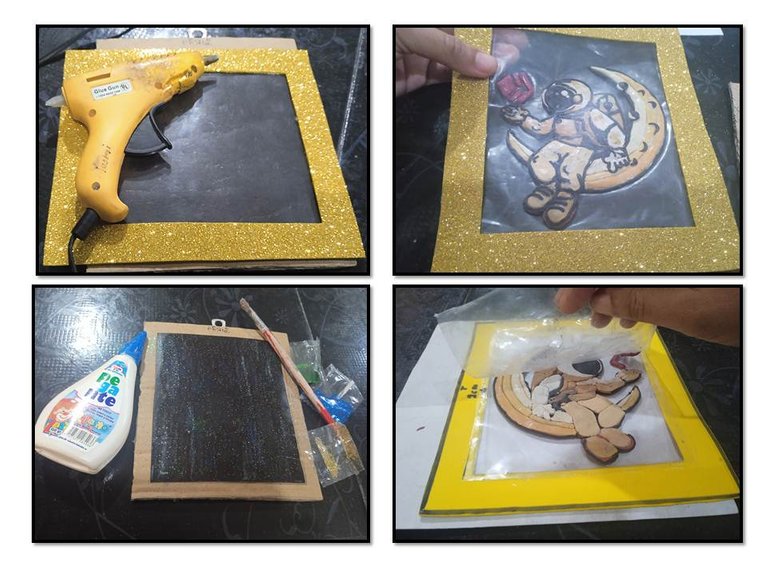
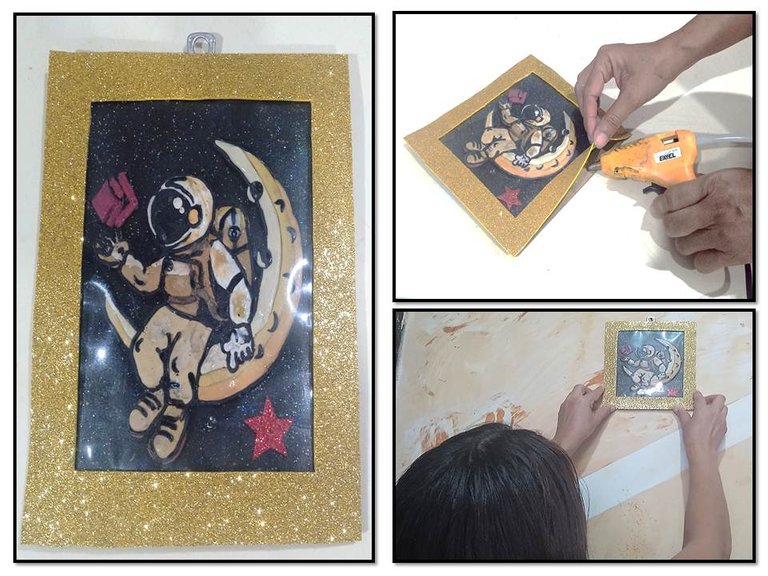
Step 3: Once the drawing is cut out and the base is ready, we just need to add the black background that symbolizes the space, the Hive symbol or logo, a star in the sky and a golden frame that ends up giving ornamentation to the work of art entitled "hive to the moon", we place it on the wall of the house and that's it! Thanks for watching and reading master Yusmi.
Translated with www.DeepL.com/Translator (free version)
Tutorial:
Pasos 1: primero dibujamos la base del trabajo que queremos realizar en este caso el astronauta sobre una hoja de papel blanco, con el dibujo base listo comenzamos a decorar las partes del mismo con plastilina de colores adheriendolo lentamente sobre l soporte de una lámina de acetato transparente que estará superpuesta al dibujo.
Pasos 2: Una vez terminado este proceso recortamos una lámina de cartón duro que servirá como soporte al cuadro o pintura que se está construyendo con una medidas específicas acordes con el tamaño del dibujo tal y como se observa en las imágenes. Para ello utilizamos una regla, marcadores y posteriormente las tijeras.
Pasos 3: Ya con el dibujo recortado y la base sólo queda agregar el fondo negro que simboliza el espacio, el símbolo o logo de Hive, una estrella en el firmamento y un marco dorado que termina de dar ornamento a la obra de arte que lleva por titulo "hive to the moon", lo colocamos en la pared de la casa y listo!. Gracias por ver y leer a la maestra Yusmi.
Resultado:
Result:
Credits:
Equipos:
Telefono Xiaomi Redmi 9C.
Editor de Video:
Windows Movie Maker
Asistente de Cámaras:
My daugther Viviana
Diseño y producción:
Music in Video:
Biblioteca de audio de YouTube
Silver Waves - TrackTribe
¿Necesitas canciones sin derechos de autor?
A la hora de elegir la música para tu próximo vídeo, puedes utilizar las canciones de la Biblioteca de audio de YouTube para evitar problemas relacionados con los derechos de autor. ¡Añadimos canciones nuevas constantemente!
Inspirate in:
▶️ 3Speak


