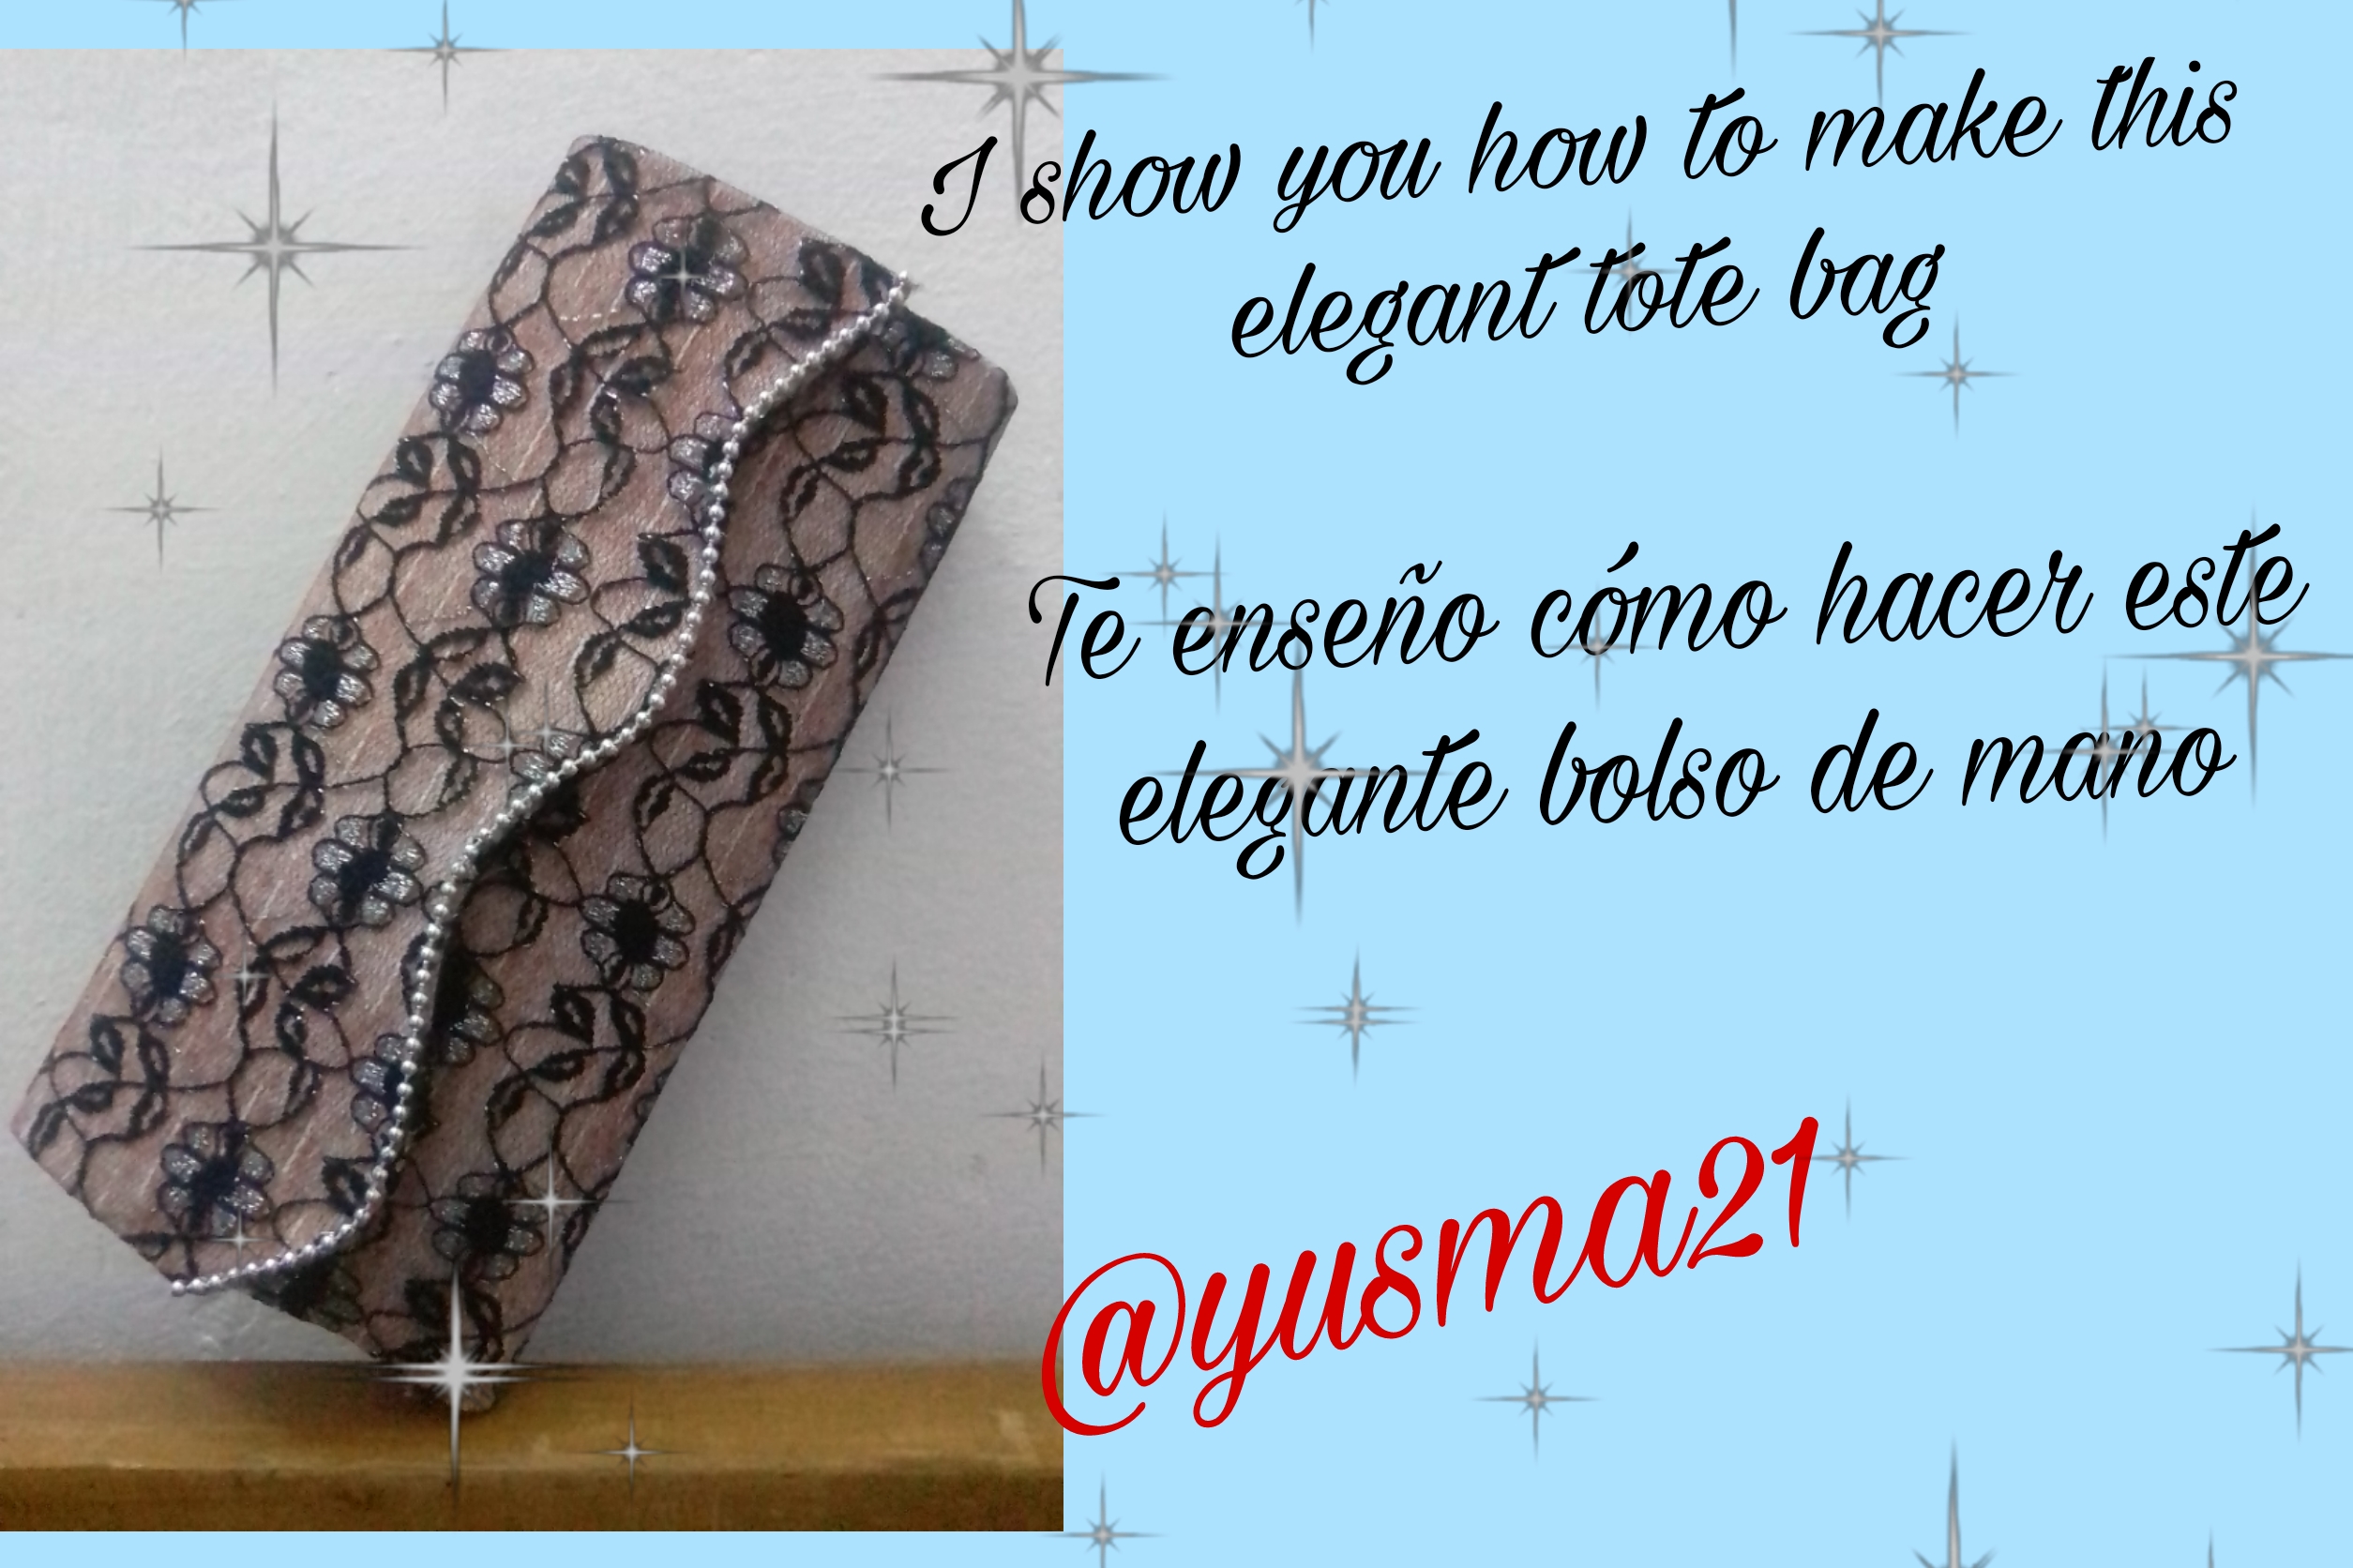


Materials
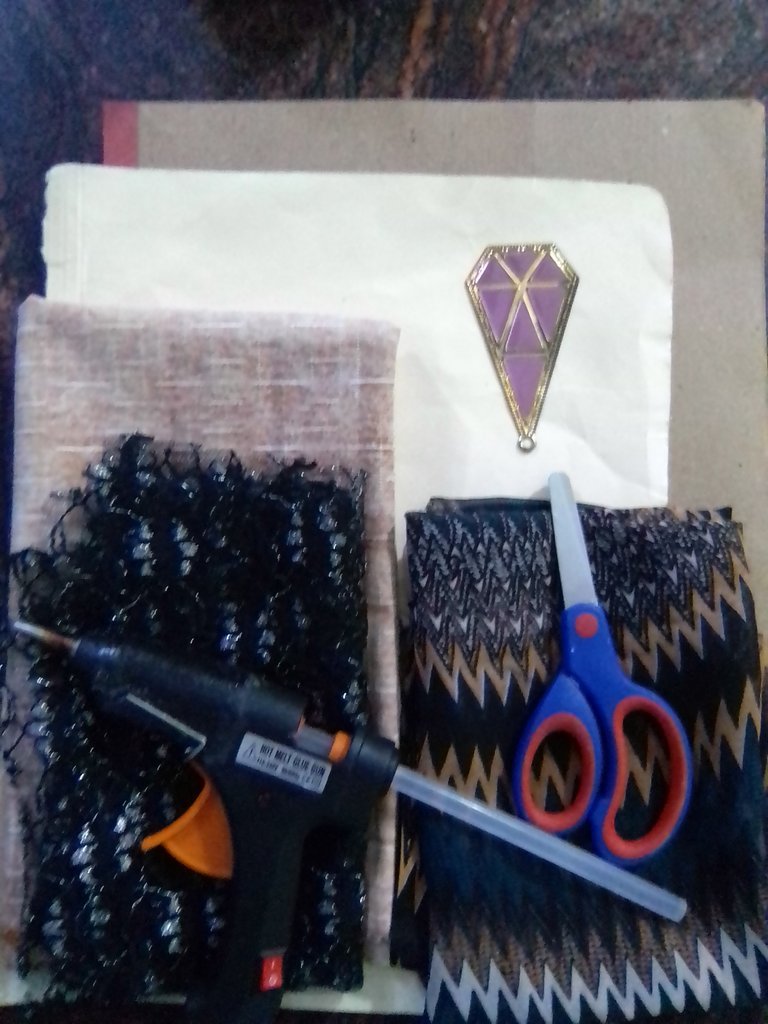
✓ Cardboard, I used old folders, both brown and yellow.
✓ Printed cover fabric.
✓ Black transparent flower fabric for the cover.
✓ Rayon fabric for lining
✓ Three snaps.
✓ Ruler, pencil and scissors.
✓ Gun and silicone bars.
✓ Silver running pearls.
Step by Step
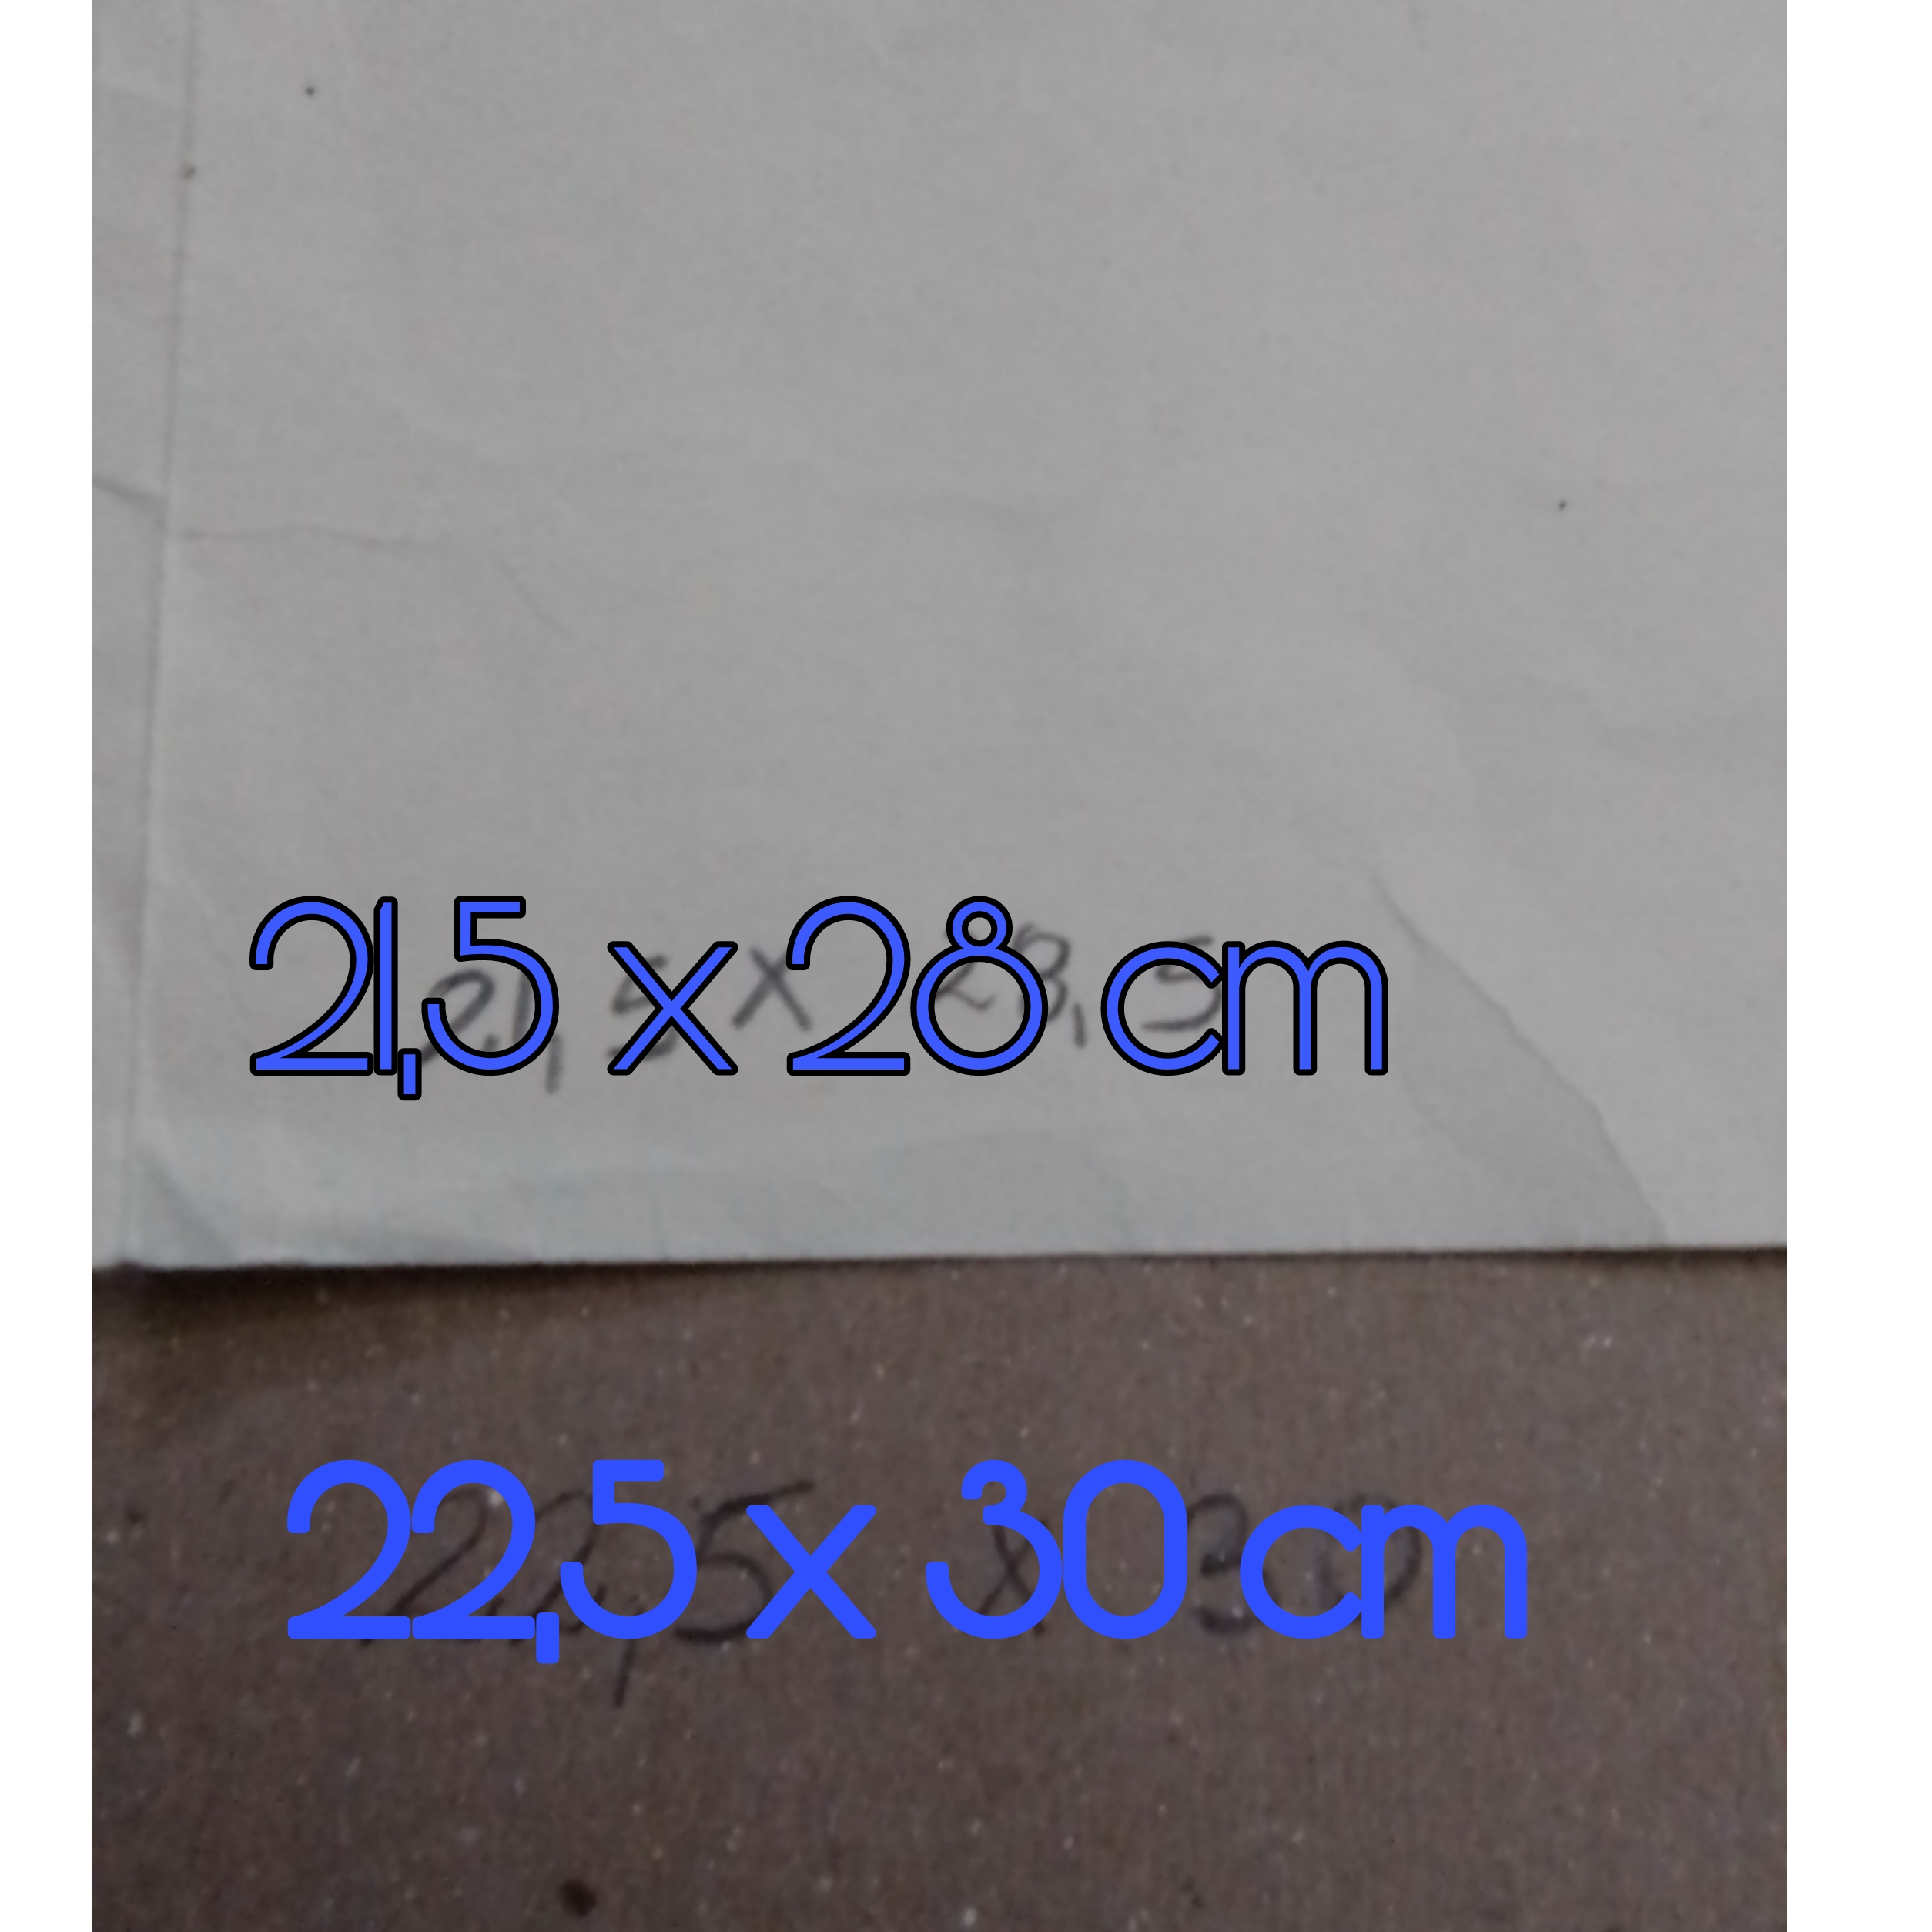
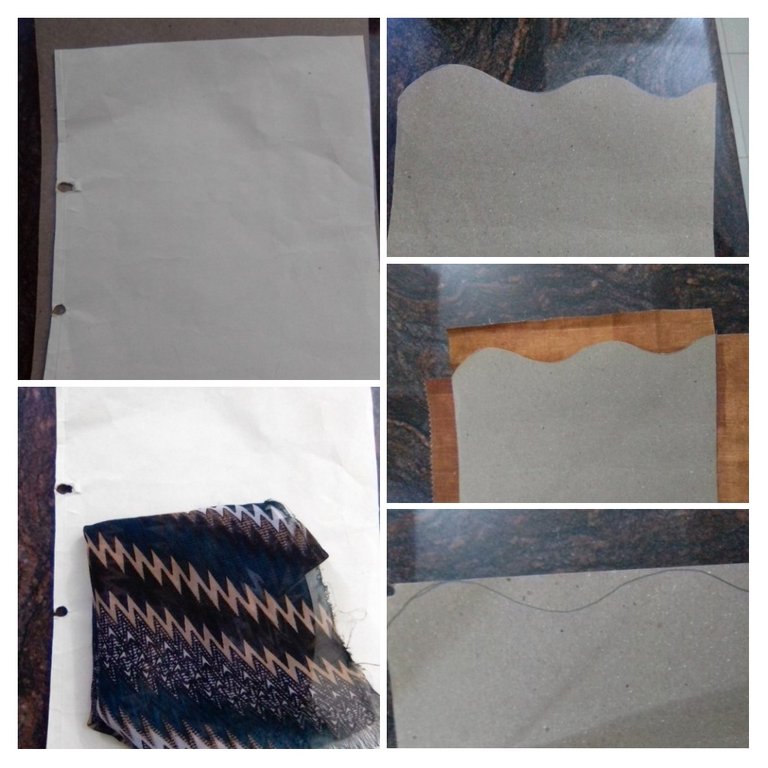
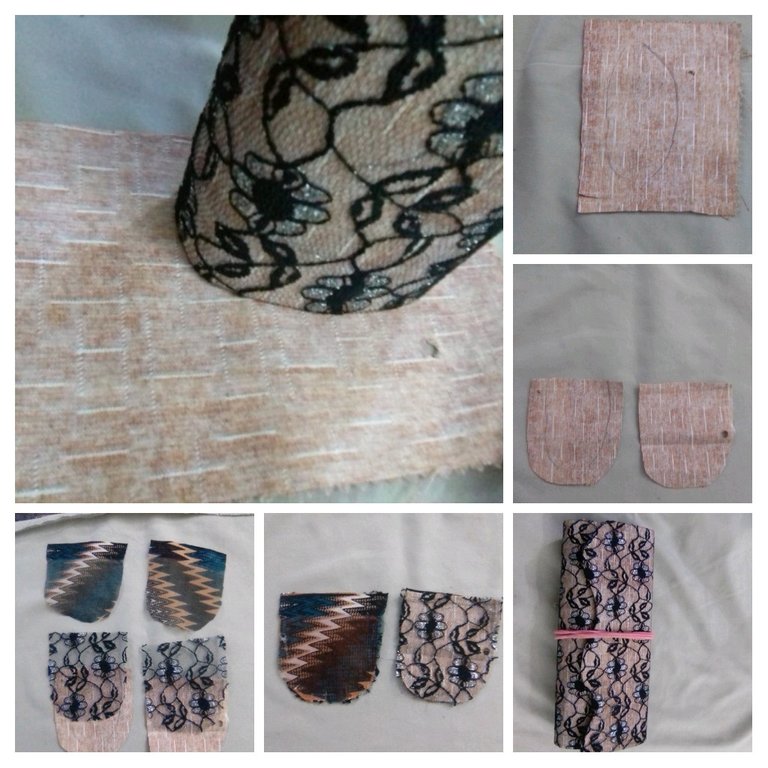
To begin with, you must choose the size of the handbag, in my case I did not want it to be so big, take half a brown folder, for the cover that is needed more hardness, and I measured 22.5 wide by 30 centimeters long. height, for the lining, use half of a yellow folder that is lighter and less rigid and it should measure 1 centimeter less in width and 2 centimeters less in length, so that when we fold the cardboard, the lining does not protrude, so I measured my car 21.5 x 28 centimeters.
Then make some waves to what will be the lid of the handbag, keeping practically the same length, the waves or the design you want to make, are made on the two cardboards. And with the size of the cardboard, we look for its equal in the fabrics with which we are going to cover them. In this case I will use two fabrics for the cover, one with orange tones and white lines and on top of this a transparent black fabric with flowers and silver appliqués, it is a kind of lace, and it is this set of fabrics that will give it the appearance elegant to handbag. When cutting the fabrics it is important to leave at least 2 centimeters to cover the back of the cover, we will see why later. We are going to do the same with the rayon fabric that will be the lining of the bag.
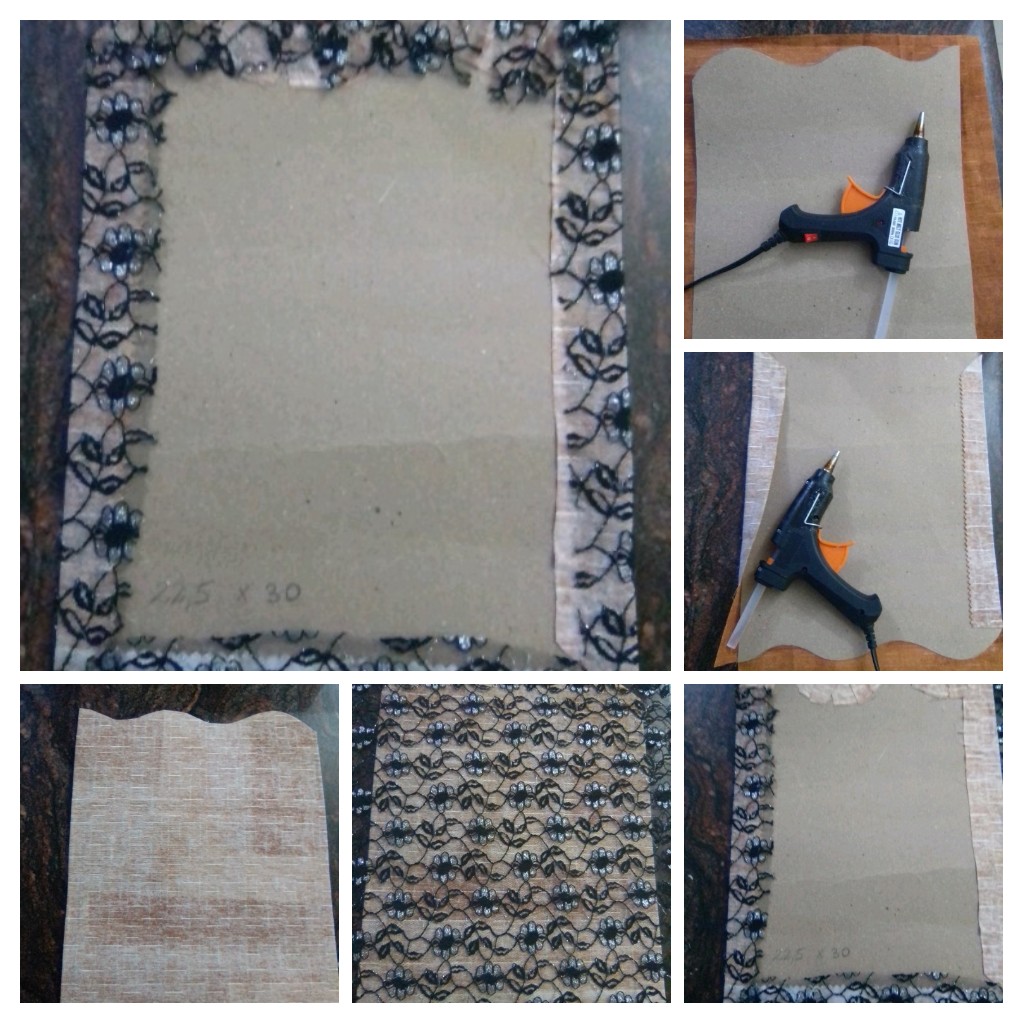
Next we covered the cardboard, I started with the cover by first fixing the orange-toned tile and applying enough glue and helping myself with a ruler to avoid creases and then placing the black transparency fabric. In the same way I covered the part of the lining, placing enough glue since this fabric tends to fray easily, although this time it would be unlikely, but it is better to be sure. For the side where the waves are, make small cuts to facilitate gluing.
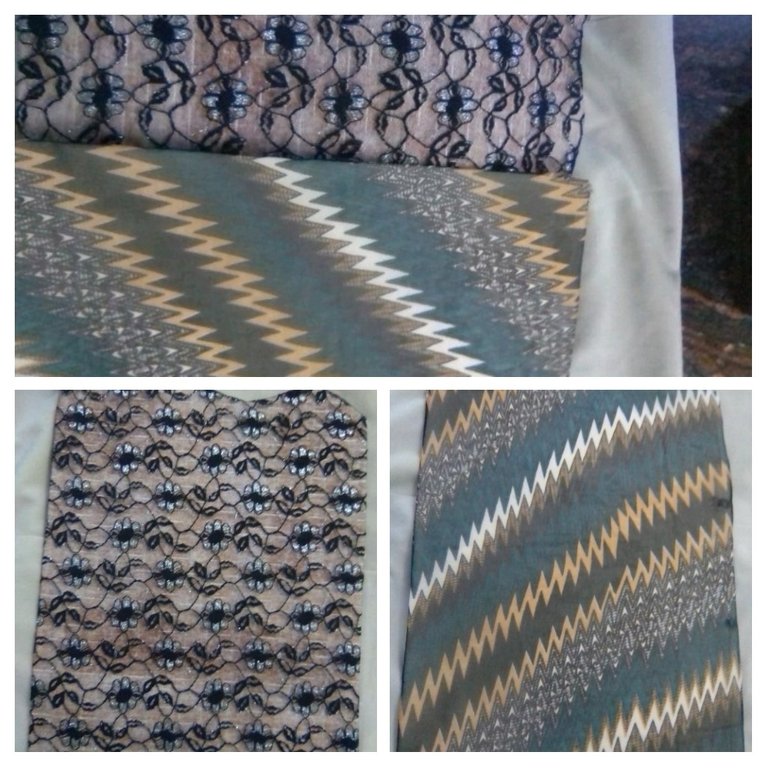
Once my two lined cardboards are ready, I place the lining cardboard on the back of the cover, being very careful that it covers everything, hence the importance of leaving the extra centimeters around all the edges, when I have already established that everything coincides, I applied enough glue on the base and I was gluing upwards.
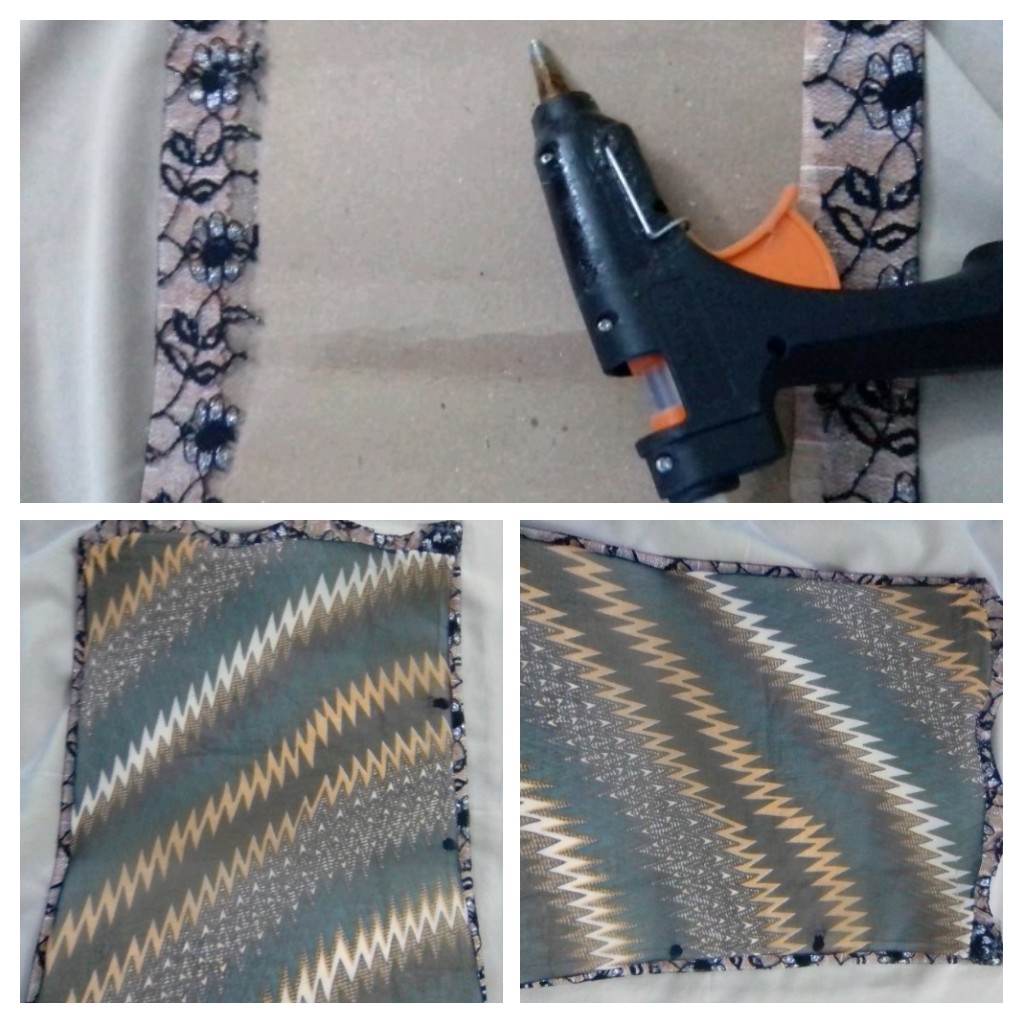
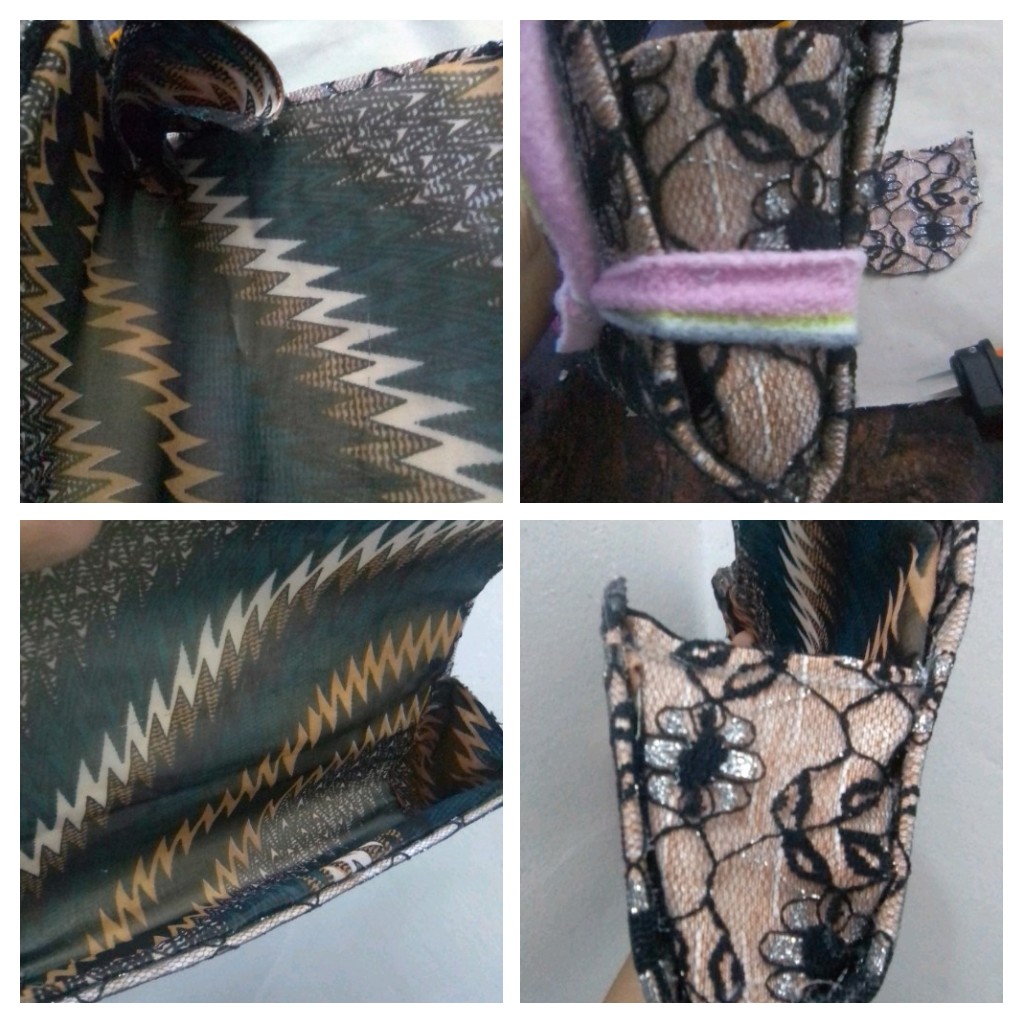
With the cover fixed to the lining, make the fold, this is also a very personal decision, and depends on each person's taste, I did not want the cover to be too low, so that the waves stand out, so I decided to make the first fold at 9 centimeters, from that point 12 centimeters, and the rest is the lid. The fold did not demarcate it much, because I wanted the base to be a little rounded, then I shaped it with my fingers.
It is the turn to make the covers of the sides, to do this, place an elastic band to maintain the shape that I had given it and take the measurement on the fabric, cut out the three pieces that I will occupy, this time it will be only fabric, without placing cardboard , I leave about 1 centimeter to glue to the sides and cut the top part straight so that the pieces as a whole have a height of 8 centimeters and a width of 6 centimeters.
To make it easier to attach the lids, lay the tape across the width of the bag and glue the lids to each side. And to finish off this tote bag, glue on three snaps, it will look like a lot but I wanted the lid to look snug, I used these because I had them but you can also attach the magnet type ones. And I finish with the elegant touch, gluing the silver pearls to the edge of the waves.
They realized that these handbags do not have a greater complexity, so I invite them to recycle and make all desired designs of handbags for the most diverse events and I tell them that for this project do not spend a penny, do it with everything I had at home. Thank you all for your visit.
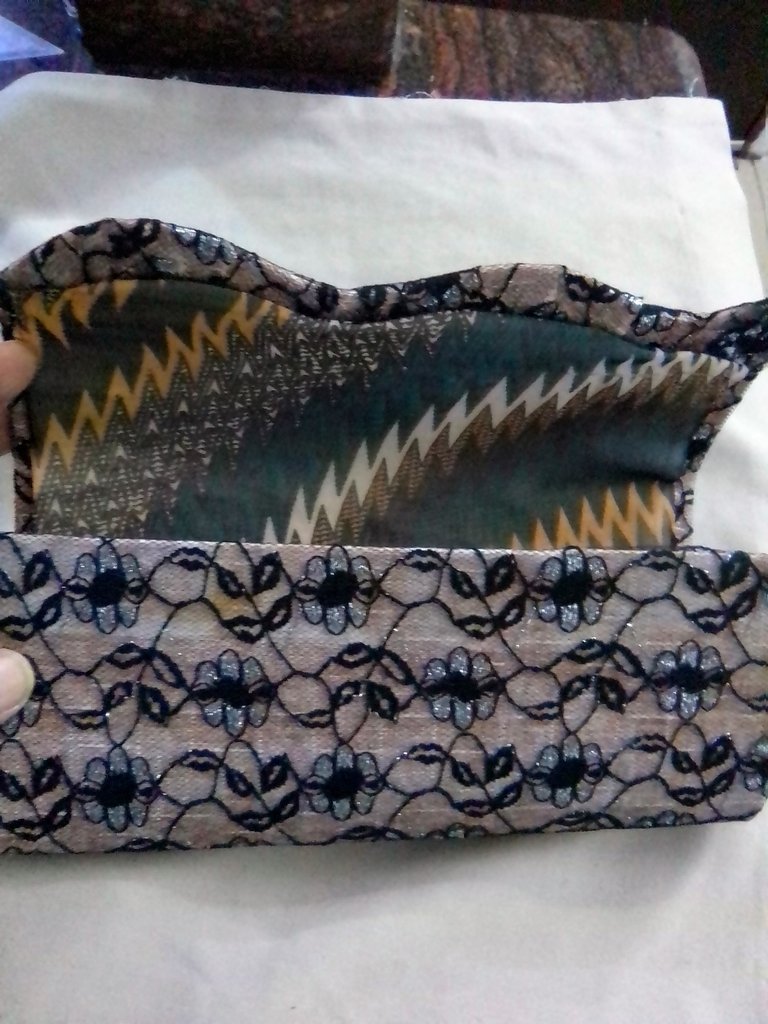
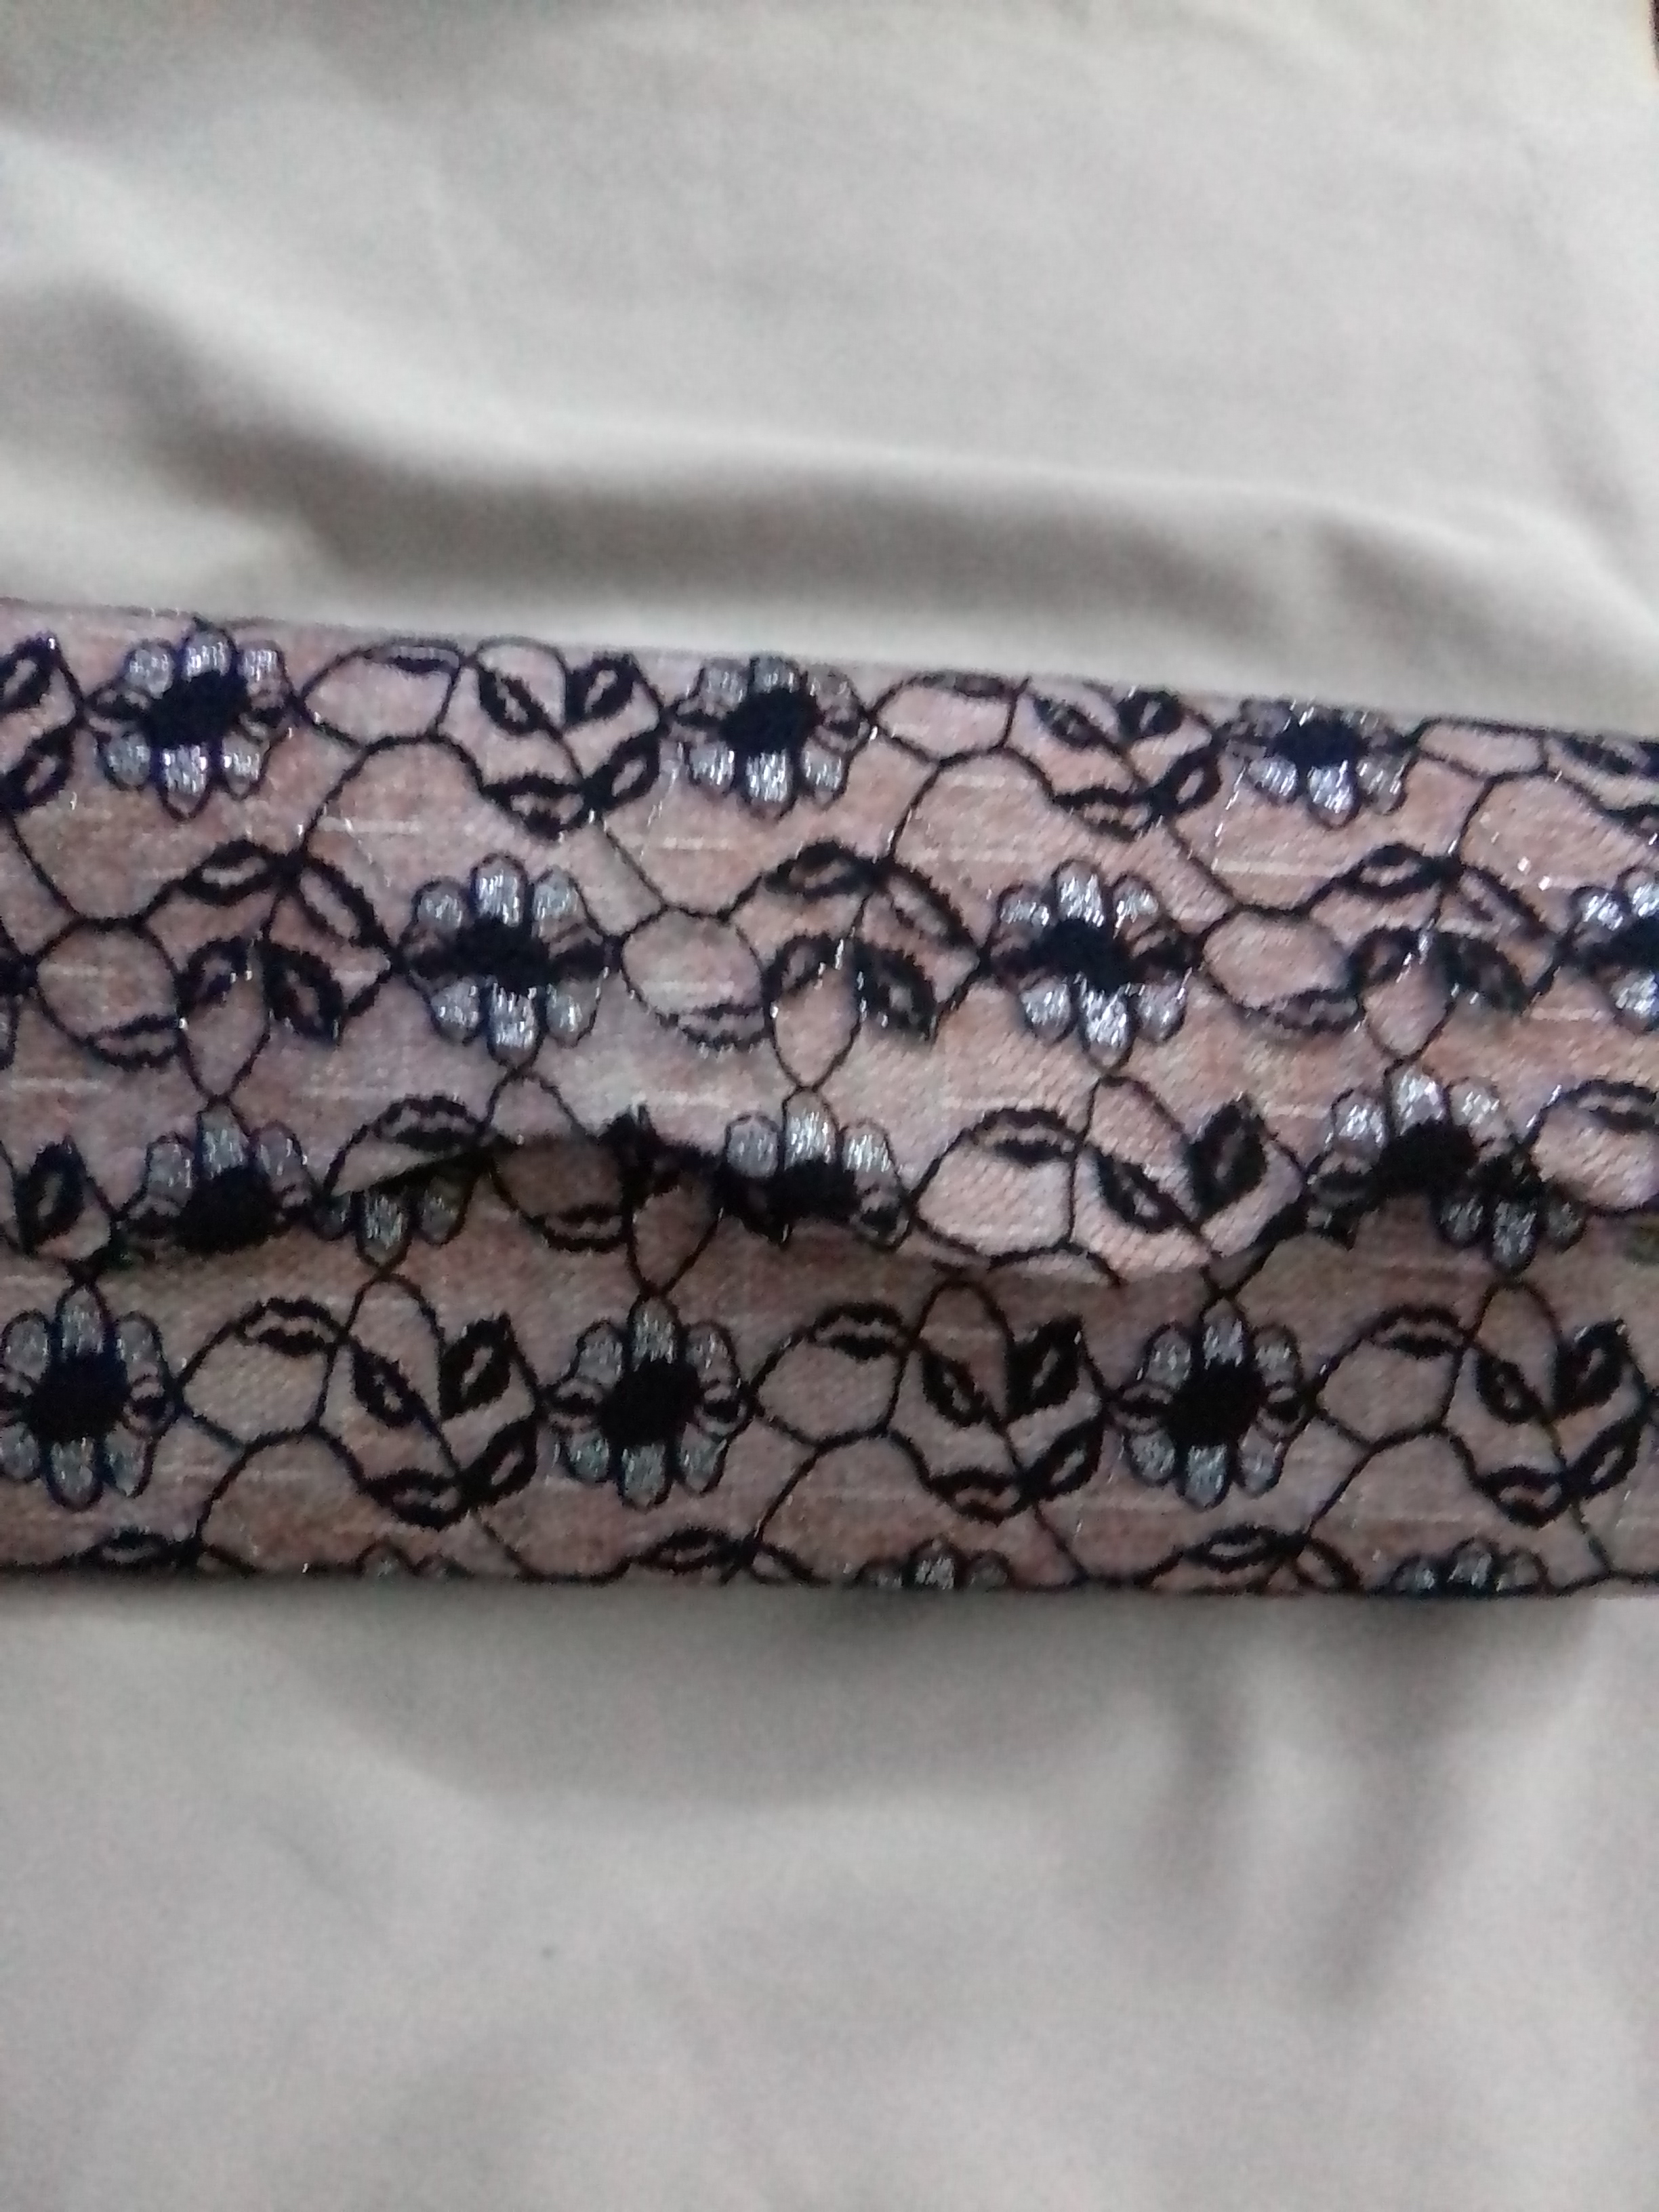
Result
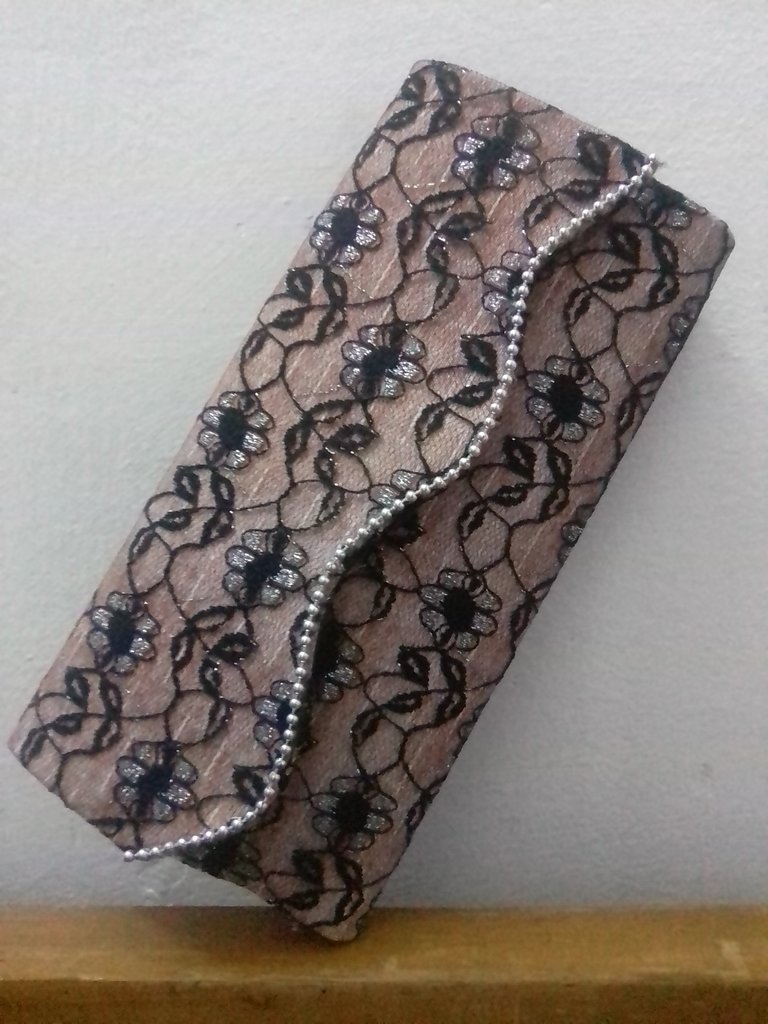
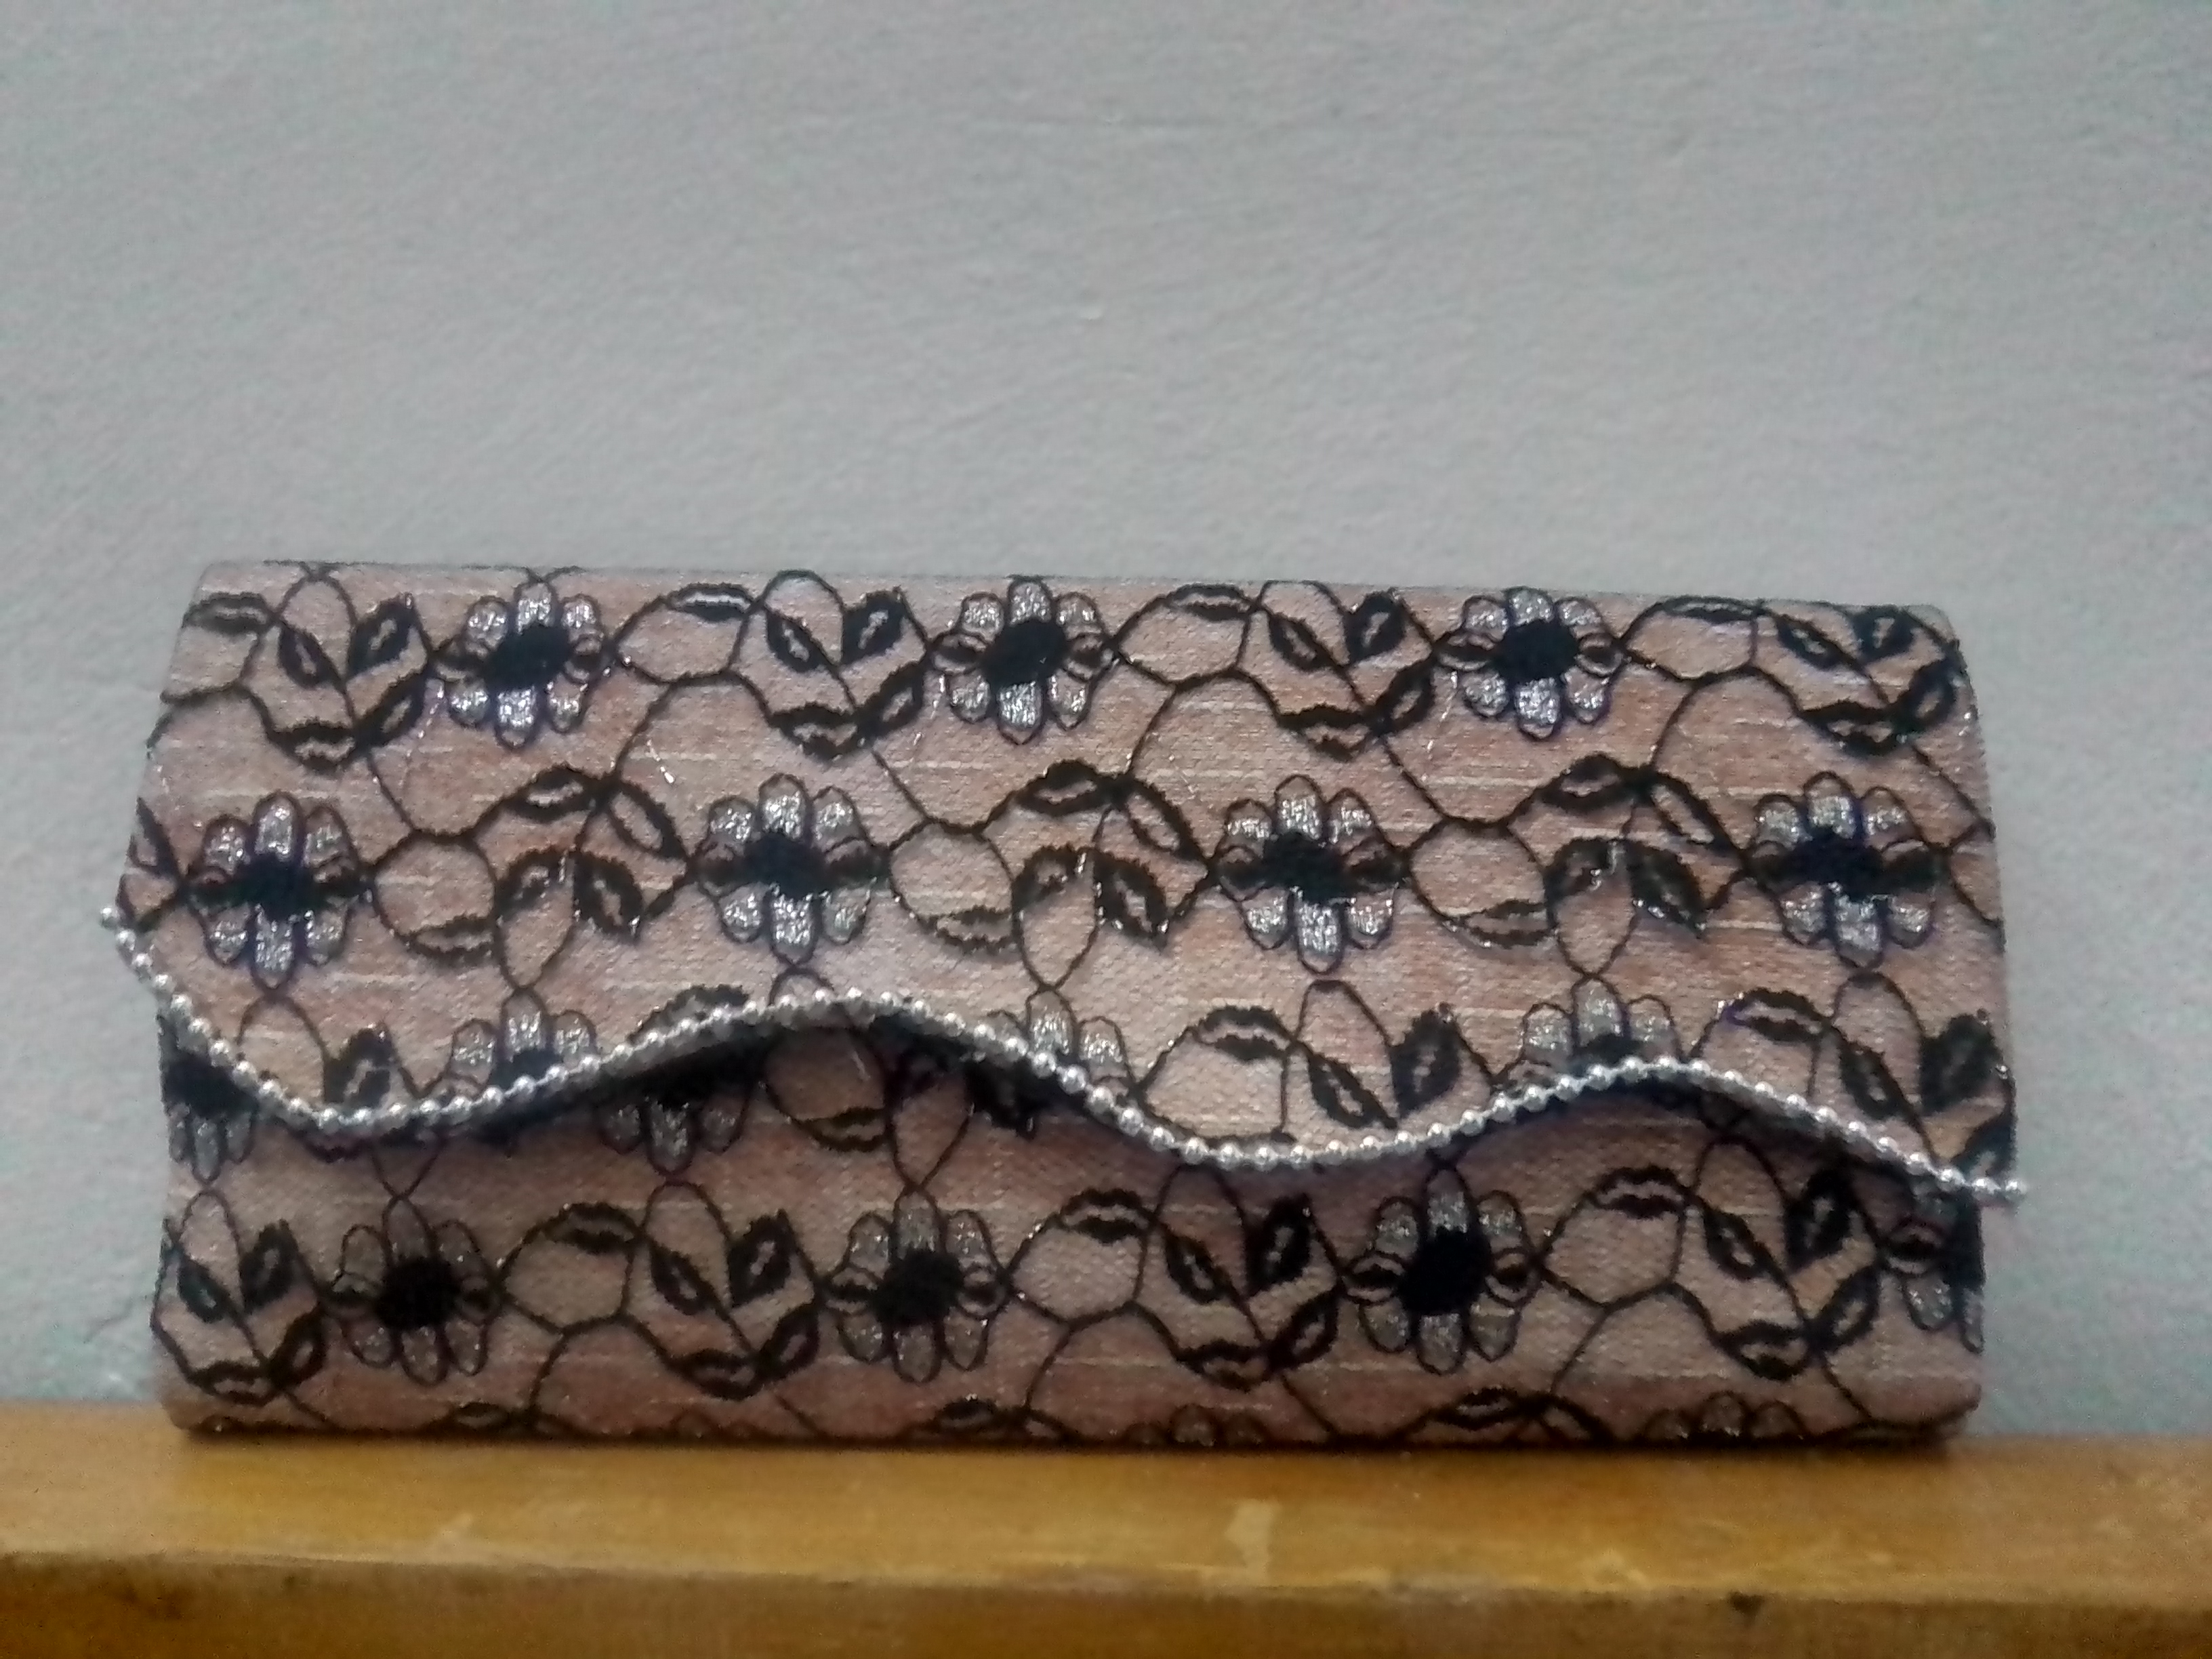
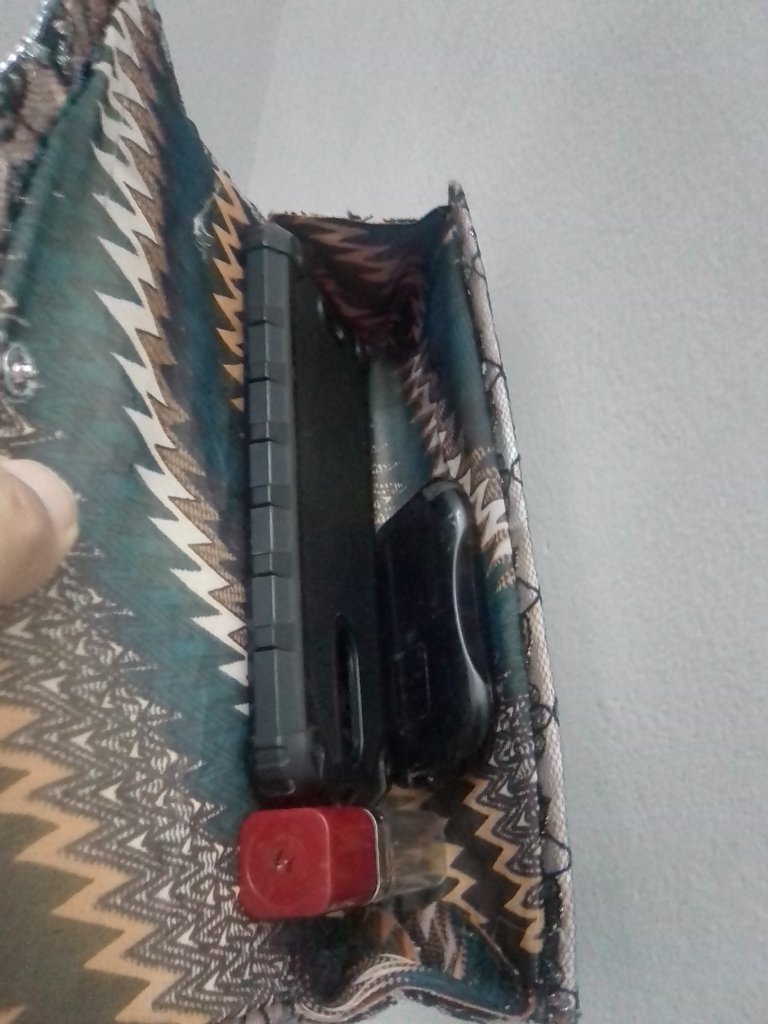

The photos are my property taken exclusively in this project.
The collages of the procedure were made with the tool of my Blue C6 and the main one in Canva
The dividers and the banners were edited by me in Canva
The translation was made with
DeepL Translator



Materiales
✓ Cartón, yo use carpetas viejas, tanto marrón como amarilla.
✓ Tela estampada para cubierta.
✓ Tela negra de flores transparente para la cubierta.
✓ Tela de rayón para el forro
✓ Tres broches a presión.
✓ Regla, lápiz y tijera.
✓ Pistola y barras de silicona.
✓ Perlas corridas plateadas.

Paso a paso
Para comenzar de debe elegir el tamaño del bolso de mano, en mi caso no quería que fue tan grande, tome la mitad de una carpeta marrón, para la cubierta que se necesita mayor dureza, y medi 22,5 de ancho por 30 centímetros de altura, para el forro, utilice la mitad de una carpeta de las amarillas que es mas liviana y menos rígida y está debe medir 1 centímetros menos en el ancho y 2 centímetros menos de largo, para que al momento que doblemos los cartones, el del forro no sobresalga, entonces medi mi carro de 21,5 x 28 centímetros.

Luego realice unas ondas a lo que será la tapa del bolso de mano, conservando prácticamente el mismo altura, las ondas o el diseño que se quiera realizar, se hacen en los dos cartones. Y con la medida de los cartones, buscamos su igual en las telas con que las vamos a cubrir. En este caso yo usaré para la cubierta dos telas, una de tonos naranja y líneas blancas y encima de esta una tela transparente negra de flores y apliques plateados, es una especie de encaje, y es este juego de telas lo que le dará el aspecto elegante al bolso de mano. Al momento de cortar las telas es importante dejar al menos 2 centímetros para cubrir la parte posterior de la cubierta, ya veremos porque más adelante. Igual vamos hacer con la tela de rayón que será el forro del bolso.

A continuación cubrimos los cartones, comencé con la cubierta fijando primero la teja de tonos naranja y aplicando suficiente pegamento y ayudándome con una regla para evitar pliegues y luego colocando la tela de transparencias negra. De igual manera cubrí la parte del forro, colocando suficiente pegamento ya que está tela tiende a deshilacharse con facilidad, aunque en esta ocasión sería poco probable, pero es mejor estar seguro. Para el lado donde están las ondas realice pequeños cortes para facilitar el pegado.


Listas mis dos cartones forrados, coloco el cartón del forro, sobre la parte posterior de la cubierta, poniendo mucho cuidado que este cubra todo, de allí la importancia de dejar los centímetros adicionales alrededor de todos los bordes, cuando ya me fijé que todo coincide, aplique suficiente pegamento en la base y fui pegando hacia arriba.

Ya con la cubierta fijada al forro, realice el doblez, esto también ves una decisión muy personal, y depende del gusto de cada quien, yo no quería que la tapa quedase muy abajo, con el fin de que las ondas resalten , entonces decidí realizar el primer doblez a 9 centímetros, desde ese punto 12 centímetros, y el resto es la tapa. El doblez no lo demarque mucho, porque quería la base un poco redondeada, luego le fue dando la forma con los dedos.


Es el turno de realizar las tapas de los lados, para ello coloque una cinta elástica para mantener la forma que le había dado y tomo la medida sobre la tela, recortó las tres piezas que ocuparé, esta ves será solo tela, sin colocarles cartón, dejo aproximadamente 1 centímetro para pegar a lo lados y corto en línea recta la parte superior para que las piezas en conjunto tengan una altura de 8 centímetros y un ancho de 6 centímetros.

Para pegar las tapas con mayor facilidad, coloque la cinta en lo ancho del bolso y pegue las tapas a cada lado. Y para culminar con este bolso de mano, pegue tres broches a presión, parecerá mucho pero quería que la tapa se viera bien ajustada, use estos porque los tenía, pero también se pueden colocar los que son tipo imán. Y finalizo con el toque elegante, pegando las perlas plateadas al borde de las ondas.

Se dieron cuenta, que estos bolsos de mano, no tienen una mayor complejidad, así que los invito a reciclar y elaborar todos diseños deseados de bolsos de mano para los eventos más diversos y les digo que para este proyecto no gaste un centavo, lo realice con todo lo que tenía en casa. Gracias a todos por su visita.
Resultado


Las fotos son de mi propiedad tomadas exclusivamente en este proyecto.
Los collages del procedimiento los hice con la herramienta de mi Blue C6 y el principal en Canva
Lo separadores y el banners fueron editados por mi en Canva
La traducción fue realizada con
DeepL Traductor
