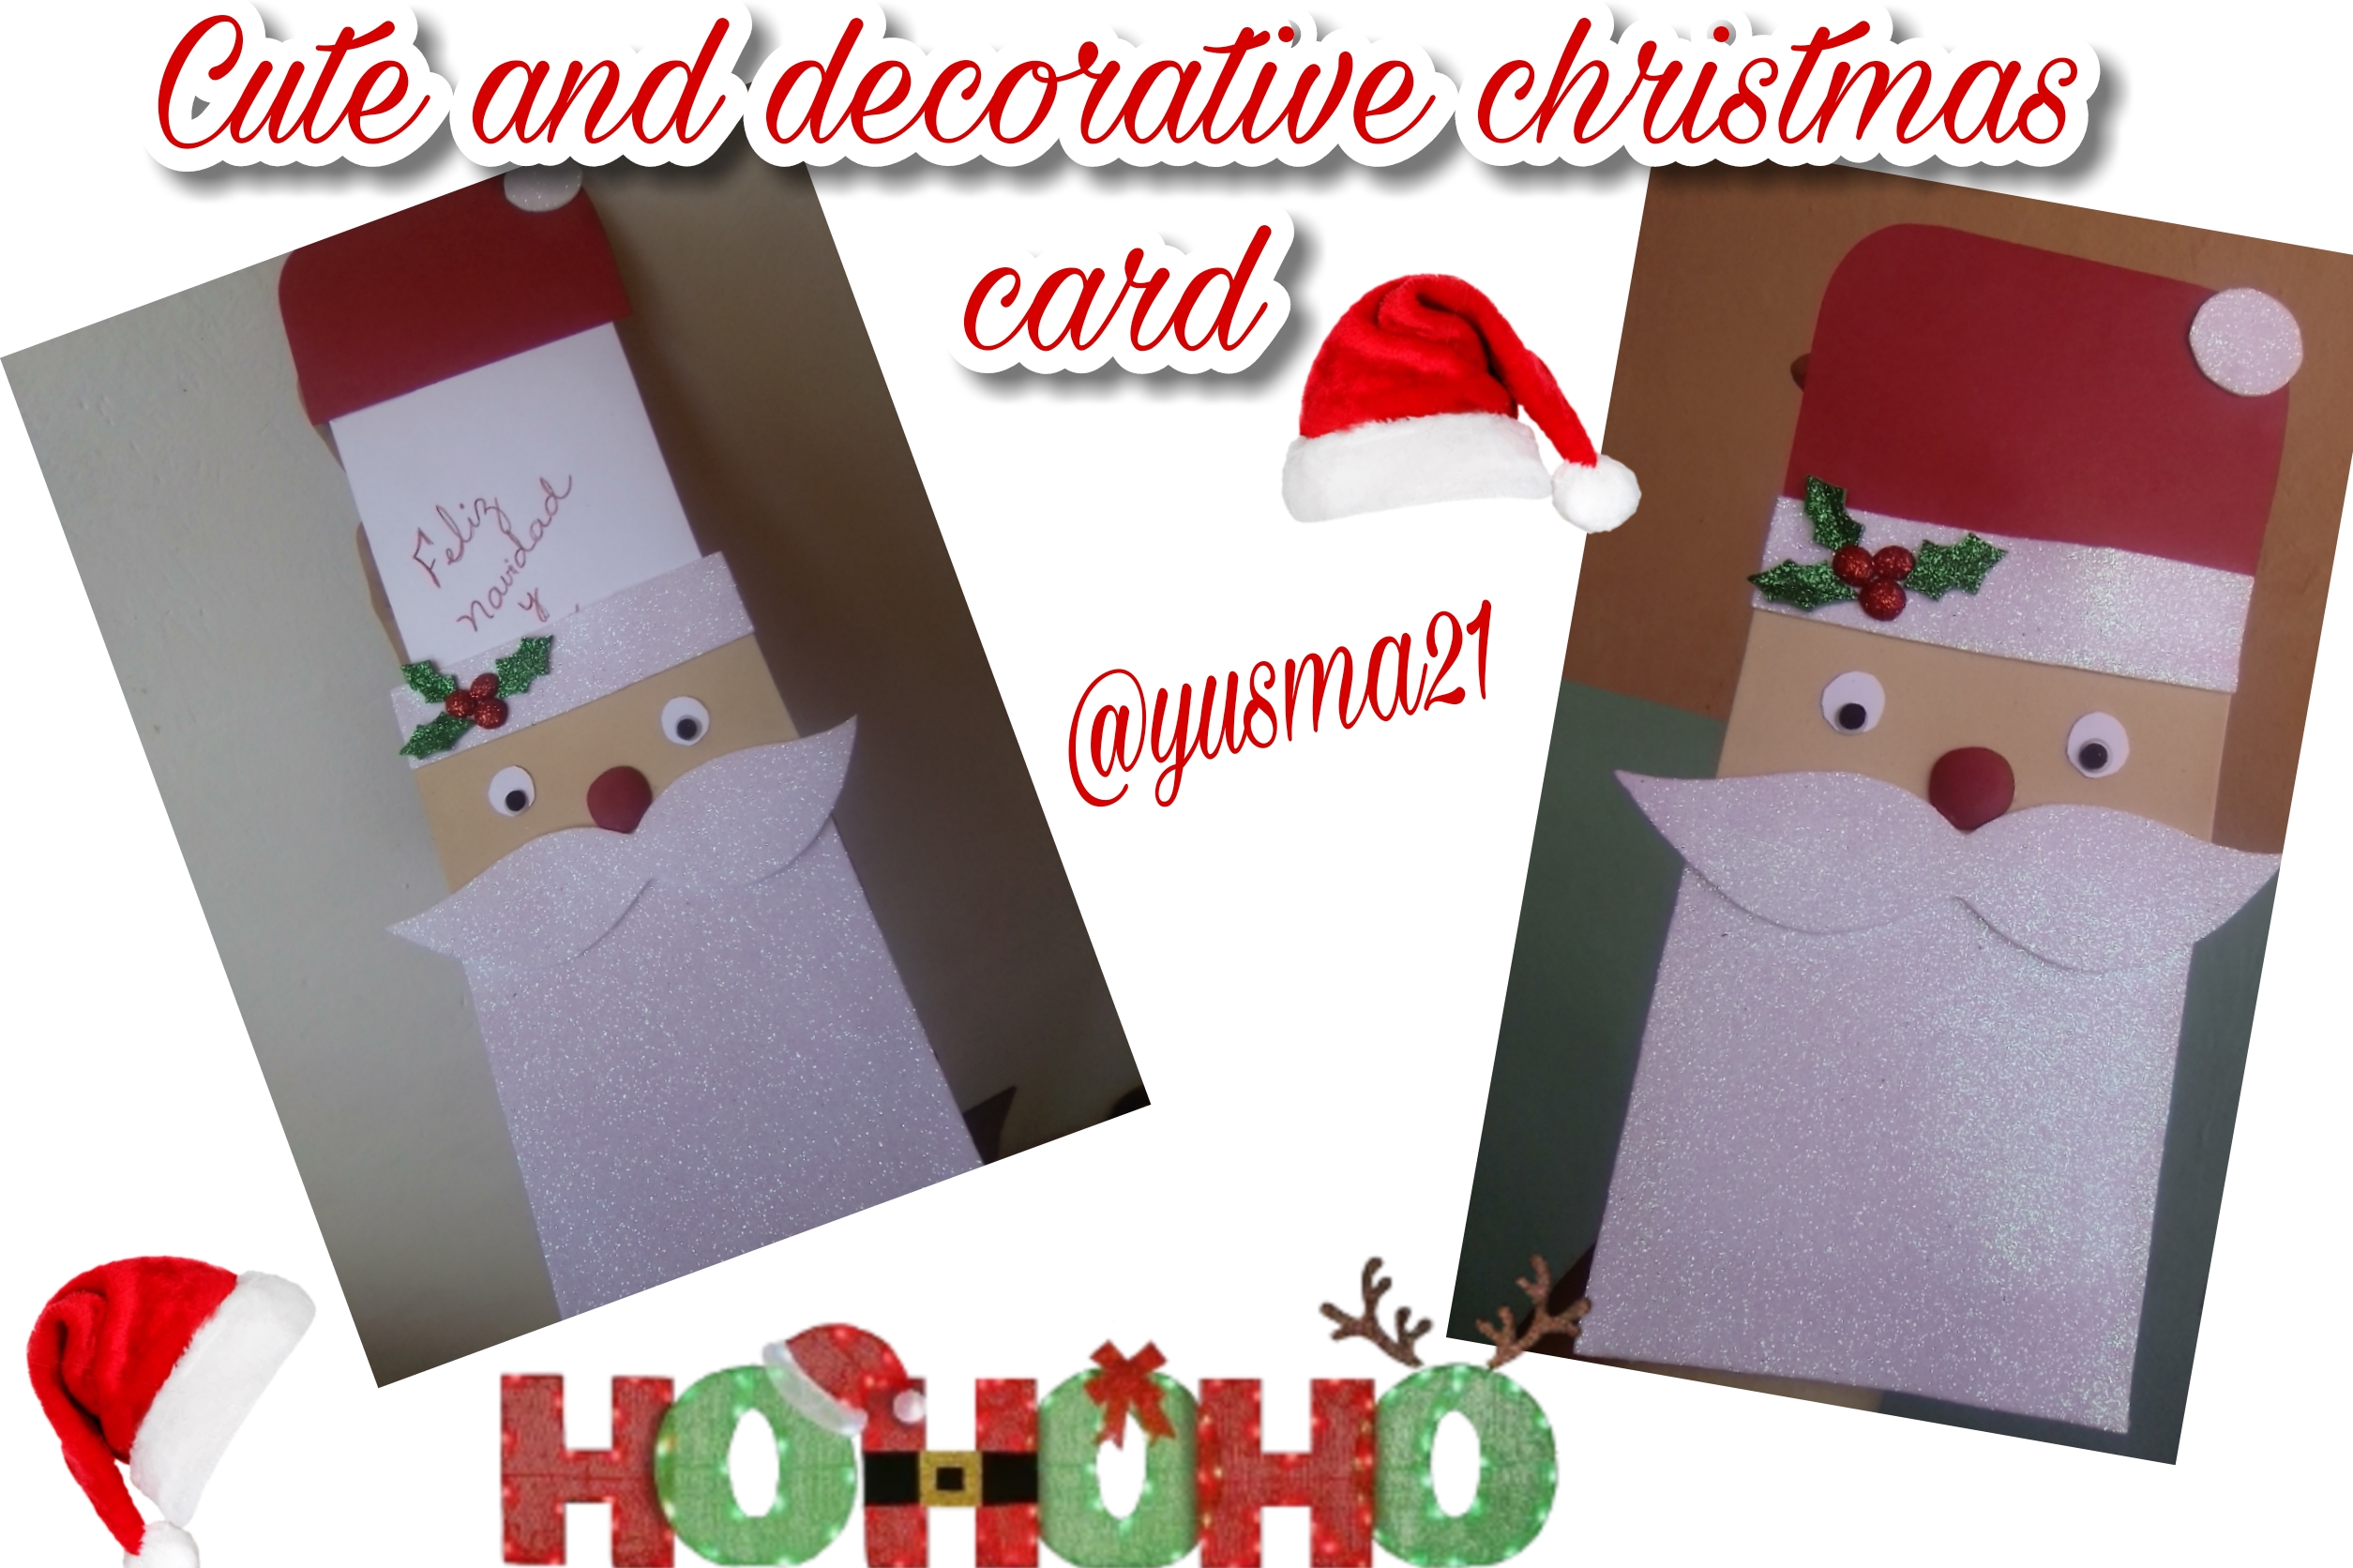

Happy and blessed day to all the creatives of the platform and especially to the creatives of Hive Diy. For this day, the Christmas enthusiasm continued, recalling childhood memories and the beautiful cards that we made at school came to my mind, and that later our mothers placed on the Christmas tree, and that were used to give gifts to friends in these festivities, that's why I decided to make a very nice card with the face of Saint Nicholas, and where the card itself is as a surprise in the hat, I will give you all the details step by step below.

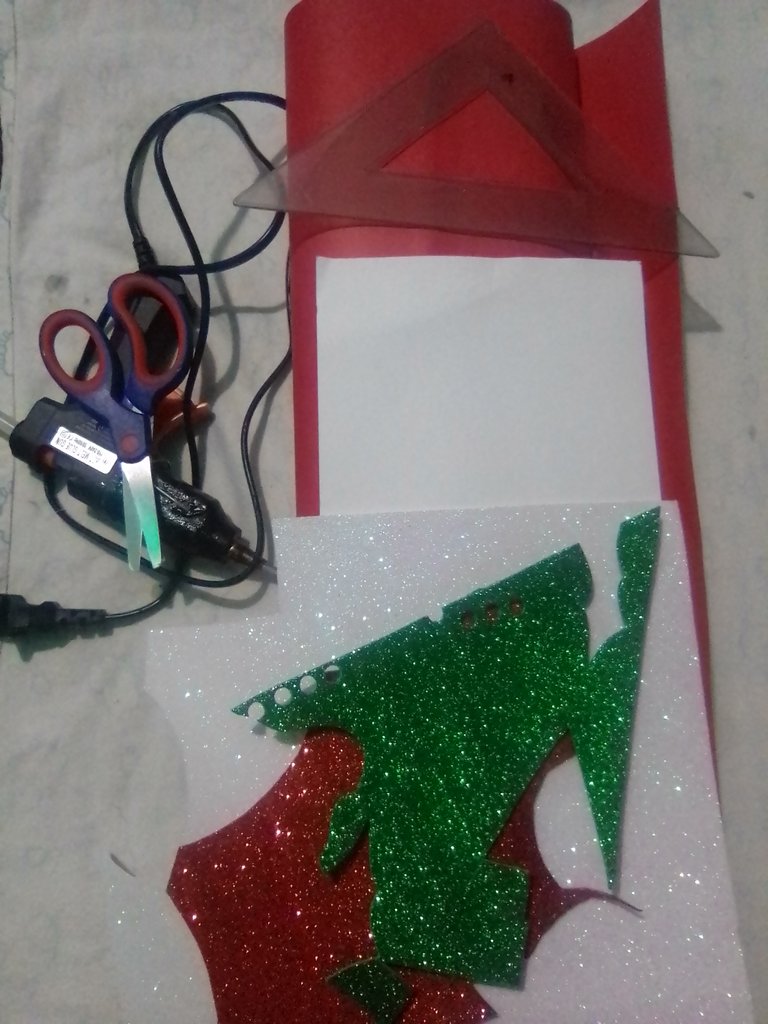
MATERIALS
✓ Red and white cardstock
✓ White, red and green frosty foami
✓ Cream colored foam
✓ Clothes iron
✓ Scissors, pencil and ruler
✓ Gun and glue stick
STEP BY STEP
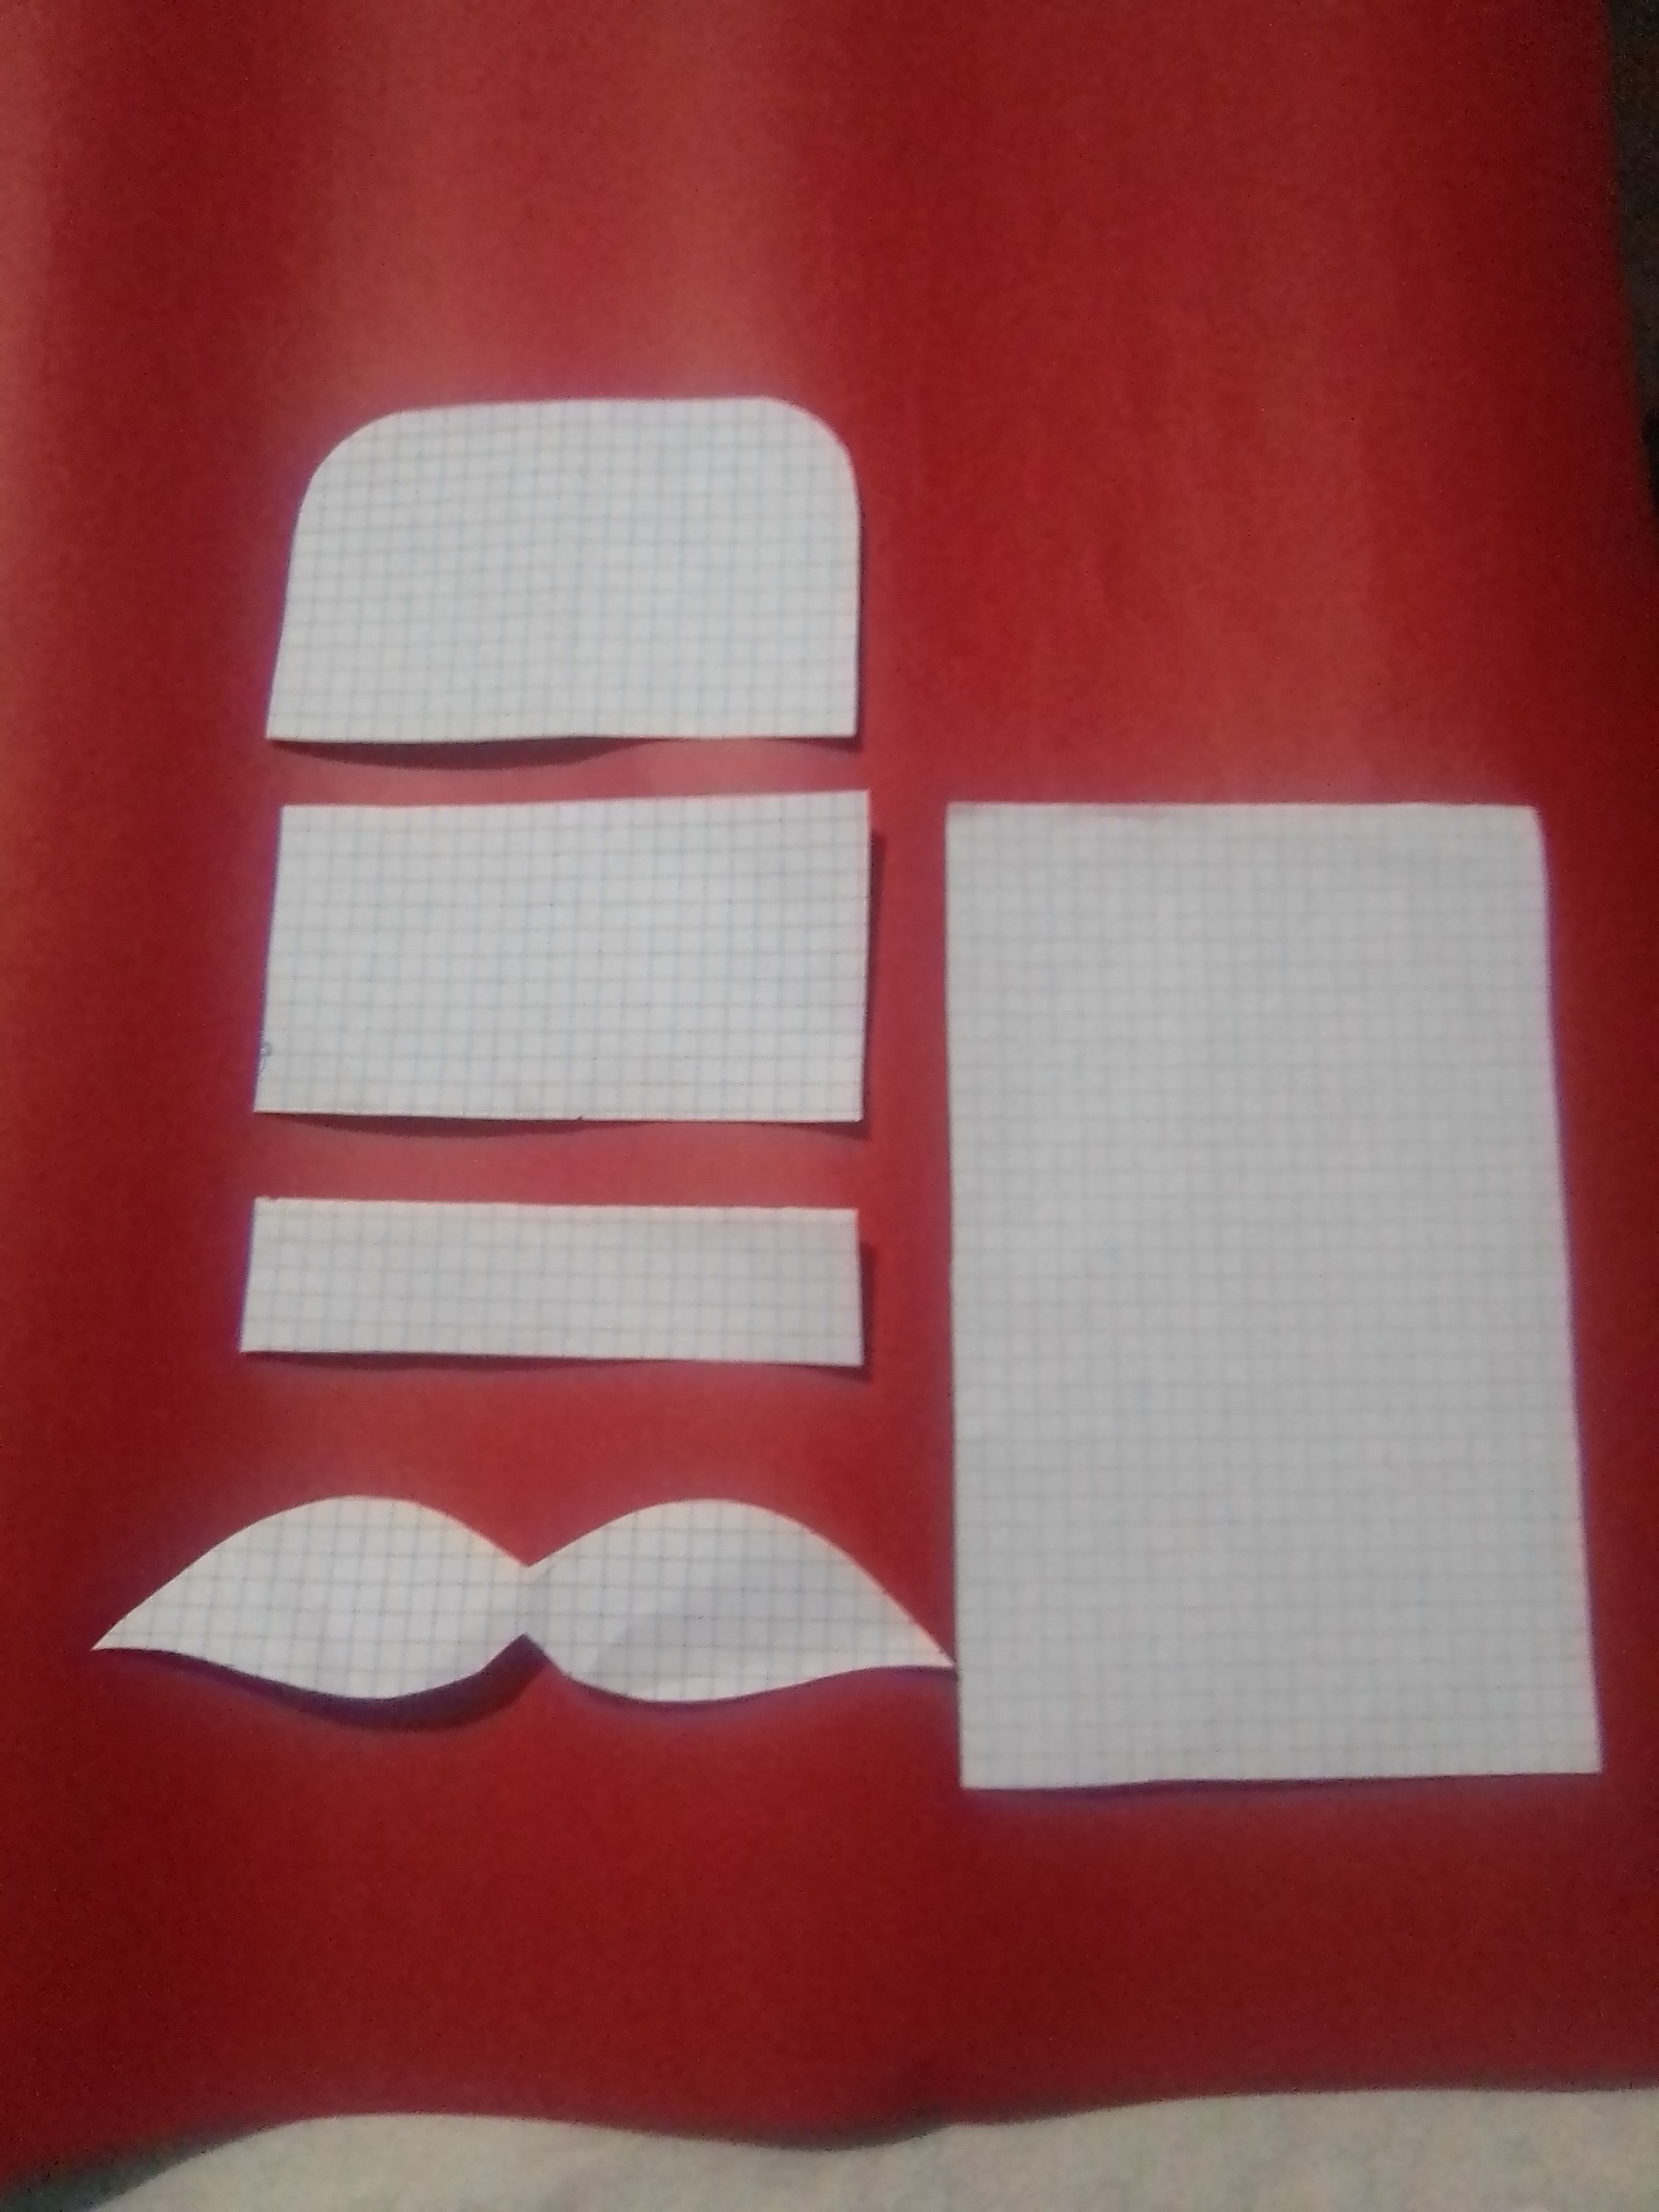
To make this beautiful card, the first thing I did was design on recycling sheets, the type of face that I favored on the card, because I need straight lines for this design, so I worked with a rectangle for all the shapes, except the mustache. The different sizes are described below: Beard 12.5 x 11 cm, face 6 x 11 cm, white part of the hat 3 x 11 cm, red part of the hat 7 x 11 cm, mustache along 16 cm so that stick out to the sides.
Having the desired design, the next step was to transfer the beard, the mustaches and the hat's ribbon, in the frosty white foam, the face in cream-colored foam and the hat in red cardboard.
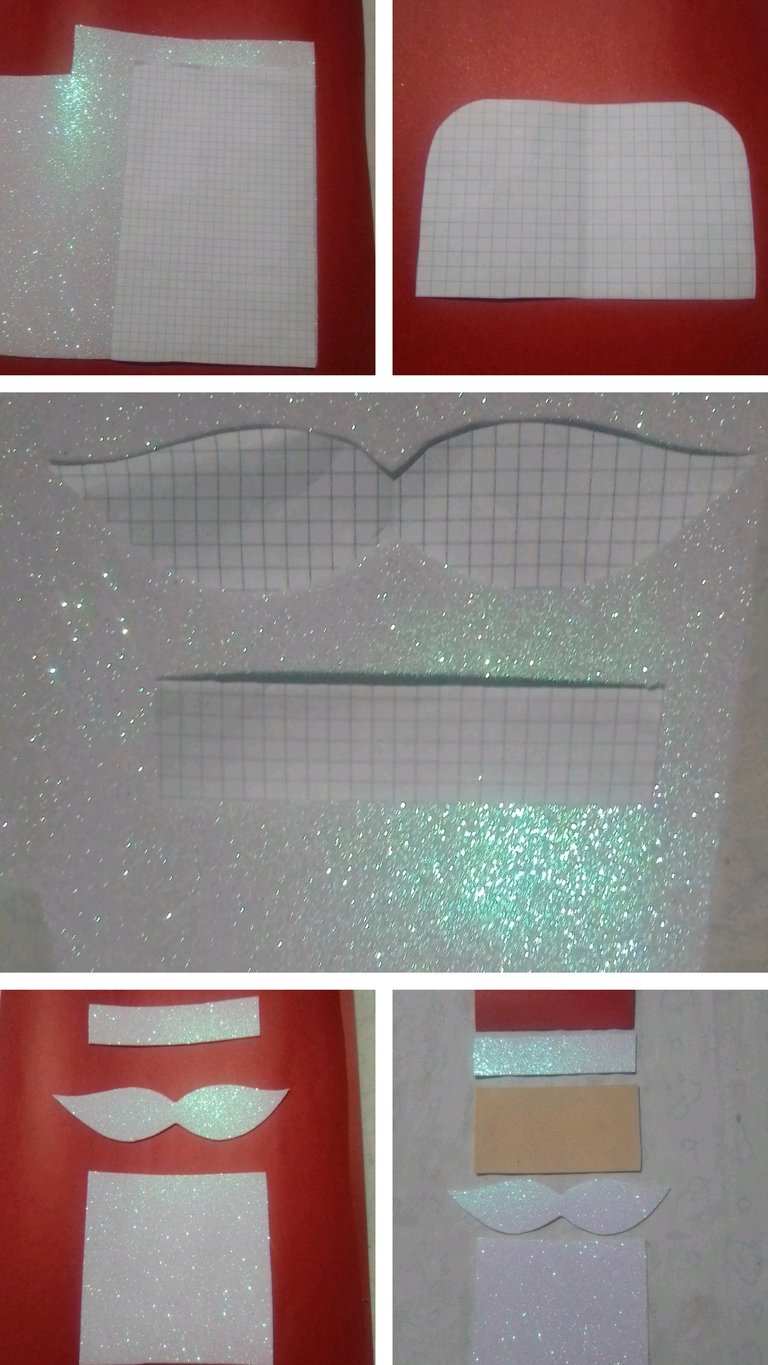
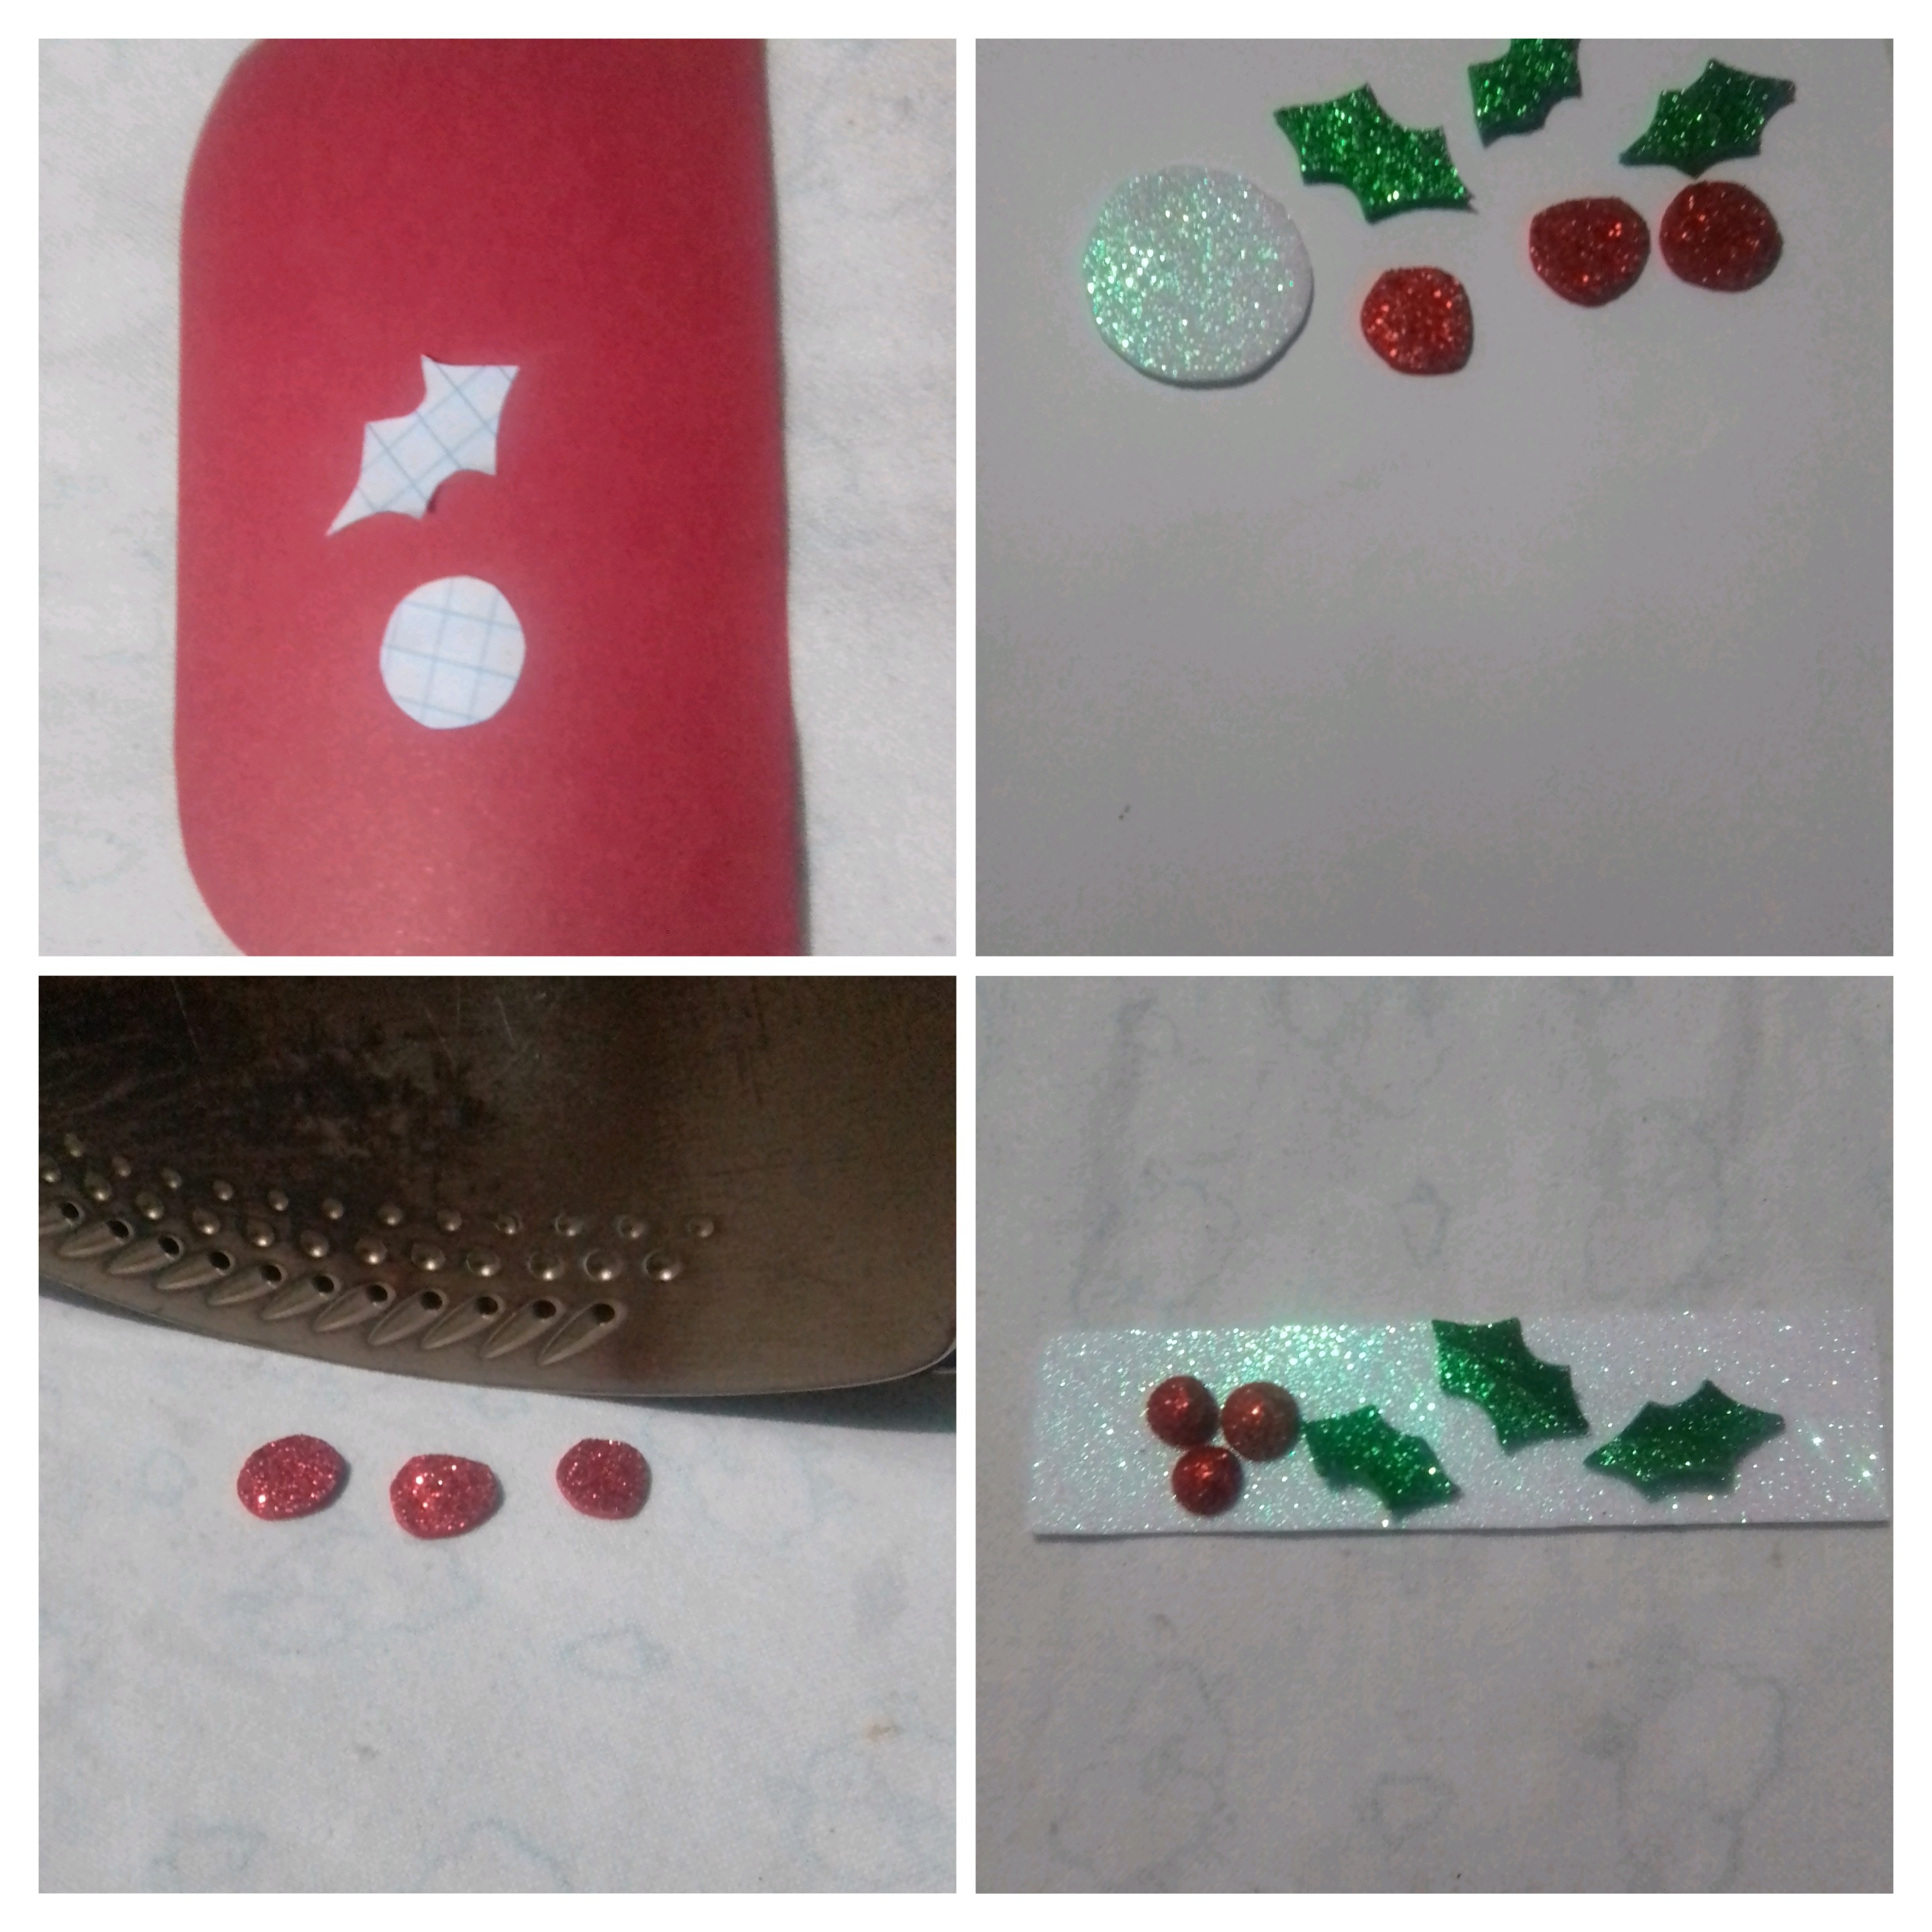
At this time, make the eyes, the nose circle in simple red foam, three very small circles in frosty red foam and three Christmas leaves, in frosty green as well. And apply heat to the circles.
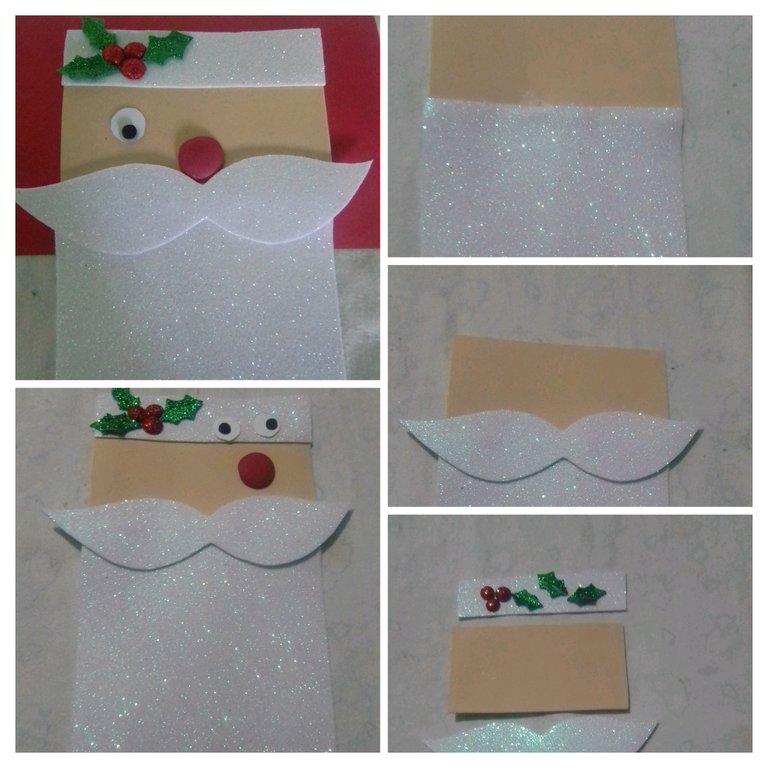
After having the shapes ready, I proceeded to assemble the face of Saint Nicholas, I joined the piece of the beard with the rectangle of the face and to the latter, the white ribbon of the hat, then glued the decoration to the ribbon of the hat that you met in cocoons red with their Christmas leaves, in addition to fixing the eyes and nose.
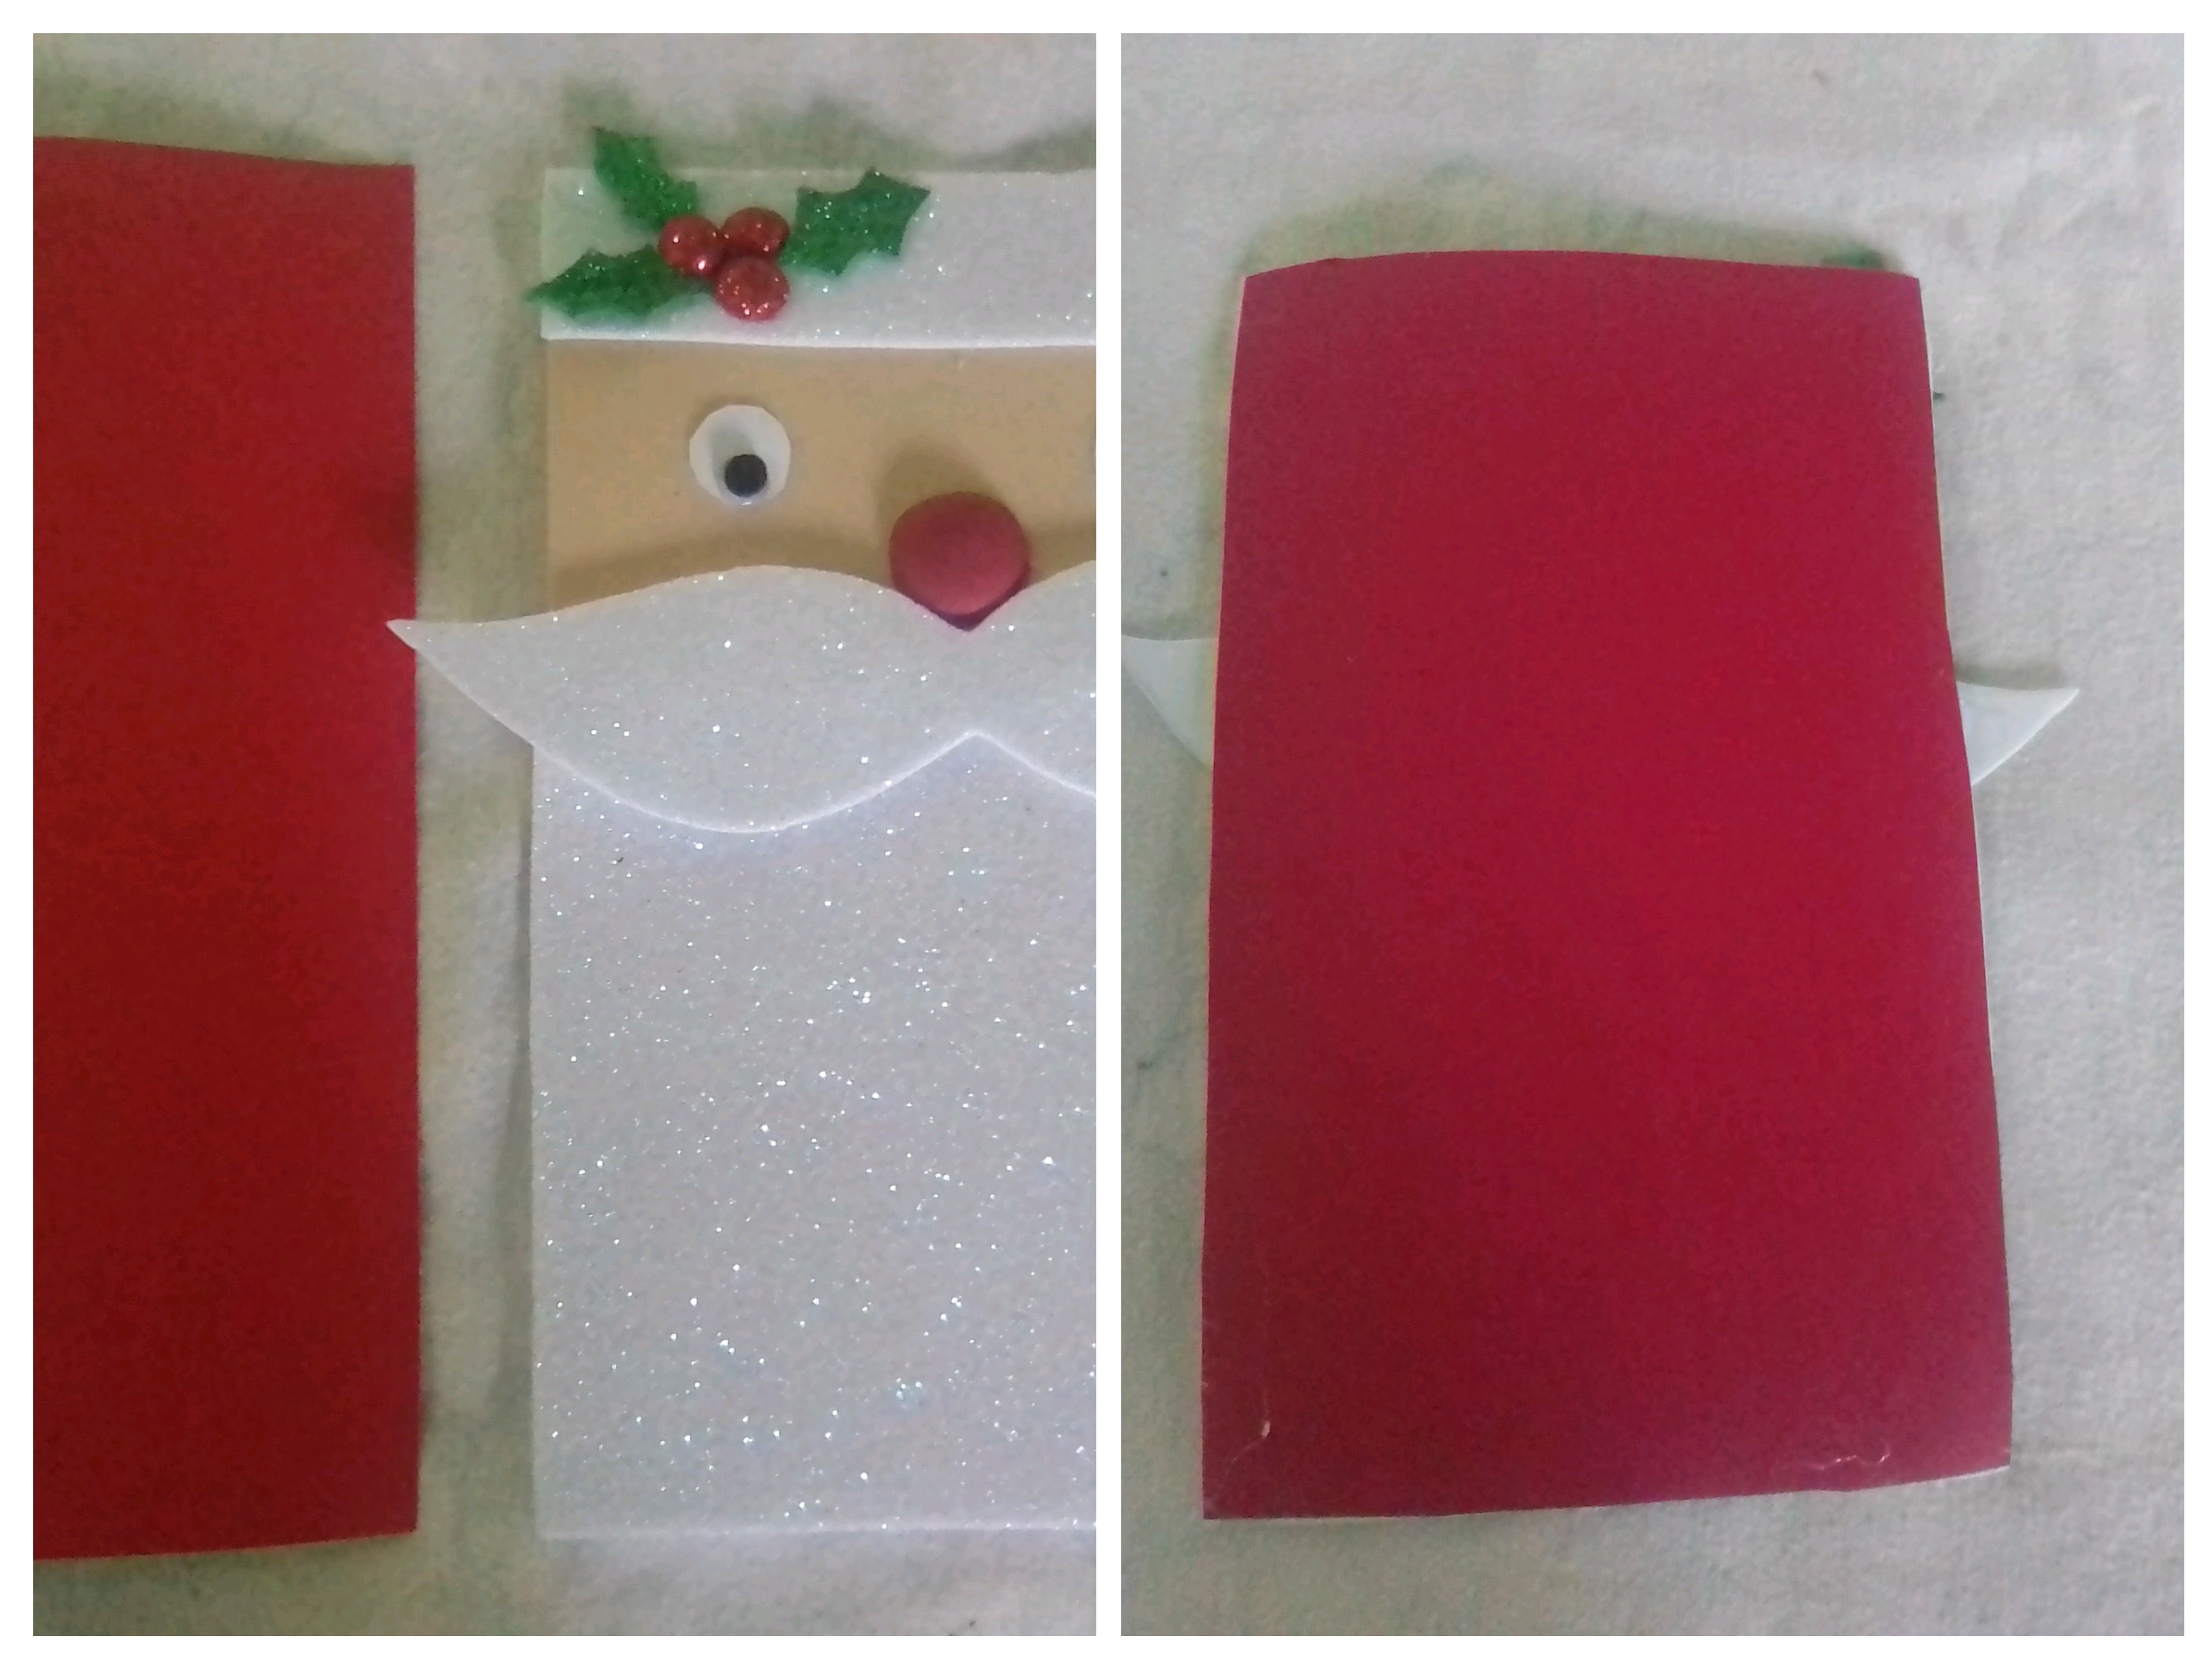
To turn this face of Saint Nicholas into a card, take the measurement of what has been done so far, which is 20 x 11 centimeters, and cut a piece of red cardboard, with these measurements, and glue it to the edges to obtain what will be the card envelope.
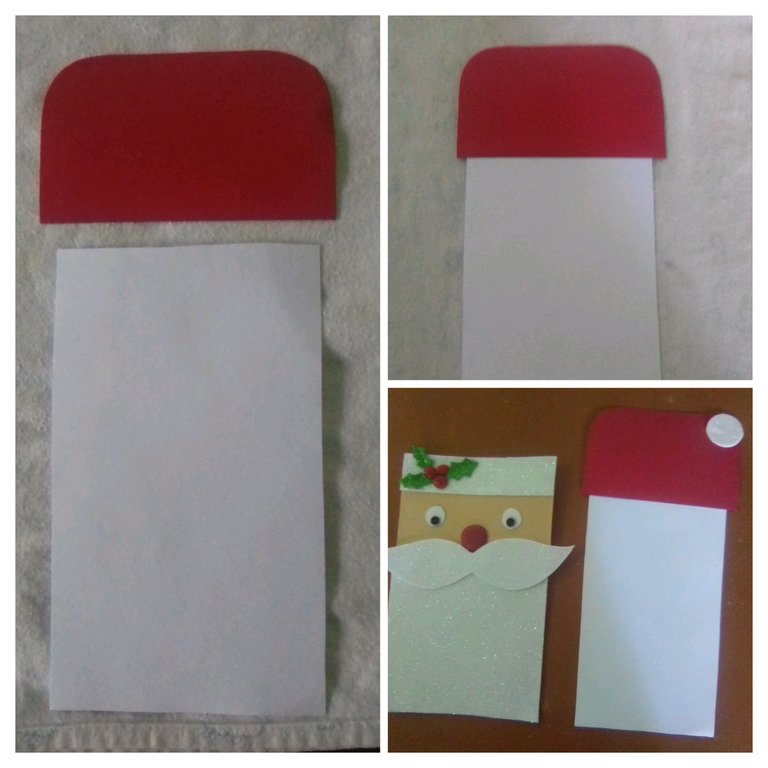
I already have my Santa envelope, I only need what will be my card, for this I cut a piece of white cardboard measuring 19 x 10 centimeters and I fix it to the edge of the red cardboard hat, so that the card can be inserted and removed . And our Saint Nicholas is a nice Christmas gift where we can express in writing our good wishes for Christmas and the New Year.
In this way, make this beautiful and decorative Christmas card. Easy to make and very important you don't use many materials.
Result
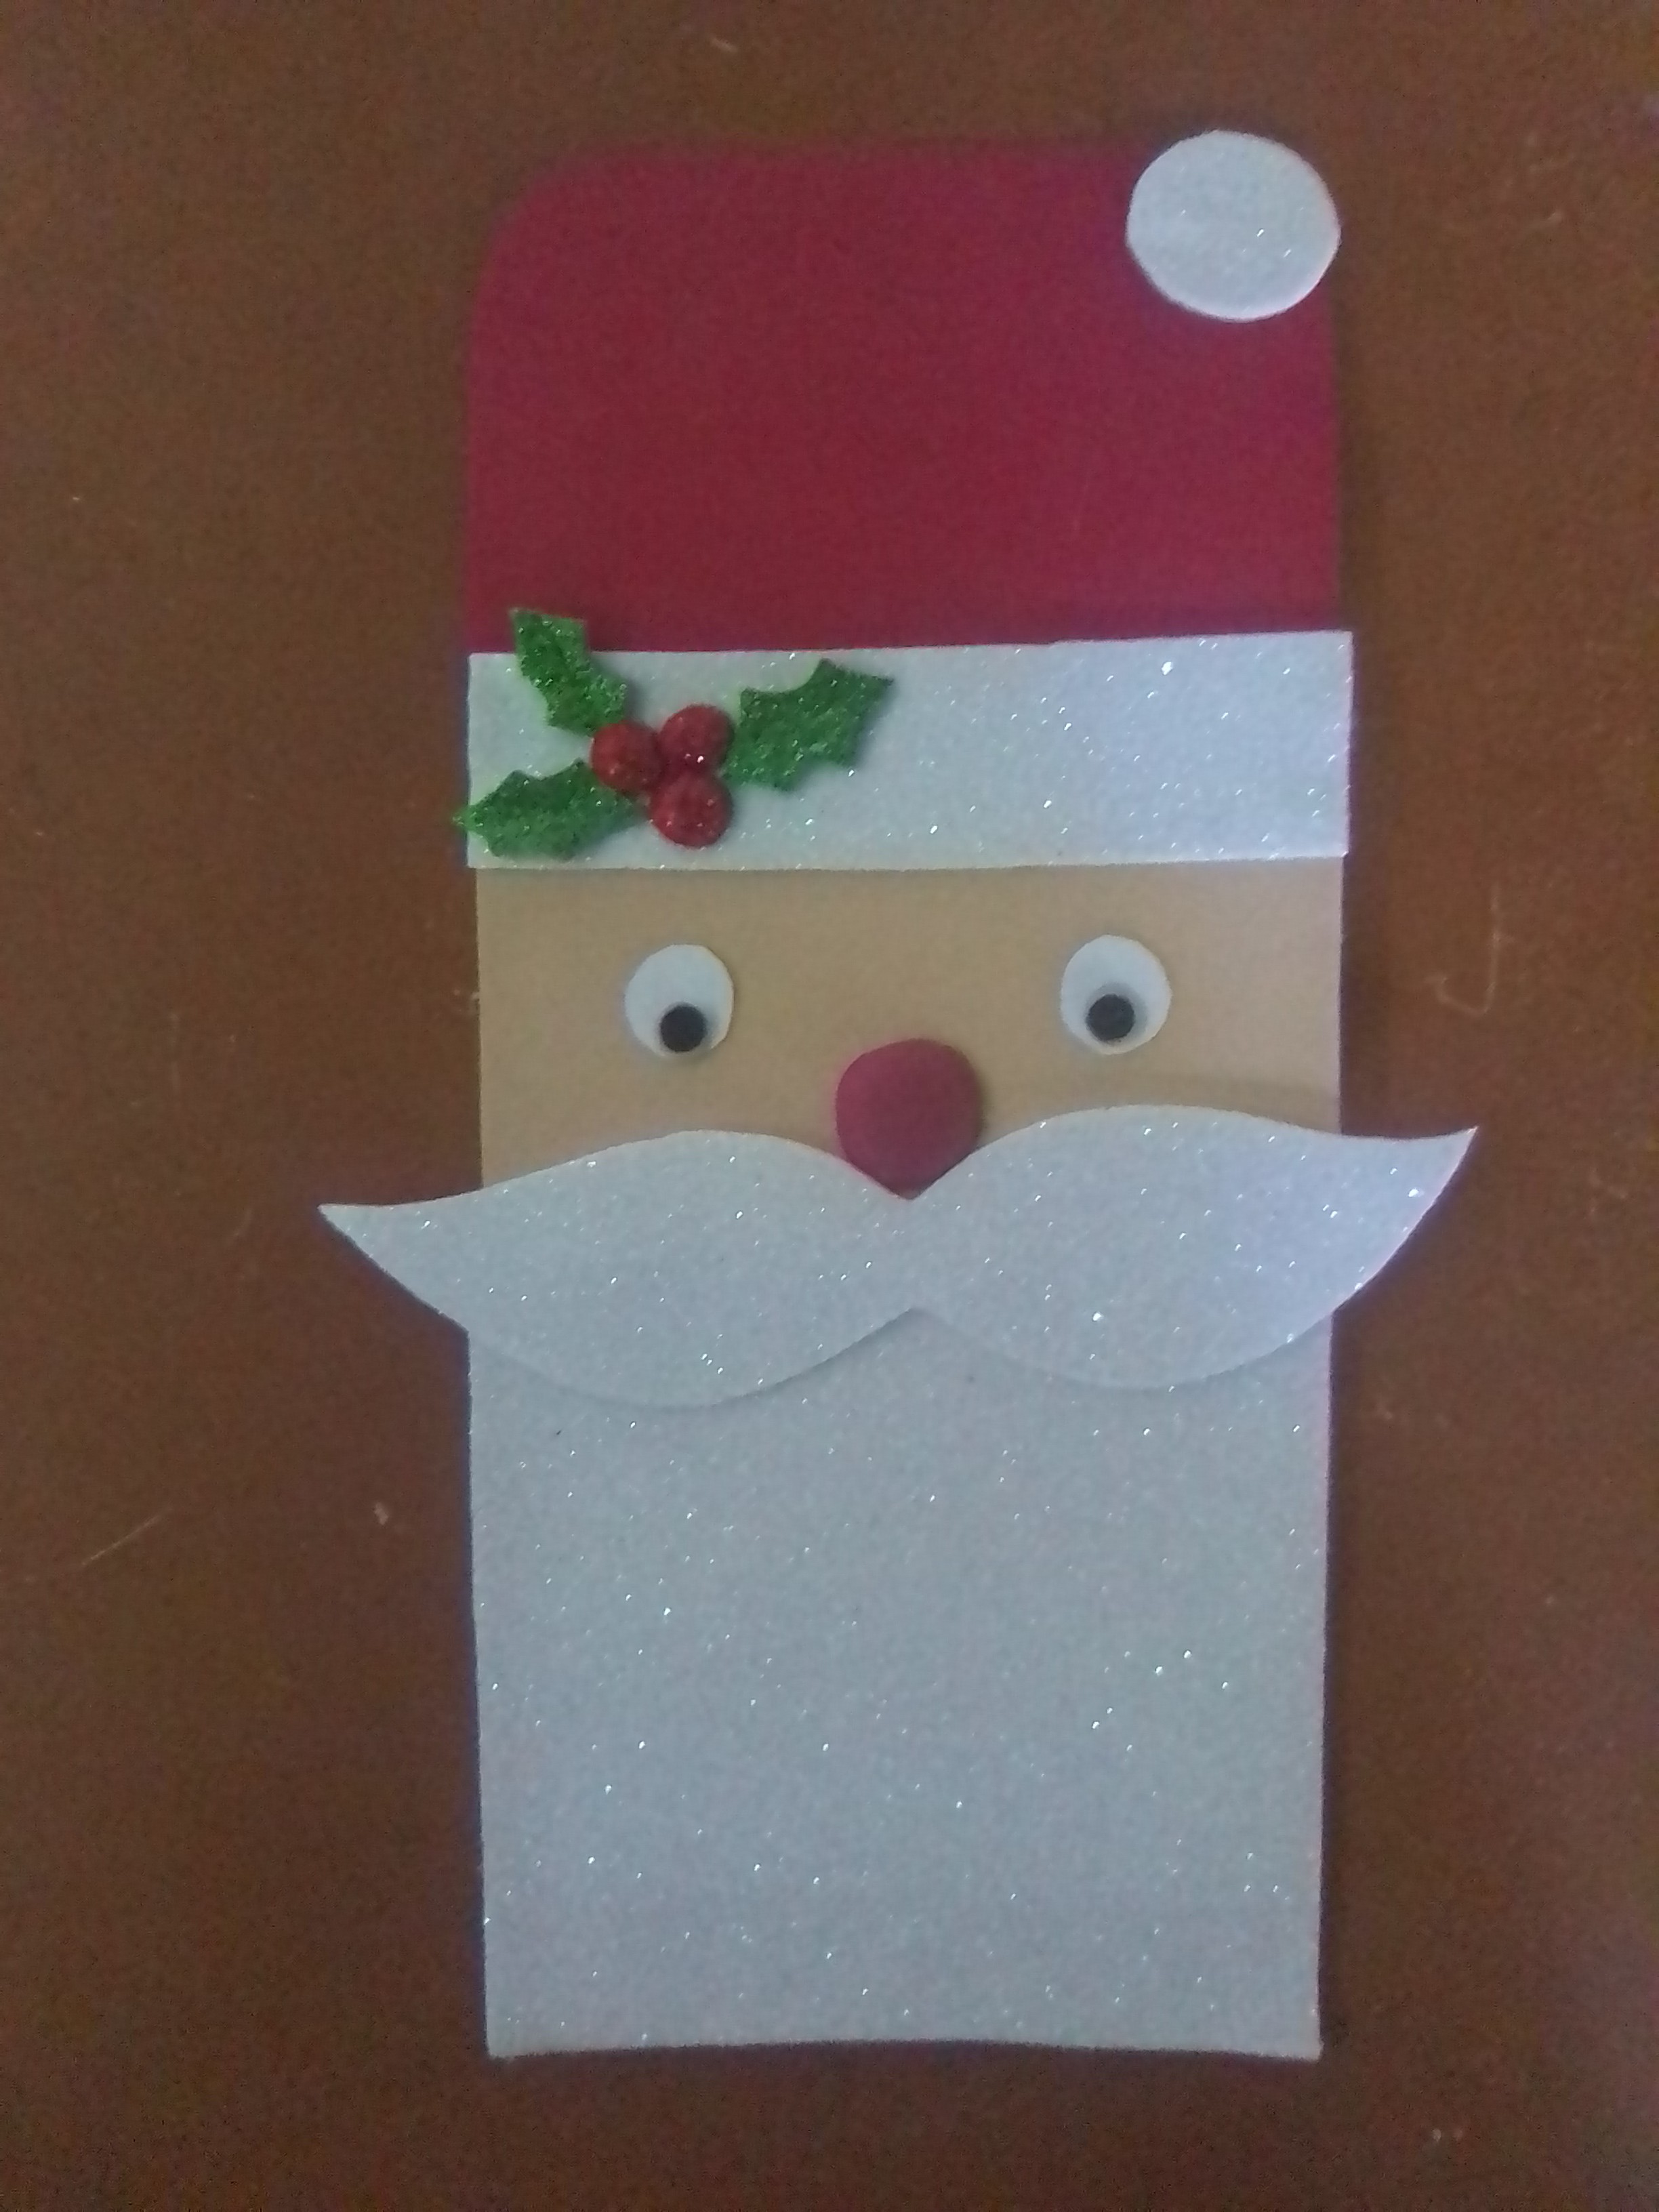
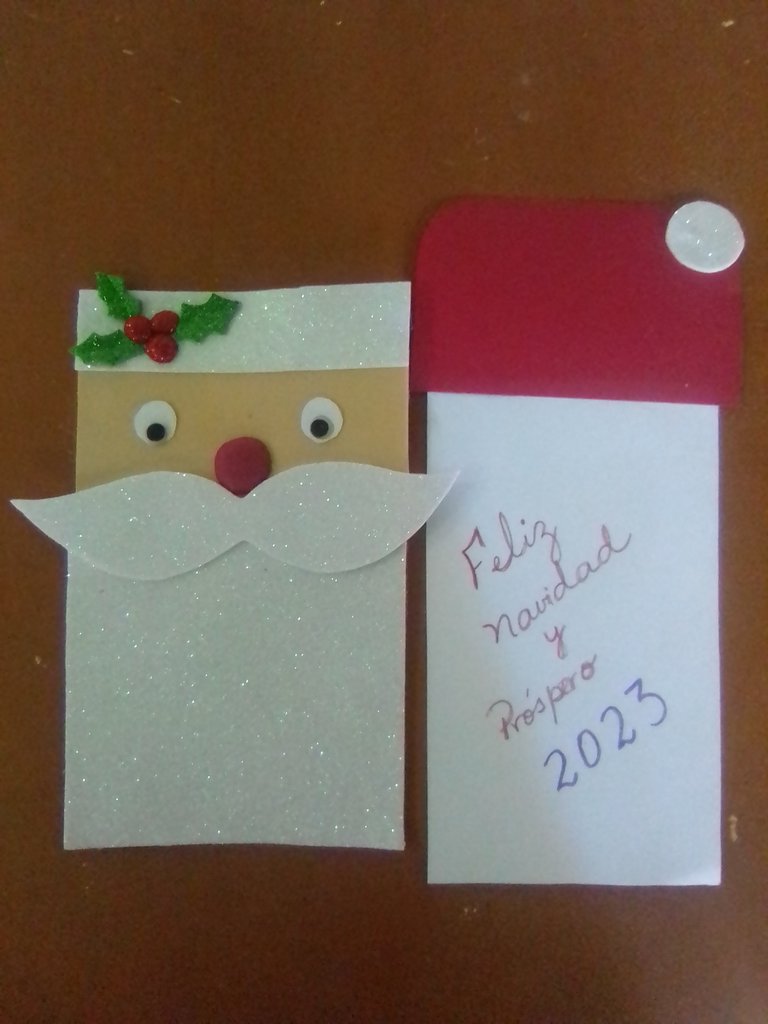
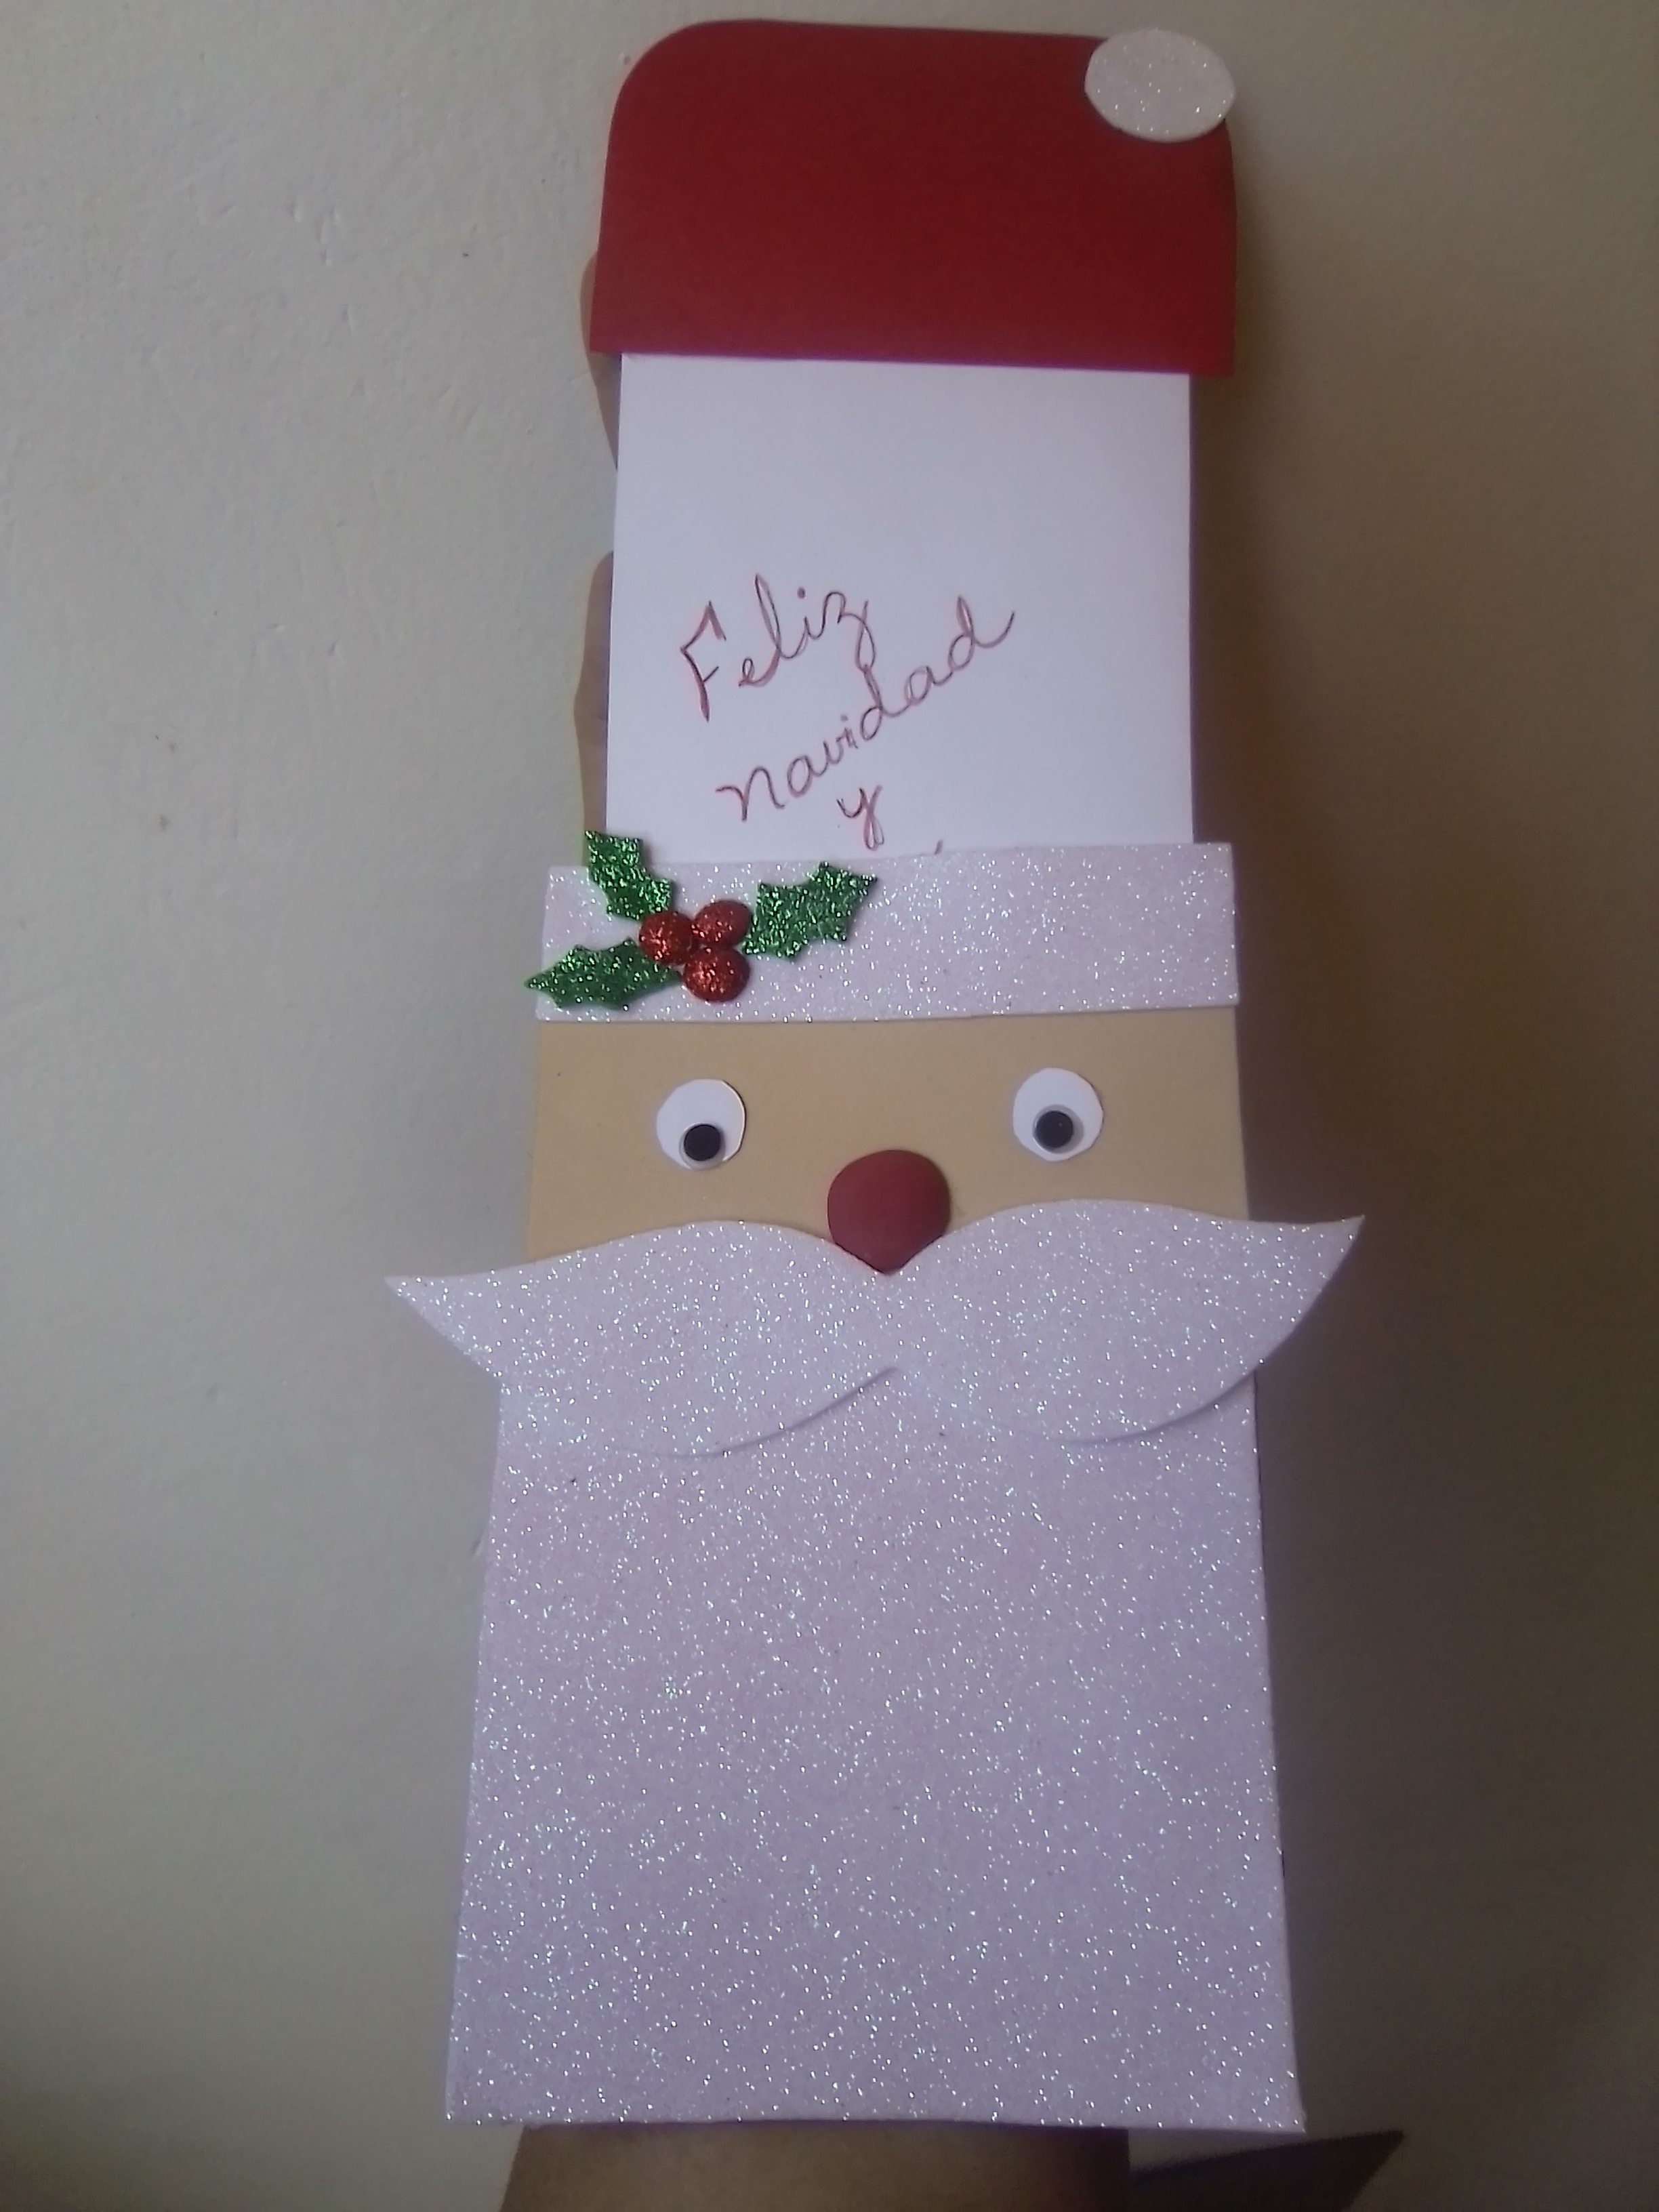
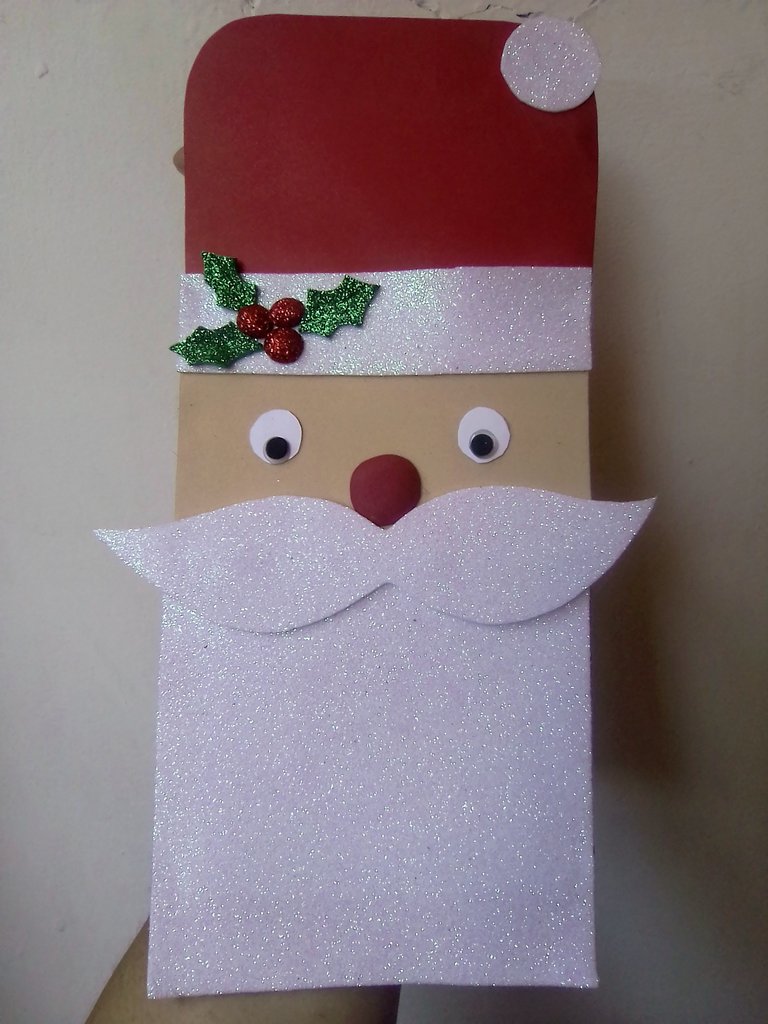

The photos are my property, taken exclusively in this project.
The collages of the procedure were made with the tool of my Blue C6 and the main one in Canva
The separators and the banners were edited by me in Canva
The translation was made with
DeepL Translator


Feliz y bendecido día para todos los creativos de la plataforma y en especial para los creativos de Hive Diy. Para este día continuó con el entusiasmo navideño , rememorando recuerdos de la infancia y me vino a la memoria las lindas tarjetas que hacíamos en el colegio, y que después nuestras madres colocaban en el árbol de navidad, y que se usaban para obsequiar a los amigos en estas festividades, por eso decidí realizar una muy linda tarjeta del rostro de San Nicolás, y dónde la tarjeta propiamente está como sorpresa en el gorro, a continuación les daré todos los detalles en el paso a paso.


MATERIALES
✓ Cartulina rojo y blanco
✓ Foami escarchado de color blanco, rojo y verde
✓ Foami color crema
✓ Plancha de ropa
✓ Tijera, lápiz y regla
✓ Pistola y barra de silicona

PASO A PASO
Para elaborar este linda tarjeta, lo primero que hice fue diseñar sobre hojas de reciclaje, el tipo de rostro que favoreciera en la tarjeta, pues necesito para este diseño líneas rectas, por lo tanto trabaje con rectángulo para todas las formas, excepto el bigote. Los distintos tamaños los describo a continuación: Barba 12,5 x 11 cm, rostro 6 x 11 cm , parte blanco del gorro 3 x 11, cm, parte roja del gorro 7 x 11 cm, el bigote a lo largo 16 cm para que sobresalga a los lados.

Al tener el diseño deseado, el siguiente paso fue transferir la barba, los bigotes y la cinta del gorro, en el foami blanco escarchado , el rostro en foami color crema y el gorro en cartulina roja.

En este momento, realice los ojos , el círculo de la nariz en foami rojo sencillo, tres círculos muy pequeño en foami rojo escarchado y tres hojas de navidad, en verde escarchado también. Y aplique calor a los círculos.

Luego de tener listo las formas, procedí a ensamblar el rostro de San Nicolás, uni la pieza de la barba con el rectángulo del rostro y a este último, la cinta blanca del gorro, luego pegue la decoración a la cinta del gorro que conociste en capullos rojos con sus hojas de navidad, además de fijar los ojos y nariz.

Para convertir este rostro de San Nicolás en tarjeta, tome la medida de lo hecho hasta ahora, que es de 20 x 11 centímetros y corte una pieza de cartulina roja, con estas medidas y la pegue a los bordes para obtener así lo que será el sobre de la tarjeta.

Ya tengo mi sobre de Santa, solo me falta lo que será mi tarjeta, para ello corte una pieza de cartón blanco de 19 x 10 centímetros y lo fijo al borde del gorro de cartulina rojo, de manera que se pueda introducir y retirar la tarjeta. Y nuestro San Nicolás sea un lindo obsequio navideño donde podamos expresar por escrito nuestros buenos deseos de ventura para la navidad y el año nuevo.

De esta manera realice está linda y decorativa tarjeta navideña. De fácil elaboración y muy importante no usas muchos materiales.
Resultado


Las fotos son de mi propiedad tomadas exclusivamente en este proyecto.
Los collages del procedimiento los hice con la herramienta de mi Blue C6 y el principal en Canva
Lo separadores y el banners fueron editados por mi en Canva
La traducción fue realizada con
DeepL Traductor
