
Hola querida comunidad de #Hivediy. A la hora de realizar manualidades existen muchas técnicas para poner en práctica. Es por esto que, el día de hoy quiero mostrarles un paso a paso de una receta de Masa flexible. Este tipo de masa es una de las más utilizadas a la hora de realizar manualidades, con ella se pueden realizar un sin número de figuras que te pueden servir para adornar cajas, bolsas de regalo, realizar souvenirs para bautizo, primera comunión, bodas; igualmente, con esta masa puedes confeccionar prendas de bisutería, entre otros. Para realizarla no necesitas muchos ingredientes, la textura de la misma es suave y manejable es muy parecida a la plastilina. A continuación, les presento el paso a paso para elaborar la masa flexible. ¡Vamos a comenzar!
Hello dear #Hivediy community. When making crafts there are many techniques to put into practice. That is why today I want to show you a step-by-step recipe for flexible clay. This type of dough is one of the most used when making crafts, with it you can make countless figures that can be used to decorate boxes, gift bags, make souvenirs for baptisms, first communions, weddings; Likewise, with this dough you can make costume jewelry, among others. To make it you do not need many ingredients, the texture of it is soft and manageable, it is very similar to plasticine. Next, I present the step by step to make the flexible clay. Let's get started!

Materiales:
•1 taza de maizena
•1 taza de pega blanca
•1 cucharada de glicerina
•1 cucharada de aceite de bebé
•½ cucharadita de benzoato de sodio o vinagre
Utensilio
•1 sartén de teflón
•Cuchara de madera
Materials:
• 1 cup cornstarch
• 1 cup of white glue
• 1 tablespoon of glycerin
• 1 tablespoon of baby oil
• ½ teaspoon of sodium benzoate or vinegar
Utensil
• 1 Teflon pan
• Wooden spoon
Paso 1
En una sartén agrega la maizena y la pega. Seguidamente, incorporar la glicerina, el aceite y el benzoato de sodio, remueve con la cuchara de madera hasta obtener una mezcla homogénea.
Step 1
In a pan add the cornstarch and paste it. Next, add the glycerin, the oil and the sodium benzoate, stir with a wooden spoon until a homogeneous mixture is obtained.

Paso 2
Pon la mezcla a cocinar a fuego lento. Bate constantemente, hasta obtener una pasta manejable que se despegue del sartén.
Step 2
Put the mixture to cook over low heat. Beat constantly, until you get a manageable paste that detaches from the pan.

Paso 3
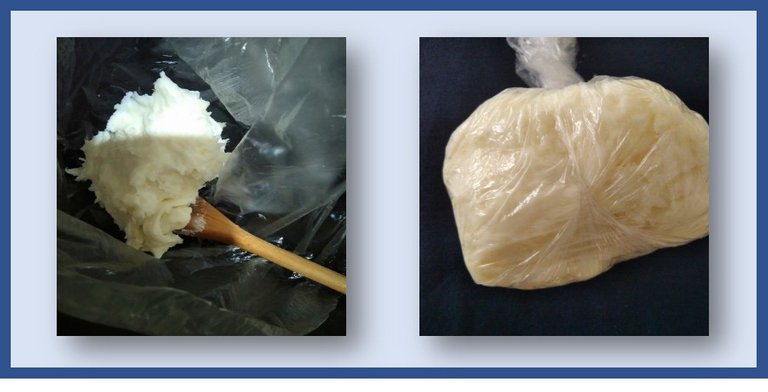
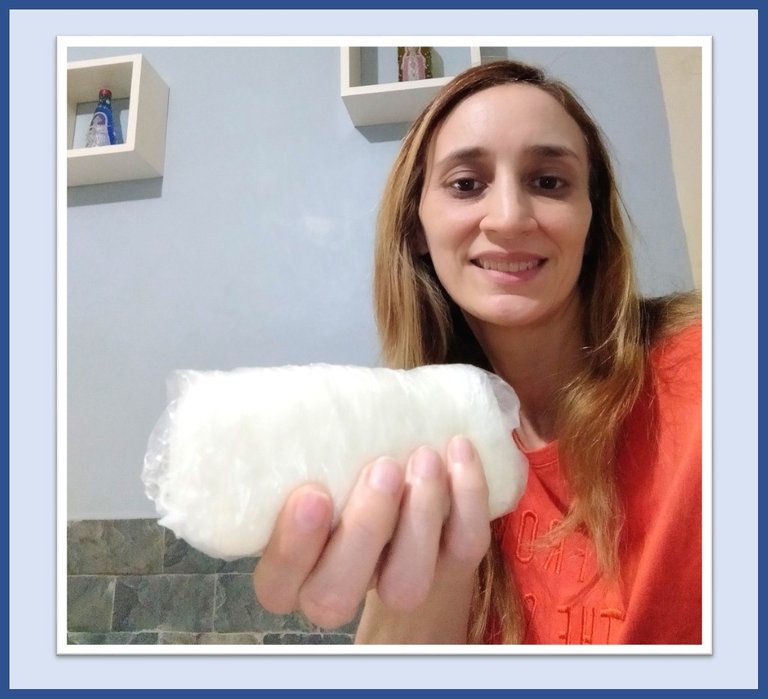
Una vez lista la masa retírala del sartén y, colócala en una bolsa plástica (libre de aire). Deja reposar la masa durante 5 minutos.
Step 3
Once the dough is ready, remove it from the pan and place it in a plastic bag (air free). Let the dough rest for 5 minutes.
Paso 4
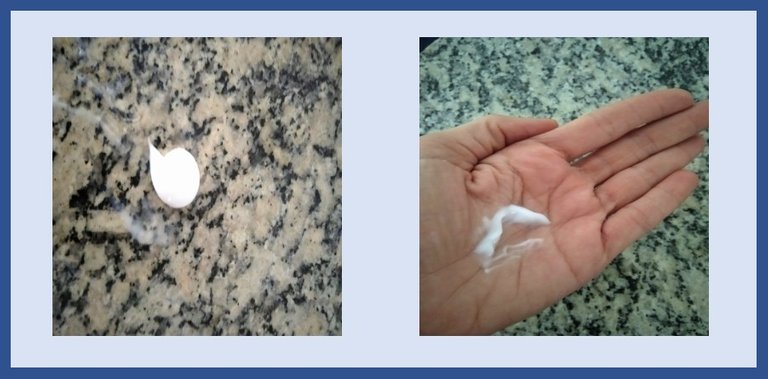
Limpia la superficie donde amasarás la masa y unta un poco de crema humectante en ella, de esta manera la masa no se pegará. Igualmente, te recomiendo colocar en tus manos para que sea más fácil el amasado.
Step 4
Clean the surface where you will knead the dough and spread a little moisturizing cream on it, this way the dough will not stick. Likewise, I recommend placing it in your hands to make kneading easier.
Paso 5
Transcurrido los 5 minutos, saca la masa de la bolsa y comienza amasar.
Step 5
After 5 minutes, take the dough out of the bag and start kneading.

Paso 6
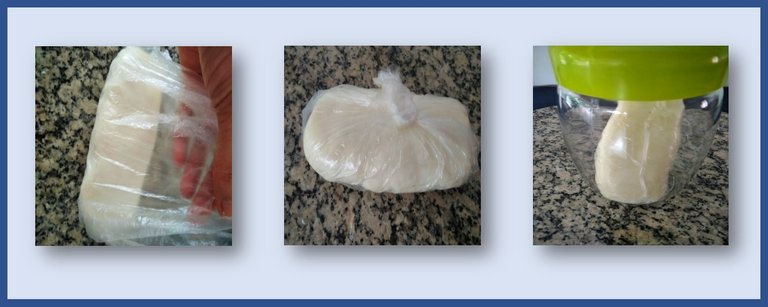
Una vez hayas amasado vuelve a colocar la masa en una bolsa plástica, sin aire ya que, el contacto con el mismo provoca que la masa se endurezca. Deja reposar durante todo un día y guárdala en un recipiente hermético.
Step 6
Once you have kneaded, place the dough back in a plastic bag, without air, since contact with it causes the dough to harden. Let stand for a whole day and store in an airtight container.
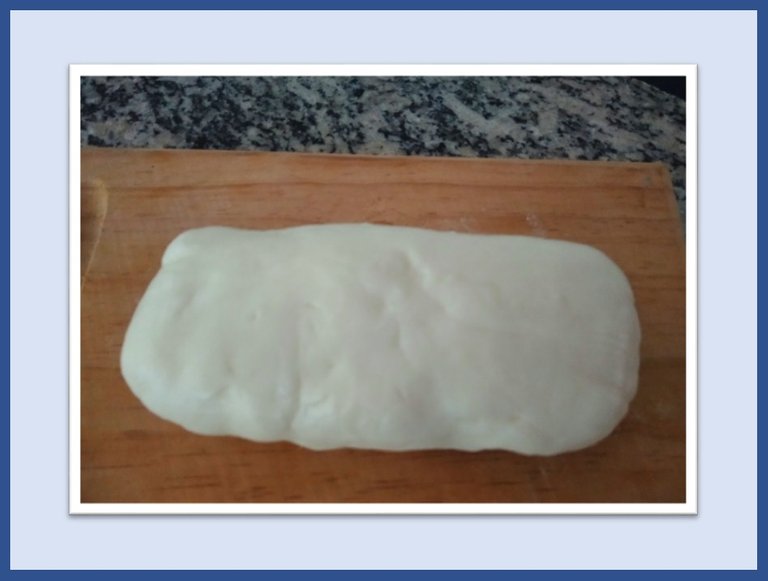
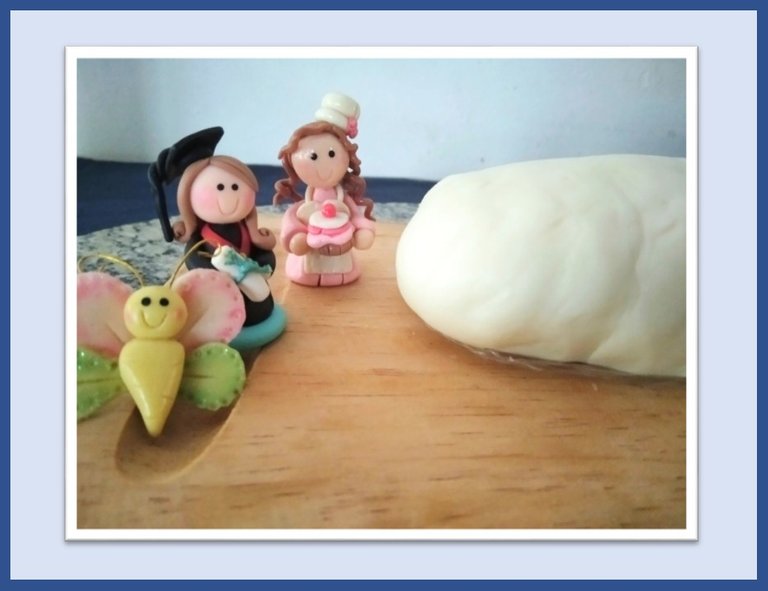
La masa flexible es una excelente opción a la hora de hacer cualquier tipo de manualidades, la técnica del modelado es variada y es un trabajo diario que con la práctica se va perfeccionando. También, se pueden utilizar moldes con los cuales puedes obtener figuras. Espero que te animes y pongas en práctica este paso a paso y comiences a modelar y a crear hermosas piezas. ¡Hasta una próxima oportunidad!
Flexible clay is an excellent option when making any type of craft, the modeling technique is varied and it is a daily job that is perfected with practice. Also, molds can be used with which you can obtain figures. I hope you will be encouraged and put this step by step into practice and start modeling and creating beautiful pieces. See you soon!
Consejos:
•Utiliza una pega que sea bastante espesa, yo recomiendo las pega utilizadas en carpintería.
•El benzoato de sodio es un conservante de alimentos sirve para evitar el moho en el pan y galletas.
•La masa queda natural por lo cual deberás añadir pintura blanca o del color que vayas a utilizar. Las pinturas que puedes utilizar son pinturas al óleo, pintura al frío o pinturas en polvo.
•Las figuras hechas con masa flexible no necesitan hornearse.
•El secado de las piezas tarda alrededor de un día o más dependiendo de su tamaño y las mismas se van secando de afuera hacia dentro.
Tips:
• Use a glue that is quite thick, I recommend the glue used in carpentry.
• Sodium benzoate is a food preservative used to prevent mold on bread and crackers.
• The dough is natural so you should add white paint or the color you are going to use. The paints that you can use are oil paints, cold paint or powder paints.
• Figures made with flexible clay do not need to be baked.
• The drying of the pieces takes about a day or more depending on their size and they dry from the outside in.

