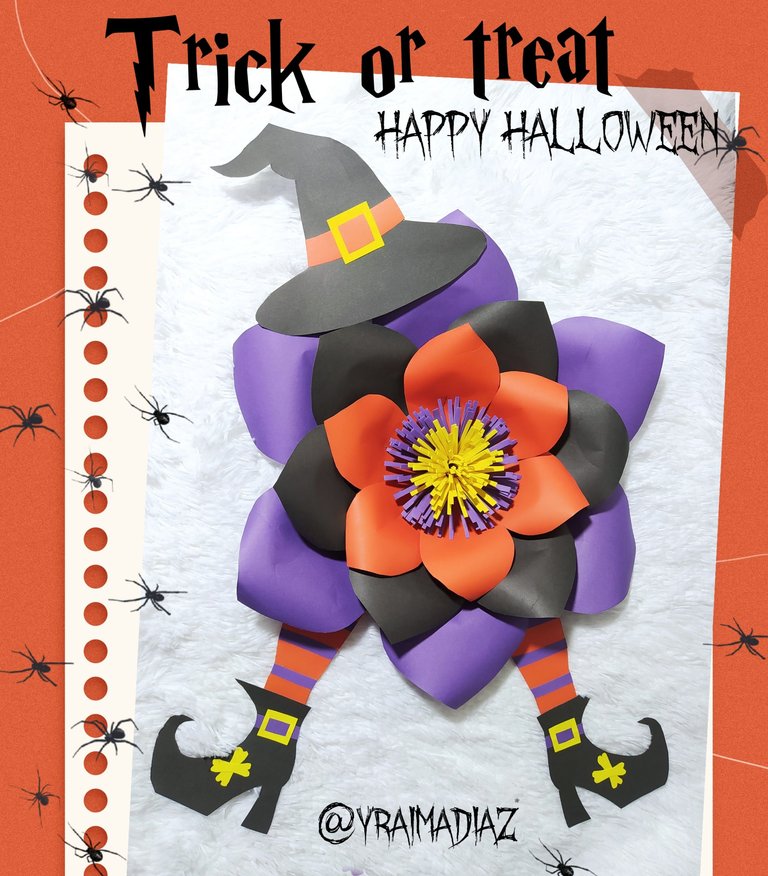
¡Hola, hola! Mi gente hermosa y creativa que nos leemos desde cualquier rinconcito del mundo
Today I am joining the special Halloween themed contest brought to us by my dear and beautiful community @diyhhub.
Here is the link for you to join
Hoy me uno al concurso temático especial de Halloween que nos ha traído mi querida y bella comunidad @diyhhub
Aquí les comparto el link para que se unan
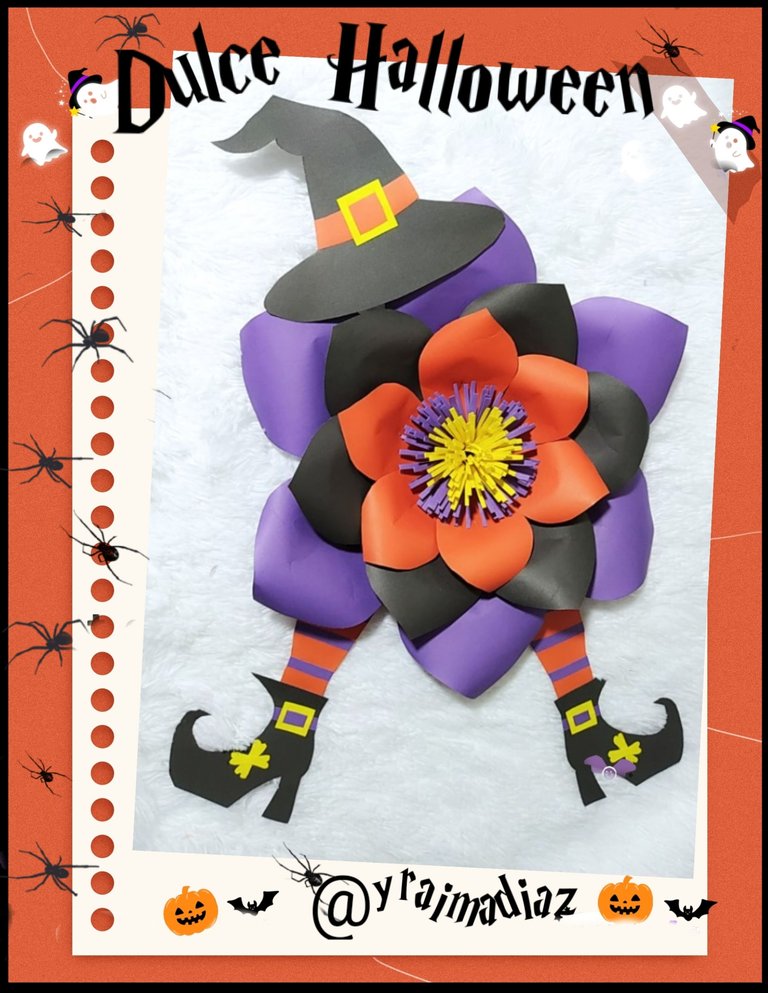
For my share I have brought you a Terrifying yet Beautiful Witch Flower to place on the front door of the house to encourage children to celebrate and trick or treat.
Para mí participación les he traído una Terrorífica y a su vez Hermosa Flor Bruja para colocar en la puerta de entrada de la casa para animar a los niños a celebrar y pedir dulces o truco.
I made this craft using school cardboard of different colors and their respective molds, a little glue and voila, the magic happened.
If you love to decorate your house for Halloween I invite you to join me to make this craft.
Está manualidad la realicé utilizando cartulinas escolares de distintos colores su respectivos moldes un poco de pegamento y voila ocurrio la magia.
Si eres como ya amante decorar tu casa en Halloween te invito me acompañes a realizar está manualidad.
I share with you the list of materials to be used.
Te comparto la lista de los materiales a utilizar.
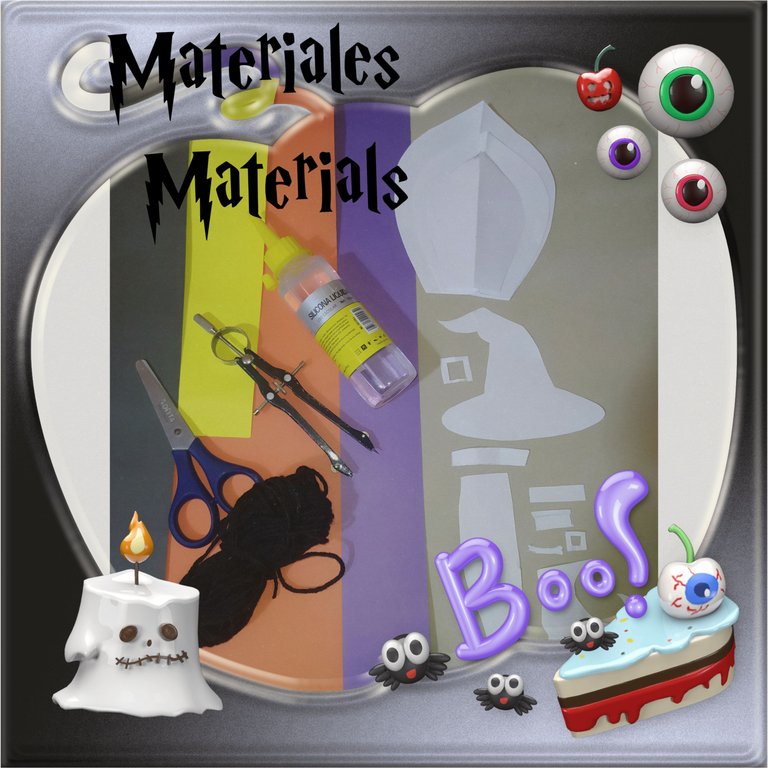
Materiales.
- Cartulina escolar morada.
- Cartulina escolar negra
- Cartulina escolar naranja.
- Cartulina escolar amarilla.
- Silicón al frio.
- Tijeras.
- Regla.
- Compas.
- Lápiz.
- Estambre negro.
- Moldes pétalos de flor.
- Molde sombrero de bruja
- Moldes accesorios del sombrero.
- Molde piernas o medias de la bruja.
- Molde raya de las medias.
- Molde zapatos de bruja.
- Moldes accesorios de los zapatos.
Materials.
- Purple school poster board.
- Black school cardboard.
- Orange school cardboard.
- Yellow school cardboard.
- Cold glue.
- Scissors.
- Ruler.
- Compass.
- Pencil.
- Black yarn.
- Flower petal molds.
- Witch hat mold.
- Mold hat accessories.
- Mold legs or stockings of the witch.
- Mold stripe of the stockings.
- Witch shoes mold.
- Moulds accessories of the shoes.
Step number one.
Paso número uno.
 |  |  |
|---|
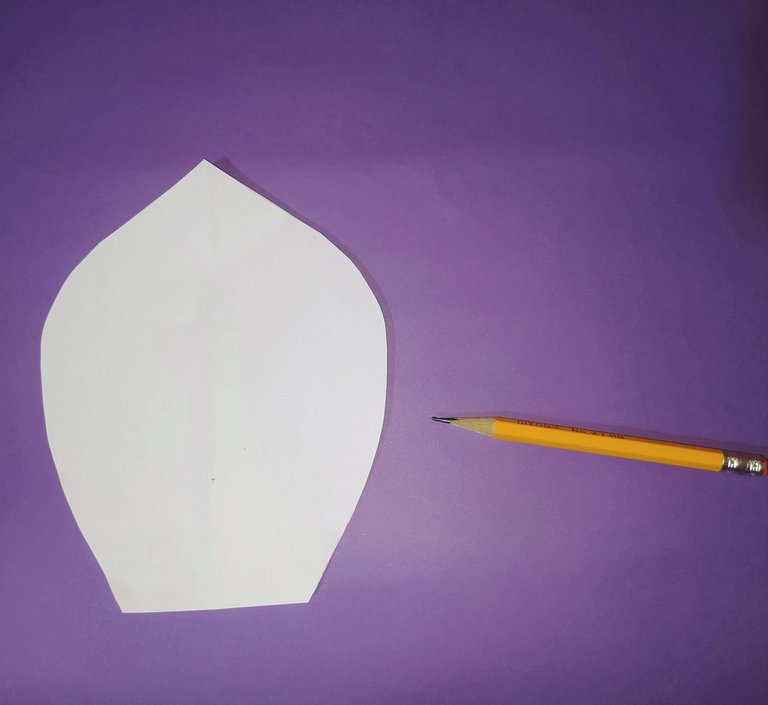
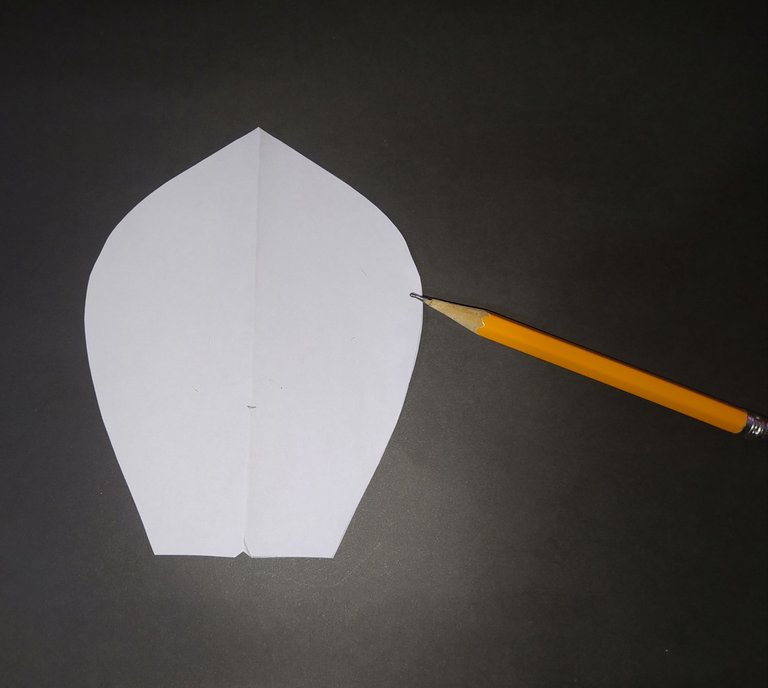
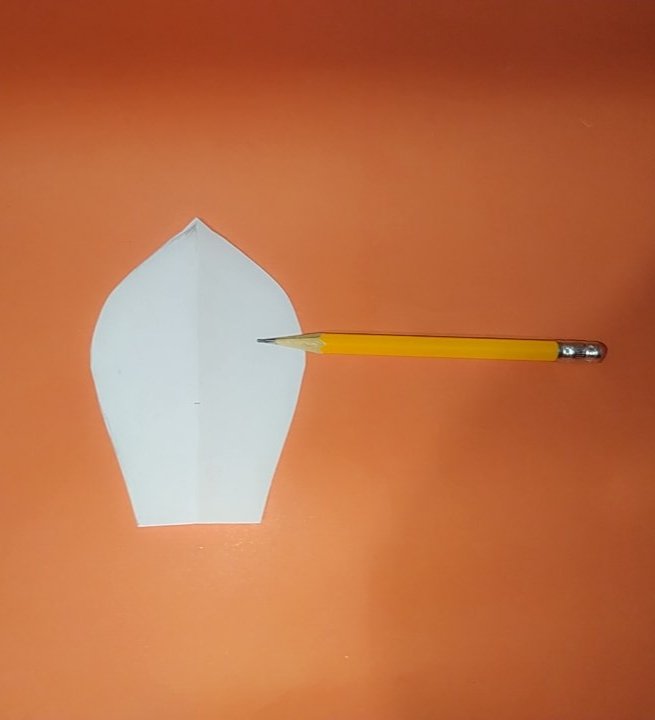
- The first thing we will do is to mark the flower petal molds on the cardboard.
- We are going to mark 6 times each petal of different sizes.
- Lo primero que haremos es marcar los moldes de los pétalos de la flor en la cartulina.
- Vamos a marcar 6 veces cada pétalo de los distintos tamaños.
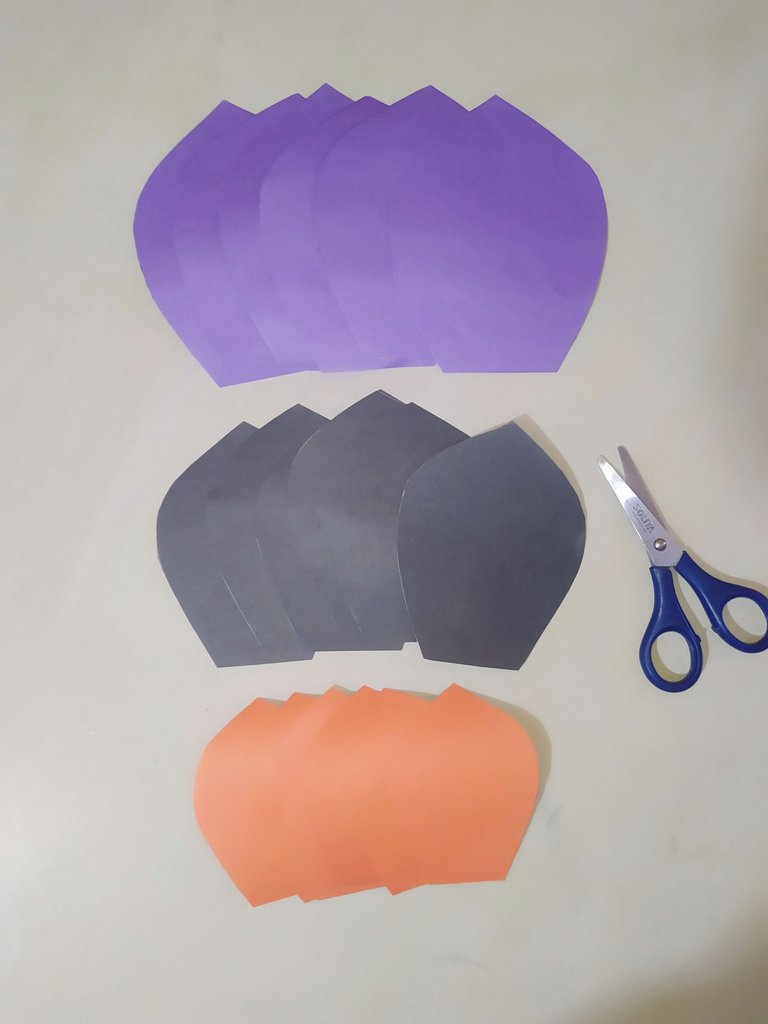
- Then we cut out each one all around the edge.
- Luego recortamos cada uno por todo el borde.
Step number two.
Paso número dos.
 |  |  |
|---|
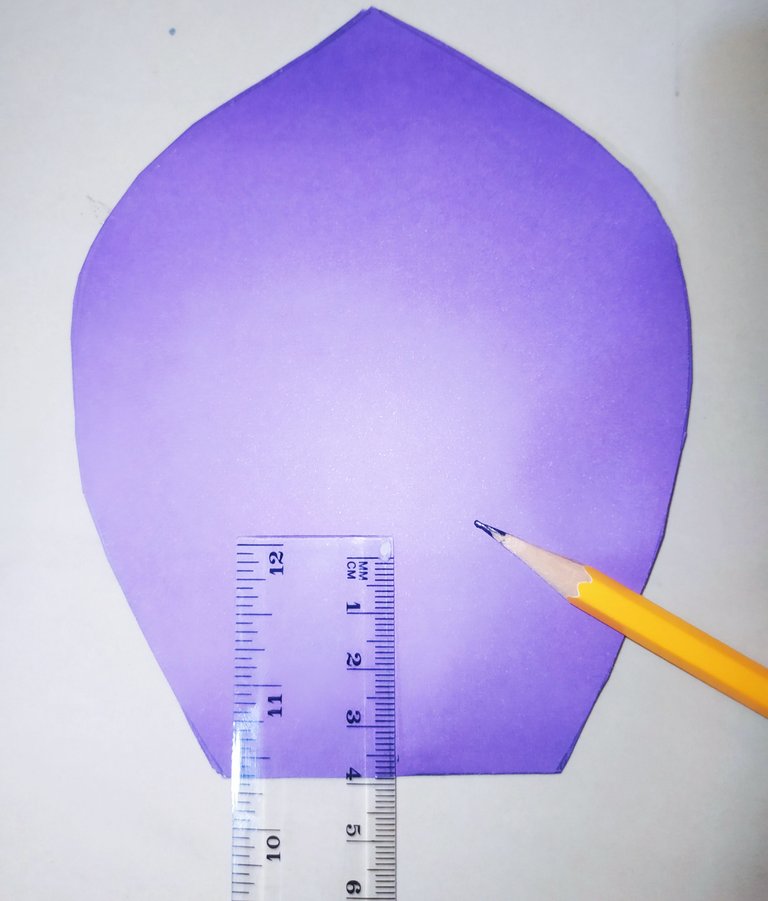
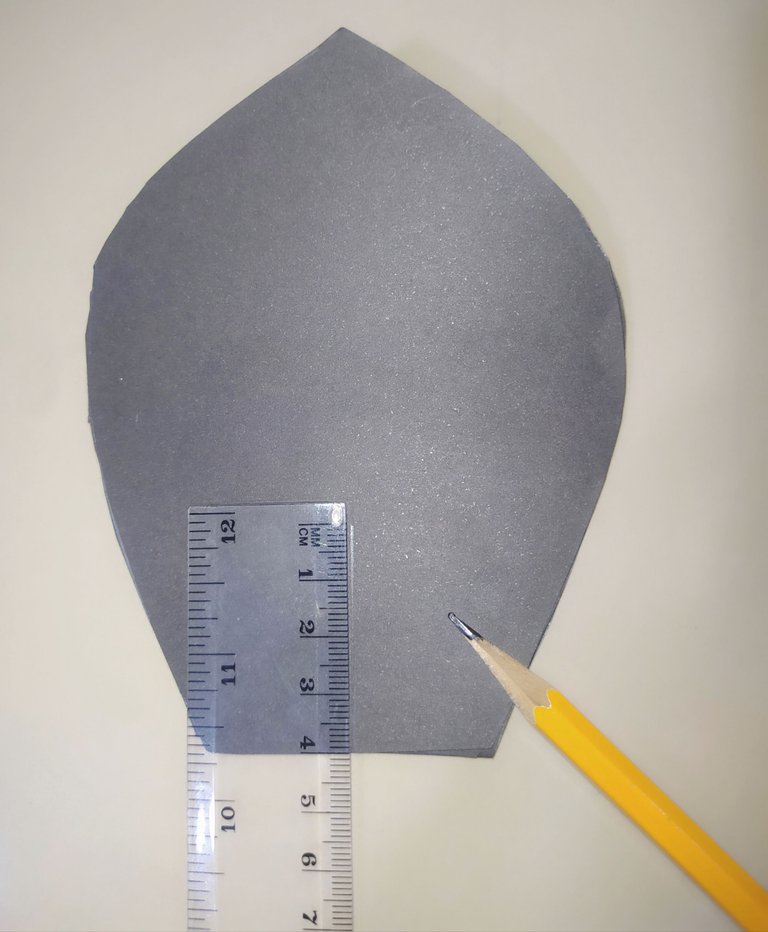
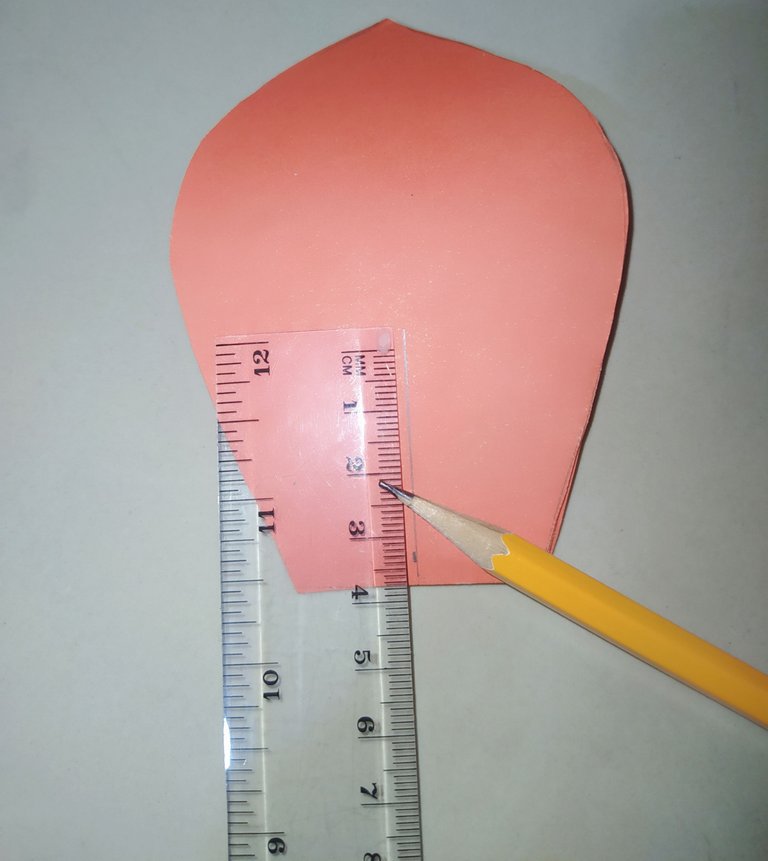
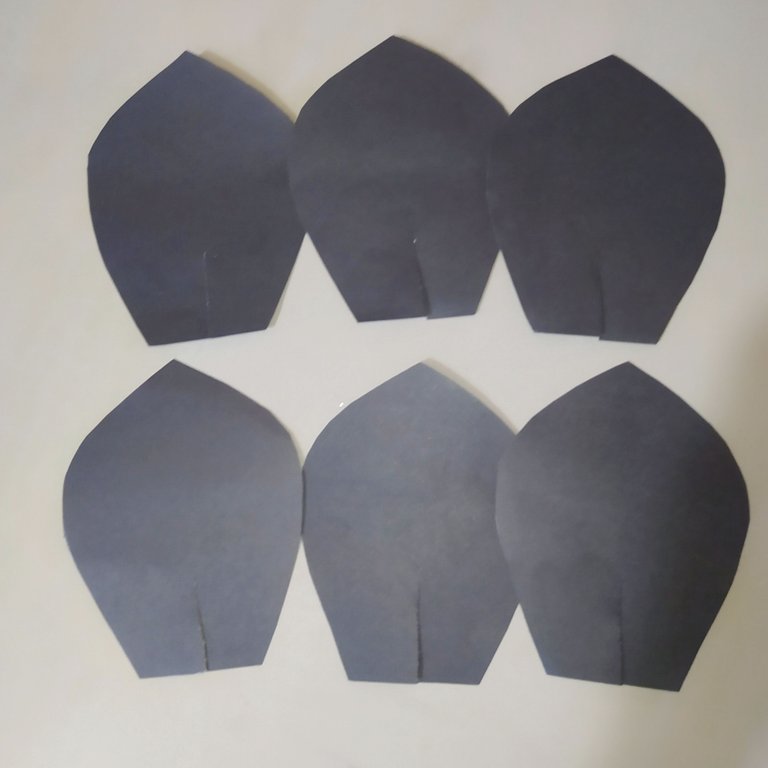
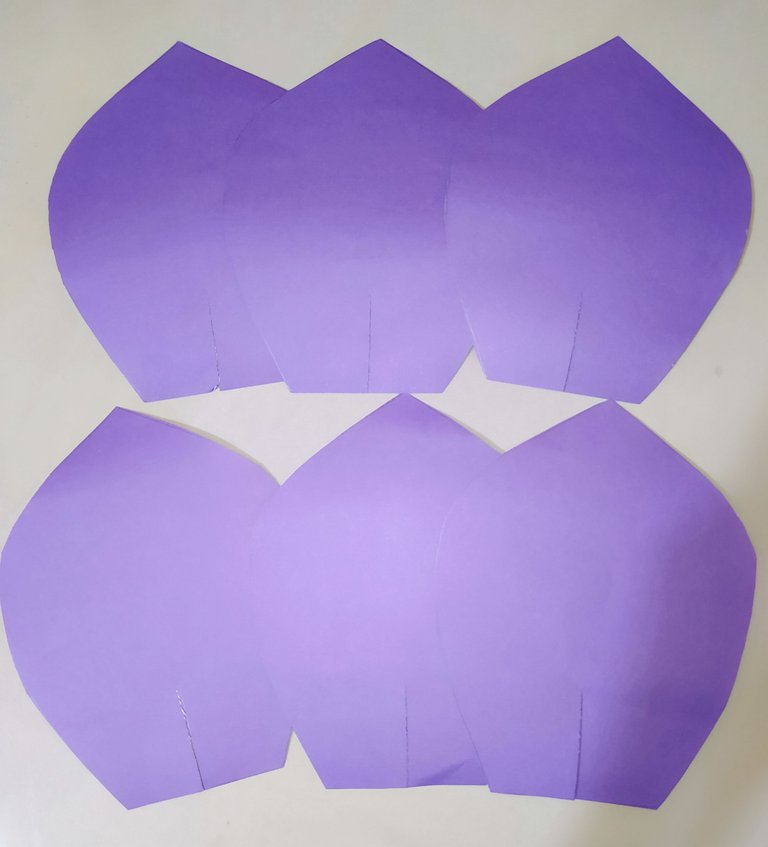
- Group the petals by color (remember that there are 6 of each).
- We measure four centimeters in height from the base upwards throughout the center.
- Agrupamos los pétalos por color (recuerden que son 6 de cada uno)
- Medimos cuatro centímetros de altura desde la base hacia arriba en todo el centro.
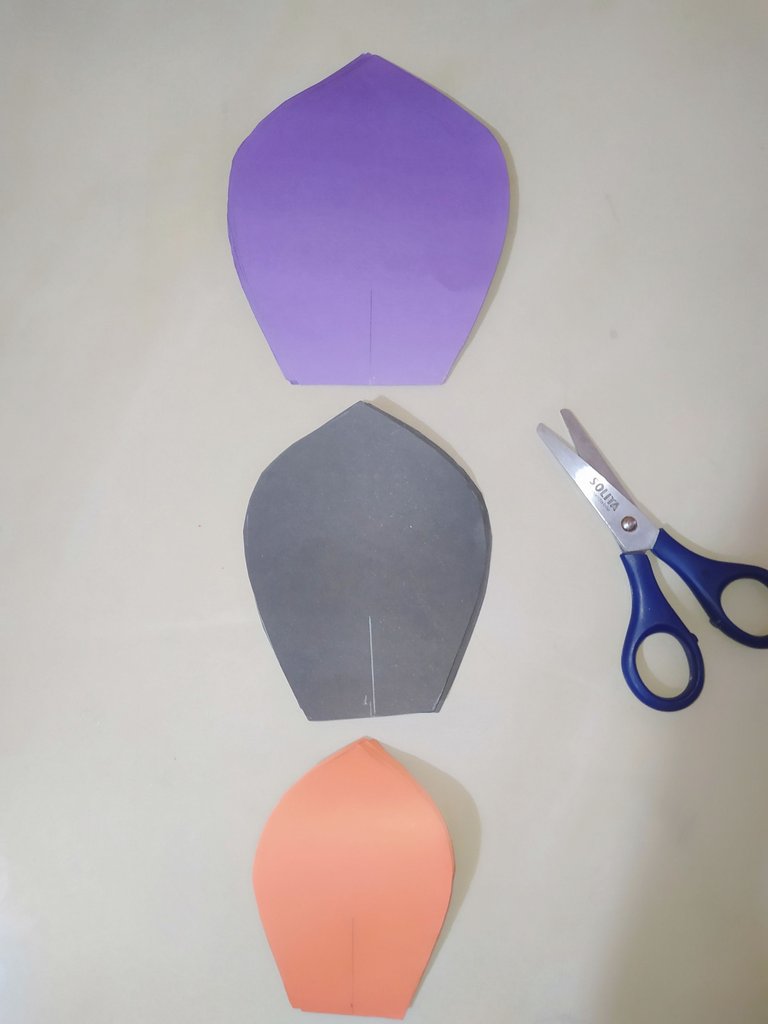
- Then we cut out with the help of the scissors.
- Luego recortamos con la ayuda de la tijera.
 |  |  |
|---|
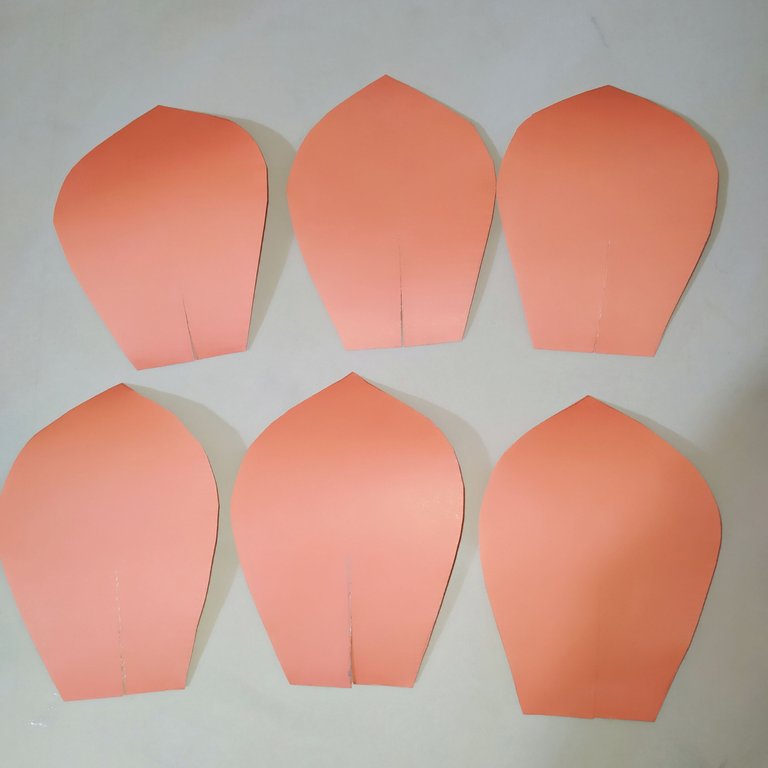
- Here are all the petals cut out at the bottom of the base.
- Aquí les nuestros todos los Petalos recortados en la parte de abajo de la base.
Step number three
Paso número tres.
 |  |  |
|---|
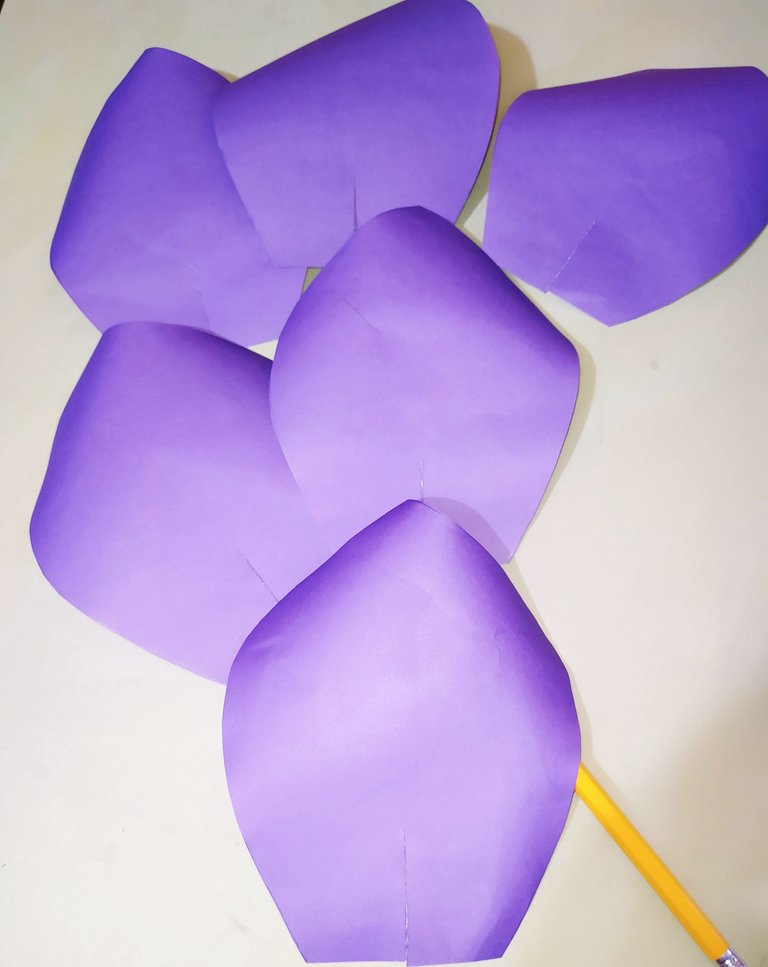
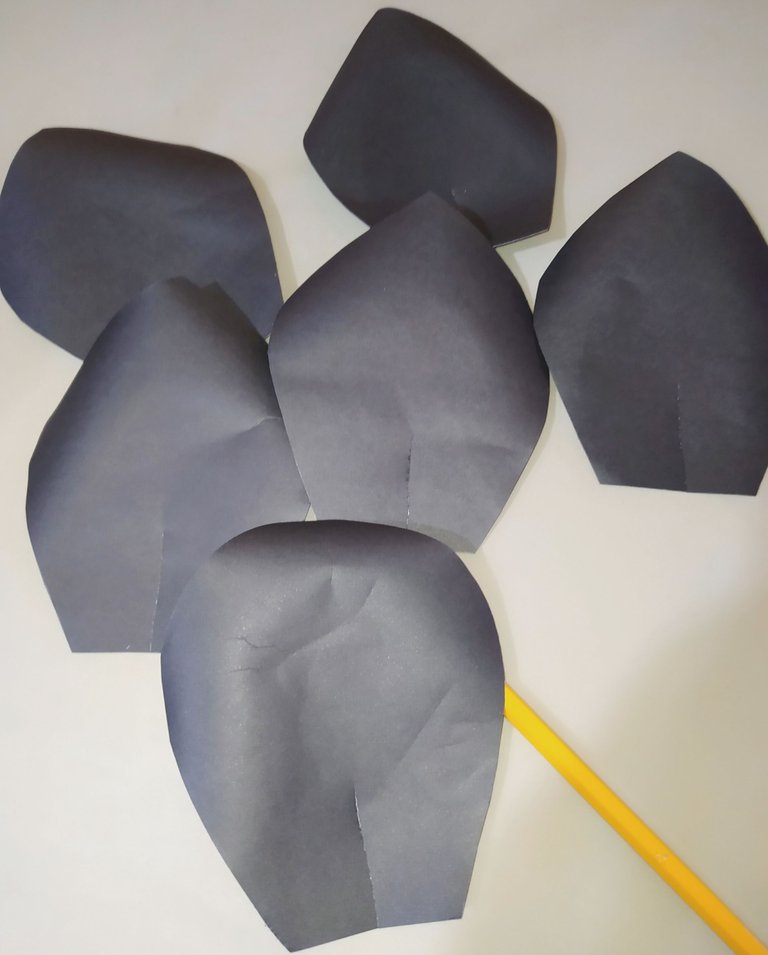
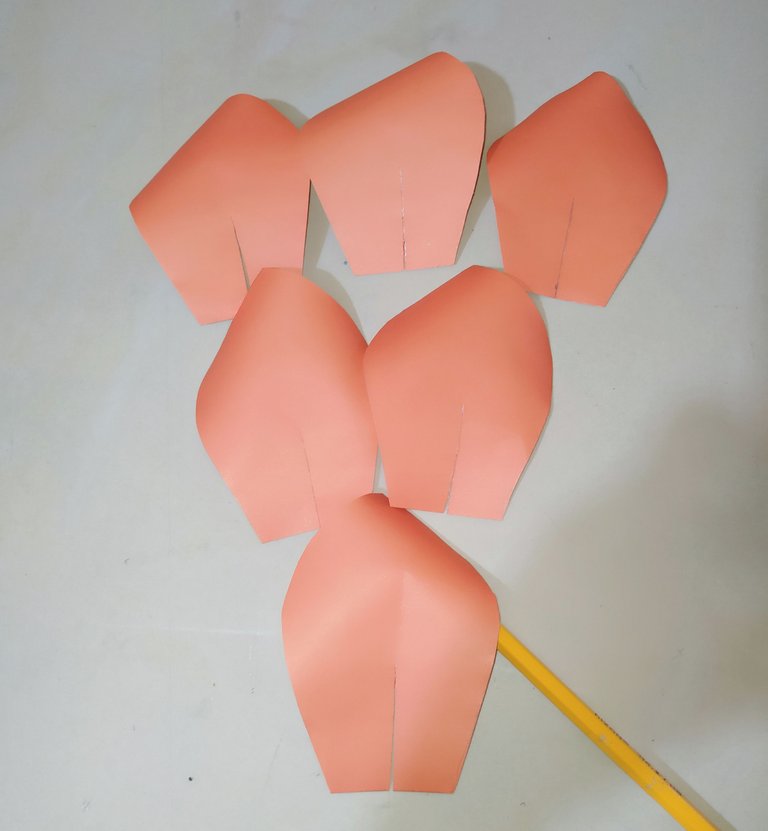
- We take a pencil and place it on the bottom of the petals and give shape making a downward movement, on both sides of the petals.
- Repeat the same procedure with each of the petals.
- Tomamos un lápiz lo colocamos por la parte de abajo de los petalos y damos forma haciendo un movimiento hacia abajo, por ambos lados de los pétalos.
- Repetimos el mismo procedimiento con cada uno de los pétalos.
Step number four.
Paso número cuatro.
 |  |  |
|---|
 |  |  |
|---|
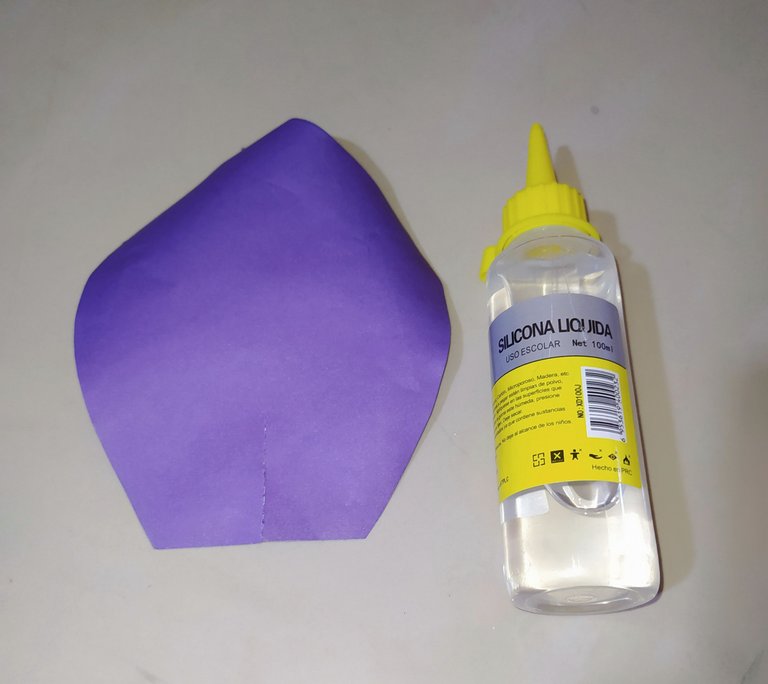
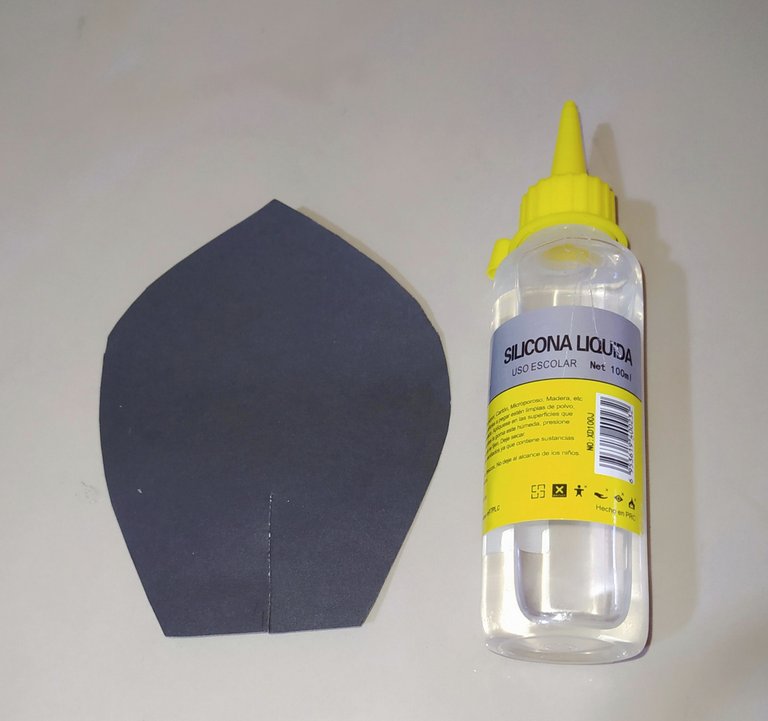
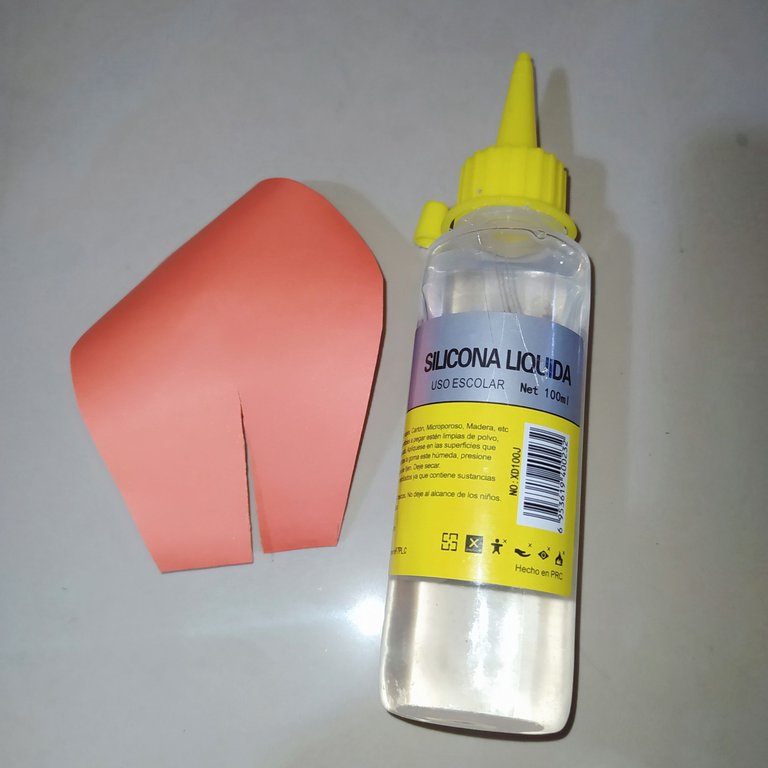
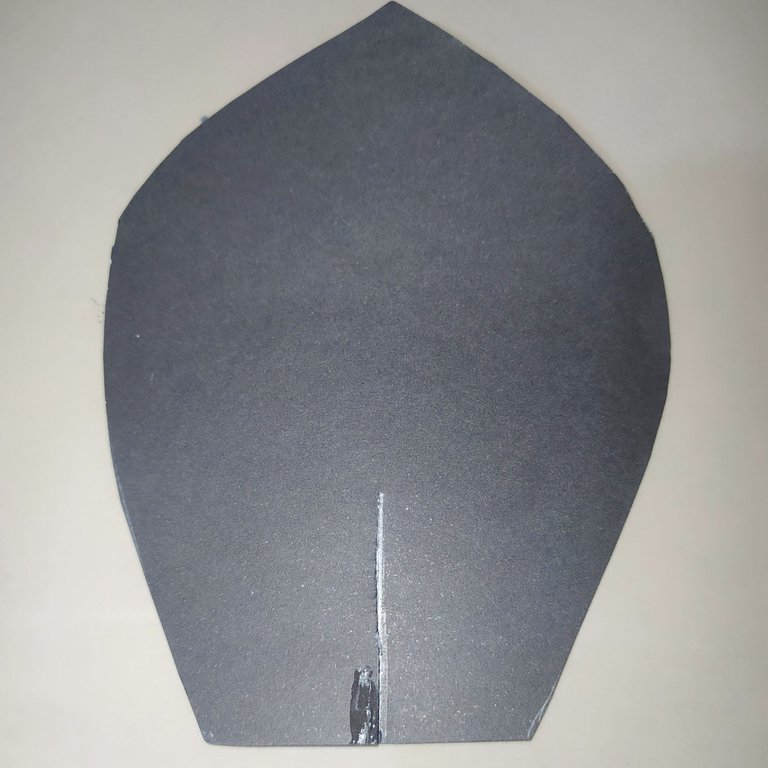
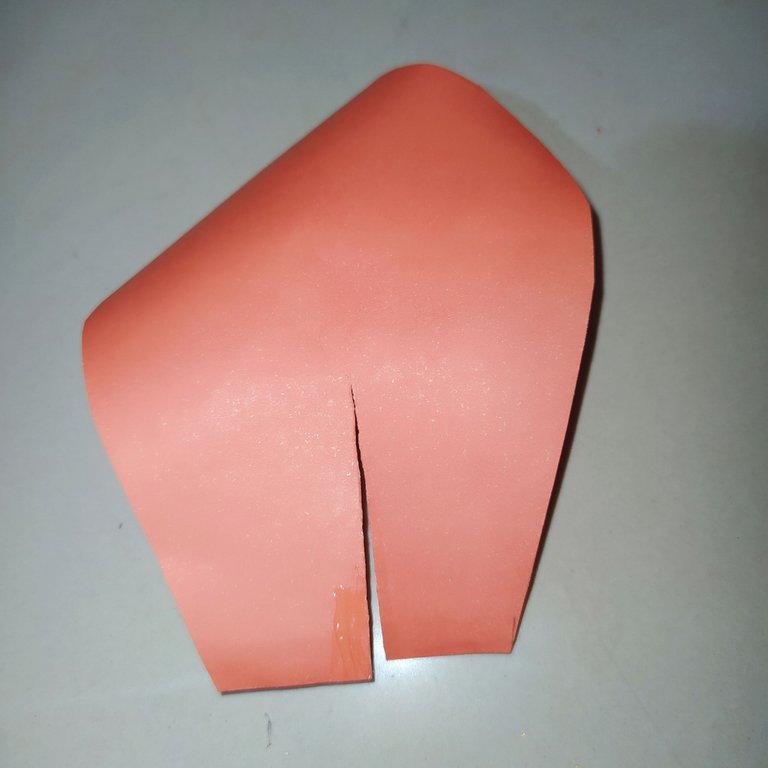
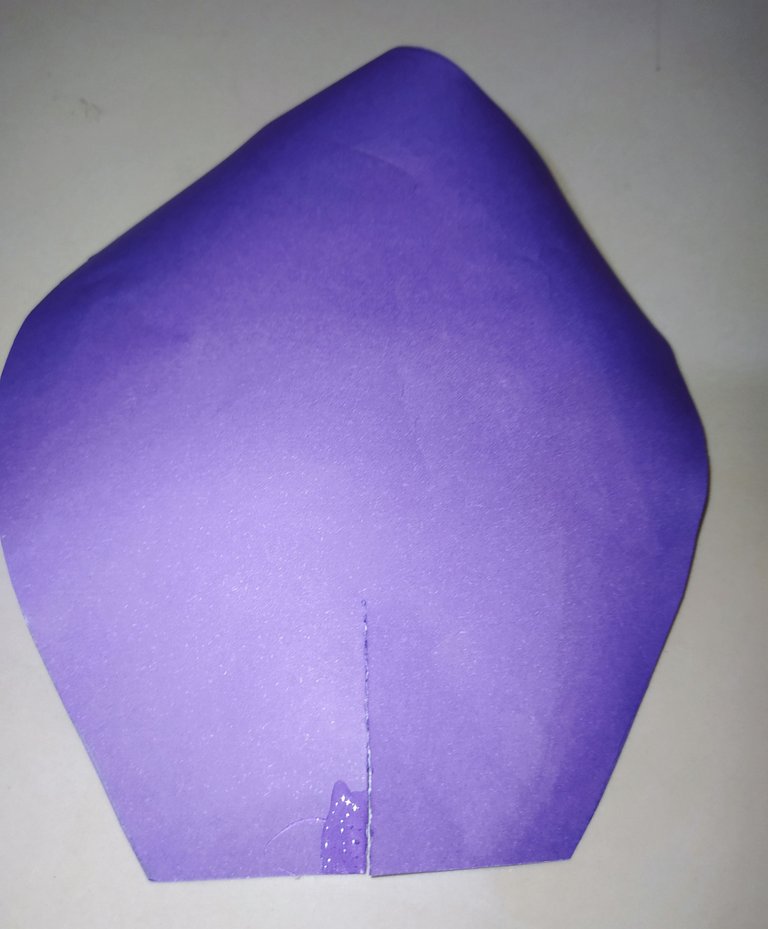
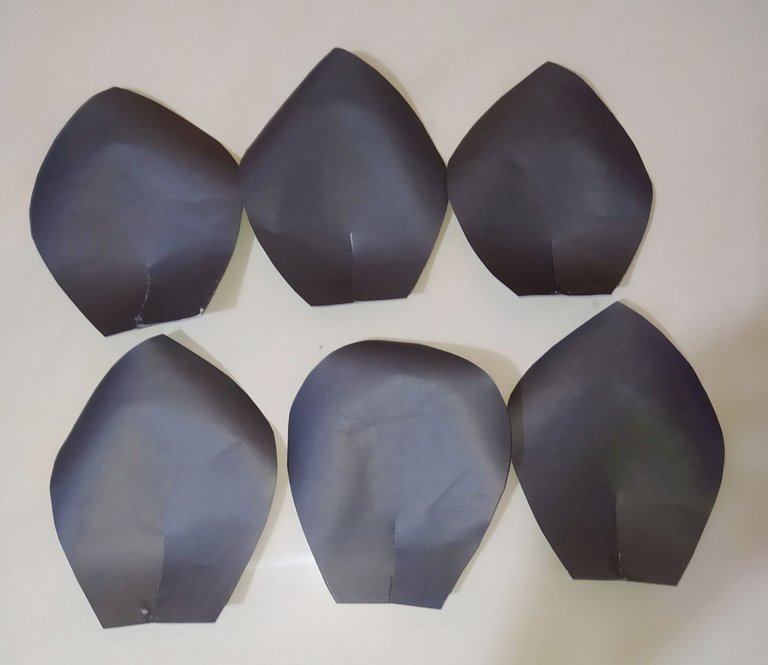
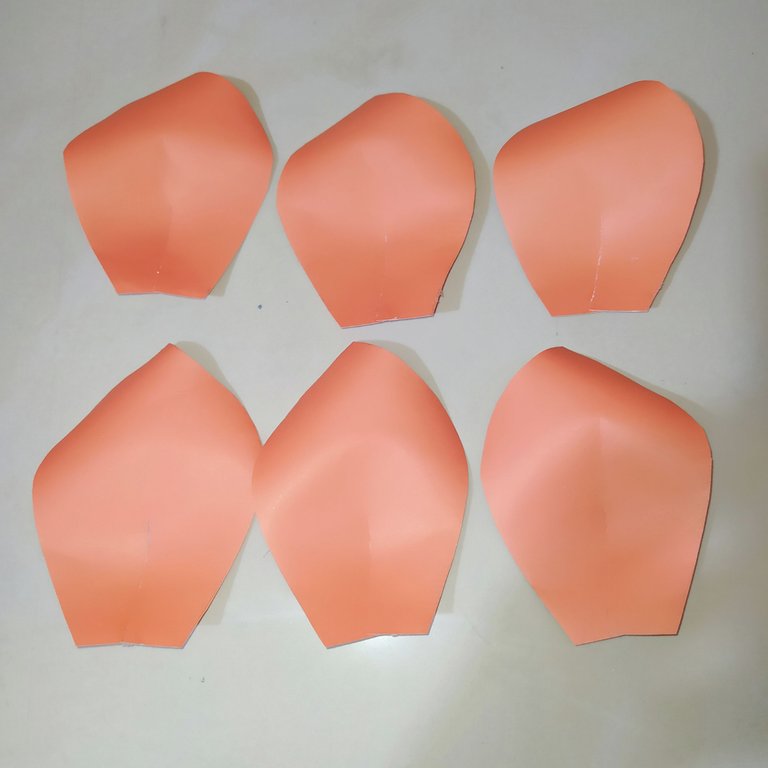
- Place a little silicone on the left side of the base of the petals and then place the right side of the petal on top.
- We make pressure so that it sticks well.
- Colocamos un poco de silicón en el lado izquierdo de la base de los pétalos y luego le colocamos encima la parte del pétalo del lado derecho.
- Hacemos presión para que pegue bien.
 |  |  |
|---|
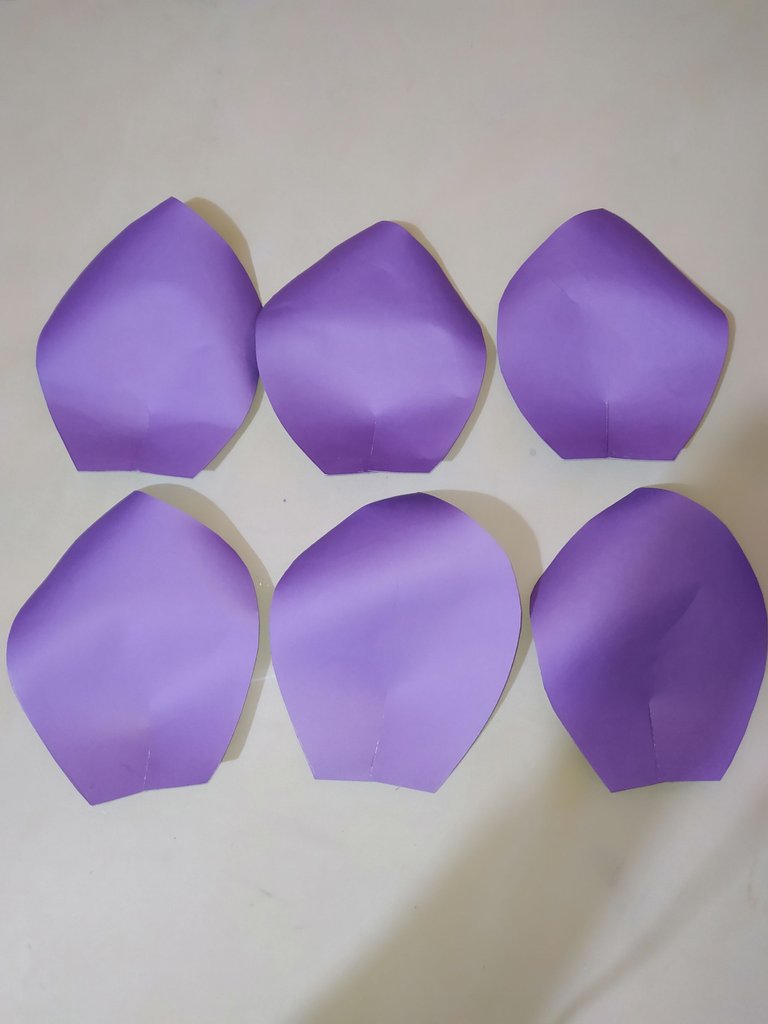
- The petals immediately take a nice shape, as I show you below.
- Los pétalos enseguida toman una bonita forma, como les muestro a continuación.
Step number five.
Paso número cinco.
 |  |
|---|
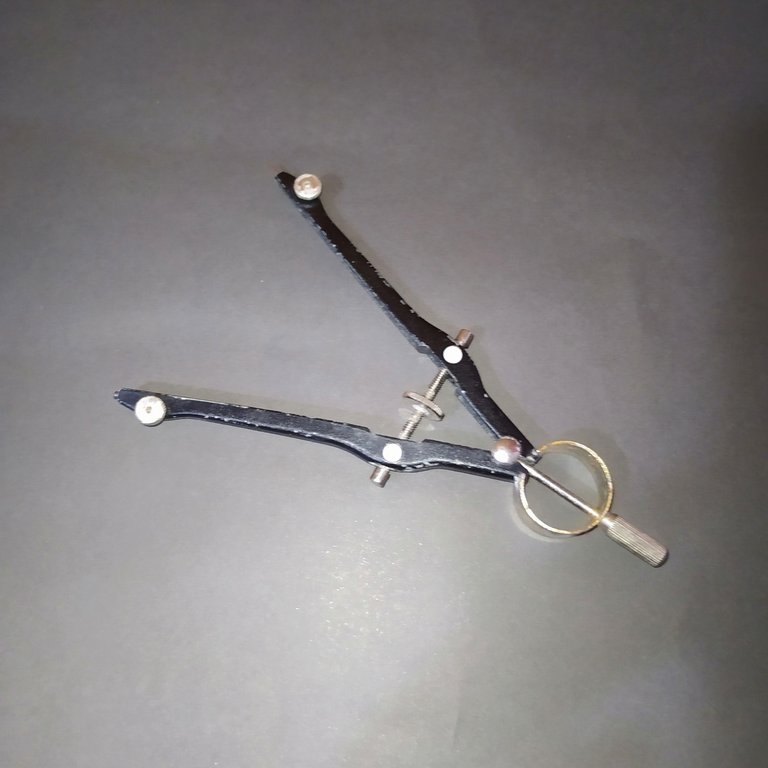
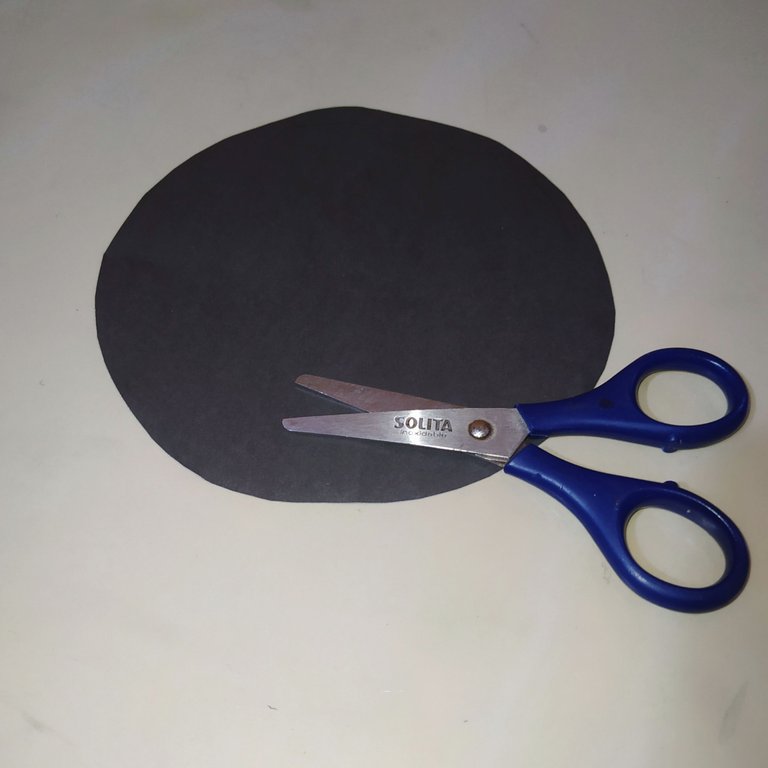
- We make the base of the flower.
- We take the black cardboard and with the compass we make a circle.
- Then we cut out all around the edge.
- Realizamos la base de la flor.
- Tomamos la cartulina color negra y con el compás realizamos un círculo.
- Luego recortamos por todo el borde.
Step number six.
Paso número seis.
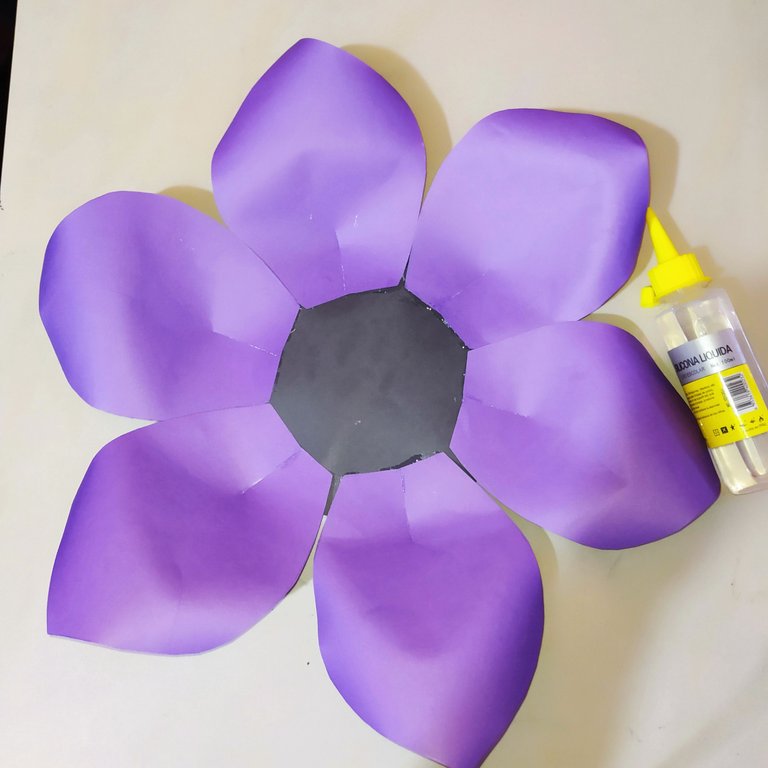
- We put silicone on the base part of the purple petals and glue one by one on the base.
- Le colocamos silicón en la parte de la base a los pétalos morados y pegamos uno a uno en la base.
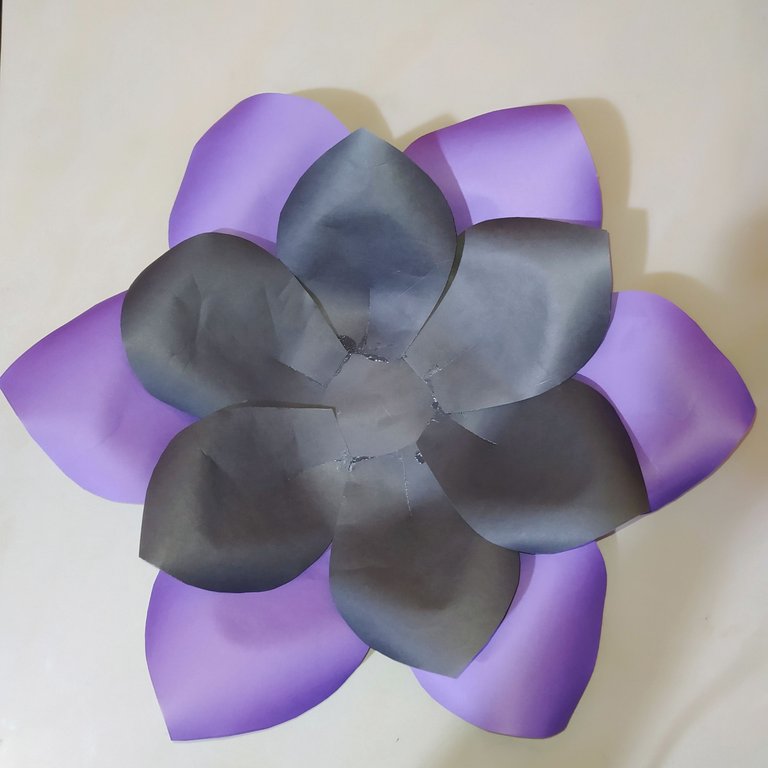
- Then we glue the black petals, taking into account that we must glue the first petal at the junction of two purple petals.
- Then we continue gluing the rest of the petals in the same order.
- Luego pegamos los pétalos de color negros, tomando en cuenta que debemos pegar el primer pétalo en la unión de dos pétalos morados.
- Luego seguimos pegando el resto de los pétalos en el mismo orden.
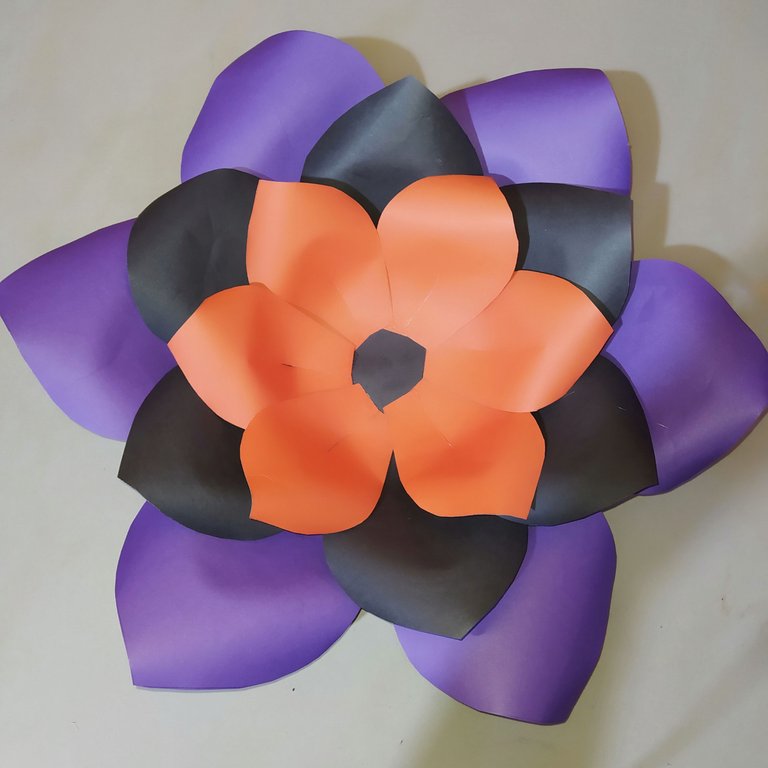
- Now we will pay the orange petals.
- We must glue the first petal at the junction of two black petals.
- In the same way we glue the rest of the petals.
- Already our beautiful witch flower is taking its shape.
- Ahora pagaremos los pétalos de color naranja.
- Debemos pegar en primer petalo en la unión de dos pétalos negro.
- De igual manera pegamos el resto de los pétalos.
- Ya nuestra bella flor va tomando su forma.
Step number seven.
Paso número siete.
 |  |
|---|
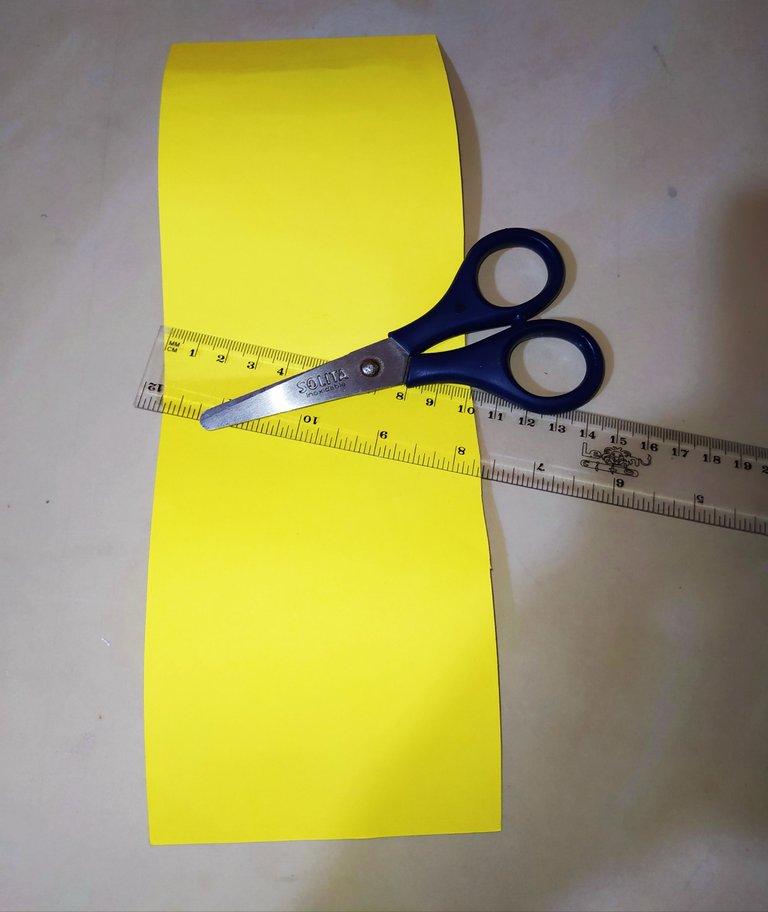
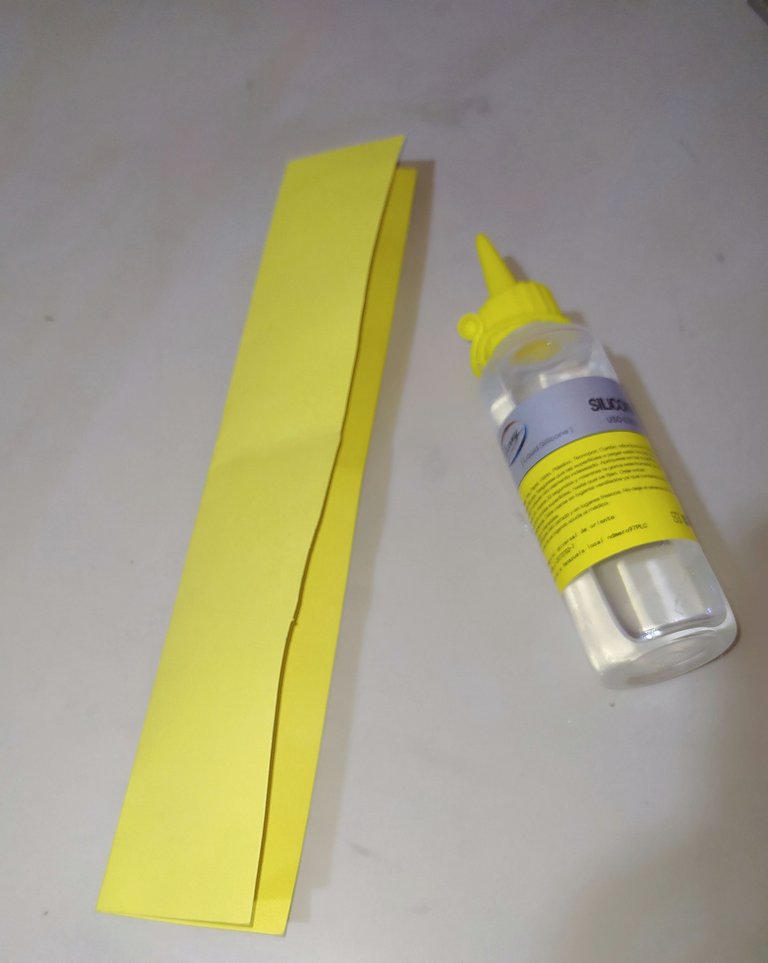
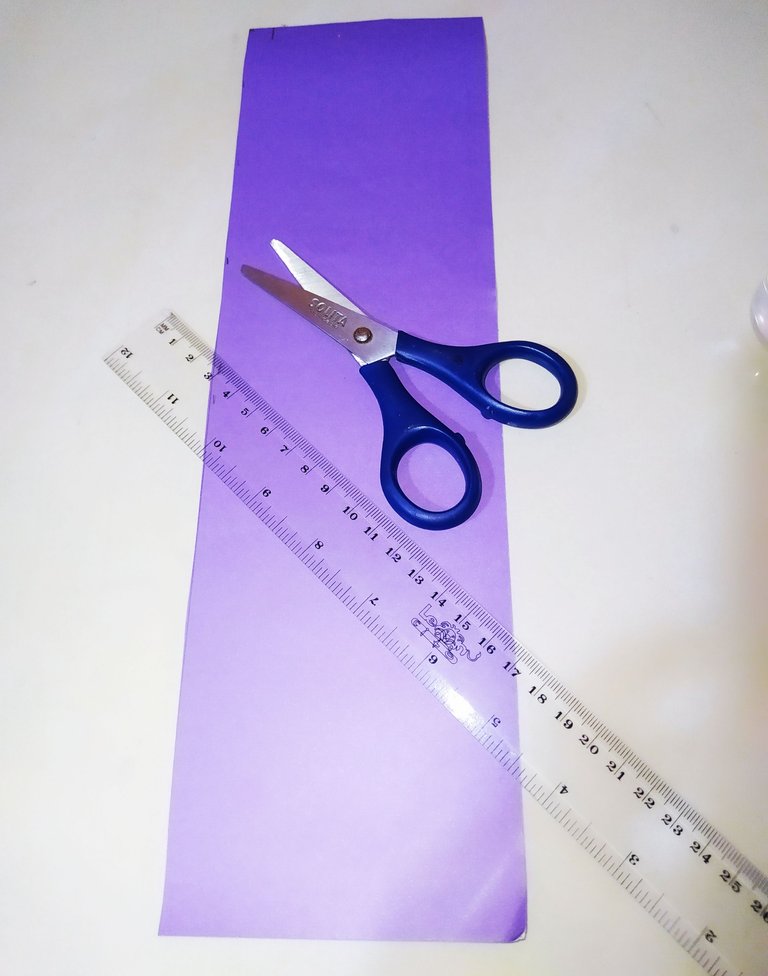
- We are going to make the center of the flower or pistils.
- Cut out a rectangle of yellow cardboard 20 cm wide by the length of the cardboard.
- Fold it in half and place silicone all around the edge to glue it in place.
- Vamos a realizar el centro de la flor o pistilos
- Recortamos un rectángulo de cartulina amarilla de 20 cm de ancho por el largo de la cartulina.
- Doblamos a la mitad y colocamos silicón por toda la orilla para pegar
 |  |
|---|
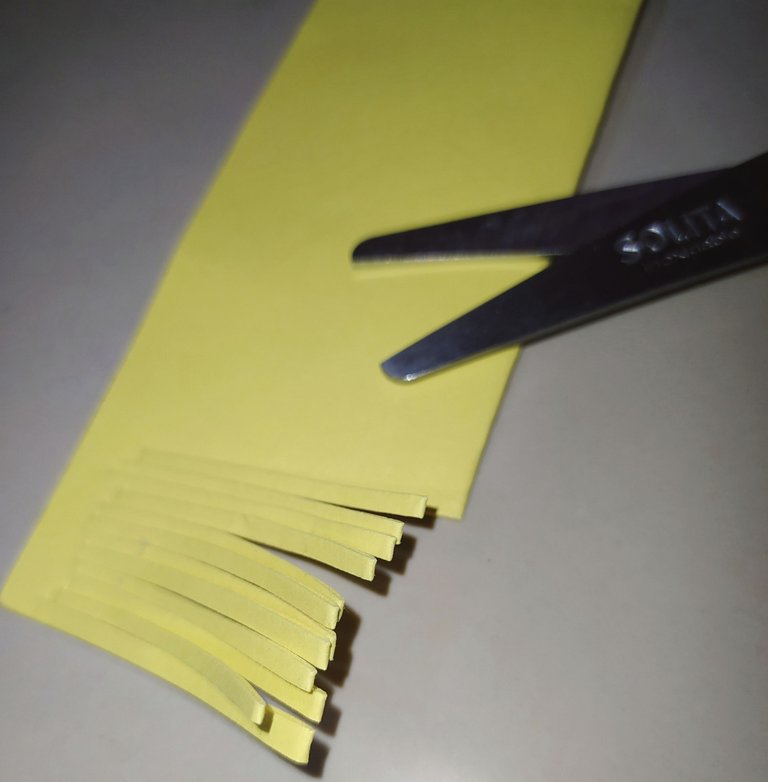
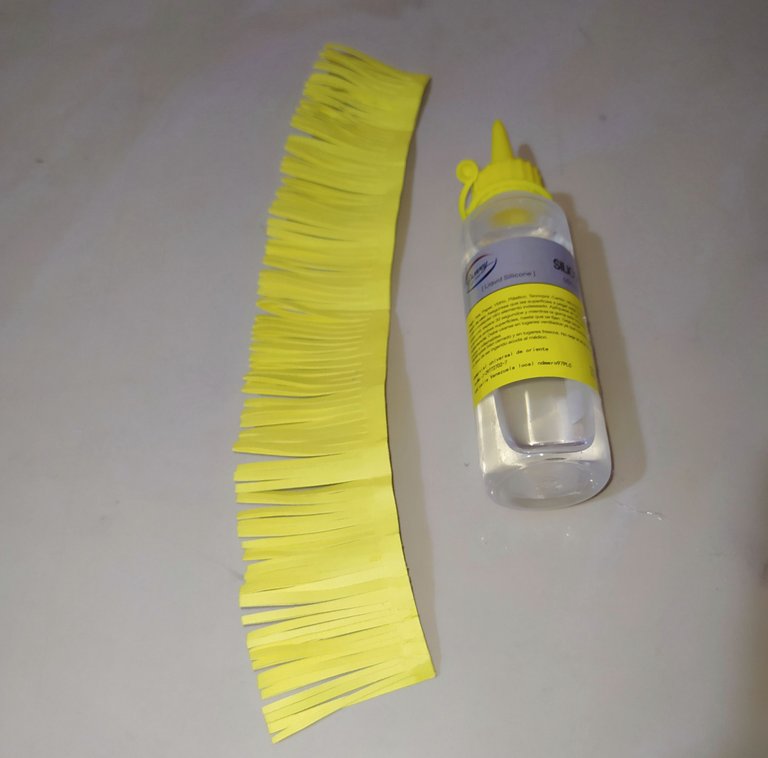
- We start cutting many strips without reaching the base of the cardboard.
- Then we put silicone on the whole base.
- Empezamos a cortar muchas tiritas sin llegar a la base de la cartulina.
- Luego le colocamos silicón en toda la base.
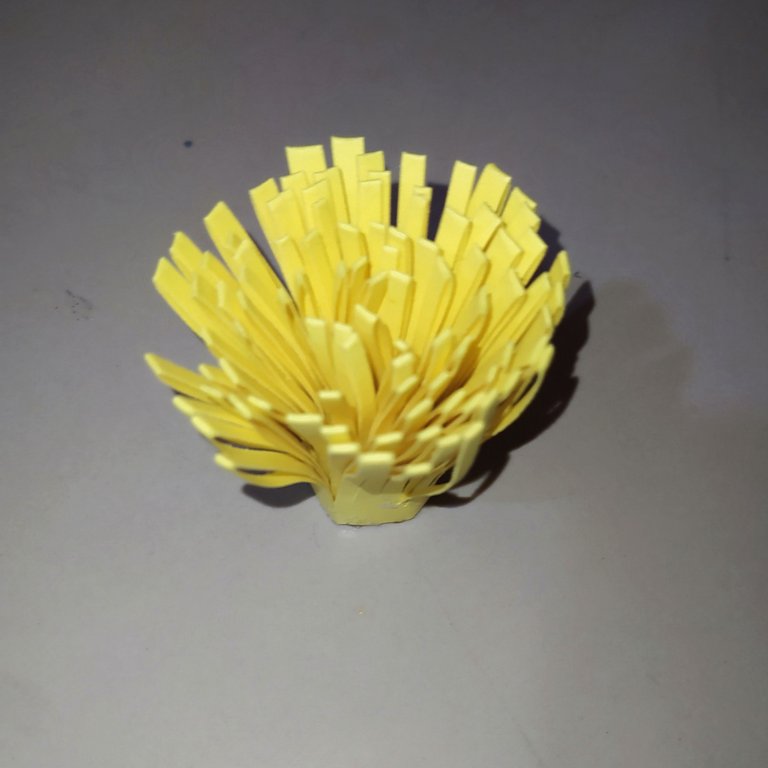
- And we proceed to roll, and we are going to be leaving the pistils gives this form as I show below.
- Y procedemos a enrollar, y nos van a ir quedando los pistilos da está forma como les muestro a continuación.
 |  |
|---|
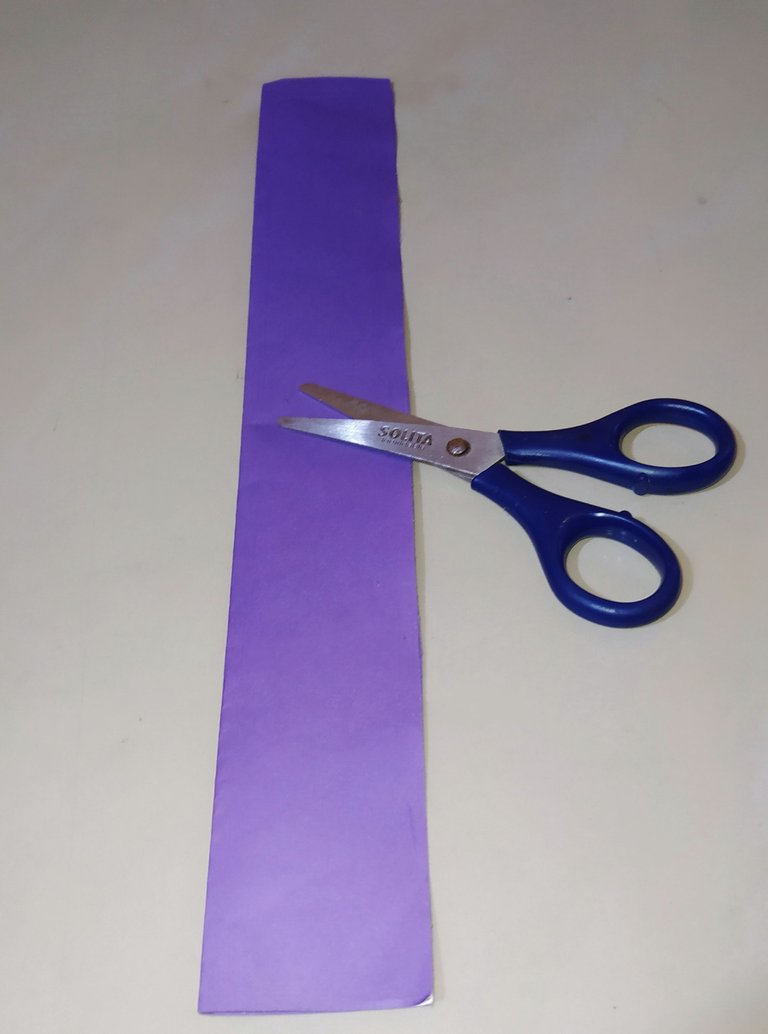
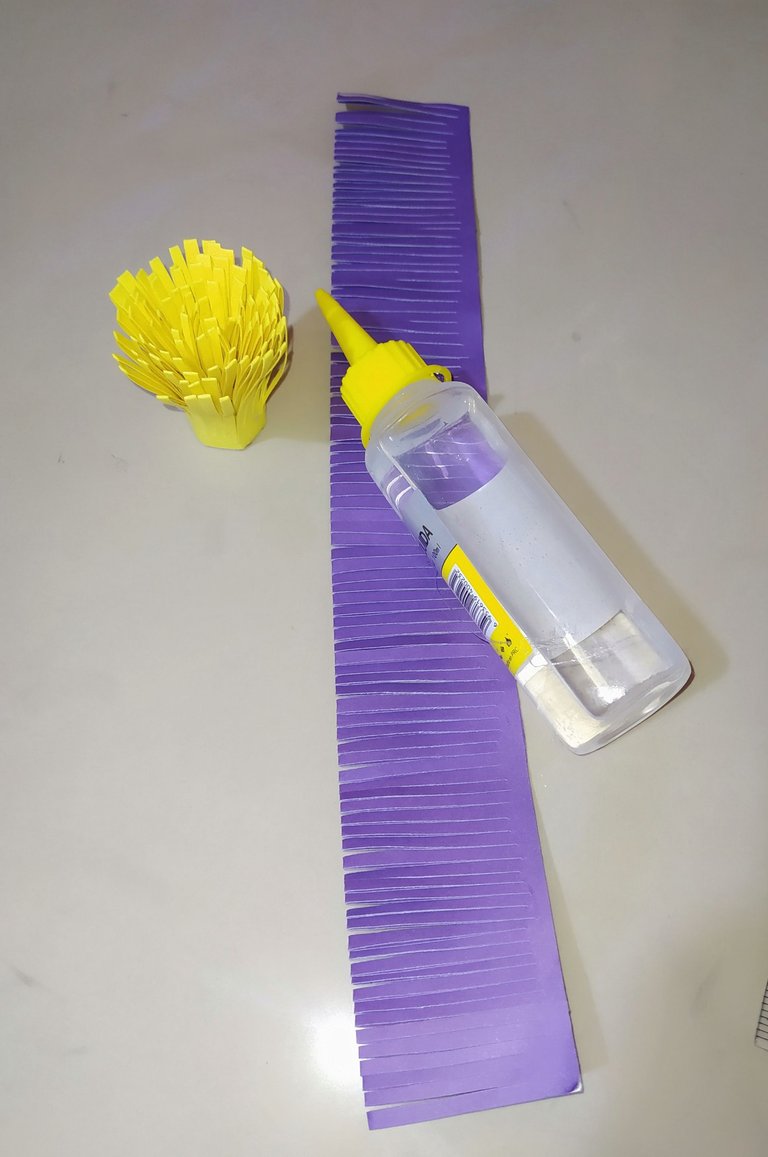
- Then we repeat the same procedure with a strip of purple cardboard with the same measurements and glue on the base in the same way.
- Luego repetimos el mismo procedimiento con una tira de cartulina morada con las mismas medidas y pegamos en la base igual.
 |  |
|---|
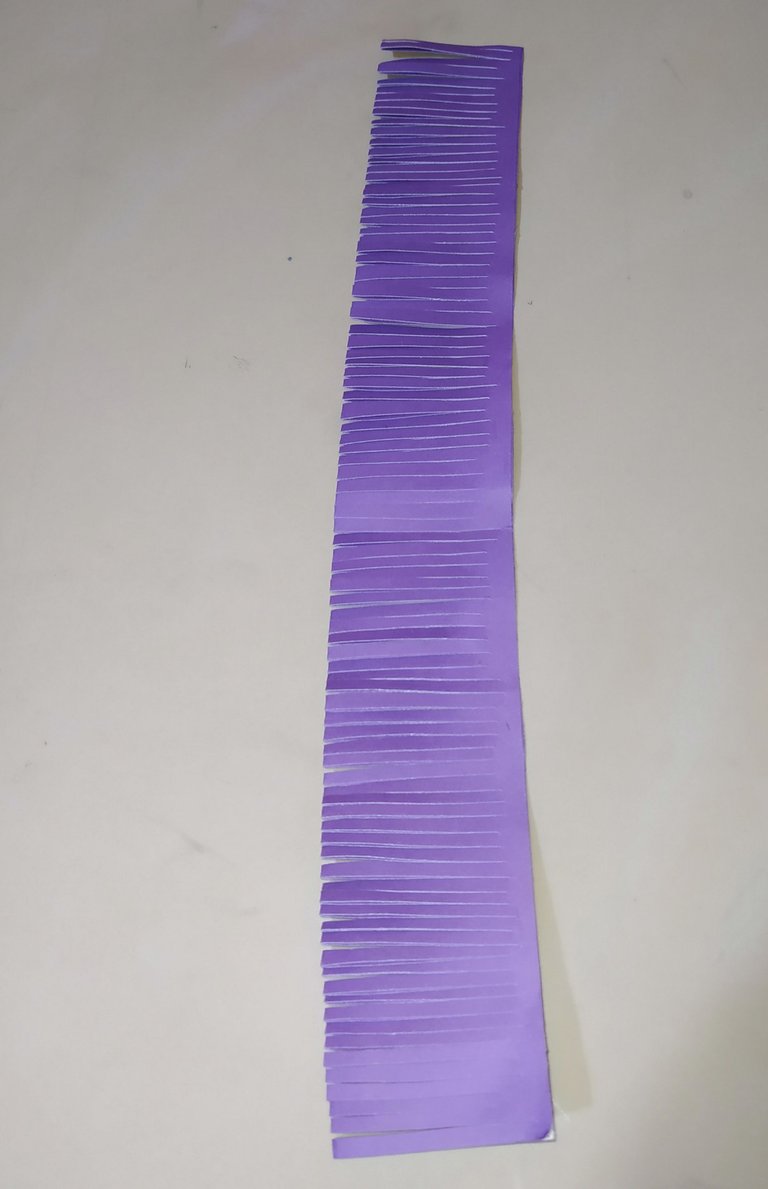
- Cut out in the same way as the yellow cardboard.
- Recortamos de la misma forma que la cartulina amarilla.
 |  |
|---|
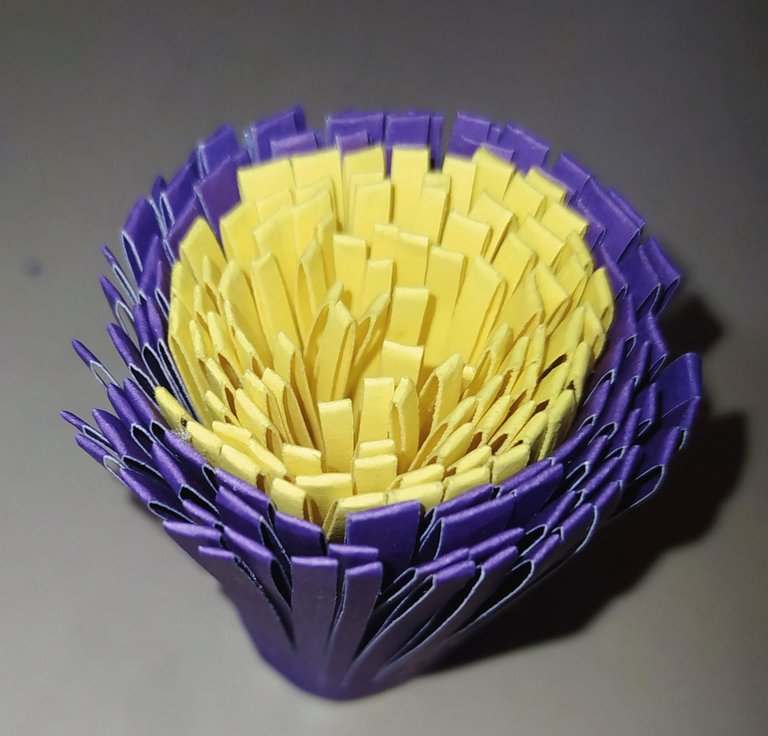
- Now we are going to glue the yellow pistils.
- Place silicone around the base of the yellow pistils and glue the purple pistils, going all the way around until the end.
- Ahora vamos a pegar a los pistilos amarillos.
- Colocamos silicón alrededor de la base de los pistilos amarillos y vamos pegando los pistilos morados, dando toda la vuelta hasta el final.
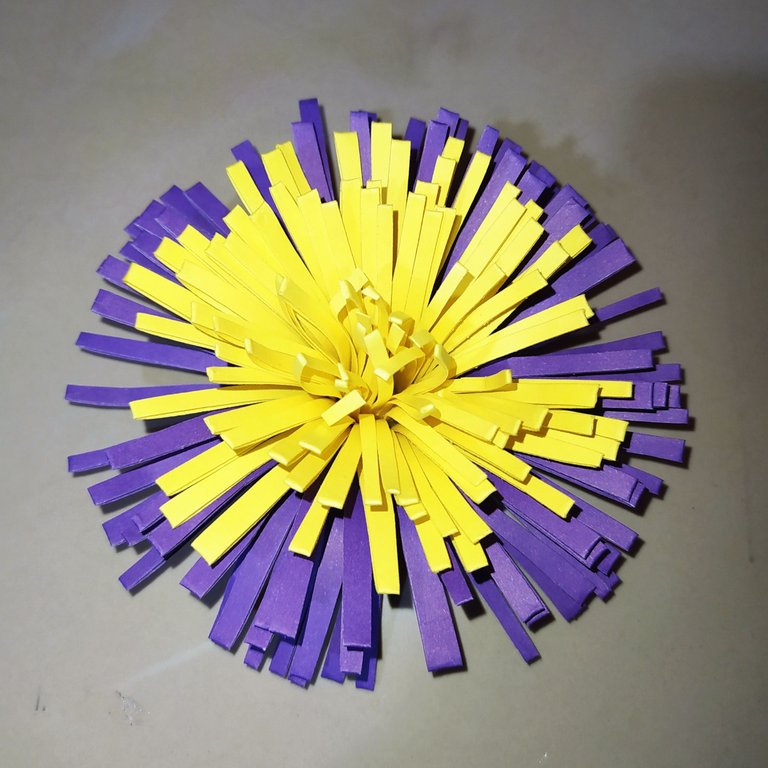
- We start by shaping the purple pistils by bringing them backwards until we reach the yellow ones.
- Empezamos dándole forma a los pistilos morados llevando los hacia atrás hasta llegar a los amarillos.
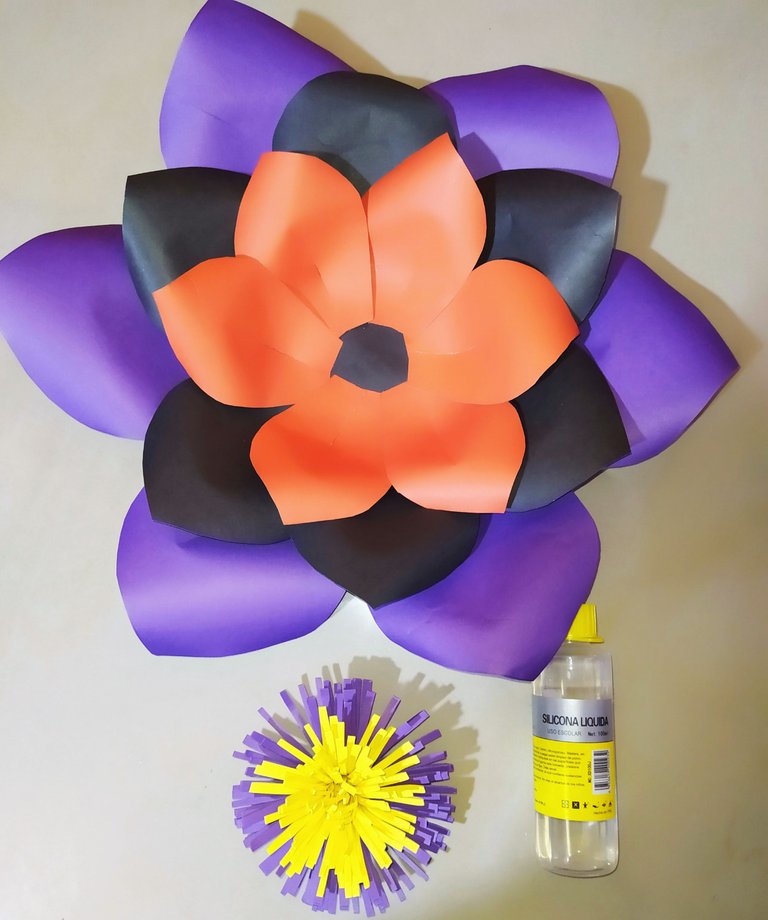
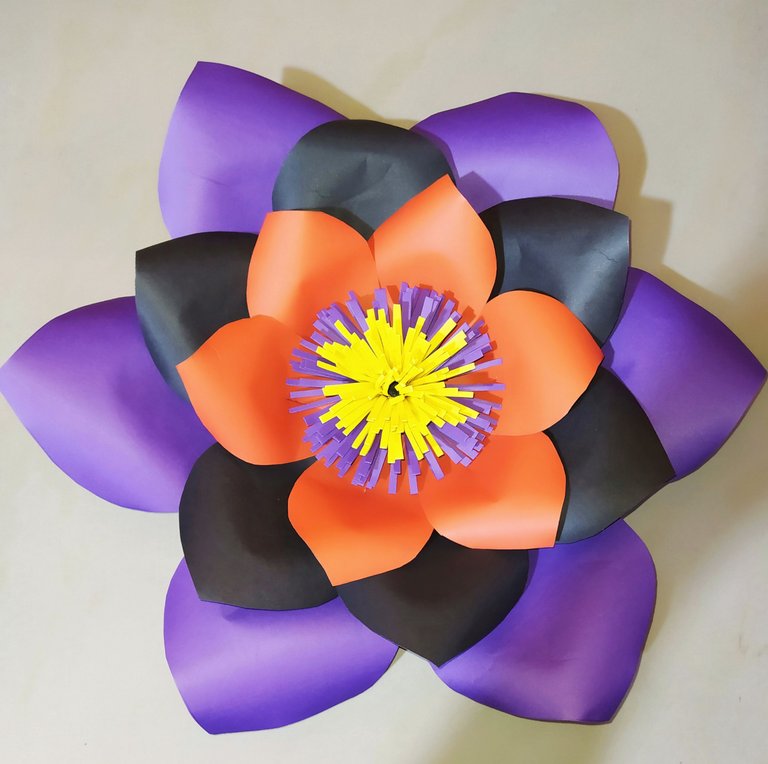
- We put silicone on the base of the pistils and glue in the center of the flower.
- Le colocamos silicón a la base de los pistilos y pegamos en el centro de la flor.
Step number eight.
Paso número ocho.
 |  |
|---|
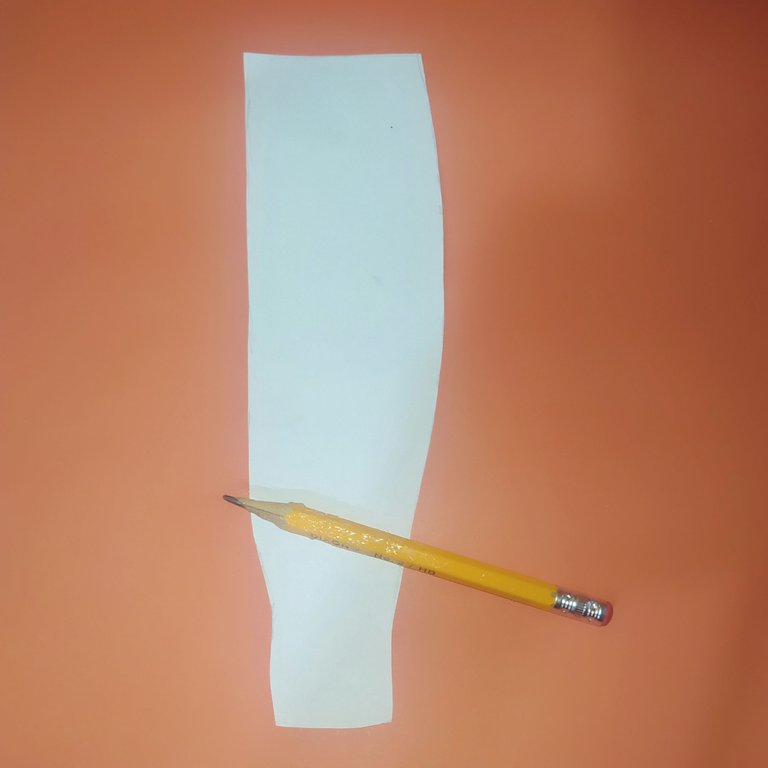
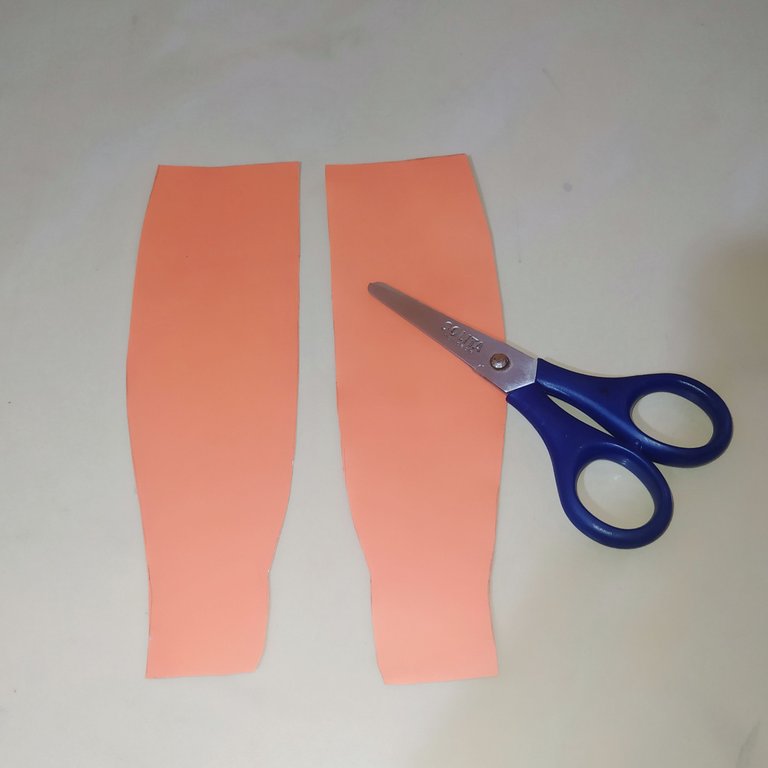
- We are going to make the legs or stockings for the flower.
- We take the mold and mark it on the orange cardboard.
- Then we cut out the edge
- Vamos a realizar las piernas o medias para la flor.
- Tomamos el molde y lo marcamos en la cartulina color naranja.
- Luego recortamos por el borde.
 |  |
|---|
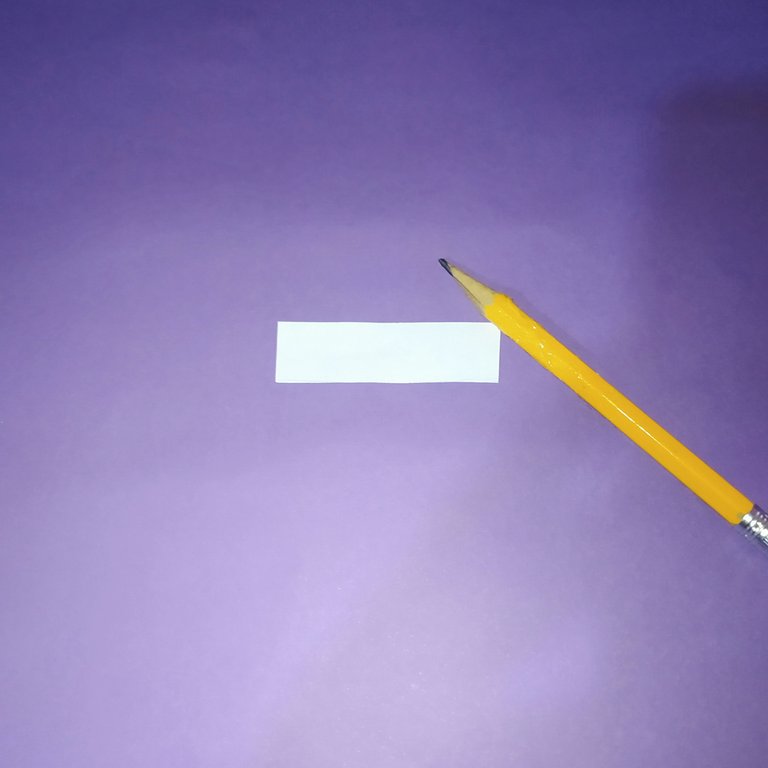
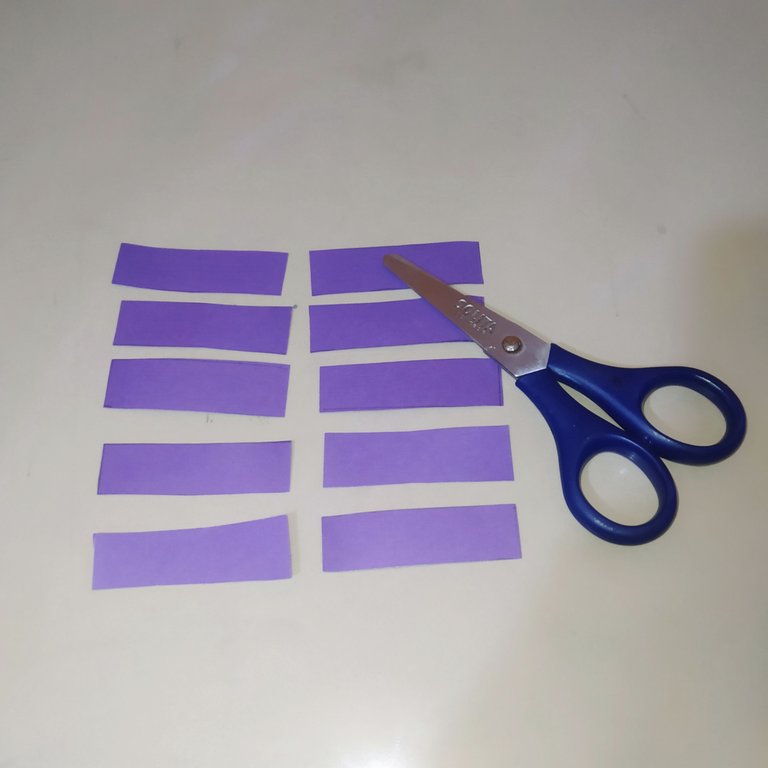
- We cut 10 strips in the purple cardboard which will simulate the stripes of the stockings.
- Recortamos 10 tiras en la cartulina morada las cuales van a simular las rallas de las medias.
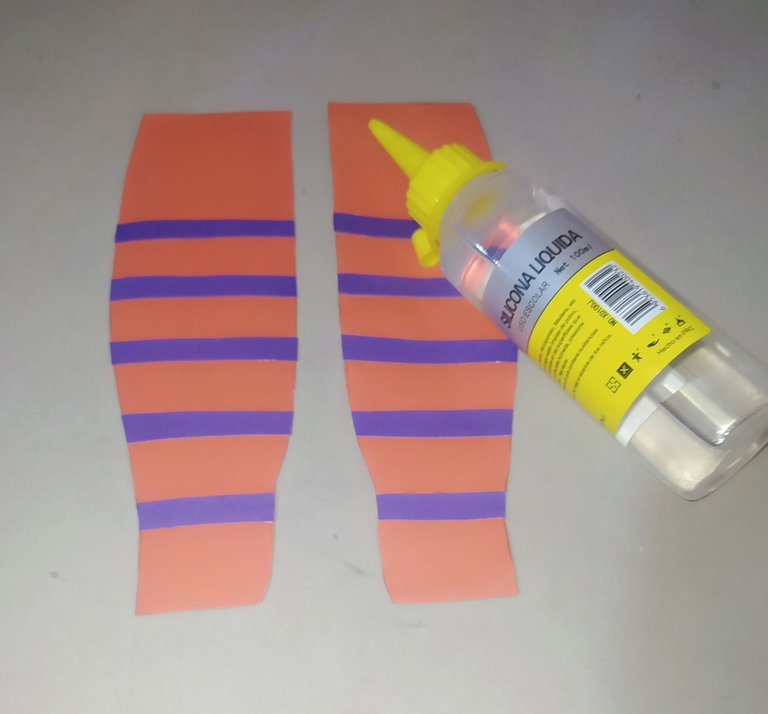
- We glue with silicone to the orange stockings.
- Pegamos con silicón a las medias naranjas.
Step number nine.
Paso número nueve.
 |  |
|---|
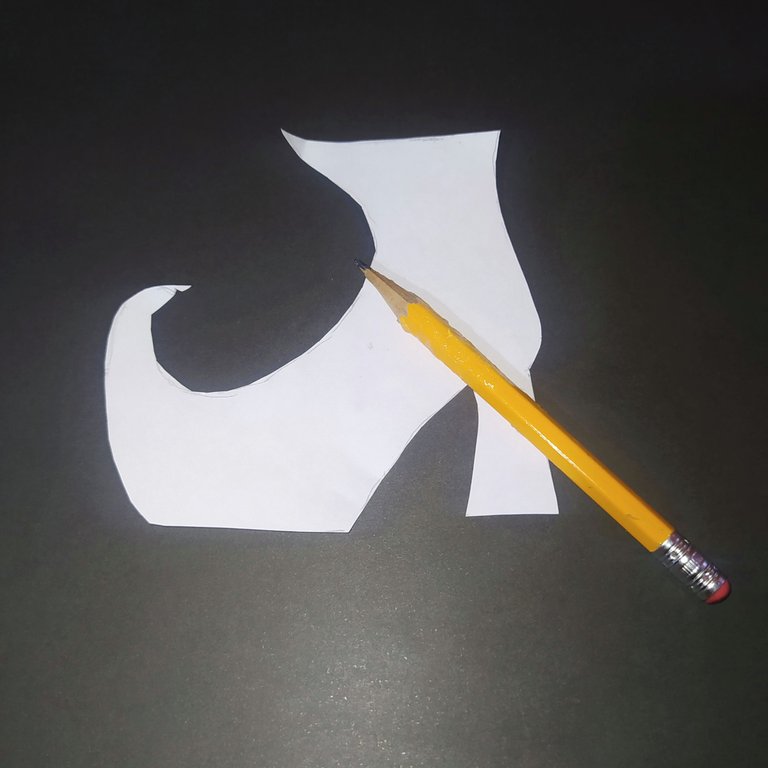
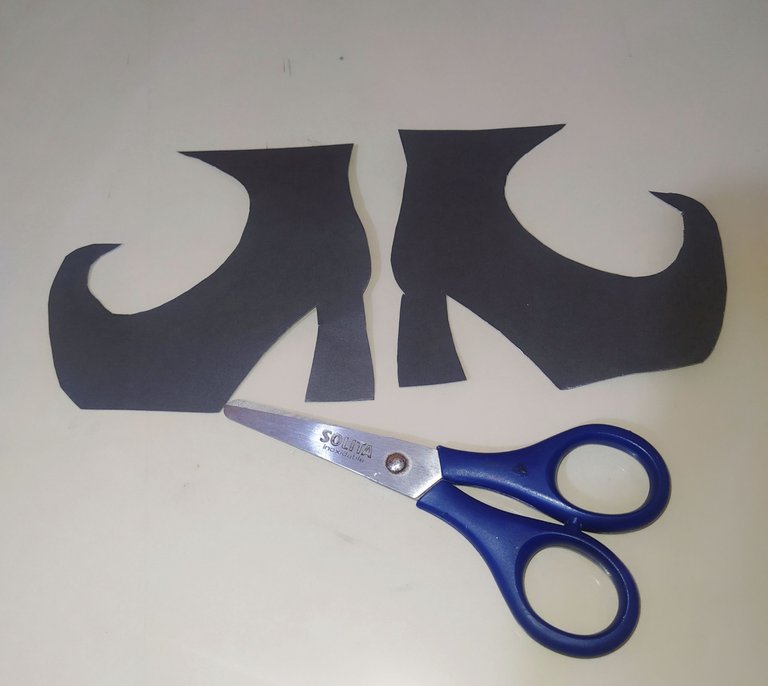
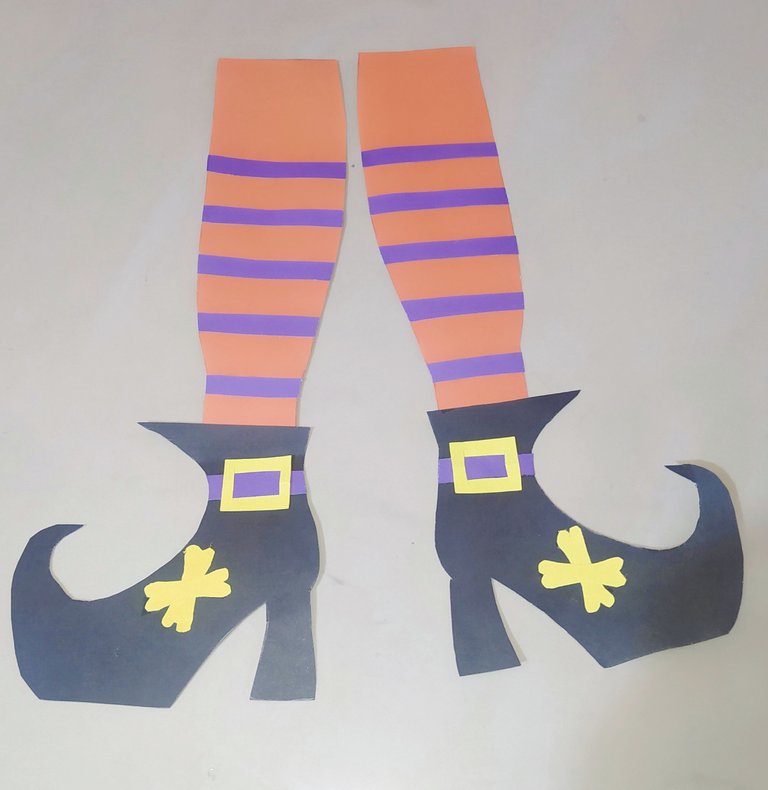
- We take the mold of the shoes and place it on the black cardboard.
- Then we cut it out.
- Tomamos el molde de los zapatos y colocamos en la cartulina negra.
- Luego recortamos.
 |  |  |
|---|
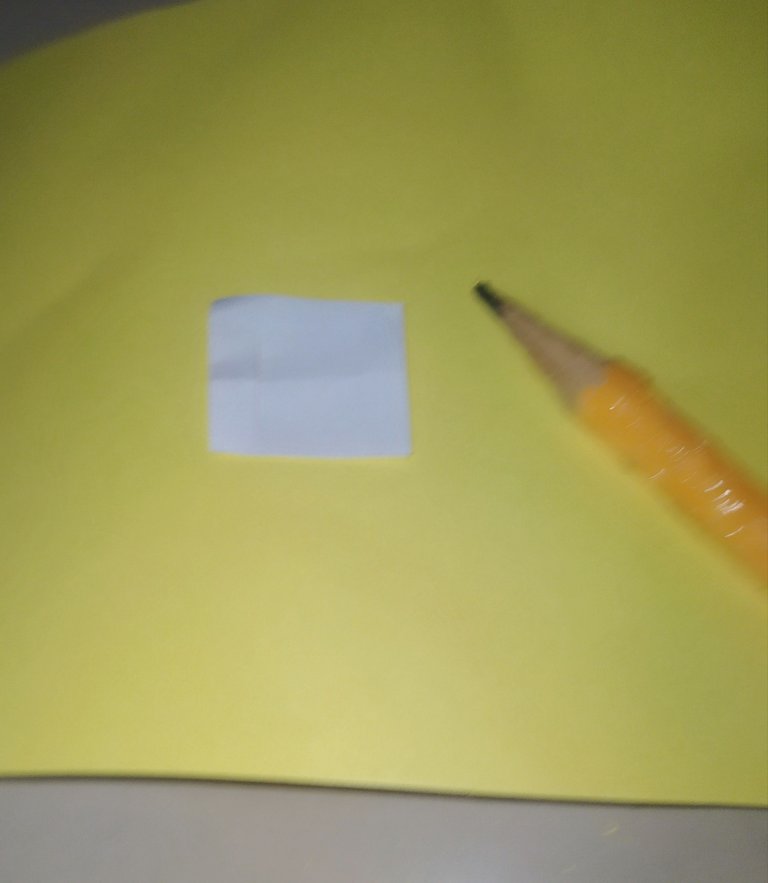
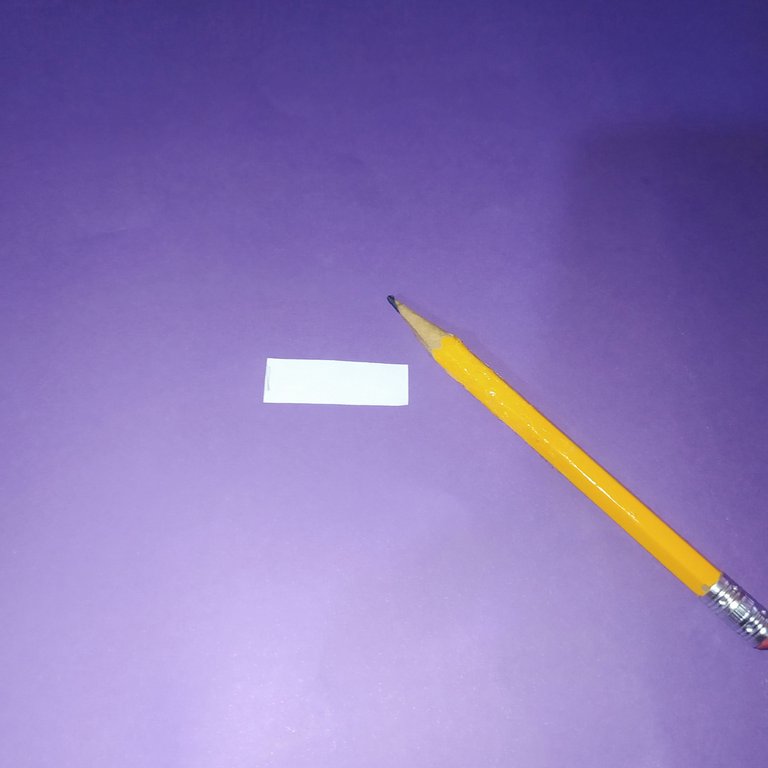
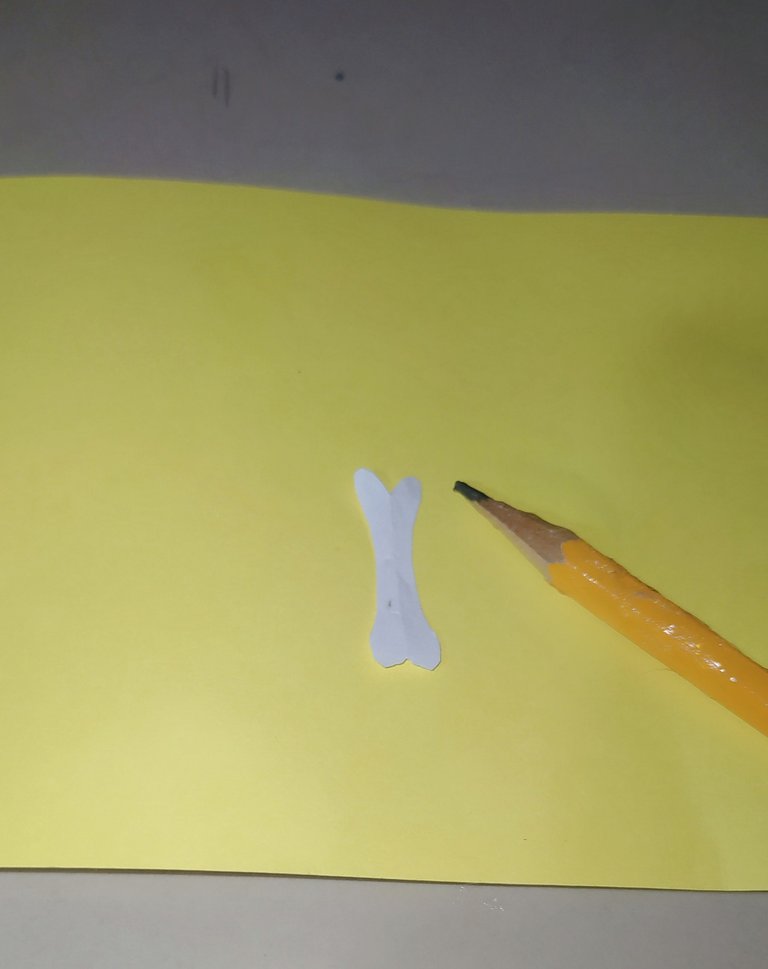
- We place the molds of the shoe buckles and the shoe straps on the cardboard and cut them out.
- Colocamos los moldes de las hebillas y tranzas de los zapatos en la cartulina y recortamos.
 |  |
|---|
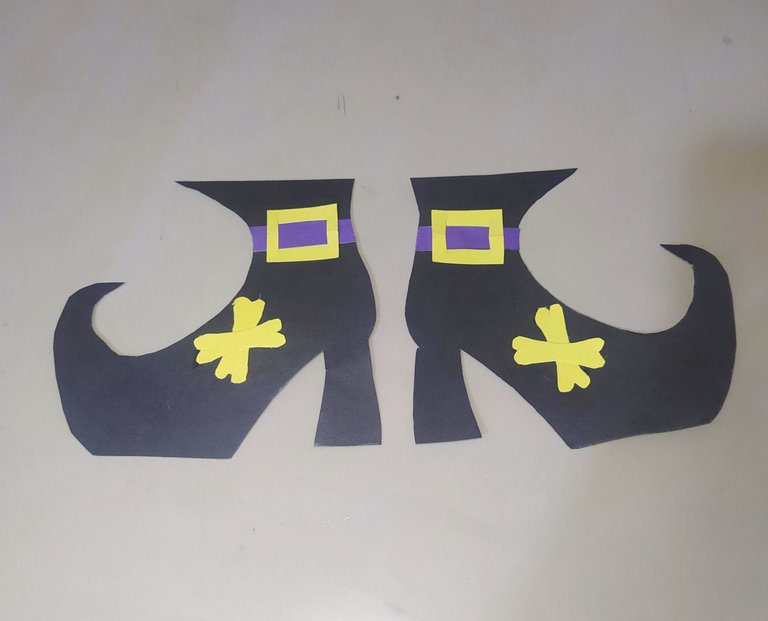
- Now we glue the buckles and braids to the shoes.
- Then we glue the shoes to the socks
- Ahora le pegamos las hebillas y trenzas a los zapatos.
- Luego pegamos los zapatos a las medias
Step Number Ten.
Paso número Diez.
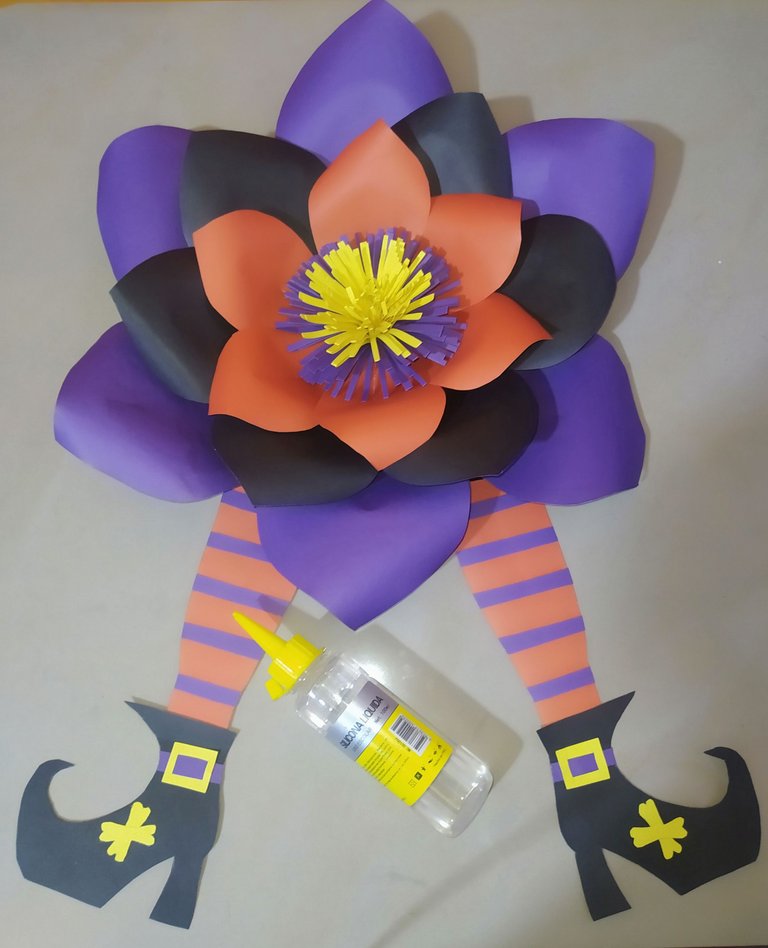
- We are going to place the legs or stockings to the flower.
- We put silicone on the top of the stockings and we put pressure on the flower to glue.
- Vamos a colocarle las piernas o medias a la flor.
- Le colocamos silicón en la parte de arriba de las medias y le hacemos presión a la flor para pegar.
Step number eleven.
Paso número once.
 |  |
|---|
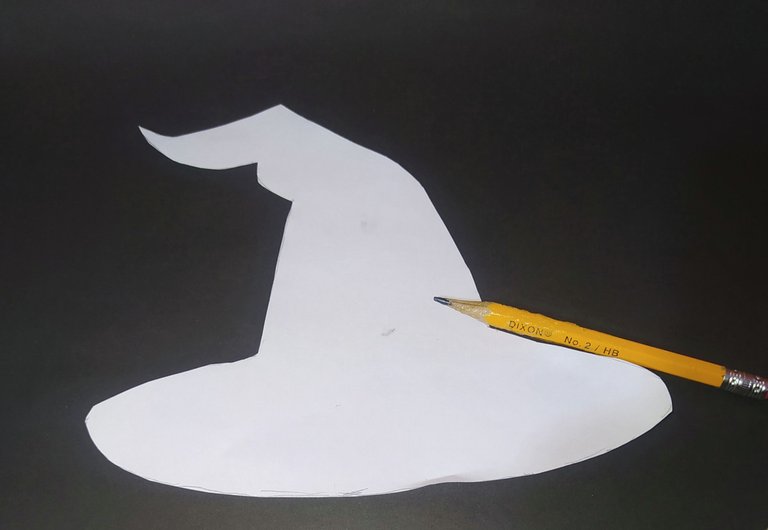
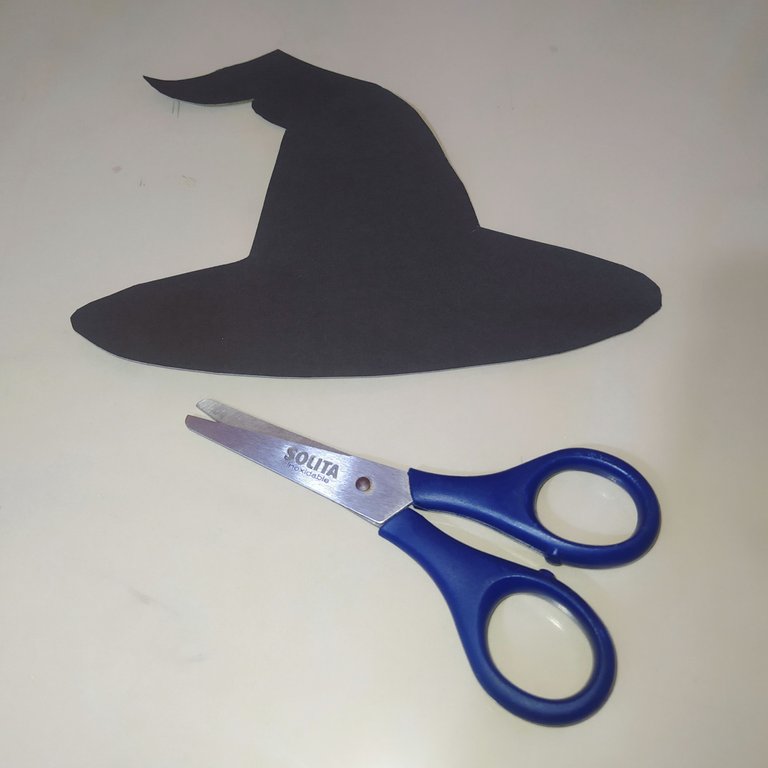
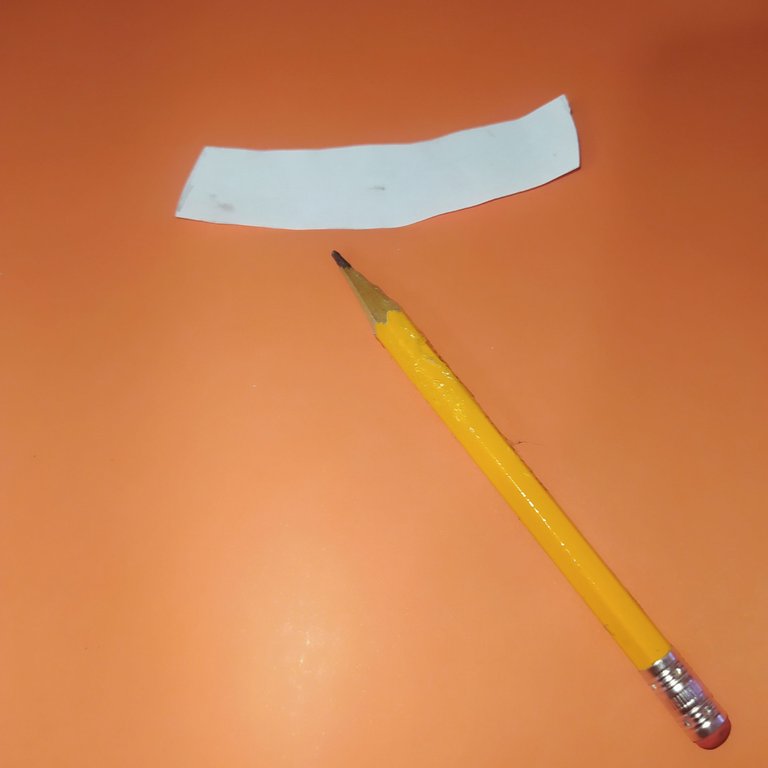
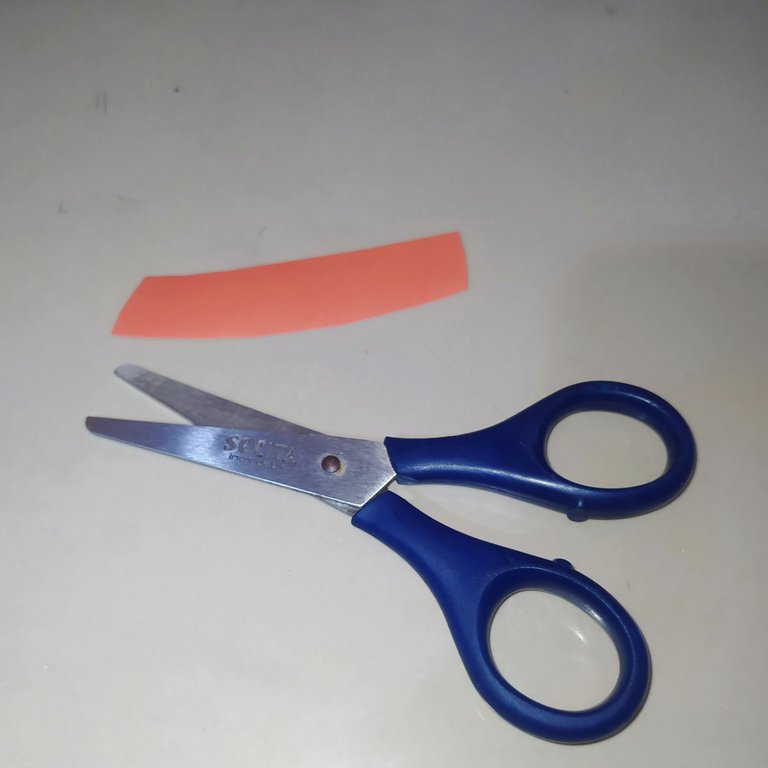
- Elaboraremos el sombrero y para ello vamos a colocar el molde en la cartulina negra y luego recortamos.
 |  |  |
|---|
- Place the rest of the hat molds on top of the cardboard and cut out (buckle and braid).
- Colocamos el resto de los moldes del sombrero encima de la cartulina y recortamos ( hebilla y trenza)
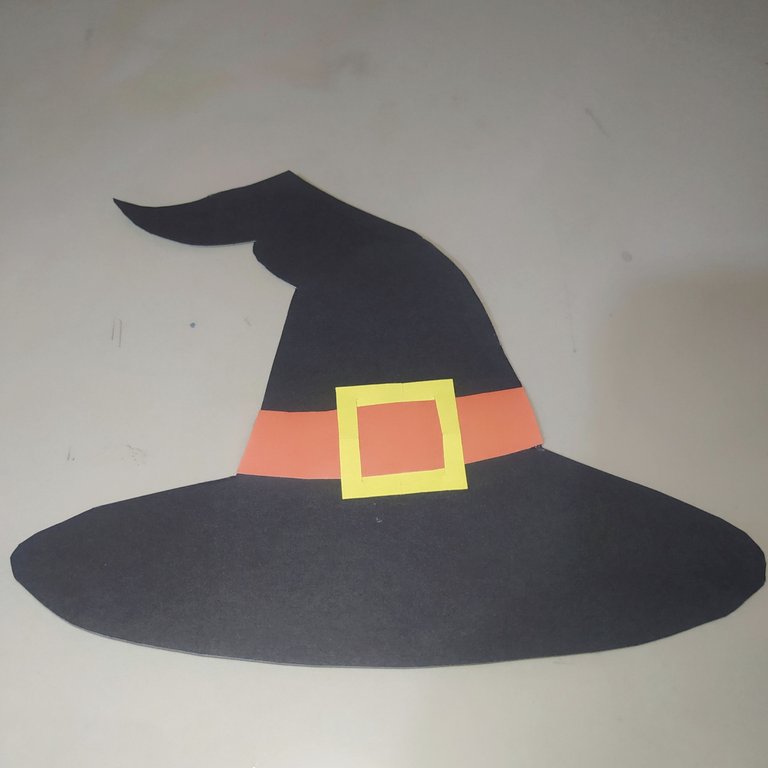
- We decorate the hat by gluing on its accessories.
- Decoramos el sombrero pegándole sus accesorios.
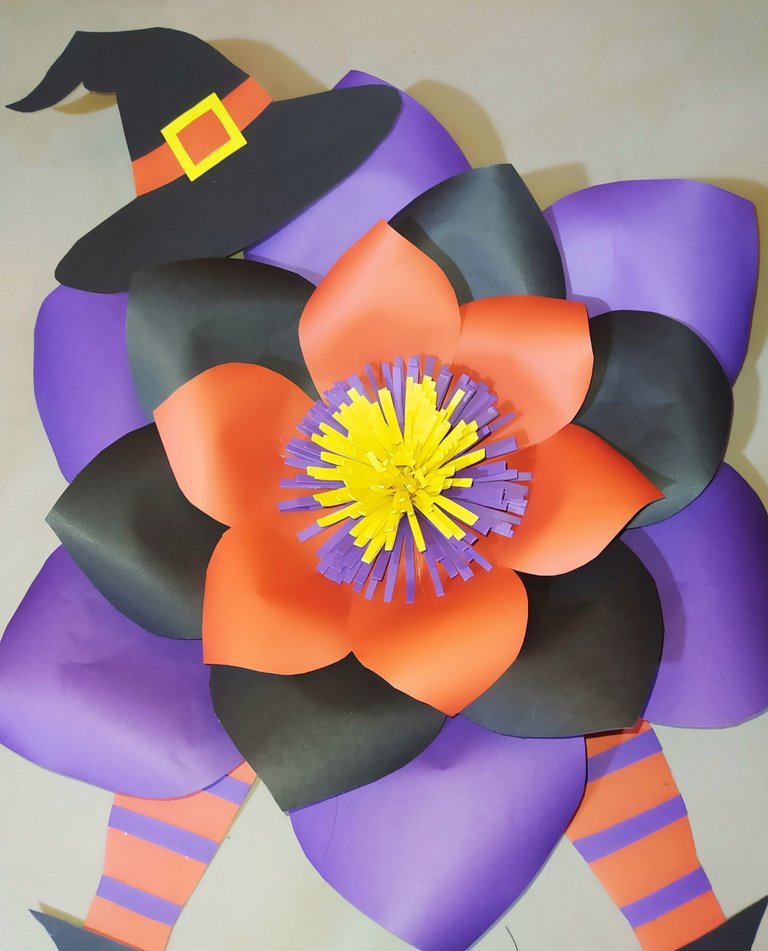
- Glue the hat to the flower.
- Pegamos el sombrero a la flor.
Step number twelve.
Paso número doce.
 |  |
|---|
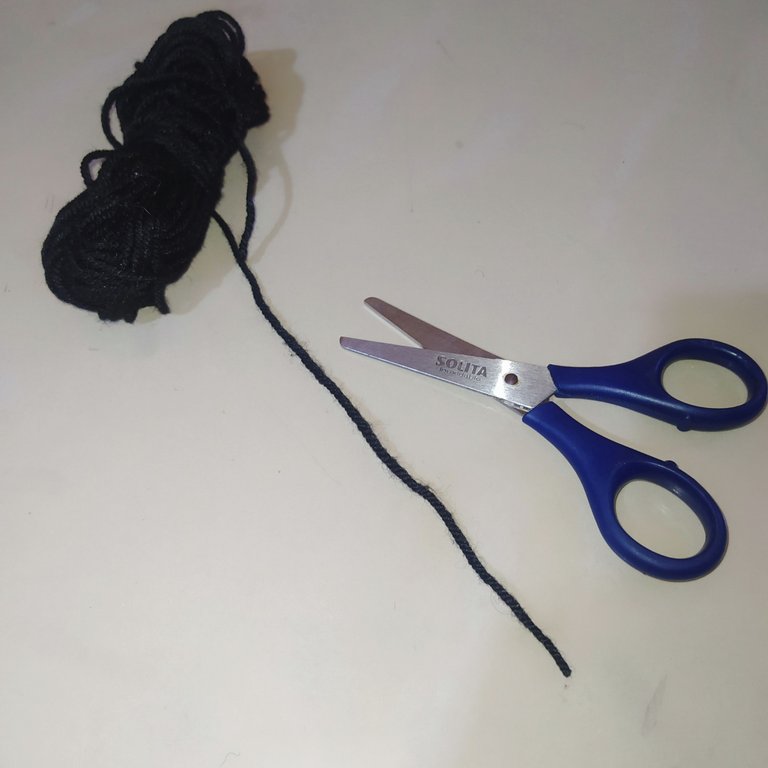
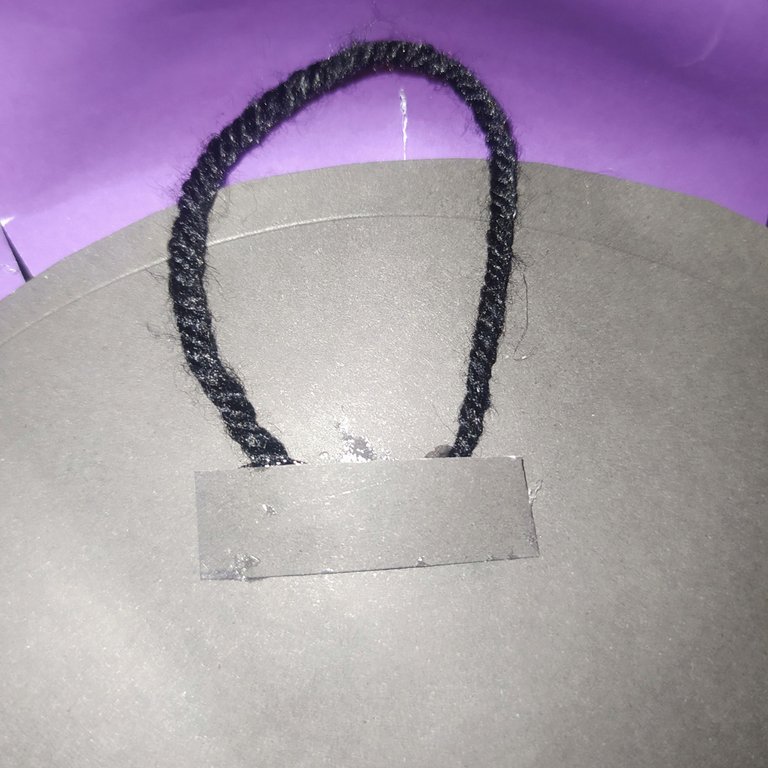
- We take 20 cm of yarn and glue it to the back of the flower to be able to hang it on the door.
- Tomamos 20 cm de estambre y lo pegamos en la parte de atrás de la flor para poder colgarlo a la puerta.
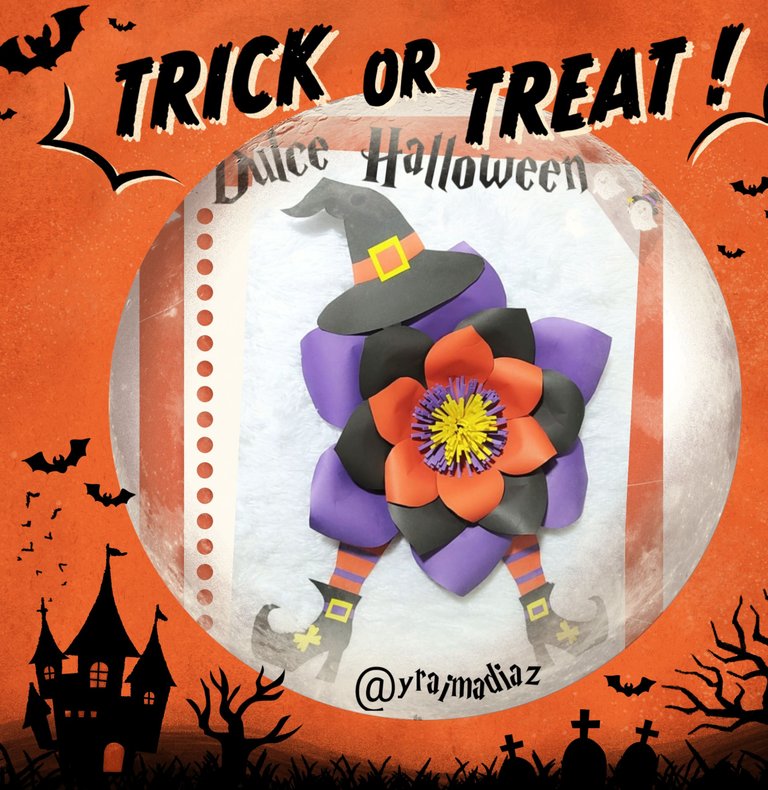
The end result is terrifyingly beautiful.
Thanks for joining me, I look forward to reading you in the comments.
El resultado final es terroríficamente hermoso.
Gracias por haberme acompañado espero leerlos en los comentarios.
🎃 Feliz Halloween 🎃
Banner realizado en Meitu
Traductor Deepl.
Photos of my property taken with Xiaomi redmi note 8 phone.
Banner made in Meitu
Translator Deepl.
8 phone.
Banner made in Meitu
Translator Deepl.
