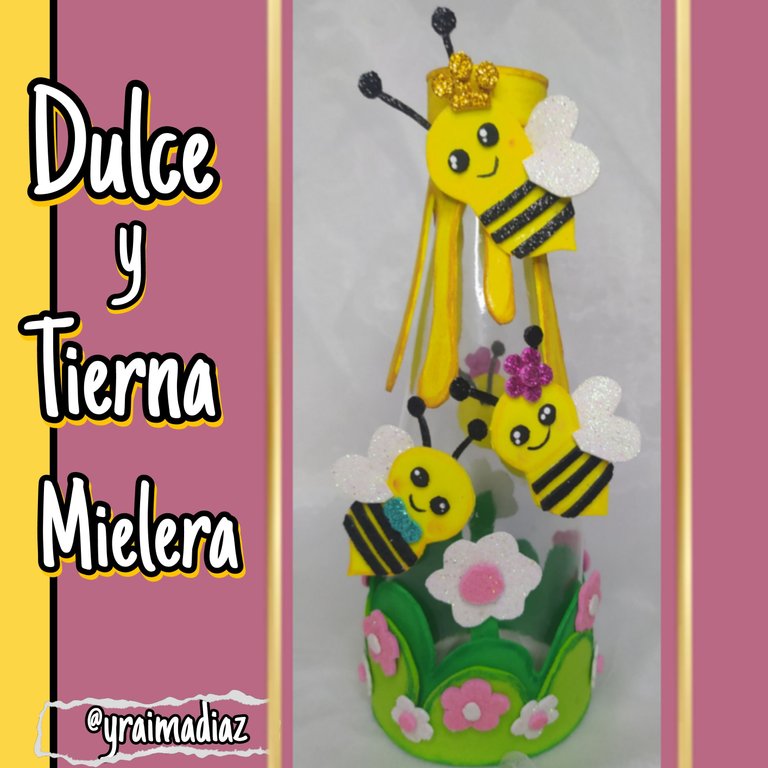
Hello, hello my dear Hiver and dear community of artisan artists, I am very happy to bring you my participation in this July initiative which was inspired by Las Abejas in collaboration with @skatehive. Here is the link so you can participate
Hola, hola mis queridos Hiver y querida comunidad de artistas artesanos, estoy muy feliz de poderles traer mi participación a esta iniciativa del mes de Julio el cual fue inspirado en Las Abejas en colaboración con @skatehive. Por acá te comparto el link para que te animes a participar
For my participation this time I immersed myself in the incredible world of bees and let my imagination fly as you ask us to do and I have brought you a Sweet and Tender Honeycomb where we can keep our honey in a beautiful way.
For its elaboration I am recycling a glass bottle, I am also using materials such as foami, cold paints, silicone.
I invite you to get comfortable and join me to make it.
Materials to use.
Para mí participación está vez me sumergí en el increíble mundo de las abejas y dejé volar mi imaginación como nos piden y les he traído una Dulce y Tierna Mielera dónde podemos conservar nuestra miel de una forma hermosa.
Para su elaboración estoy reciclando una botella de vidrio,también estoy utilizando materiales como foami pinturas al frío, silicón.
Te invito a que te pongas cómodo y me acompañes a realizarla.
Materiales a utilizar.
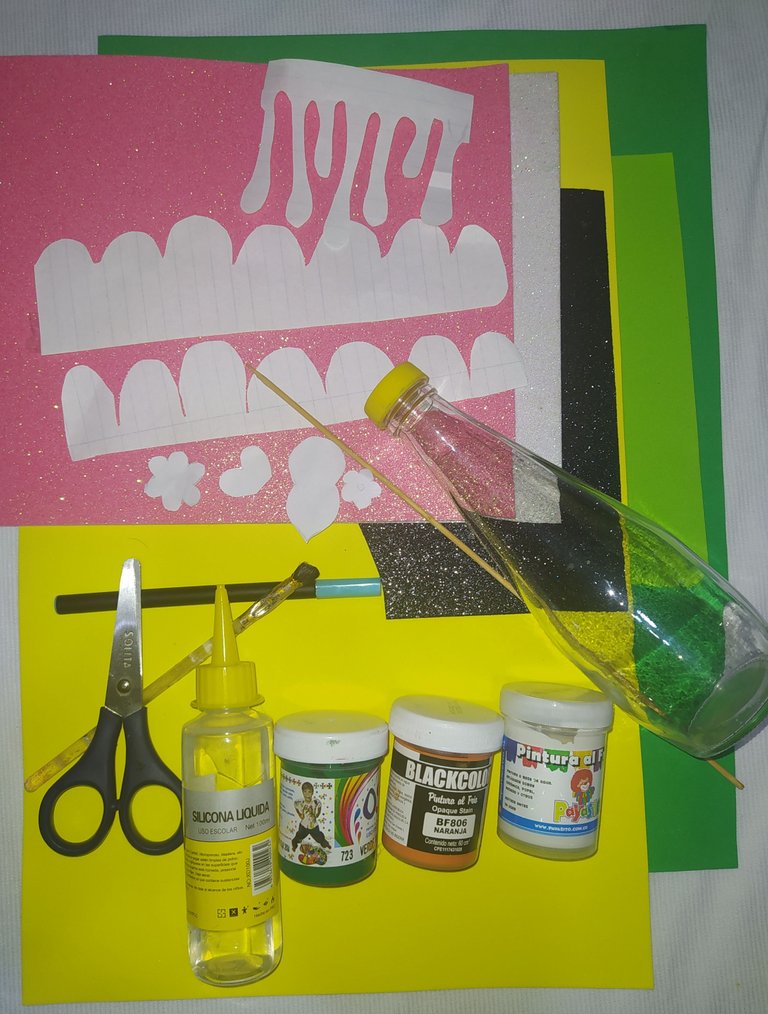
Materials.
- Yellow Foami.
- Black frosted Foami
- Dark green foami.
- Light green foami.
- Pink frosted foami.
- Frosted white foami.
- Orange acrylic paint.
- Green acrylic paint.
- White acrylic paint.
- Cinnamon acrylic paint.
- Brush
- Napkin.
- Anime plate.
- Cold silicone.
- Stick of height.
- Molds.
- Terracotta lipstick.
- Marker
Black eyeliner.
Materiales.
- Foami amarillo.
- Foami negro escarchado
- Foami verde oscuro.
- Foami verde claro.
- Foami rosado escarchado.
- Foami blanco escarchado.
- Pintura acrílica anaranjada.
- Pintura acrílica verde.
- Pintura acrílica blanca.
- Pintura acrílica canela.
- Pincel
- Servilleta.
- Plato de anime.
- Silicón frío.
- Palito de altura
- Moldes.
- Labial terracota.
- Marcador delineador negro.
Now let's go on to elaborate this beautiful Mielera.
Ahora pasemos a elaborar está Hermosa Mielera.
As this craft has many details I am going to divide its elaboration in three steps:
First step.
- Elaboration of the garden.
Second step.
- Elaboration of the honey.
Third step.
- Elaboration of the
bejas.
Cómo está manualidad tienen muchos detalles voy a dividir su elaboración en tres pasos que van hacer los siguientes:
Primera paso.
- Elaboración del jardin.
Segundo paso.
- Elaboración de la miel.
Tercera paso.
- Elaboración de las abejas.
I'm going to start at the bottom of the bottle where I'm going to make a beautiful flower garden.
So without further ado, let's get our creative hands to work.
First step
- Making the garden.
Voy a empezar por la parte de abajo de la botella donde voy a realizar un hermoso jardin de flores.
Así que sin más preámbulos pongamos a andar nuestras manos creativas.
Primer paso
- Elaboración del jardín.
 |  |
|---|
 |  |
|---|
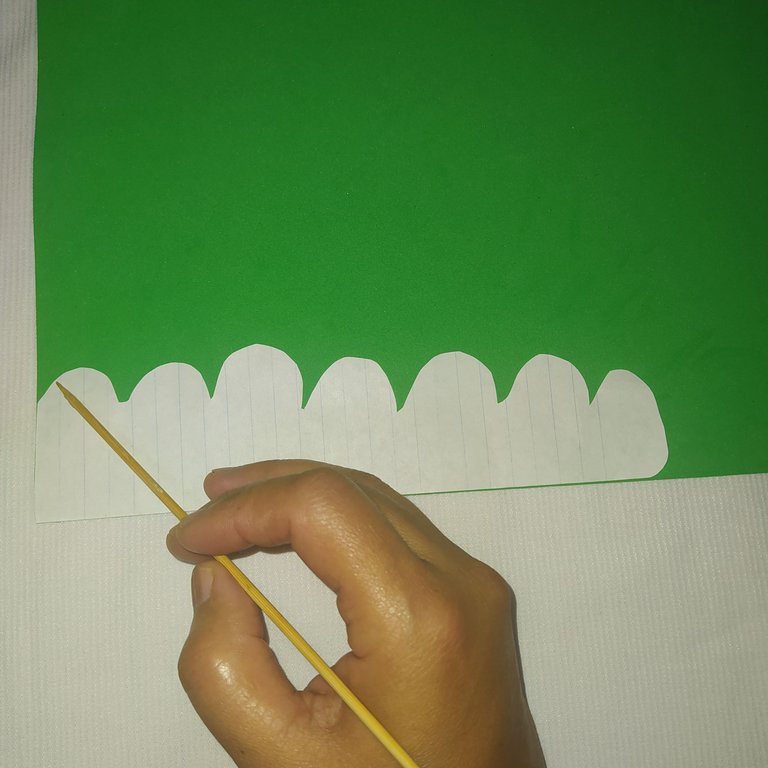
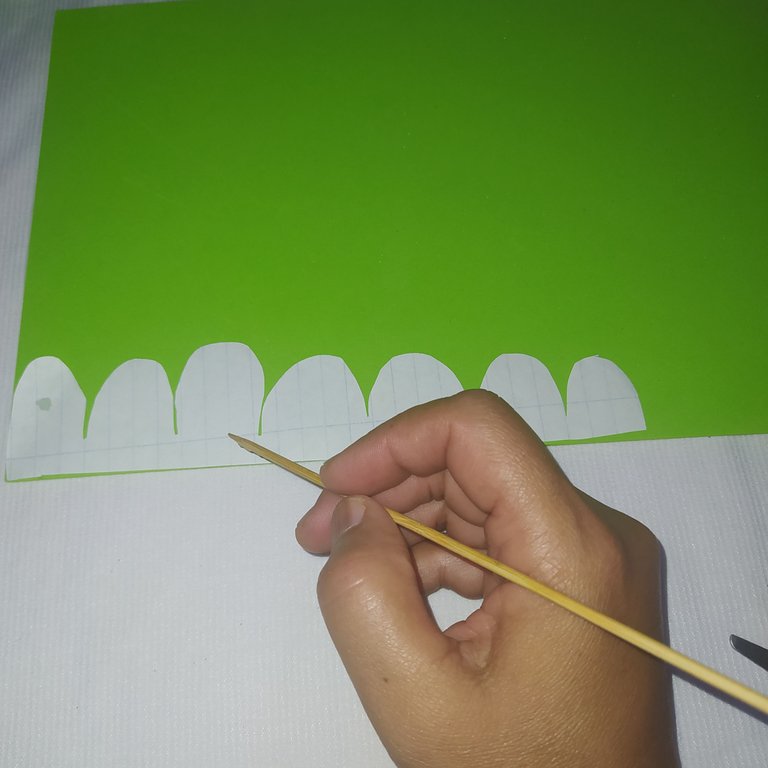
The first thing I do after taking the measurements of the bottle is to take the molds.
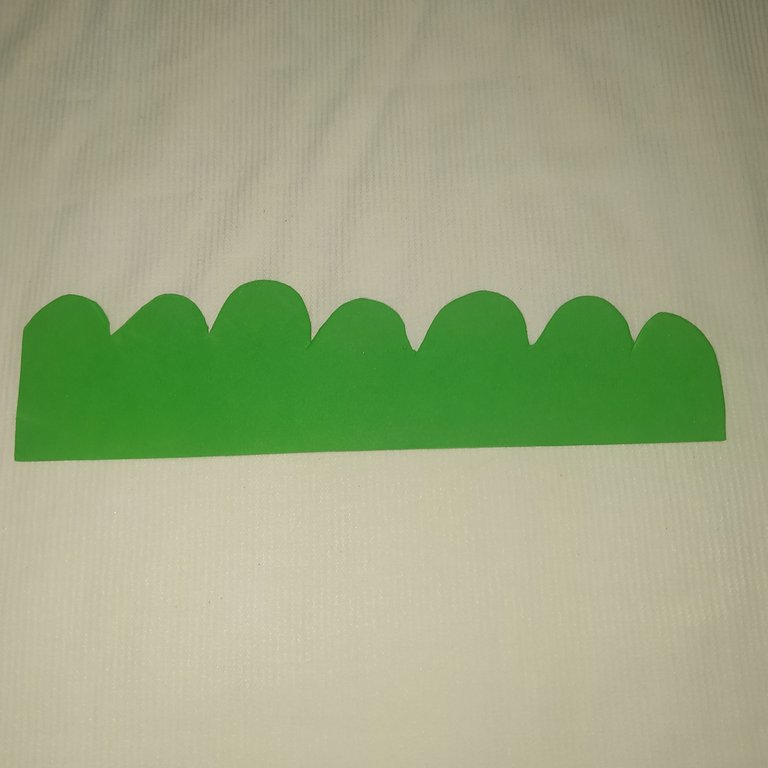
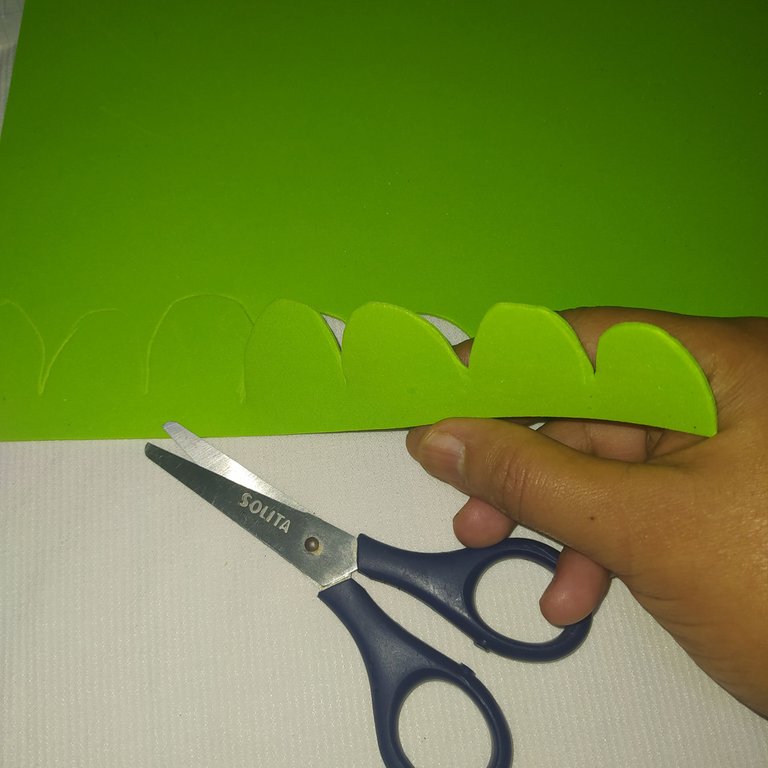
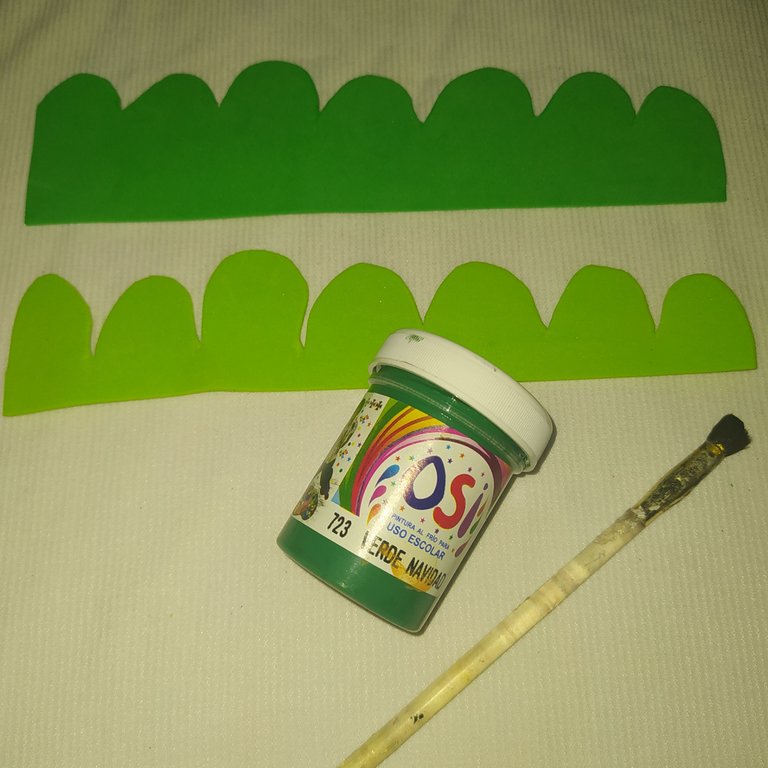
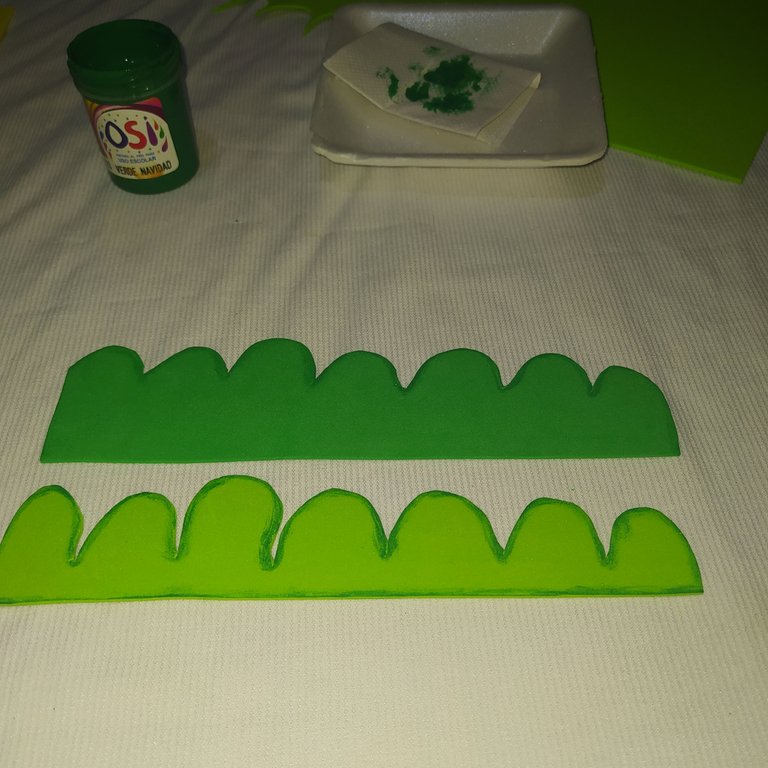
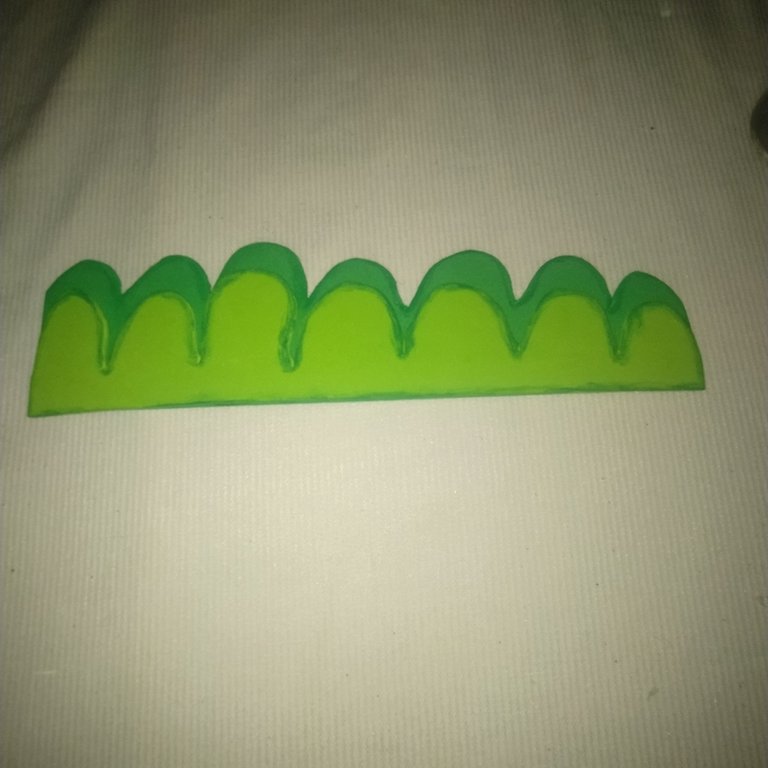
To simulate the grass, I take one of the molds and place it on the back of the dark green foami and mark it with the height stick, then cut it out with the scissors.
- I repeat the same step with the light green foami.
Lo primero que hago luego de haber tomado las medidas a la botella es sacar los moldes.
- Para simular el césped tomo uno de los molde y lo coloco por la parte de atrás del foami verde oscuro y con el palito de altura lo marco, luego lo recortó con la tijera.
- Repito el mismo paso con el foami verde claro.
 |  |
|---|
 |  |
|---|
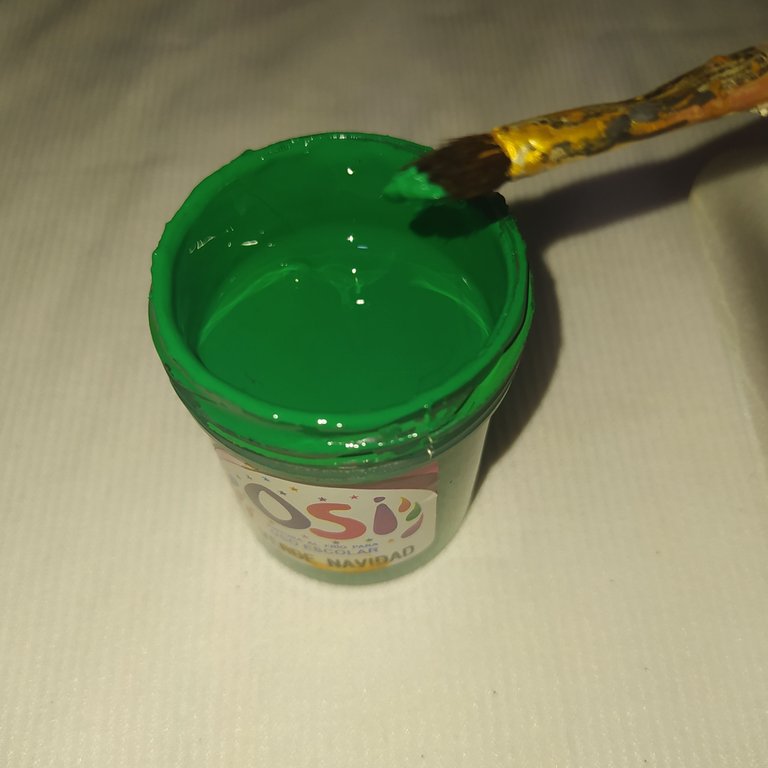
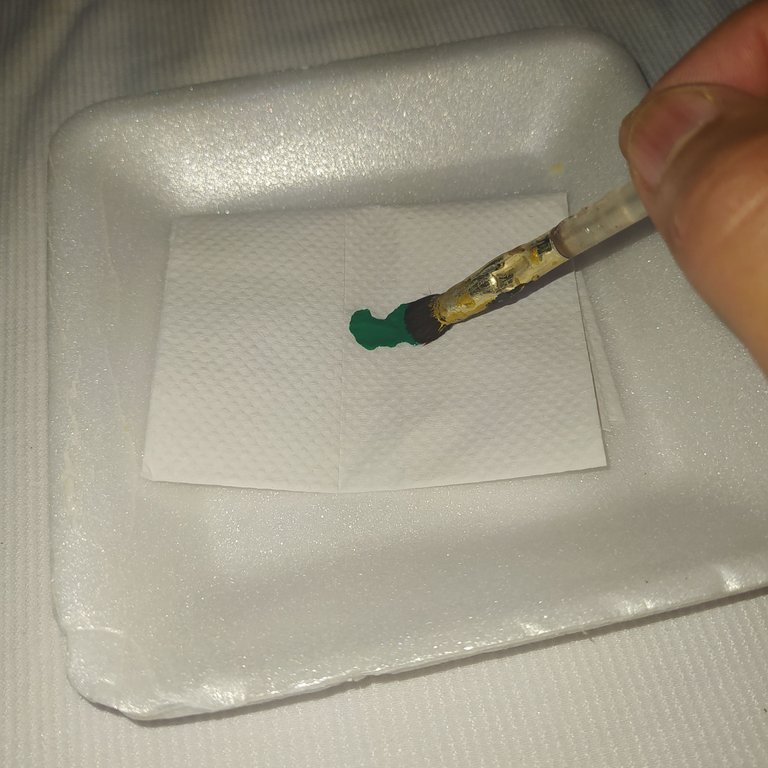
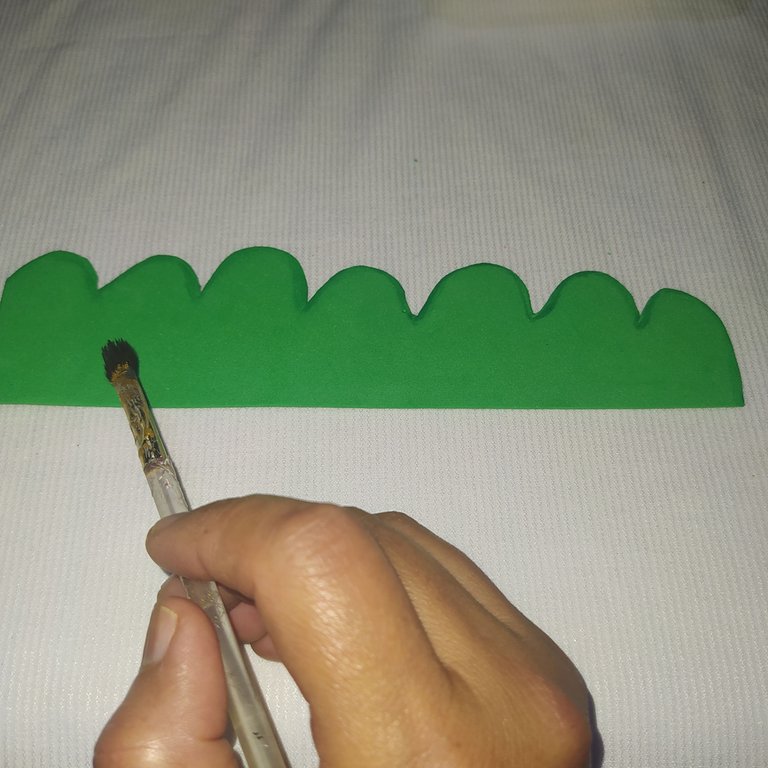
- To shade our lawn we dip the brush in the green acrylic paint.
- Then we unload it a little bit on the napkin and we pass it along all the edges.
- Para sombrear nuestro cesped sumergimos el pincel en la pintura acrílica verde.
- Luego lo descargamos un poco en la servilleta y lo pasamos por todos los bordes.
 |  |  |
|---|
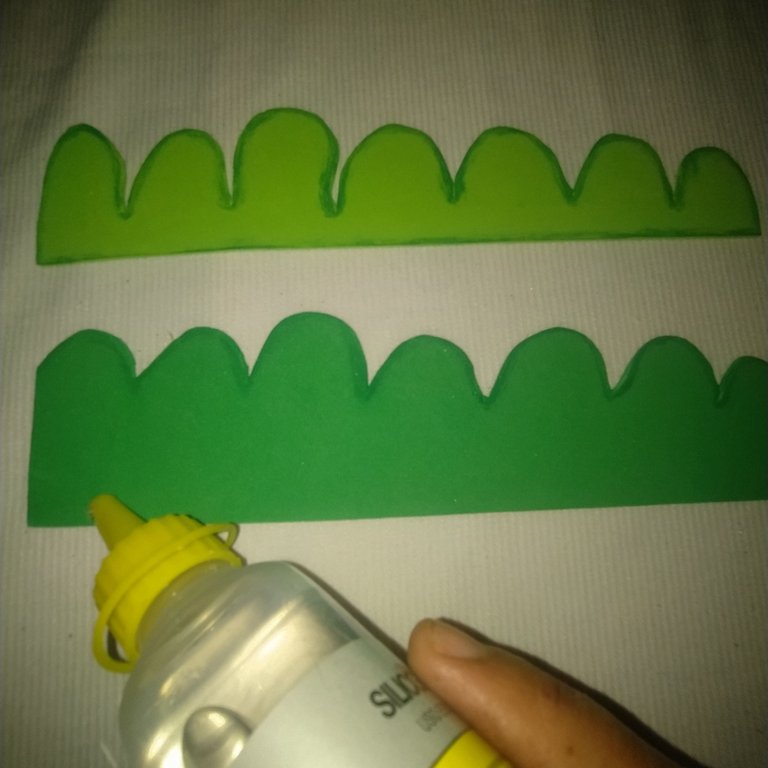
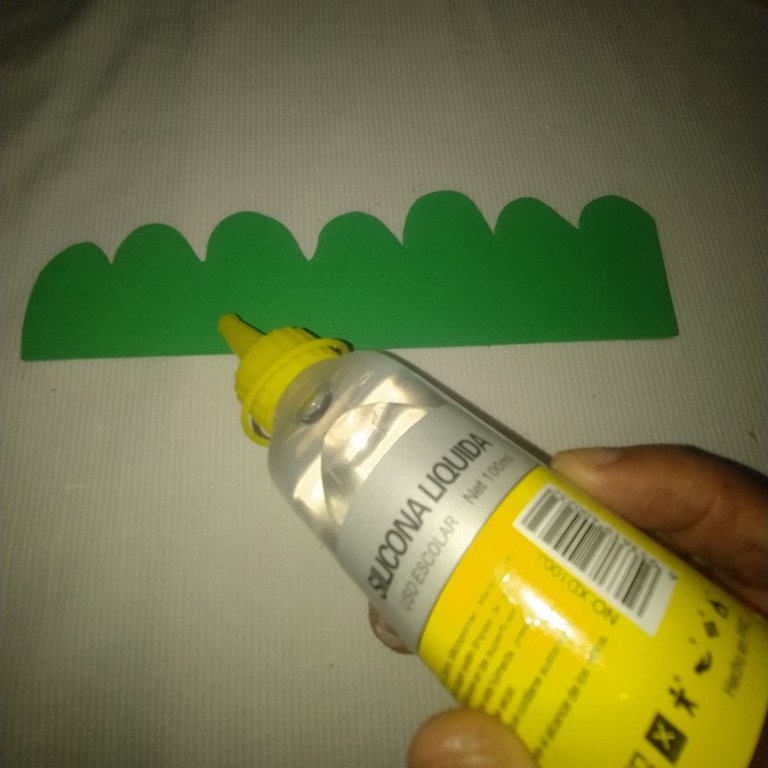
- Place silicone and glue the light green part on top of the dark green, let it dry.
- Once dry on the back of the dark green foami we put silicone and glue it to the bottle.
- Colocamos silicón y pegamos la parte verde clara encima del verde oscuro, dejamos secar.
- Una vez seco en la parte de atrás del foami verde oscuro le colocamos silicón y pegamos a la botella.
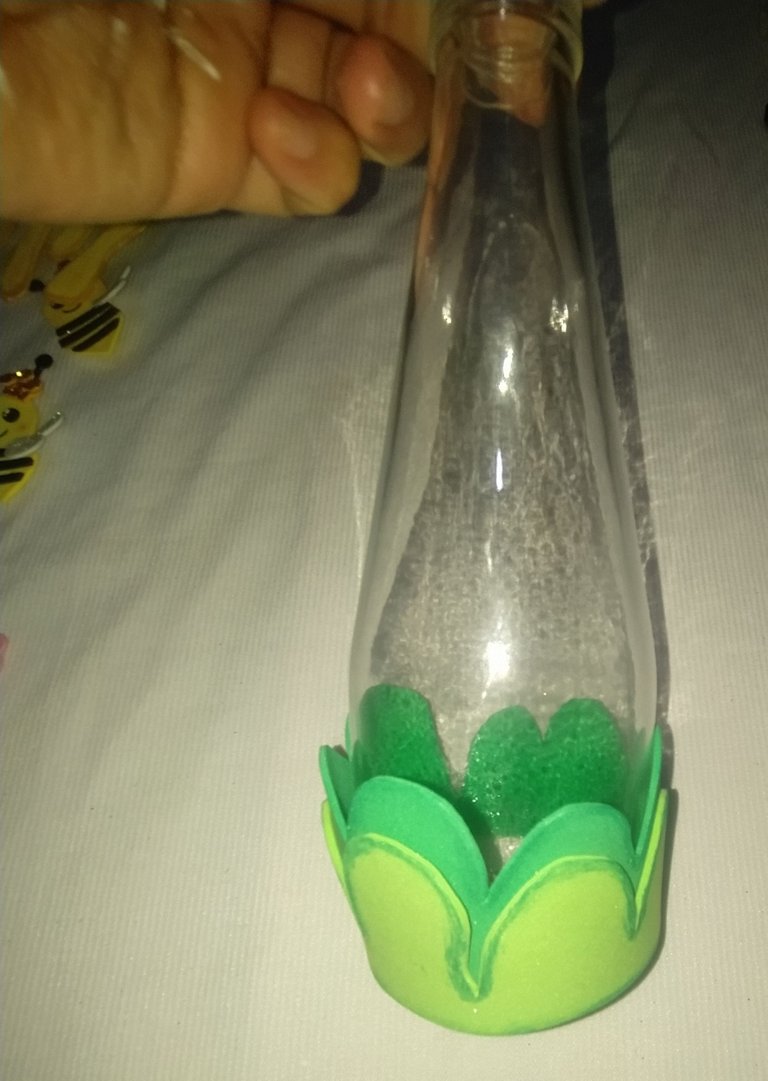
Result
Resultado.
For this garden we will make three sizes of flowers.
- 2 large white flowers.
- 5 Medium pink flowers.
- 7 Small white flowers.
Para este jardín vamos a realizar tres tamaños de flores.
- 2 Flores grandes blancas.
- 5 Flores medianas rosadas.
- 7 Flores pequeñas blancas.
Let's move on to making the large flowers.
Pasemos a realizar las flores grandes.
 |  |
|---|
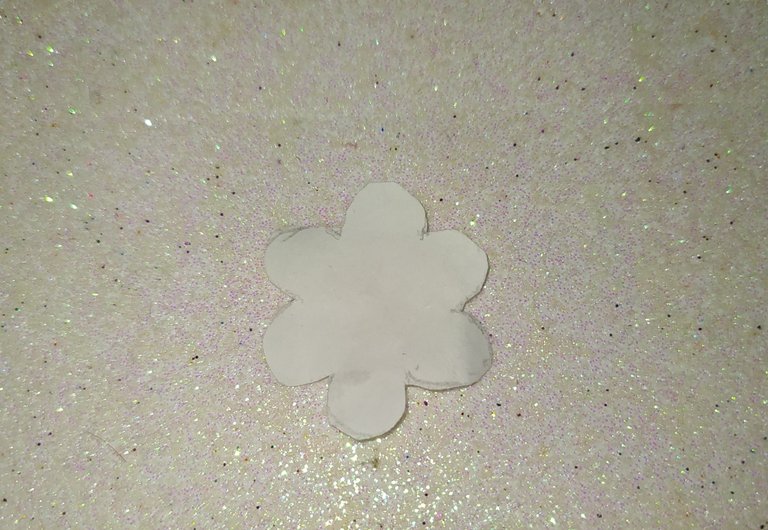
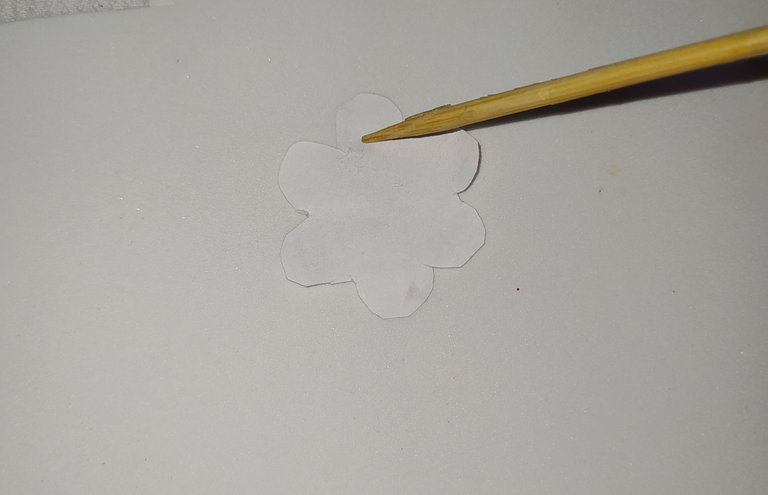
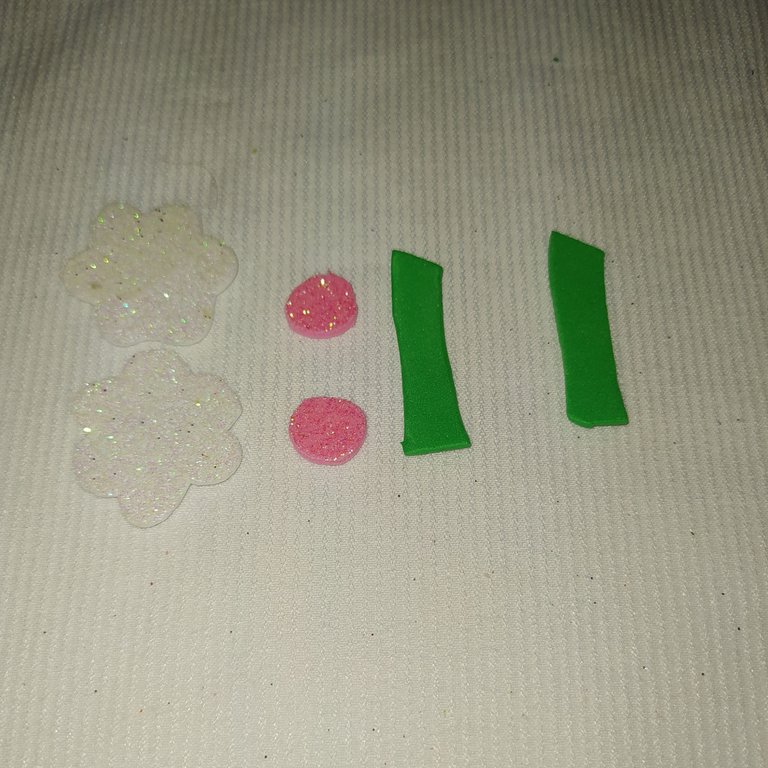
- I place the mold on the back of the frosted white foami, I mark the edge with the height stick.
- Cut out.
- Then cut out a pink circle to make the center.
- Then cut out a little green piece to make the stem of the flower.
- Coloco el molde por la parte de atrás del foami blanco escarchado, marco por el borde con el palito de altura.
- Recortó.
- Luego recorto un círculo rosado para hacer el centro.
- Recortó un trocito verde para hacer el tallo de la flor.
 |  |
|---|
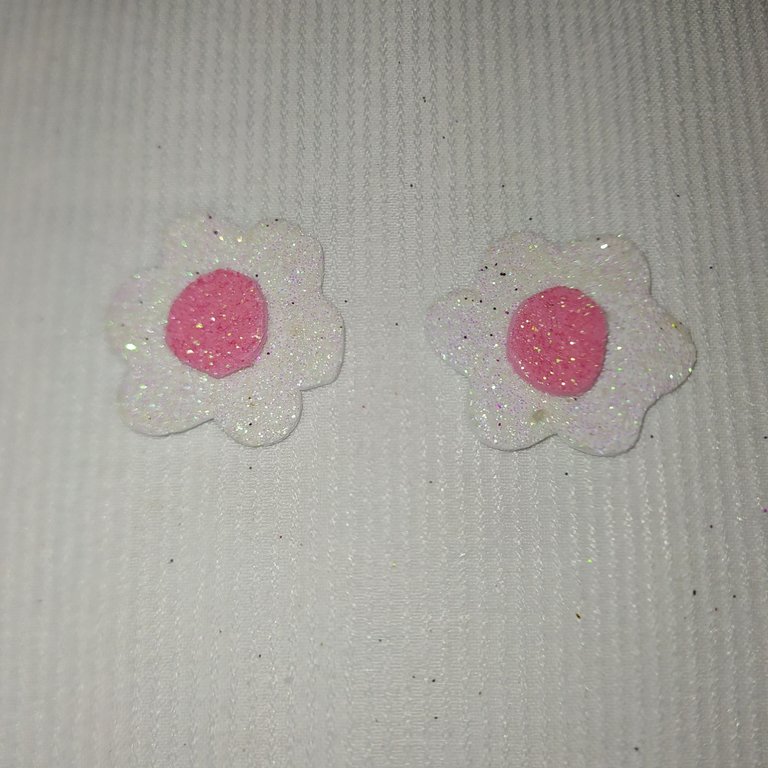
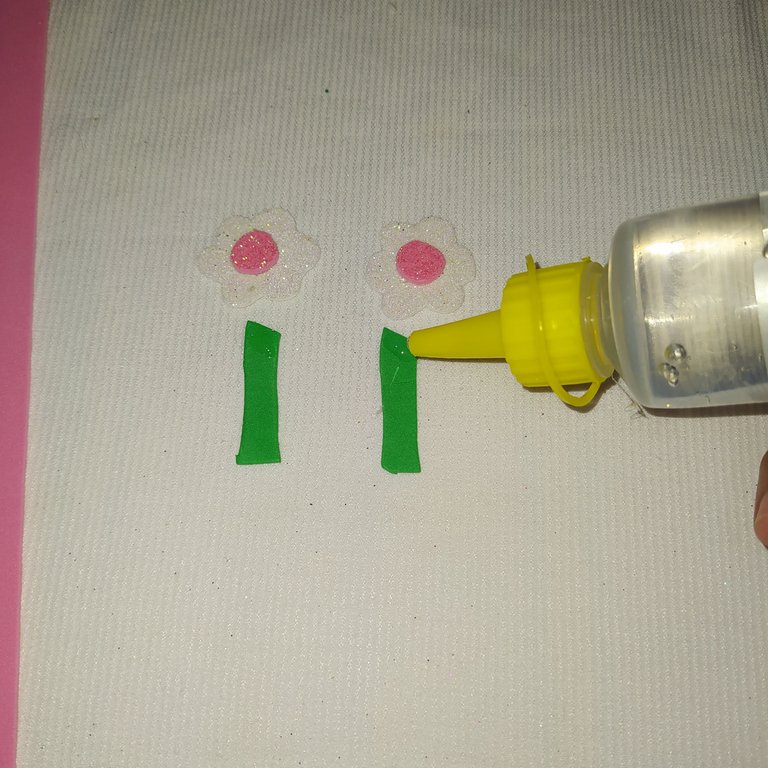
We put silicone and glue the center of the flower and the stem.
Le colocamos silicón y pegamos el centro de la flor y el tallo.
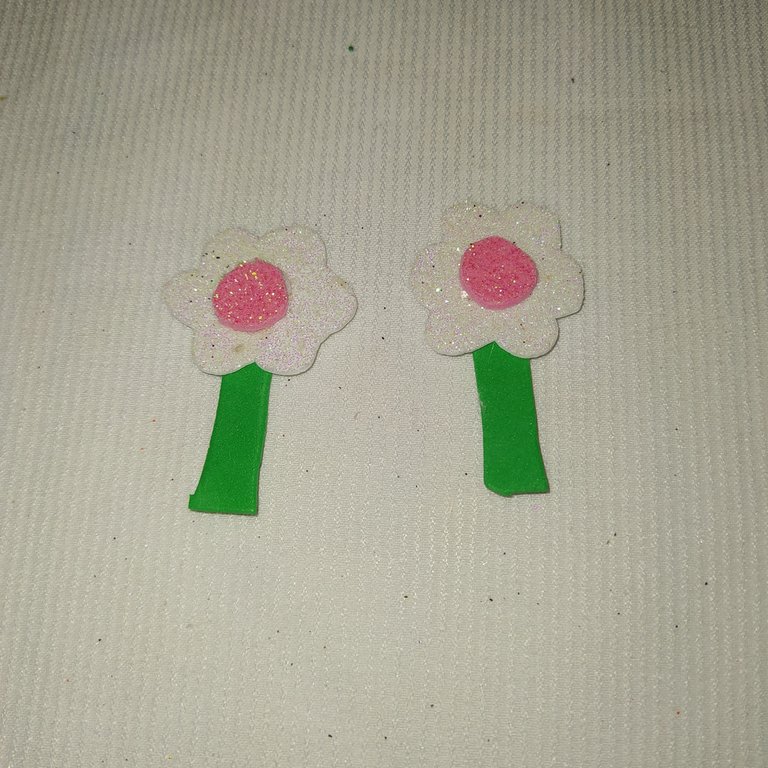
Result.
Resultado.
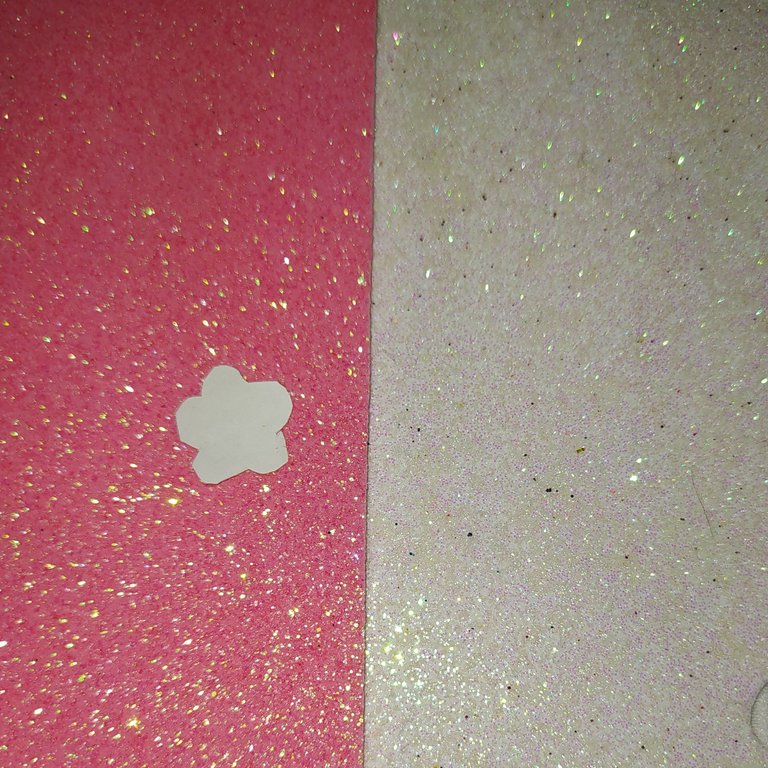
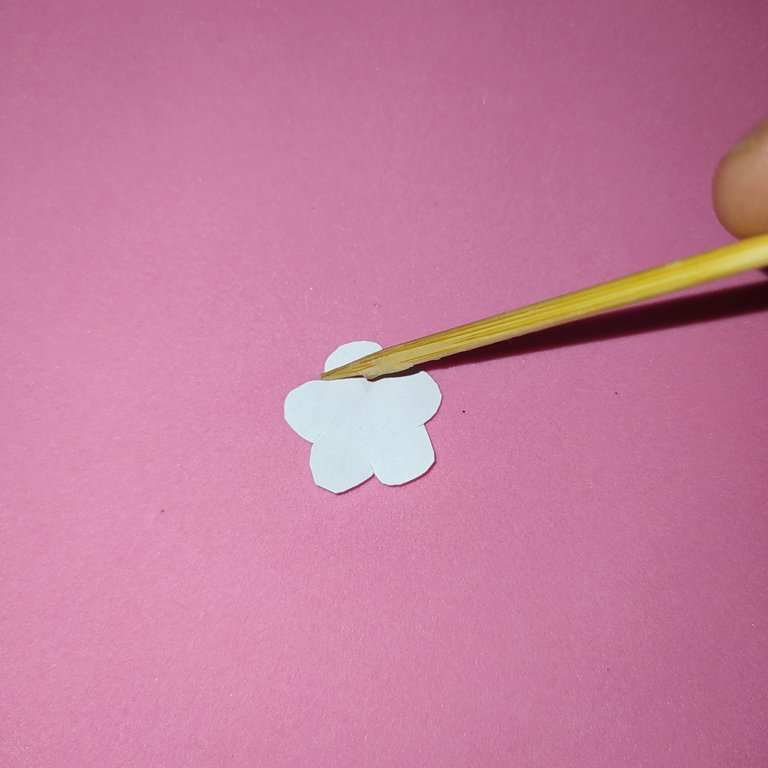
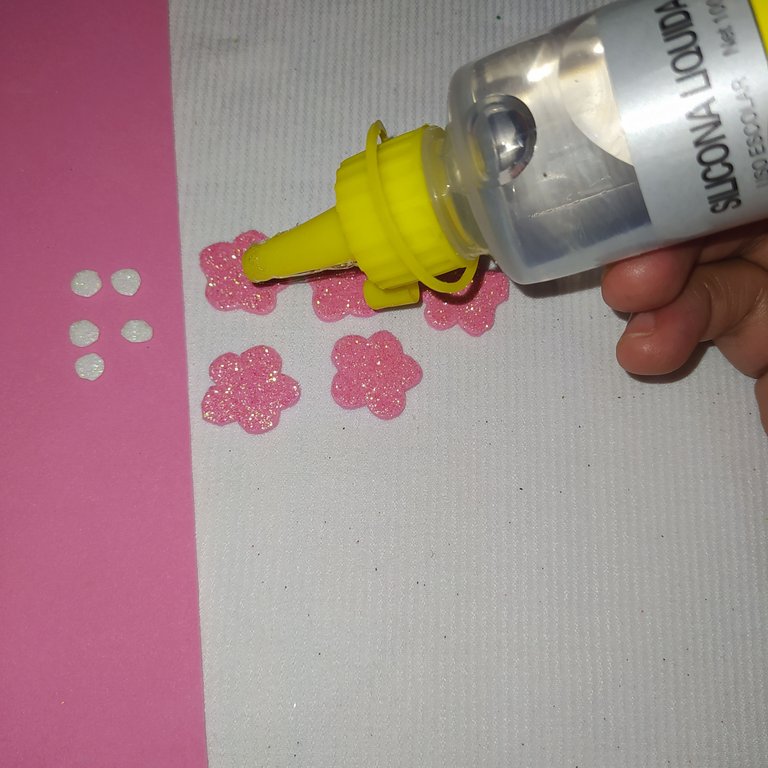
Now we will make the five medium-sized flowers.
Ahora realizaremos las cinco flores medianas.
 |  |
|---|
- Repeat the previous step marking on the back side, cut out all around the edge, cut small white circles to make the center.
- Repetimos el paso anterior marcando por la parte de atrás, recortamos por todo el borde,cortamos pequeños círculos blanco para hacerles el centro.
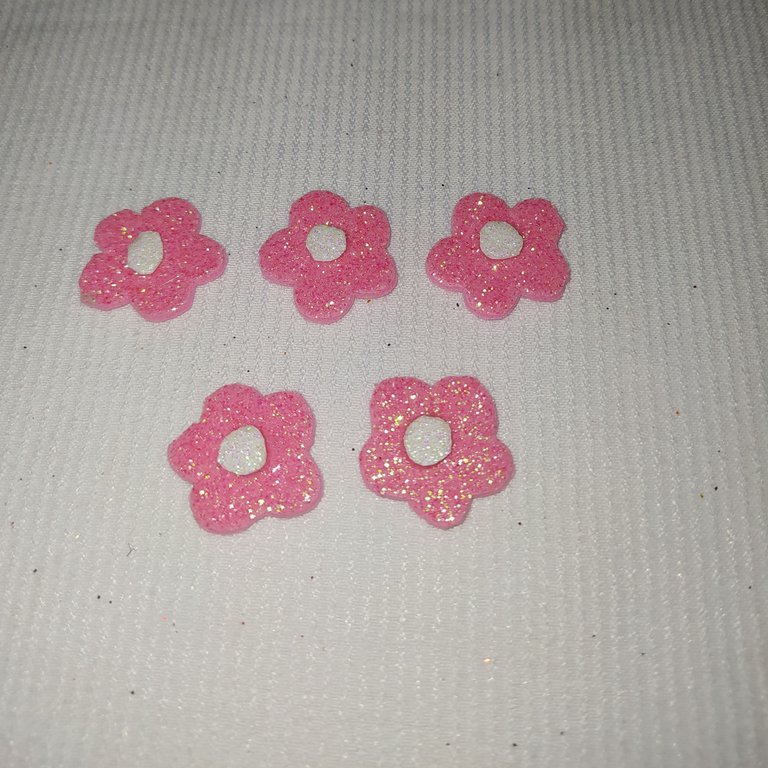
Result.
Resultado.
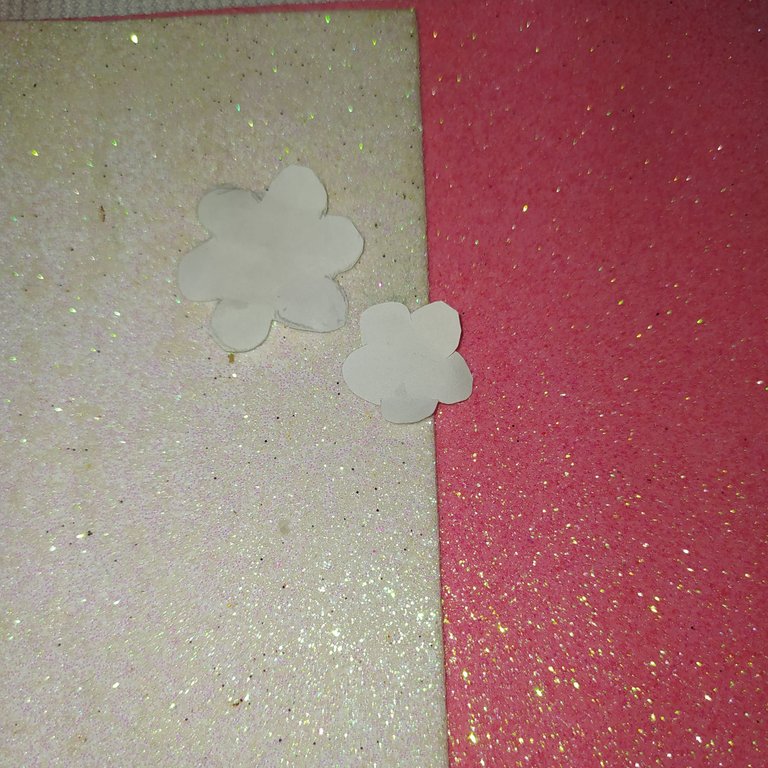
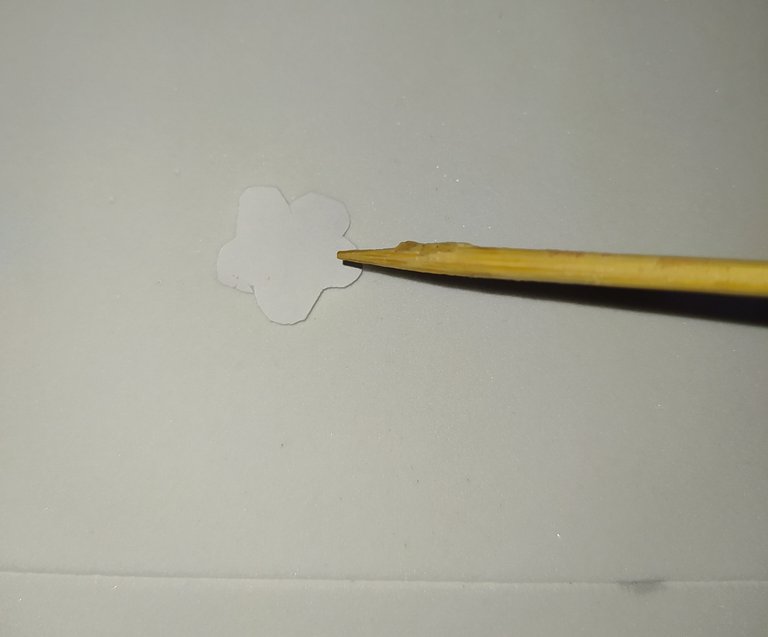
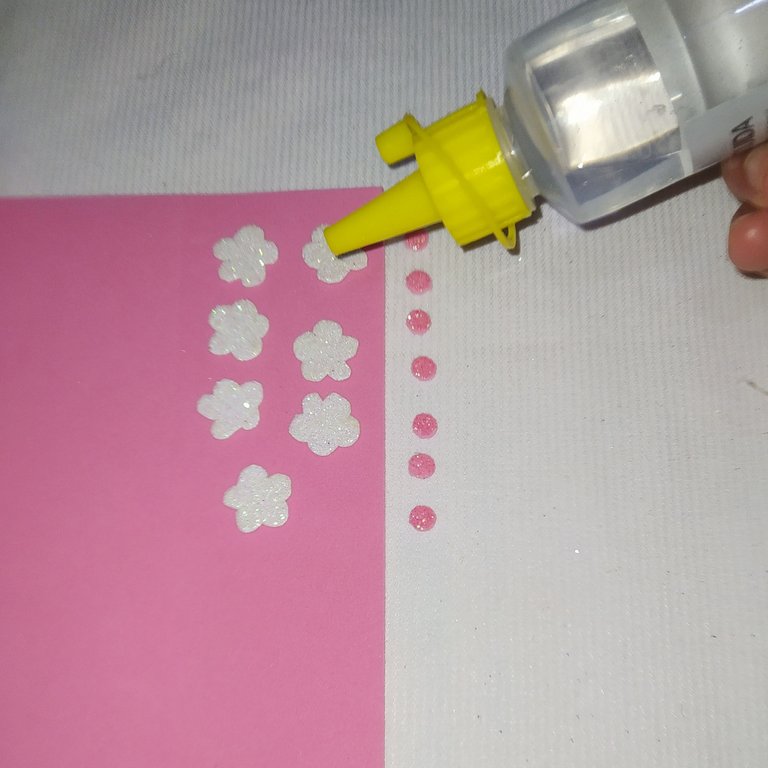
Elaboration of the seven small flowers.
Elaboración de las siete flores pequeñas.
 |  |
|---|
- For its elaboration we repeat the previous step.
- Para su elaboración repetimos el paso anterior.
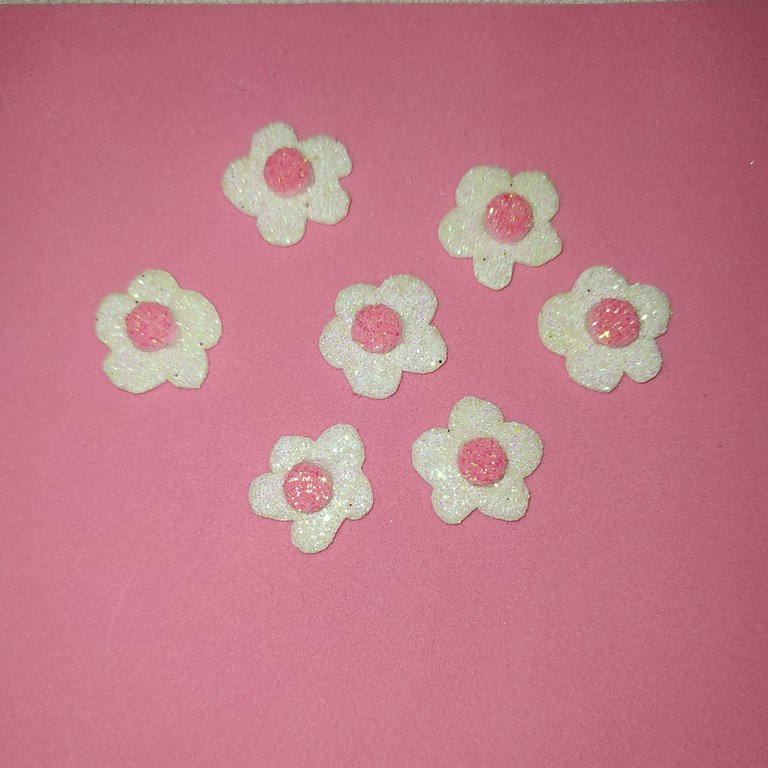
Result.
Resultado.
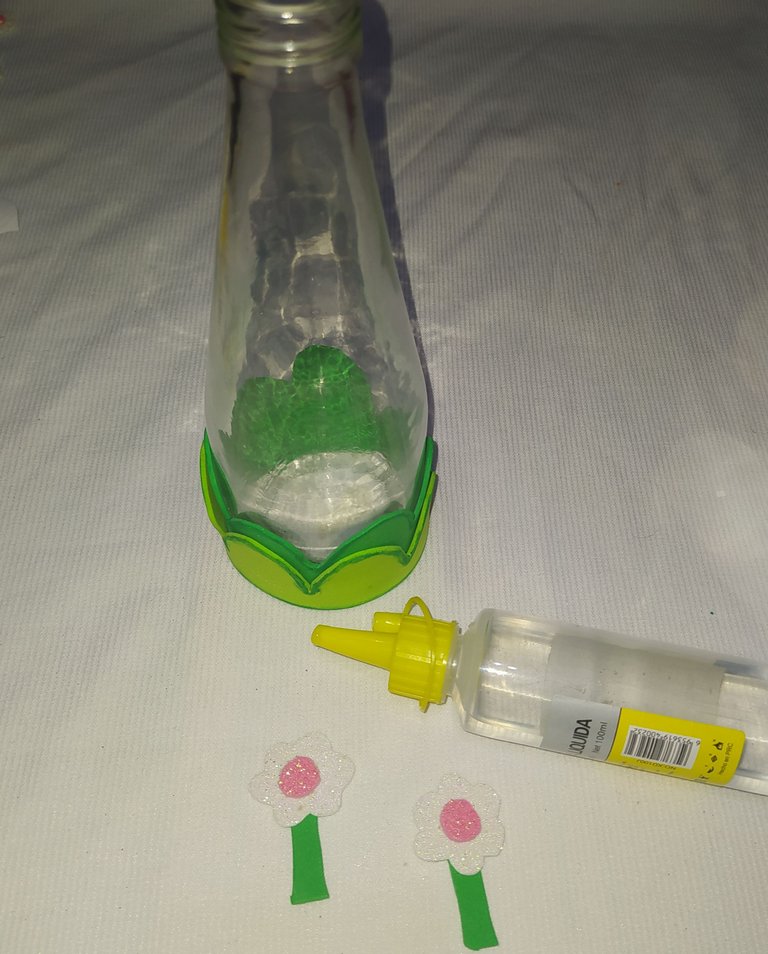
- We put silicone on the large flowers and glue one on the front and one on the back of the bottle.
- Le colocamos silicón a las flores grandes y pegamos a la botella una en la parte delantera y otra en la parte de atrás.
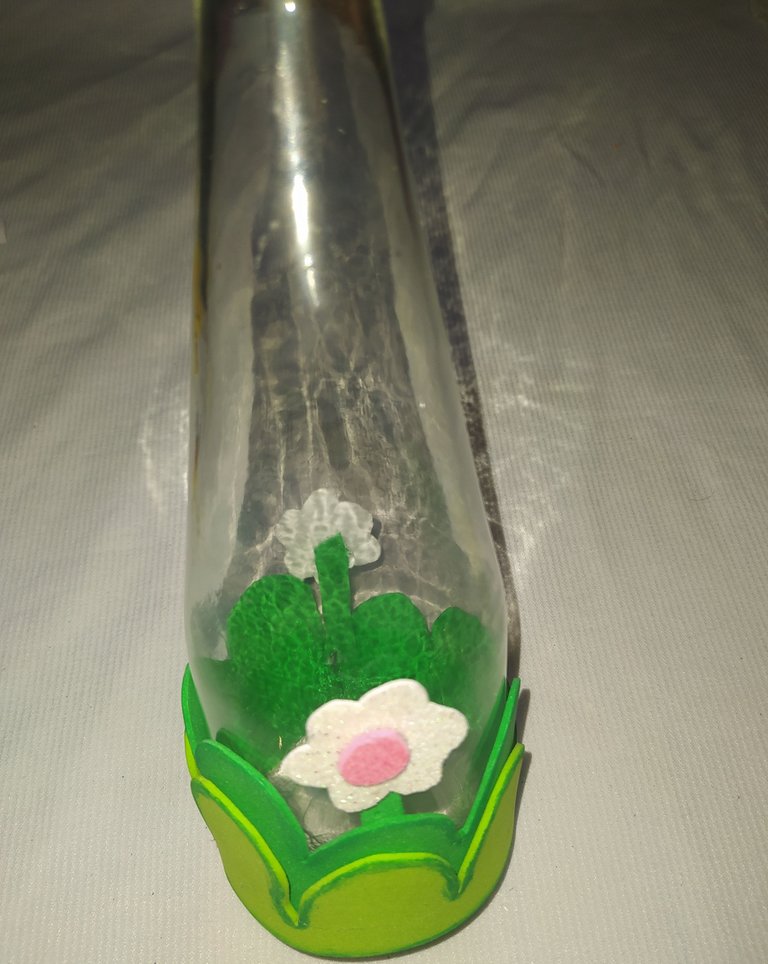
Result.
Resultado.
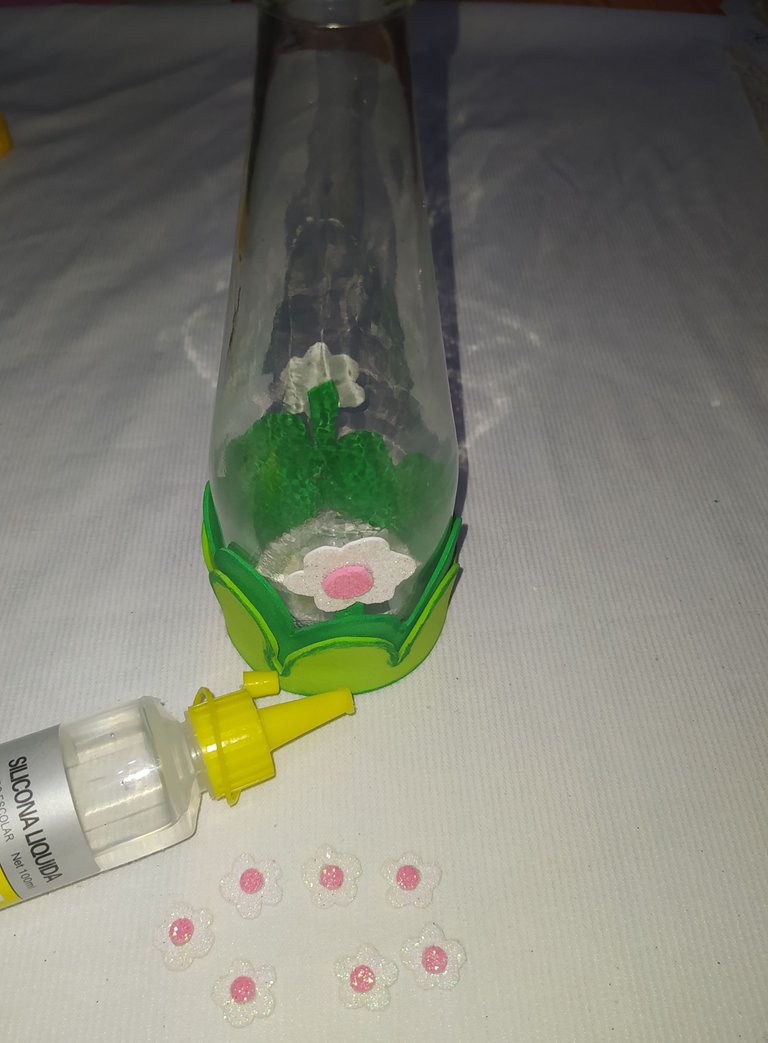
- Then we glue the seven small flowers at the junction of the lawn border all the way around.
- Luego pegamos las siete flores pequeñas en la unión del borde del césped por todo alrededor.
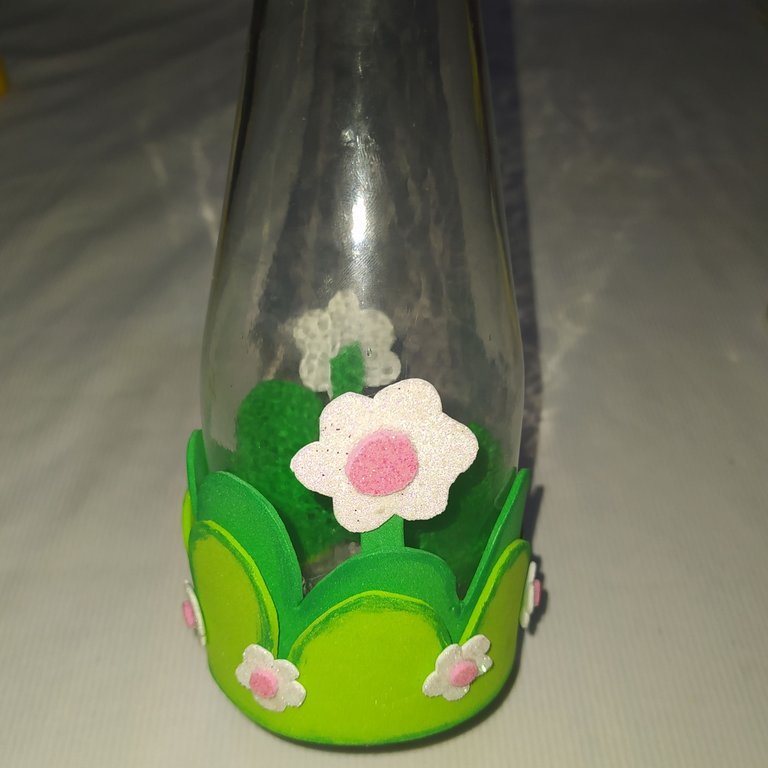
Result.
Resultado.
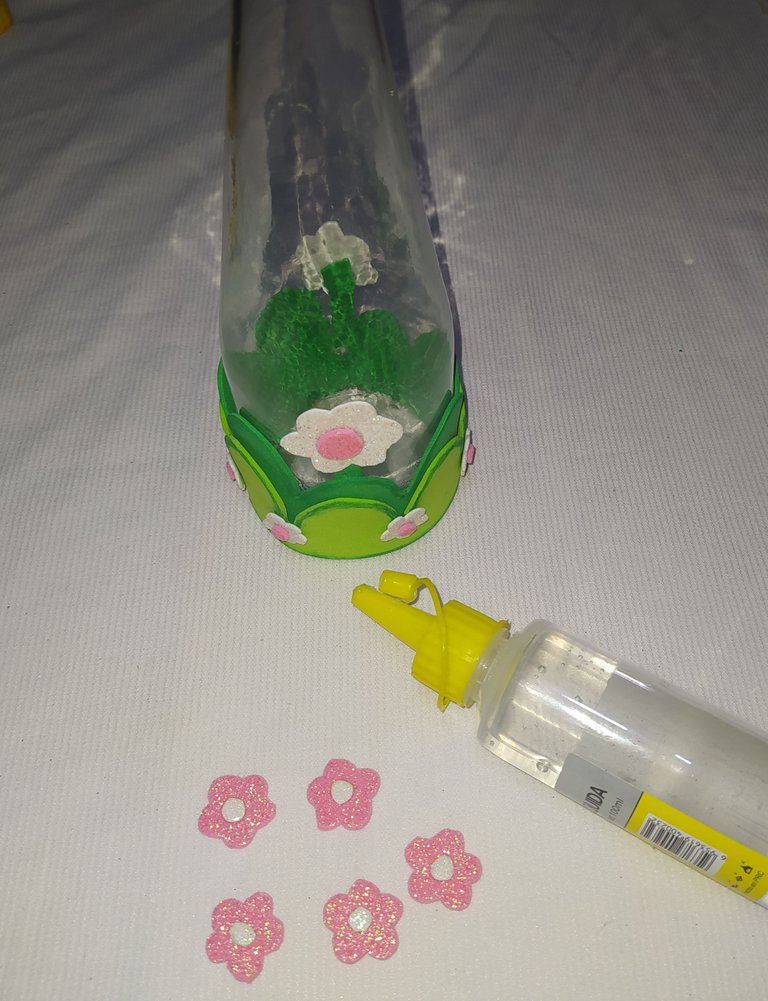
- We take the 5 medium-sized flowers and stick them to the top of the lawn.
- Tomamos las 5 flores medianas y las pegamos en la parte alta del césped
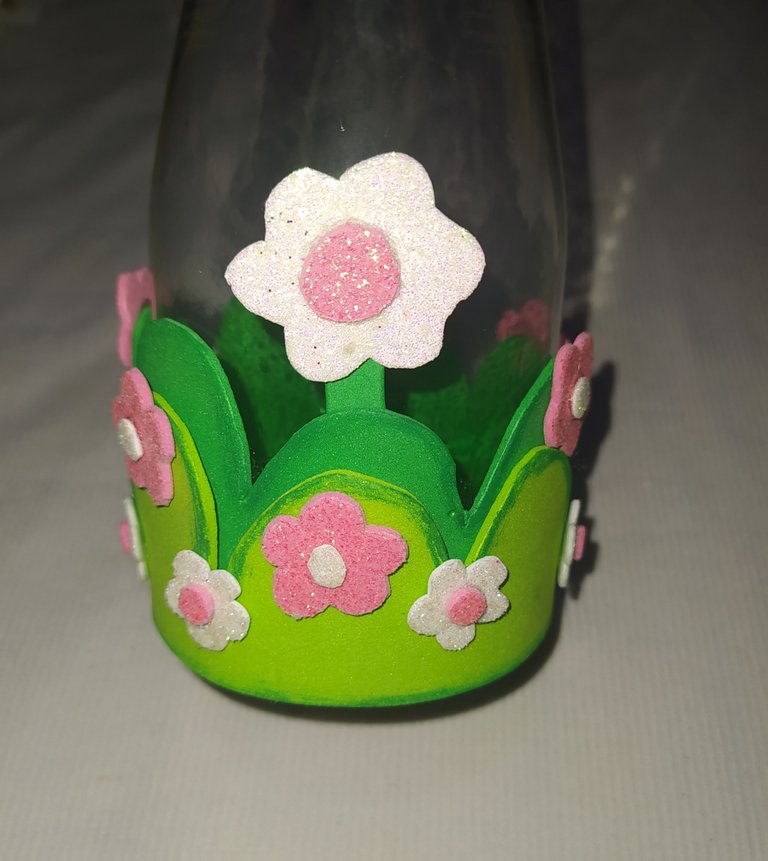
- This is how our beautiful finished garden looks like.
- Así queda nuestro bello jardín terminado.
Second step.
- Elaboration of the honey.
Segundo paso.
- Elaboración de la Miel.
 |  |
|---|
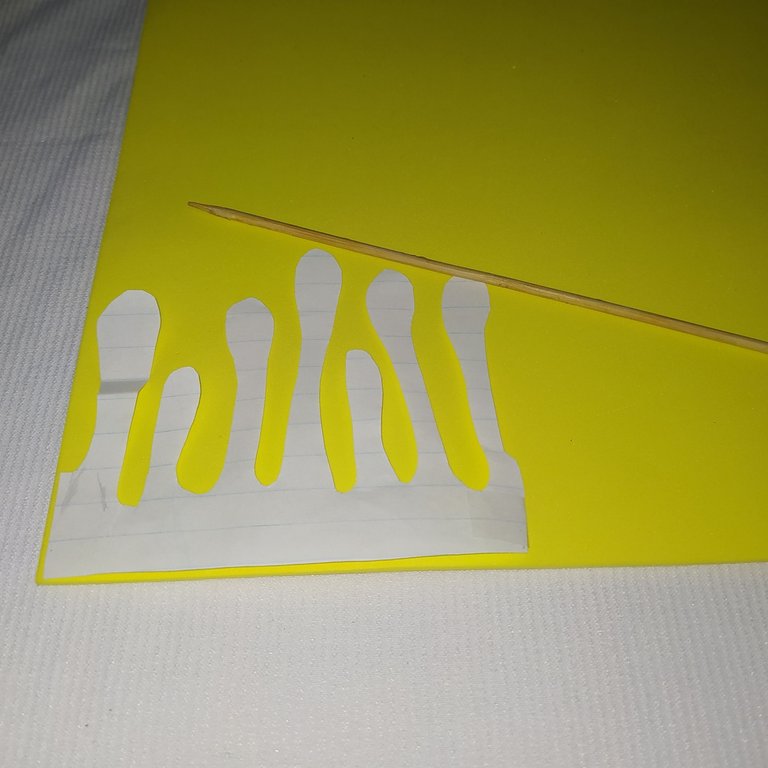
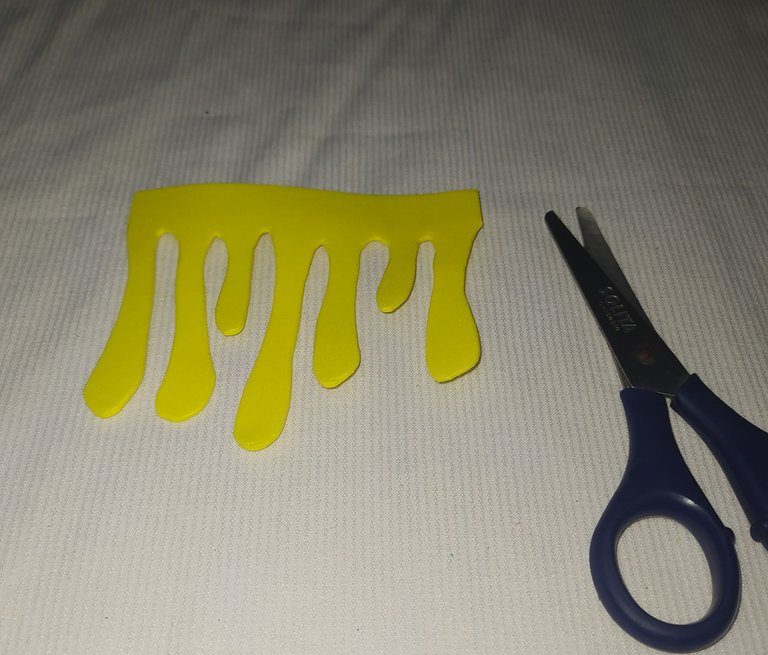
- Place the honey mold on top of the foami and mark it.
- Then we cut it out.
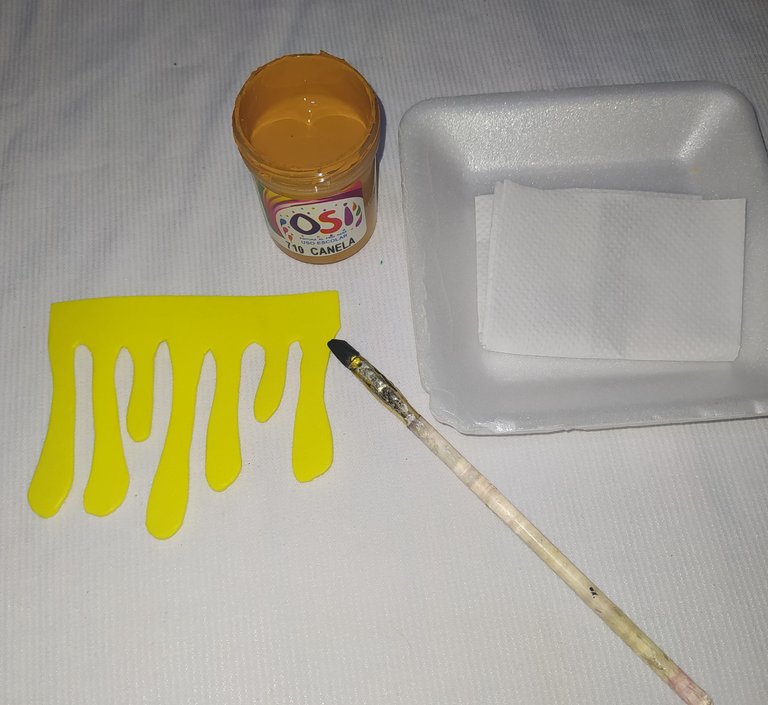
- With cinnamon acrylic paint we paint the edges and the center, loading the paint on the brush, then we unload it on the napkin.
- Colocamos el molde de la miel encima del foami marcamos.
- Luego recortamos.
- Con pintura acrilica color canela pintamos las orillas y el centro, cargando pintura en el pincel, luego descargamos en la servilleta.
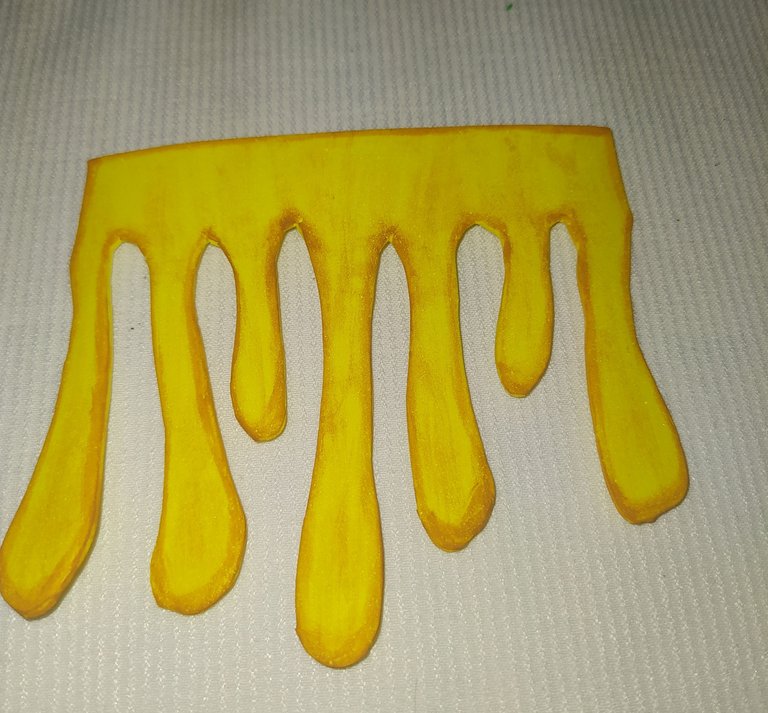
Result
Resultado.
Bottle cap
Tapa de la botella
 |  |
|---|
 |  |
|---|
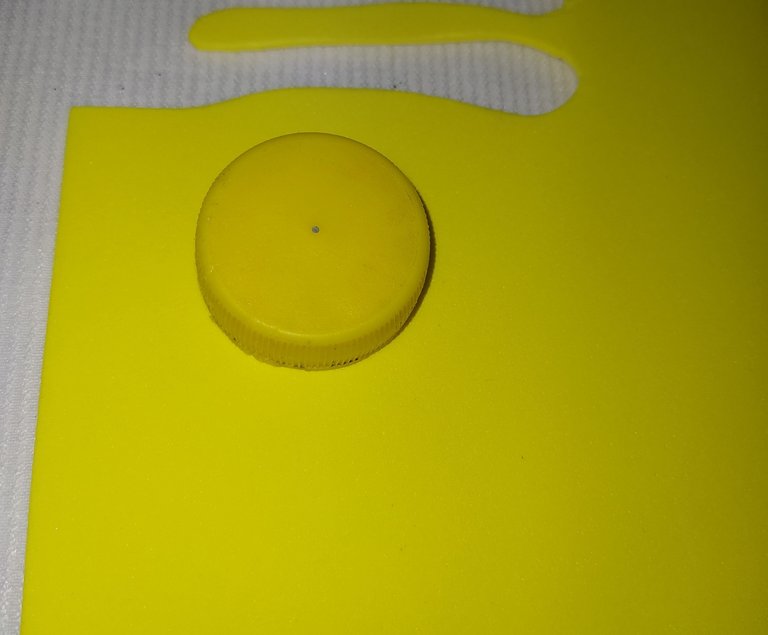
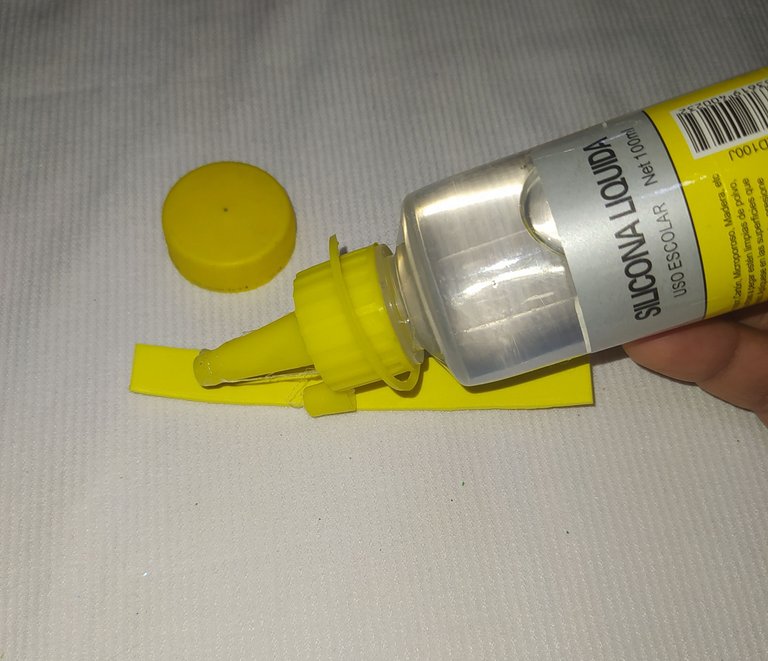
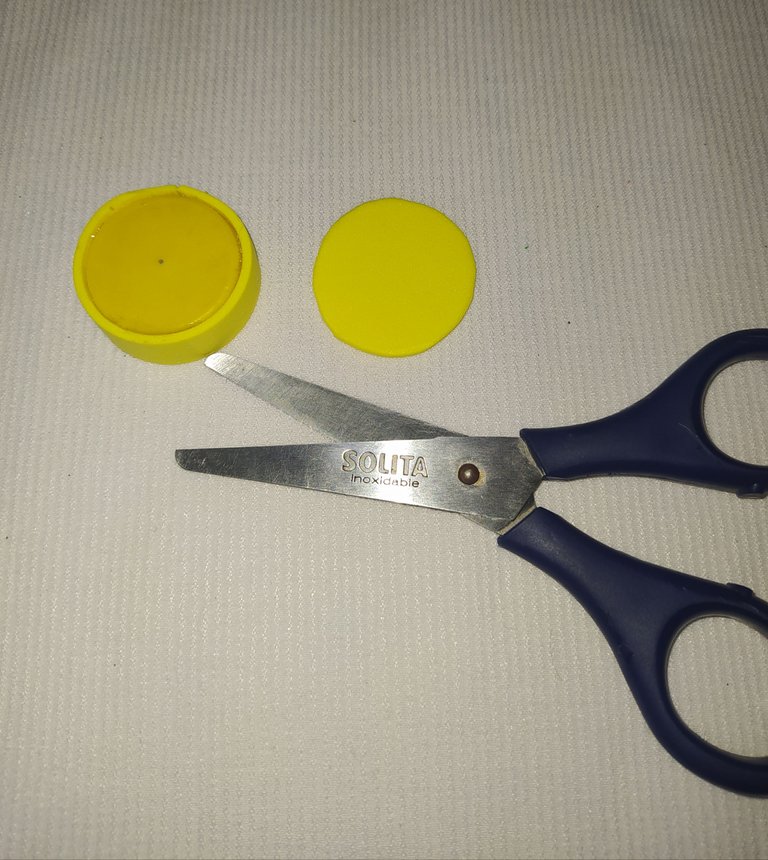
- Place the bottle cap on top of the foami.
- Take the measurement of the lateral part of the cap.
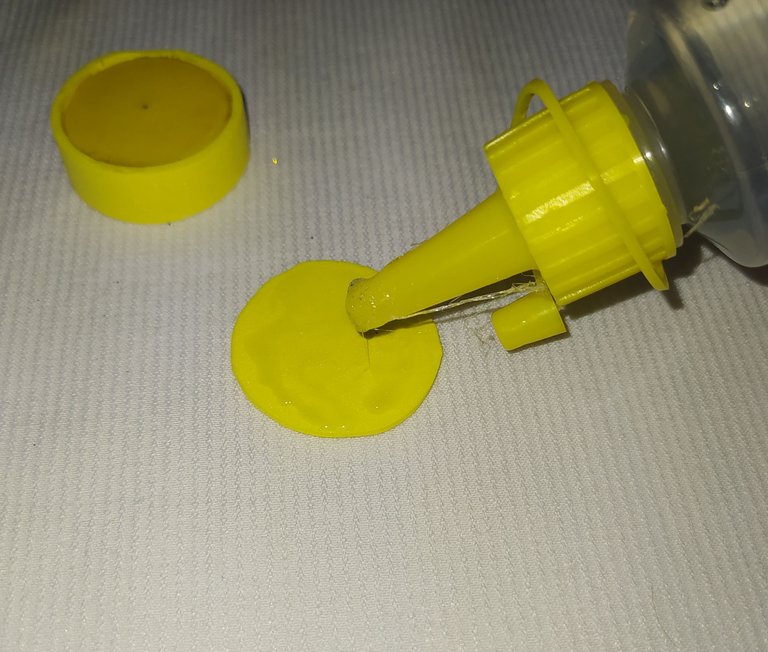
- We put silicone on the foami and glue it.
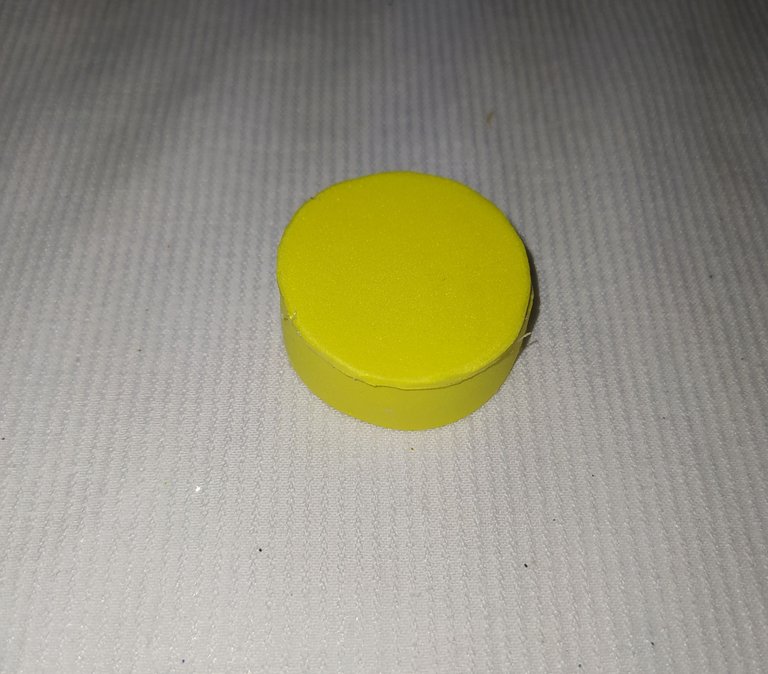
- Then we put the lid back on the foami to measure the top, cut it out, put silicone on it and glue it.
- Colocamos la tapa de la botella encima del foami.
- Tomamos la medida de la parte lateral de la tapa
- Le colocamos silicón al foami y lo pegamos
- Luego coloco nuevamente la tapa en el foami para tomar la medida de la parte de arriba, recortó coloco silicón y pego.
 |  |
|---|
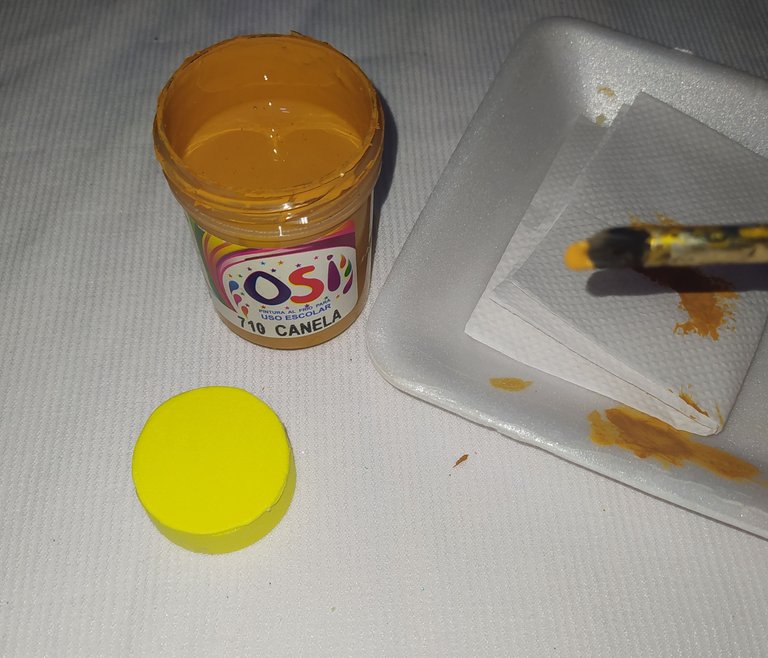
- Then we give a nice finish to the lid by adding a little color using the same technique and color that we used with the honey.
- Luego le damos un lindo acabado a la tapa colocándole un poco de color utilizando la misma técnica y color que utilice con la miel.
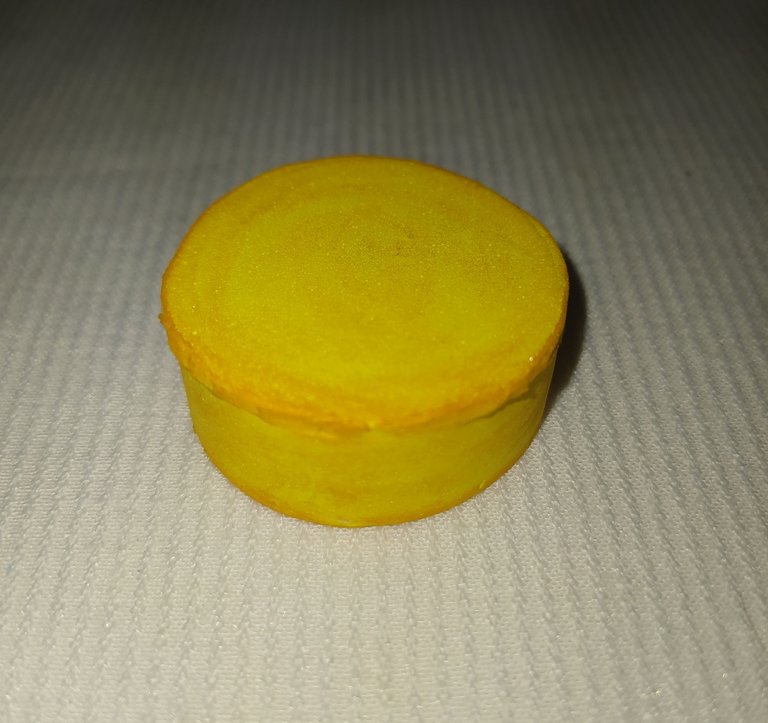
Result.
Resultado.
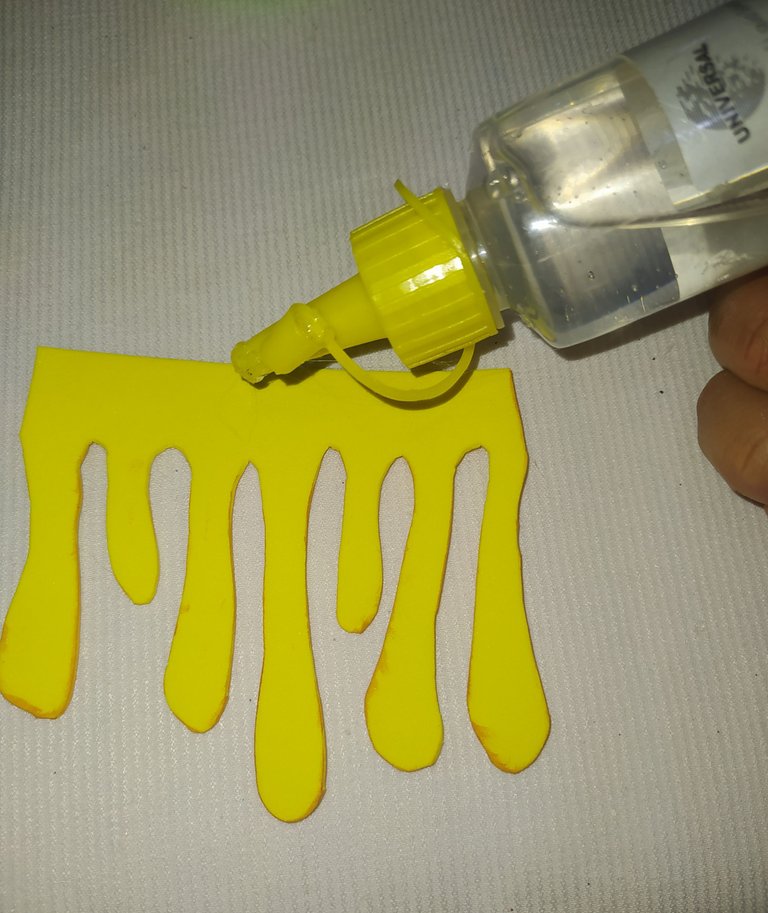
- We put silicone on the back of the honey and glue it to the bottle.
- We put the lid on the bottle.
- Le colocamos silicón a la parte de atrás de la miel y pegamos a la botella.
- Le colocamos la tapa.
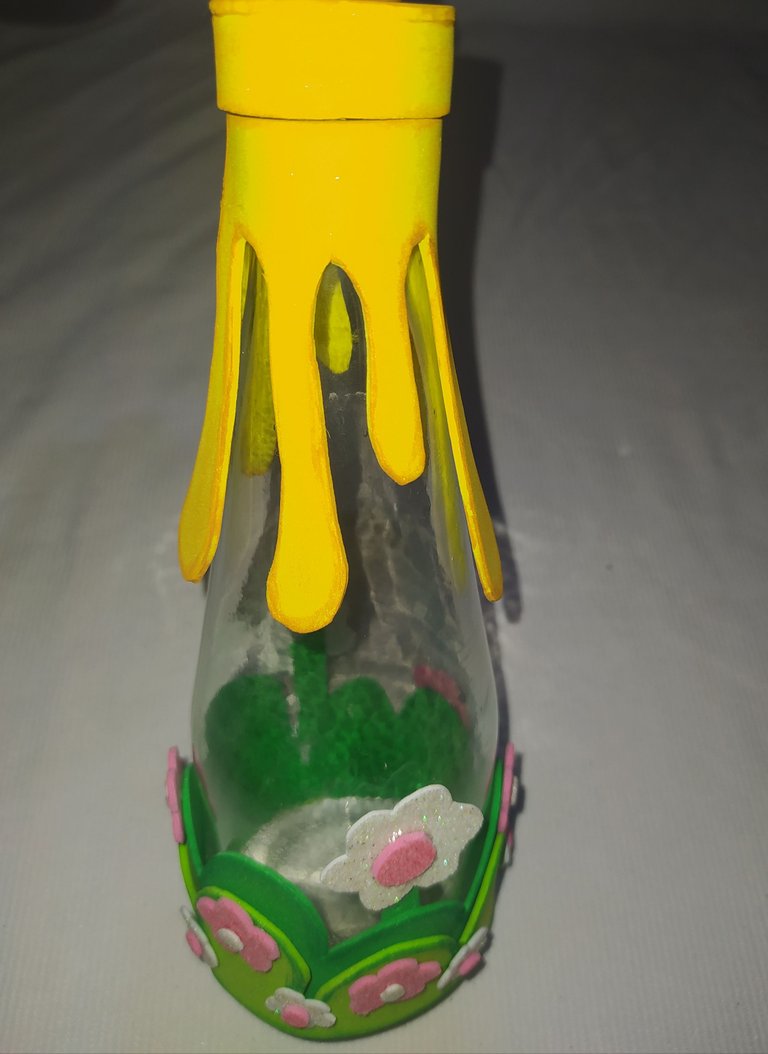
Result
Resultado.
Third step.
- Processing of the bees
Tercer paso.
- Elaboración de las abejas.
 |  |
|---|
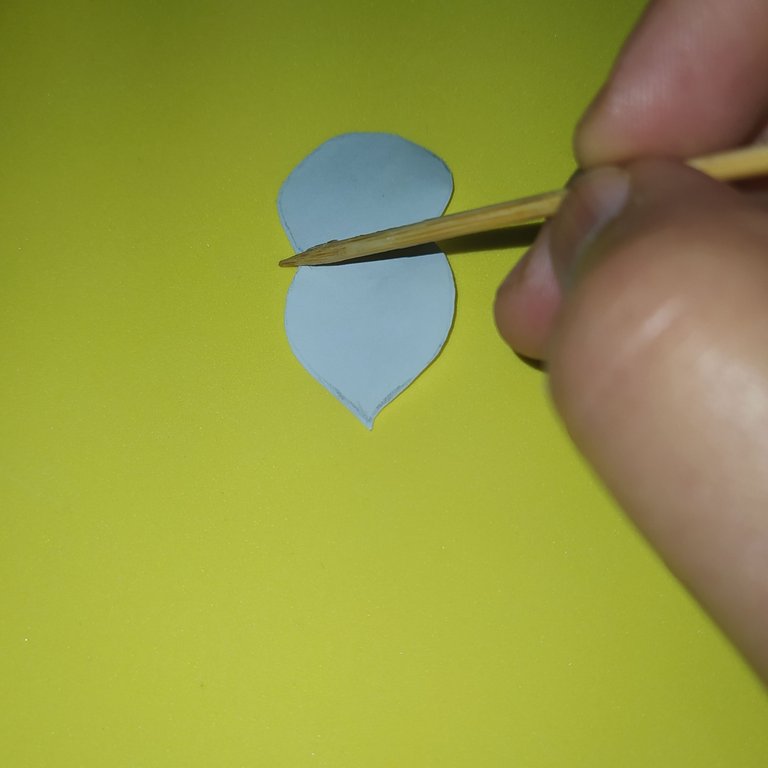
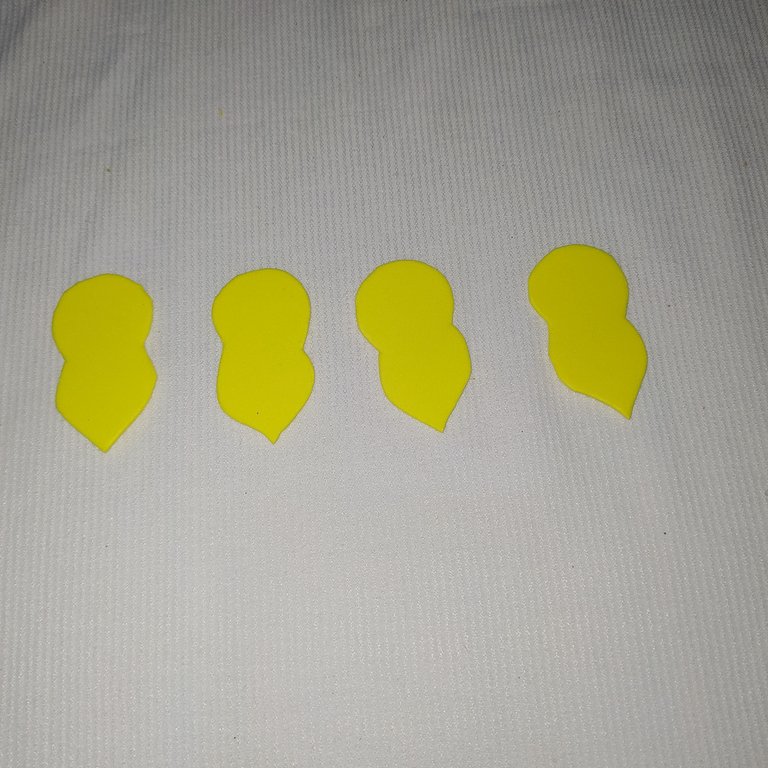
- Place the bee mold on the yellow foami and mark four little bees.
- Then we cut out.
- Colocamos el molde de la abeja en el foami amarillo y marcamos cuatro abejitas.
- Luego recortamos.
 |  |
|---|
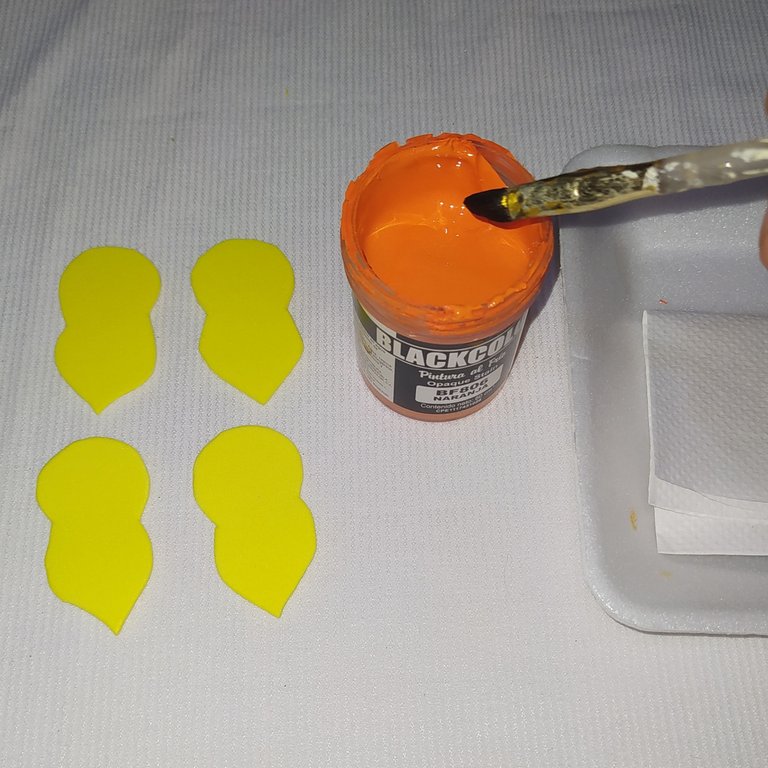
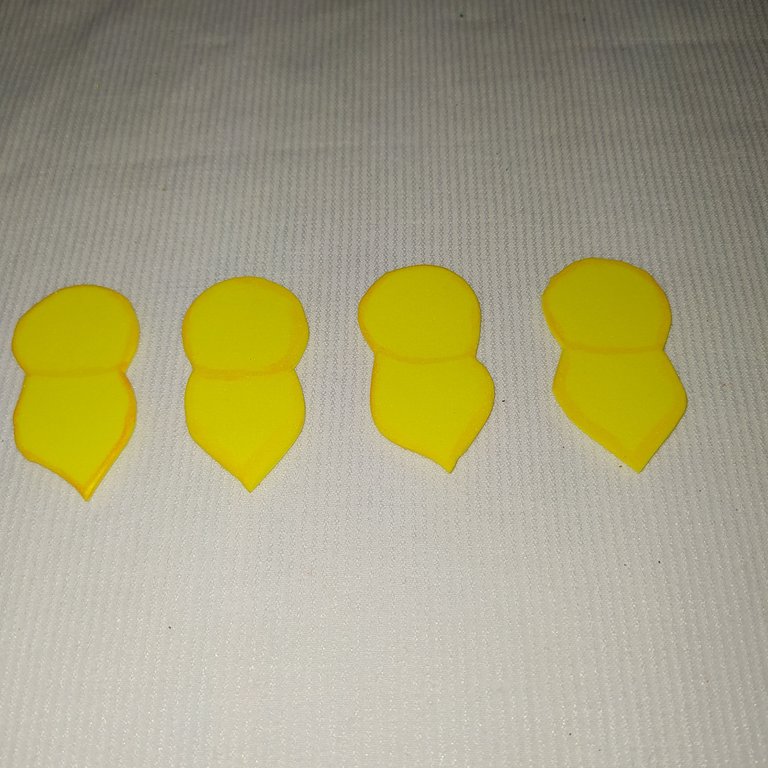
- We introduce the brush in the orange paint, we unload a little on the napkin and we shade all around the edge of the bees, shading also the separation of the face and the body.
- Introducimos el pincel en la pintura anaranjada, descargamos un poco en la servilleta y sombreamos por todo el borde de las abejitas sombreando también la separación de la cara y el cuerpo.
 |  |
|---|
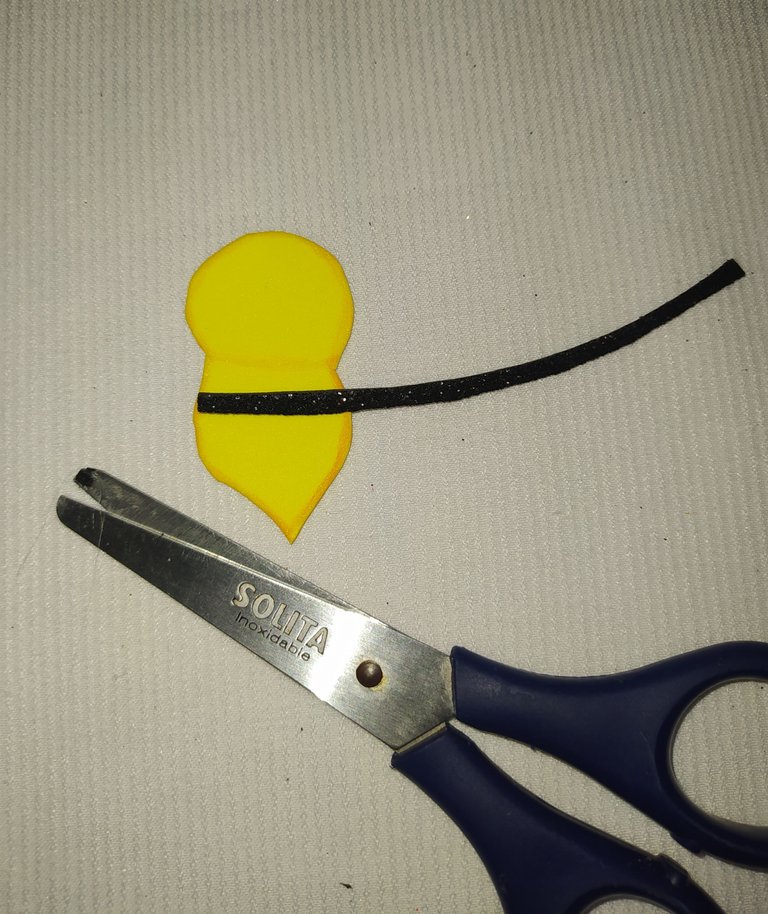
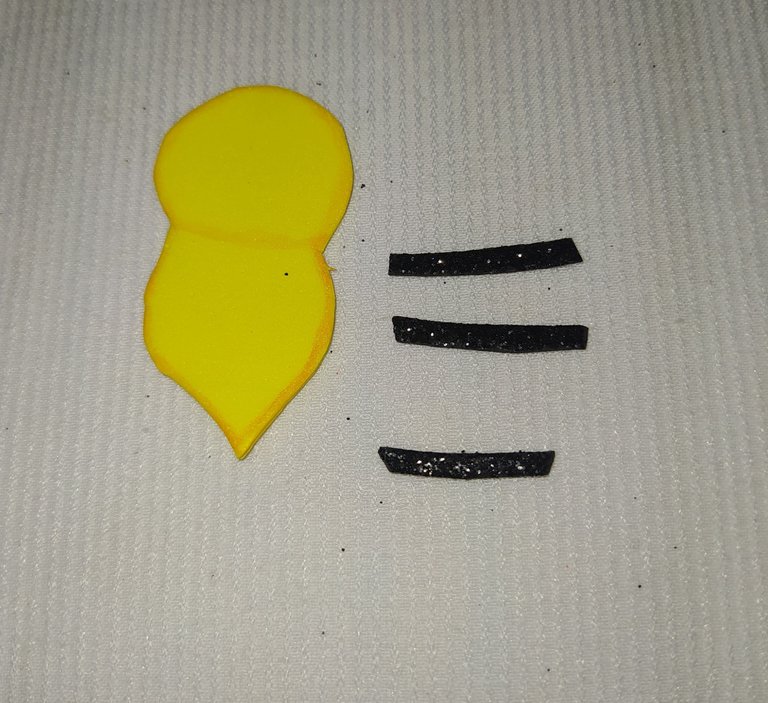
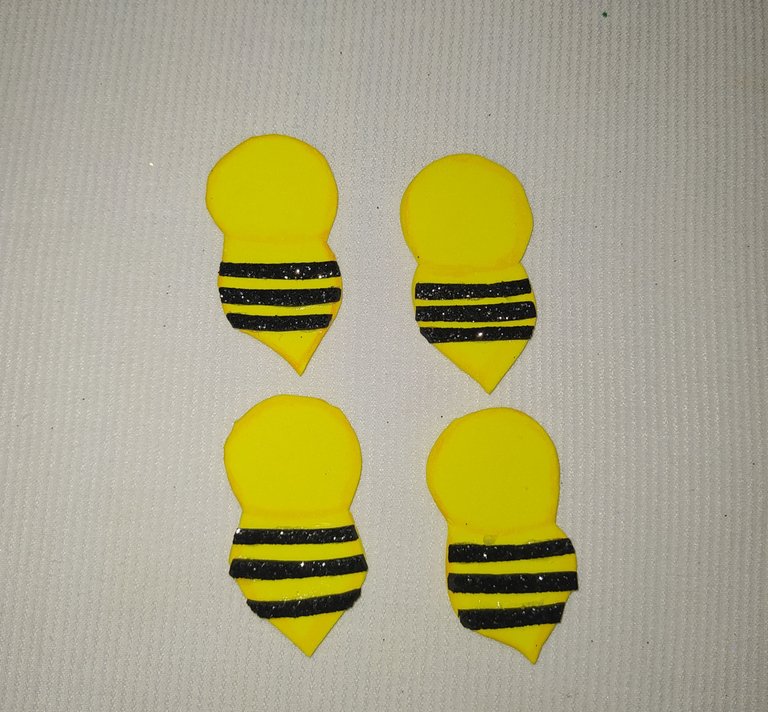
- To make the black stripes on the body of the bees, cut a thin strip of foami.
- Cut out three for each bee.
- Glue with silicone.
- Para hacer las rayitas negras del cuerpo de las abejitas recorte una tira delgada de foami.
- Recorte tres para cada abejita.
- Pegue con silicón.
Result.
Resultado.
 |  |
|---|---|
 |  |
| - | - |
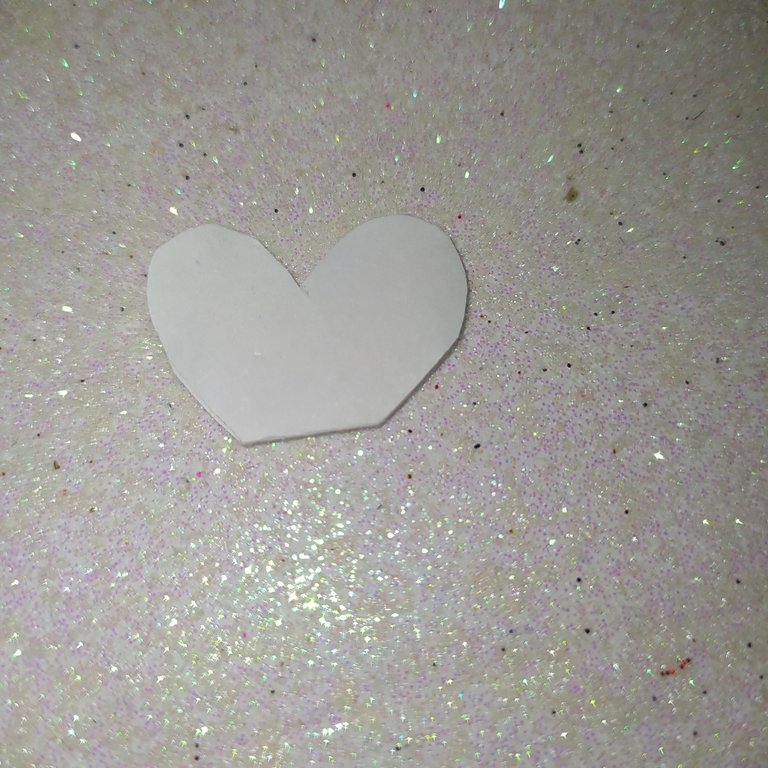
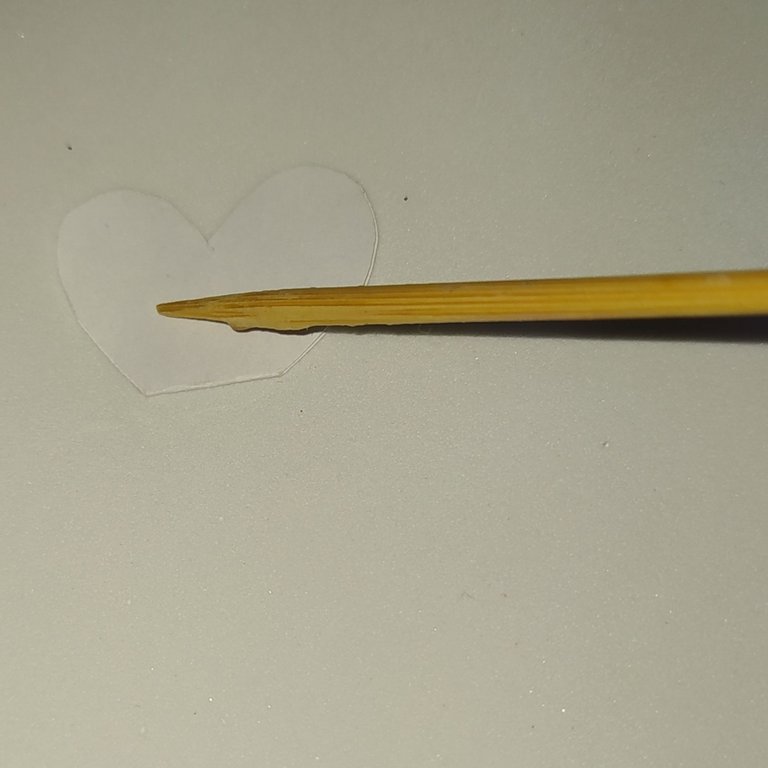
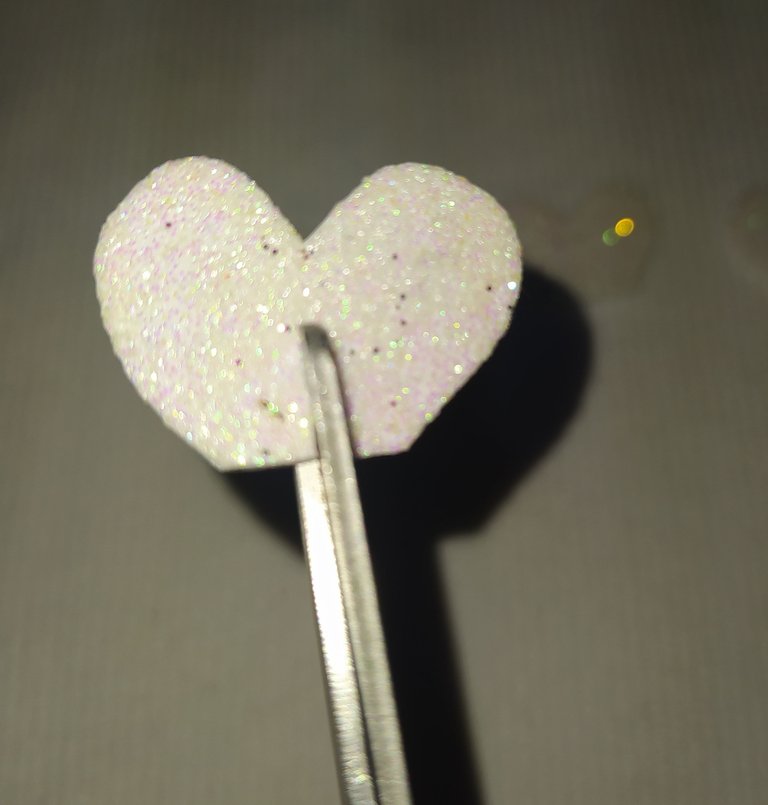
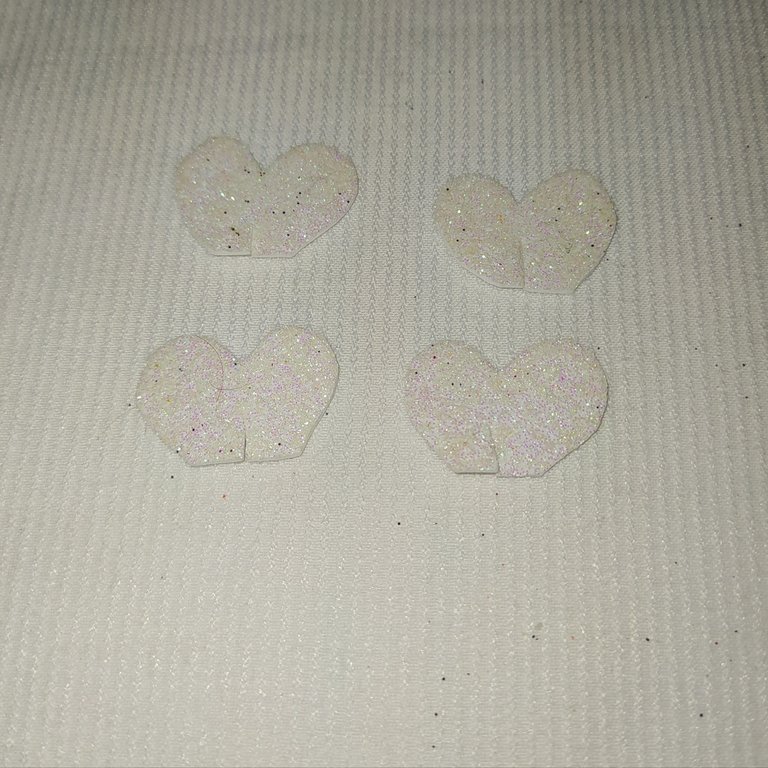
- To make the wings after having placed the mold on the back of the frosted white foami and having marked the cutout.
- Then at the bottom of the wings I made a small cutout.
- Para realizar las alas luego de haber colocado el molde en la parte de atrás del foami blanco escarchado y haber marcado recorte.
- Luego en la parte de abajo de las alas le hice un pequeño corte.
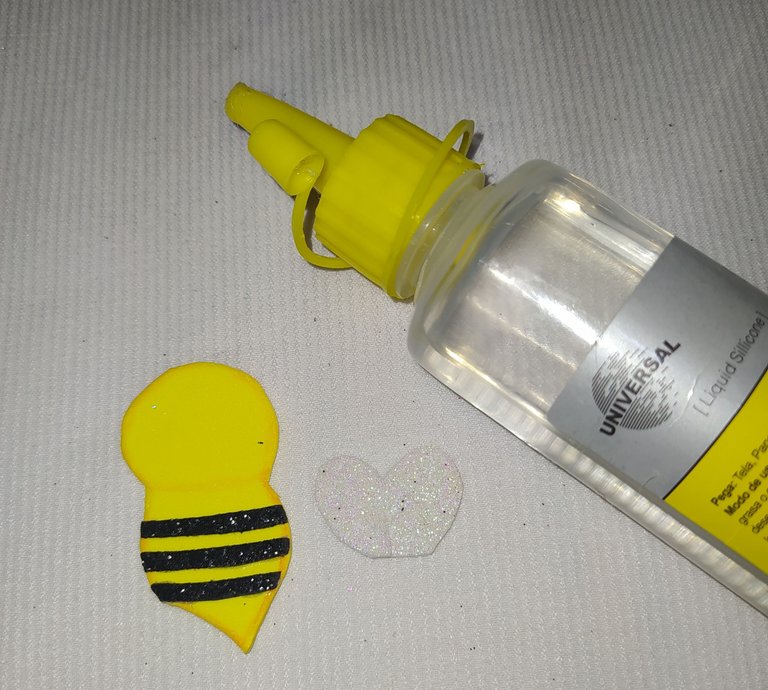
- I place silicone on the back of the wings.
- Separate at the bottom where I made the cut and glue a part of the wing in the front of the bee and another in the back, this is to simulate that its wings are moving.
- Coloco silicón en la parte de atrás de las alas.
- Separó en la parte de abajo donde hice el corte y pego una parte de la ala en el frente de la abejita y otra en la parte de atrás, esto es para simular que sus alitas están en movimiento.
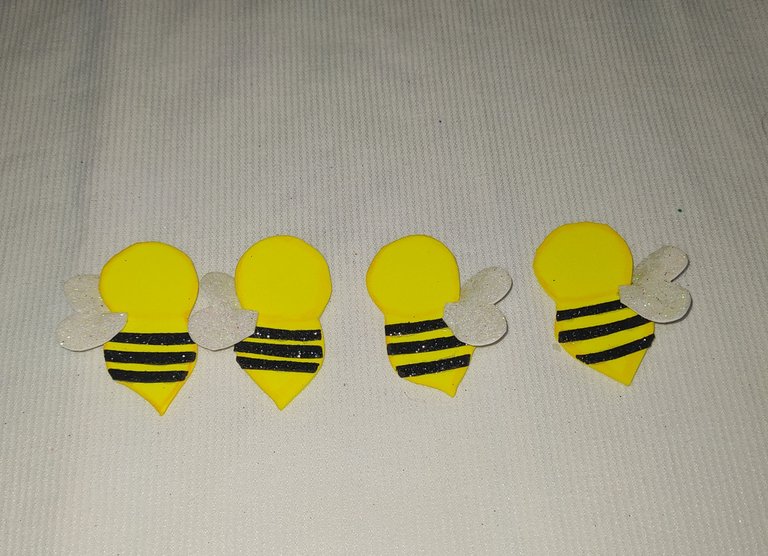
Result.
Resultado.
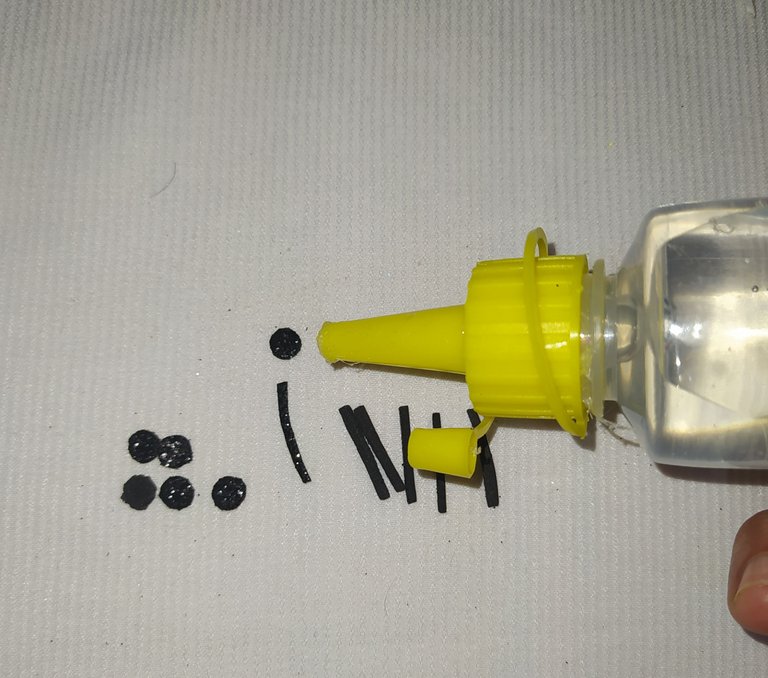
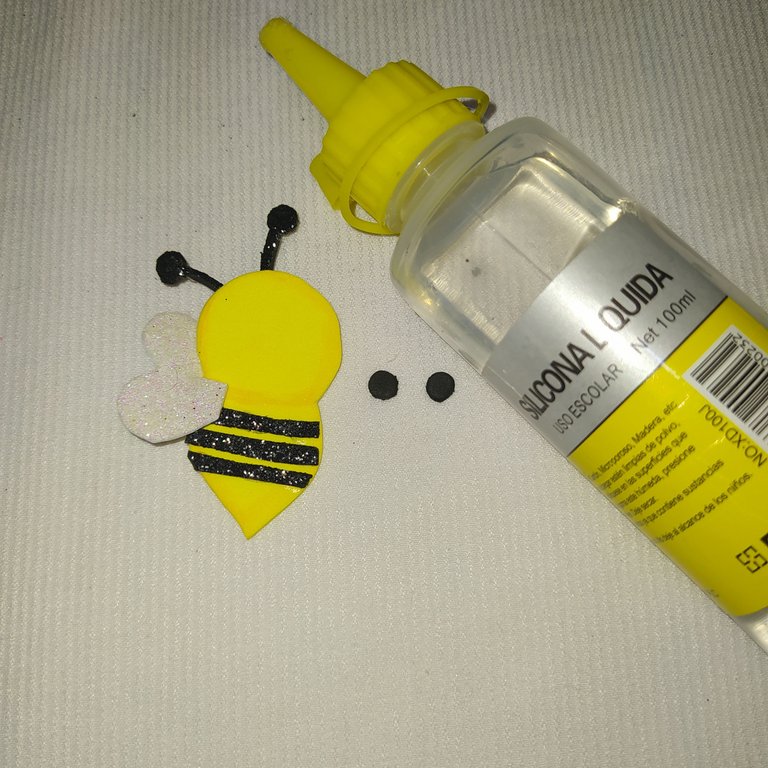
- To make the antennae, cut some thin strips and small circles in frosted black foami.
- Para realizar las antenas recorte unas tiras delgaditas y unos círculos pequeñitos en foami negro escarchado.
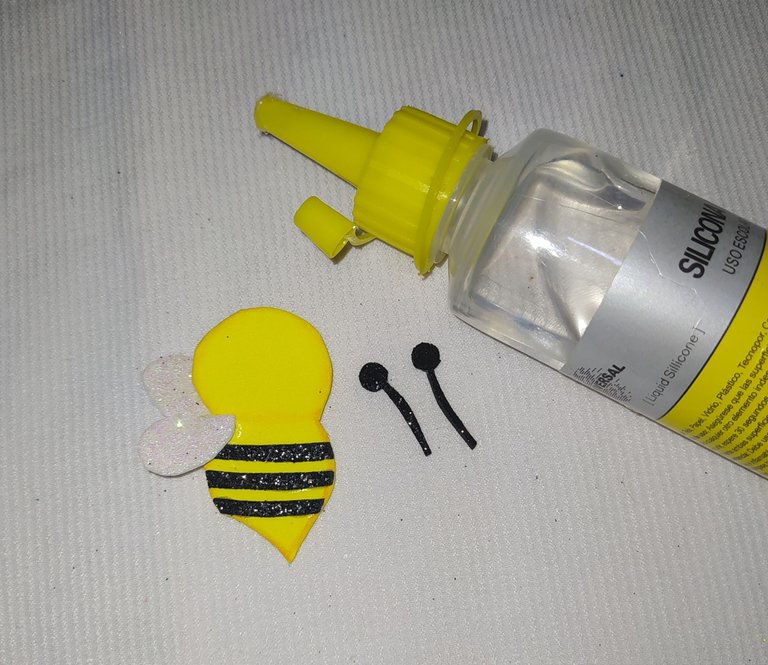
- Then glue the circle and form the antennae.
- Glue them to the back of the bee's head.
- Luego le pegue el círculo y forme las antenas.
- Las pegue a la parte de atrás de la cabeza de las abejitas
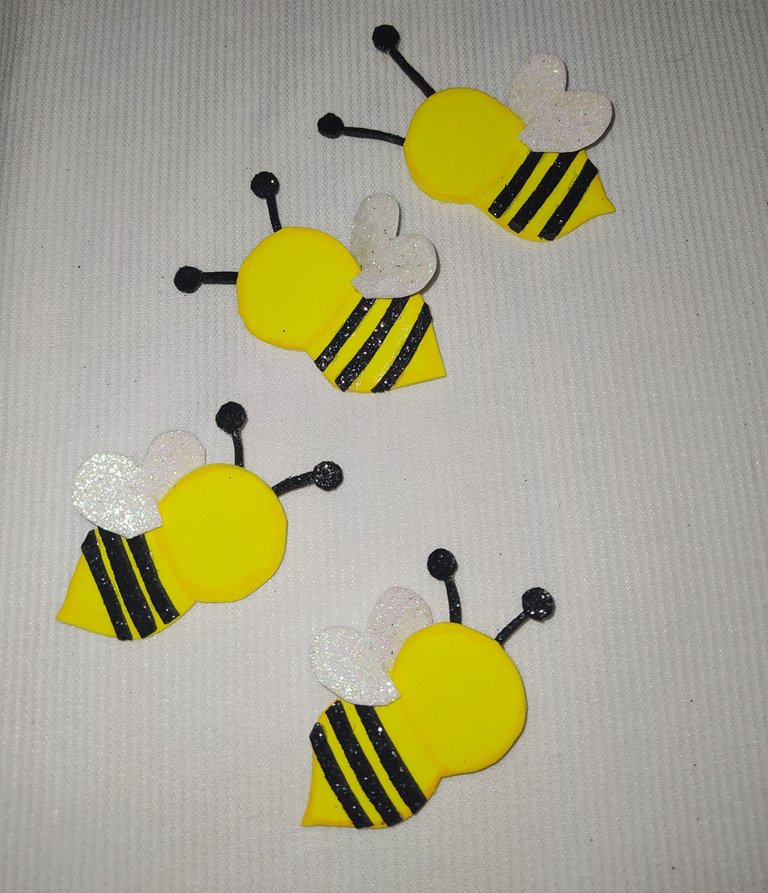
Result.
Resultado.
 |  |
|---|
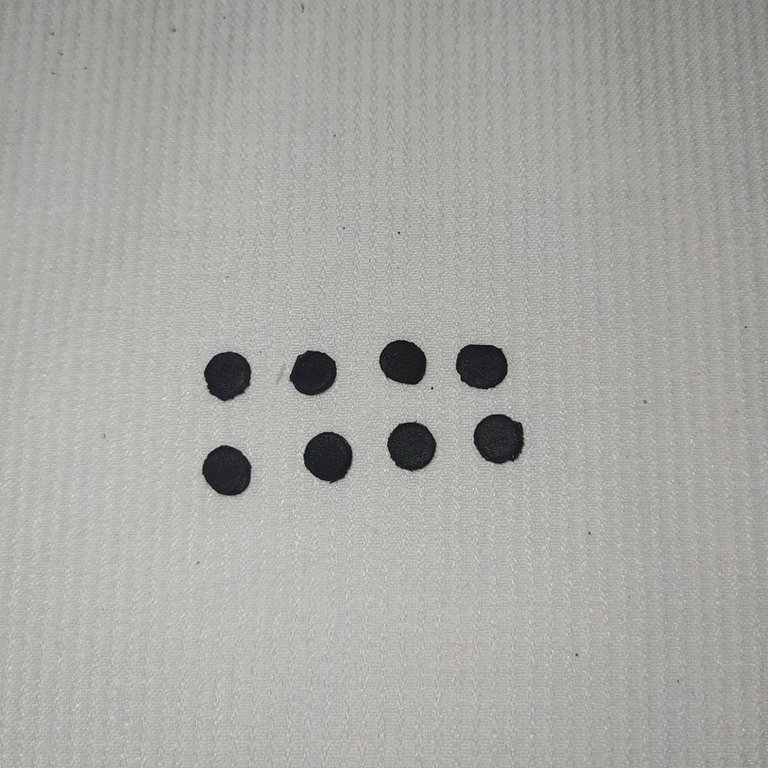
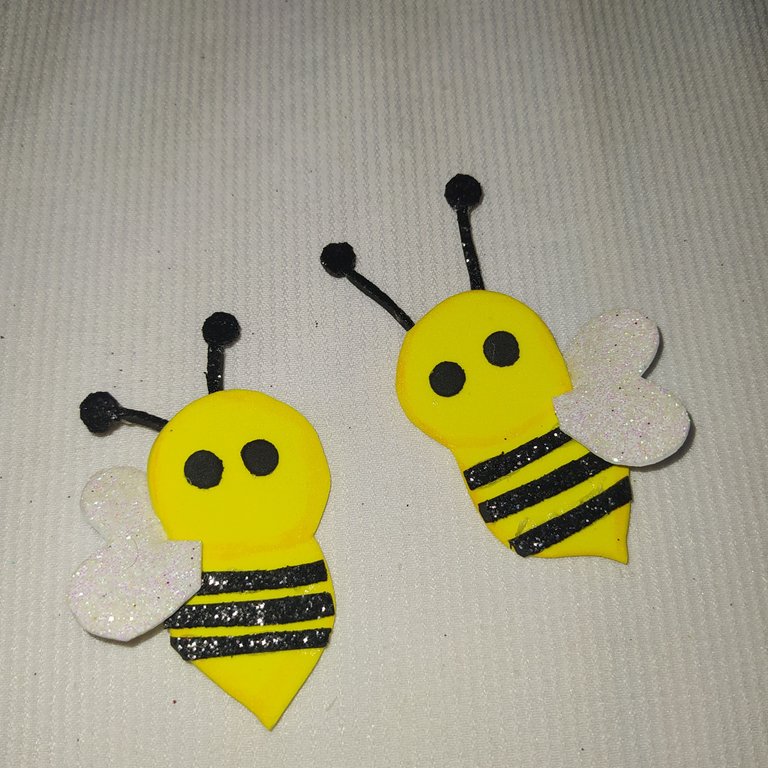
- To make the eyes, cut out 6 small circles in black foami.
- I put some silicone on them and glued them to the face of the little bees.
- Para hacer los ojos recorte 6 pequeños círculos en foami negro.
- Les puse un poco de silicón y pegue a la carita de las abejitas
Result.
Resultado.
 |  |
|---|
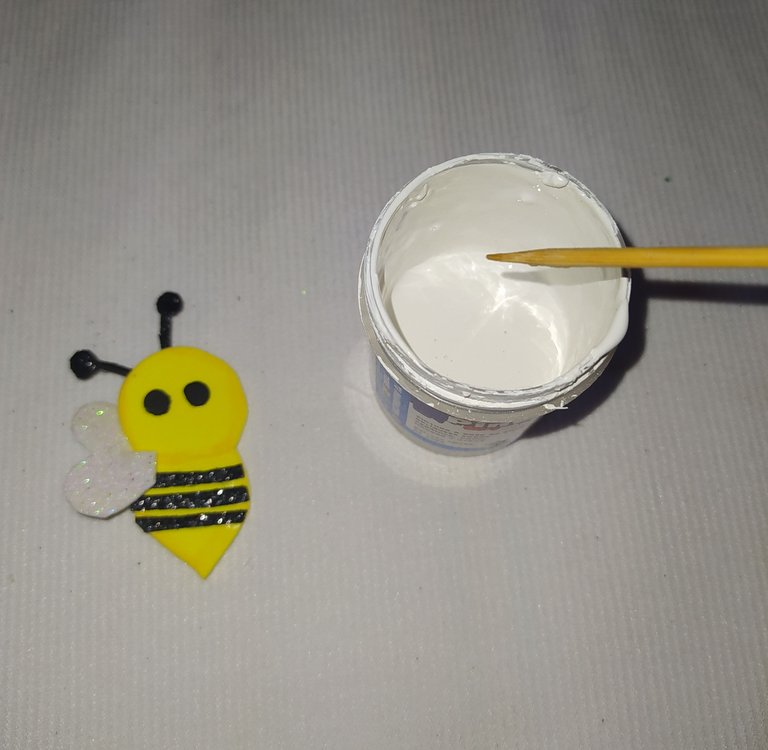
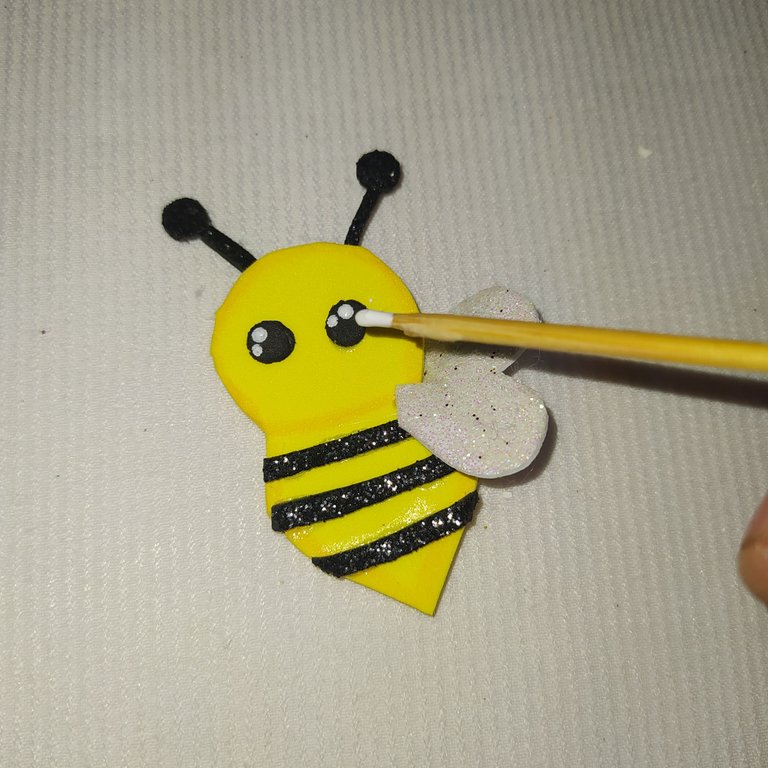
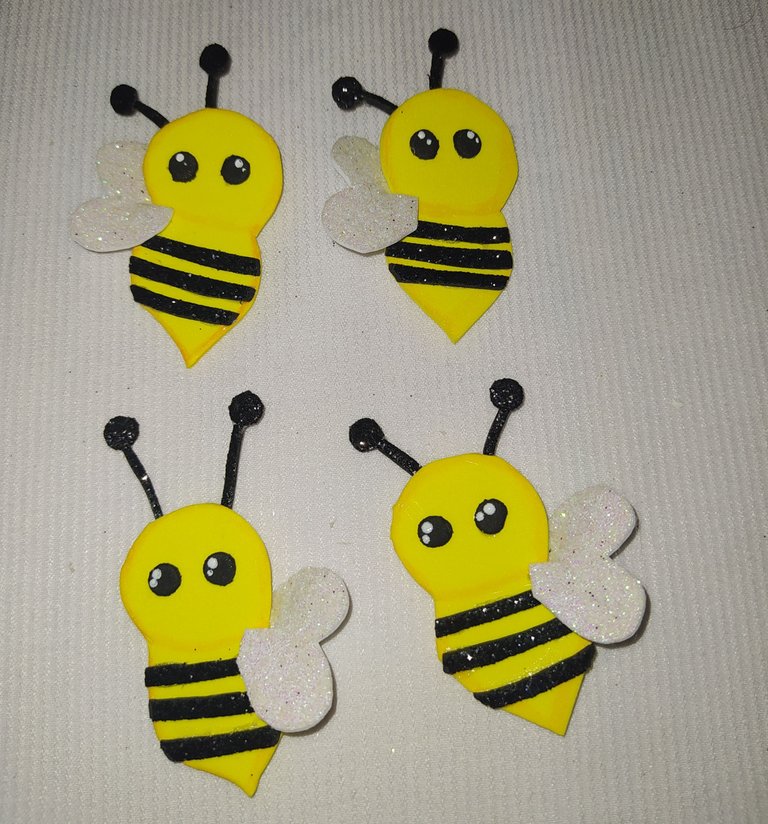
- To give light to the eyes I introduced the height stick in the white acrylic paint and made two small circles in each eye.
- Para darle luz a los ojos introduje el palito de altura en la pintura acrílica blanca e hice dos pequeños círculos en cada ojo.
Result.
Resultado.
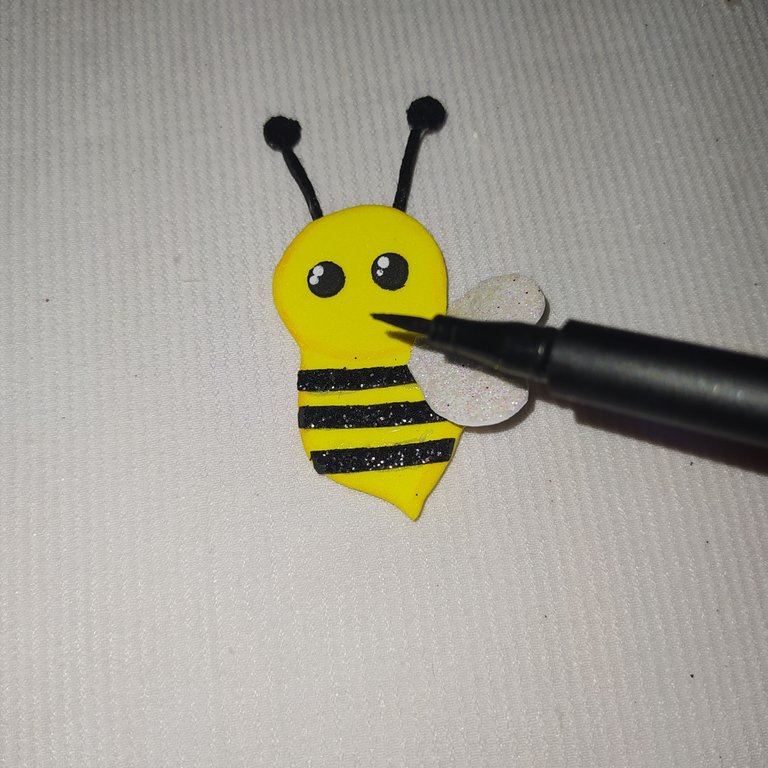
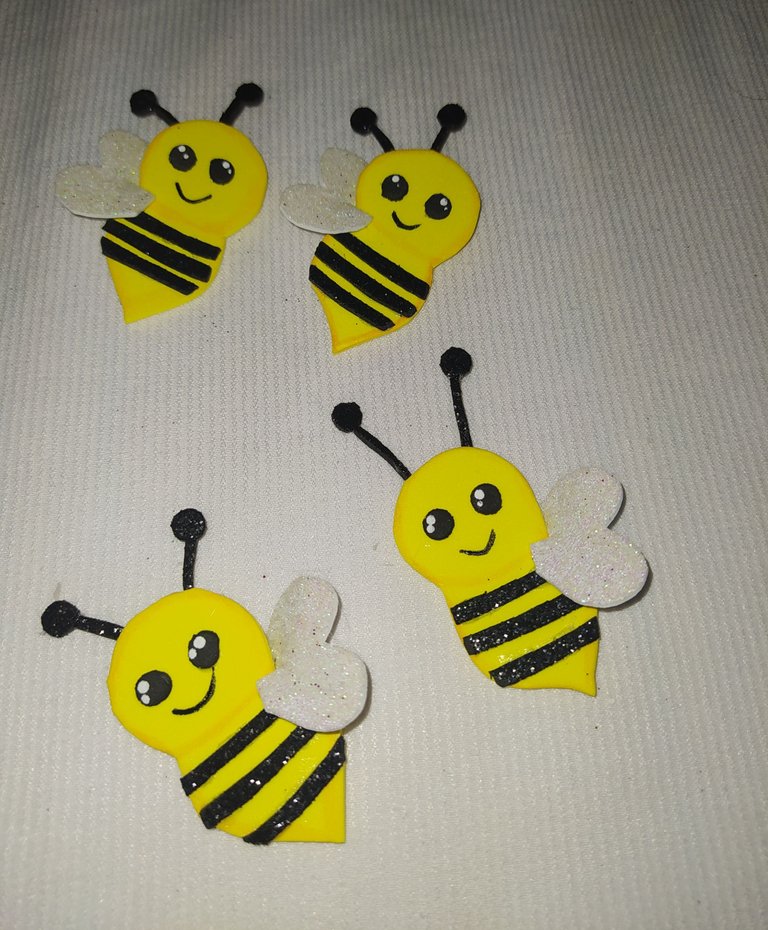
- We draw a nice smile with the black marker.
the black marker.
- Le dibujamos una linda sonrisa con el marcador negro
Result.
Resultado.
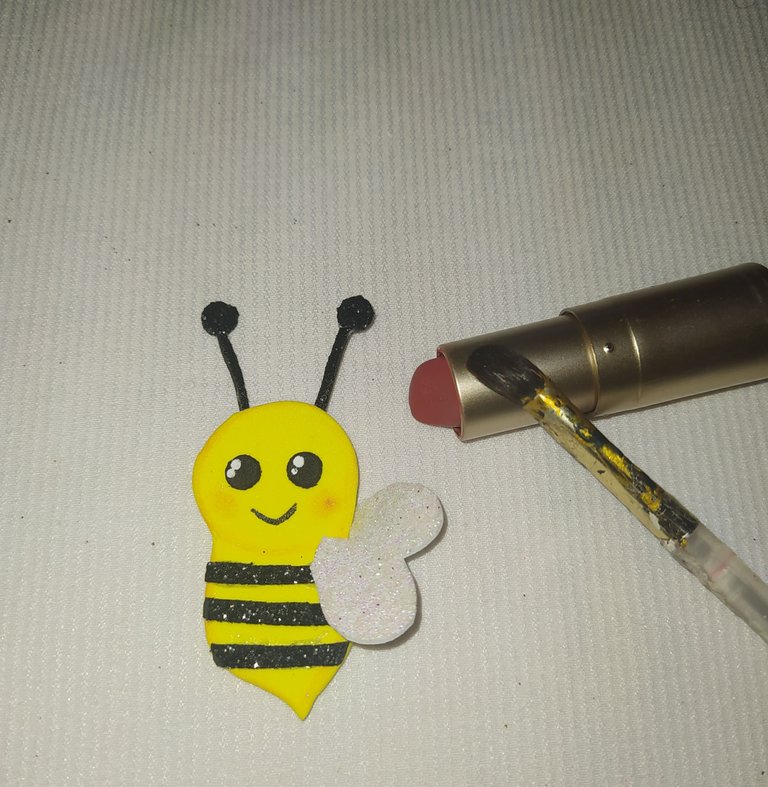
- To give a little color to her cheeks I brushed on some terracotta colored lipstick.
- Para darle un poco de color a sus mejillas le coloque con un pincel un poco de labial color terracota.
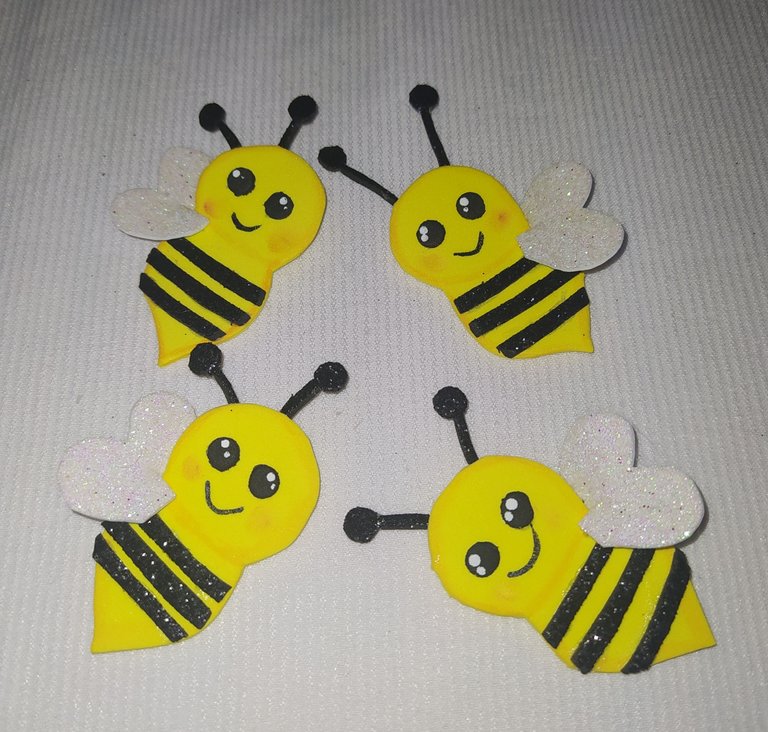
Result.
Resultado.
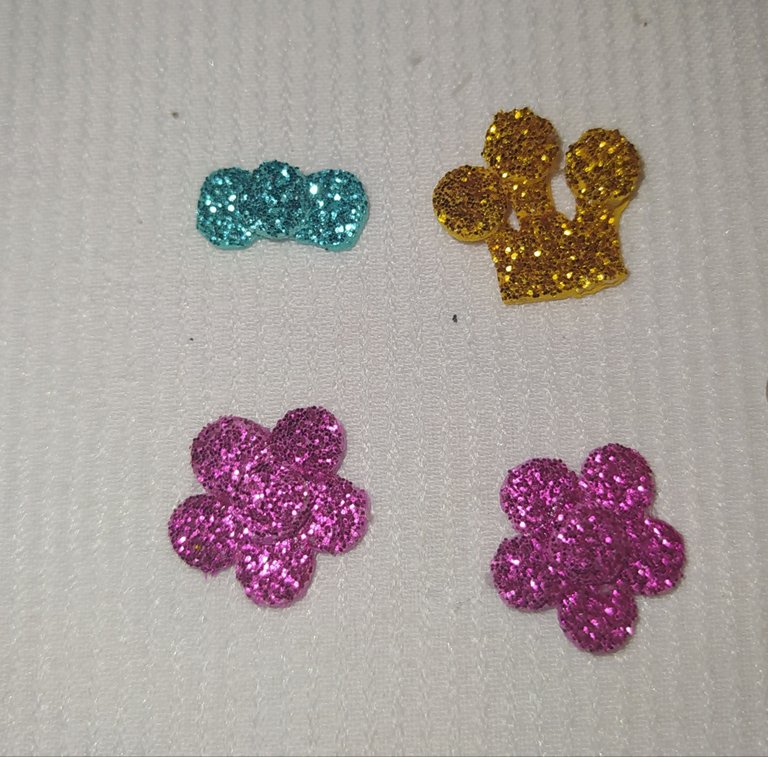
- To make our little bees look more beautiful I made them some pretty details in frosted foami, a crown, a bow and some flowers.
- Para que nuestras abejitas luzcan más hermosas les hice unos lindos detalles en foami escarchado, una corona, un moño y unas flores.
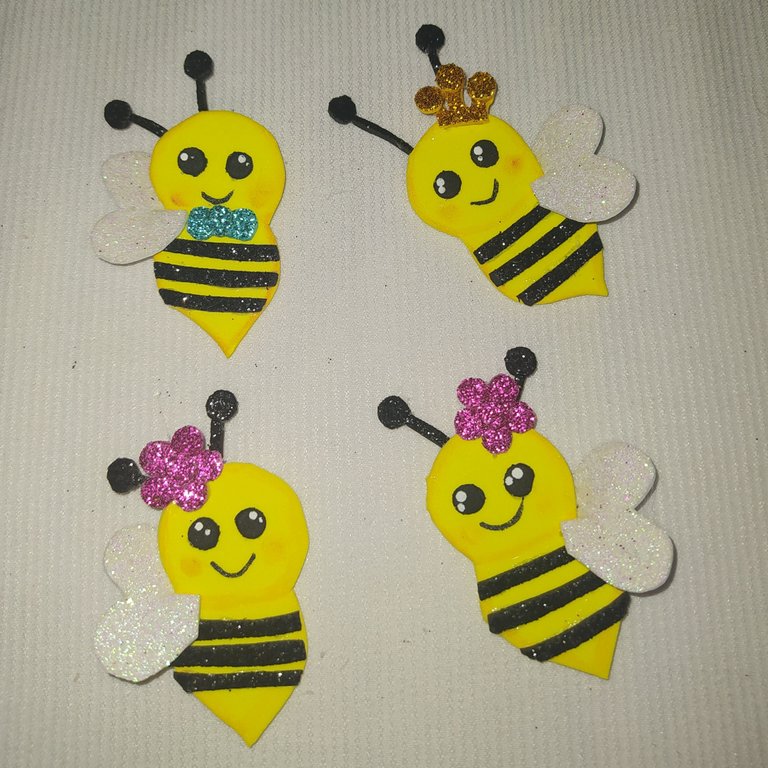
Result.
Resultado.
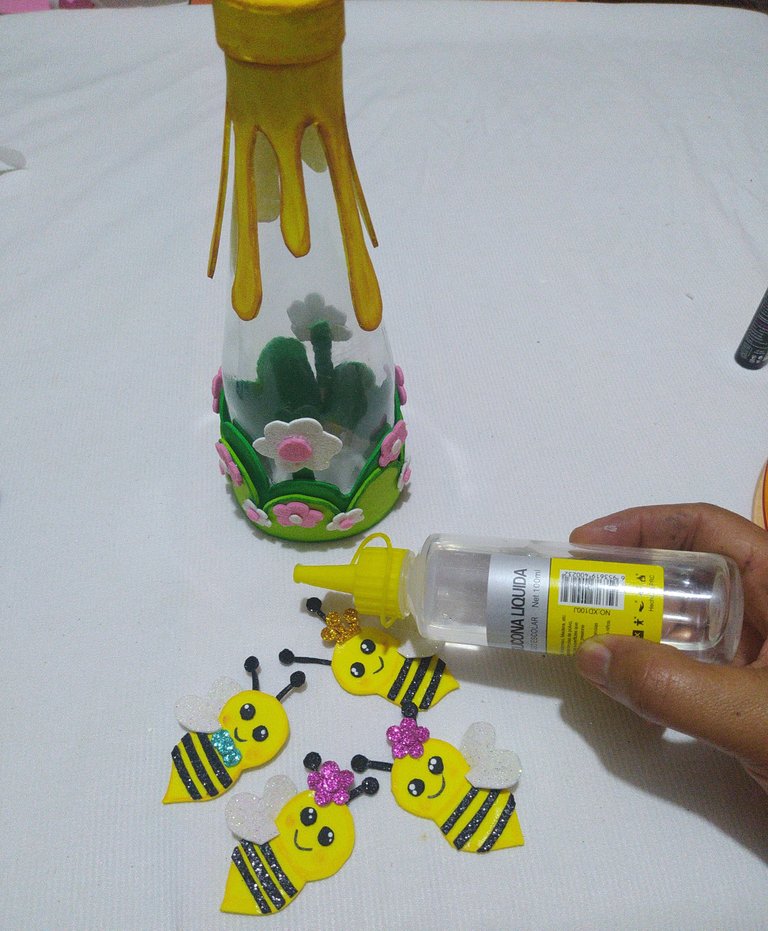
- We put silicone on the bees and glue three on the front and one on the back.
- Le colocamos silicón a las abejitas y la pegamos tres en la parte delantera y una en la parte de atrás.
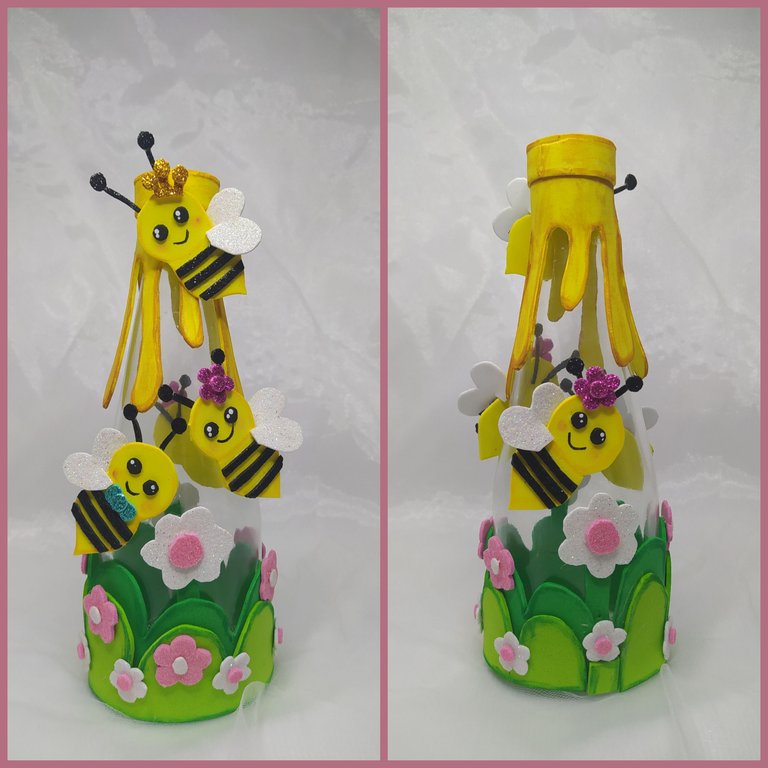
In this way we give life to this Sweet and Tender Mielera.
The result is very beautiful.
Thank you for joining me here, we will read each other in the comments, where I would like you to tell me what you thought of it. ❤️🤗
De esta forma le damos vida a esta Dulce y Tierna Mielera.
El resultado es muy hermoso.
Gracias por haberme acompañado hasta aquí, nos leemos en los comentarios, en dónde me gustaría que me dijeras que te ha parecido ❤️🤗
- Images of my property, taken with Xiaomi redmi note 8 phone.
- Banner made with PicsArt.
- Translator Deepl.
- Imágenes de mi propiedad, tomadas con teléfono Xiaomi redmi note 8.
- Banner realizado con PicsArt.
- Traductor Deepl.


