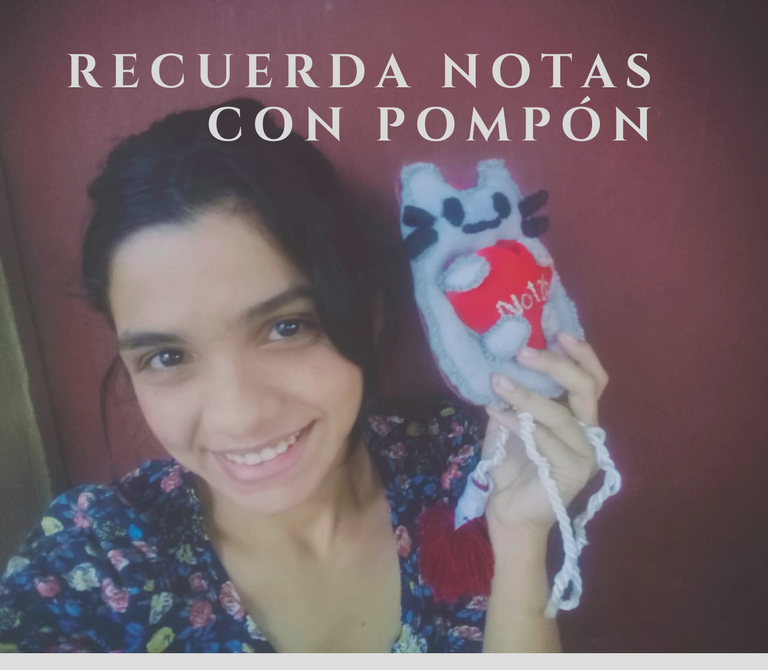
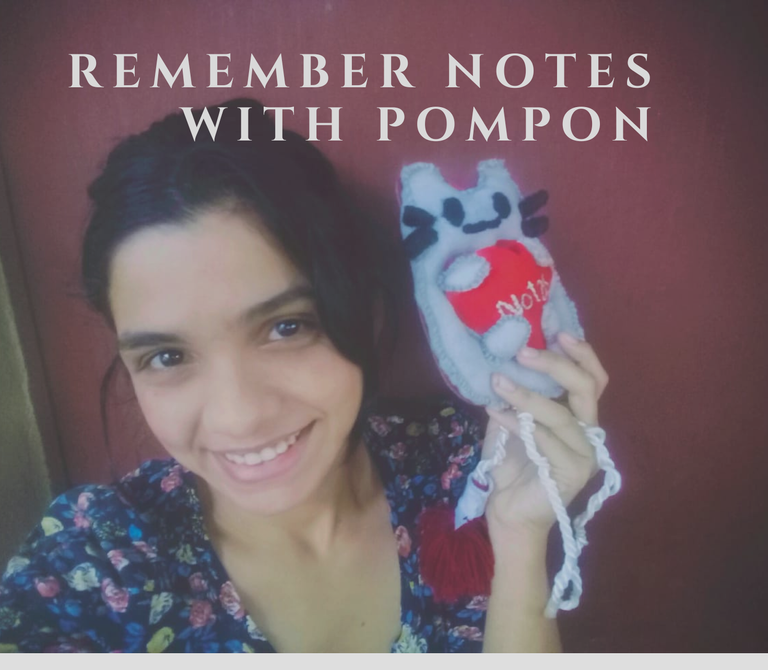
Saludos a todos donde, primeramente, quiero agradecer a @irenenavarroart por la invitación para participar en el octavo concurso de la comunidad de DIYHub con su tema de este mes que es lo gatos. Tenía mis dudas al principio si hacer algo que solo lo use uno o fabricar algo para un gato; así que al final me incline por ambas opciones, donde tomé una referencia que tenia de un peluche de gato que, hace tiempo lo quería y no me había propuesto hacerlo, pero más allá de un peluche quería que se colgara y permitiera guardar notas y que en el colgara un pompón con campana para que el gato juegue y así, recordarnos lo que se guardaría ahí. En esta ocasión invito a participar a @yasmarit y @mvart, mucha suerte a todos.
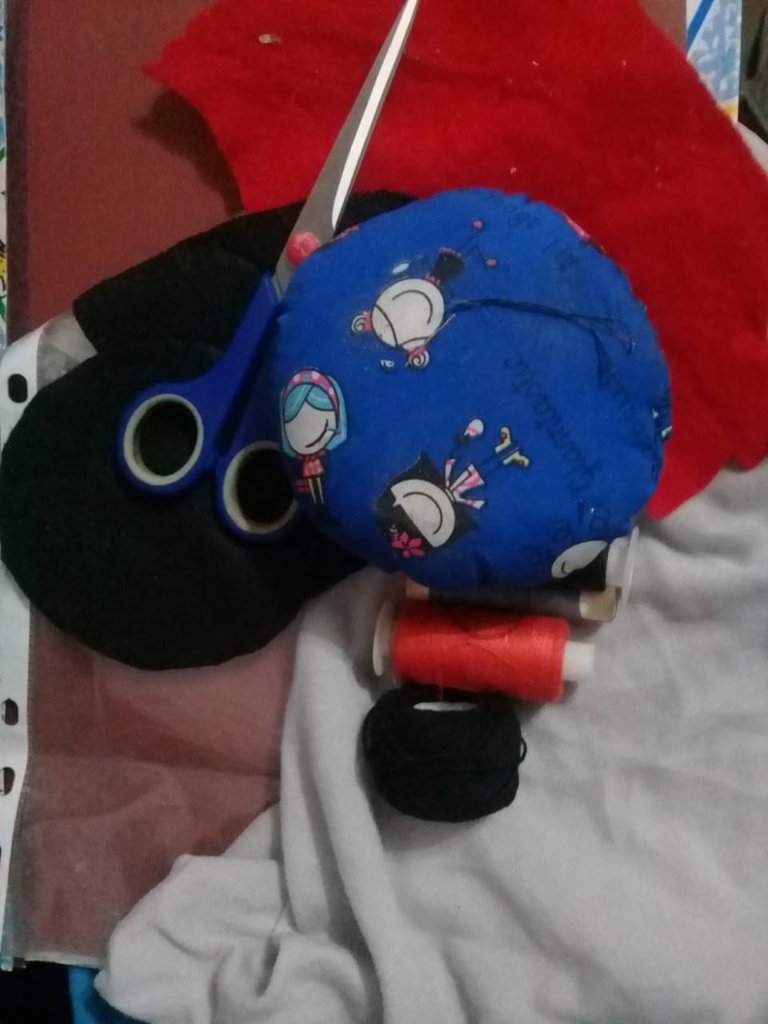
-Hilo para coser. Negro, rojo y gris
-Hilo ovillo color negro
-Hilo para bordar color crema
-Tela de algodón, lana o polar (Cualquiera recomendable para hacer peluches o muñecos)
-Cordón
-Hilo de lana
-pega
-un pedazo de lámina de acetato
-un cartón o como mi caso, una carpeta
-tijera
Paso 1. Realización del patrón y de las piezas
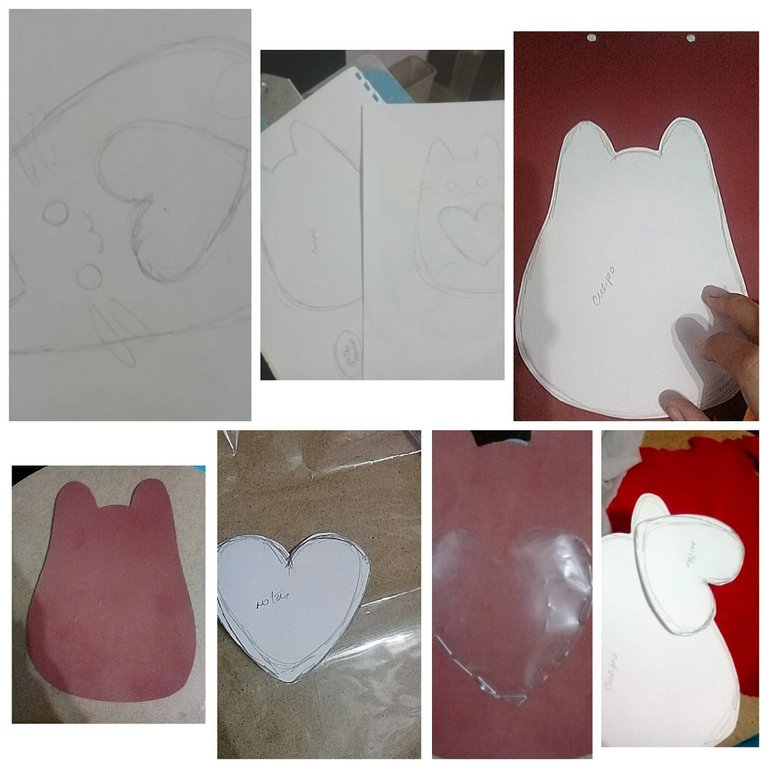
Lo primero que se debe hacer es dibujar la forma que tendrá el gato, para así tener un punto de referencia, en mi caso tome como modelo uno de internet. Posterior a eso extraer los patrones: el cuerpo, los bigotes, el corazón (donde se guardarían las notas) y las patas.
Al tener listo estos patrones, lo segundo a realizar es copiar la forma del cuerpo en el cartón, ya que este será el soporte de la figura. Luego, se saca las demás piezas; aquí yo cometí un error y fue pegar con grapa la forma del corazón en acetato, es mejor coserlo después; añadiendo que la tela empleada para el cuerpo del gato no es una adecuada para hacer peluche, pero es la que tenía a la mano.

Fuente
Paso 2. Bordar los ojos y boca del gato
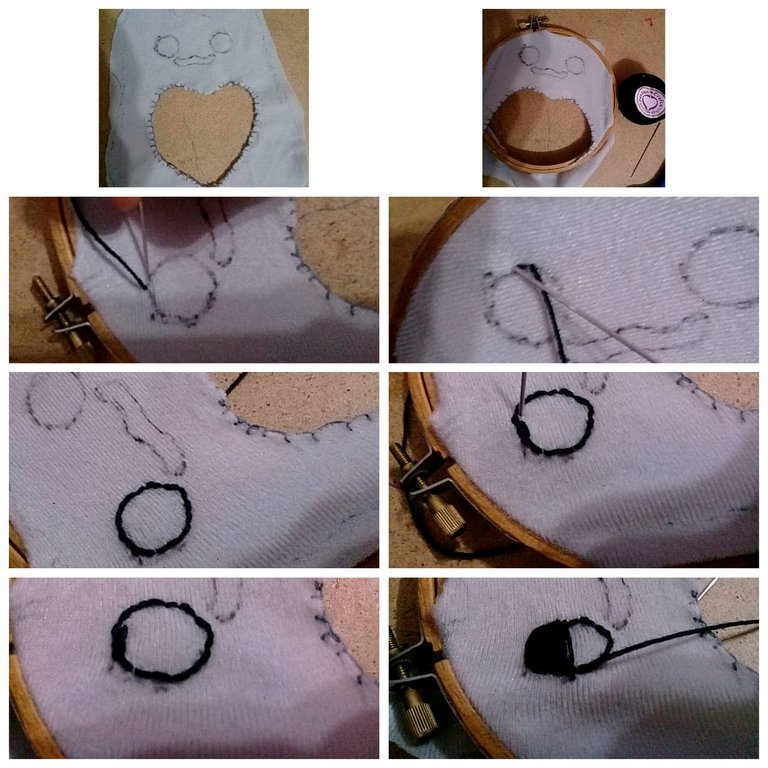
Al tener el retazo de tela cortado a la forma del cuerpo del gato, se procede a ponerla sobre los aros para bordar, previamente dibujado los ojos y boca. Aquí, básicamente lo que hice fue la técnica de relleno, que es primero bordar el controno con paso atrás y luego ir de un extremo a otro del contorno del dibujo, hasta llenarlo por completo.
Paso 3. Armar y coser el cuerpo del gato
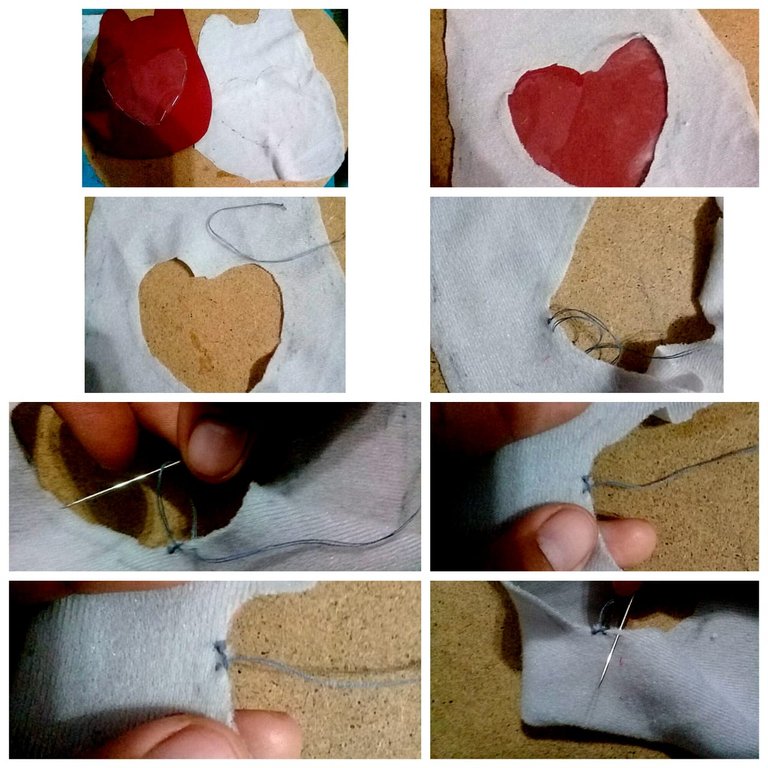
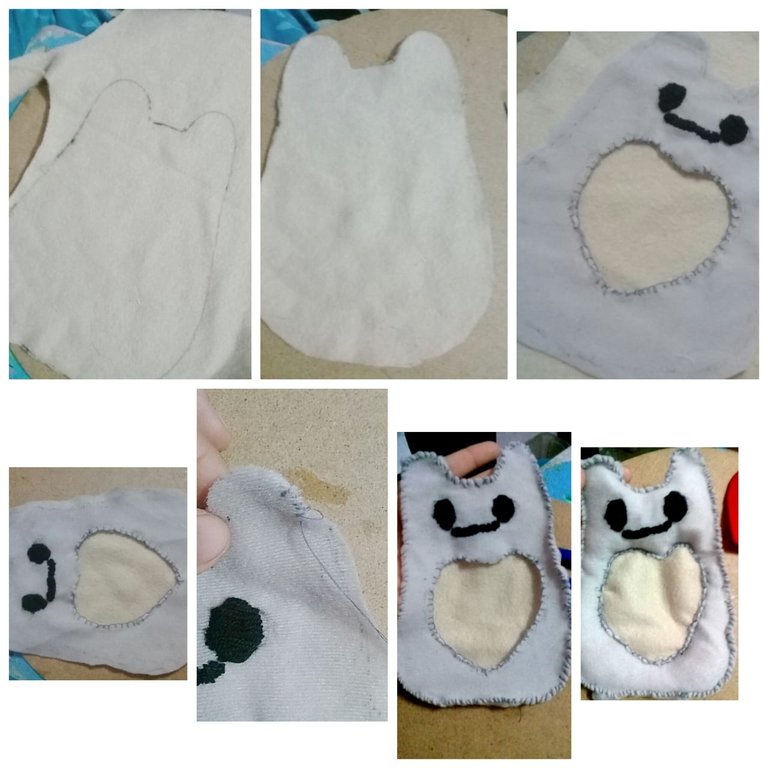
Para este paso, me di cuenta de que cometí el error de abrirle un hueco con la forma del corazón al cuerpo del gato, pero ya que lo había hecho y como la tela era muy fina, le puse por detrás una tela polar, de color diferente, para crear más resistencia, pero si su tela es una especial para peluche, no es necesario ni ponerle otra ni abrirle un agujero. Y, asimismo, como la tela es muy fina, tuve que bordear las orillas, y luego coserle la otra tela, para empezar a rellenarlo por las partes del corazón, ya que se me hizo más fácil así.
Paso 4. Bordar las palabras notas en la tela con forma de corazón
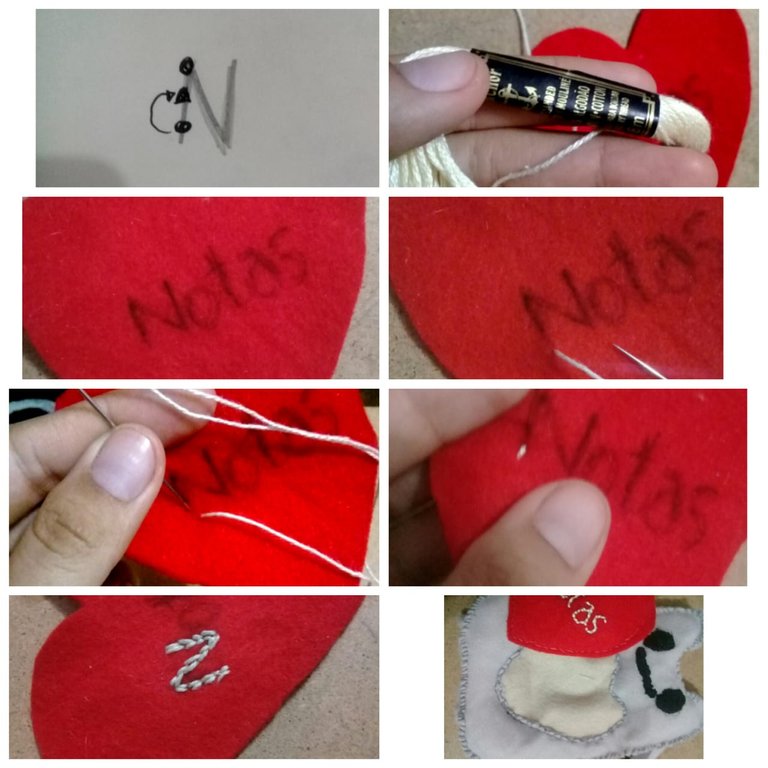
La tela con que hice el corazón fue una de algodón, por lo que es más fácil de manejar. Para bordar las letras primero es hacer las palabras con lapicero o marcador, Posterior a eso, se toma hilo para bordar, con la cantidad de 6 hebras, y se procede a usar la técnica de paso a atrás, que es básicamente sacar la aguja (circulo) y meterla un poco más adelante (triangulo) para ser sacada un poco más adelante y volverla a introducirla a la tela por el ultimo punto donde se insertó la última vez y así sucesivamente hasta complementar las palabras. Aquí les dejo un esquema de esta técnica.
Paso 5. Coser el corazón de tela y el de acetato a la figura del gato
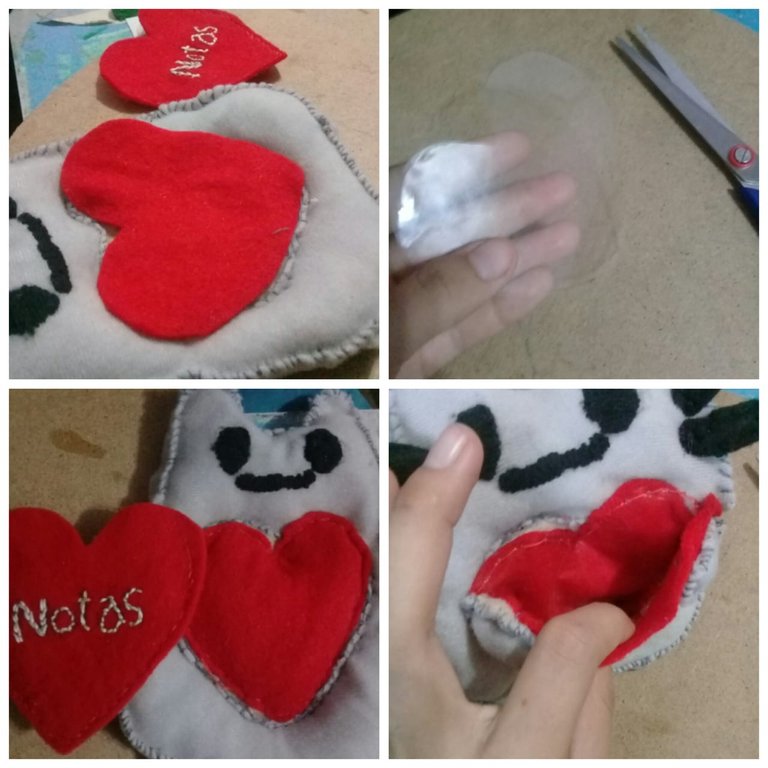
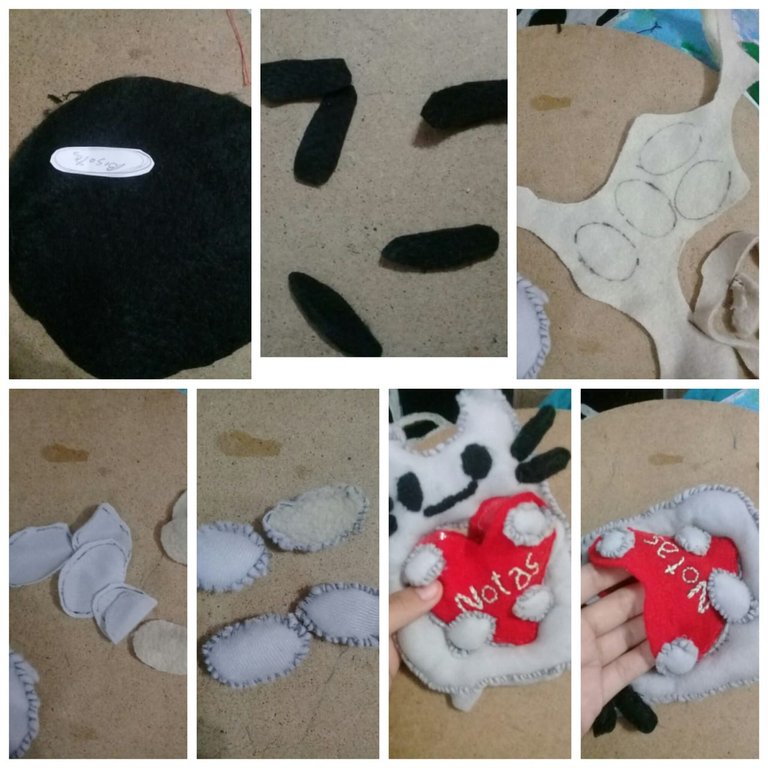
La idea era que el corazón hecho en tela estuviese adherido al cuerpo del gato y el que quedaría como estilo bolsillo fuese el corazón de acetato, pero por problemas técnicos, donde había quedado raro la forma del corazón en el cuerpo del gato, requerí de hacer otro corazón de tela en rojo y coserlo en el gato, El de acetato lo cosí por la parte posterior del de la tela para así terminar cosiéndolo al cuerpo del gato. También arme los que son los bigotes y las patitas, para luego ser cosidas en su cuerpo y parte del corazón.
Paso 6. Fabricación del pompón con campana
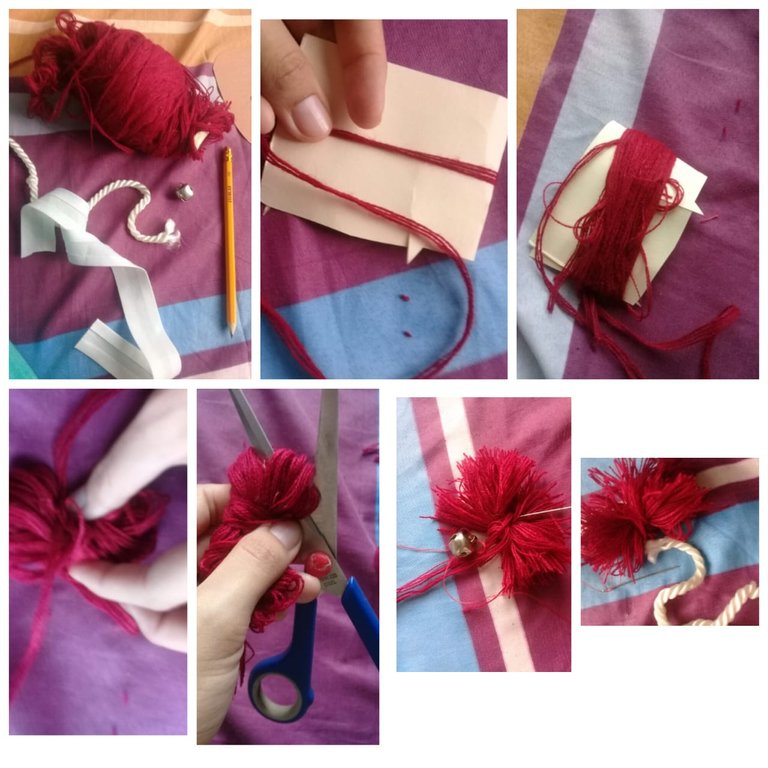
Para este paso me percaté que no tenía hilo de lana, así que lo hice con lo que tenía, pero lo recomendable es uno de lana, queda de mejor forma y más esponjoso. Hacer el pompón consiste en tomar un pedazo de cartón rectangular, y enrollar la lana muchas veces, dejando un pequeño hilo afuera del enrollado. Al terminar de pasar varias vueltas, se retira ese enrollado del cartón, para luego amarrar el hilo sobrante del principio más el que queda de ultimo y lograr mantener firme la forma. Posterior a eso, se va cortando las curvas que van formando los hilos y así quedar como una bola peluda. Ya con eso, se le anexa la campana.
Paso 7. Unir todas las piezas y colgar el gato
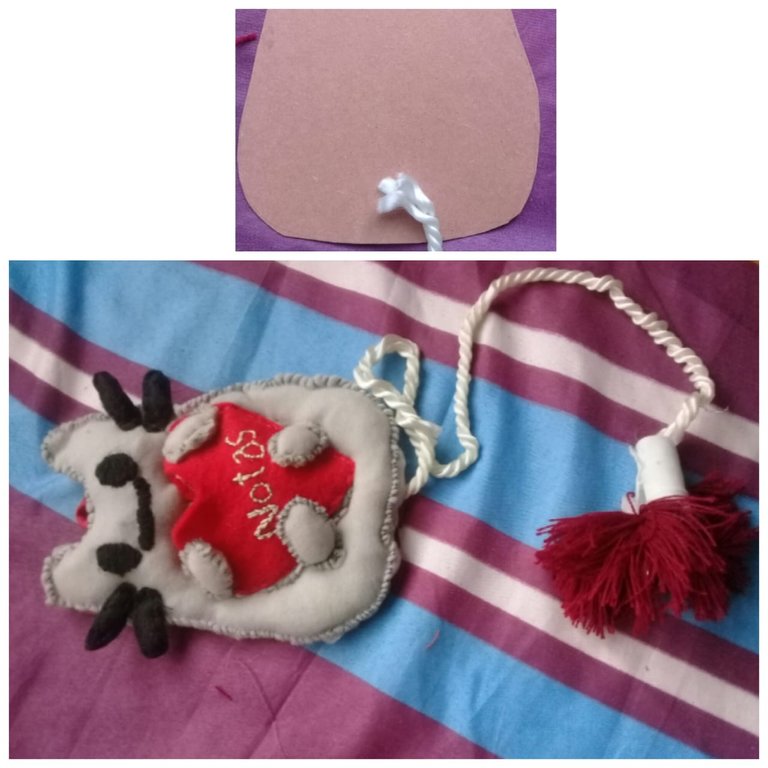
Teniendo el pompón y el gato listo, se procede a amarrar un cordón en ese pompón y pegarlo al cartón de soporte. Luego, se termina pegando la figura del gato sobre ese cartón, además en la parte de atrás del cartón se le adhiere una cinta o cancho para que este se sujete a la pared o clavo y listo, tienes un lindo lugar donde guardar tus notas, donde tu gato podrá jugar con el pompón y recordártelas.
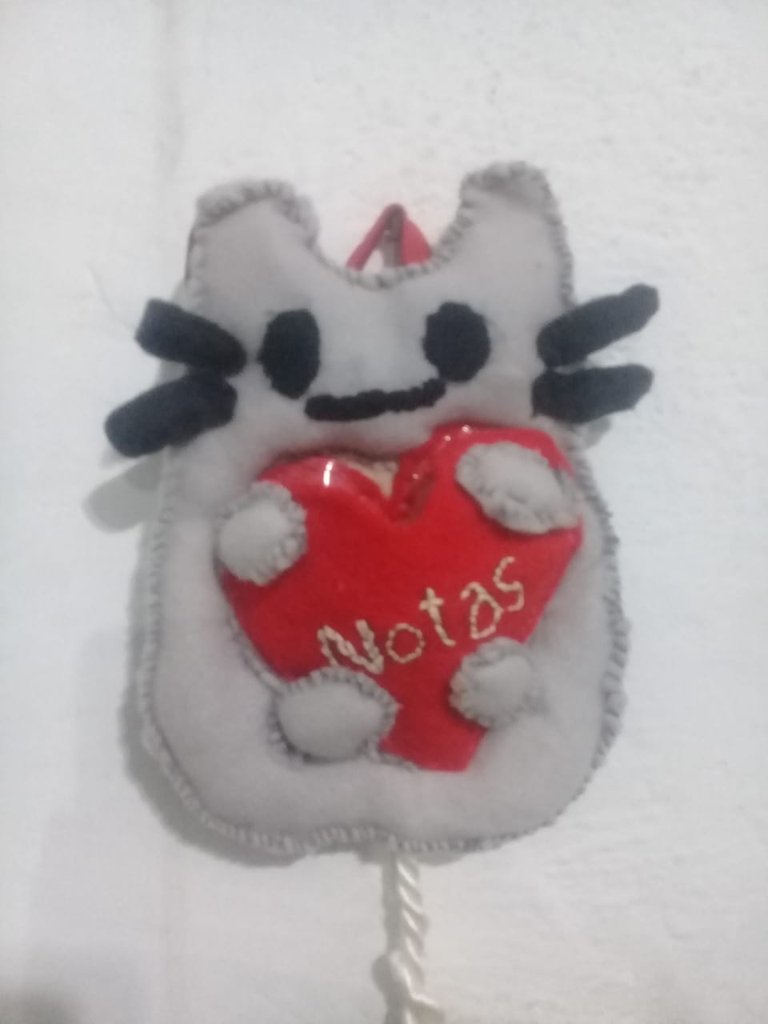
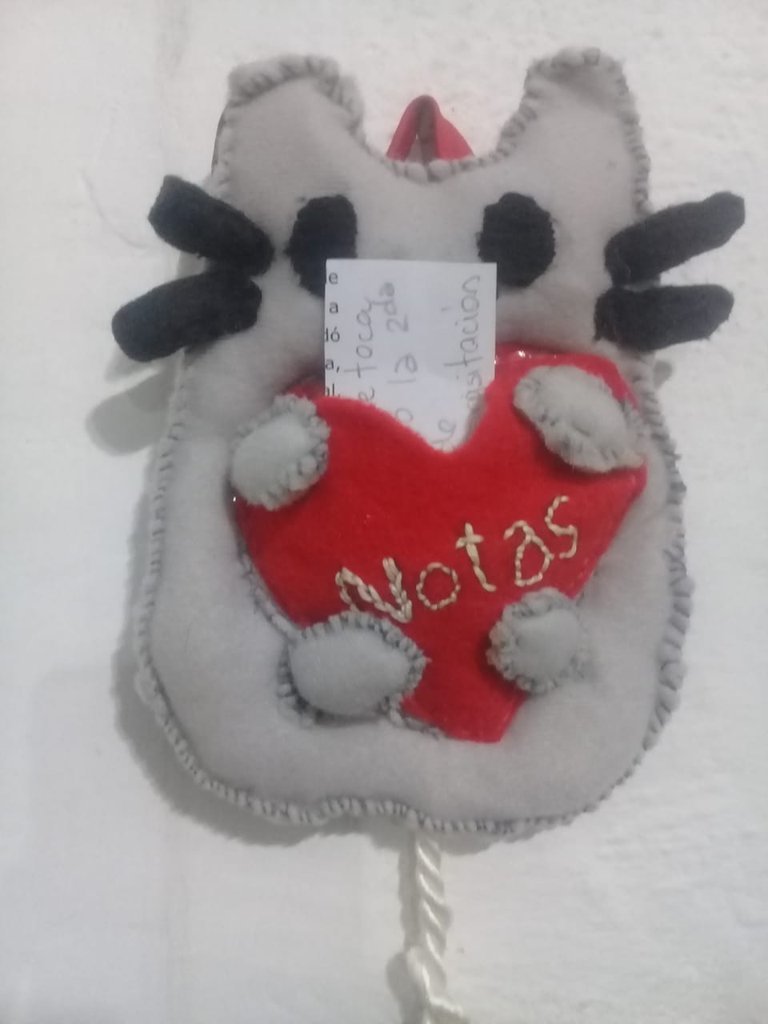
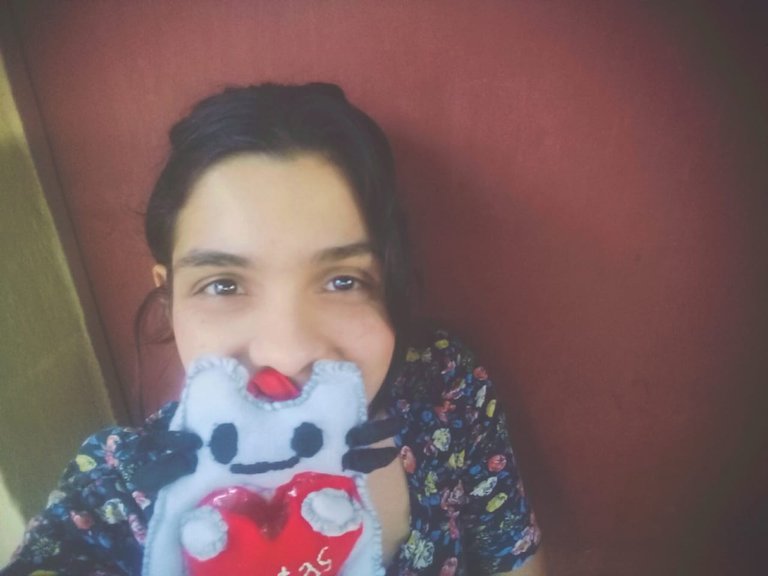
Aunque no conté con los materiales para que el recuerda notas saliera mejor, me gusto bastante el resultado, espero que lo hagan y les salga mejor, es una bonita opción para decorar el hogar.
Las imágenes son de mi archivo personal tomadas con el Sansumg J2 Prime. Portada hecha en canva. Collages realizados con las App KODA
Gracias por leer mi post. Espero que les haya gustado. Estaré atenta a responder sus comentarios. Pueden visitar mi blog y seguir mis contenidos

ENGLISH
Greetings to all where, first of all, I want to thank @irenenavarroart for the invitation to participate in the eighth contest of the DIYHub community with her theme this month which is cats. I had my doubts at the beginning whether to make something that only one cat would use or make something for a cat; so in the end I opted for both options, where I took a reference I had of a cat stuffed animal that I had wanted for a long time and I had not proposed to do it, but beyond a stuffed animal I wanted it to hang and allow to keep notes and a pompom with a bell to hang on it so the cat could play and remind us what would be kept there. This time I invite @yasmarit and @mvart to participate, good luck to all.
-Sewing thread. Black, red and gray
-Black yarn ball
-Cream embroidery thread
-Cotton, wool or polar fleece fabric (any recommended for making stuffed animals or dolls).
-Cord
-Wool thread
-glue
a piece of acetate sheet -a piece of cardboard or, as in my case, a piece of cardboard
-a cardboard or, as in my case, a folder
-scissors

Step 1. Making the pattern and parts
The first thing to do is to draw the shape that the cat will have, in order to have a reference point, in my case I took as a model one from the internet. After that extract the patterns: the body, the whiskers, the heart (where the notes would be kept) and the paws.
Once these patterns are ready, the second thing to do is to copy the shape of the body on the cardboard, since this will be the support of the figure. Then, take out the other pieces; here I made a mistake and it was to staple the shape of the heart in acetate, it is better to sew it later; adding that the fabric used for the body of the cat is not a suitable one to make plush, but it is the one I had at hand.

Source

tep 2. Embroider the cat's eyes and mouth
Once you have the piece of fabric cut to the shape of the cat's body, you proceed to put it over the hoops to embroider, having previously drawn the eyes and mouth. Here, basically what I did was the filling technique, which is to first embroider the controne with a step back and then go from one end to the other of the outline of the drawing, until it is completely filled.


Step 3. Assemble and sew the body of the cat
For this step, I realized that I made the mistake of opening a hole in the shape of the heart on the body of the cat, but since I had done it and since the fabric was very thin, I put a fleece fabric on the back, in a different color, to create more resistance, but if your fabric is a special one for stuffed animals, it is not necessary to put another one or to open a hole in it. And also, as the fabric is very thin, I had to skirt the edges, and then sew the other fabric, to start stuffing the heart parts, as it was easier that way..

Embroider the words "notes" on the heart-shaped fabric
The fabric with which I made the heart was a cotton one, so it is easier to handle. To embroider the letters first is to make the words with pen or marker, After that, you take embroidery thread, with the amount of 6 strands, and proceeds to use the technique of step back, which is basically to remove the needle (circle) and put it a little further forward (triangle) to be removed a little further forward and reinsert it into the fabric by the last point where it was inserted the last time and so on until the words are completed. Here is an outline of this technique.

Step 5. Sew the fabric heart and the acetate heart to the cat figure
The idea was that the heart made of fabric would be attached to the body of the cat and the one that would remain as a pocket style would be the acetate heart, but due to technical problems, where the shape of the heart on the body of the cat was weird, I had to make another fabric heart in red and sew it on the cat, I sewed the acetate heart on the back of the fabric one to end up sewing it to the body of the cat. I also assembled the whiskers and the paws, to be sewn on the body and part of the heart.


Step 6. Making the pompom with a hood
For this step I realized that I didn't have any wool yarn, so I made it with what I had, but it is recommended to use a wool yarn, it looks better and fluffier. Making the pompom consists of taking a rectangular piece of cardboard, and winding the yarn many times, leaving a small thread outside the winding. When you have finished winding the yarn several times, remove it from the cardboard, and then tie the excess yarn from the beginning plus the last one to keep the shape firm. After that, the curves that form the threads are cut to form a hairy ball. With that, the bell is attached to it.

Step 7. Join all the pieces together and hang the cat
Having the pompom and the cat ready, proceed to tie a string on the pompom and glue it to the cardboard support. Then, the figure of the cat is glued on the cardboard, and on the back of the cardboard a ribbon is attached so that it can be attached to the wall or nail and ready, you have a nice place to keep your notes, where your cat can play with the pompom and remind you of them.


Although I didn't have the materials to make the reminder notes come out better, I quite liked the result, I hope you do it and it comes out better, it is a nice option to decorate the home.
The images are from my personal archive taken with the Sansumg J2 Prime. Cover made in canva. Collages made with the KODA Apps. Translated using DeepL
Thank you for reading my post. I hope you liked it. I will be attentive to answer your comments. You can visit my blog and follow my contents


