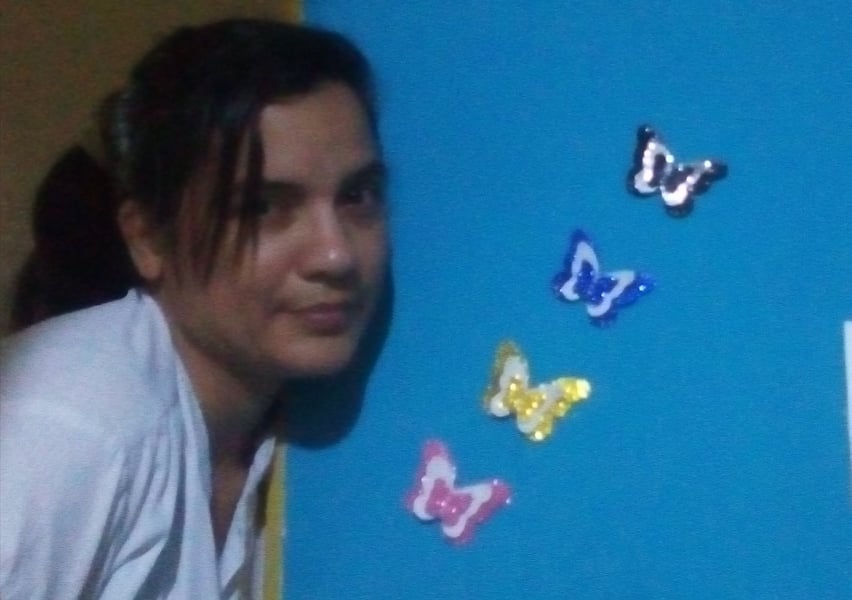
Un saludo especial a mi comunidad de @HiveDiy, hoy quiero compartir esta hermosa y delicadas mariposas en foami escarchado que le da un toca de elegancia a nuestra manualidad para usarlas en cualquier lugar de nuestra casa. Aquí les dejo el paso a paso.
A special greeting to my community @HiveDiy, today I want to share this beautiful and delicate butterflies in frosted foami that gives a touch of elegance to our craft to use them anywhere in our home. Here is the step by step.
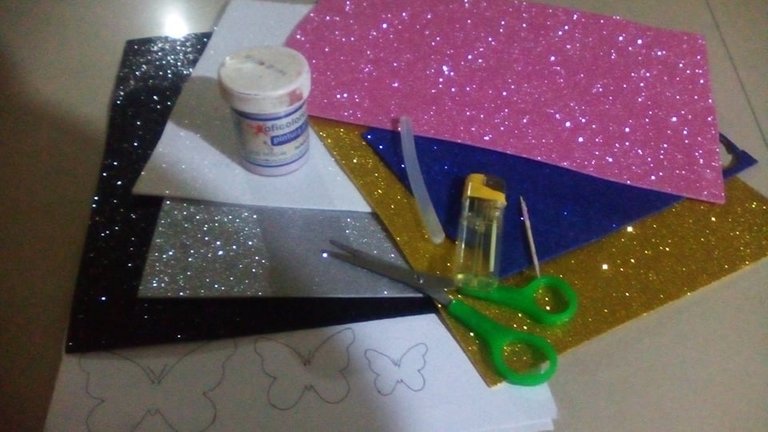
Materiales:
- Silicon.
- Encendedor.
- Lapicero.
- Pintura blanca al frio.
- Un palitos chino.
- Tijera.
- Foami escarchado: dorado, blanco, negro, azul rey, plateado y rosado.
Materials:
- Silicon.
- Lighter.
- Pencil.
- Cold white paint.
- A chopstick.
- Scissors.
- Frosted foami: gold, white, black, royal blue, silver and pink.
Paso 1
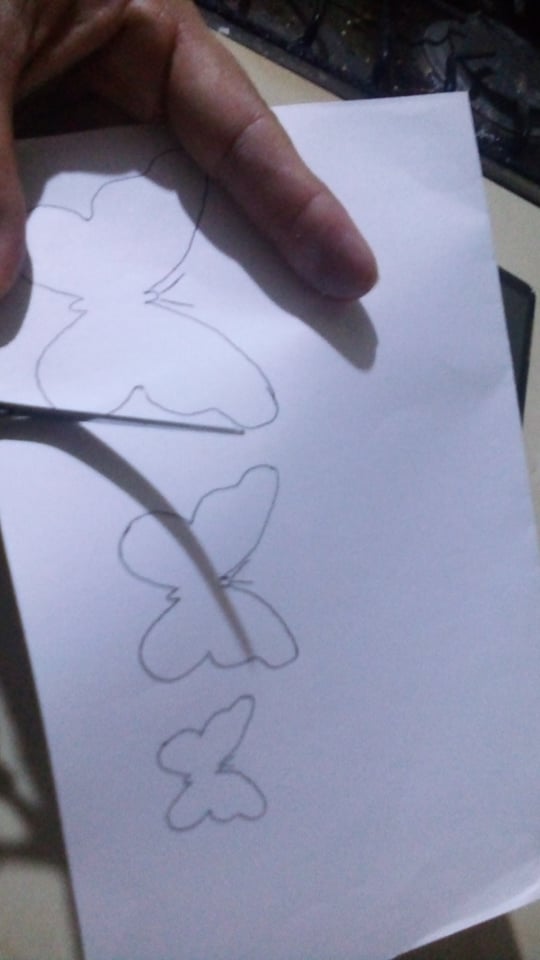
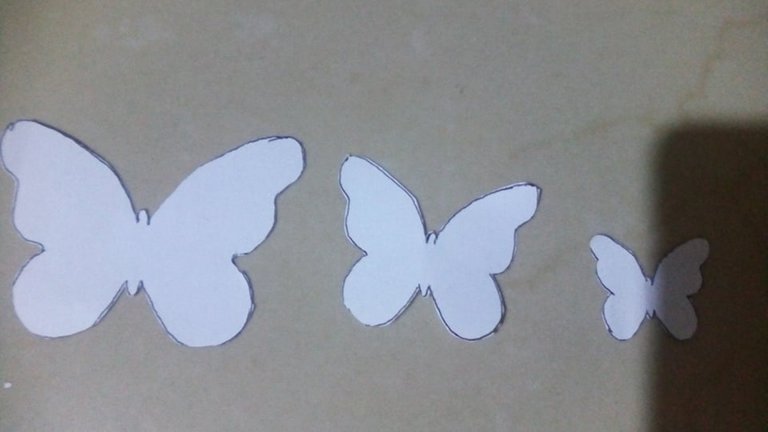
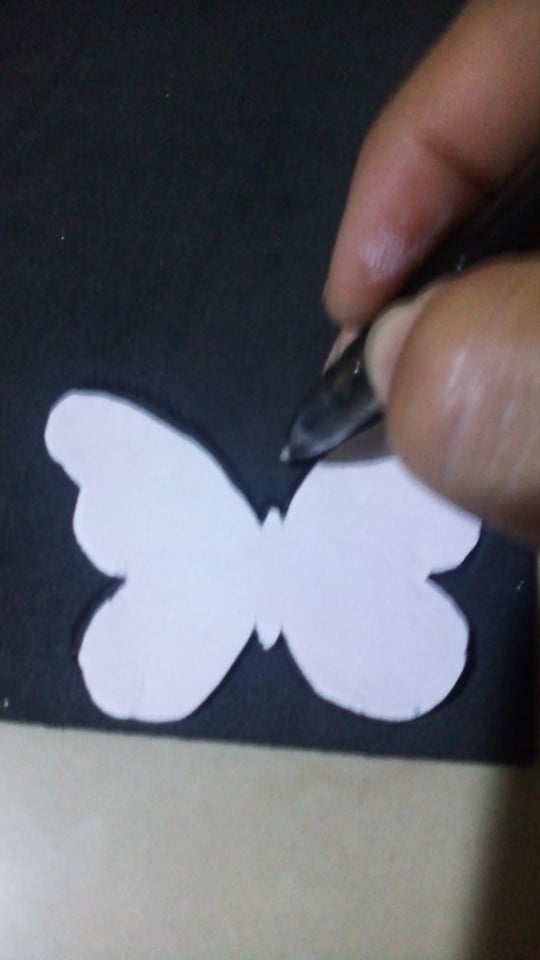
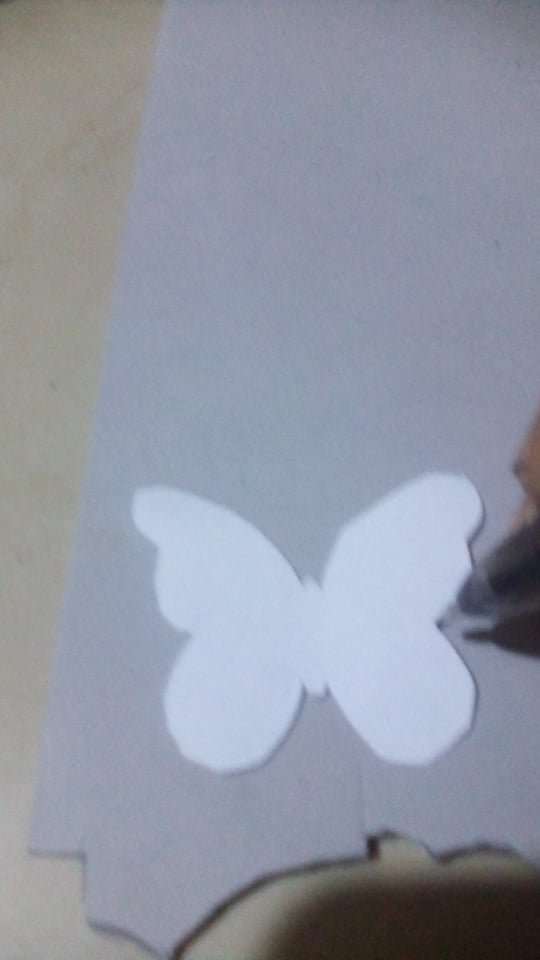
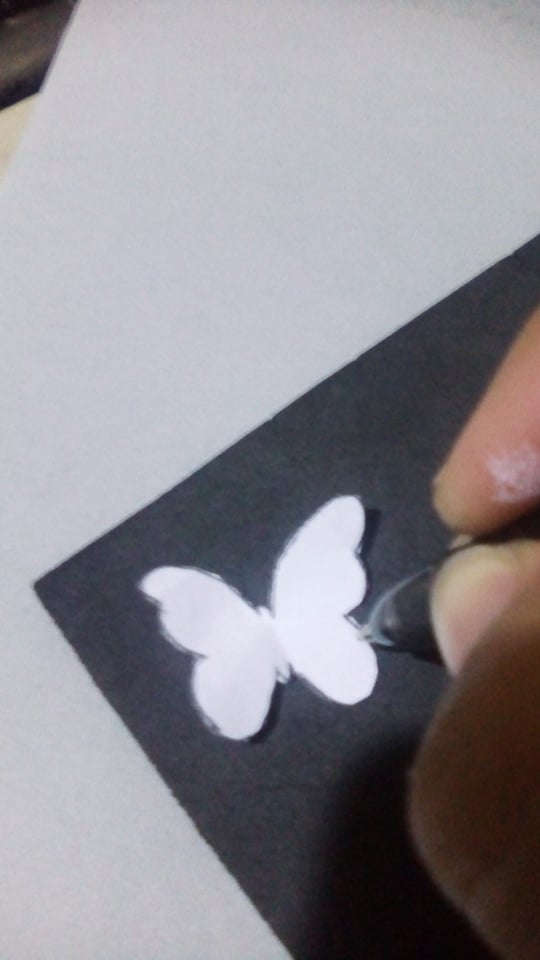
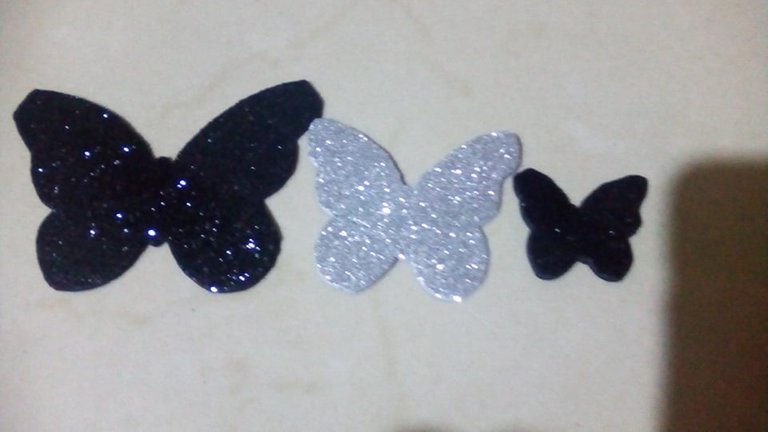
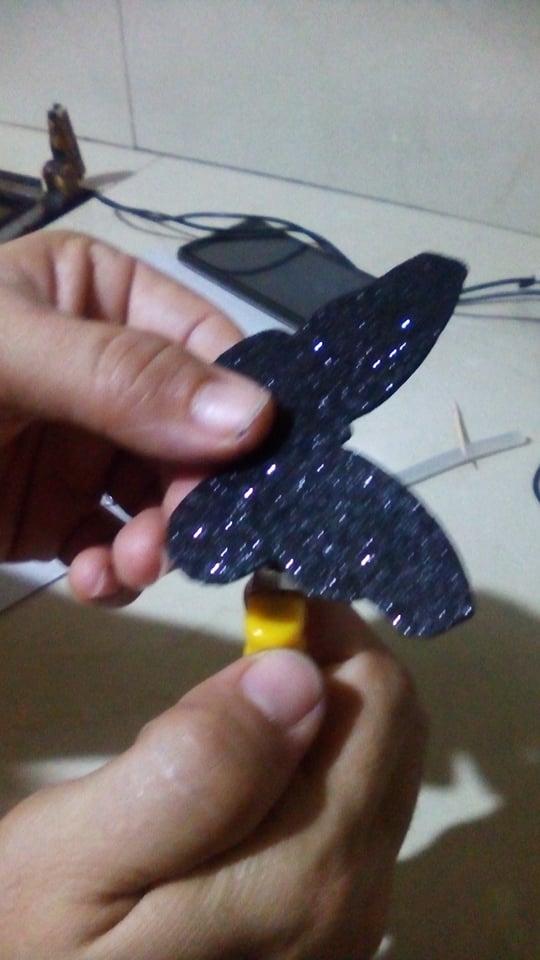
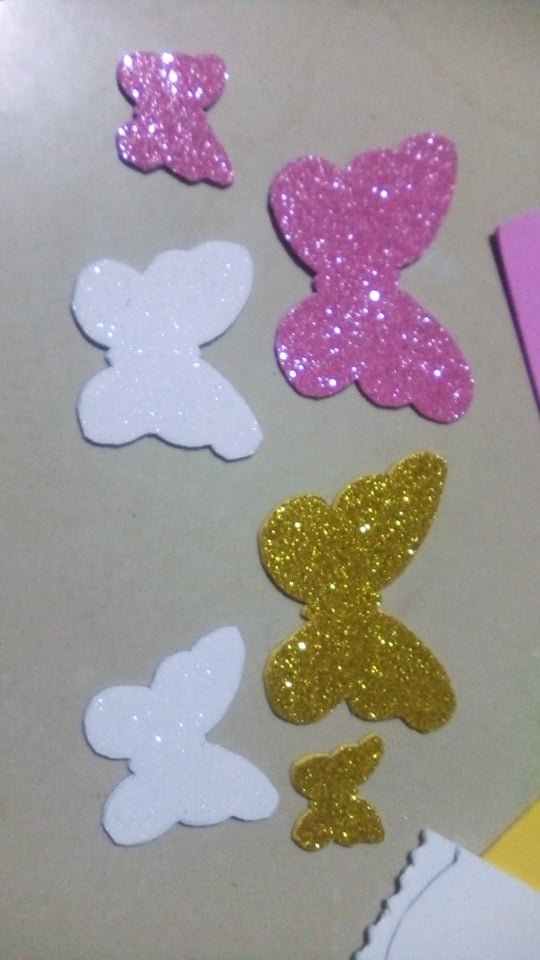
Empezaremos a recortar los moldes de las mariposa ya dibujadas, colocaremos los moldes en el foami negro y plateado escarchados y recortamos los foami.
Step 1
We will start cutting out the butterfly molds already drawn, we will place the molds on the black and silver frosted foami and we will cut out the foami.
Paso 2
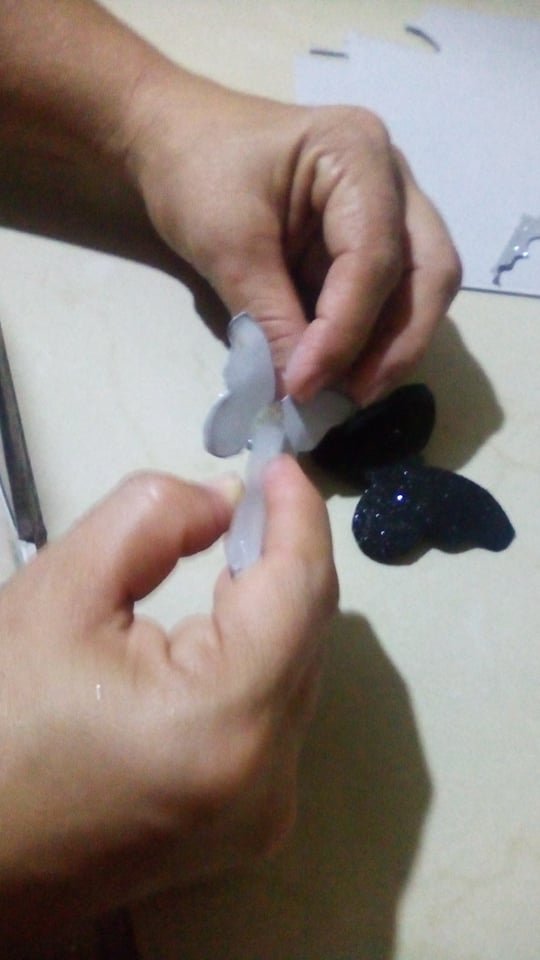
Una ves ya recortadas las mariposas en los foami, utilizaremos un encendedor y empezamos a calentar en los bordes de las mariposas para darle forma a las aletas.
Step 2
Once the butterflies are cut out of the foami, we will use a lighter and start to heat the edges of the butterflies to give shape to the fins.
Paso 3
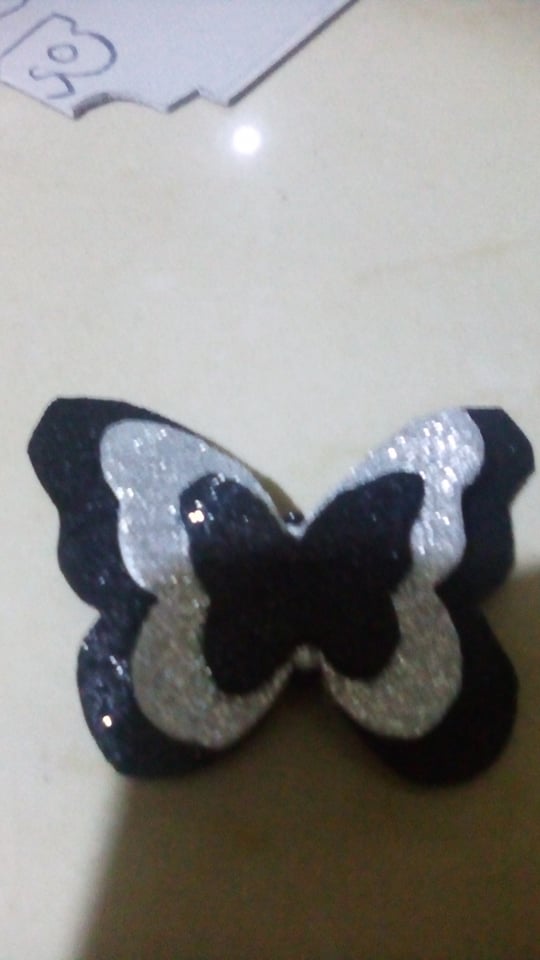
Pegamos con silicón caliente las mariposas primero la mariposa grande, despues la mariposa mediana y luego la pequeña.
Step 3
Glue the butterflies with hot silicone, first the big butterfly, then the medium butterfly and then the small one.
Paso 4
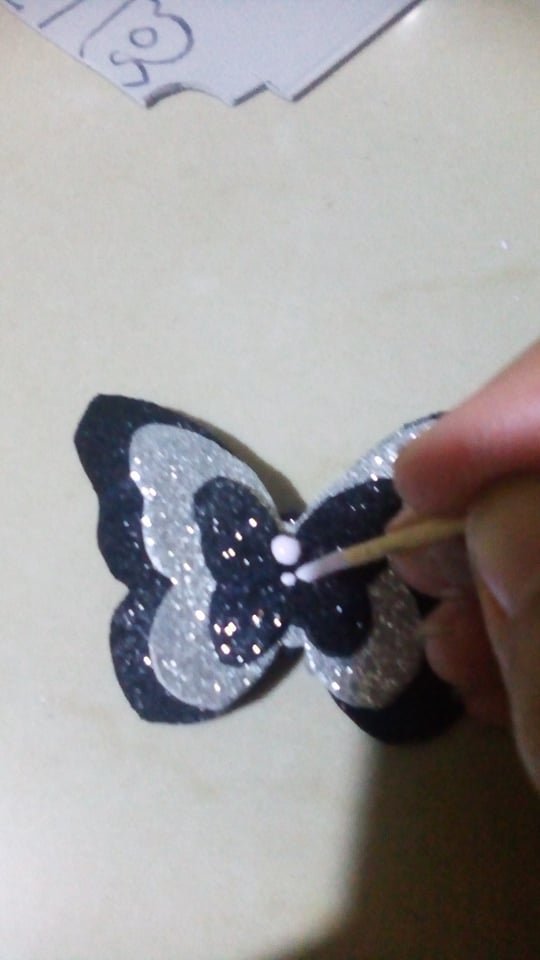
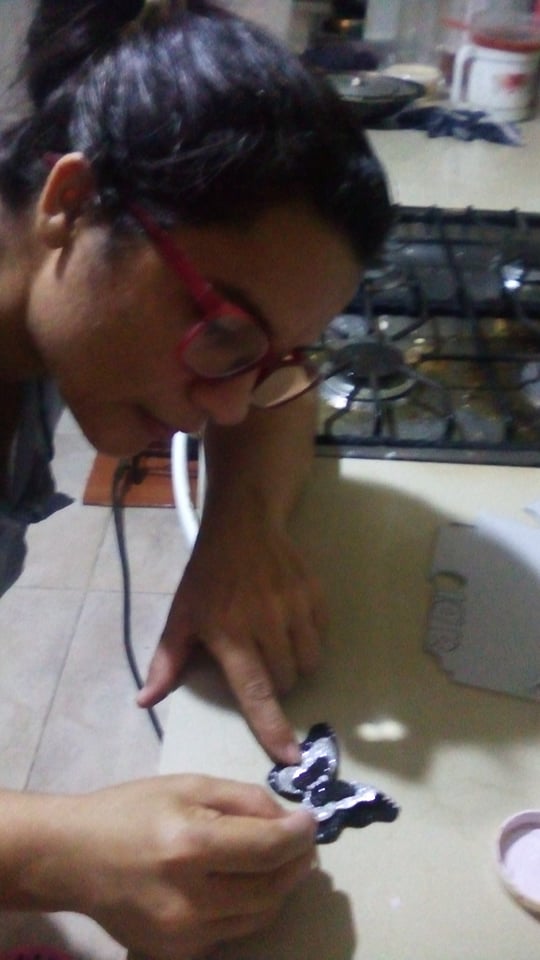
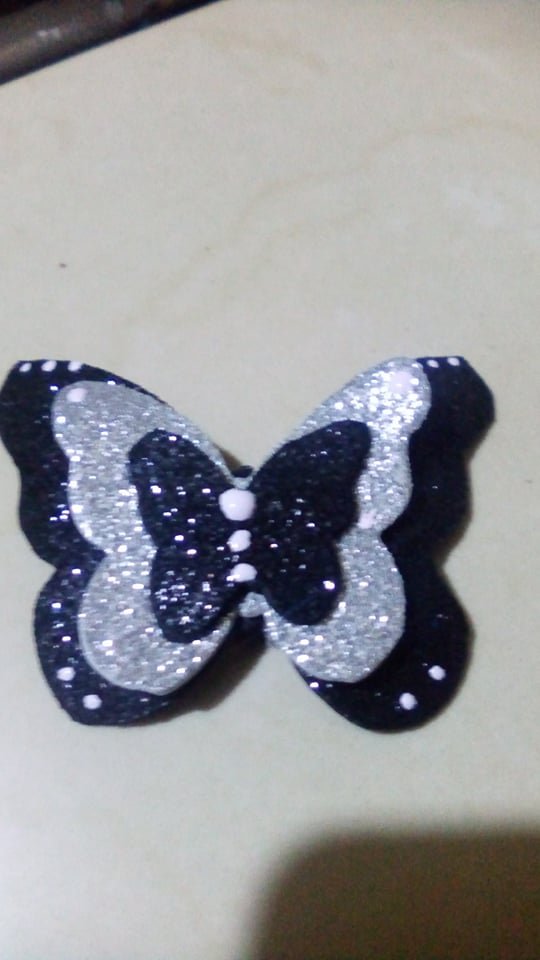
Cuando ya nuestra s mariposas están armadas, utilizaremos un palito chino y pintura al frio blanca para hacer unos pequeños puntos que seria el cuerpo central de la mariposa, luego haremos unos pequeños puntitos a los bordes de aletas. Y nuestra mariposa esta lista.
Step 4
When our butterflies are ready, we will use a chopstick and white cold paint to make some small dots that will be the central body of the butterfly, then we will make some small dots on the edges of the fins. And our butterfly is ready.
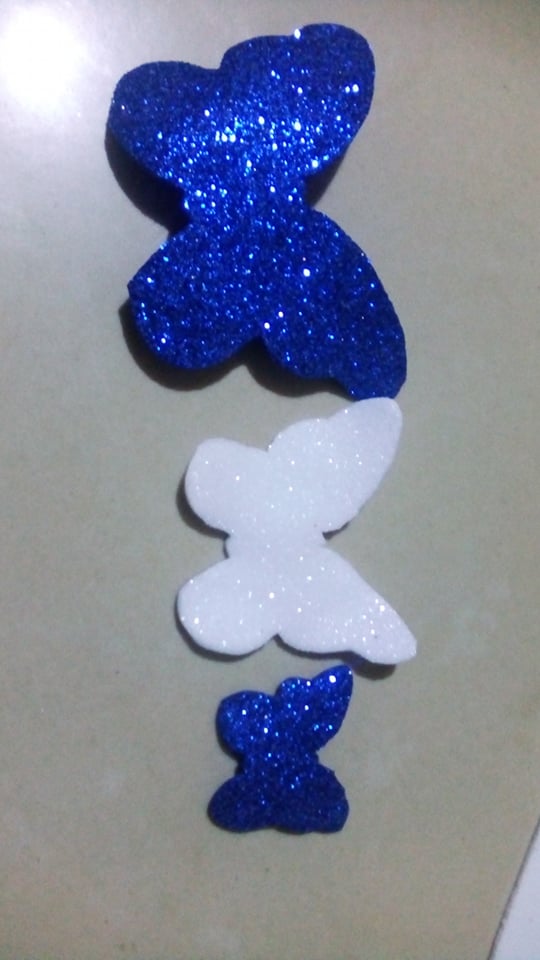
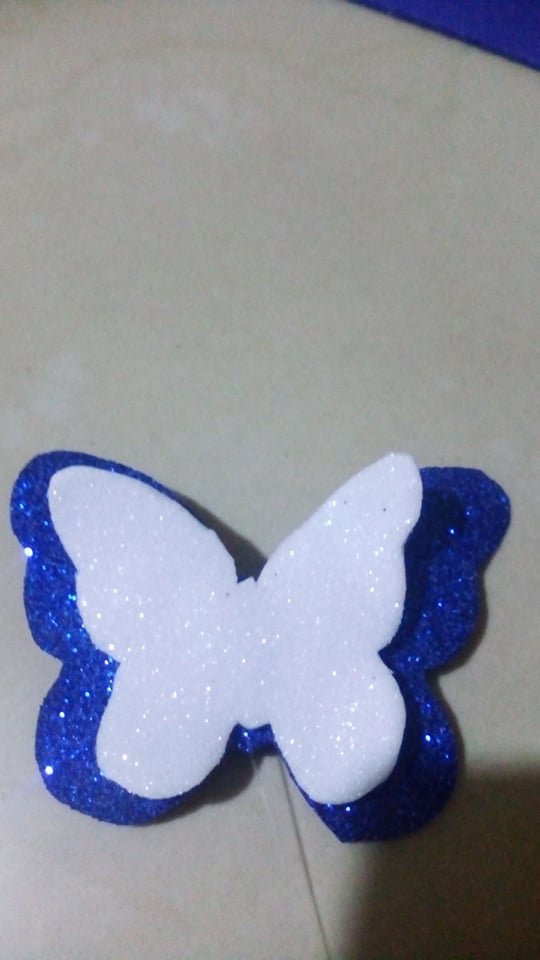
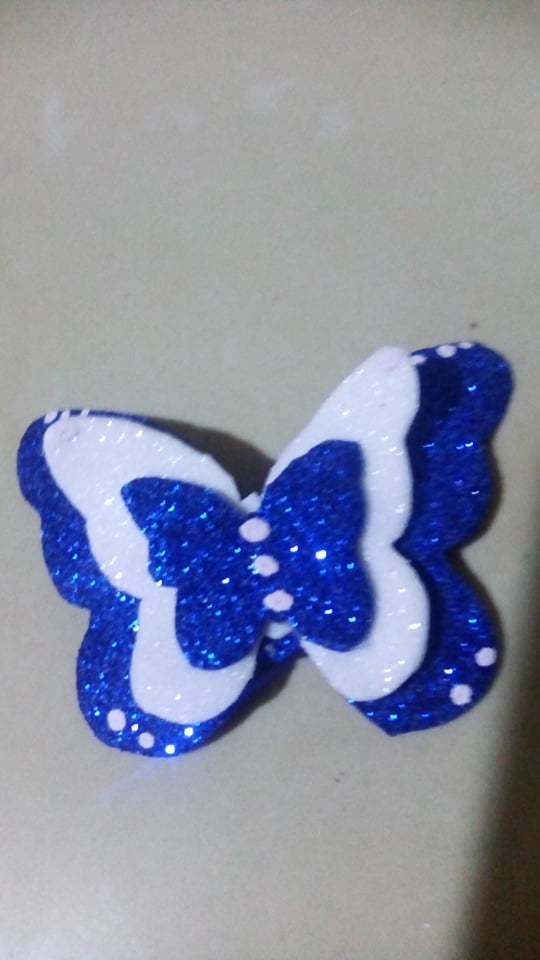
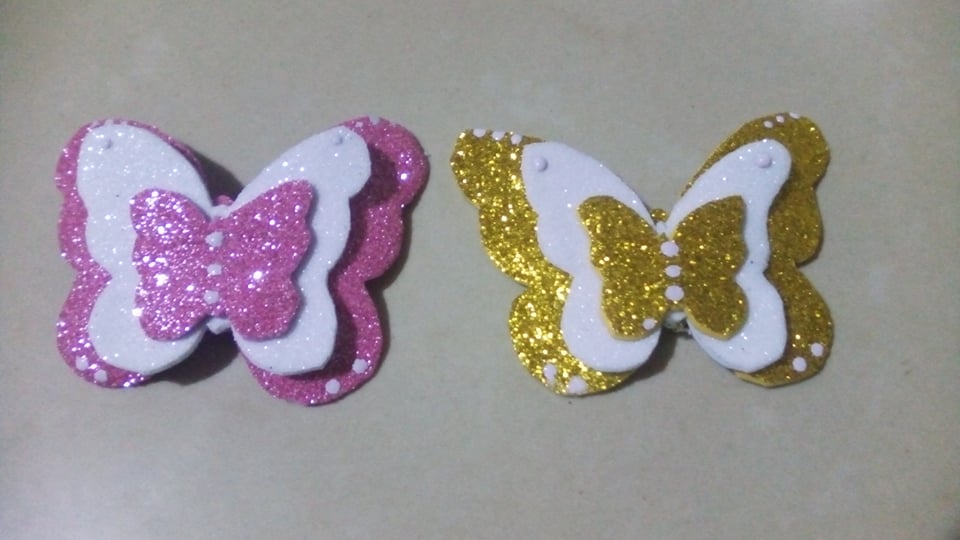
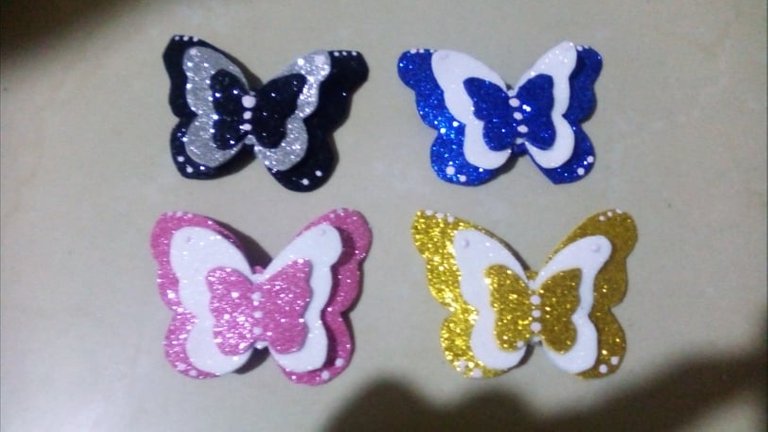
Haremos el mismo procedimiento anterior para hacer mariposas de diferentes colores en foami escarchado. Y ya nuestras mariposas en diferentes colores en foami están listas para exhibir en la pared de mi hogar. Espero les haya gustado.
We will do the same procedure as above to make butterflies of different colors in frosted foami. And now our butterflies in different colors in foami are ready to display on the wall of my home. I hope you liked it.
Gracias por leerme, vota, comenta y comparte. se les quiere.
Thank you for reading, voting, commenting and sharing. you are loved.
Las fotos son de mi autoría @yari-23.
The photos are of my authorship @yari-23.