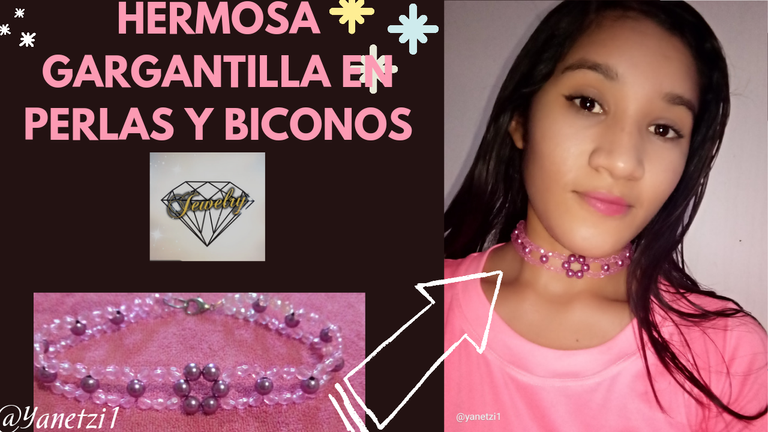
Hola queridos Amigos de esta maravillosa y hermosa comunidad es un gusto saludarlos, Espero que estén muy bien, les deseo días llenos de prosperidad abundancia y mucha creatividad.
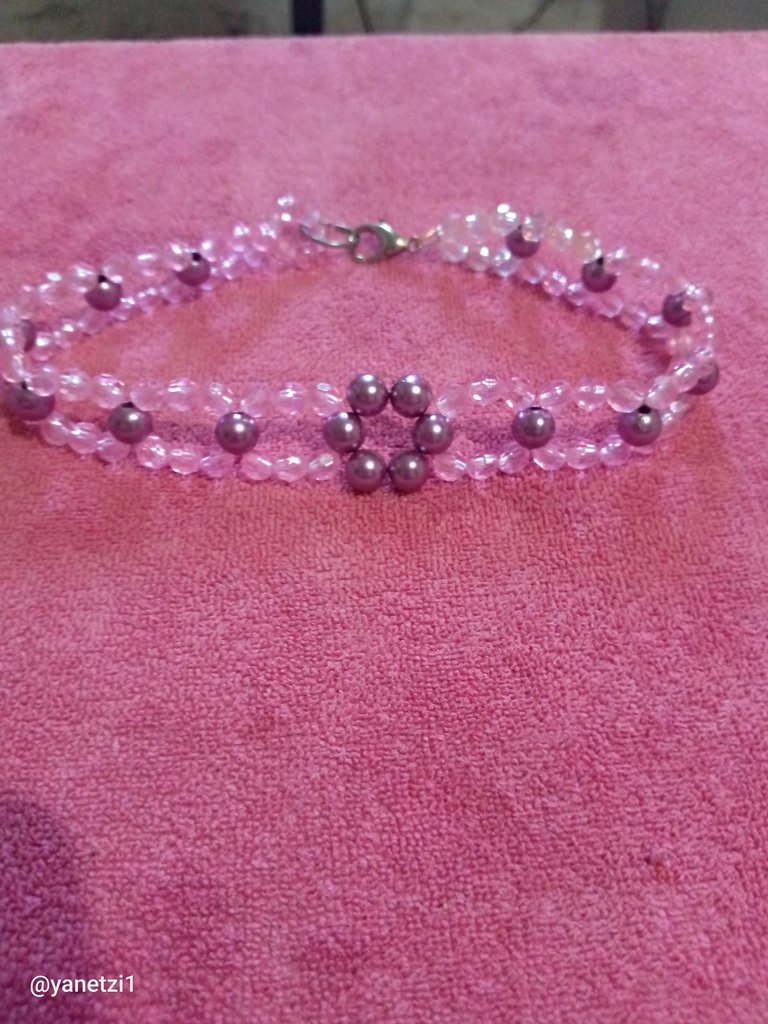
Hoy me inspiré en una hermosa gargantilla en colores claros como El rosado y morado oscuro utilizando unas piedras estilo bicono y perlas me puse a pensar que en mi lista de accesorios y no tenía ninguna gargantilla y pues estuve buscando ideas y se me vino está, increíble para realizarlo y así poder tener un accesorio para lucir uno de mis Outfit.
Los materiales utilizados en la elaboración de nuestra gargantilla fueron los siguientes:
✔️ NYLON DE NÚMERO 0.2
✔️ 18 PERLAS MORADAS GRANDES
✔️ PIEDRAS BICONO COLOR ROSADO CLARO
✔️ DOS AGUJAS DE MOSTACILLA
✔️ TIJERA
✔️ TRANCADERO METÁLICO
✔️ ARGOLLA METÁLICO
💖COMENCEMOS A ELABORAR💖!
Paso 1
Lo primero que vamos a hacer es tomar el nylon y cortarlo vamos a medirlo a largo que queramos del cuello y lo vamos a poner doble
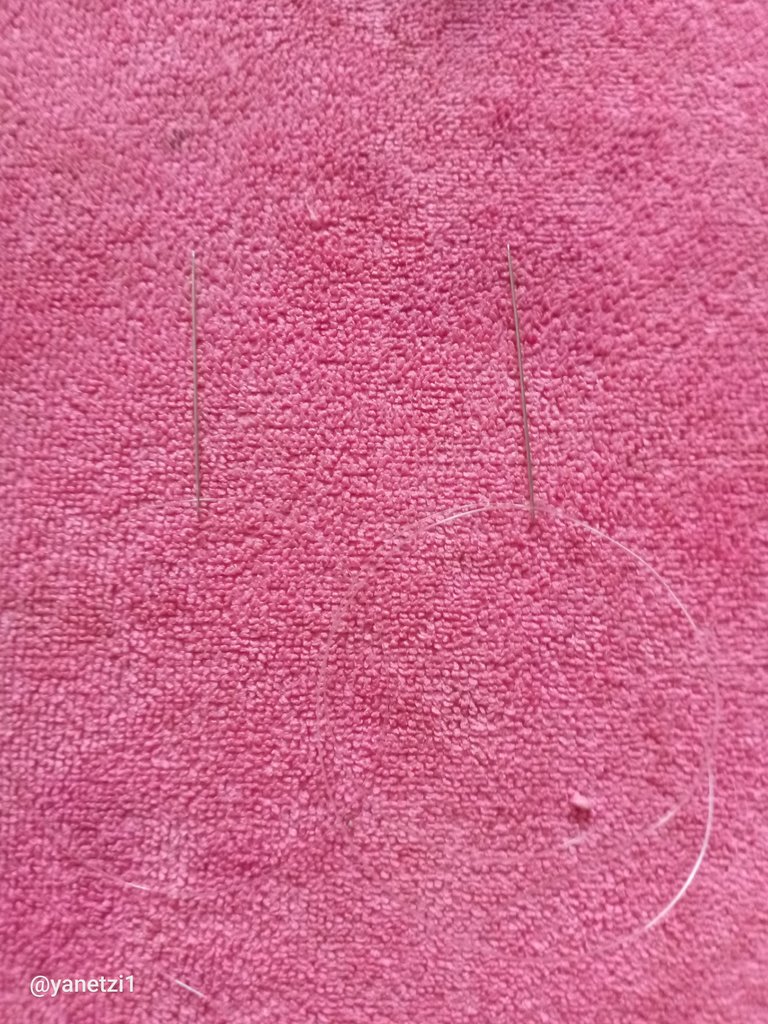
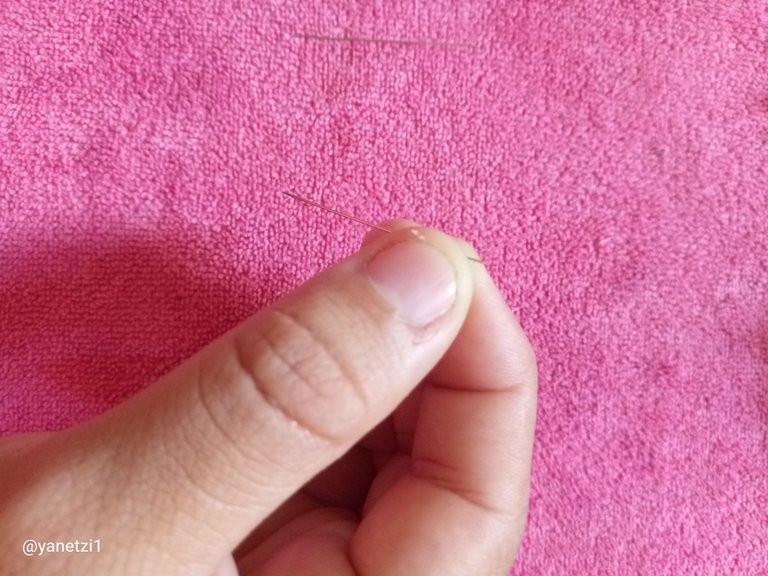
Luego lo que vamos a hacer es con las dos agujas de mostacilla vamos a colocarlas en las dos puntas colocándola un poco de alejamiento de las puntas para que así no se salgan las agujas.
Paso 2
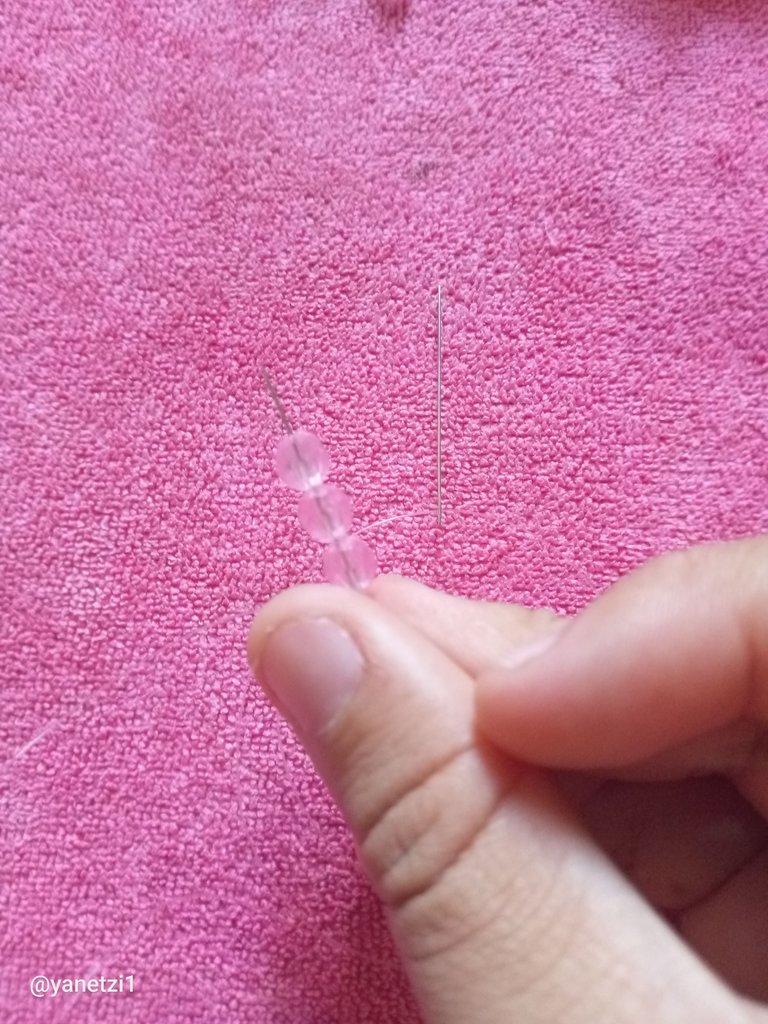
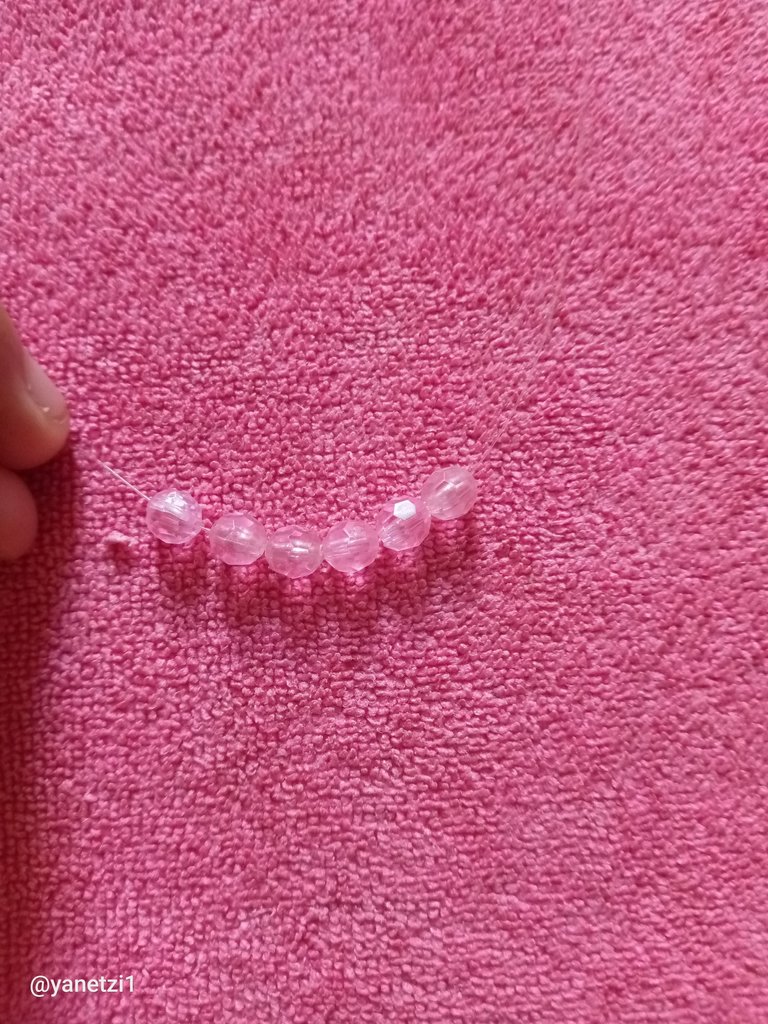
Luego vamos a tomar los biconos rosados en total van a ser tres y vamos a insertarlo por una de las agujas de igual manera vamos a hacer el mismo procedimiento con la otra punta con la aguja vamos a colocar tres biconos más En total serán seis tres del lado derecho y tres del lado izquierdo así de esta manera.
Paso 3
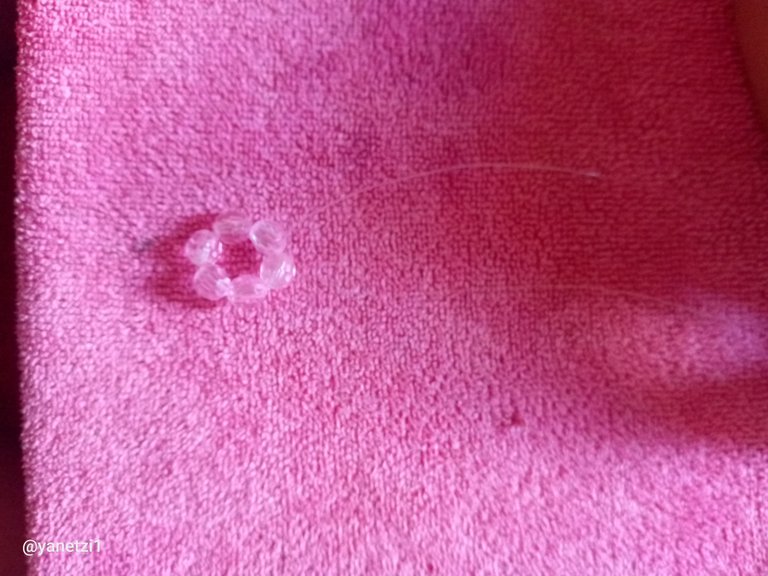
Una vez ya introducidas las piedras vamos a hacer un pequeño amarre un nudo normal este vamos a asegurarnos de hacerlo doble para que quede estable y apretado.
Paso 4
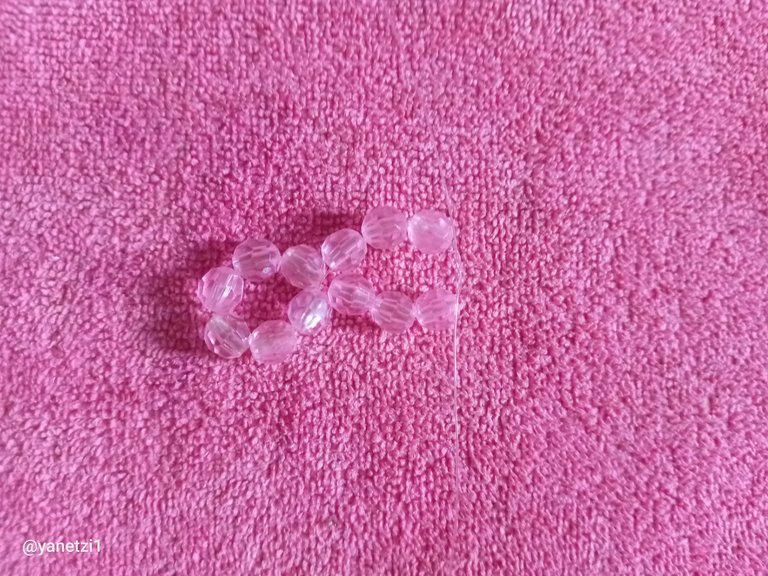
Ahora por cada una de las agujas vamos a colocar tres piedra en cada uno de ellas de las biconos siempre contando la cantidad que vamos introduciendo.
Paso 5
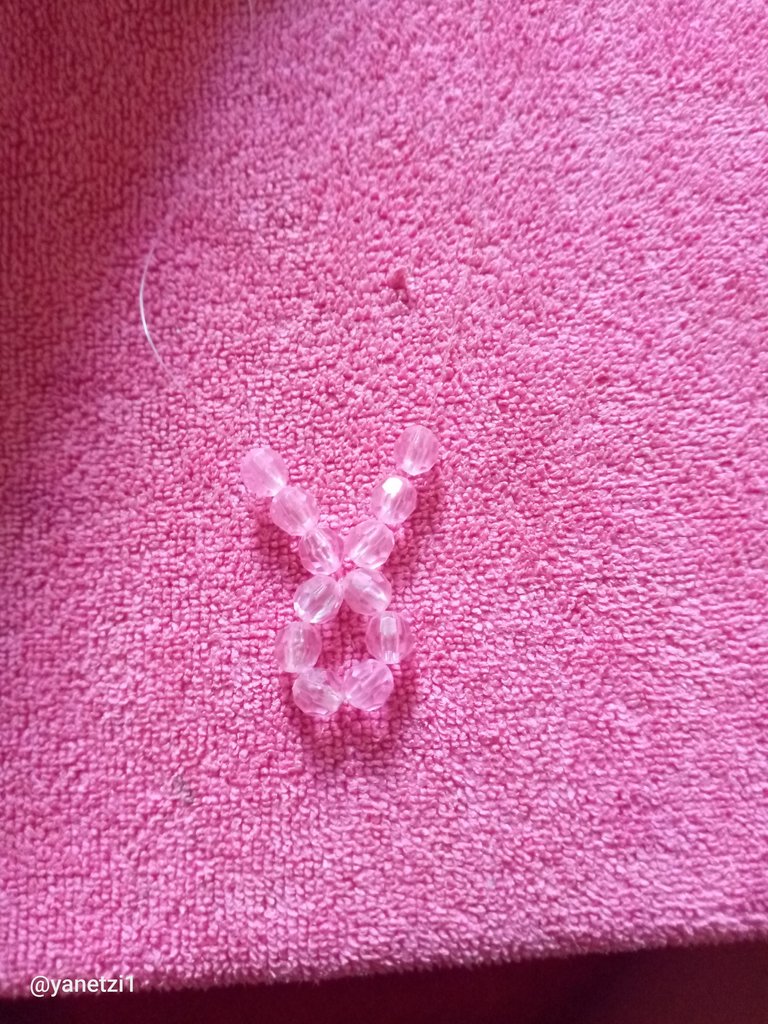
Ahora lo que vamos a hacer es tomar una perla morada y pasarla por la aguja y el nylon , luego vamos a pasar la otra aguja con la otra punta del nylon del lado derecho al lado izquierdo y del lado izquierdo al derecho para que pueda quedar de esta manera y pueda quedar centrada en la parte de las tres piedras de ambos lados
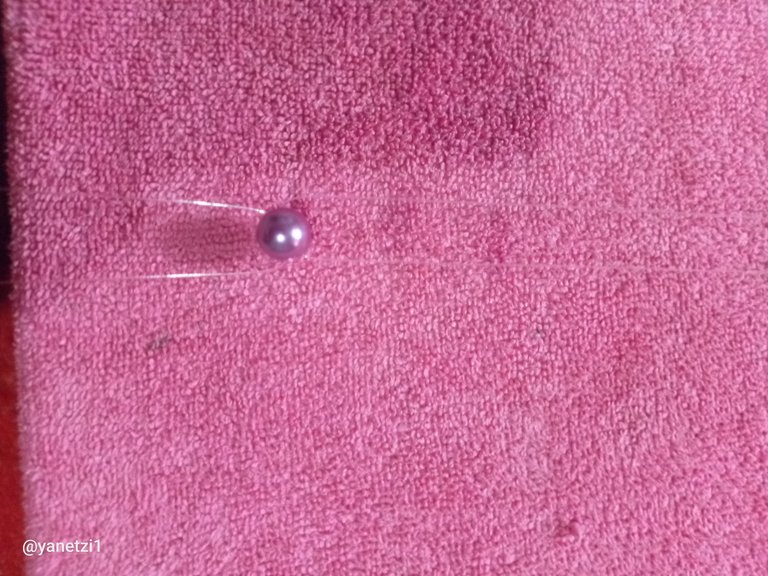
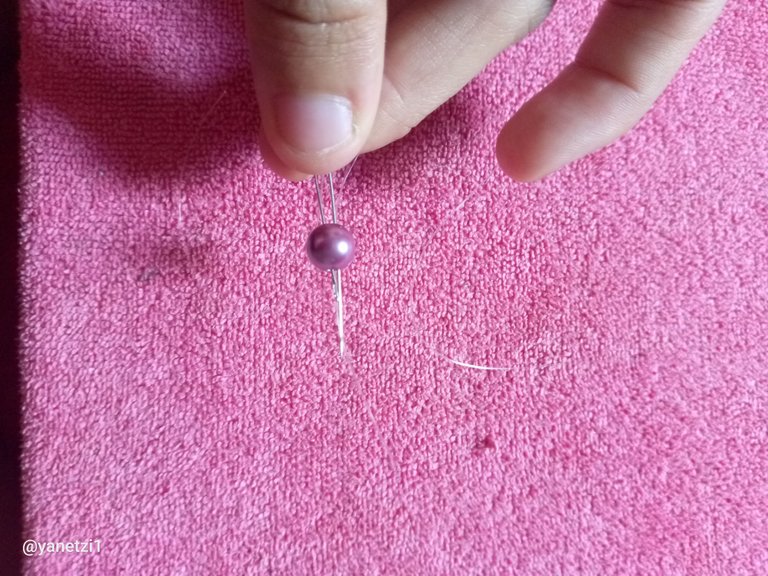
Paso 6
Ahora vamos a hacer el mismo procedimiento vamos a poner tres piedras en un lado y tres piedras en el otro de las biconos luego vamos a hacer el mismo procedimiento con las perlas.
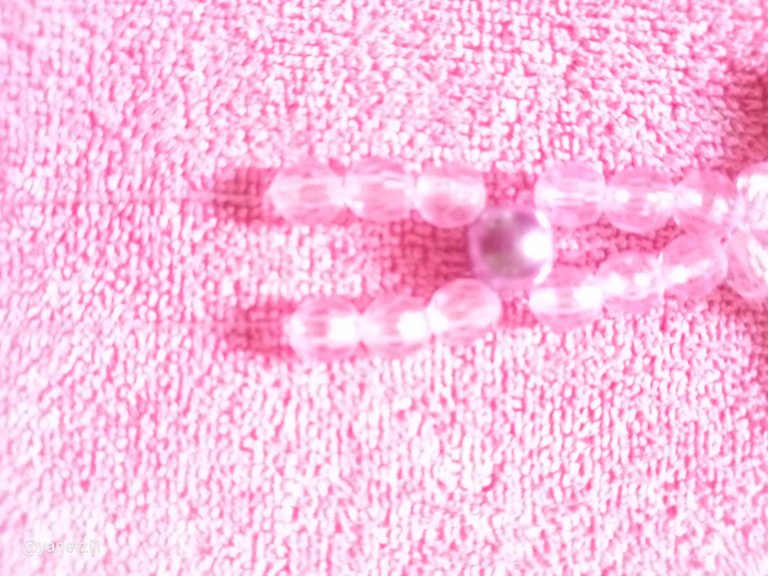
Bueno en realidad esta técnica la vamos a utilizar es seis veces en sí van a ser seis perlas y el mismo procedimiento con los iconos las tres piedras de ambos lados este paso lo vamos a realizar como les dije seis veces para así poder hacer la mitad del cuerpo de la gargantilla.
Paso 7
Una vez ya terminado los primeros pasos adelantado vamos ahora a formalizar una flor en perla en la parte del medio de la gargantilla la que le dará vida y estilo único para esto lo primero que vamos a hacer es colocar una de las agujas tres perlas la de abajo y en la parte de arriba del otro hilo vamos a colocar dos perlas después procedemos a pasar las agujas por dentro de las perlas para así unirla de esta forma es muy fácil porque lo que vamos a hacer nada más es pasar del lado derecho hacia el lado izquierdo las agujas como una x o un nudo normal.
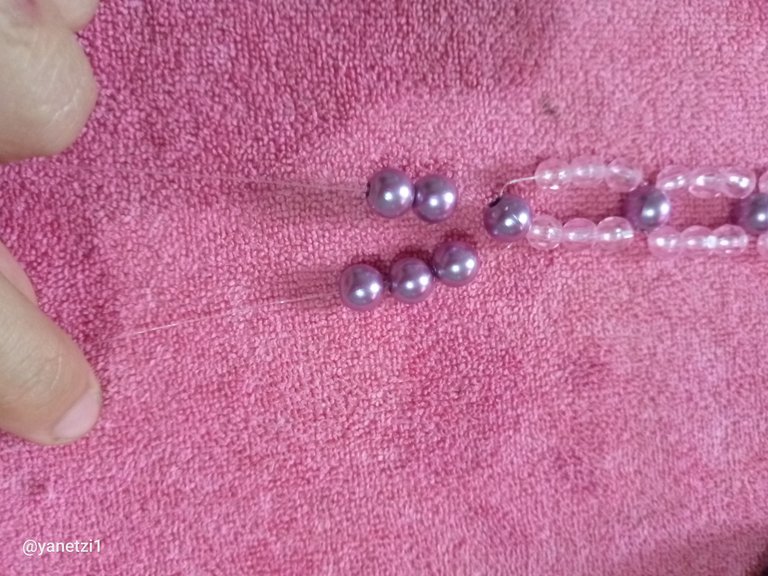
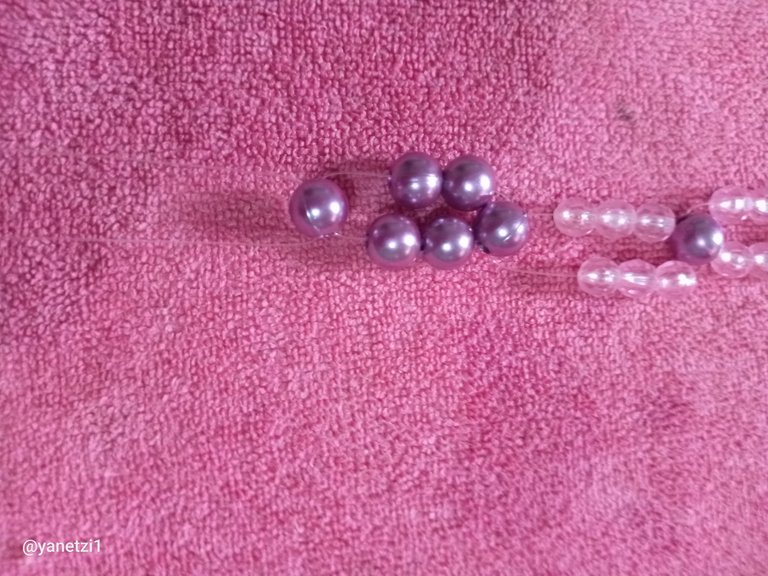
Tenemos que estar al pendiente de ir apretando porque no puede quedar floja la flor y así puede quedar un poco deforme de esta manera ahora se ve nuestra flor cómo va quedando una vez que los dos nylon queden tanto uno del lado derecho como del lado izquierdo vamos a proceder con el mismo paso de las tres piedras de bicono y luego introduciendo la perla entre ambos hilos para así formar la otra parte de la gargantilla de esta manera.
Paso 8
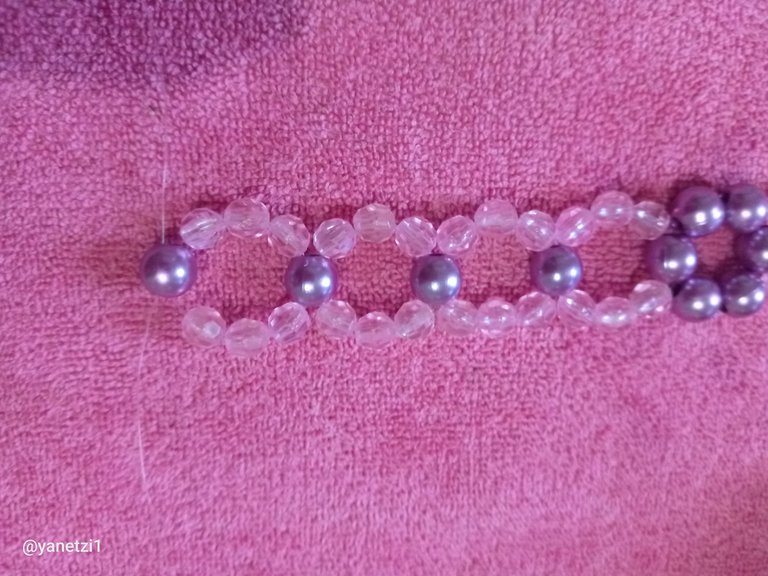
Una vez listo los pasó con las seis perlas y las piedras de bicono, solamente nos va a tocar darle el cierre a nuestra gargantilla de forma vamos hacer el al final el mismo procedimiento de los primeros pasos
Paso 9
Luego lo que nos va a quedar es agarrar el trancadero y introducirlo por uno de los hilos luego vamos a hacer un nudo de amarre fácil normal este lo vamos a repetir tres veces de esta manera para que así pueda quedar de una manera más fácil a la hora de ponerlo.
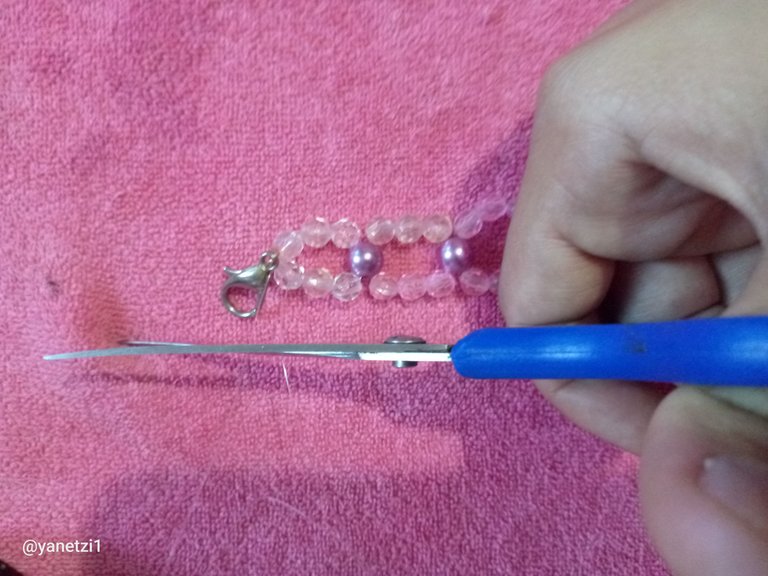
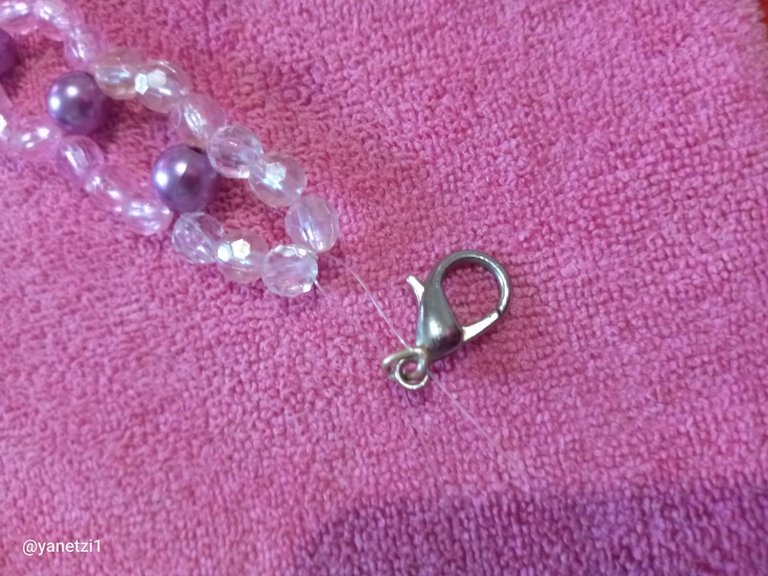
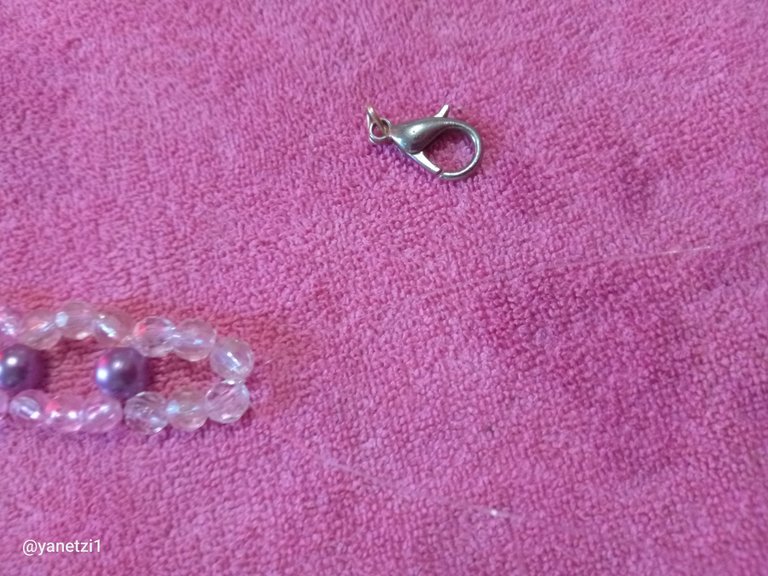
Ya una vez terminado ahora agarramos la tijera y recortamos los hilos que sobren así de esta forma.
Paso 10
Del otro lado vamos a colocar el aro vamos a abrirlo con una pinza y lo vamos a poner dentro internamente como es grande va a ser muy fácil porque solamente vamos a introducir el hilo dentro del aro y vamos a apretarlo con la pinza y luego así tendremos lista ya nuestra gargantilla.
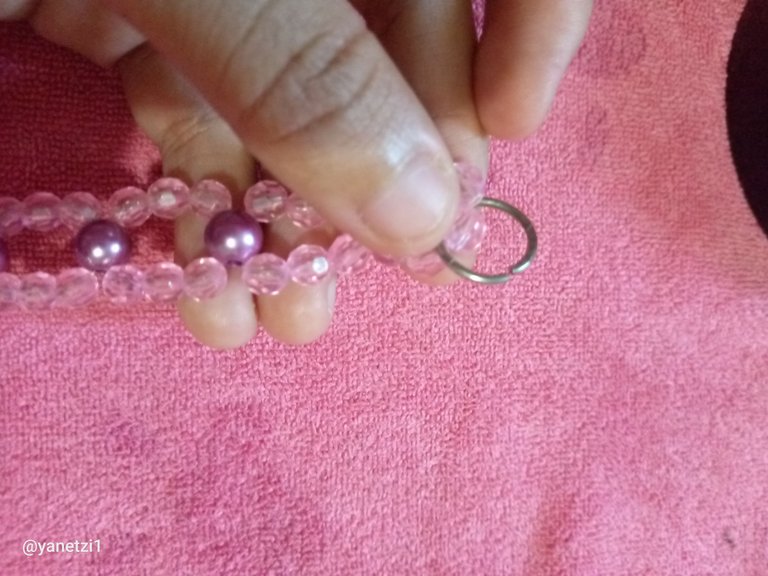
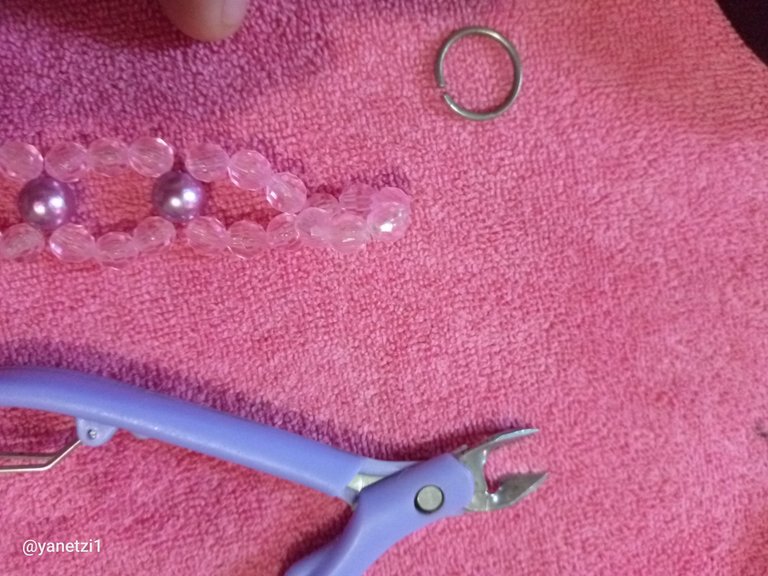
Ah otra cosa más debemos de asegurarnos de recortar los hilos que queden sobrando de esta manera.
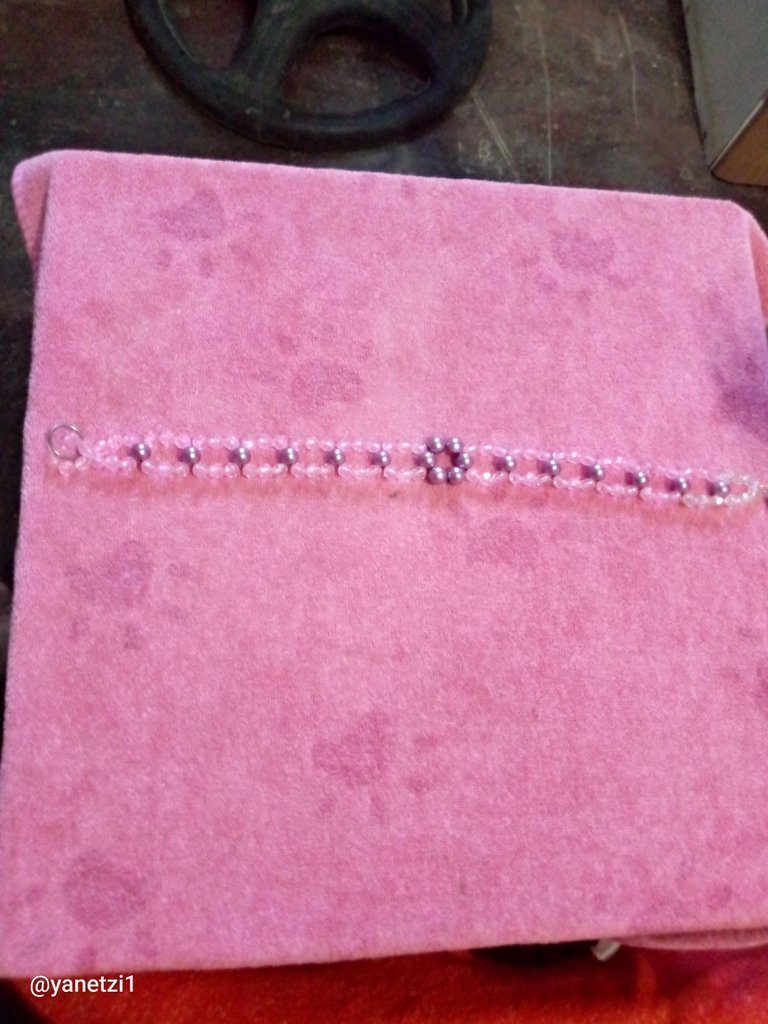
Bueno mis queridos amigos así ha quedado el resultado final de nuestra hermosa gargantilla de perlas y biconos espero que sea de su agrado Saludos y bendiciones.
las imágenes son de mi propiedad y fueron tomadas por mi teléfono tecno spark go 2023.
traductor utilizado: Deepl Traductor.
las imagen fue editada en canva.

Hello dear friends of this wonderful and beautiful community it is a pleasure to greet you, I hope you are very well, I wish you days full of prosperity abundance and lots of creativity.
Today I was inspired by a beautiful choker in light colors like pink and dark purple using a bicone style stones and pearls I started to think that in my list of accessories and I had no choker and I was looking for ideas and I came up with this one, amazing to make it and so I can have an accessory to wear one of my Outfit.
The materials used in the elaboration of our choker were the following:
✔️ NYLON NUMBER 0.2
✔️ 18 LARGE PURPLE PEARLS
✔️ LIGHT PINK BICONE STONES
✔️ TWO MUSTARD NEEDLES
✔️ SCISSORS
✔️ METAL LOCKING RING
✔️ METAL RING
💖LET'S START MAKING💖!
Step 1
The first thing we are going to do is to take the nylon and cut it we are going to measure it to the length we want of the neck and we are going to put it double.


Then what we are going to do is with the two mustard needles we are going to place them on the two ends placing it a little bit away from the ends so that the needles don't come out.
Step 2
Then we are going to take the pink bicones in total there are going to be three and we are going to insert it through one of the needles in the same way we are going to do the same procedure with the other point with the needle we are going to place three more bicones in total there will be six, three on the right side and three on the left side in this way.


Step 3
Once the stones have been inserted we are going to make a small tie a normal knot, we are going to make sure to double it so that it is stable and tight.

Step 4
Now for each one of the needles we are going to place three stones in each one of the bicones always counting the quantity that we are introducing.


Step 5
Now what we are going to do is to take a purple bead and pass it through the needle and the nylon, then we are going to pass the other needle with the other end of the nylon from the right side to the left side and from the left side to the right side so that it can be centered in the part of the three stones on both sides.


Step 6
Now we are going to do the same procedure we are going to put three stones on one side and three stones on the other side of the bicones then we are going to do the same procedure with the pearls.

Well actually this technique we are going to use is six times in itself will be six pearls and the same procedure with the icons the three stones on both sides this step we are going to perform as I said six times so we can make half the body of the choker.
Step 7
Once we have finished the first steps we are now going to formalize a pearl flower in the middle part of the choker which will give life and unique style for this the first thing we are going to do is to place one of the needles three pearls at the bottom and at the top of the other thread we are going to place two pearls then we proceed to pass the needles inside the pearls to join it in this way is very easy because what we are going to do is just pass from the right side to the left side the needles as an x or a normal knot.


We have to be attentive to be tightening because the flower can not be loose and so it can be a little deformed in this way now you can see how our flower is getting once the two nylons are both on the right side and on the left side we will proceed with the same step of the three bicone stones and then introducing the pearl between both threads to form the other part of the choker in this way.
Step 8
Once the six pearls and the bicone stones are ready, we will only have to give the clasp to our choker, so we will do the same procedure of the first steps at the end.

Step 9
Then what we are going to have left is to take the locking ring and introduce it through one of the threads then we are going to make a normal easy tie knot. We are going to repeat this three times in this way so that it will be easier to put it on.


Once finished now we take the scissors and cut the excess threads like this.
Step 10
On the other side we are going to place the ring we are going to open it with a clamp and we are going to put it inside as it is big it is going to be very easy because we are only going to introduce the thread inside the ring and we are going to tighten it with the clamp and then we will have our choker ready.


Oh one more thing we must make sure to trim the excess yarns like this.

Well my dear friends this is the final result of our beautiful pearl and bicone choker I hope you like it Greetings and blessings.

images are my property and were taken by my tecno spark go 2023 phone.
translator used: Deepl trasleter
the image was edited in canva.

