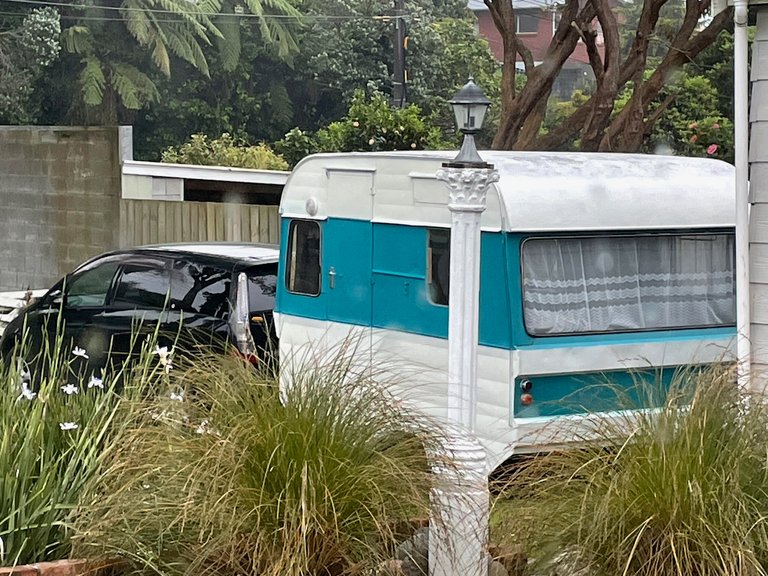
Got another project underway. It wasn't meant to be a big one but a couple of issues that we knew about ended up being a bit more of a job than planned.
Initially the issue was the caravan failed a Warrant because - get this - the two rear lights were slightly different colours to each other and the marker lamps at the front weren't working. I replaced the rear lights easy enough but the front lights were going to be a mission. I was getting nothing out of them at all so I'd need to trace the wiring. That was most likely going to be a panel removal job.
As it was that was going to be easier thanks to the fact that when doing the rear lights we noticed the framing was rotted in some places. That meant we'd have to remove everything to see what was good. Let's just say we're reframing the entire caravan.
This raised the biggest problem I had. How do I replace the rear. I was on my mail run when the answer came to me. It's easier than you'd think so I'd like to share it.
** The Problem:**
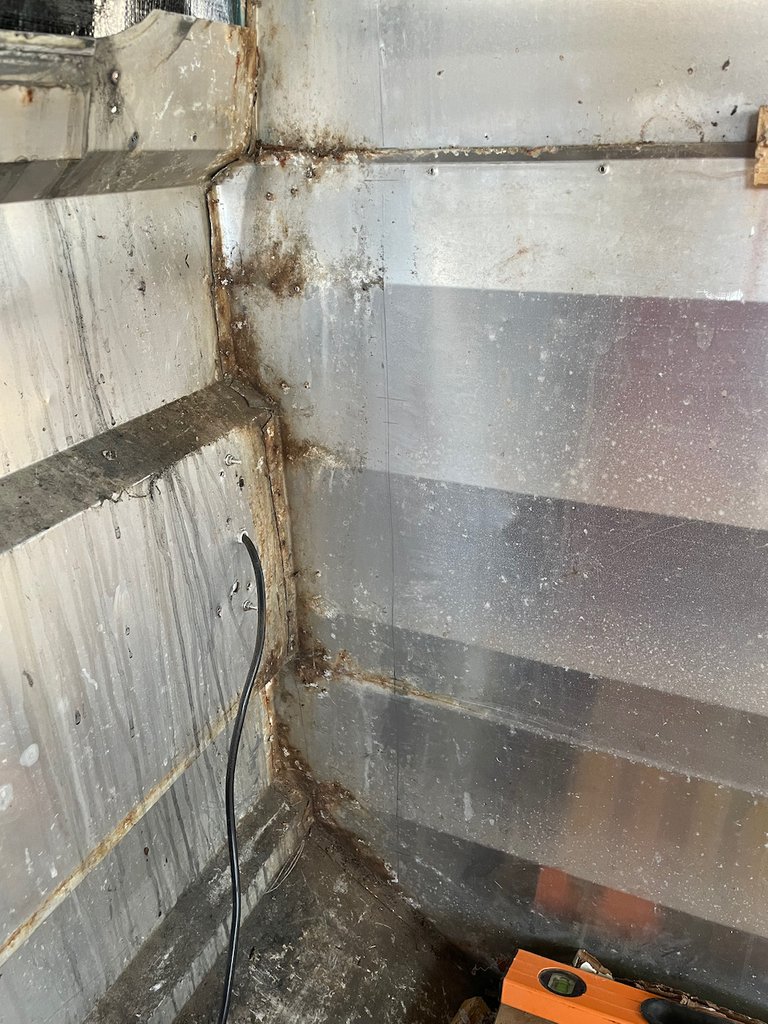
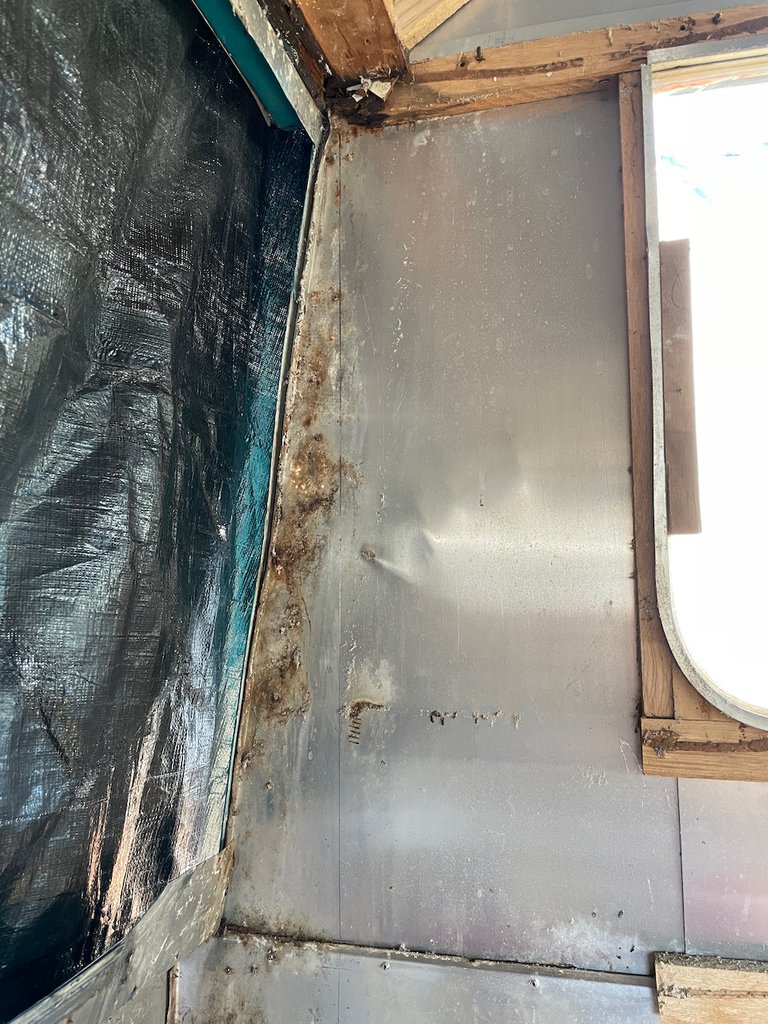
The front and back obviously have weird angles and the like. It was blowing my mind as to how I was going to transfer this to a new board. I couldn't use the original because it was rotted out. Like I said, the solution came to me when I was riding my work bike doing my mail run.
I am using a 180 x 18 H3.1 treated panel at the back. This means I have a fixed width to work my measurements out with. Measuring 180 from the deepest part gave me a straight line right down to the bottom angle. From this point I placed a ruler and a level to mark out where the bends go. You might be able to see the marks in the above photos. Doing this allows me to measure each section.
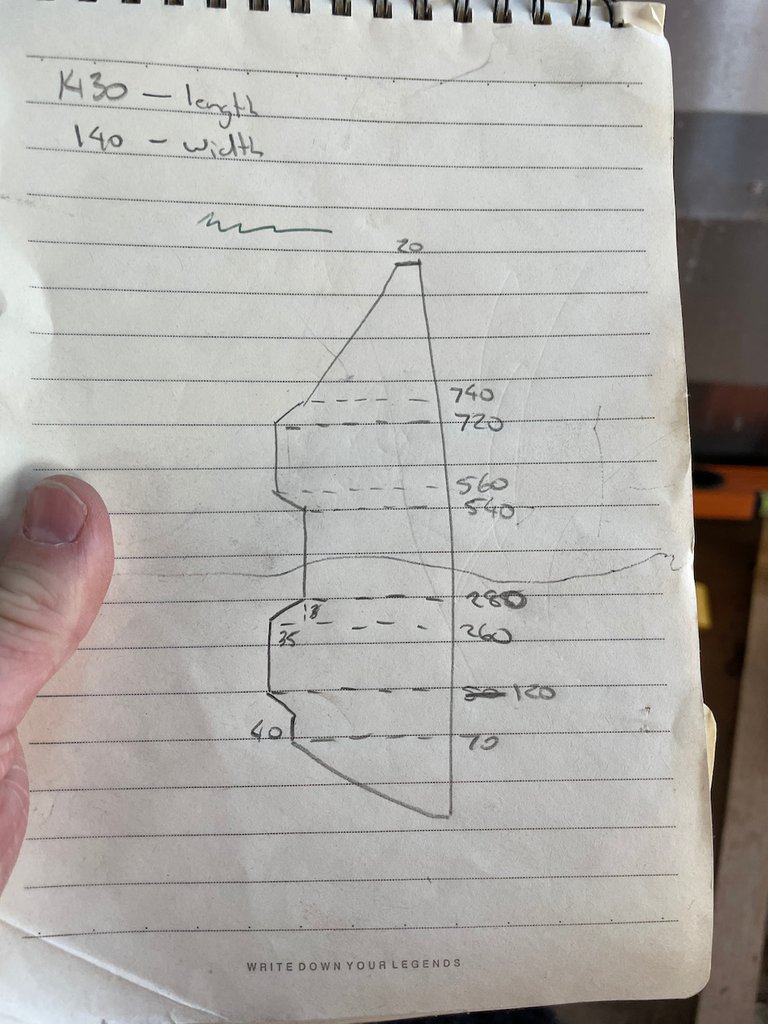
Adding the measurements to a drawing allows me to see if it will work. Then comes the fun part:
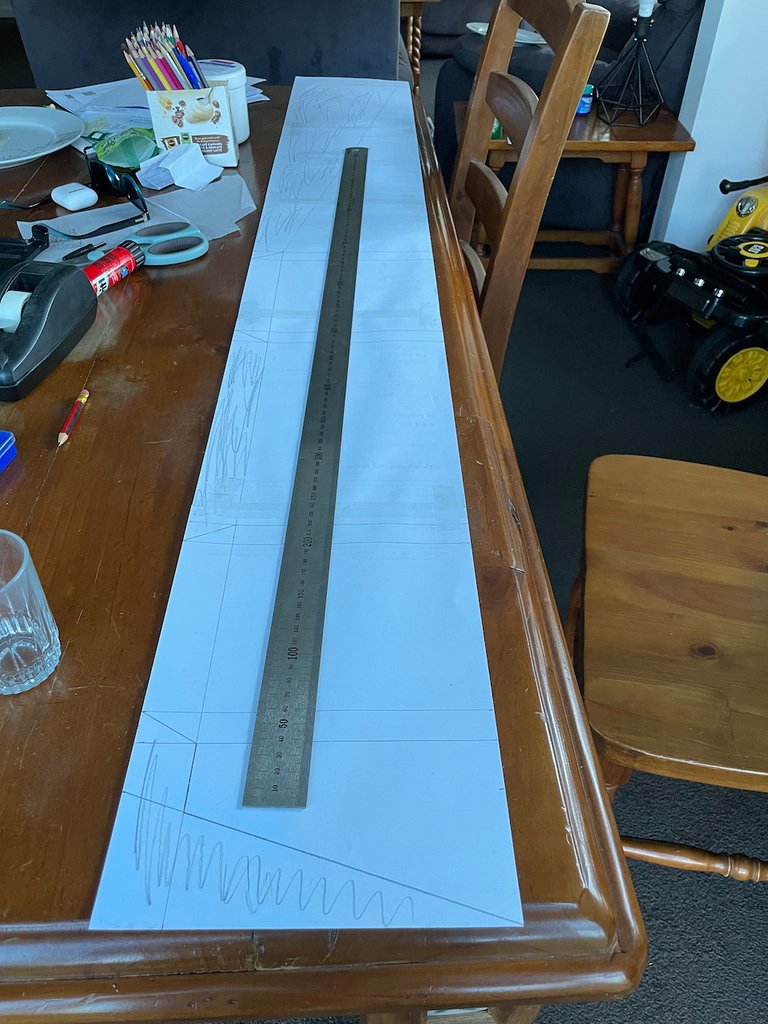
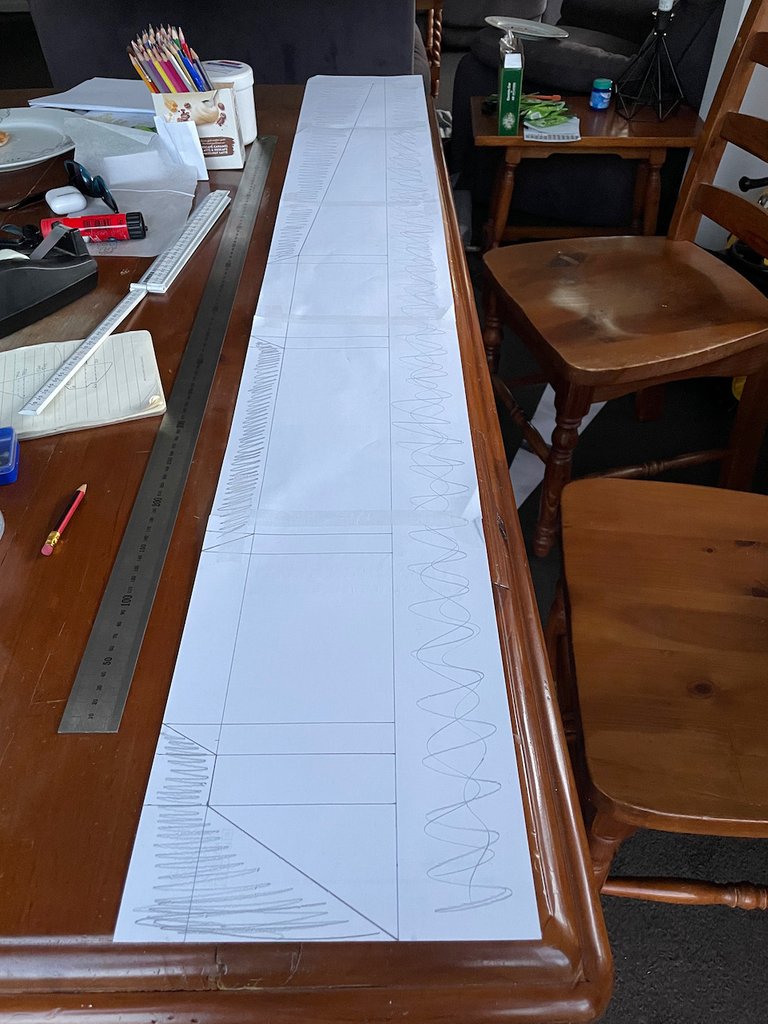
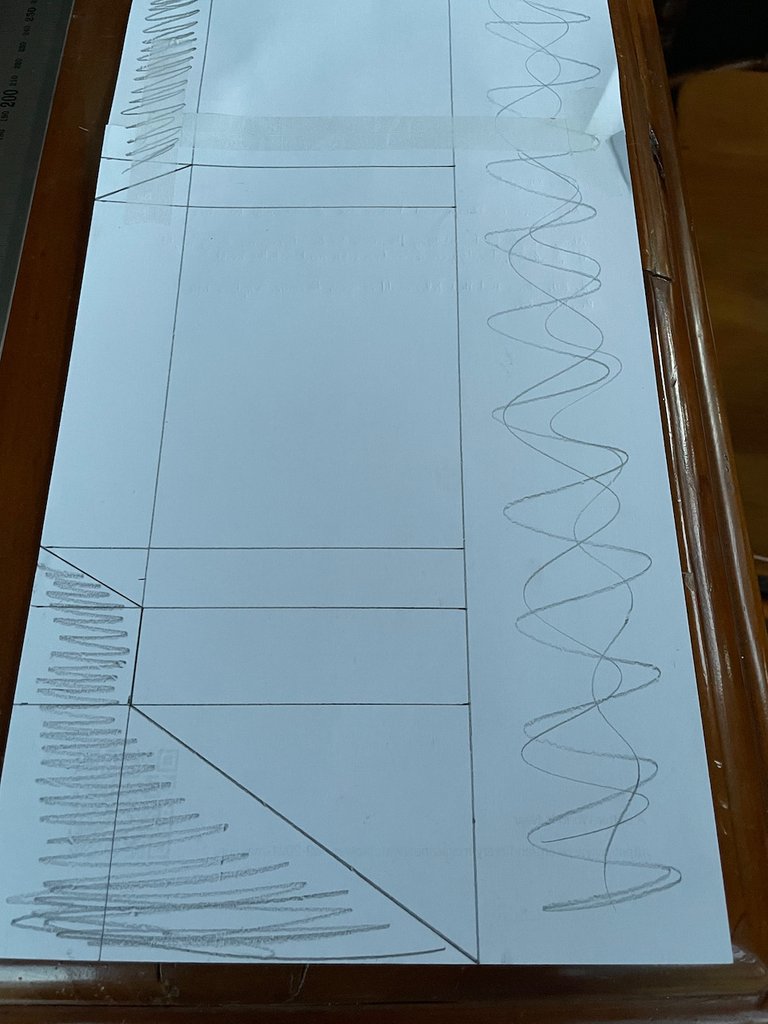
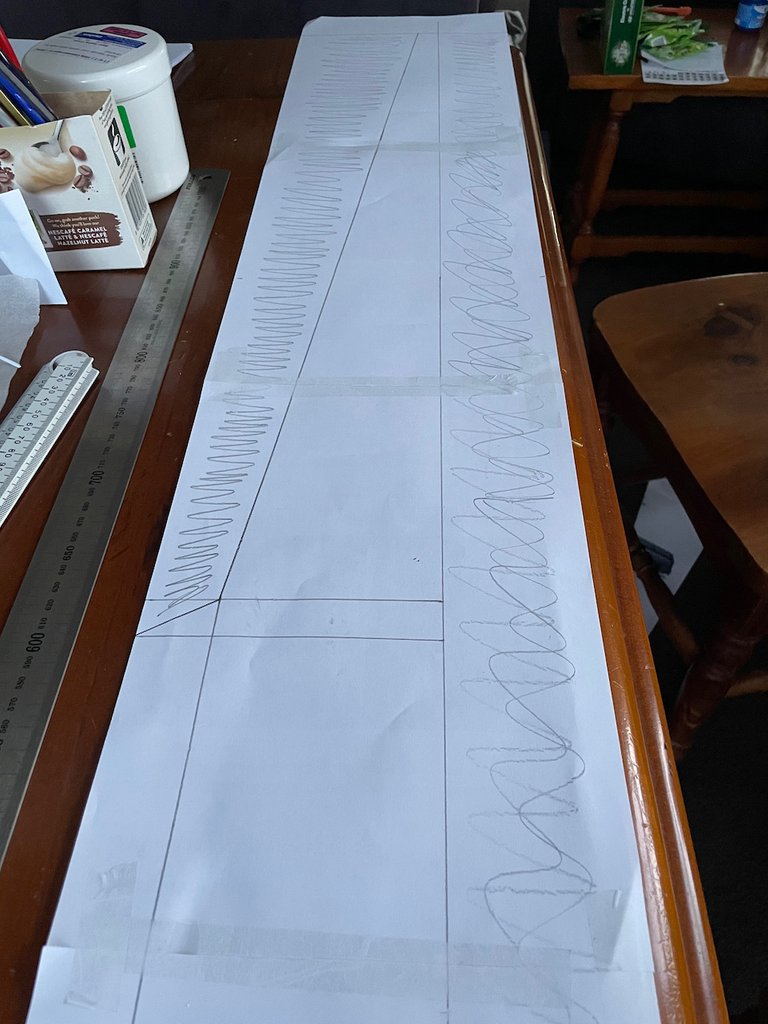
I taped 5 sheets of A4 paper end to end to give me the ability to make a 1:1 template. The above pictures are wrong because I drew the template at 140 wide. This was also the second one because on the initial one I forgot to measure any width and so drew it based on the entire width of an A4. This makes the top and bottom angles completely wrong. I ended up having to create a third template for 180mm to get it all right. The end result is:
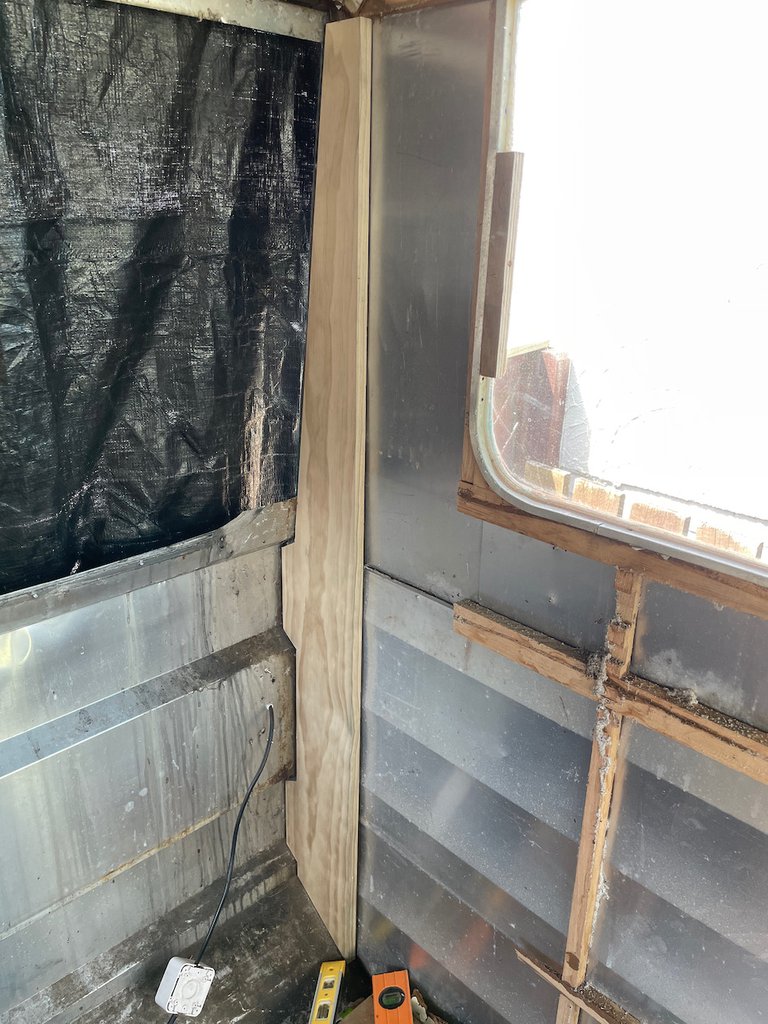
My plan is to use 65mm H3.1 treated timber for the rest of the framing. I will be joining them using half-lap joinery. This will create squared joints and with glue and brad nails will be super strong.
I did read some great articles here at Bunnings Workshop and will be picking everyone's brains for help as I need it. Looking forward to this project.
Please note that this post was originally written at Bunnings Workshop as part of my greater social media profile.