Hello everyone ✨
The deadline for the #diyhub bee contest is fast approaching and I'm glad I've able to make an entry before the deadline. Here is a link to the contest in case you want to show us some amazing bee craft/ inventions.
It took me a few days to finally come up with my bee. I'd have you know that I tried twice already with different materials but the bees didn't make it out alive(hypothetically). I would be showing a sneak peak of the a-bee-minations I made initially but first, let me tell you about the bee that made it out alive.
We all know that bees are the champion pollinators and as such, you could easily find a bee around flowers. With that, I thought of making a bee on a flower.

Materials
- Yellow paper
- Black paper
- Gum
- A pair of scissors
- Carton
- Green acrylic paint
- Red sticky paper.
- Circular bottle cover

Procedure
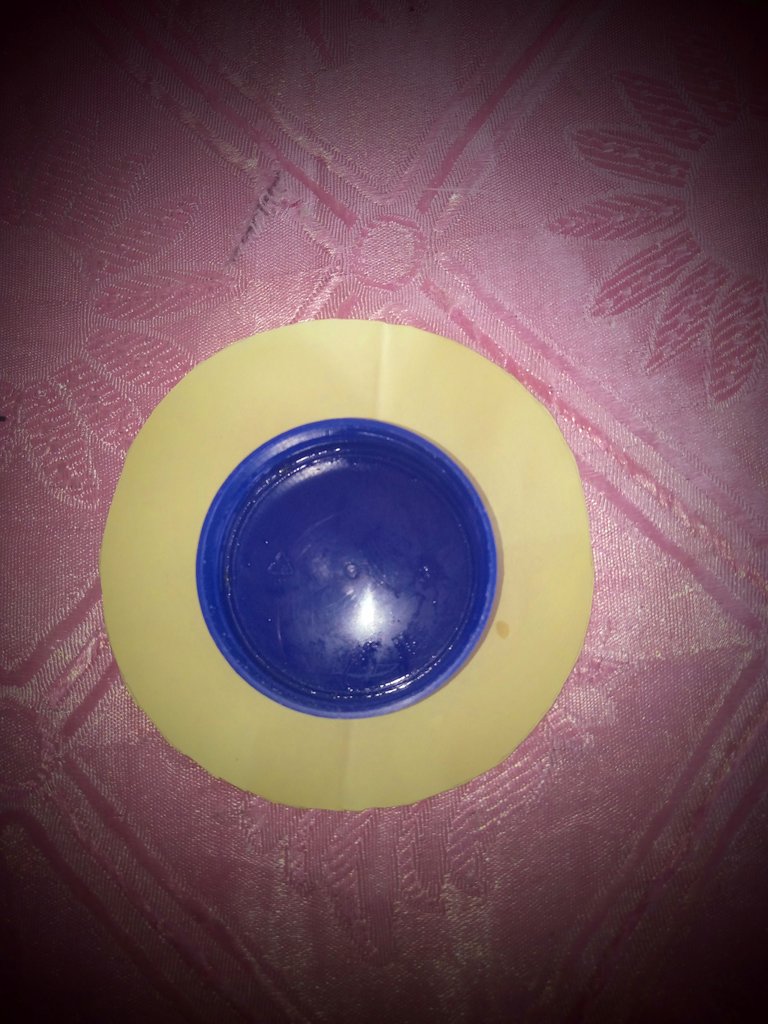
I started by making the flower. This was the easiest part of the whole craft. I used a circular cover from a margarine container. First, I cut out a circle larger than the margarine cover from my yellow paper, then I placed my cover in the centre of the circle.
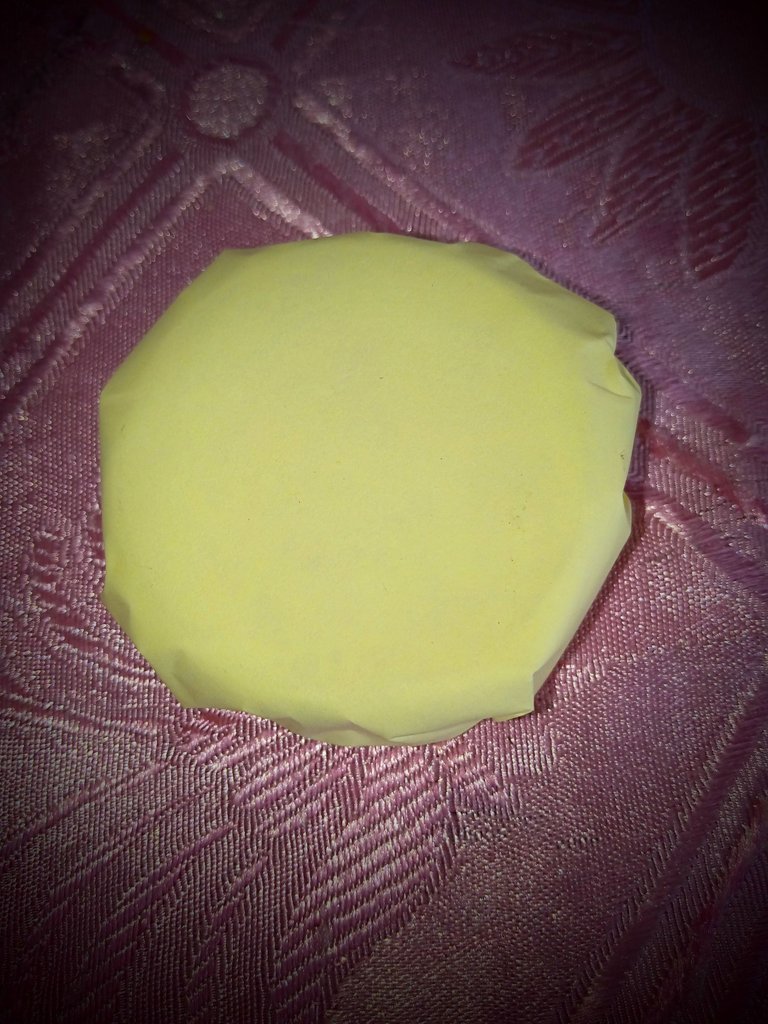
I went ahead to glue the yellow paper round the cover to give it a full and round structure.
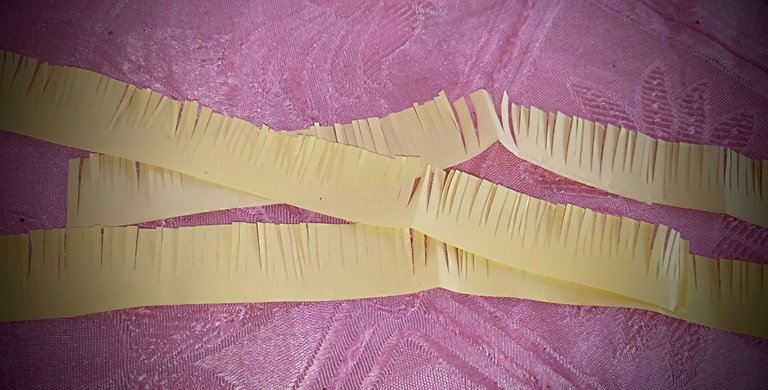
From there, I cut out four long stripes of yellow paper and with a pair of scissors, I made tiny cuts on the stripes of paper.
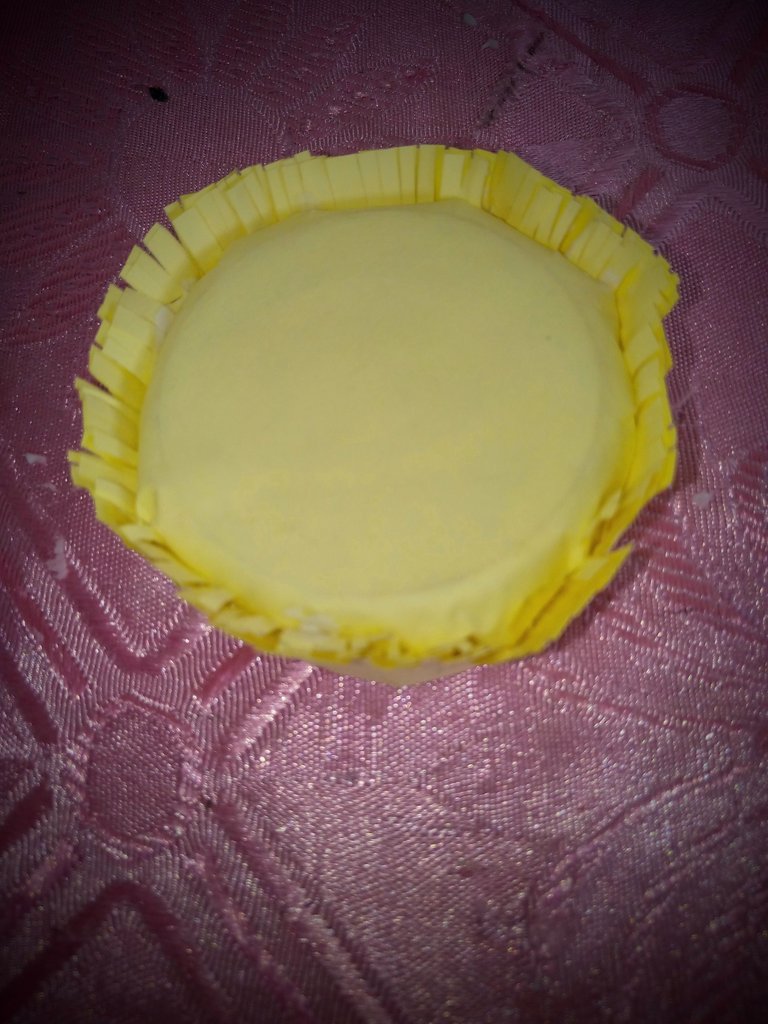
I used the stripes to cover the round yellow base. This gives it a flowery look . At this point, one would think I was making a sunflower but there was a little twist.
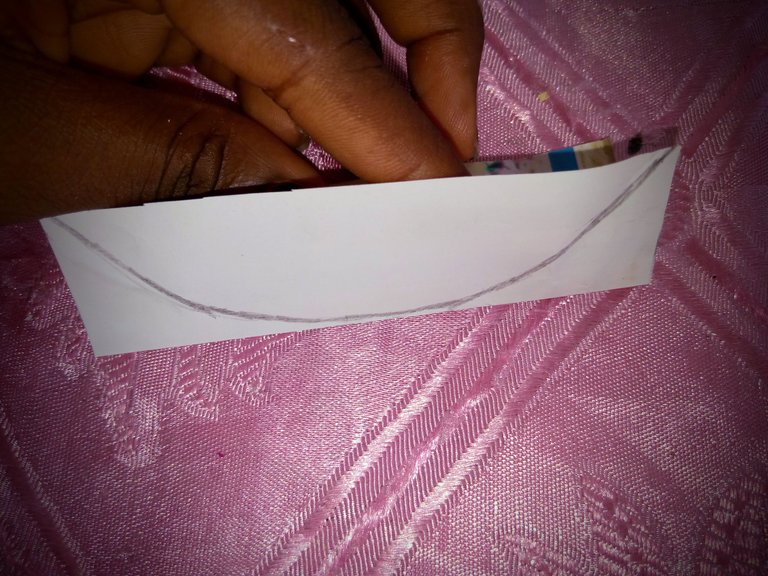
With a piece of white paper, I cut out the shape I wanted my petals to be. If you decide to replicate this, you can choose any shape for your petals.
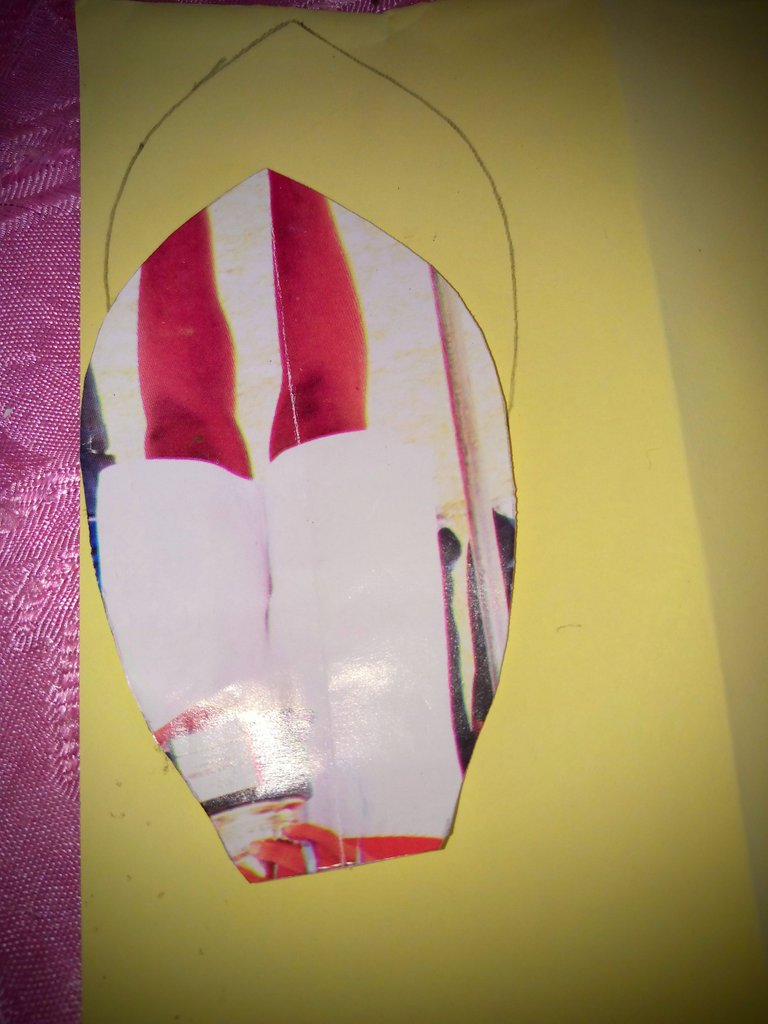
I went ahead to draw out the shape on my yellow paper and from there, I cut out as many petals as I wanted.
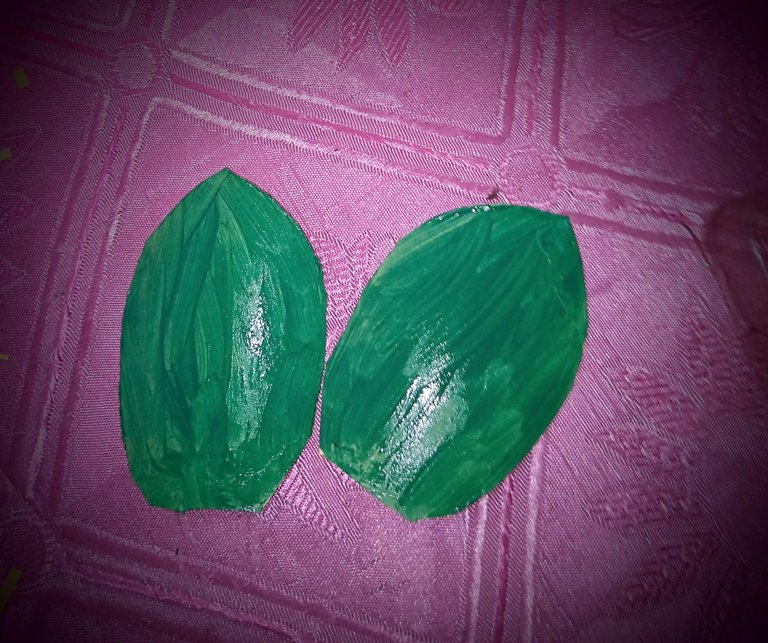
The next step was the colouring of my petals.This step can be skipped if you already had green coloured paper but I didn't. I painted each of my petals green. The petals on the first layer contrast with those from the second layer because I decided to use different shades of green.
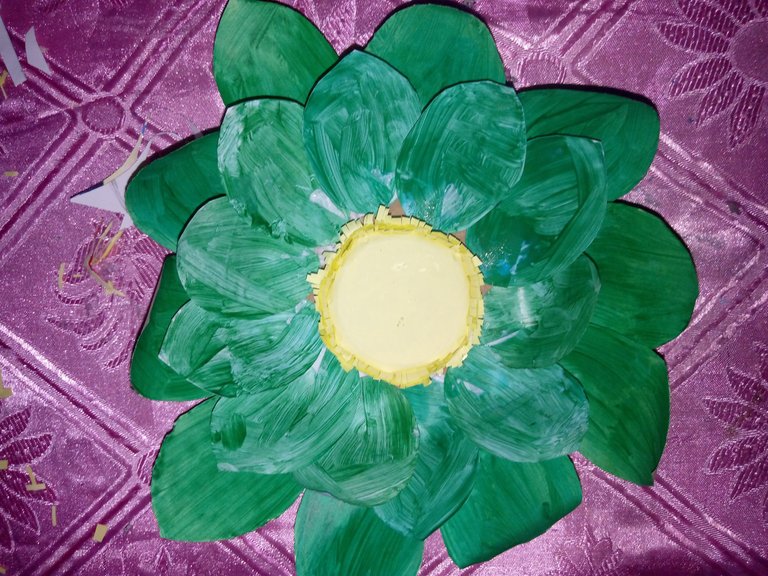
When my petals were all dried up, I went ahead to attach them finely to a piece of circular carton that I had carved out. This part was really interesting. After attaching the green petals, I went ahead to add the yellow base to the centre. With that, I added red sticky papers to seal up the gap between the base and the petals and also add a little bright colour to the craft. This concluded the process of making the flower. Now, I need to make a bee that would pollinate this lovely flower💐.
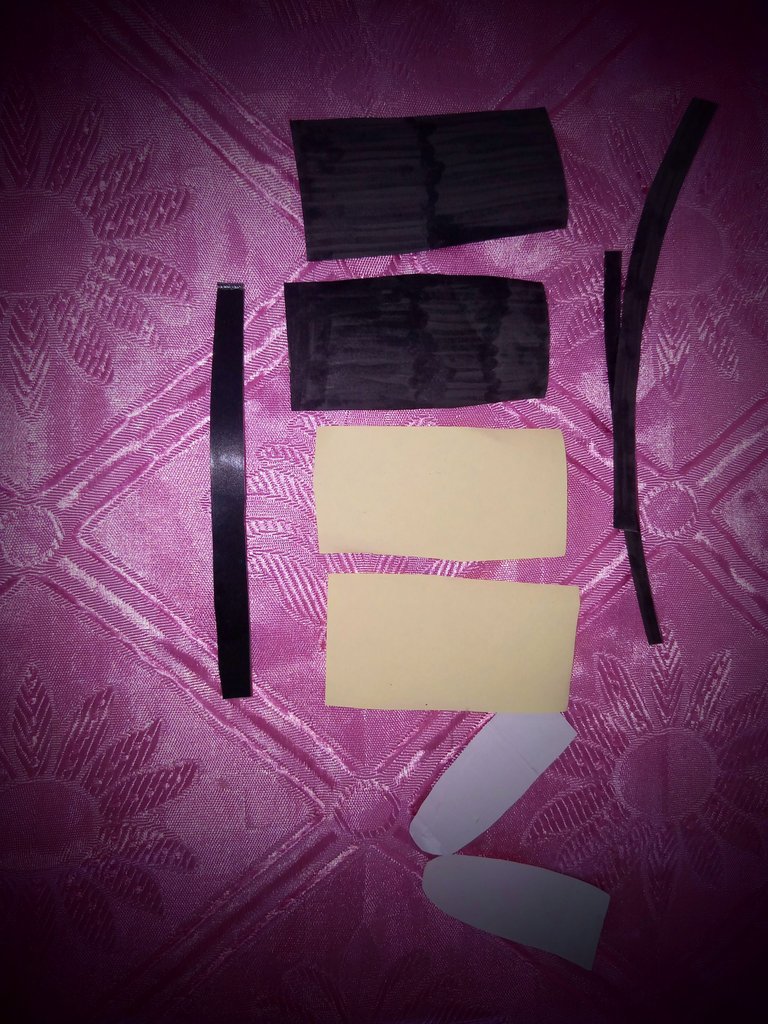
To the bee. Since I had used homemade white clay and yarn but to no avail, I finally settled for paper.
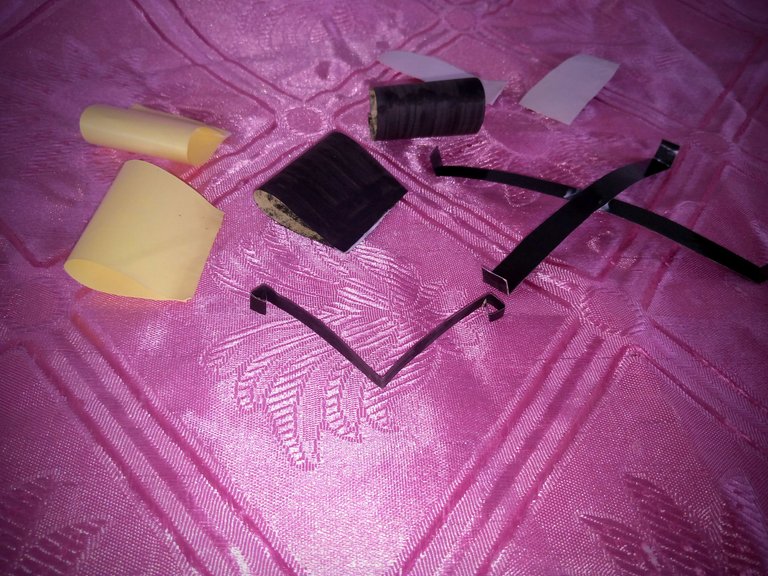
I cut out four pieces of paper; two are yellow and two are black. These papers were used to make the body of the bee. I glued the pieces of papers at the edges and then joined all of them together.
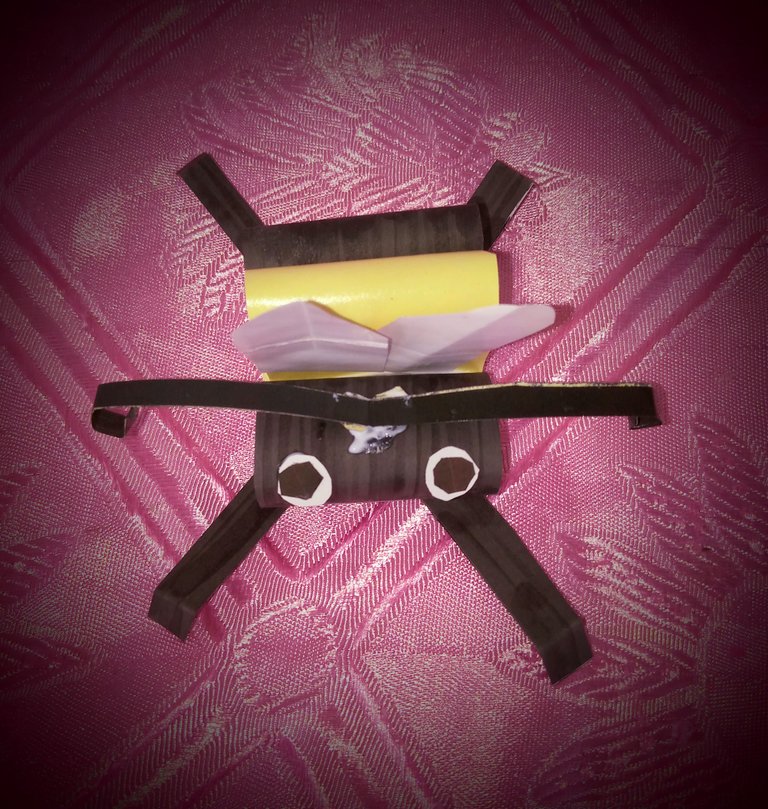
I made the antenna and the legs with thin stripes of black paper. The adorable eyes and lovely mouth were carved out from sticky paper. With that, I was done with the bee. Pollination time!
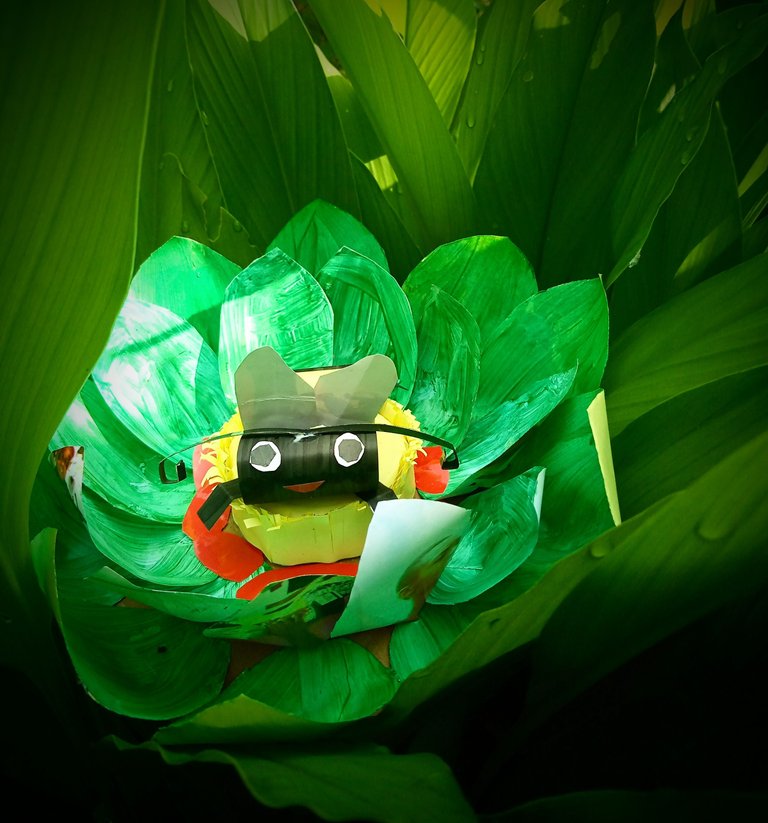
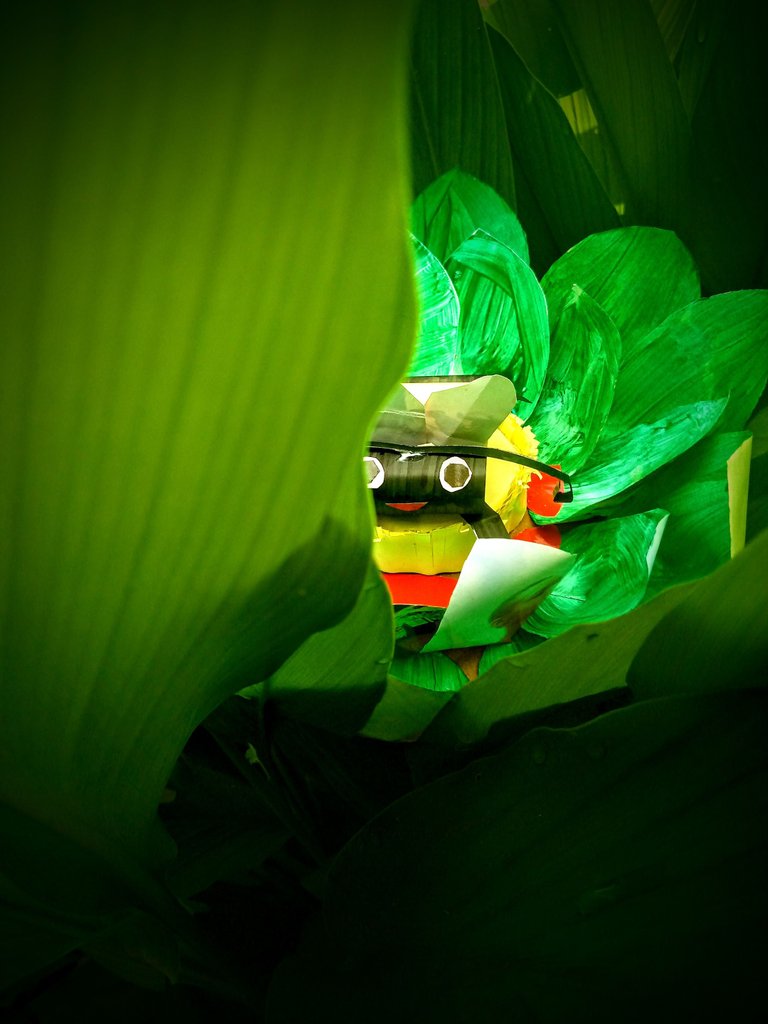
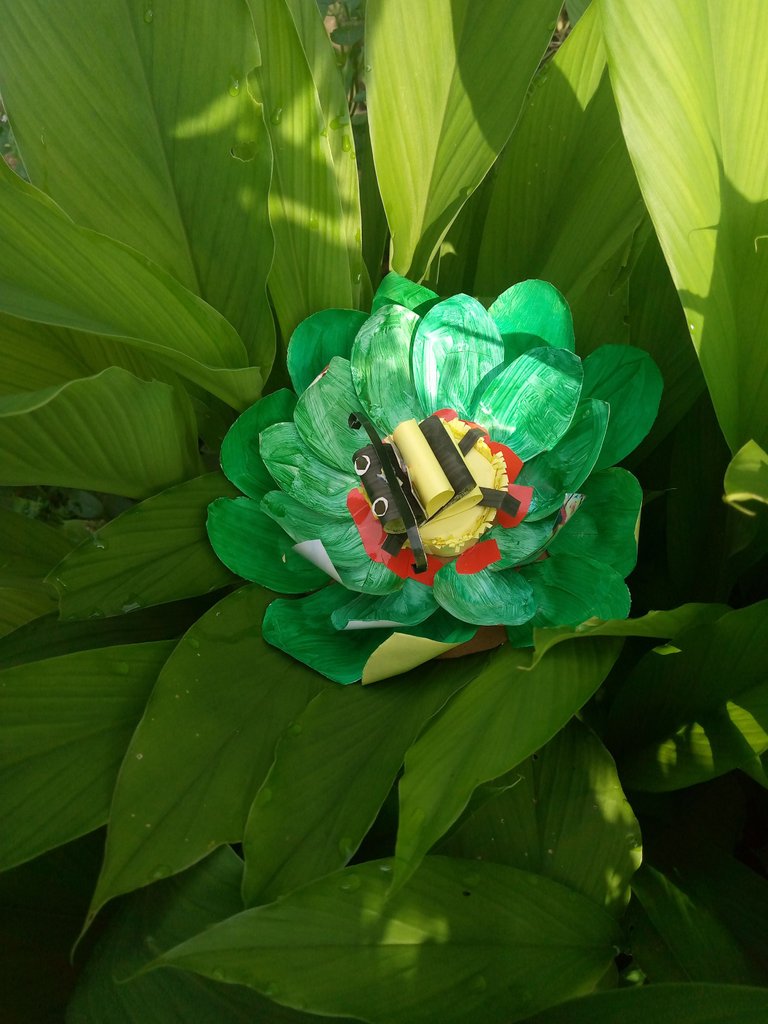
I placed the bee at the centre of my flower and that was it. A queen bee in her flower dynasty. I wanted to give the bee craft a more natural look so I took the craft outside and captured the bee amidst green leaves.
To the a-bee-minations
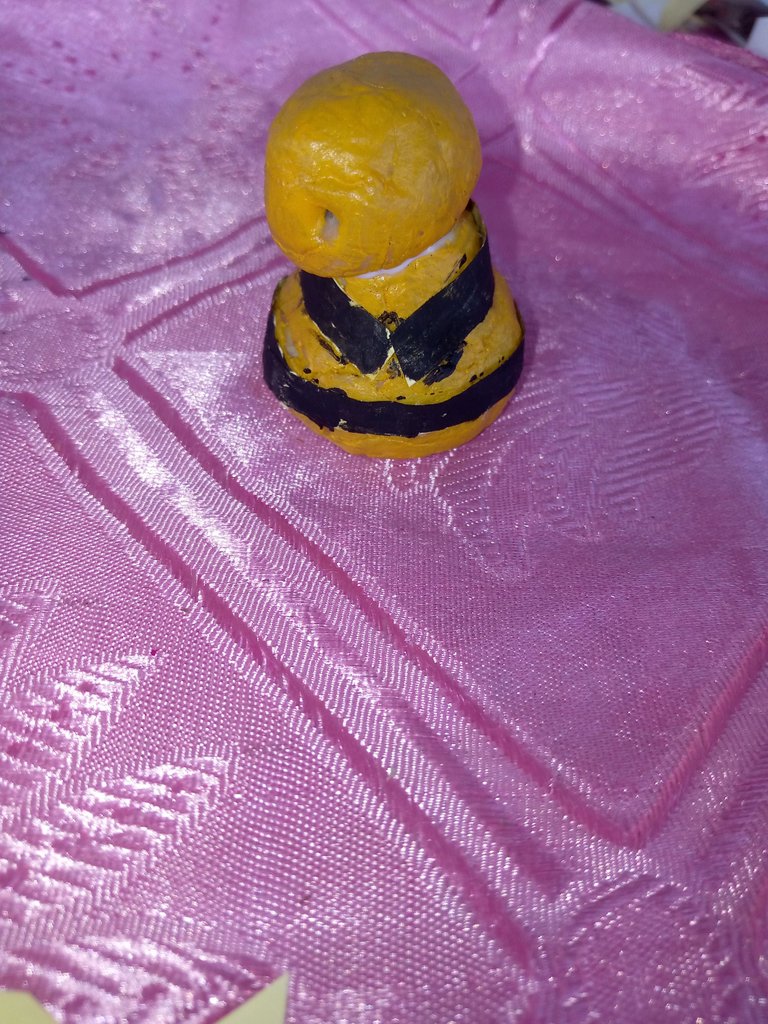
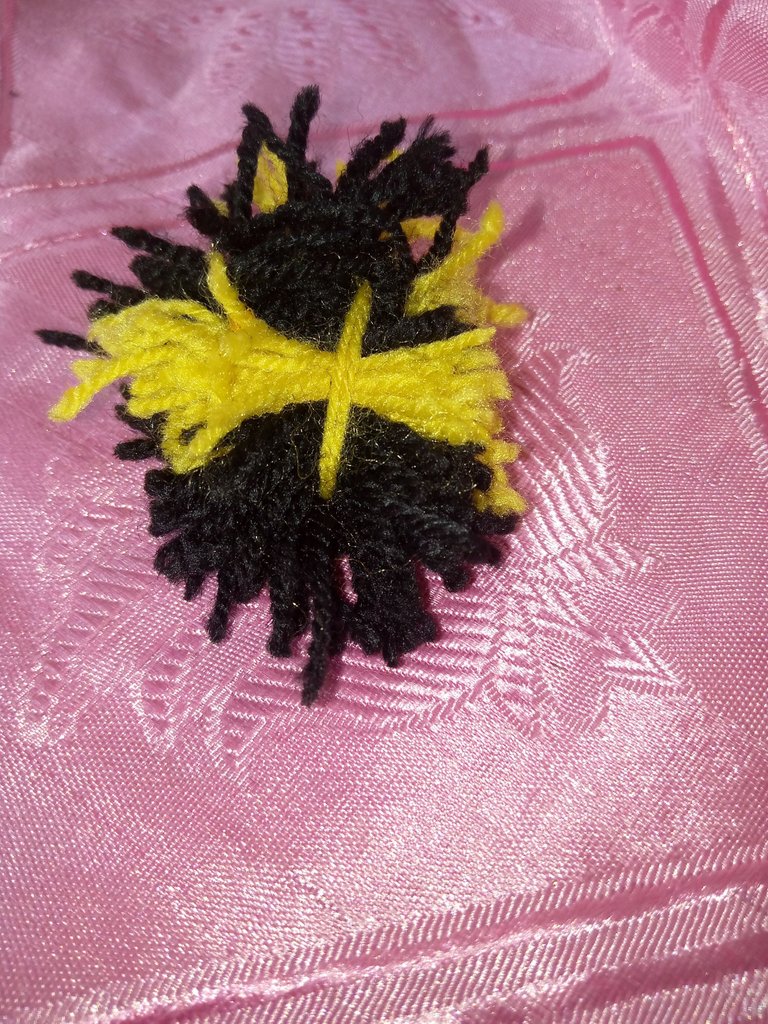
Just incase you were wondering what the a-bee-minations looked like, here they are: The first a-bee-minations was made with homemade white clay and the second was made out of yarns. Too bad they didn't make it out alive. I showed a friend pictures of the a-bee-minations and he couldn't stop laughing,hehe. With this, I concluded my bee crafts. What do you think of the craft?. I would love to hear your suggestions and comments. Thank you for your time. With love, wongi ✨