✨¡Hola amigos amantes de la creatividad! Espero que estén todos bien.✨
🔸Sin más que añadir, a continuación los dejo con el paso a paso:
✨¡Hello friends who love creativity! I hope you are all well.✨
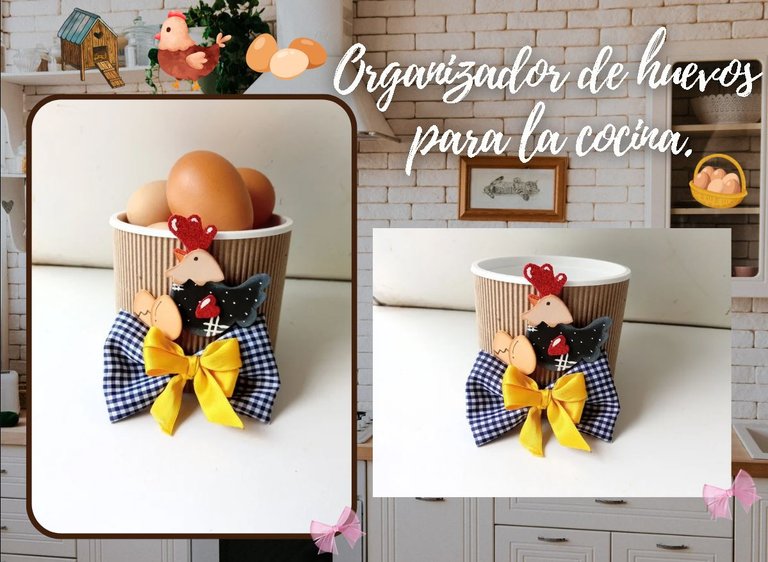
¡Good afternoon, friends of holozing! I hope you are having a great week. For my part, I am happy to stop by here to share a new creation with you. This time I am sharing with you the step-by-step instructions for making a nice egg organizer for the kitchen. Two years ago I made a fairly large egg organizer, which you all really liked, and I wanted to share another idea, this time much smaller, but with enough space for them.
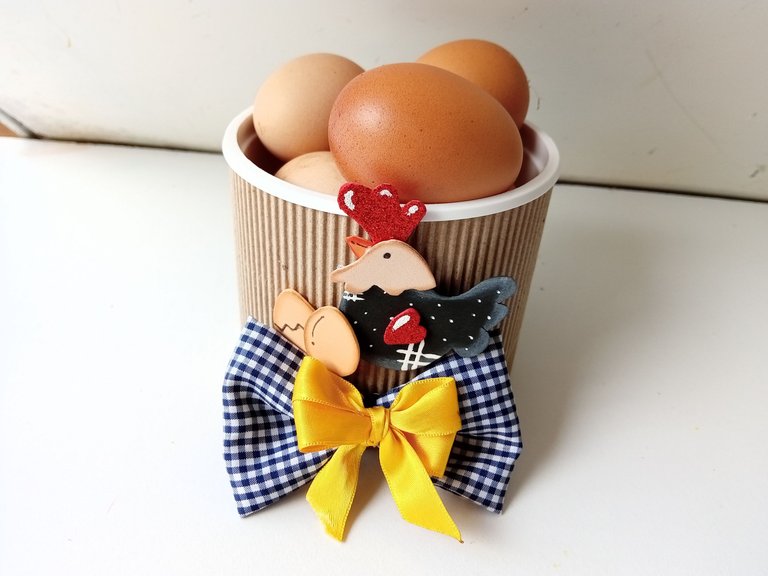
For the decoration I went with the obvious, which was a cute hen with her eggs and a big bow at the bottom. I also used a butter container, to recycle and to make it easier for you to make this or another similar idea.
🔸Without more to add, then I leave you with the step by step:
♥️ESPERO QUE TE GUSTE,
¡Empecemos!
♥️I HOPE YOU LIKE IT,
Let's start!

✂️ MATERIALES | ✂️ MATERIALS

- Envase de mantequilla.
- Cartulina corrugada.
- Foami escarchado rojo.
- Foami negro.
- Foami beige.
- Foami naranja.
- Foami salmón.
- Lazo de tela.
- Pinturas y marcadores.
- Pegamento.
- Hoja blanca.
- Tijeras.
- Lápiz.
- Butter container.
- Corrugated cardboard.
- Red frosted foam.
- Black foam.
- Beige foam.
- Orange foam.
- Salmon foam.
- Fabric ribbon.
- Paints and markers.
- Glue.
- White paper.
- Scissors.
- Pencil.

🌟 PROCEDIMIENTO | 🌟 PROCESS

- PASO 1:
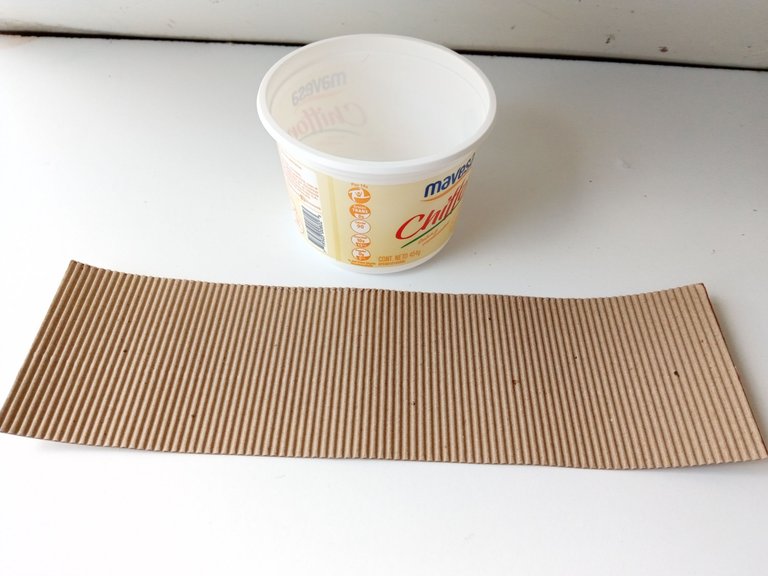
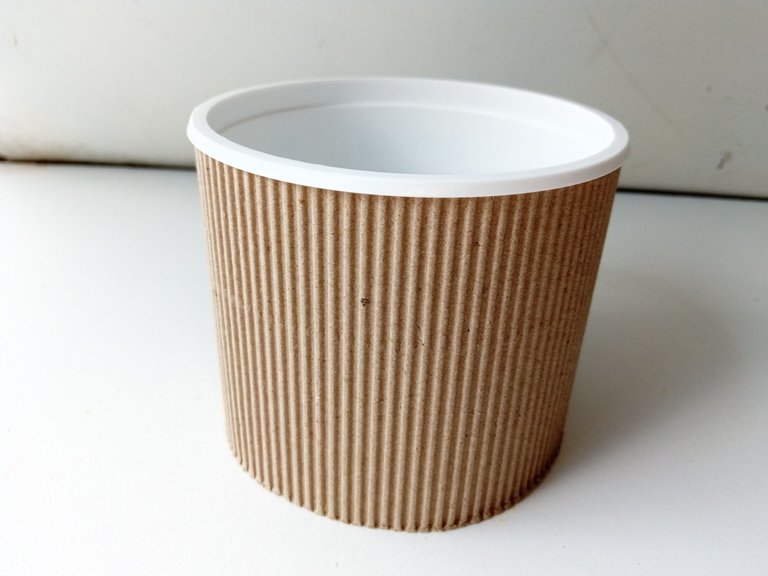
Lo primero que hice fue tomar el envase de mantequilla y en la cartulina corrugada tracé el largo y ancho para cubrir el envase, que en mi caso fueron 37 cm de ancho y aunque de largo era más corto, decidí sumarle 1 cm más, dejándolo a 10 cm de largo. Al recortar, pegué al envase, pero justo por el interior del borde.
- STEP 1:
The first thing I did was take the butter container and on the corrugated cardboard I traced the length and width to cover the container, which in my case was 37 cm wide and although it was shorter in length, I decided to add 1 cm more, leaving it at 10 cm long. When cutting, I glued it to the container, but just inside the edge.


- PASO 2:
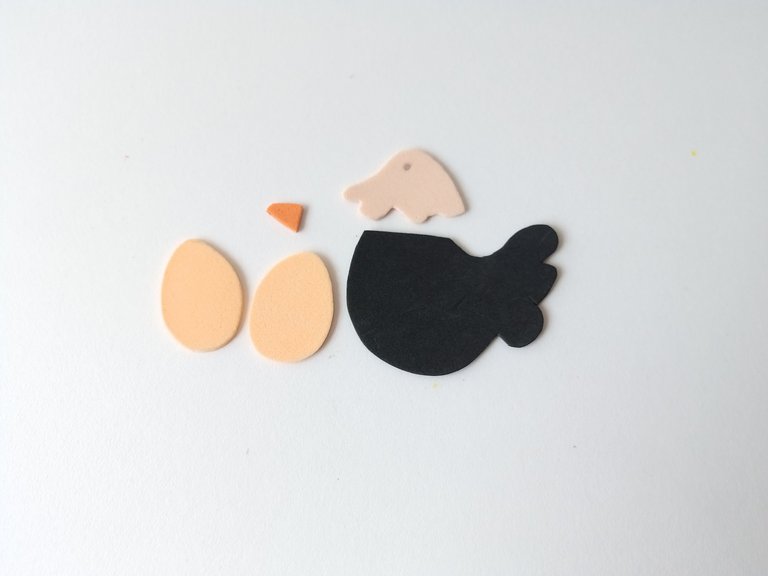
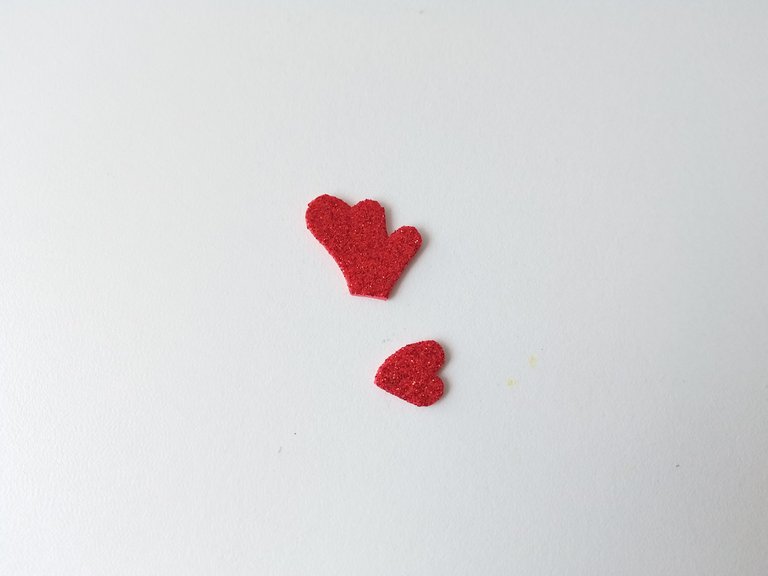
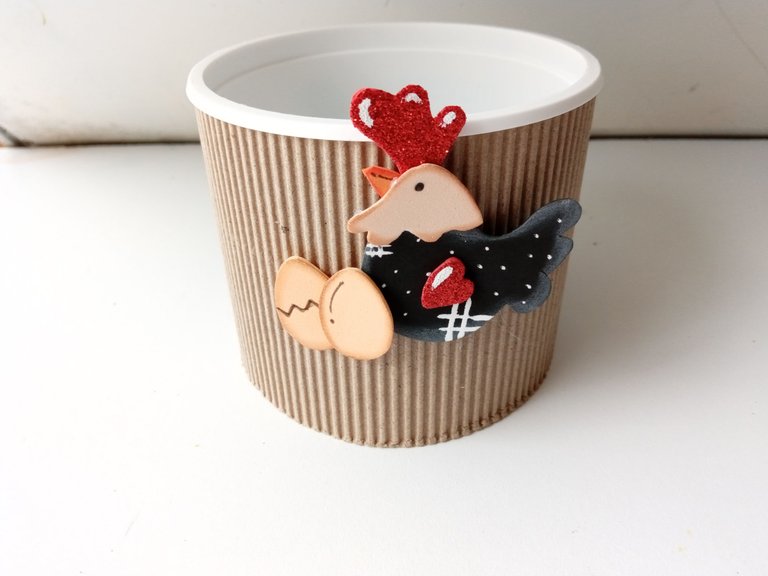
Seguidamente, comencé a elaborar las decoraciones. Así que comencé dibujando el patrón de una gallina (puede ser la de tu preferencia) y también dibujé unos huevos. Luego de tener los patrones listos, los transferí a los colores correspondientes de foami como explico a continuación: cuerpo en foami negro; cabeza en foami beige; pico en foami naranja (pueden utilizar el mismo foami salmón); huevos en foami salmón y crestas en foami escarchado rojo.
- STEP 2:
Next, I began to make the decorations. So I started by drawing the pattern of a hen (it can be the one you prefer) and I also drew some eggs. After having the patterns ready, I transferred them to the corresponding colors of foam as I explain below: body in black foam; head in beige foam; beak in orange foam (you can use the same salmon foam); eggs in salmon foam and crests in red frosted foam.


- PASO 3:
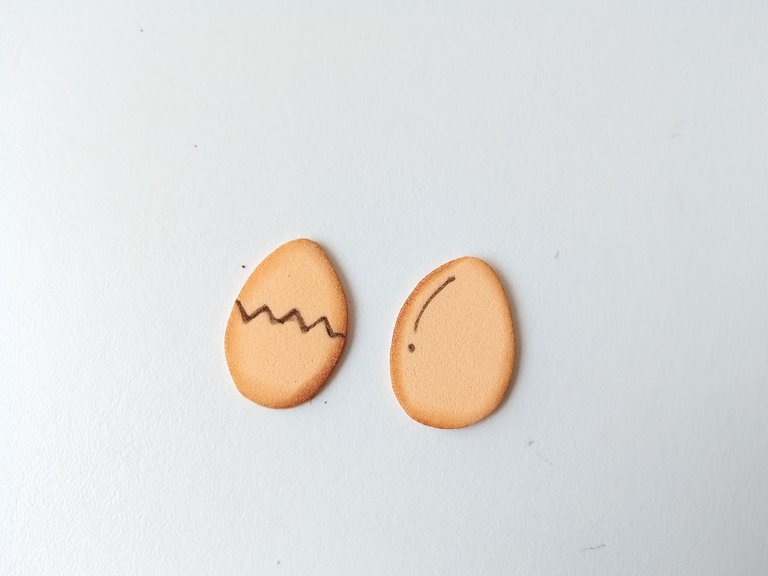
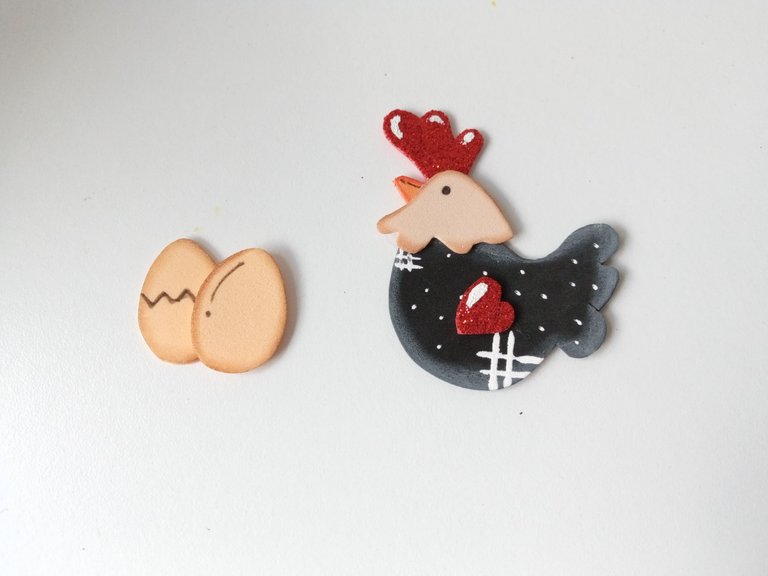
Al tener todas las piezas recortadas, es momento de dar color a los bordes con pinturas que hagan contraste con cada una de las piezas, exceptuando las de foami escarchado. Seguidamente, di más detalles con marcador negro para definir y detalles con pintura blanca para dar luz y dejamos secar. Al estar secas las piezas, pegué las piezas de la gallina y los huevos.
- STEP 3:
Once all the pieces are cut out, it is time to color the edges with paints that contrast with each of the pieces, except for the frosted foam. Next, I added more details with a black marker to define and details with white paint to give light and let it dry. Once the pieces were dry, I glued the chicken and egg pieces.



- PASO 4:
Seguidamente, pegué la decoración al envase, dejando un espacio en la parte superior, donde pegué un lindo lazo, al cual olvidé tomarle foto de cómo lo elaboré, pero simplemente formé el lazo más grande con un trozo de tela, amarré hilo en el centro y pegué en medio un lazo que ya tenía para que este resaltara bastante.
- STEP 4:
Next, I glued the decoration to the container, leaving a space at the top, where I glued a nice bow, which I forgot to take a photo of how I made it, but I simply made the biggest bow with a piece of fabric, tied thread in the center and glued a bow that I already had in the middle so that it stood out quite a bit.

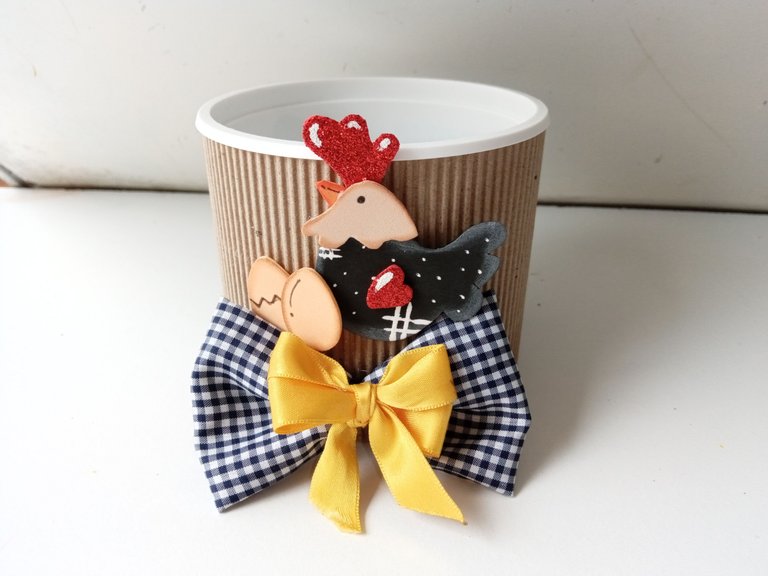

Now you can place the eggs in this pretty organizer, which fits about 10 medium eggs. I really loved this decoration and in my opinion, the corrugated cardboard material gives it a nice look, making it look elegant and expensive haha. I hope you liked the step by step and are encouraged to make it.
❤️Until the next post.

✨RESULTADO: | ✨RESULT:



Todas las fotografías son de mi propiedad.
Separador y Fotos editadas en Canva
All photographs are my property.
Photos edited in Canva


