✨⛄🎄¡Hola amigos amantes de la creatividad! Espero que hayan pasado un muy buen comienzo de semana.🎄⛄✨
🔸Sin más que añadir, a continuación los dejo con el paso a paso:
✨⛄🎄¡Hello friends who love creativity! I hope you had a very good start to the week.🎄⛄✨
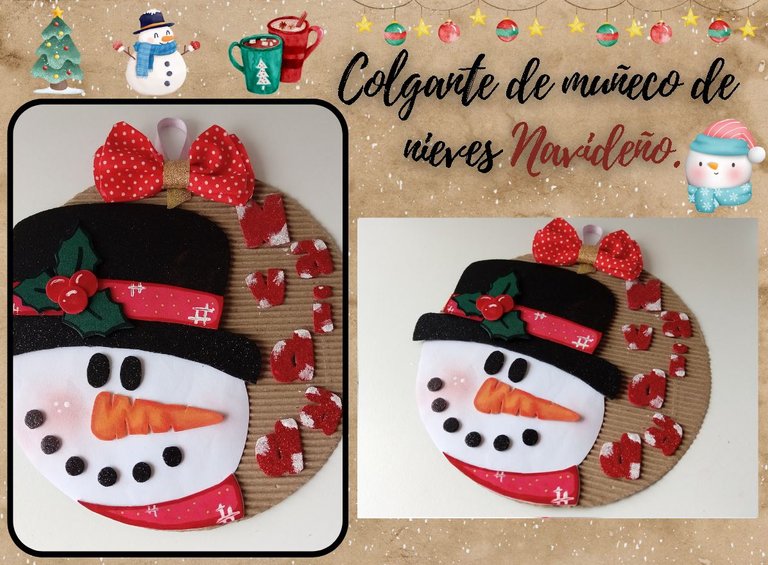
I hope you are doing well and had a nice Monday. On this occasion I share with you the step by step to make a beautiful snowman pendant. That's right friends, we continue with the beautiful Christmas decorations, made with a lot of love and joy, although the weather is not completely cold as it usually is on these dates, since lately it goes from cold to extreme heat, but you can still feel the Christmas atmosphere and the excitement that little by little I am creating new things to decorate the home.
On this occasion I wanted to make this beautiful snowman pendant, for those who follow my posts you will know that I love pendants and I couldn't miss one of these dates. I have been very happy with the results of my creations in recent months, as I have noticed a great improvement.
🔸Without more to add, then I leave you with the step by step:
♥️ESPERO QUE TE GUSTE,
¡Empecemos!
♥️I HOPE YOU LIKE IT,
Let's start!

🎄 MATERIALES | 🎄 MATERIALS

- Cartulina corrugada marrón.
- Cartulina blanca.
- Foami escarchado:
Negro y rojo. - Foami verde, rojo,
naranja. - Cinta delgada.
- Lazo.
- Pinturas, Marcadores y
tizas. - Pegamento.
- Hoja.
- Tijeras.
- Lápiz.
- Brown corrugated cardboard.
- White cardboard.
- Frosted foam:
Black and red. - Foami green, red,
orange. - Thin tape.
- Ribbon.
- Paints, Markers and
chalks. - Glue.
- Sheet.
- Scissors.
- Pencil.

🎄 PROCEDIMIENTO | 🎄 PROCESS

- PASO 1:
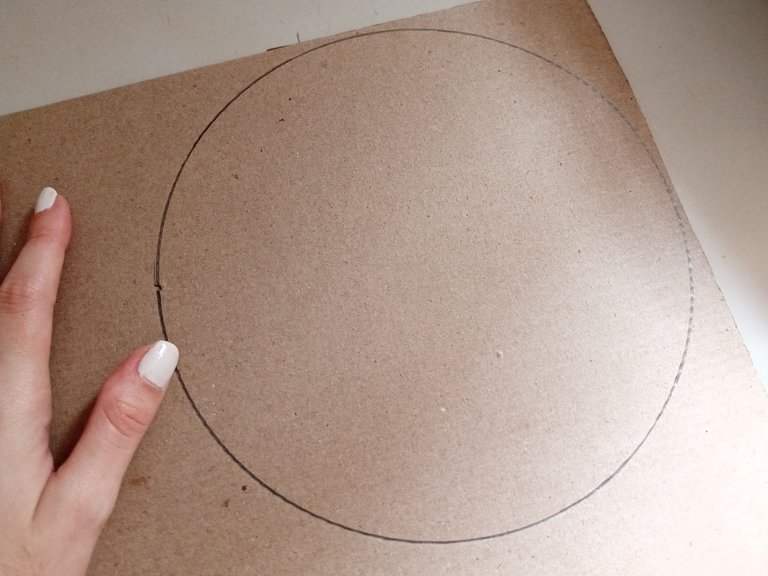
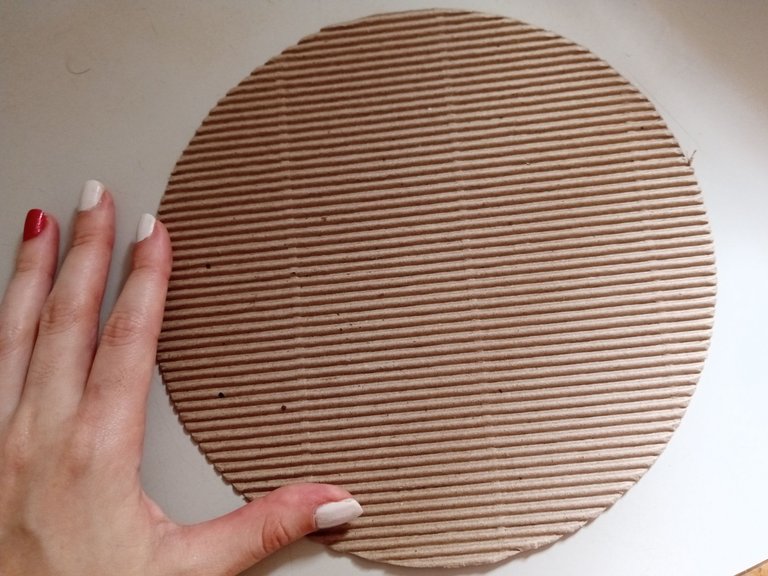
Lo primero que hice fue trazar un círculo en la cartulina corrugada marrón, en mi caso, para hacer el círculo me ayudé con un plato pequeño y recorté.
- STEP 1:
The first thing I did was draw a circle on the brown corrugated cardboard, in my case, to make the circle I helped myself with a small plate and cut out.


- PASO 2:
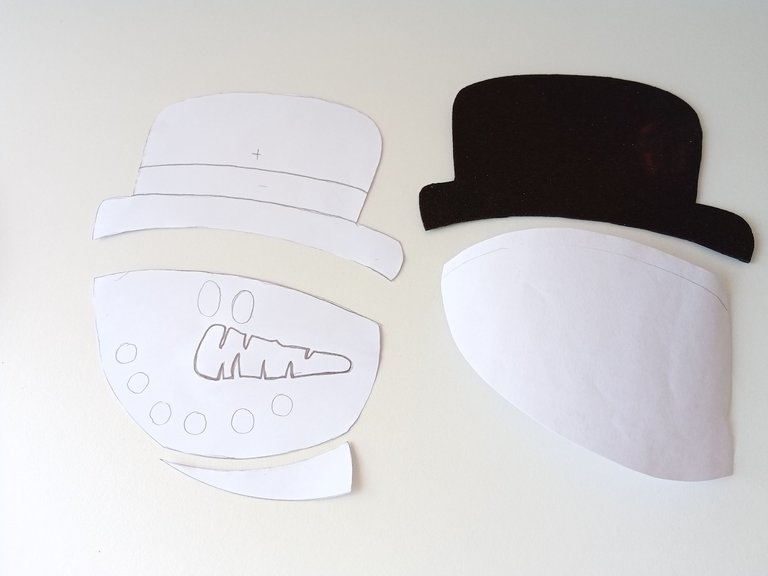
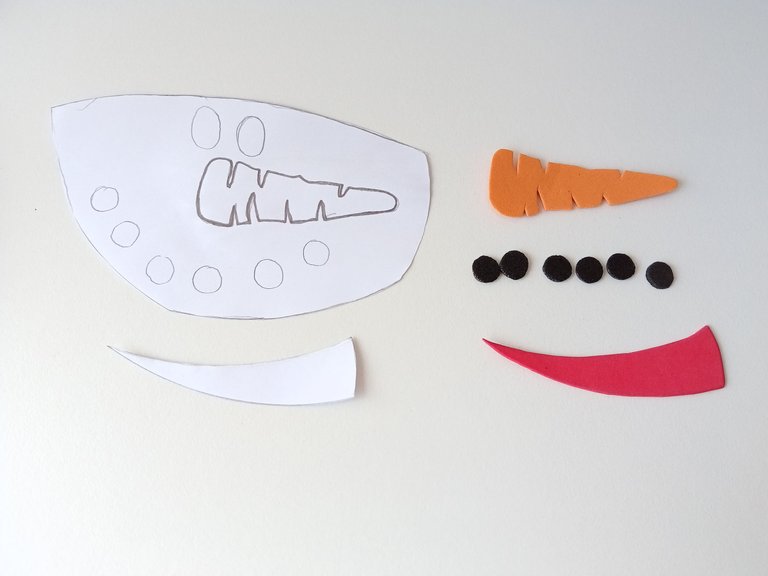
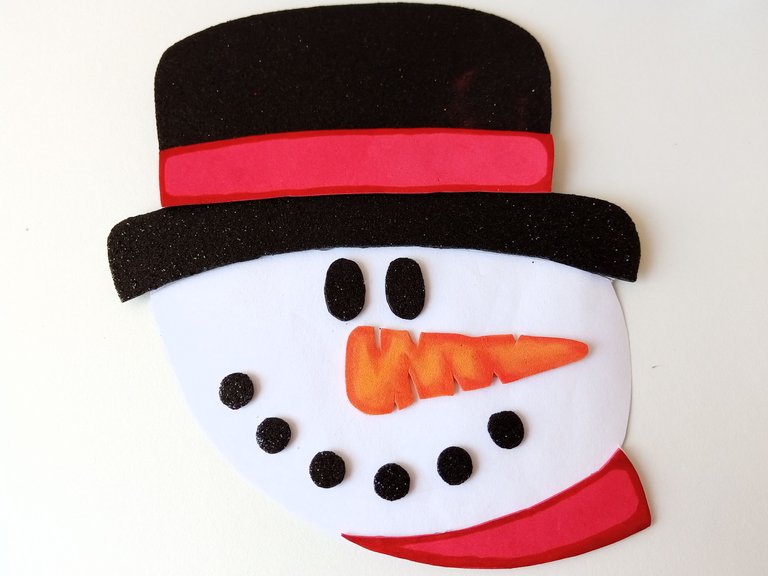
Como quería hacer el muñeco de nieves como si se estaba asomando pegado de la orilla del círculo y siguiendo esta forma. Así que hice el dibujo y recorté. Una vez listo pase cada pieza al color de foami correspondiente; la cabeza en cartulina blanca, el sombrero en foami negro escarchado. Para las partes del rostro utilicé naranja, negro escarchado, para la tira del sombrero y la bufanda en rojo.
- STEP 2:
How I wanted to make the snowman as if he were sticking out from the edge of the circle and following this shape. So I made the drawing and cut out. Once ready, transfer each piece to the corresponding foam color; the head in white cardboard, the hat in frosty black foam. For the parts of the face I used orange, frosty black, for the hat strip and the scarf in red.


- PASO 3:
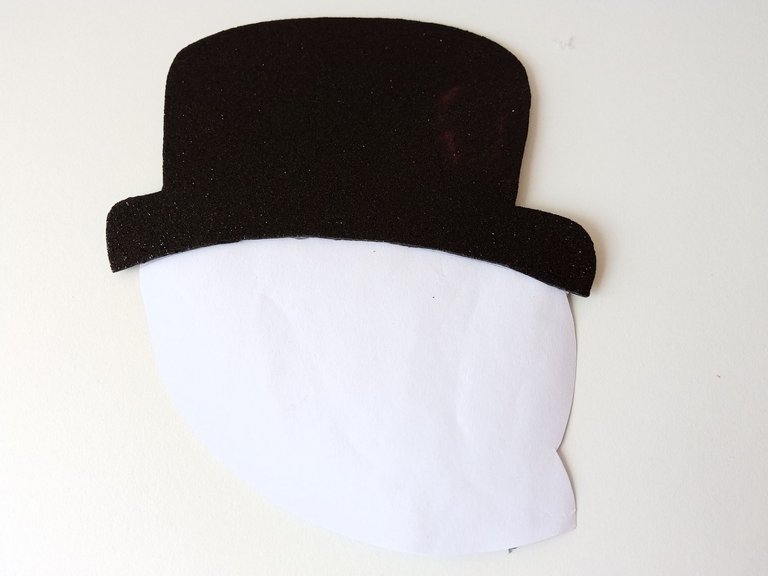
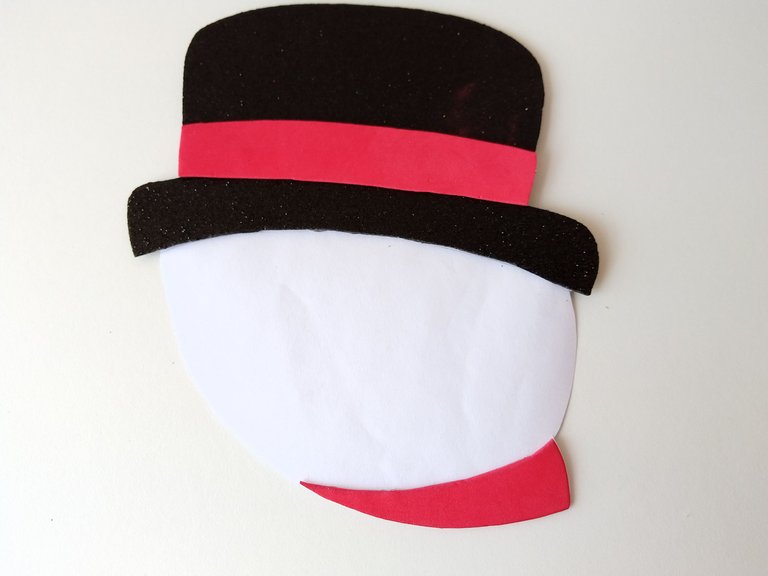
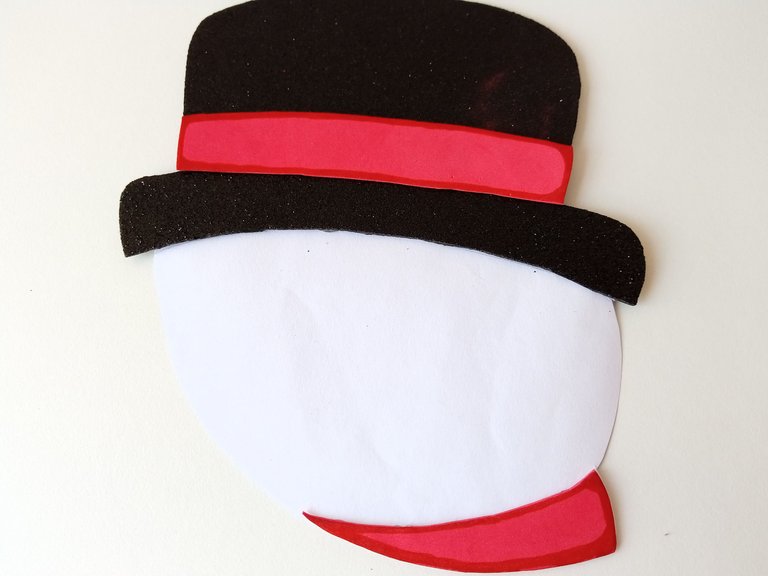
Una vez listas todas las piezas, comencé a pegar. Todo lo pegué en orden, primero la cabeza, el sombrero con su tira roja y la bufanda. A la parte de la tira y la bufanda, les pasé por el borde marcador rojo.
- STEP 3:
Once all the pieces were ready, I started gluing. I glued everything in order, first the face, the hat with its red strip and the scarf. For the strip and scarf part, I ran red marker along the edge.


- PASO 4:
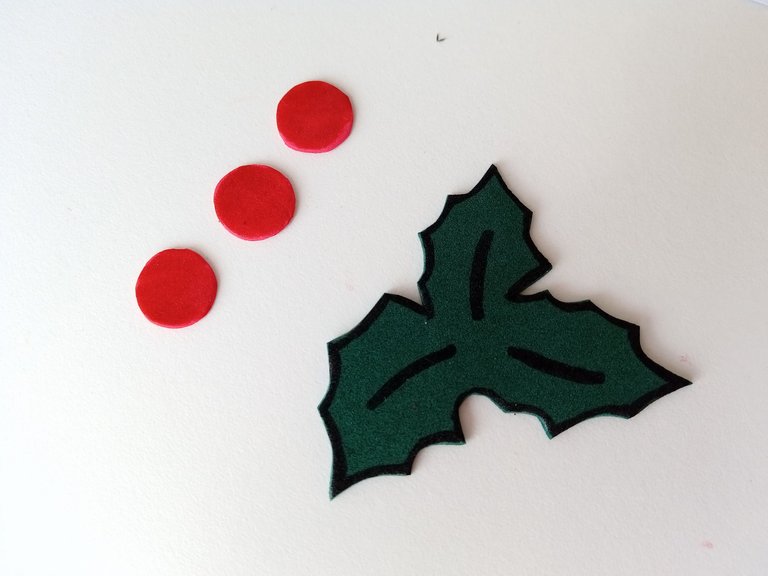
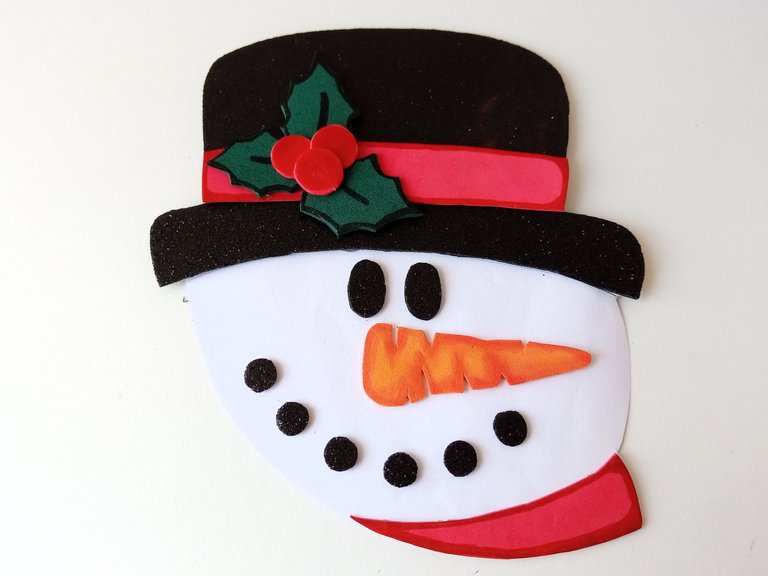
Luego, para la nariz de zanahoria, le pasé tiza de un tono naranja más oscuro por el borde y lo pegué en el lugar correspondiente junto con el resto del rostro. Para darle un toque más bonito al sombrero, dibujé una planta típica navideña, así que hice 3 hojas unidas y 3 círculos, le pasé marcador negro por el borde y diseño de las hojas y pegué del sombrero junto con los 3 círculos en medio de las hojas.
- STEP 4:
Then, for the carrot nose, I ran darker orange chalk along the edge and glued it in place along with the rest of the face. To give the hat a prettier touch, I drew a typical Christmas plant, so I made 3 joined leaves and 3 circles, I ran a black marker along the edge and design of the leaves and glued the hat together with the 3 circles in the middle of the leaves.


- PASO 5:
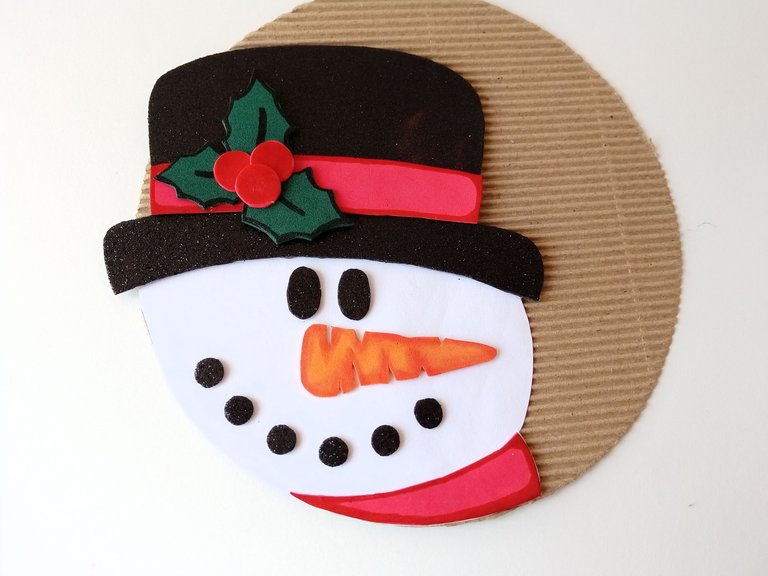
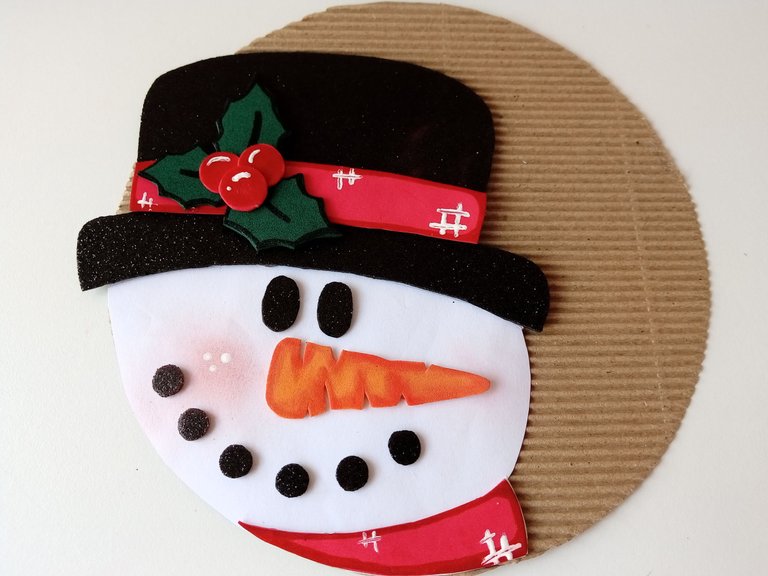
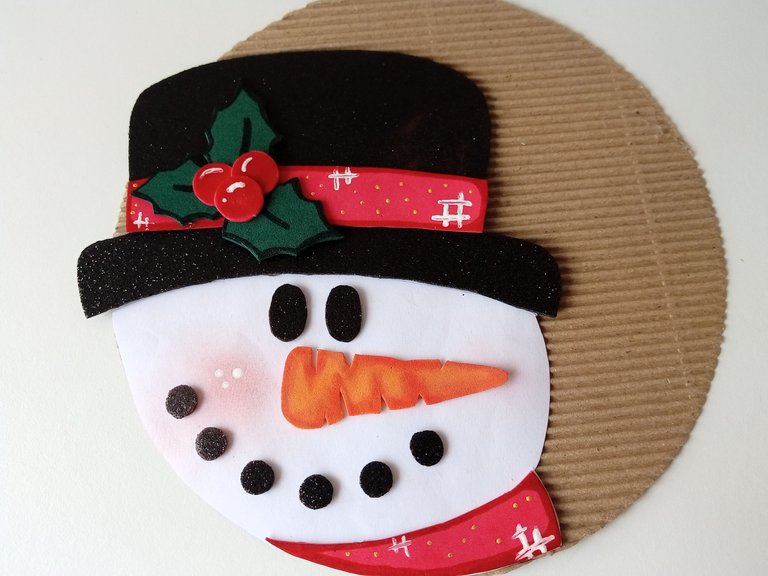
Una vez listo el muñeco de nieves, lo pequé justo del lado izquierdo de la base, siguiendo la forma circular. Luego, con pintura blanca y un pincel delgado, dibujé como un signo de numeral en algunas partes de la bufanda y la tira del sombrero con distancia. También, aproveche de pintar la mejilla con tiza y unos puntos de luz con pintura blanca, al igual que a los círculos rojos de la planta. Una vez seco, con mucho cuidado, pinté puntos pequeños con pintura dorada en la tira del sombrero y bufanda.
- STEP 5:
Once the snowman was ready, I glued it right on the left side of the base, following the circular shape. Then, with white paint and a thin brush, I drew like a pound sign on some parts of the scarf and the hat band with distance. Also, take advantage of painting the cheek with chalk and some light spots with white paint, as well as the red circles on the plant. Once dry, I very carefully painted small dots with gold paint on the strip of the hat and scarf.


- PASO 6:
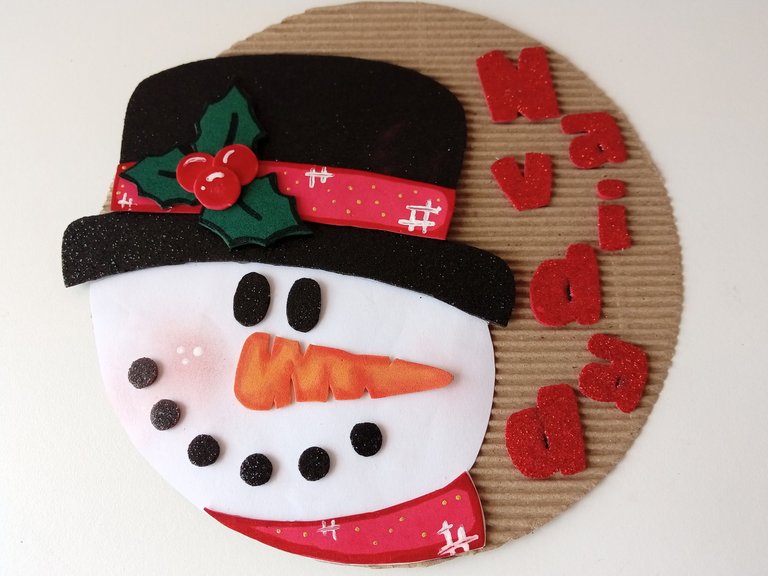
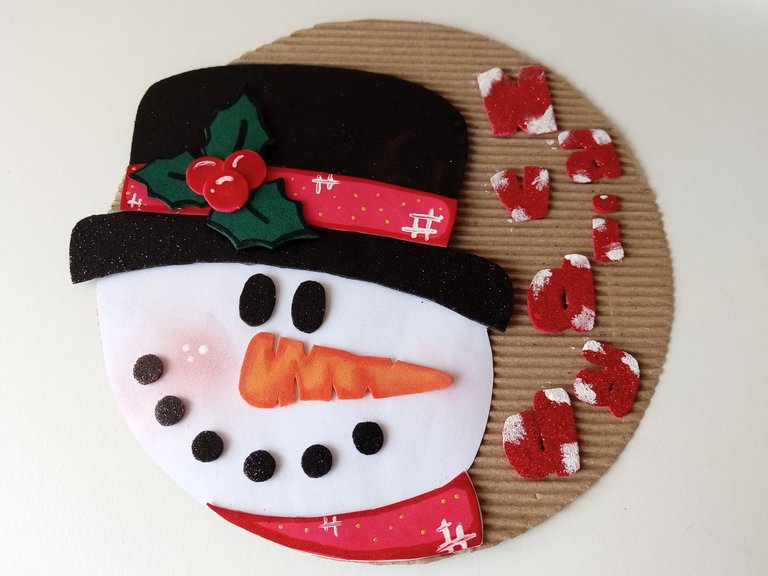
Mientras se secaba, dibujé y recorté la palabra ‘‘NAVIDAD’’ en foami escarchado rojo. Una vez seco el muñeco de nieves, pegué la palabra NAVIDAD en forma vertical pero un poco desordenada del lado derecho o el espacio vacío del resto de la base. Luego, con pintura blanca, pinté algunas partes de las letras con pintura blanca, como si fuera nieve.
- STEP 6:
While it was drying, I drew and cut out the word “CHRISTMAS” in red frosted foam. Once the snowman was dry, I glued the word CHRISTMAS vertically but a little messily on the right side or the empty space of the rest of the base. Then, using white paint, I painted some parts of the letters with white paint, like snow.



- PASO 7:
Una vez seco, pegué en la parte superior un lazo que tenía guardado hace tiempo y recorté un trozo de tira, doble a la mitad, y pegué en la parte de atrás de la base, para que pudiera colgar la decoración.
- STEP 7:
Once dry, I glued a bow that I had saved a long time to the top and cut out a piece of strip, folded it in half, and glued it to the back of the base, so I could hang the decoration.

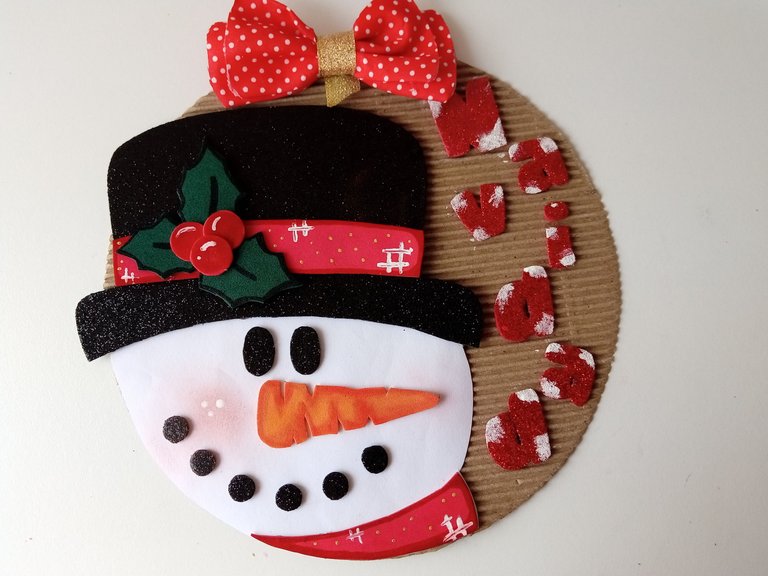
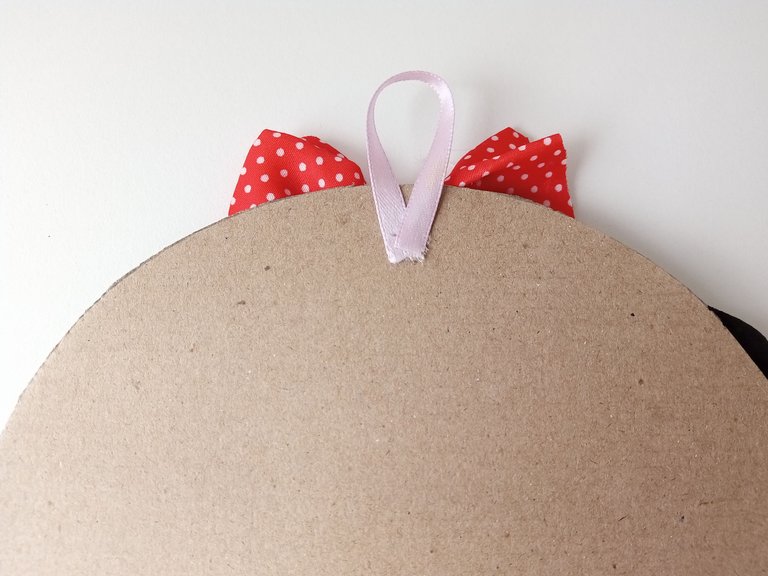

✨¡And ready!✨ By following this step by step you can make a beautiful Christmas-themed hanging, either this one or with the design you want. I think it's a nice idea to hang on a wall where the tree is going to go or make it a much larger size and hang it on the front door. I hope you liked it and are encouraged to make it.
❤️Until the next post.

✨RESULTADO: | ✨RESULT:

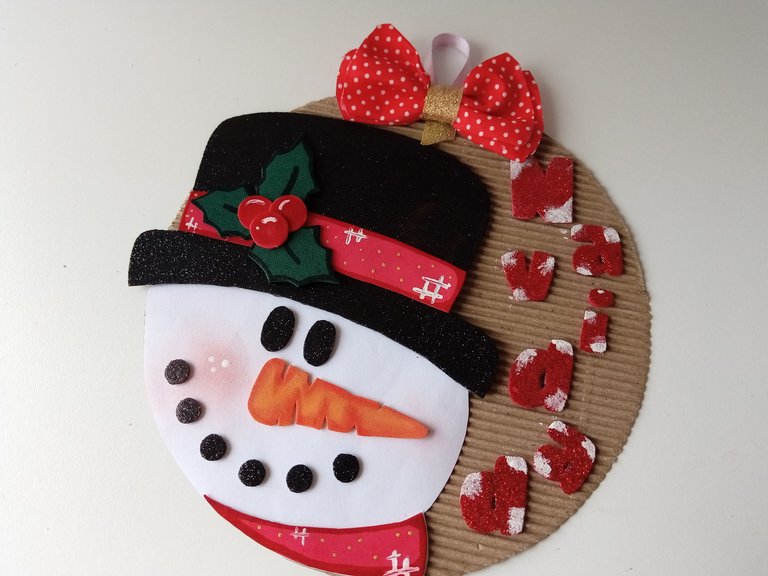


Todas las fotografías son de mi propiedad.
Separador y Fotos editadas en Canva
All photographs are my property.
Photos edited in Canva
