✨✏️¡Hola amigos amantes de la creatividad! Espero que hayan pasado un muy buen comienzo de semana.✏️✨
🔸Sin más que añadir, a continuación los dejo con el paso a paso:
✨✏️¡Hello friends who love creativity! I hope you had a very good start to the week.✏️✨
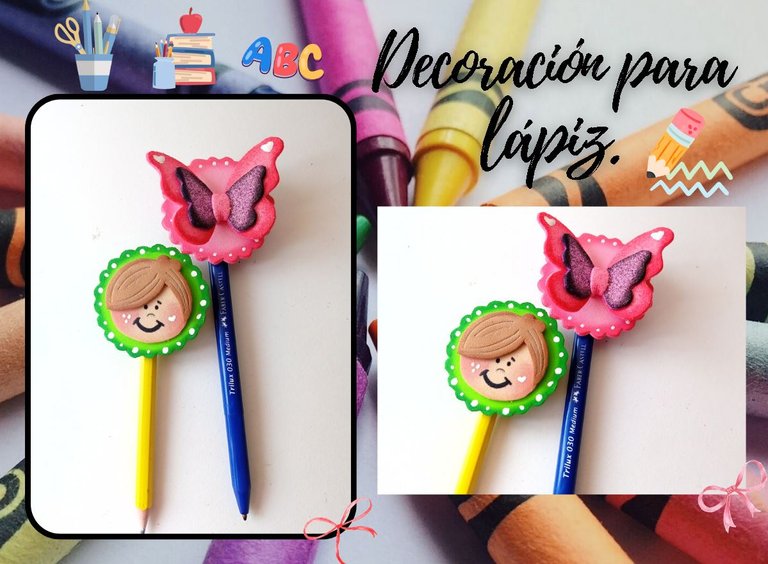
Good afternoon friends. I hope you are having a great week. Today I share with you the step by step to make some ideas for pencil decoration. I haven't shared decorations for pencils or pens with you in a while and it's about time. I admit that I love making this type of decoration, since you can get creative and make it with the theme of your choice, even making a personalized doll and, the best thing is that it does not require a large amount of materials.
Usually, I make decorations with different themes, but this time I wanted to make an idea for a boy and another for a girl. Of course, if you are an adult, you can also use these cute decorations.
🔸Without more to add, then I leave you with the step by step:
♥️ESPERO QUE TE GUSTE,
¡Empecemos!
♥️I HOPE YOU LIKE IT,
Let's start!

✂️ MATERIALES | ✂️ MATERIALS

👦🏻 Decoración del niño:
- Foami marrón, piel y verde.
- Foami metalizado dorado.
🦋Decoración de mariposa:
- Foami escarchado morado y rosa.
- Foami metalizado dorado.
- Foami rosa.
✂️General:
- Hoja blanca.
- Pegamento.
- Pinturas o marcadores.
- Lápiz.
- Regla.
- Tijeras.
👦🏻 Boy's decoration:
- Brown, skin and green foami.
- Gold metallic foam.
🦋Butterfly decoration:
- Purple and pink frosty foam.
- Gold metallic foam.
- Pink foam.
✂️General:
- White sheet.
- Glue.
- Paints or markers.
- Pencil.
- Ruler.
- Scissors.

✏️ PROCEDIMIENTO | ✏️ PROCESS

- PASO 1:
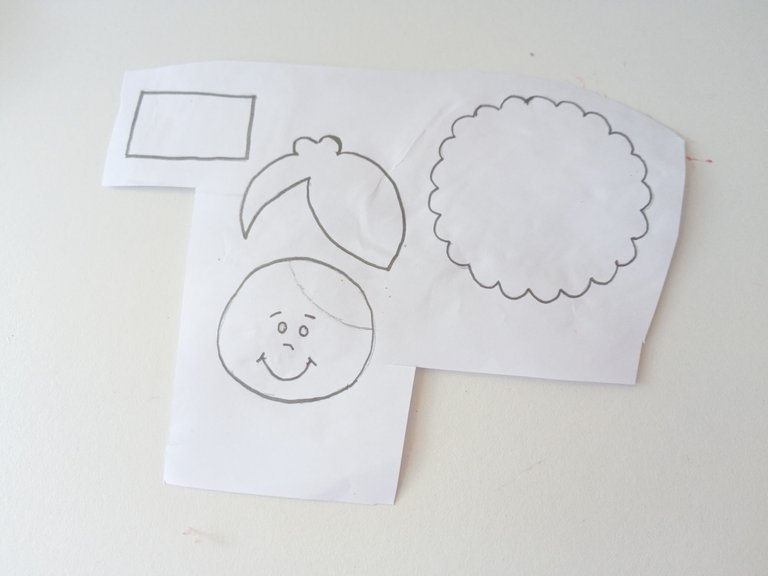
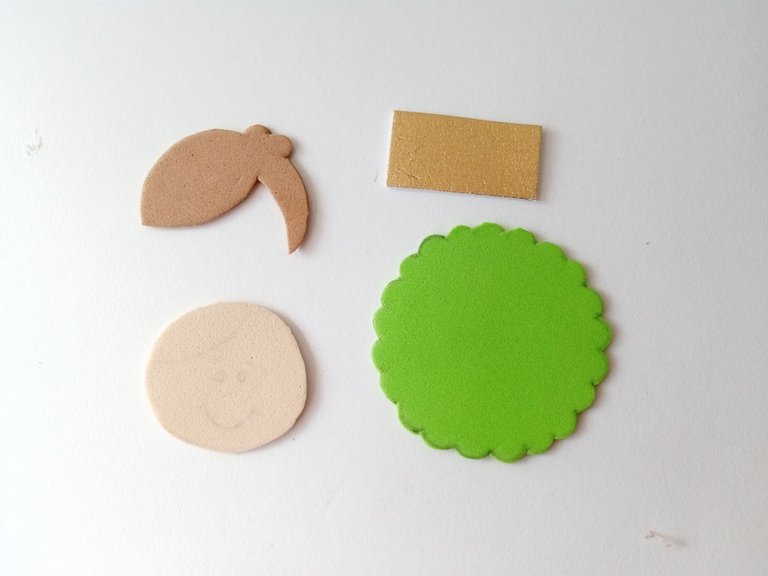
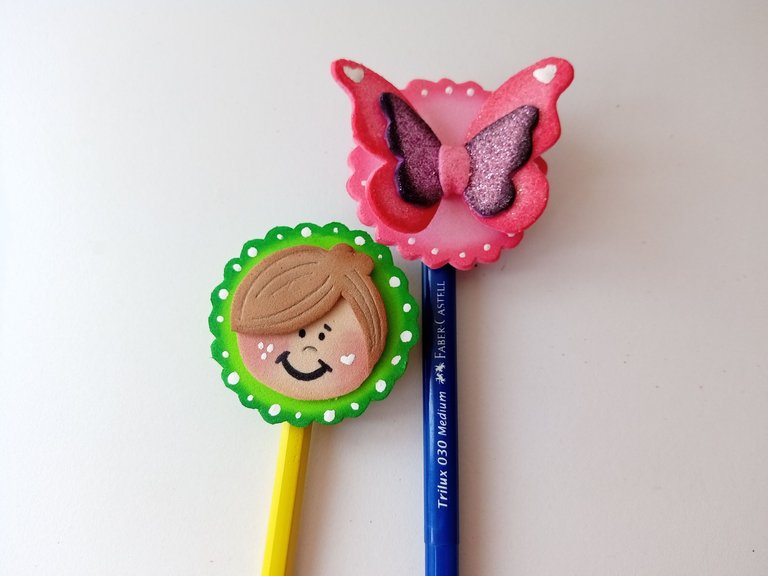
Como son dos ideas decidí comenzar por el del niño, así que comencé dibujando el patrón en una hoja blanca y luego lo transferí a los colores correspondientes de foami, como a continuación: para la cabeza de 3.5 cm en color piel, para el cabello marrón, para el fondo circular de 5.5 cm en color verde y para forrar el lápiz un rectángulo de 2 cm en foami metalizado dorado. Recorté todas las piezas y continuamos.
- STEP 1:
Since there are two ideas, I decided to start with the child's, so I started by drawing the pattern on a white sheet and then transferred it to the corresponding colors of foam, as a continuation: for the 3.5 cm head in skin color, for the brown hair, for the 5.5 cm circular background in green and to cover the pencil a 2 cm rectangle in gold metallic foam. I cut out all the pieces and we continued.


- PASO 2:
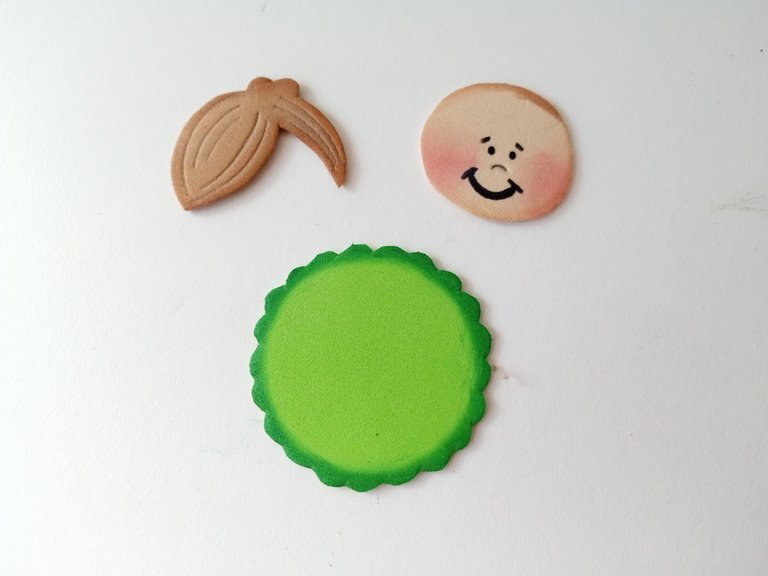
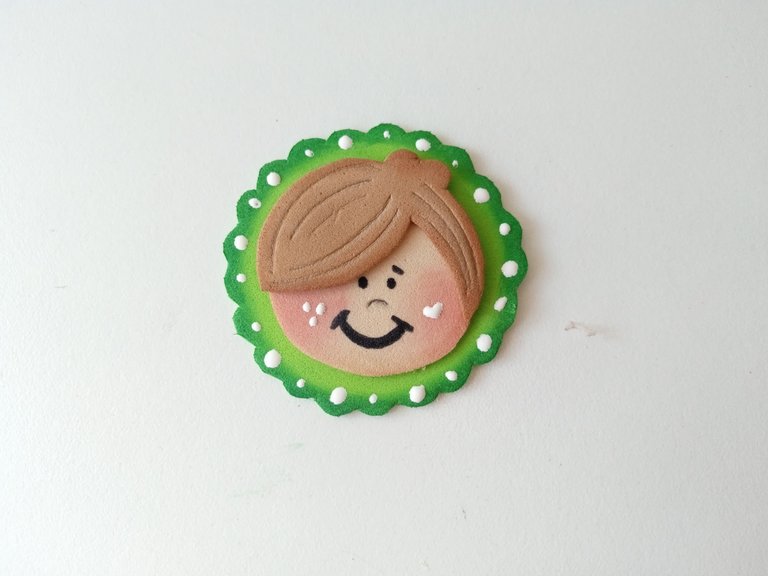
Al tener todas las piezas listas, tomé un color de pintura líquida más oscura que cada uno de los colores y envolviendo un pañito en mi dedo índice, lo pasé por todo el borde. Luego, di detalles al cabello con el lápiz, dibujé el rostro y pinté las mejillas. Luego, armé las piezas y las pegué al fondo verde. También, hice puntos blancos al fondo y a las mejillas.
- STEP 2:
Having all the pieces ready, I took a color of liquid paint darker than each of the colors and wrapping a cloth around my index finger, I ran it along the entire edge. Then, I gave details of the hair with the pencil, drew the face and painted the cheeks. Then, I put the pieces together and glued them to the green background. Also, I made white dots on the bottom and cheeks.


- PASO 3:
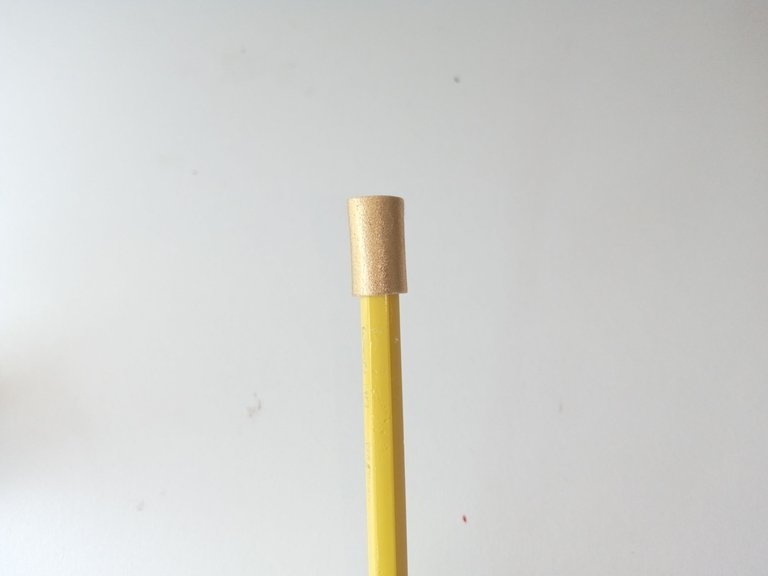
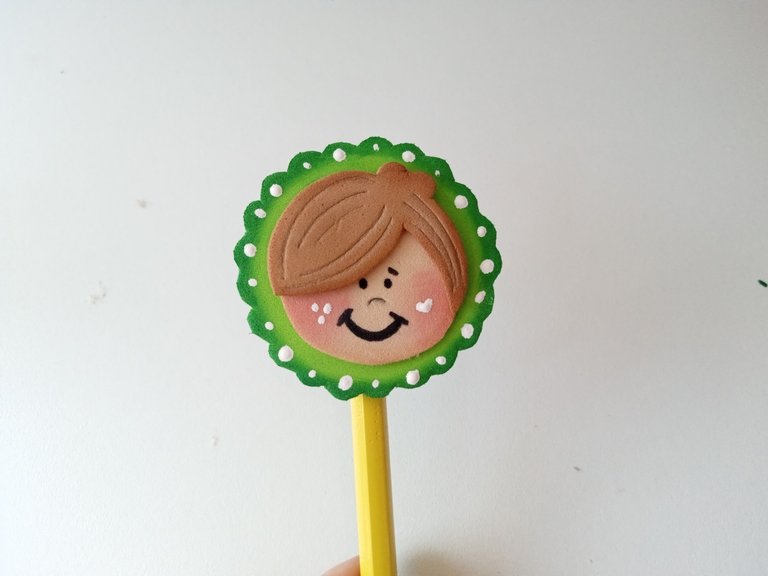
Por último, forré la parte superior del lápiz con el rectángulo metalizado dorado y para cubrir la unión pegué en el centro la decoración del niño.
- STEP 3:
Finally, I lined the top of the pencil with the gold metallic rectangle and to cover the joint I glued the child's decoration in the center.


- PASO 4:
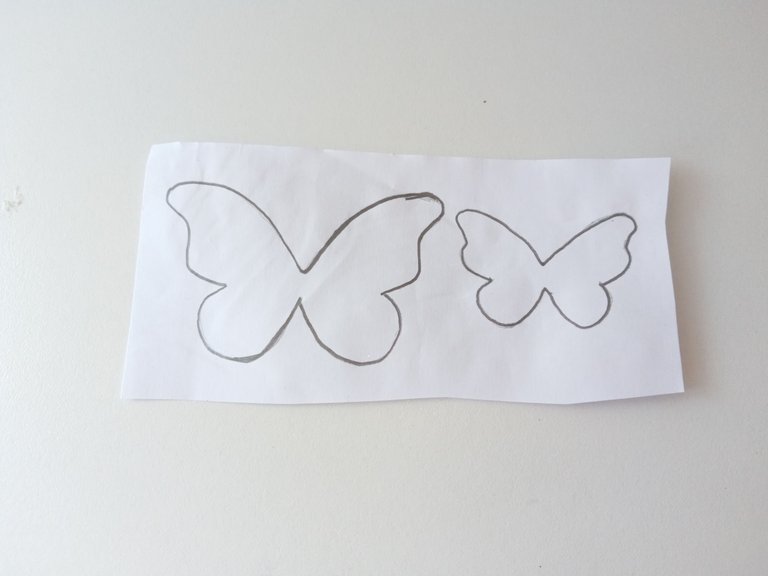
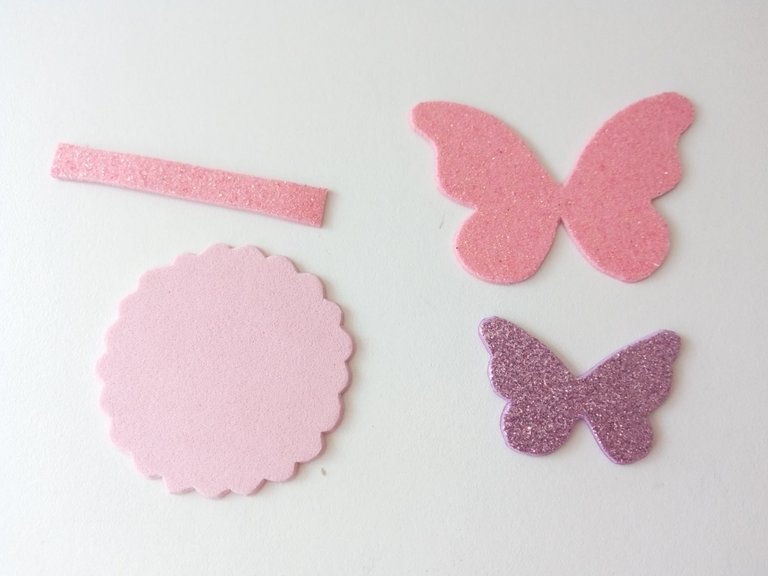
Ahora vemos con la mariposa que a la vez es un lazo jeje. Dibujé el patrón en una hoja blanca y luego lo transferí a los colores correspondientes de foami, utilizando los siguientes colores y medidas: la mariposa más grande de 6.5 cm en foami rosa escarchado, la mariposa más pequeña de 4.5 cm en foami escarchado morado, para el fondo circular de 5.5 cm en color rosado, para unir las piezas una tira delgada en foami rosa escarchado y para forrar el lápiz un rectángulo de 2 cm en foami metalizado dorado. Recorté todas las piezas y seguimos.
- STEP 4:
Now we see with the butterfly that it is also a bond hehe. I drew the pattern on a white sheet and then transferred it to the corresponding colors of foami, using the following colors and measurements: the largest butterfly of 6.5 cm in frosty pink foami, the smallest butterfly of 4.5 cm in frosty purple foami, to the 5.5 cm circular background in pink, to join the pieces a thin strip in frosty pink foam and to cover the pencil a 2 cm rectangle in gold metallic foam. I cut out all the pieces and we continued.


- PASO 5:
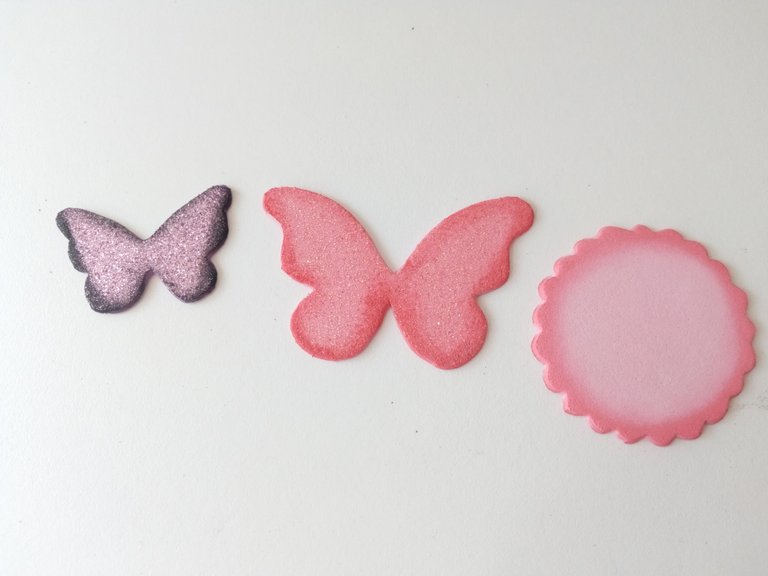
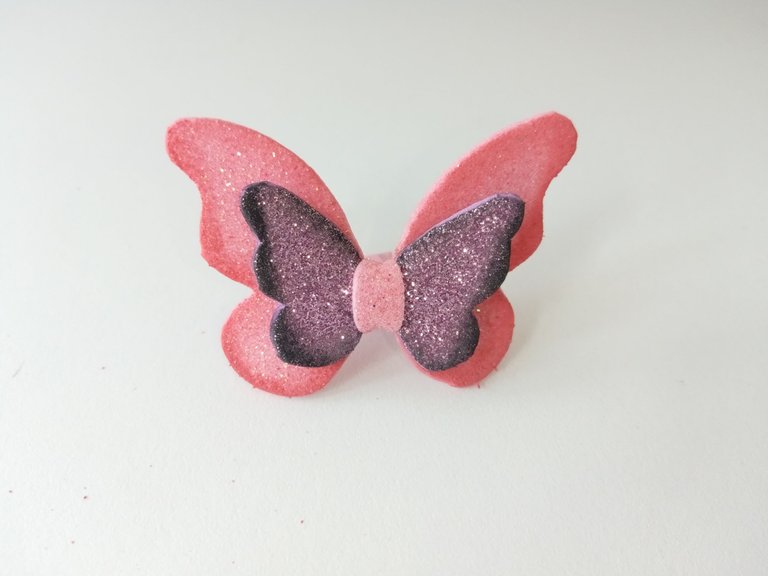
Tomé los colores de pintura un tono más oscuro que cada pieza y la pasé por el borde de cada una de las piezas, menos la tira del centro y el forro del lápiz. Luego, uní las mariposas y en medio pegué la tira delgada.
- STEP 5:
I took the paint colors one shade darker than each piece and ran it along the edge of each of the pieces, minus the center strip and the pencil liner. Then, I joined the butterflies and glued the thin strip in the middle.


- PASO 6:
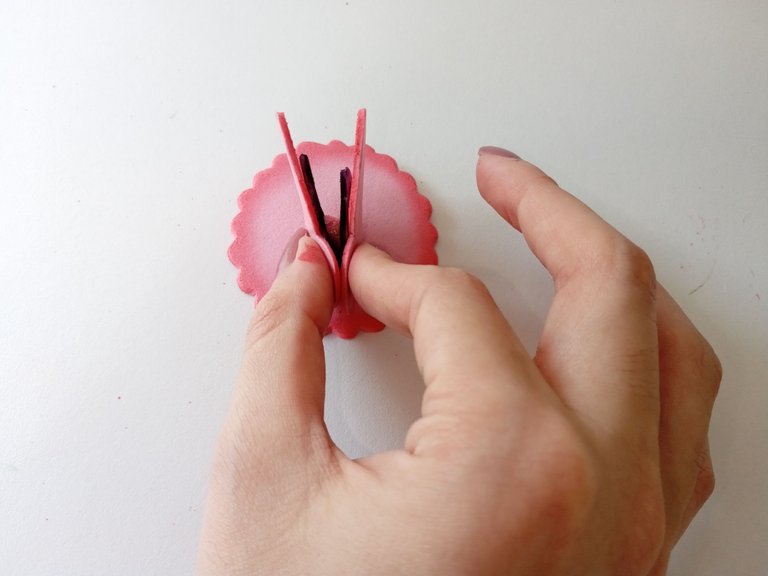
Después, pegué las mariposas en medio del fondo rosado, mientras juntaba las alas para que, al soltarlas, estas se quedaran un poco abiertas. Por último, di detalles al fondo con puntos blancos y a las alas más grandes les hice un corazón en las puntas. Forré el lápiz con el rectángulo dorado y pegué la decoración en medio.
- STEP 6:
Then, I glued the butterflies in the middle of the pink background, while putting the wings together so that, when released, they would remain a little open. Finally, I gave details to the background with white dots and I made a heart on the tips of the largest wings. I lined the pencil with the gold rectangle and glued the decoration in the middle.

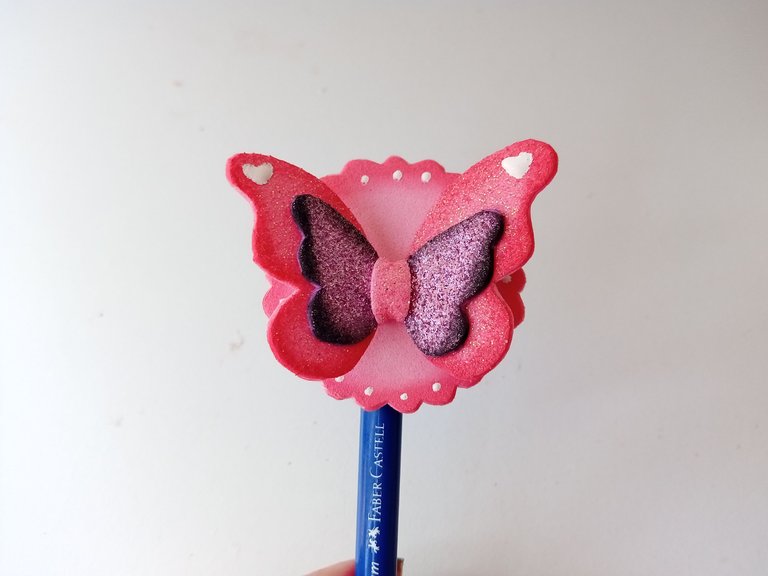

✨✏️🦋¡And ready!✏️🦋✨This is how you can make these decorations for your pencils or pens. Also, you can take the idea, get inspired and create the decoration you want. I love making this type of decorations because they are very small and I see them as much more tender. I hope you liked the step by step and are encouraged to make it.
❤️Until the next post.

✨RESULTADO: | ✨RESULT:



Todas las fotografías son de mi propiedad.
Separador y Fotos editadas en Canva
All photographs are my property.
Photos edited in Canva


