✨🦌🎅🎁¡Hola amigos amantes de la creatividad! Espero que hayan pasado un muy buen comienzo de semana.🎁🎅🦌✨
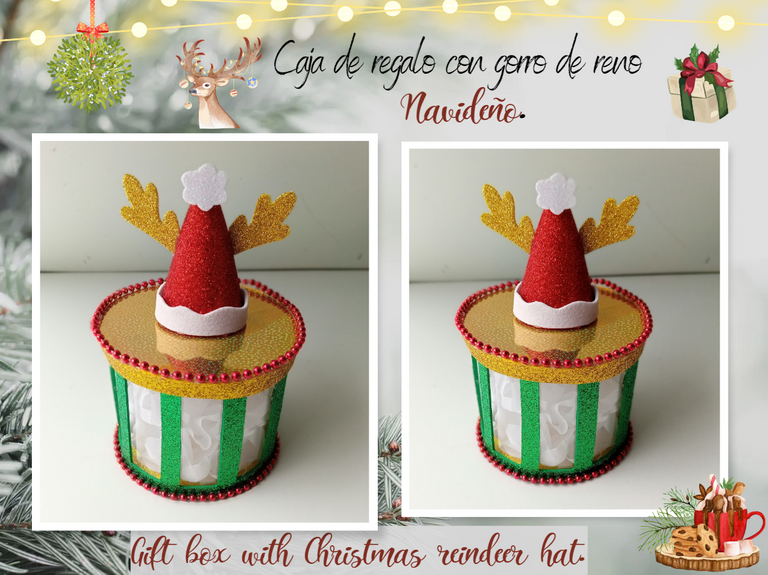
Aquí sigo creando cositas nuevas para estas navidades, en esta ocasión pensando más en dónde guardar los regalitos, es por eso, que decidí hacer una cajita navideña con un gorrito de reno y con material reciclado que siempre nos viene bien a todos, pues quiere decir que podemos tener todos los materiales al alcance de nuestras manos o reemplazar por otros similares y no tener excusas para crear. Esta cajita es ideal para dar pequeños detalles, pueden hacerla con la temática y colores de de su preferencia y así lograr el diseño que más les guste de esta cajita. Además, como estaremos utilizando una botella plástica transparente, es perfecta porque se ve muy bien junto con el diseño seleccionado.
🔸Sin más que añadir, a continuación los dejo con el paso a paso:
✨🦌🎅🎁¡Hello friends who love creativity! I hope you had a very good start to the week.🎁🎅🦌✨
Here I continue creating new things for Christmas, this time thinking more about where to keep the gifts, that's why I decided to make a Christmas box with a reindeer hat and recycled material that is always good for all of us, because it means that we can have all the materials at our disposal. reach or replace them with similar ones and have no excuses to create. This box is ideal for giving small details, you can make it with the theme and colors of your choice and thus achieve the design that you like the most in this box. Also, since we will be using a clear plastic bottle, it is perfect because it looks great together with the selected design.
🔸Without more to add, then I leave you with the step by step:
♥️ESPERO QUE TE GUSTE,
¡Empecemos!
♥️I HOPE YOU LIKE IT,
Let's start!

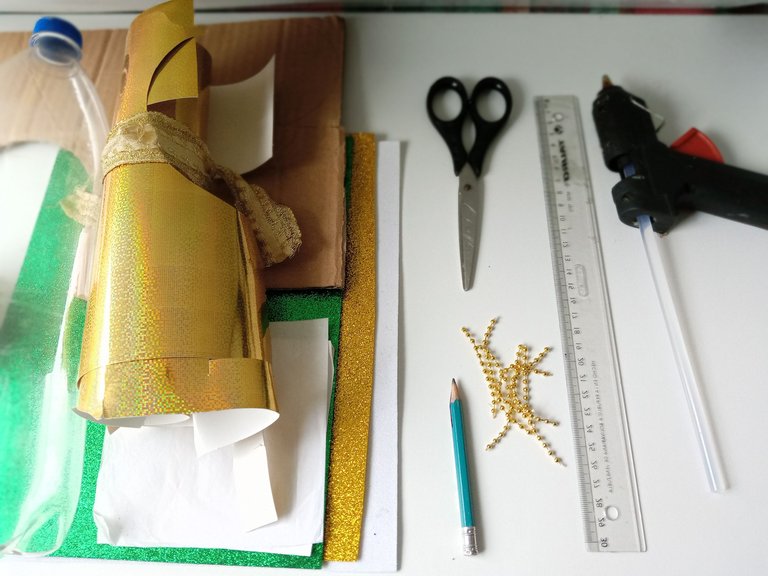
🦌 MATERIALES | 🦌 MATERIALS

- Botella plástica.
- Foami escarchado: verde, dorado,
rojo y blanco. - Cartón o cartulina dura.
- Cartulina dorada (o el color de preferencia.)
- Guirnaldas o perlas plásticas (color de preferencia.)
- Silicona caliente.
- Exacto.
- Tijera.
- Regla.
- Lápiz.
- Plastic bottle.
- foami frosty: green, gold,
red and white. - Hard cardboard or cardboard.
- Gold cardboard (or the color you prefer).
- Garlands or plastic pearls (color of preference.)
- Hot silicone.
- Cutter.
- Scissors.
- Rule.
- Pencil.


🎁 PROCEDIMIENTO | 🎁 PROCESS

- PASO 1:
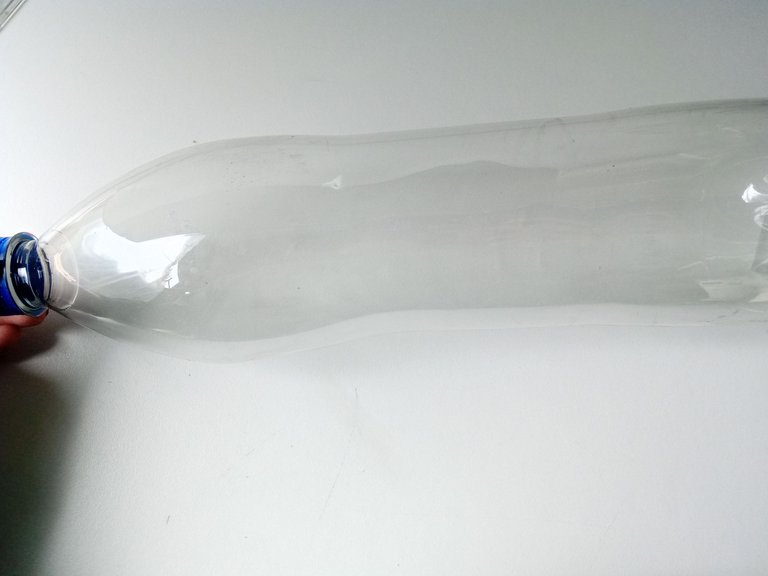
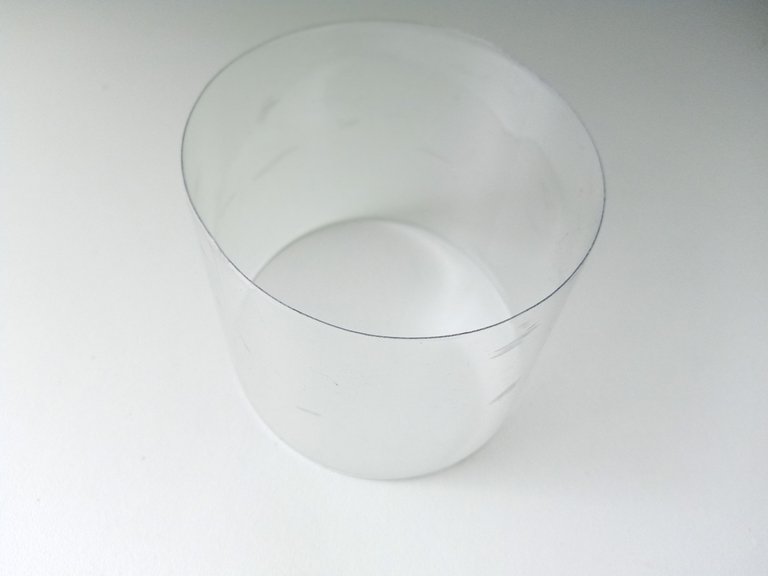
Lo primero que debemos hacer es quitar la etiqueta de la botella de plástico y para quitar el exceso de pegamento, añadir un poco de acetona a un paño y frotar hasta eliminar por completo el pegamento. Luego, corta con ayuda de un cilindro exactamente donde estaba la etiqueta de la botella.
- STEP 1:
The first thing we must do is remove the label from the plastic bottle and to remove the excess glue, add a little acetone to a cloth and rub until the glue is completely removed. Then, cut with the help of a cylinder exactly where the bottle label was.


- PASO 2:
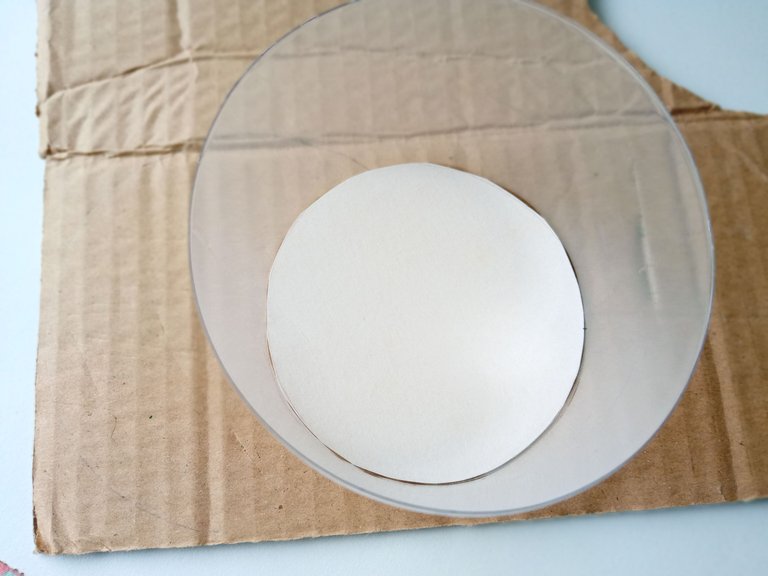
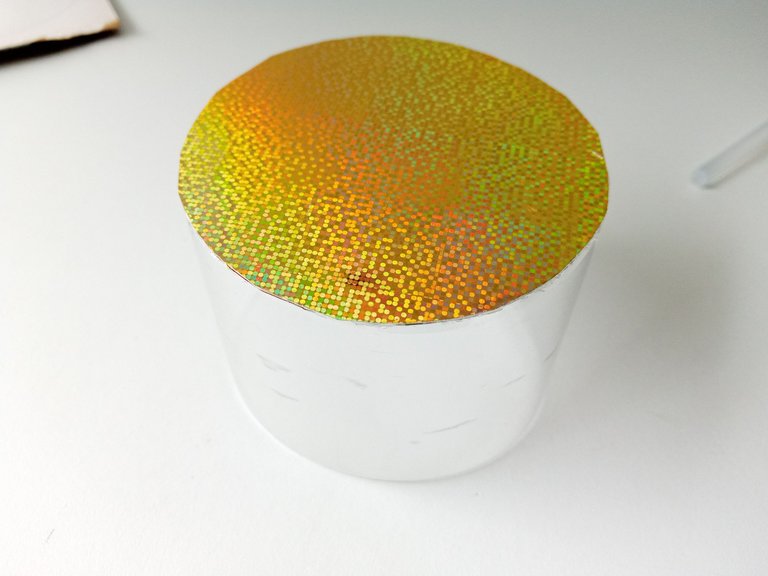
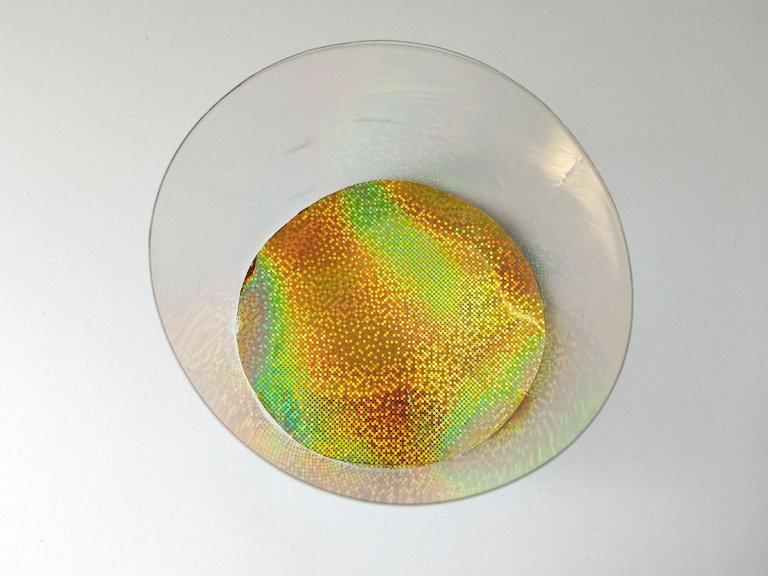
Dibujar y recortar en cartón o cartulina un cilindro con las medidas de la botella que acabamos de recortar y pegar dentro de la botella como base. Para cubrir, pegar sobre cartulina del color que prefieras y recortar el sobrante. Repita el proceso dentro de la caja, corte un cilindro del mismo color de cartón e insértelo para cubrir el interior.
- STEP 2:
Draw and cut out a cylinder on cardboard with the measurements of the bottle that we have just cut out and paste inside the bottle as a base. To cover, paste on cardboard of the color you prefer and cut the excess. Repeat the process inside the box, cut a cylinder of the same color from cardboard and insert it to cover the interior.


- PASO 3:
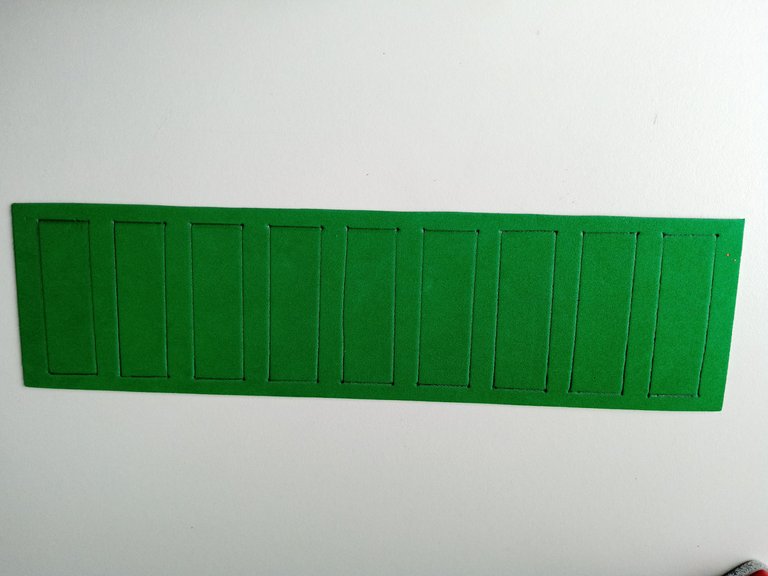
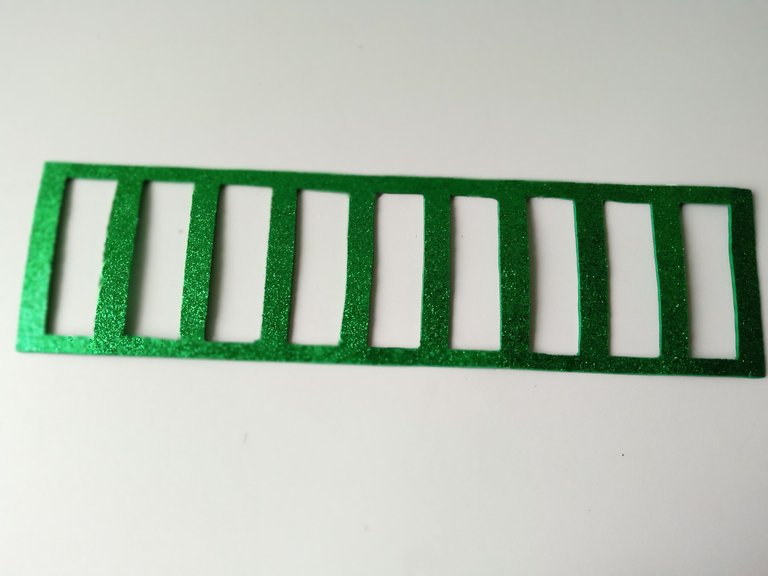
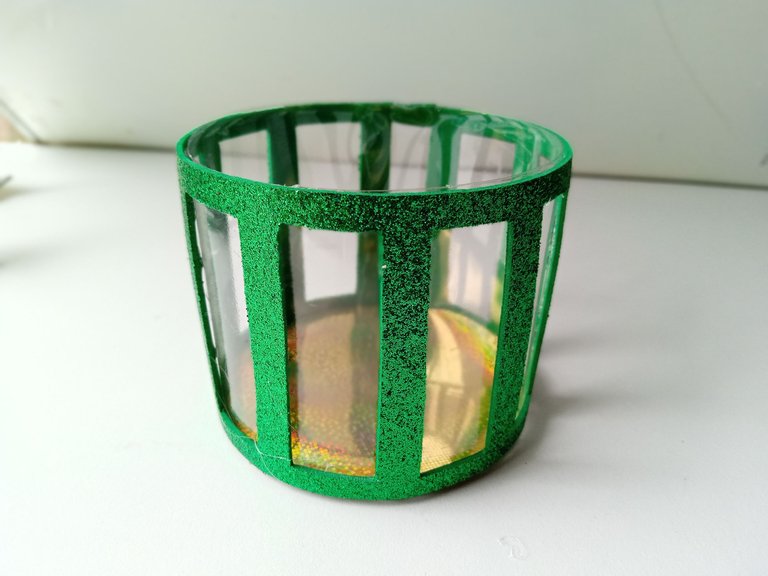
Medimos el largo y el ancho de nuestra caja, transferimos esas medidas a el fiamo escarchado verde y luego, para darle una bonita decoración a la caja, comencé a formar rectángulos verticales en toda la pieza de 6 cm por 2 cm y dejé un espacio entre cada uno de ellos de 1cm. Una vez hecho esto, pega alrededor de la caja.
- STEP 3:
We measured the length and width of our box, transferred those onto the green frosty fiami and then, to give the box some nice decorative measurements, I started to form vertical rectangles all over the 6cm by 2cm piece and left a gap between each of them 1cm. Once this is done, glue around the box.


- PASO 4:
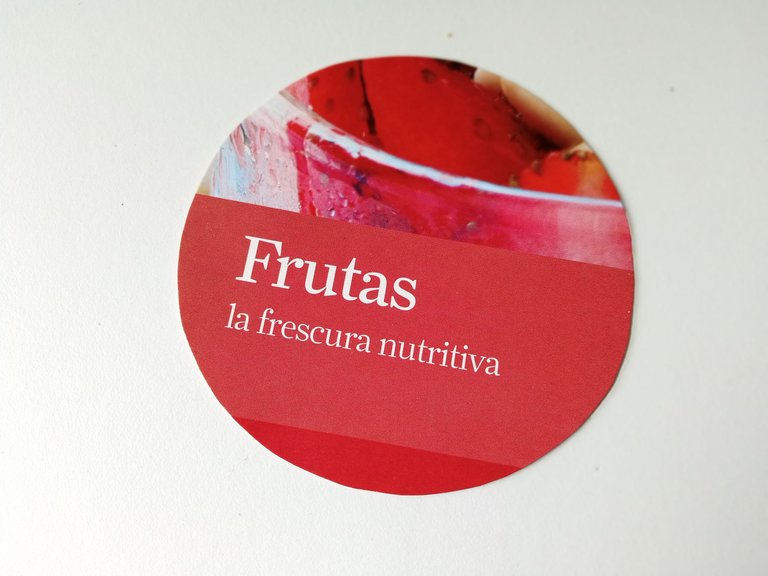
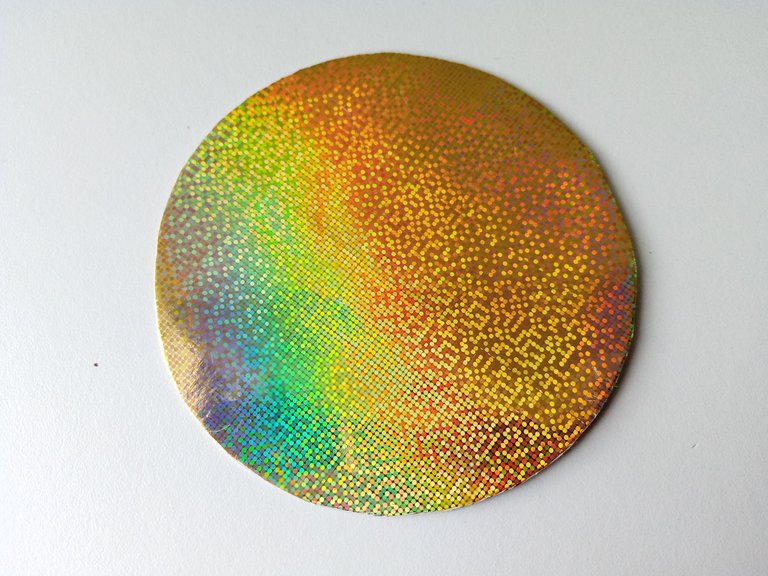
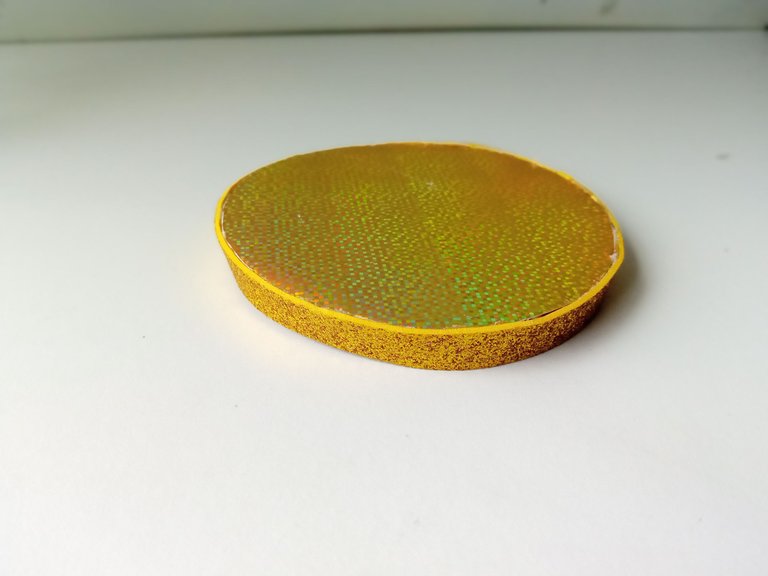
Para la tapa, cortar un cilindro de cartón 0,5 cm más ancho que la caja y dos más en cartulina, cortar y pegar las dos piezas de cartulina espalda con espalda. Luego, cortar en foami escarchado dorado, una tira del ancho del cilindro y 1 cm de ancho, cortar y pegar por todo el borde para formar la tapa.
- STEP 4:
For the lid, cut a cardboard cylinder 0.5 cm wider than the box and two more cardboard, cut and glue the two pieces of cardboard back to back. Then, cut in golden frosted foami, a strip the width of the cylinder and 1 cm wide, cut and glue all around the edge to form the lid.


- PASO 5:
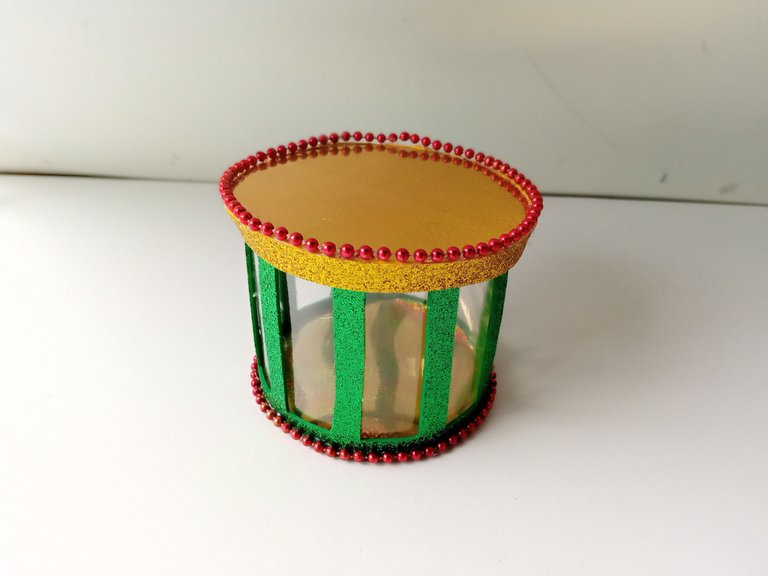
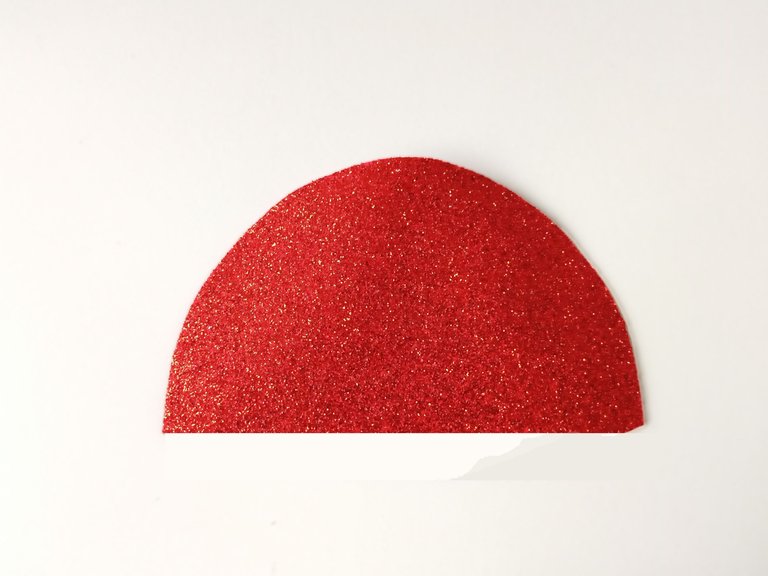
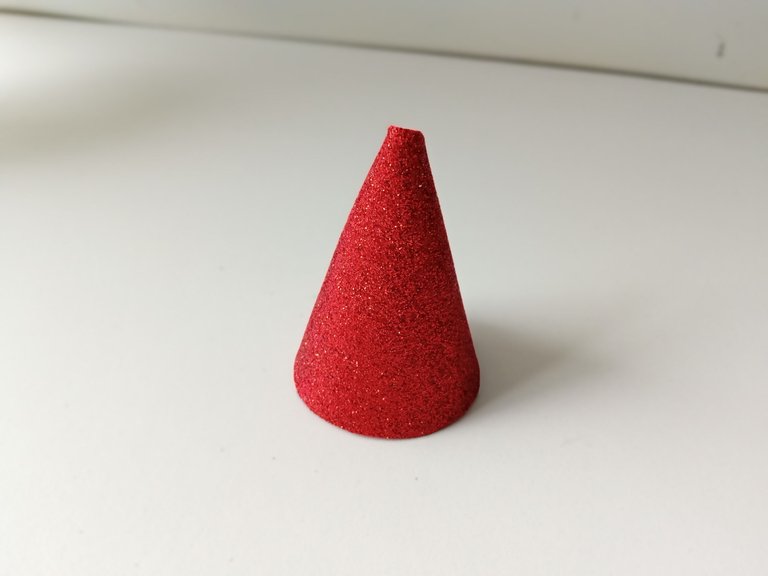
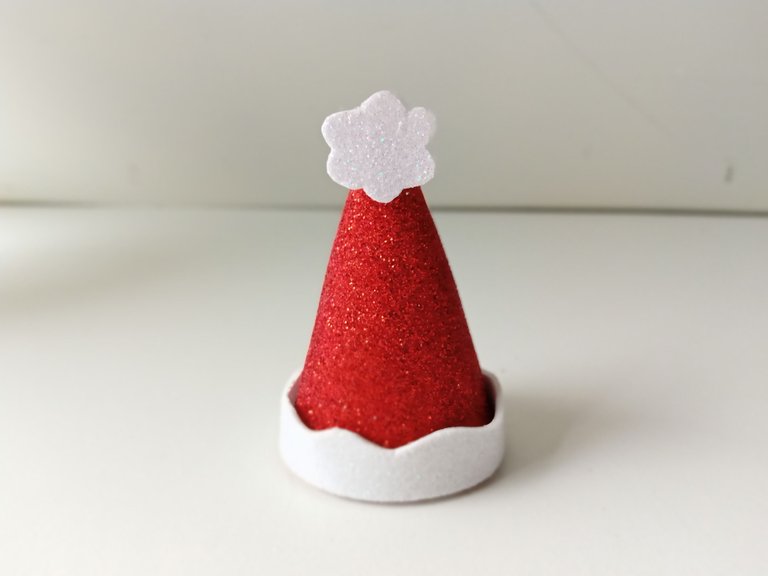
Como extra, decora pegando unas perlas o guirnaldas por todo el borde inferior de la caja y por todo el borde superior de la tapa. Para terminar, para el gorro de reno, corta medio círculo de foami escarchado rojo, más o menos del tamaño de la caja, y pégalo hasta formar un cono.
- STEP 5:
As an extra, decorate by gluing a few pearls or garlands around the bottom edge of the box and around the top edge of the lid. To finish, for the reindeer hat, cut half a circle of red frosted foam, about the size of the box, and glue it to form a cone.


- PASO 6:
Lo decoré cortando una tira de foami escarchado blanco, dándole formas onduladas en un borde y pegando alrededor de la parte inferior del gorro. También hice una especie de nube gordita para el pompón del sombrero y por último, en foami escarchado dorado dibujé unos cuernos de reno, corté y pegué a cada lado del gorro. Luego, pegué en el medio de la tapa.
- STEP 6:
I decorated it by cutting a strip of white frosted foam, flipping wavy shapes on one edge, and gluing around the bottom of the hat. I also made a kind of chubby cloud for the pompom of the hat and finally, in golden frosted foam I drew some reindeer antlers, cut and glued on each side of the hat. Then, I glued in the middle of the lid.

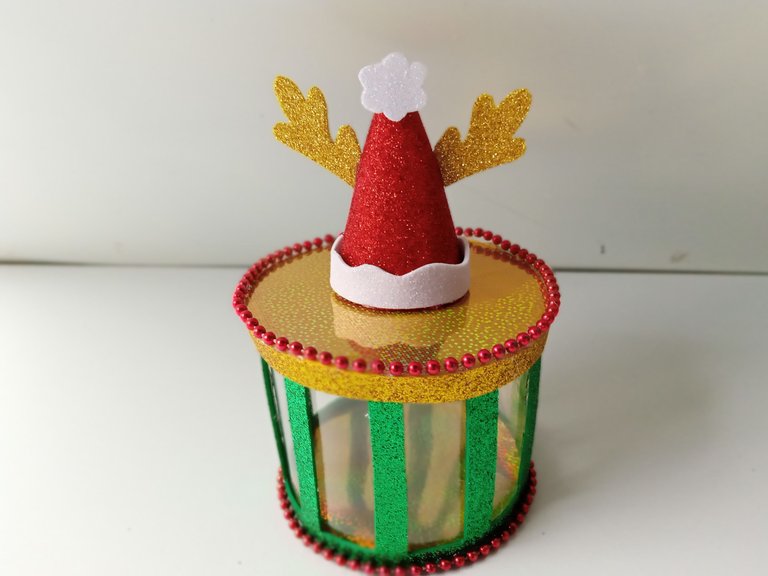

✨🦌🎅🎁¡Y listo!🎁🎅🦌✨ Así es como se hace esta hermosa caja de regalo, súper simple, utilizando una botella de plástico para que puedas hacerlo en casa con pocos materiales, usando tu creatividad. Como dije, es perfecto para dar pequeños obsequios a tus seres queridos e incluso galletas o algún dulce. Espero que les haya gustado el paso a paso y se animen a elaborarlo.
❤️Hasta la próxima publicación.
✨🦌🎅🎁¡And ready!🎁🎅🦌✨ This is how to make this beautiful gift box, super simple, using a plastic bottle so you can do it at home with few materials, using your creativity. As I said, it is perfect for giving small gifts to your loved ones and even cookies or some sweets. I hope you liked the step by step and are encouraged to elaborate it.
❤️Until the next post.

✨RESULTADO: | ✨RESULT:

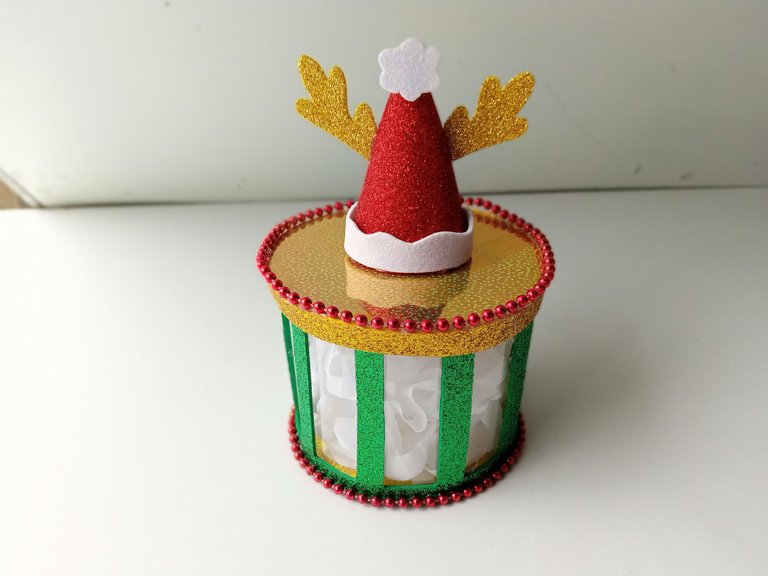
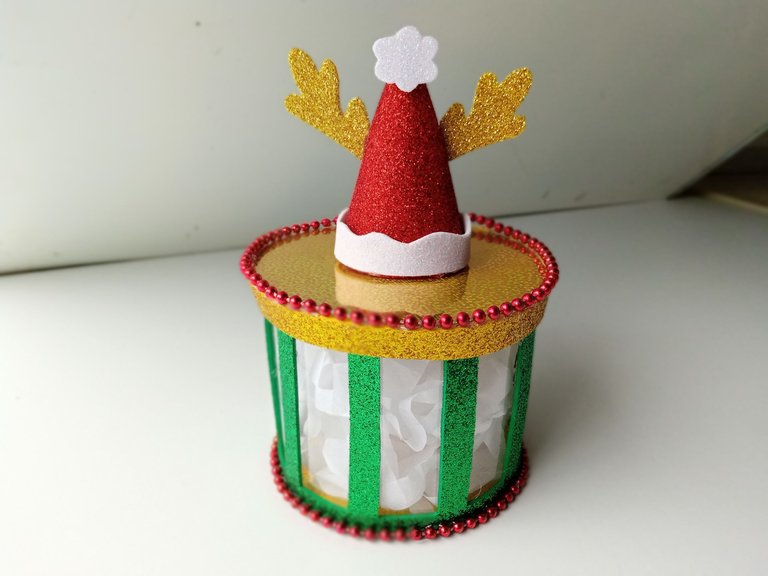


Todas las fotografías son de mi propiedad.
Separador y Fotos editadas en Canva
All photographs are my property.
Photos edited in Canva


