Greetings dear fellows I hope you will be well and good and will be enjoying nature. And especially my jewelry fellows stay blessed!
Today I am here and going to share a beaded bracelet with a crochet. As we know that in this age there should be a need for some unique and new jewelry designs for women because I think jewelry is for women. So I decided to make a bangle of beads with a tassel hanging at the lower level.
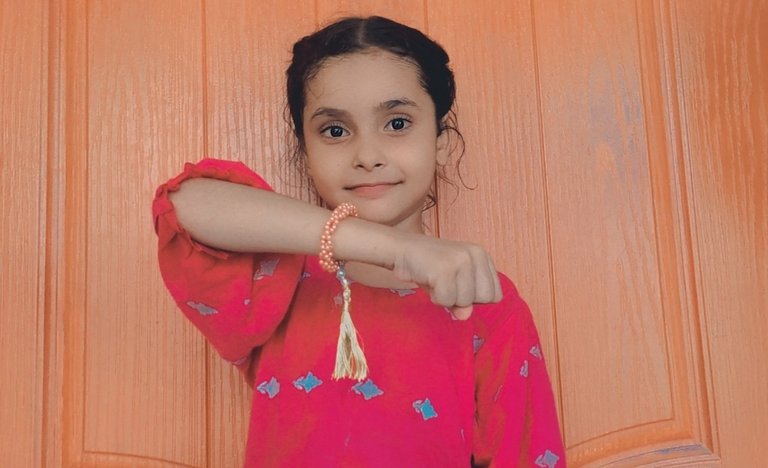
But before starting learning how we can make the beaded bangle or bracelet with a tassel hanging below, which makes it more lovely and beautiful, a look at the final product.
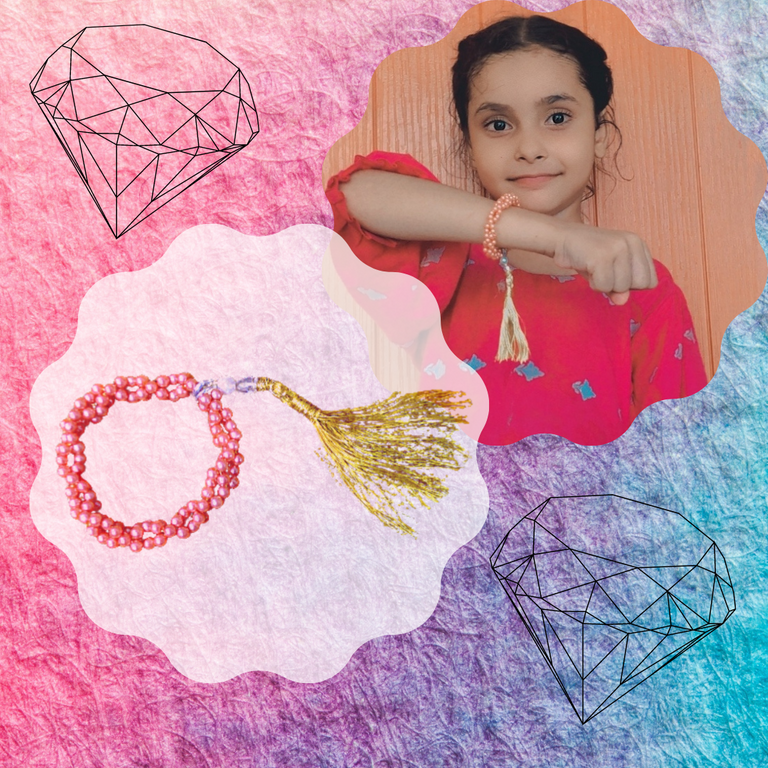
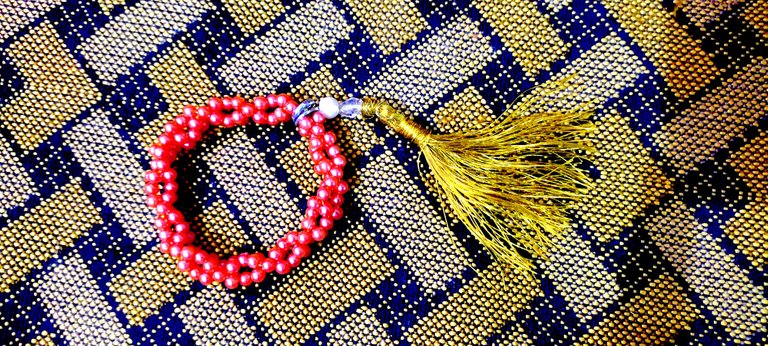
So it is the final product of the beaded bangle with a tassel. And now let's start making it. The uniqueness is that I have made it with the beads of the same colours and it looks lovely with the same colour of beads and becomes more neat and clean with a tassel of tilla thread.
Requirements
- Tilla Thread
- Beads
- Scissors
- Simple Paper Cardboard
- Metal Locks
So these are the simple requirements for making this beaded bracelet with a tassel.
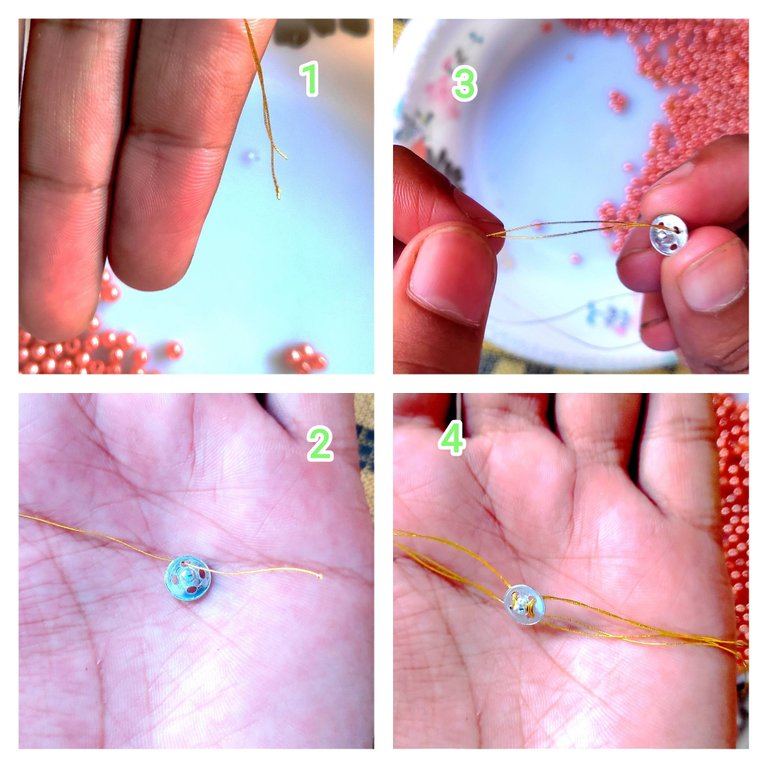
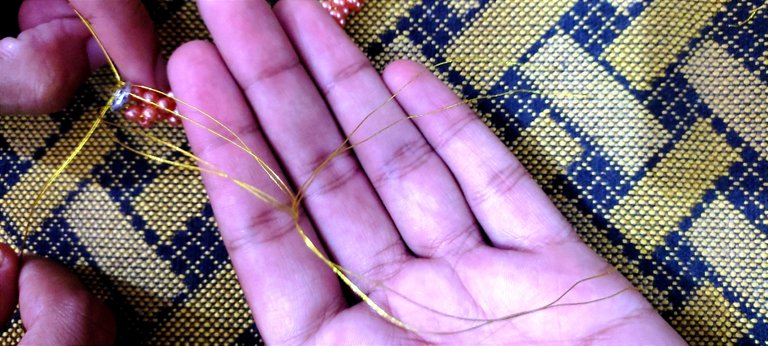
Firstly we have to double the tilla thread so that a strong bracelet can be formed. Then we have to install a lock at the end of the bracelet as you can see in the above picture in the first step I passed the wire from the one while and then we have to pass the other end of the wire from the other nearby whole. As we are using two double wires so now it is the time to enter the second ends of the wire into the side of the lock. So you can see that we have installed the lock at one side and the other part of this metal lock will be installed at the ending point of the bracelet.

After the installation of the lock then we have to install and string the beads on the lock side and the lock side will hold them.
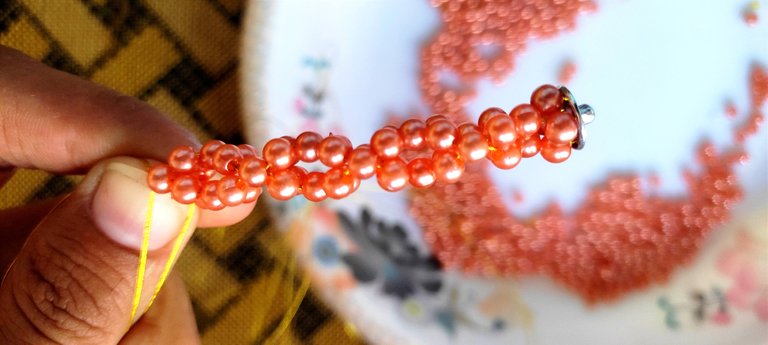
- Firstly we have to string the two, two beads in both double wires from the opposite side. As you can see in the above picture.
- Then we have to combine the opposite wires with each other and we have to string a bead. And this will be in the center of already stringed beads.
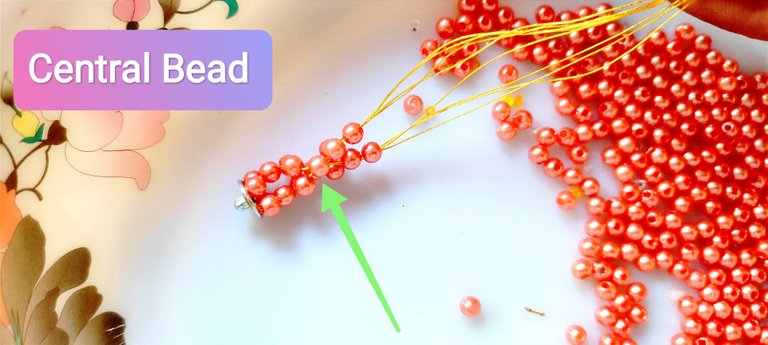
The second step you can see in the above picture and the central bead is visible which is basically a lock to hold the already stringed beads at their place. If we don't enter the central bead by combining the wires then it will not be hooded and the beads will come back to the starting point.
You can see the work is in progress, and we have to make such rectangular boxes with the beads using the wires. We were putting beads one by one in each wire and after that we have to put four wires from one bead and it was a little bit difficult. So I was entering the wires one by one in the bead.
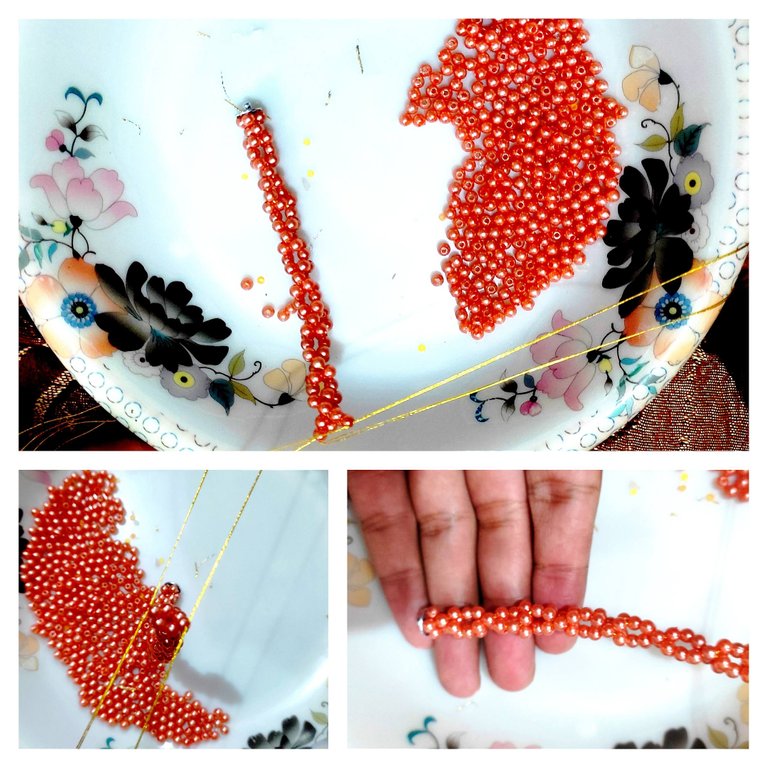
So after stringing the bracelet is increasing in length and the boxes are also increasing in the bracelet. If we see vertically the bracelet has a circle in between.
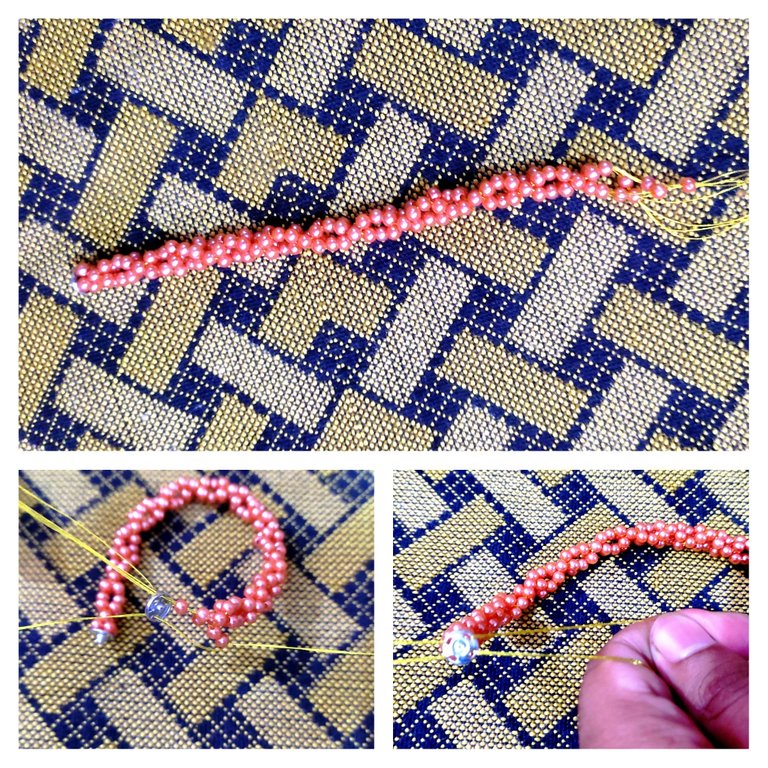
Now the bracelet has become long enough to stop the stringing. So now we have to put the other side of the metal lock to the ending point of the bracelet and this lock will also lock the beads so that they cannot become loose or dispersed.
So we have put the wires in the metal lock and now we have a need to tie a knot to fix the metal lock. So tie a simple knot from both sides. As you can see in the above picture.
 |  |
|---|
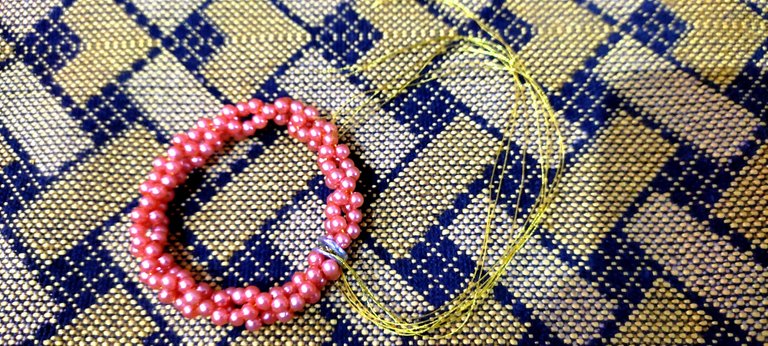
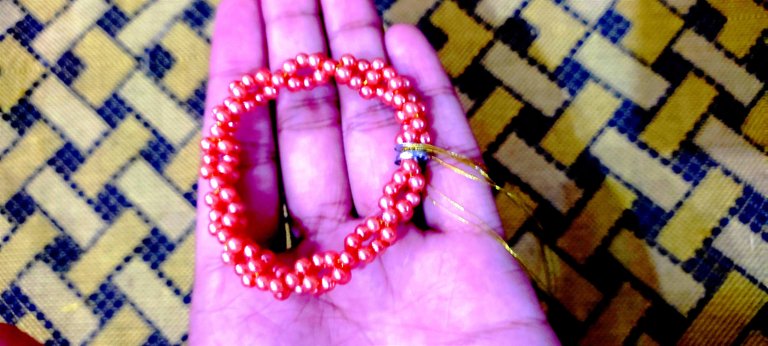
So here you can see that the bracelet has been completed without the tassel. And it is just a simple bracelet made of beads. And the lock is working properly and correctly.
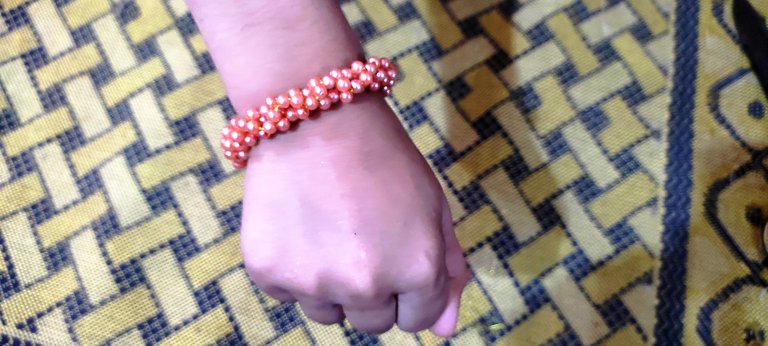
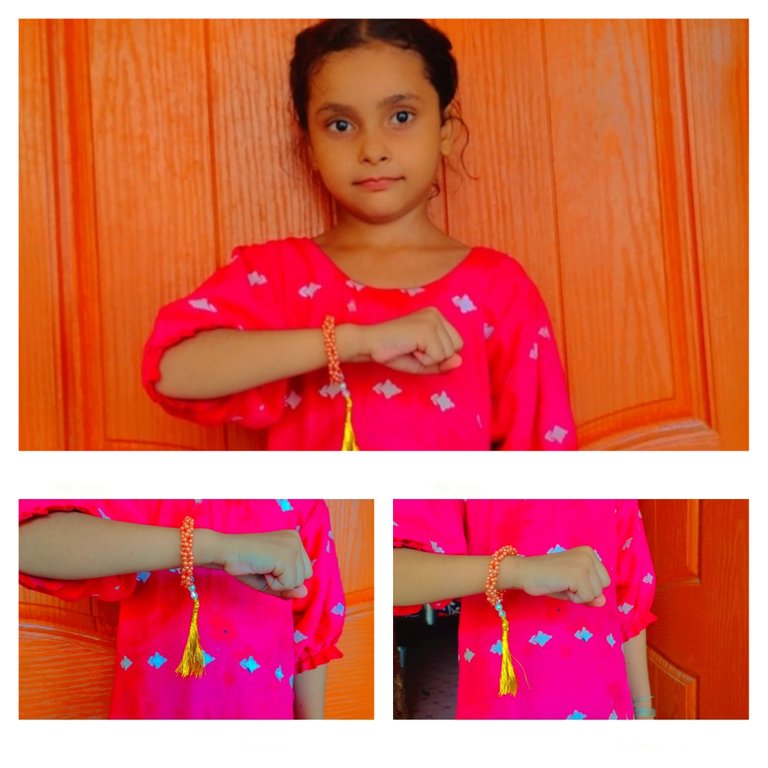
So you can see that now it is able to wear so my little nephew is wearing it in her hand. And she was really happy to wear it.
And now tassel time, so as I have to install a tassel along with the bracelet. So for making a tassel there is need of the of a cardboard. So I brought a soft medicine box and cut its side to use for making the tassel.
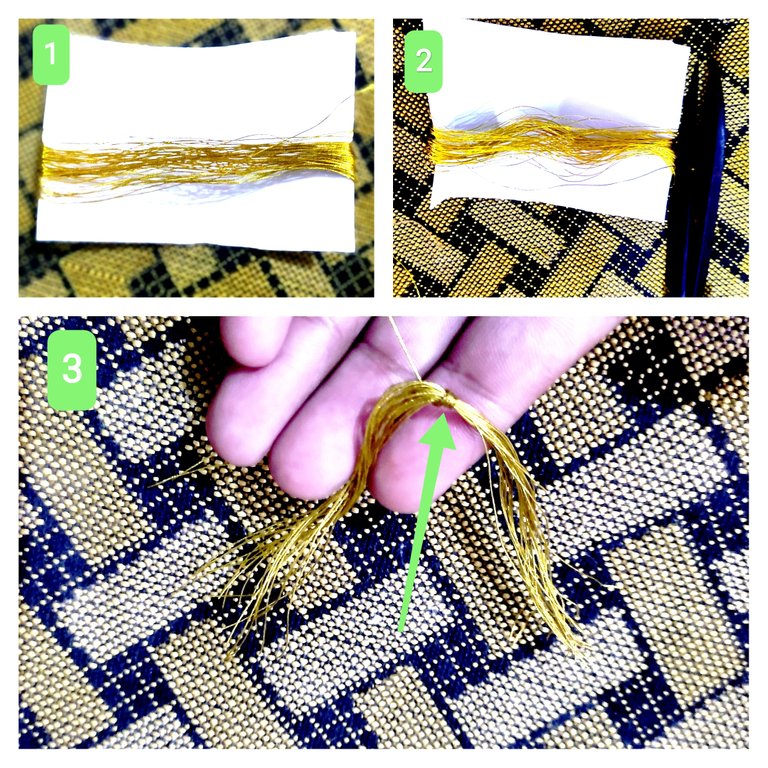
So firstly we have to round the thread upon the cardboard, according to our size to make it. I want to make a thick tassel so I rounded more than usual.
And after rounding the enough thread simply cut it into two pieces as you can see in the step two.
And then bind the thread from the center to hold the threads with each other correctly.
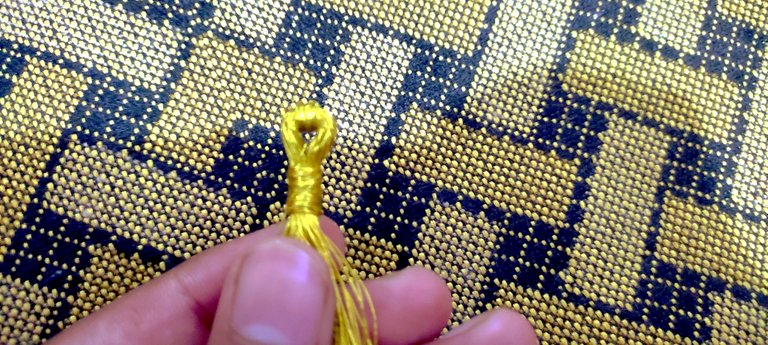
So after binding it now we have to bend it and make another round whole. So in order to make it simply bend it and round the thread along the head enough so that it becomes visible. As you can see in the above picture that we have done it. And through this whole we will connect it to the bracelet.
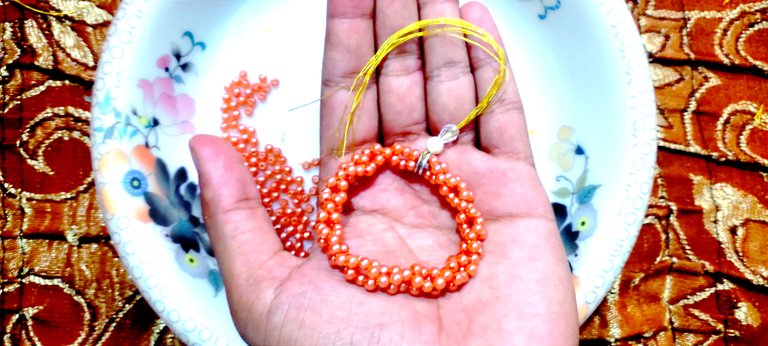
Now the tassel has been made and now we have to link the tassel with the bracelet. So before linking we have to put some beads so that the tassel may look more beautiful and attractive. So I have put the beads firstly a round bead and then a long crystal bead.
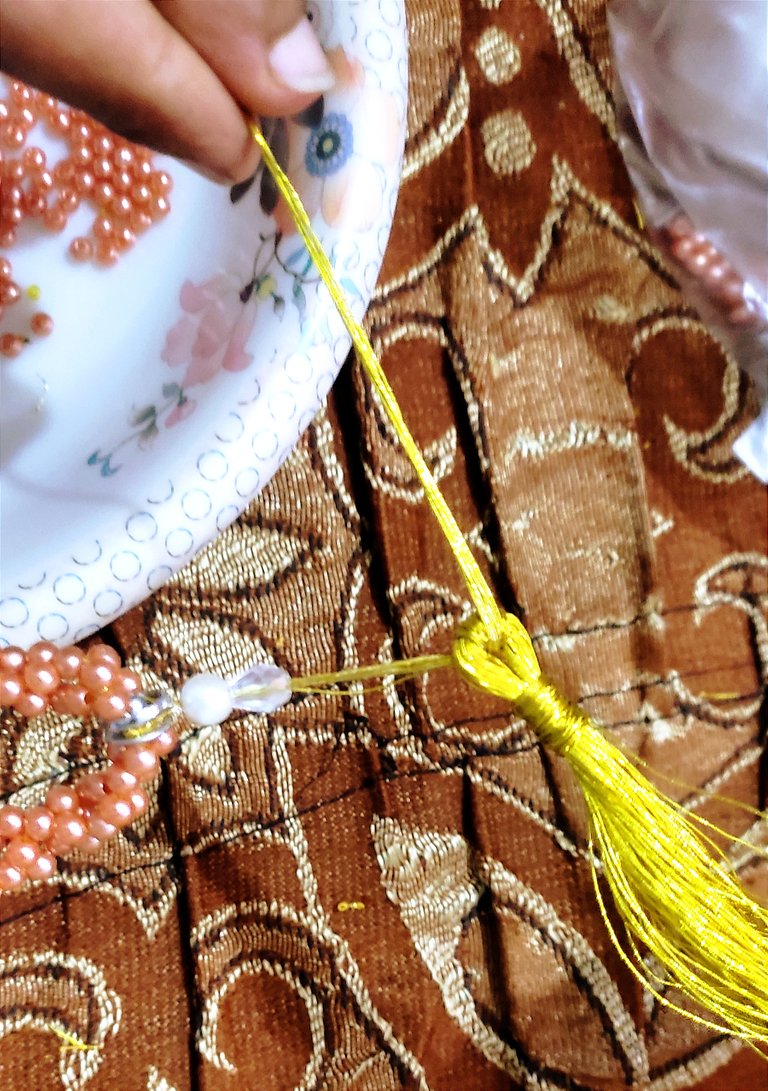
So in order to link the tassel with the bracelet pass the remaining threads of the bracelet from the whole of the tassel and tight it up to the beads so that it can become fix and linked with the bracelet.
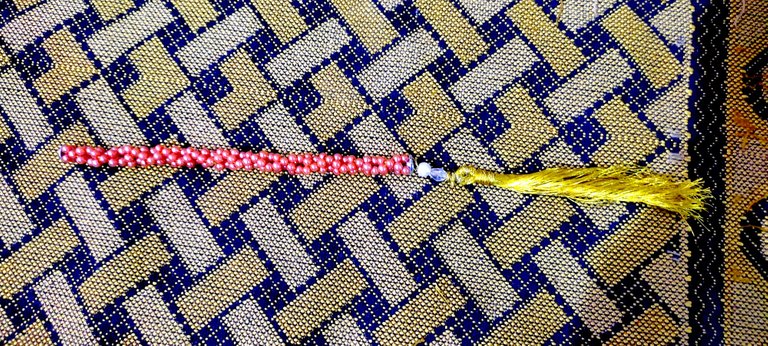
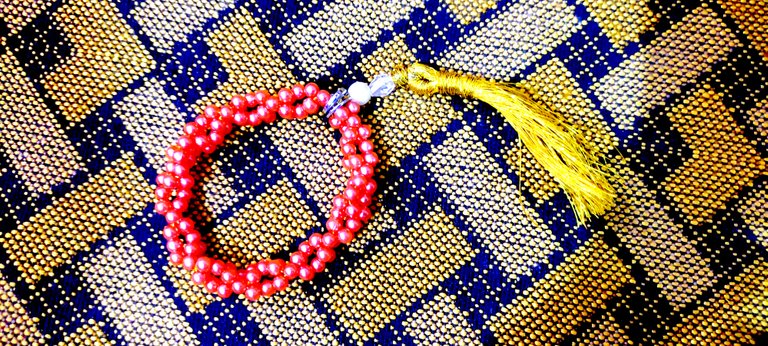
So finally the tassel has been linked with the bracelet and now the bracelet is ready to wear along with the tassel.
 |  |
|---|
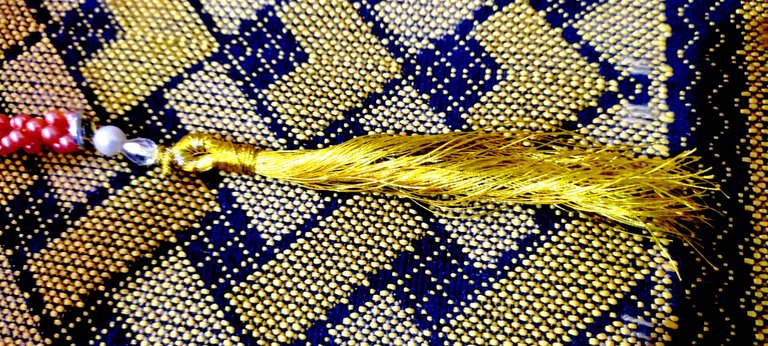
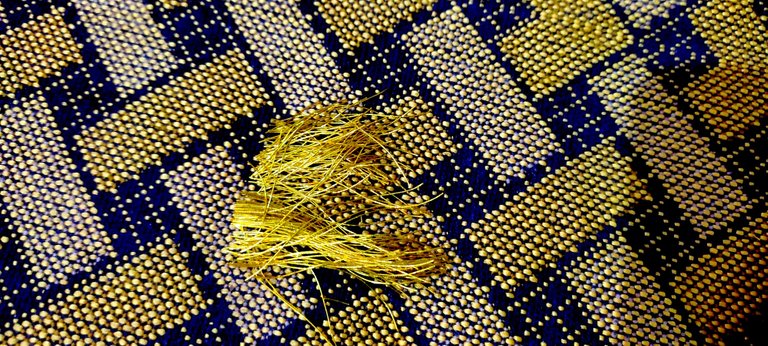
But here it was needed to fix the tassel a little bit. The tassel was long so it needs to be cut. So I cut the ends of the tassel and made it short so that it looks more beautiful along with the bracelet.
Yours: @uop
| Photography | Details |
|---|---|
| Object | Bracelet |
| Photographer | @uop |
| Device | Redmi Note 10 |


