DIY Hair Bow Made From Recycled Material - Tutorial

in #hive-1305602 years ago

hairbow from recycled material (1).jpg

I love recycling

Even with the limited options I have to do so currently, I still don't like to waste items if I can find a new purpose for them. In terms of fabric items, it's sometimes harder to recycle because I don't have a sewing machine yet, meaning I need to hand sew things, which is a bit of a struggle, especially right now with my hand. Nevertheless, I don't just throw away clothes if sometimes just has a few minor flaws and always check if there are buttons that I can take off for later crafts or that I see a way to recycle the fabric into hair accessories for example.

A vest with flaws

I forgot to take a picture of the cute vest while my daughter was wearing it, which is a shame because it looked adorable on her, but I can't change that anymore. It was one of these cute woven vests in navy and white that looked great on a few of her dresses. It's still t-shirt weather here in Spain, but in the mornings, I always make her wear a vest in case she's cold later or when an air-conditioner is turned on at school making her long for a vest. This vest turned out to be a pain in the laundry and very receptive for dust and hairs from the cat. Thankfully we have a brush for that but there is one thing that kept being annoying and that was the edge on the bottom of the vest, it kept folding up and in the washing machine somehow dust from other clothes would build up in there:
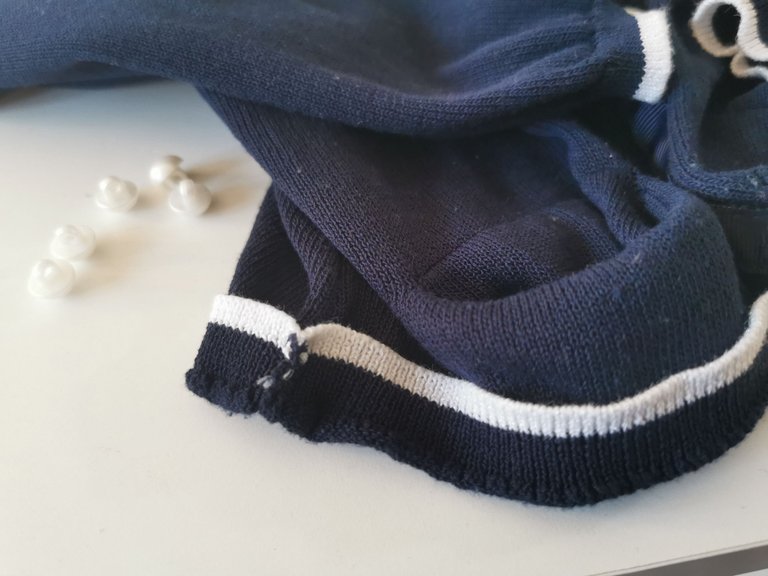
hairbow from recycled material (2).jpg

It's a shame but as it was hanging on the hanger for a week now for me to find another navy blue vest as well as taking the step to throw this one away, I decided to check it for things I could use in the future. The cute buttons were the first to be taken off:
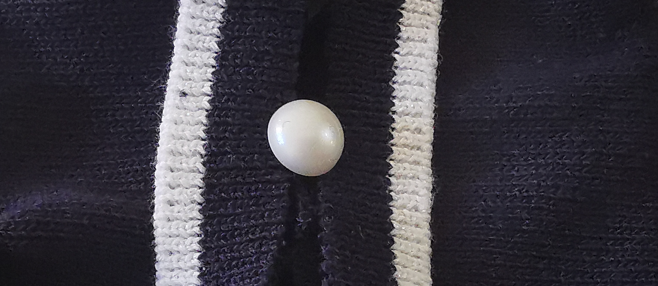
image.png

While cutting them off I had the idea to make a hairbow from the vest by using the pockets:
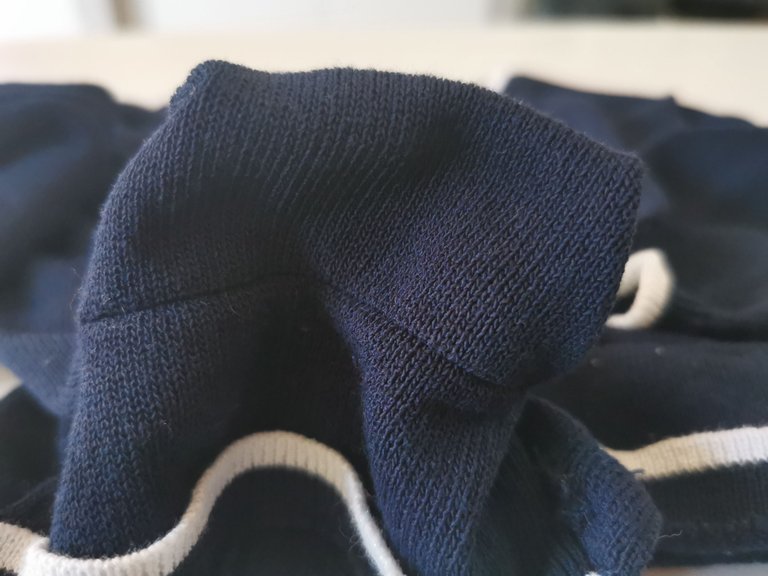
hairbow from recycled material (3).jpg

That's the pocket inside out and I thought if I cut these off, I can easily sew that together making it look like a hairbow.
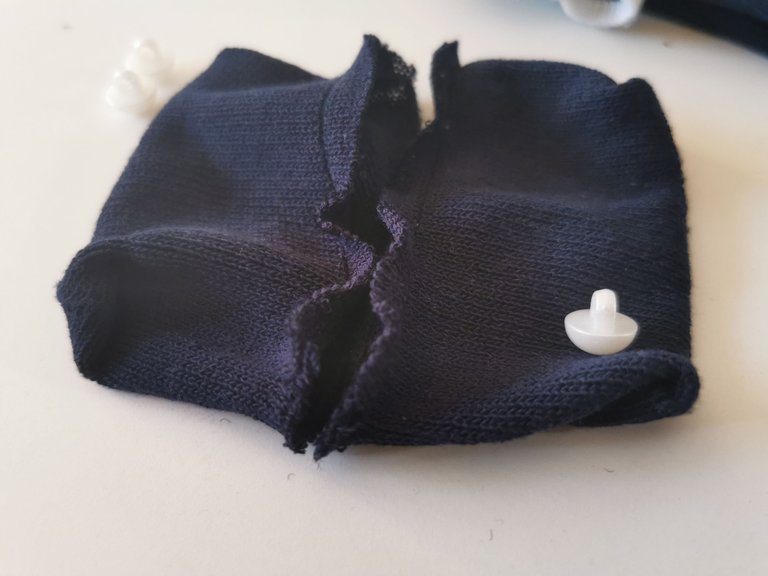
hairbow from recycled material (4).jpg

It was here when I discovered this was going to be a messy nightmare as with every cut, the fibers would fall off. I tired using a lighter to burn the edges but that wasn't very successful.
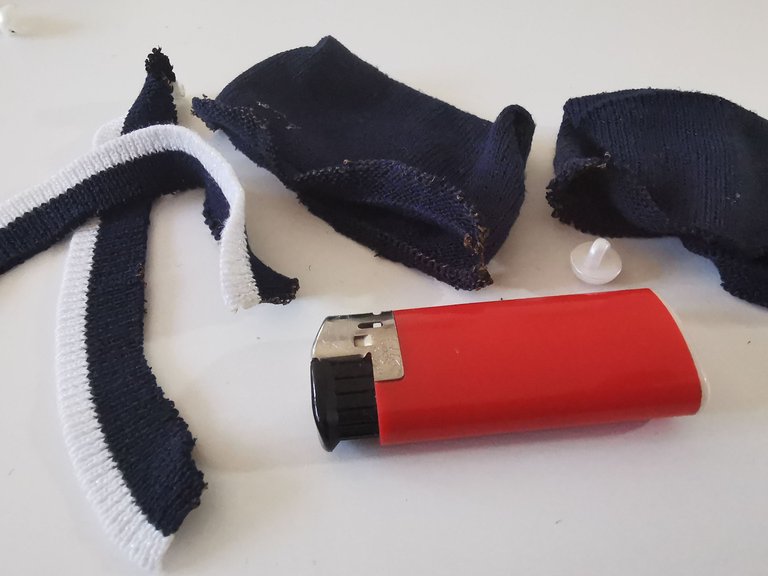
hairbow from recycled material (6).jpg

As you can see, the edges turned brown so I decided to not over use the lighter and see if I could make it work without burning the edges too much. I also cut off some of the edges with white because it's a great combo and I had the idea to create the bow with these in the middle:
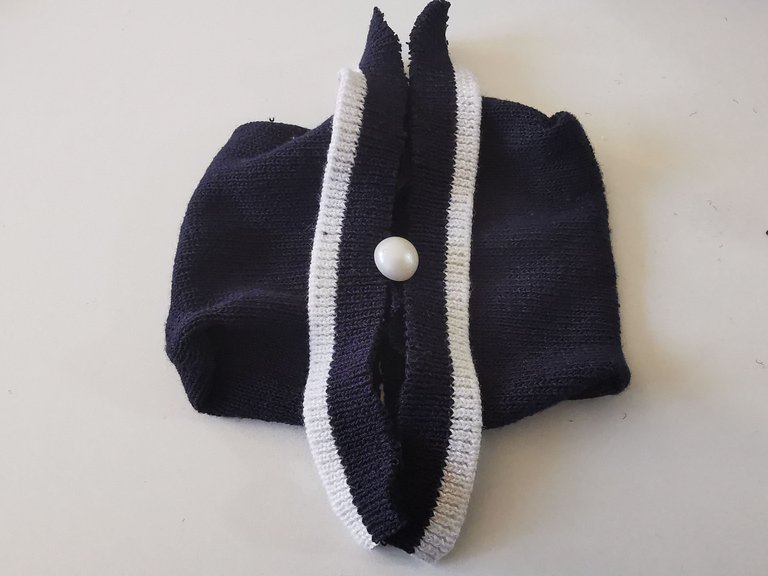
hairbow from recycled material (5).jpg

Let the sewing and gluing begin!

Don't mind the image quality please, it has proven to be pain to have the real navy color shown in every image, haha. Let's focus on the end result... But first, one of the pockets needs to be sewn together:
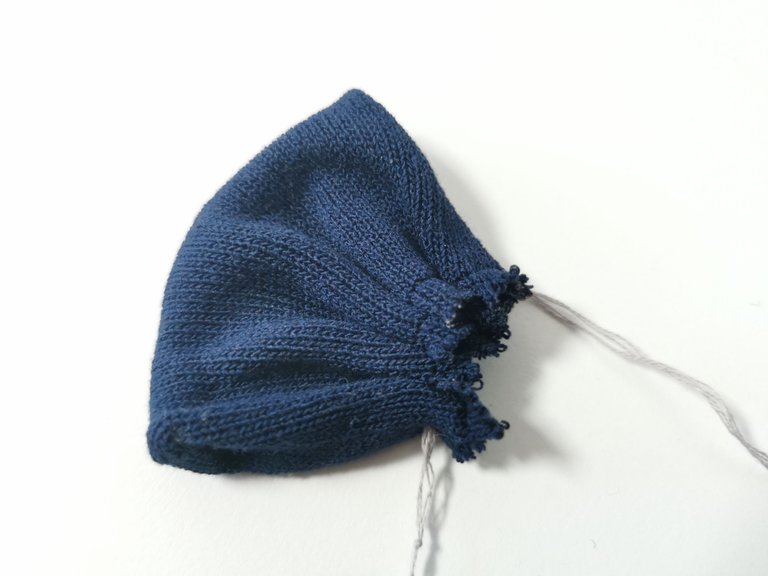
hairbow from recycled material (7).jpg

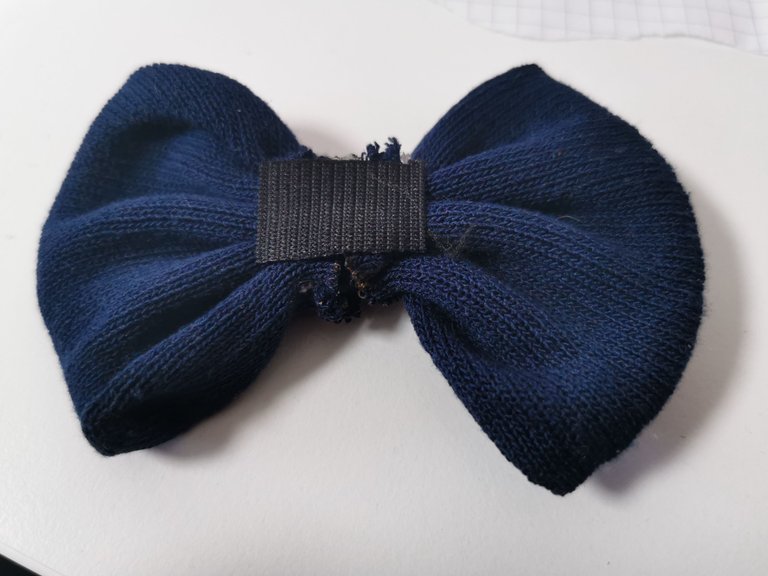
Repeat the sewing with the second pocket and you can already see in the image below that this starts to look like a bow:
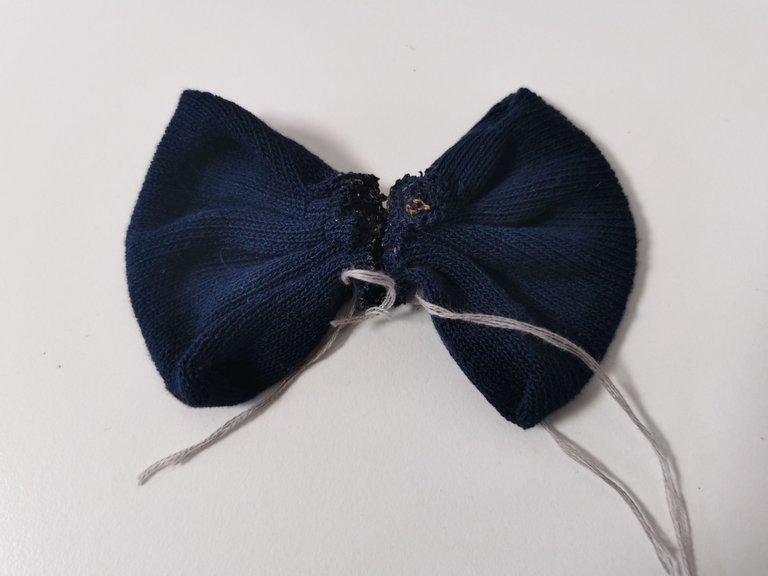
hairbow from recycled material (9).jpg

I first thought I could use the fabric with white edge for the middle part alone but once I discovered that this starts to raffle a lot, I decided a small strip of elastic would solve this.
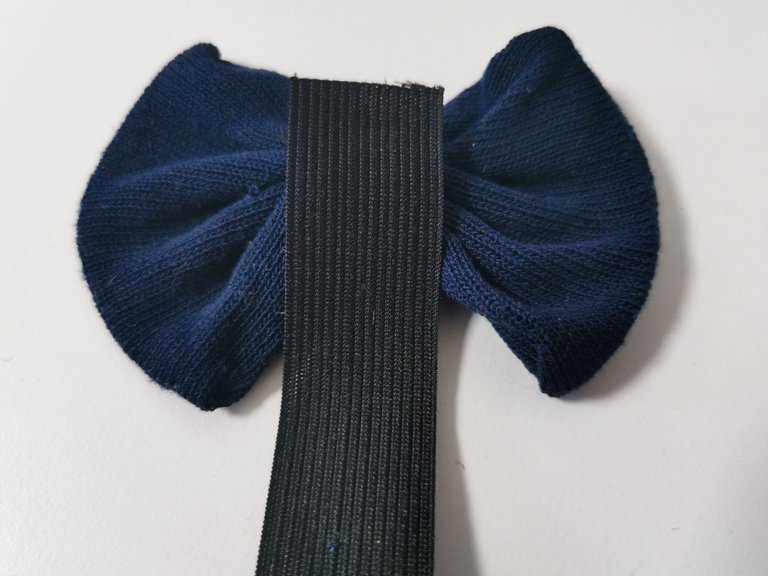
hairbow from recycled material (10).jpg

I glued that on both sides.

hairbow from recycled material (11).jpg

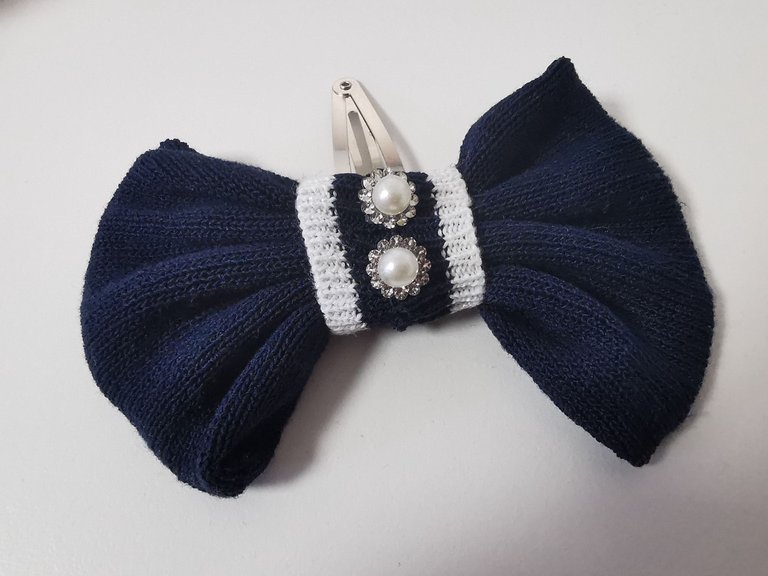
Now I wrapped the two strips with white edge around the bow and made sure I glued it tightly, hoping no more fibers would come off after gluing it. I decided against the button last minute because I didn't see how I could see that on the bow without it being ugly, so I swapped it for these rhinestone applications instead. Here's the end result:
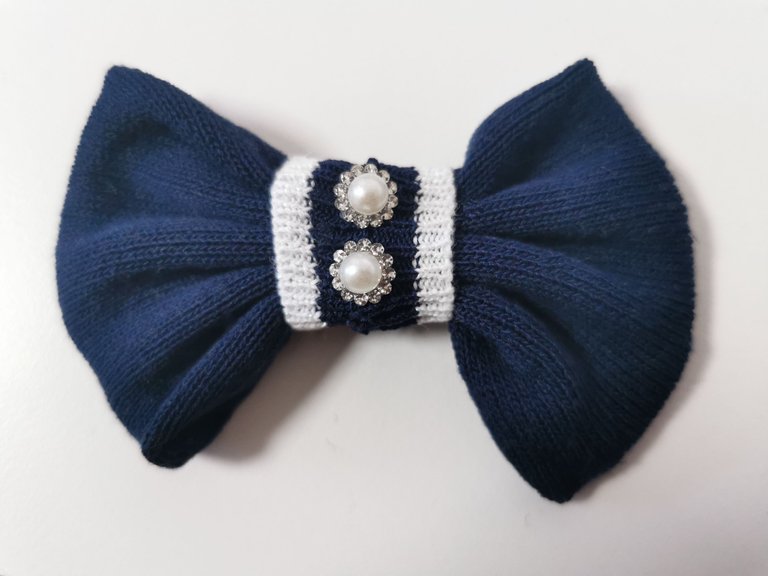
hairbow from recycled material (12).jpg

Now glue it on a hairclip or headband and voila, you have yourself a new hair accessory made from recycled material.

hairbow from recycled material (1).jpg

I like it and so does the little lady, so I guess mission accomplished. I'm not too sure if I will use the rest of the vest for anything now that I know what a pain this was to process. I will not throw it out just yet in case I get any more ideas.

I hope you liked this DIY tutorial, have a lovely day ahead!

Sort:  

Very creative my friend well done have the best one
Thanks for sharing on Listnerds
!ALIVE
!CTP
!LUV

@thisismylife! You Are Alive so I just staked 0.1 $ALIVE to your account on behalf of @benthomaswwd. (9/20)

The tip has been paid for by the We Are Alive Tribe through the earnings on @alive.chat, feel free to swing by our daily chat any time you want.

How wonderful ... what a fine recycling project!

Thank you <3

It's lovely!!

What a cool idea to use that vest as a material for the hairclip! 👌

Thank you! I really hated cutting it up so I'm happy that I found at least one purpose to recycle the material.

Thanks for stopping by :)

Look how creative you are! Amazing, I’m so inspired for how you find time even for this little details, I find it so beautiful 🙏🏽💜

Very nice!! !PIZZA

Thanks, also for the pizza!

Hope you're ok! Haven't been up to date much lately, sorry :)

!CTP

I´m doing good thanks. :) Ah don´t worry! :D It´s alright. <3 !PIZZA

🍕 PIZZA !

I gifted $PIZZA slices here:
@ravenmus1c(6/20) tipped @thisismylife (x2)

Please vote for pizza.witness!

Great repurposing, @thisismylife

!CTP

Thanks for sharing your craft talents. I am sure you daughter really loved it.

That's pretty amazing use of what you have on hand. It takes a bunch more effort and creativity to do that instead of buying something new.
!ALIVE
!CTP

@thisismylife! You Are Alive so I just staked 0.1 $ALIVE to your account on behalf of @lisamgentile1961. (3/10)

The tip has been paid for by the We Are Alive Tribe through the earnings on @alive.chat, feel free to swing by our daily chat any time you want.

Good Afternoon and Thank you, @youarealive! Enjoy your day.😀

Thank you for sharing this post on HIVE!

Your content got selected by our fellow curator rezoanulvibes & you just received a little thank you upvote from us for your great work! Your post will be featured in one of our recurring compilations which are aiming to offer you a stage to widen your audience within the DIY scene of Hive. Next time make sure to post / cross-post your creation within the DIYHub community on HIVE and you will receive a higher upvote ;) Stay creative & HIVE ON!

Oh this is so cute @thisismylife!
You are so creative
Have a great day and evening.
Barb
#thriveonhive

This was very creative! Who knew from an old vest.
Oh yeah, in dance class I learned to use clear nail polish to stop the tights from ripping or tearing any further. Also used it for an old vest, so maybe instead of the lighter clear nail polish.

Oh yeah, great idea! I remember using that for some other things in the past, like a panty that started to rip, as a quick solution to avoid it from tearing any further. Thanks for the reminder, that's even better than the lighter and next time I will use that :)

!CTP

It was my pleasure and yeah even nurses used this trick, especially in those days wearing tights was part of their uniform. Nowadays they usually wear pants and a blouse.


The rewards earned on this comment will go directly to the people( @thisismylife ) sharing the post on Twitter as long as they are registered with @poshtoken. Sign up at https://hiveposh.com.