Hello to NeedleworkMonday!
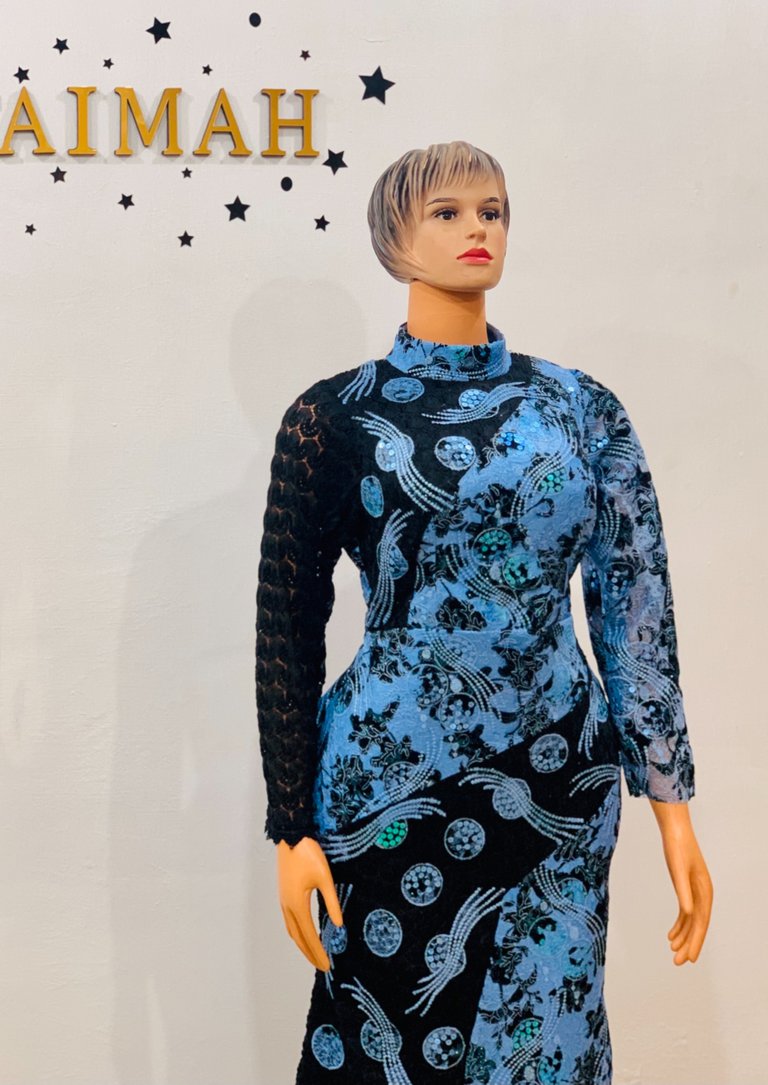
I thought about the title for this post and yippee! Blue-Tiful came to mind🥰
Blue-tiful describes anything beautiful and blue.😇
There’s a season fairies wear blue, it’s the color of magic!🪄🧚♀️
It’s my first time posting here!, and I feel delighted I’m opportune to do this...
I made this beautiful A-line sequence dress using a blue chantilly fabric with iridescent sequin and velvet flocking.
Materials used for this dress;
Five yards of a blue lace sequin fabric
A yard of a black lace
Two trousers of blue satin
A trousers of black satin lining
Interfacing and lining fabrics
A zipper
Measurements needed;
Bust circumference
Under bust
Waist
Hip
Dress length
Neck
Shoulder to underbust
Shoulder to waistline
Let me take you through how I made this dress.
First get your pattern paper to draft the block of the upper bodice.
I’ll take us through a detailed explanation of how to make a basic bodice block later this week.
After drafting the pattern, go ahead to cut the dress; cut the upper bodice with the pattern and the lower bodice as an A-line dress, then the satin as the lining fabric.
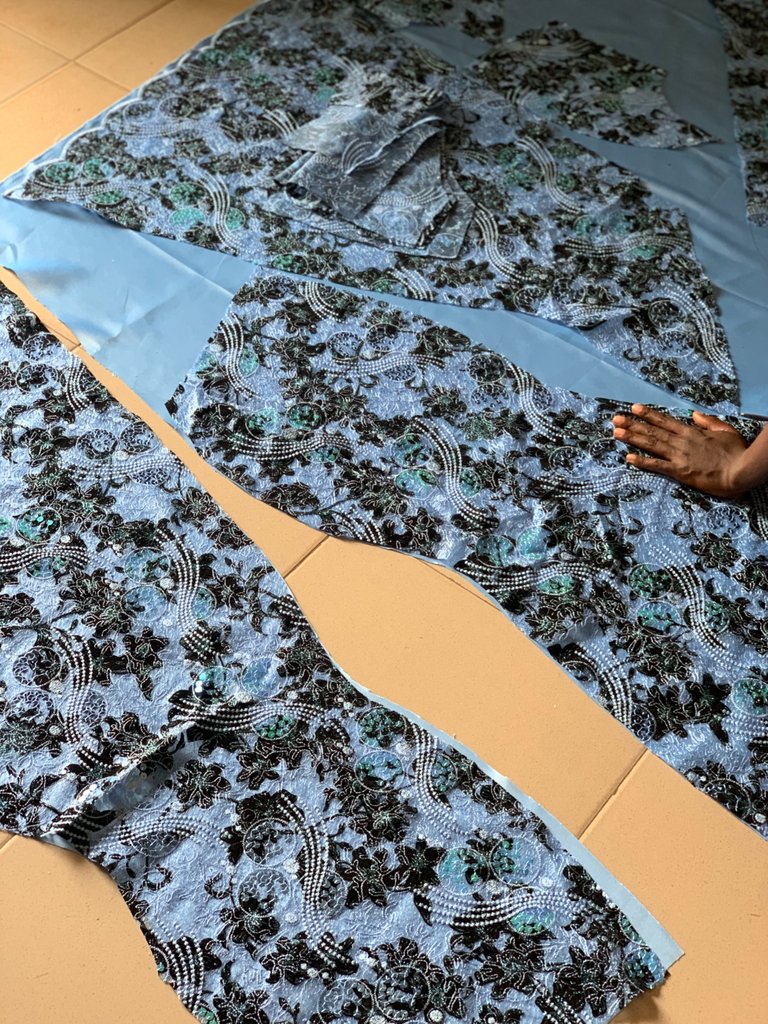
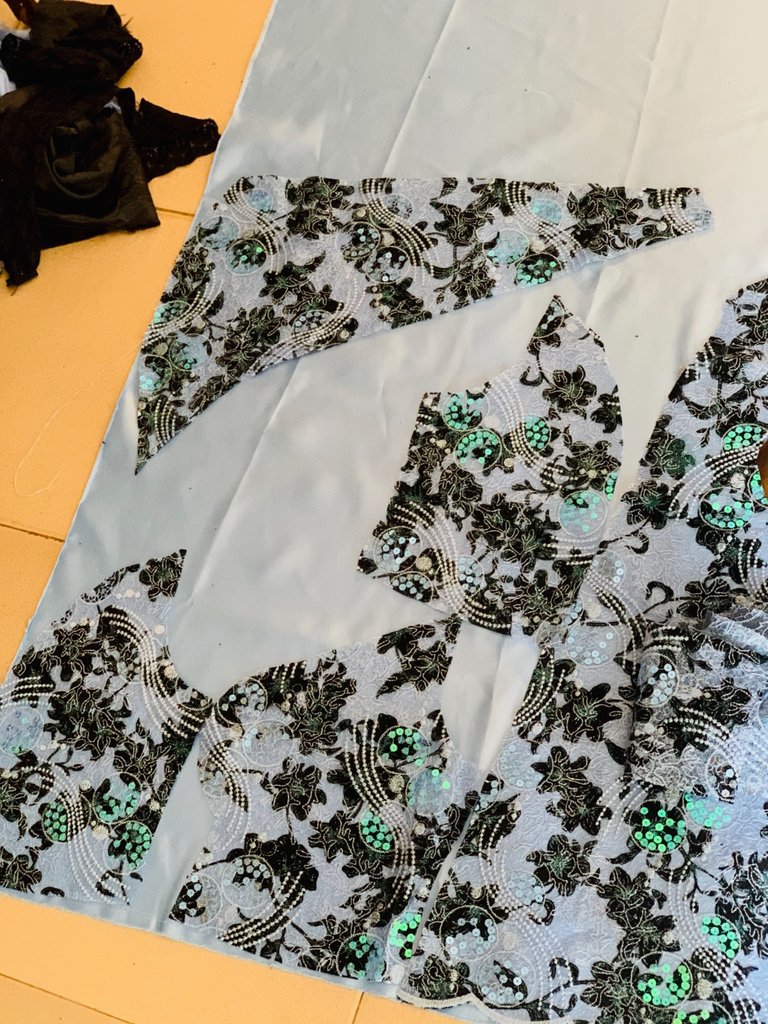
The outer construction of a garment gets all the likes. But no dress would look as good (or feel nearly as nice) if it weren’t for the lining, facing and interfacing.
The essence of this interface is to provide strength, support and shape to a garment. It also prevent seams and curved areas from stretching out.
The next is to add the interface to the satin of the upper bodice and also the facing. The interfacing used is an air stay fabric(it is produced by weaving together cotton, nylon, wool, silk, or other threads)
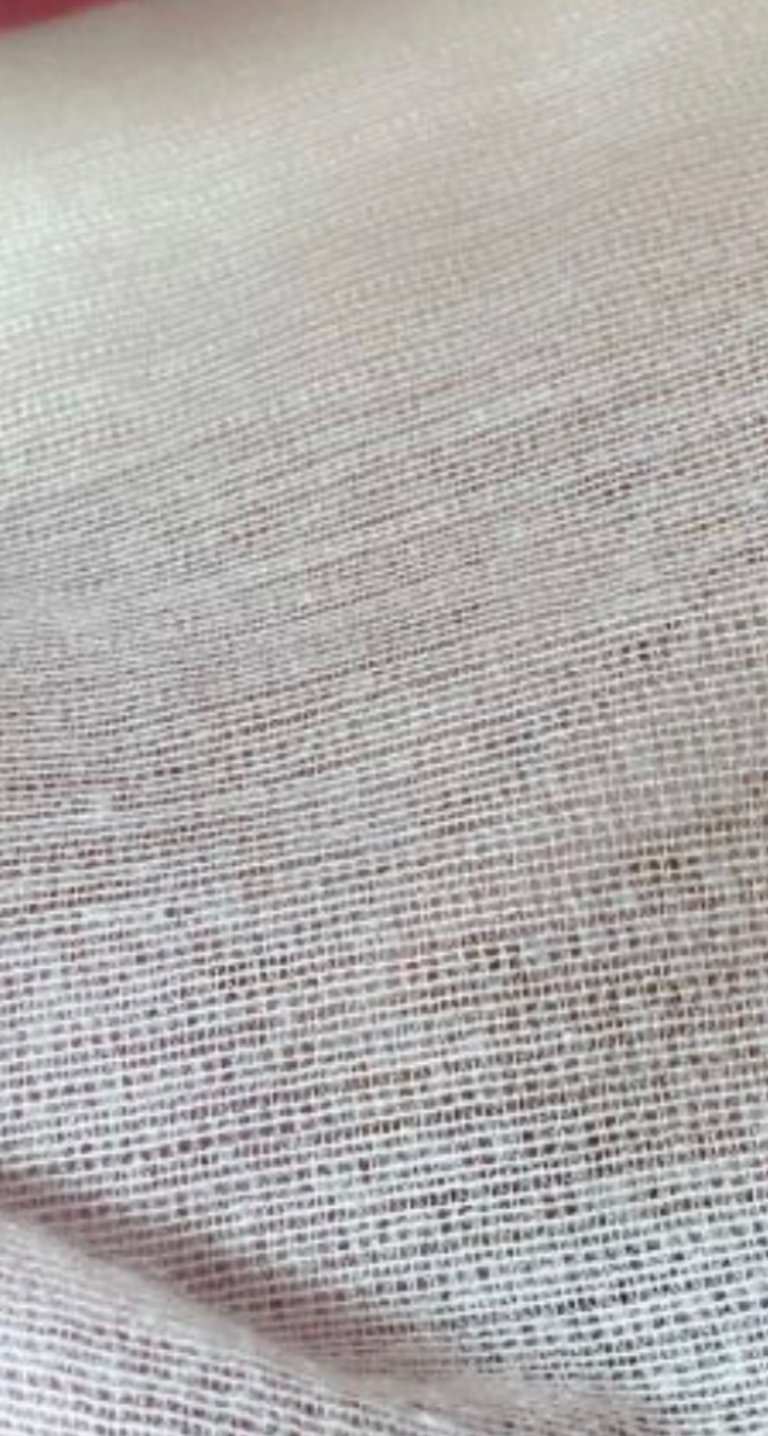
Here is an air stay
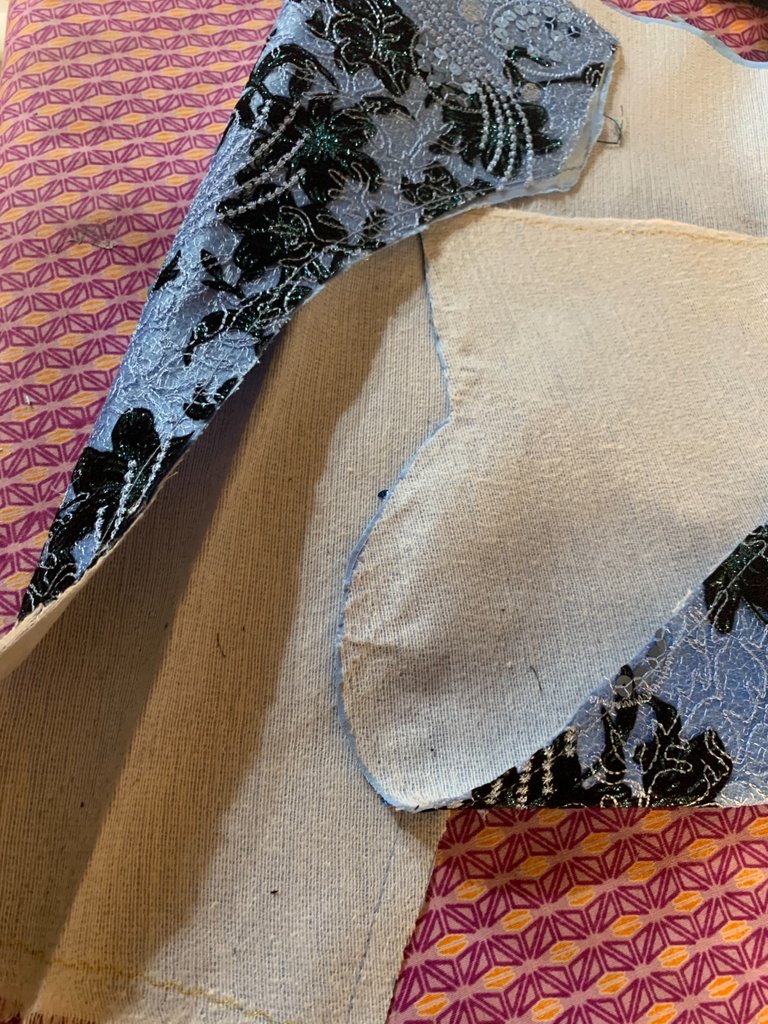
You add the air stay by ironing it on the fabric
Let’s go ahead to sew this; the front lower bodice first .
Lower bodice
First, I added the blue satin fabrics as the lining here ,then the black lace as a design
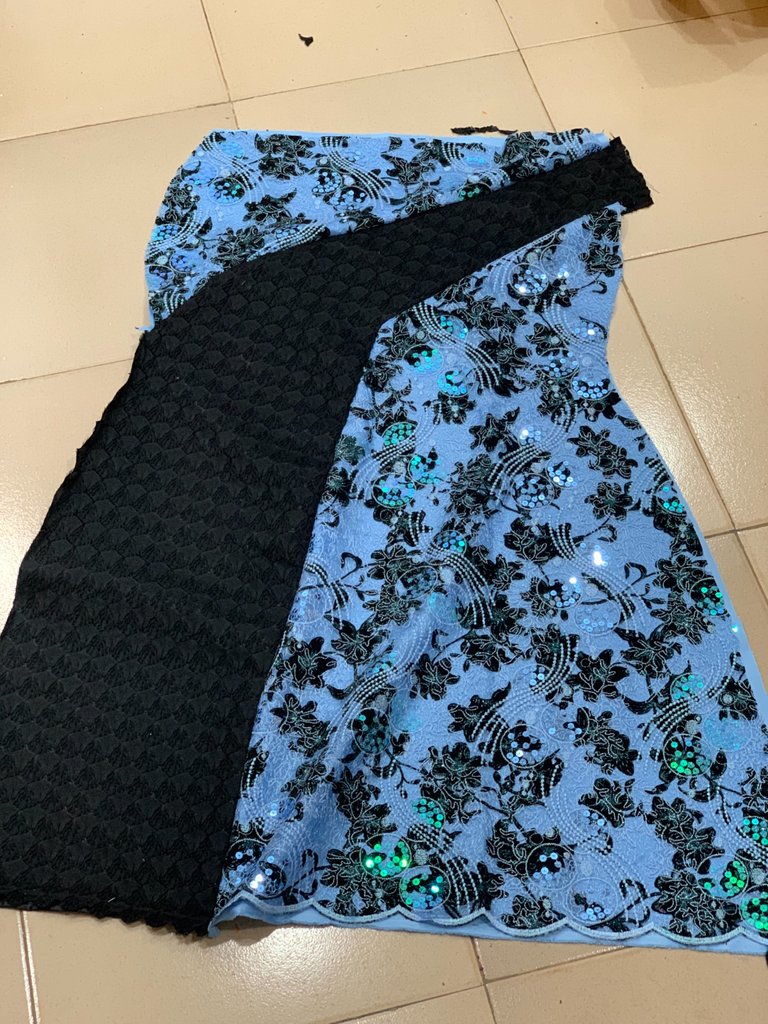
After that let’s go ahead to join the back lower bodice
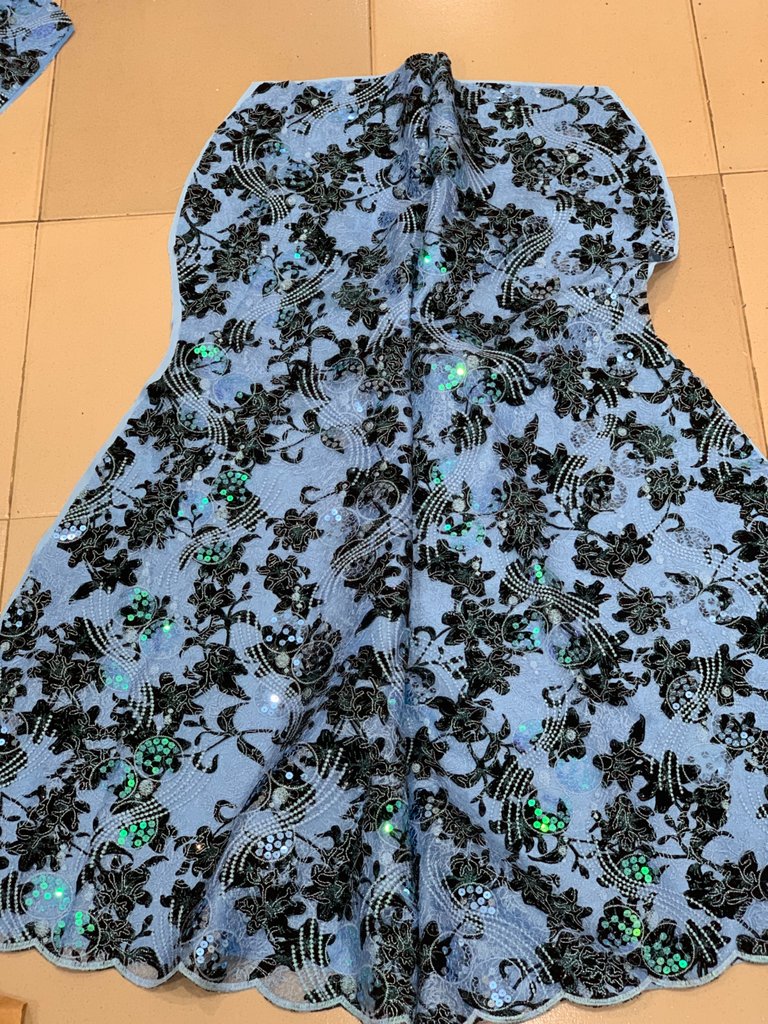
Now that we have both in pieces let’s join together to make the skirt.
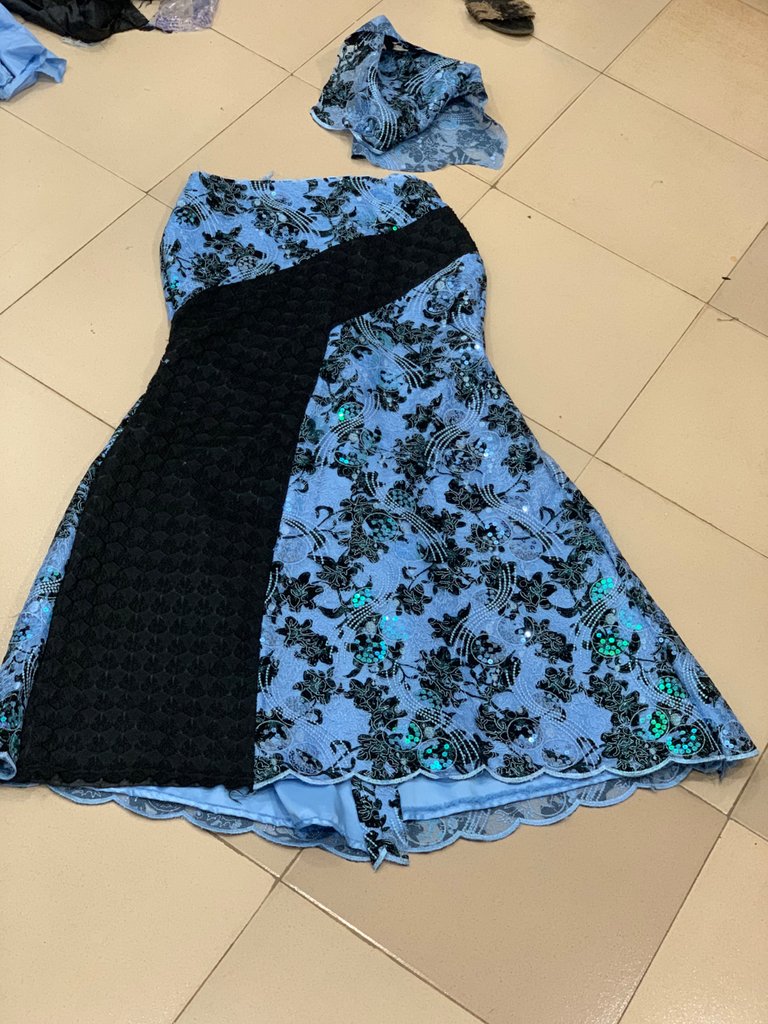
upper bodice*
Join the center front seam together, the fabric and lining separately
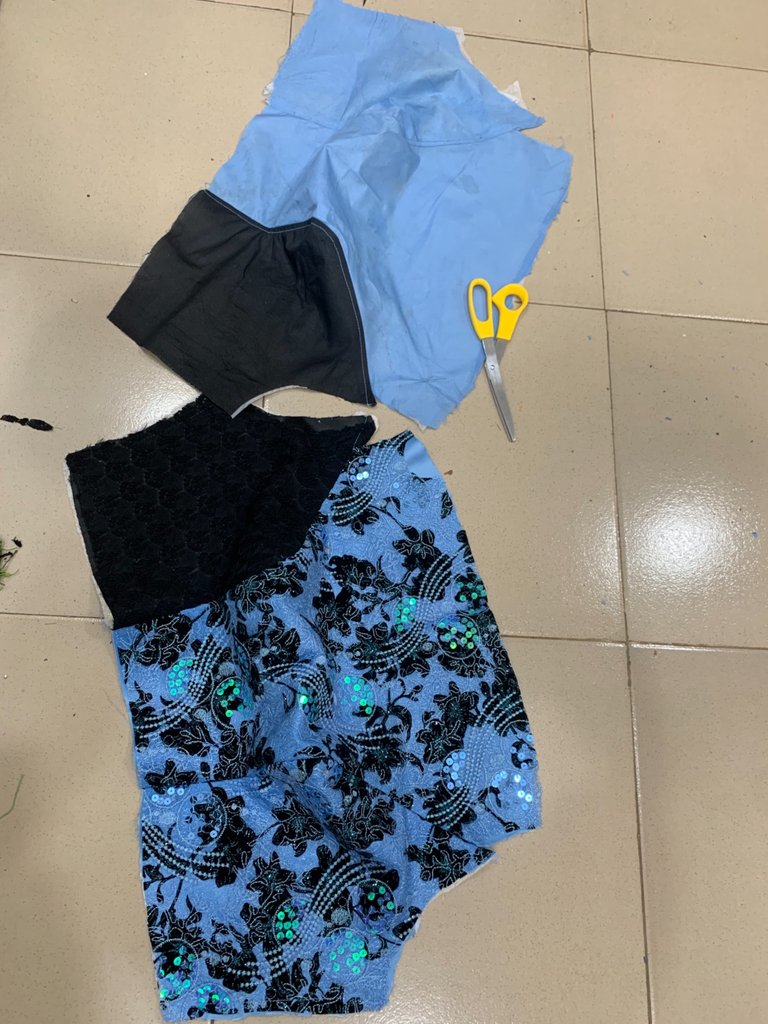
Then the upper back bodice;
Just like we did with the front bodice, join the fabric and lining separately
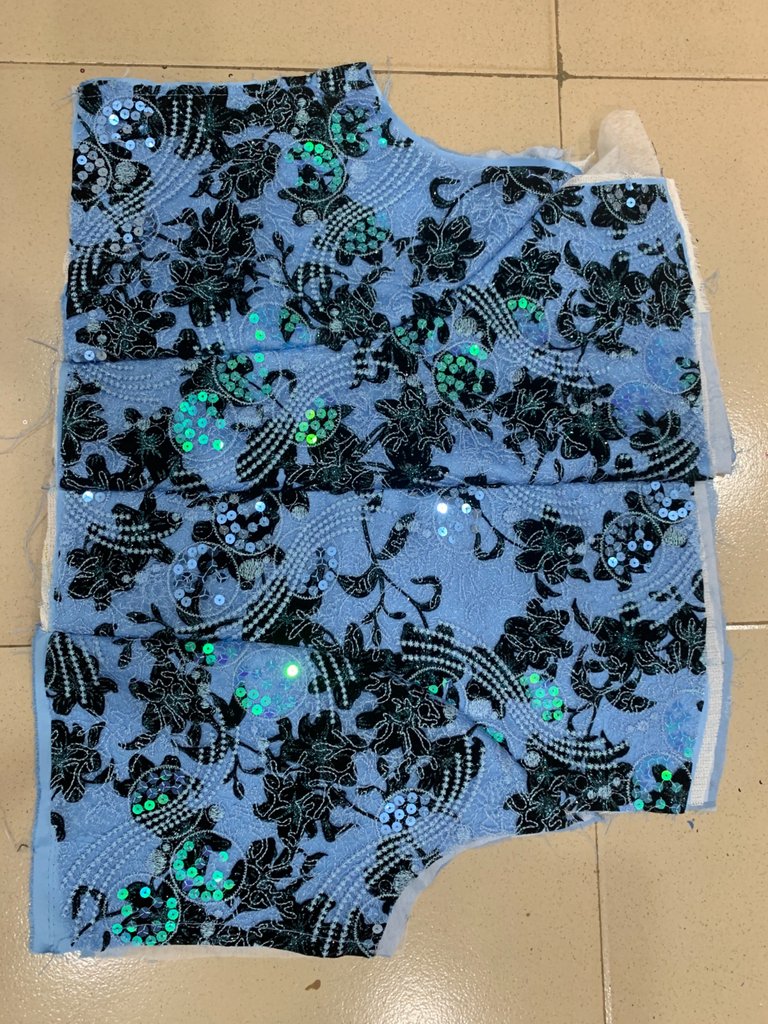
No doubt!Sewing and pressing go hand in hand to achieve perfect results.I love to Press all seams open or to the side before i sew the next step and it will give much better end results.
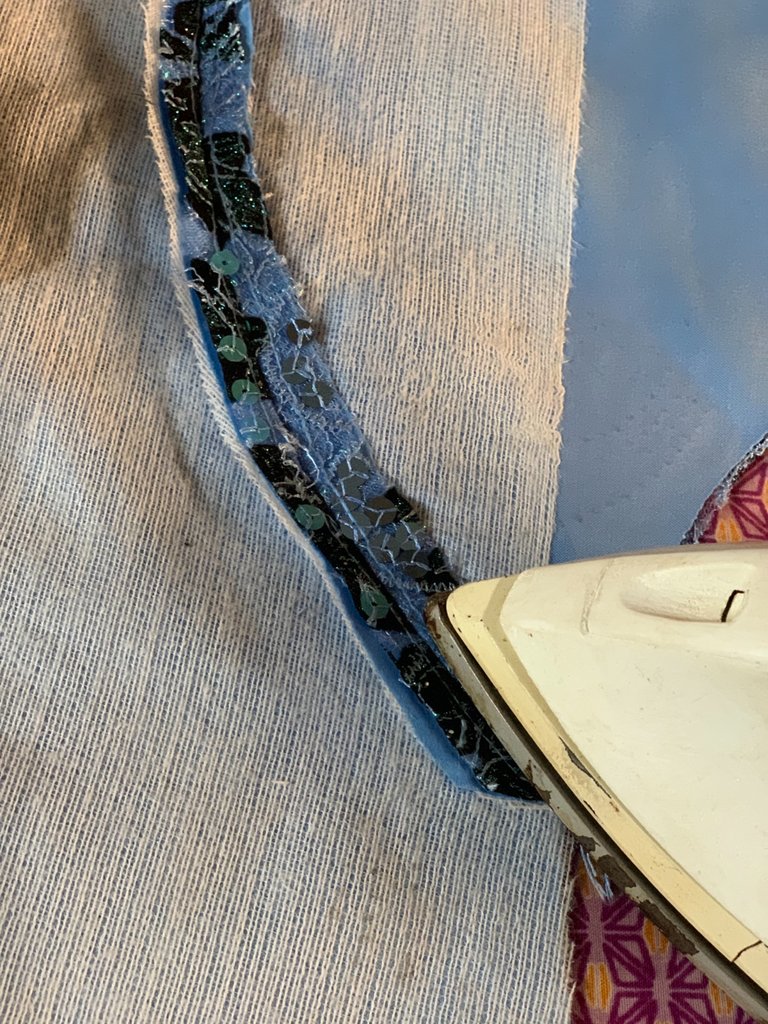
It’s nice to Press all seam as you sew, If you don't press as you sew, it would be very awkward in some areas to do it at the end. Pressing can also make sewing easier.
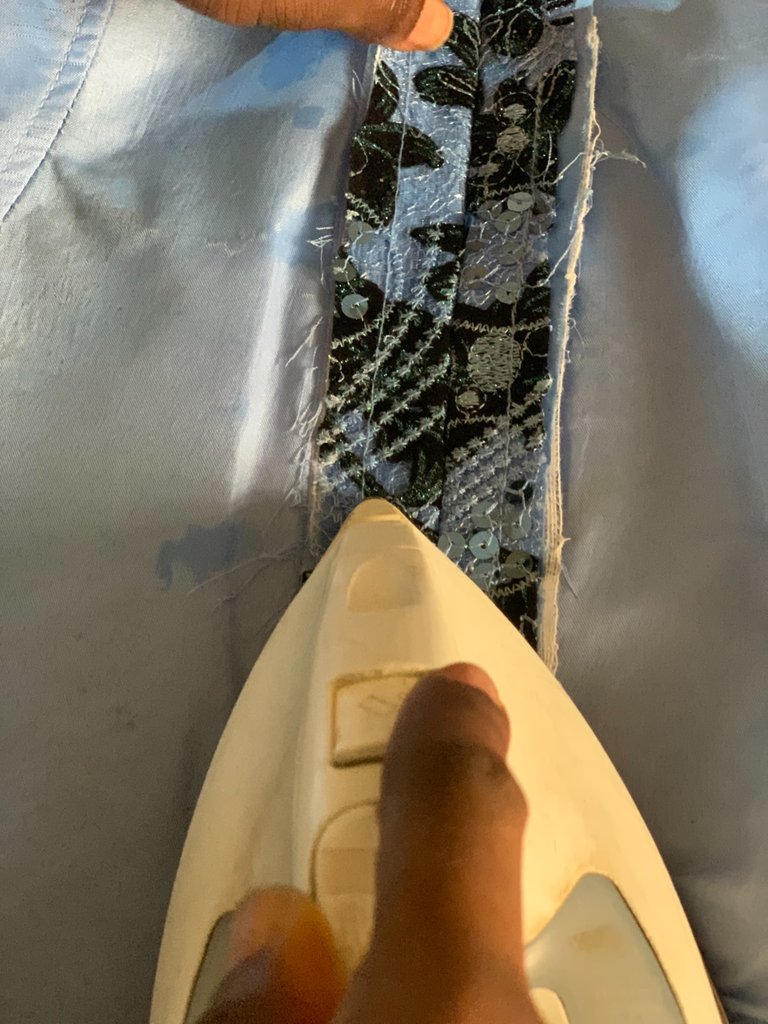
Using Steam iron will make it even easier, but since I haven’t gotten that yet😁, I use a Spray bottle of water🤩 of which You could just use the spray function on your steam iron,
Now let’s join the side seam
The next is the collar, this collar is called turtle neck collar
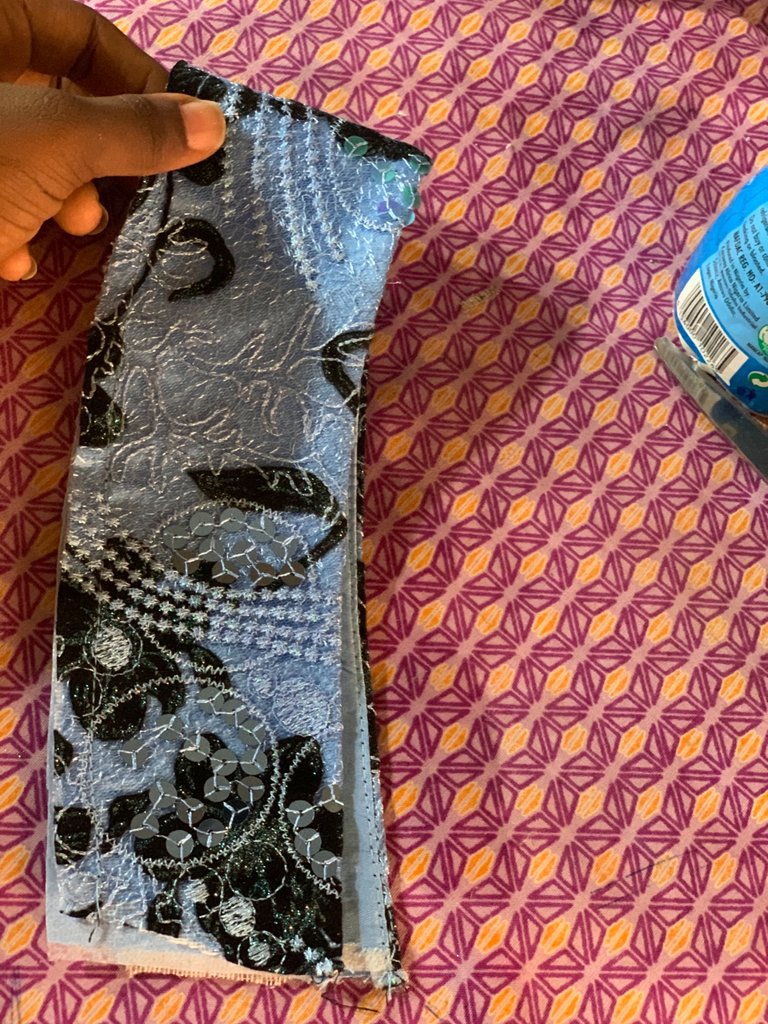
let’s fix it !
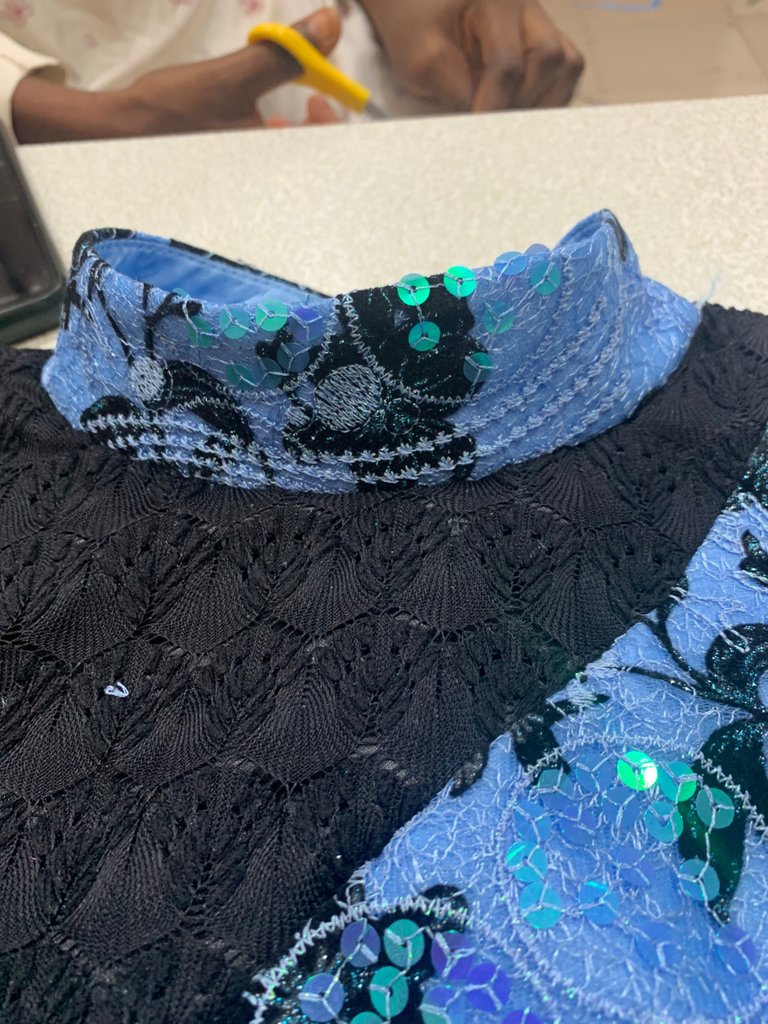
Our upper bodice and lower bodice are now ready to make a beautiful dress
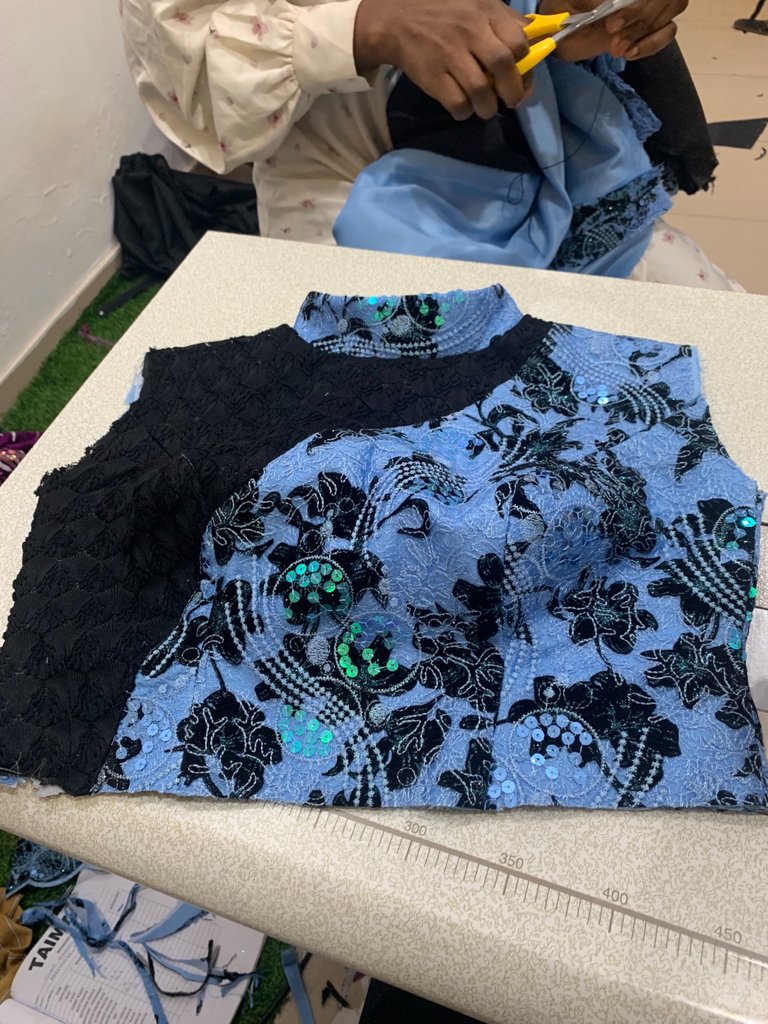
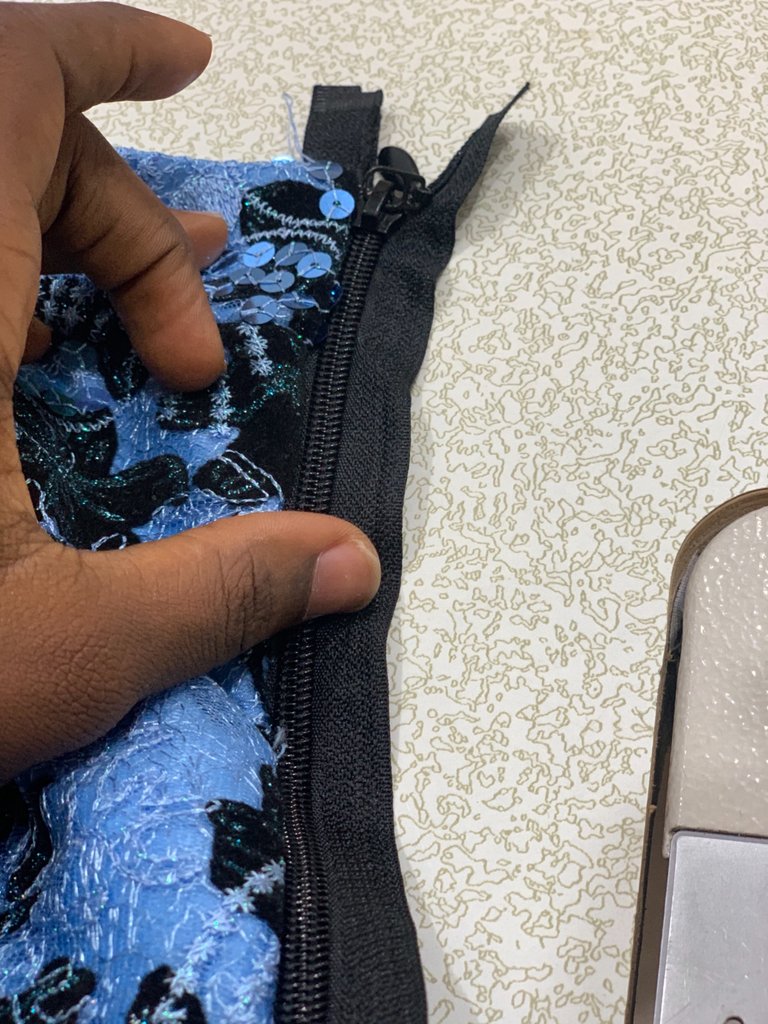
Let’s fix the zipper
This is the result after the long process
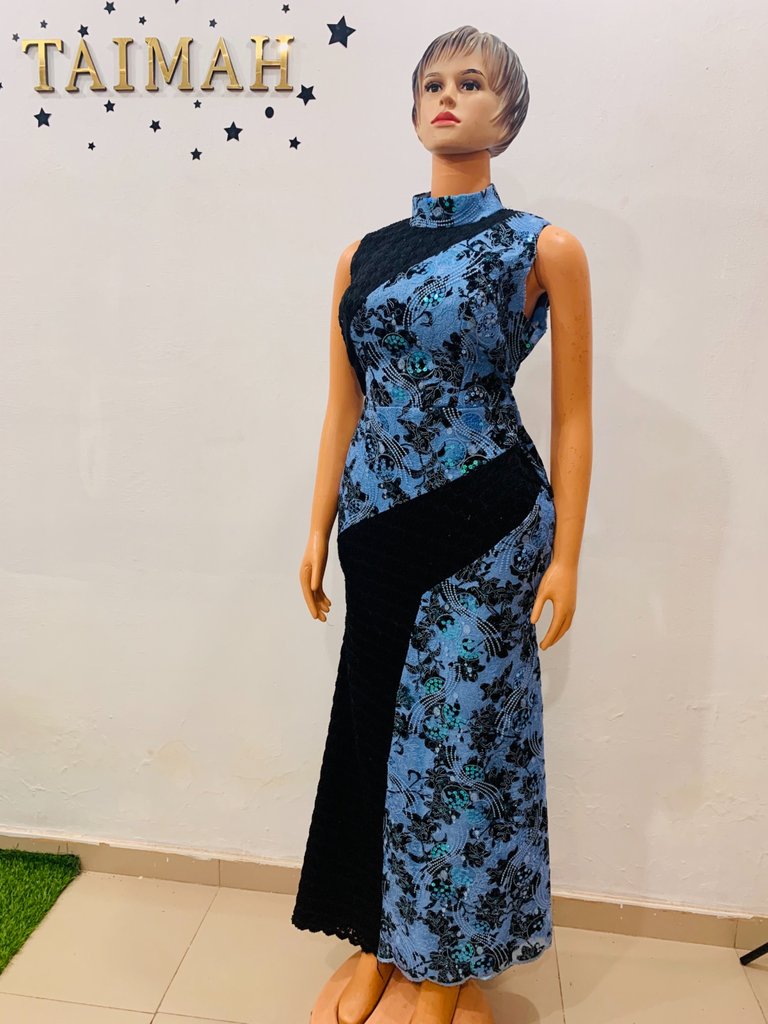
It’s time we fix the sleeve.
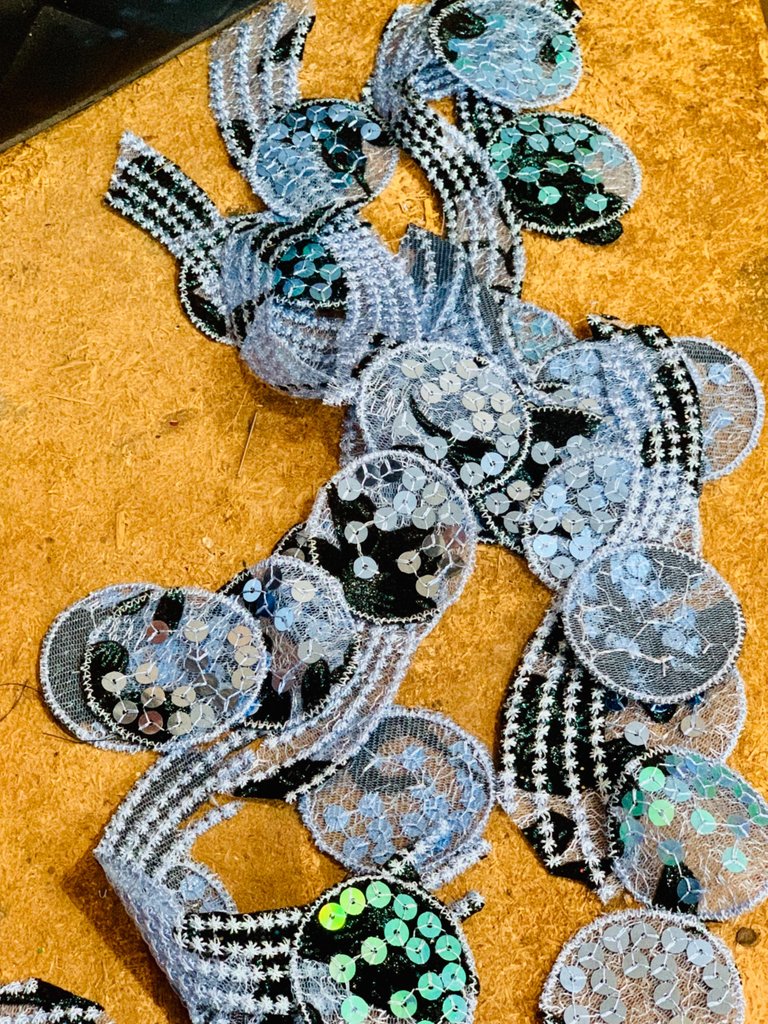
Since I’m sewing on a low budget 🥴🤪, I couldn’t afford a Swarovski appliqué or crystal beaded appliqué to beautify this dress, I decided to cut out some pattern on the blue sequin lace fabric to beautify the black lace fabric; I did that using an UHU gum
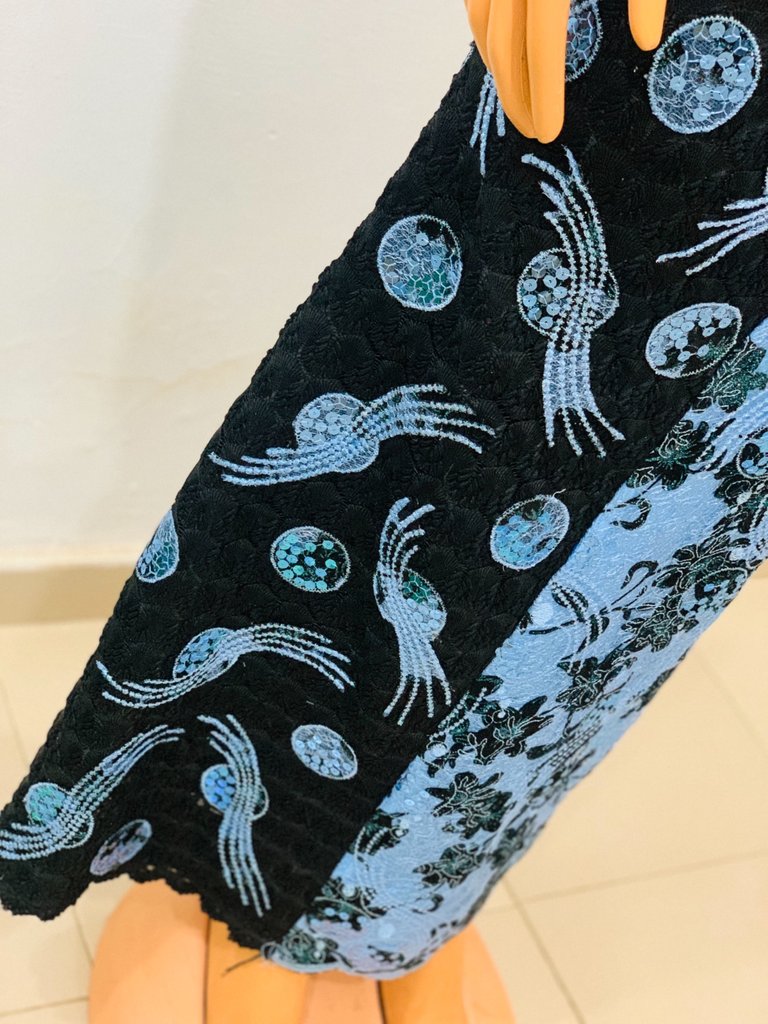
And there we go!💃💃
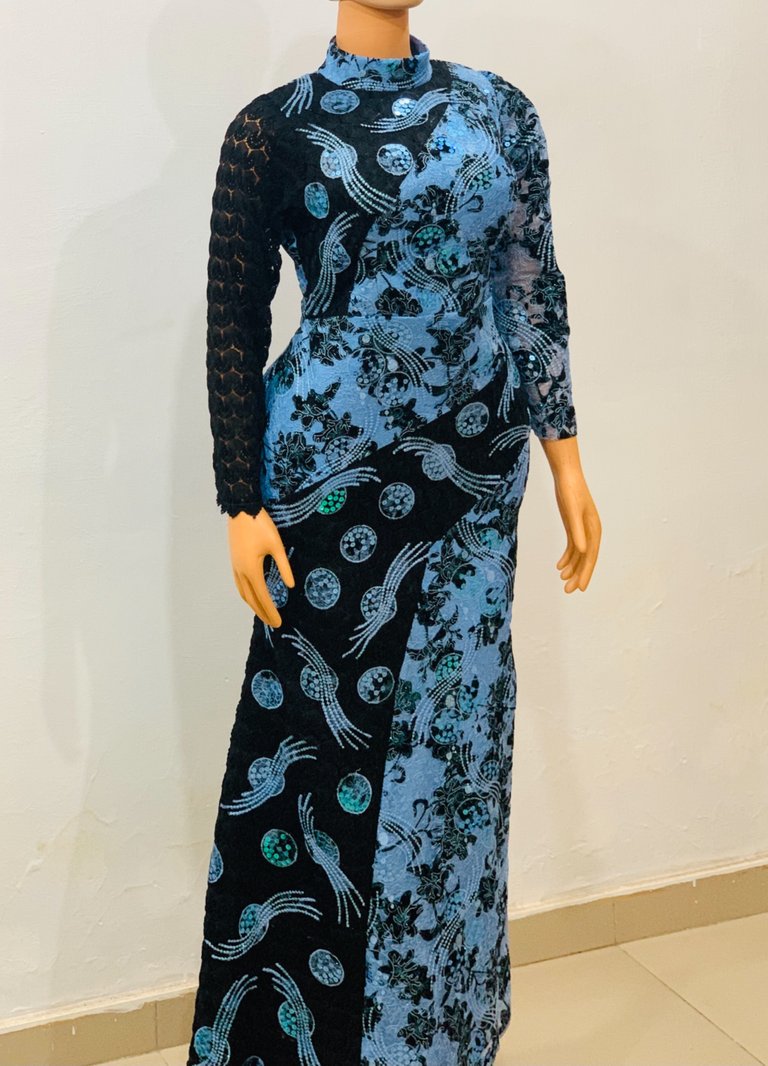
Thank you for reading to the end, I’ll appreciate you comments in the section below.
Tell me what you think