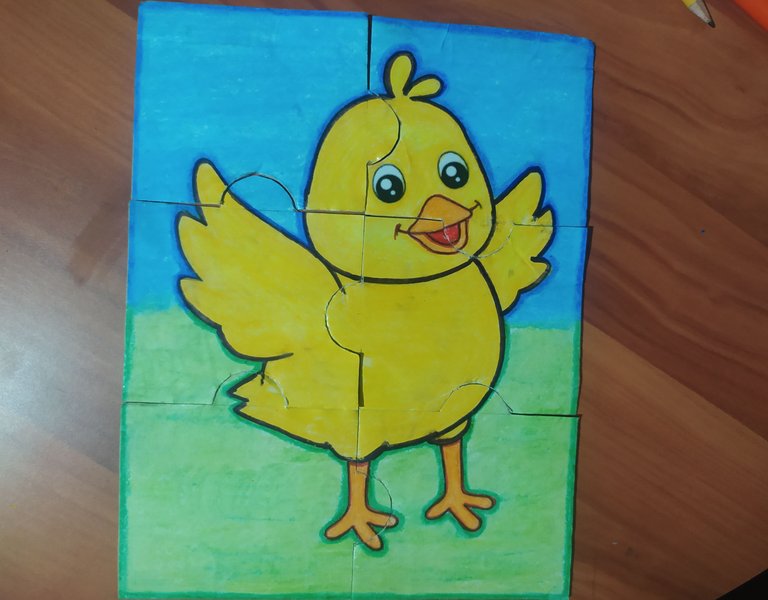
Hi guys from HiveDiy, today I want to show you how to make this puzzle that I made for my nephew Mathias' final project.
Hola chicos de HiveDiy, el día de hoy quiero enseñarles a realizar este rompecabezas que hice para el cierre de proyecto de mi sobrino mathias.
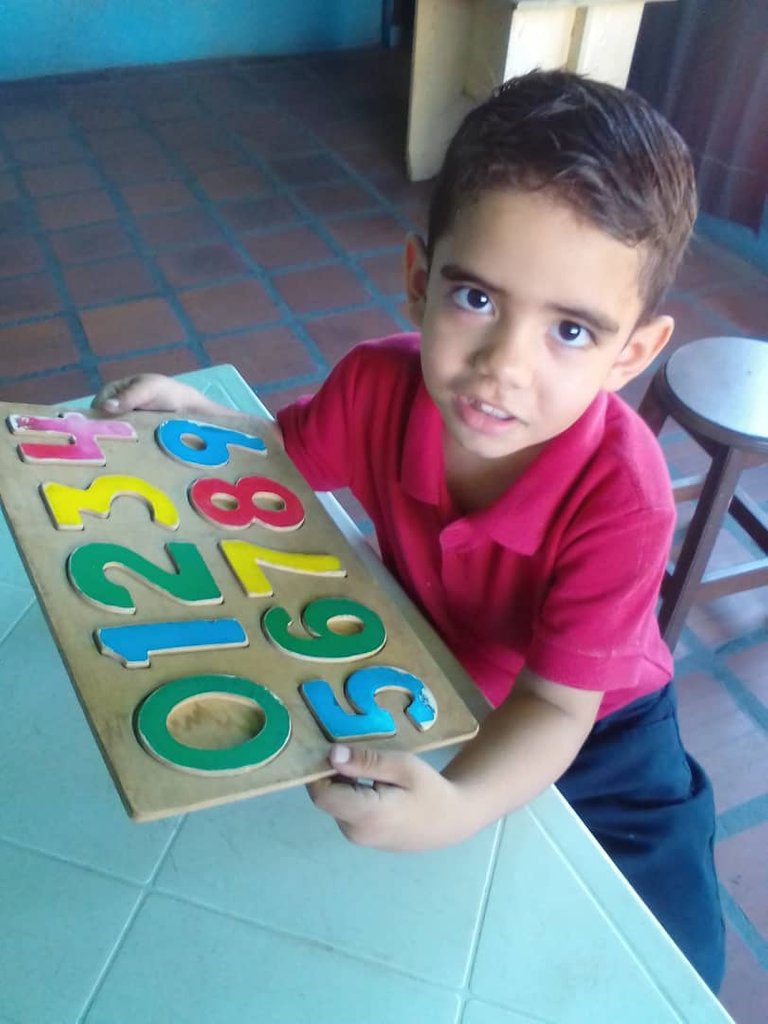
Photo of my nephew mathias taken by my
sister-in-law @hexagono6

Foto de mi sobrino mathias tomada por mi
cuñada @hexagono6
The idea for this project started yesterday, when my sister-in-law @hexagono6 was looking for someone to help her make a yellow chick puzzle because Mathias had to take it to school 🥴.
La idea de este proyecto comenzó el día de ayer, cuando mi cuñada @hexagono6 andaba buscando por mar y tierra quien la ayudará a realizar un rompecabezas del pollito amarillito porque mathias debía llevarlo a la escuela 🥴
As I like crafts and the truth is that it seemed easy to do, I told her that I would take care of it and then I would send it to her since we are not in the same city. At first the idea was to do the puzzle and that was it, but then I thought it would be a good idea to share it in this community because sometimes we think it is more difficult than it really is.
Como me gustan las manualidades y la verdad me pareció algo fácil de hacer le dije que me encargaba y luego se lo hacía llegar ya que no estamos en la misma ciudad. Al principio la idea era hacer el rompecabezas y ya, pero luego me puse a pensar que sería buena idea compartirlo en esta comunidad porque a veces creemos que es más difícil de lo que realmente es.
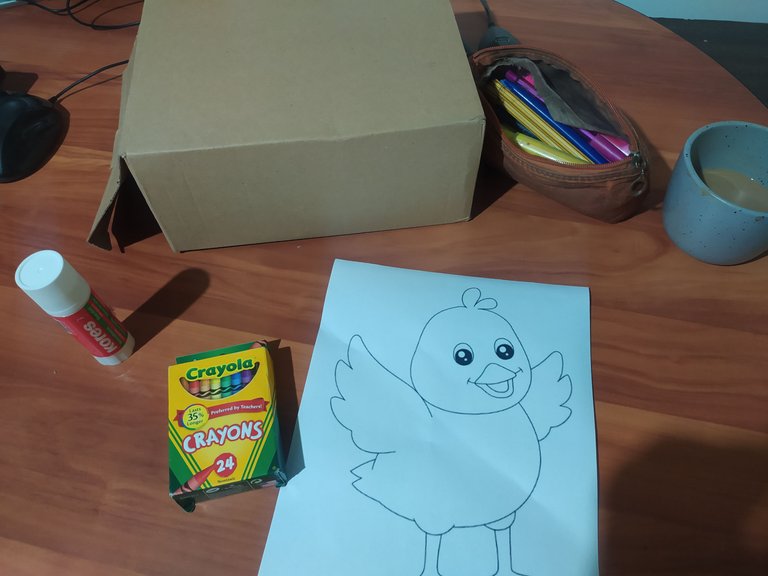
Materials:
-The drawing of your choice. I printed the drawing on a letter size sheet, and made it black and white so I could color it.
-Colors.
-Cardboard.
-Glue.
Transparent contact paper or transparent self-adhesive paper.
-Scissors.
Materiales:
-El dibujo de tu preferencia. Yo imprimí el dibujo en una hoja tamaño carta, y lo hice a blanco y negro para poderlo colorear.
-Colores.
-Carton.
-Pegamento.
-Papel contact transparente o papel autoadhesivo transparente.
-Tijeras.
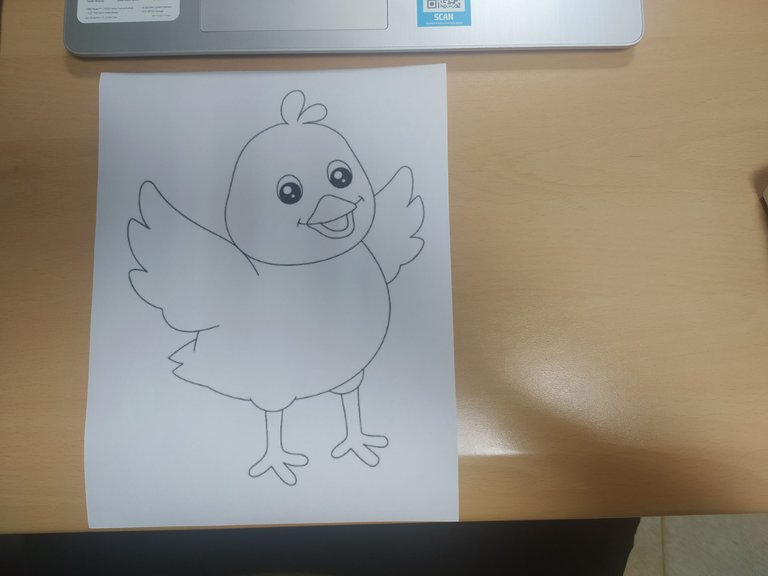
To make this puzzle you don't need to have a very colorful image, you can take an image without color and make a previous step, besides, you don't need a lot of materials, in fact you can use some recycled ones as it was in my case.
Para hacer este rompecabezas no necesitas tener una imagen muy colorida, puedes tomar una imagen sin color y hacer un paso previo, además, no necesitas muchos materiales, de hecho puedes usar algunos reciclados como fue en mi caso.
Step by step.
The first thing we will do is find the image we want to use for our puzzle. I downloaded the image to my computer and printed it.
If you want to use the same image you can download it here
Paso a paso.
Lo primero que haremos será buscar la imagen que queremos usar para nuestro rompecabezas. Yo descargue la imagen en mi computadora y la imprimí.
Si quieres usar la misma imagen puedes descargarla aqui
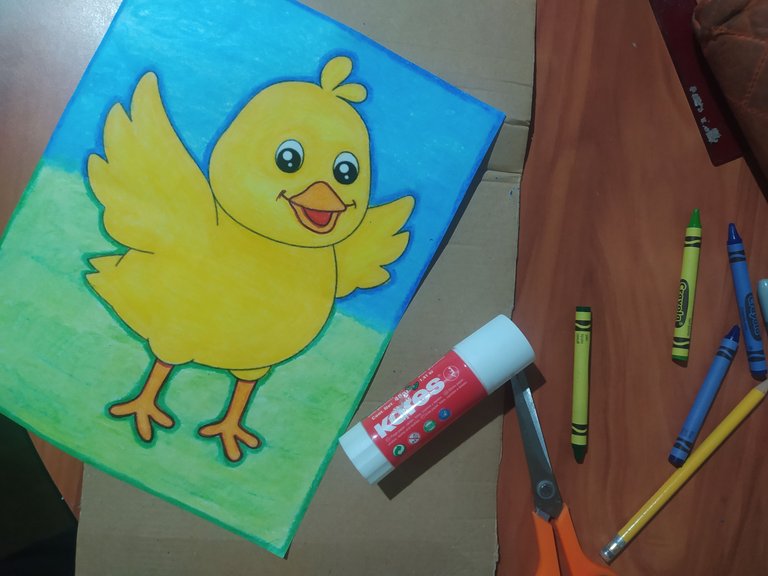
Once we have chosen the image we want, if you don't have drawing skills like me, but you like coloring, we will proceed to print the image and color it.
Elegida la imagen que queremos, si no tienes habilidades para dibujar como yo, pero te gusta colorear, procederemos a imprimir la imagen y a colorearla.
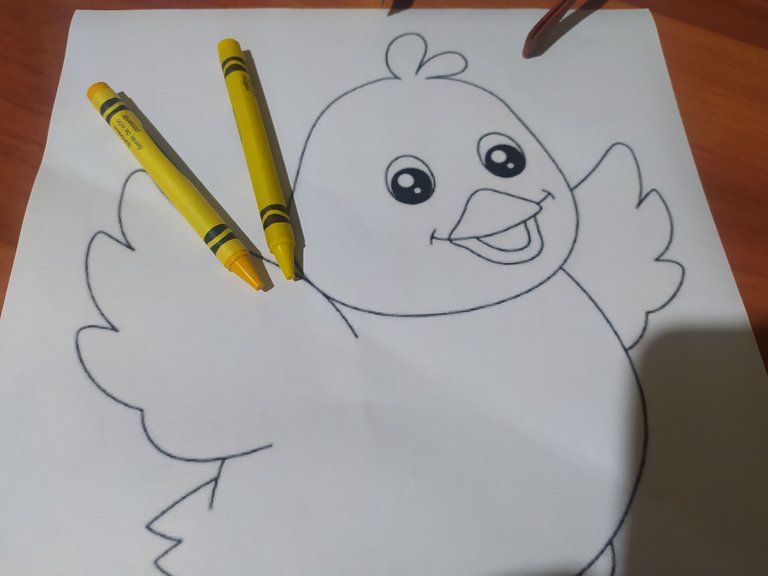
I used wax colors, so I will leave you with two techniques that I applied.
The first technique is that I use for the same color two different tones, one darker and one lighter, as you can see in the step by step photo.
Yo utilicé colores de cera, así que te dejare dos técnicas que yo aplicó.
La primera técnica es que uso por el mismo color dos tonos distintos, uno más oscuro y otro más claro, tal como lo puedes ver en la foto del paso a paso.
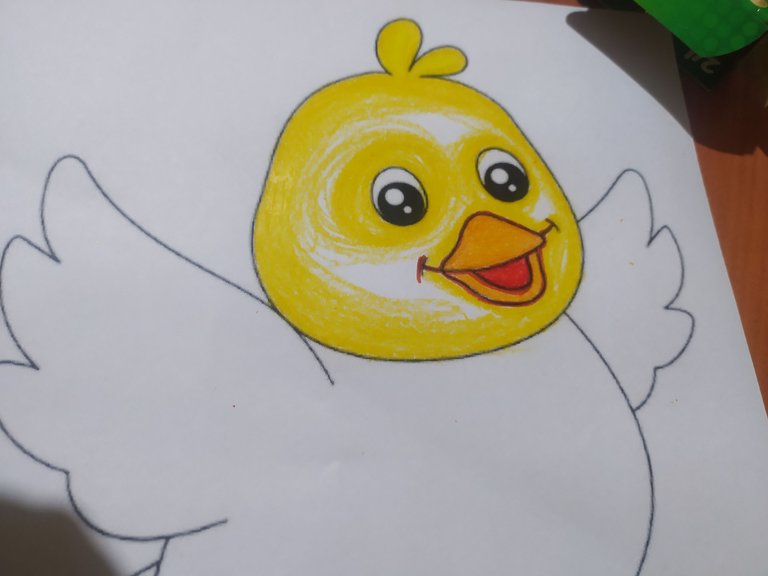
The darker tone is used for the contours, painting in circular movements, approaching the center of the drawing and then using the lighter tone for the central part and repairing what has already been colored.
El tono más oscuro lo usamos en los contornos, pintando en movimientos circulares, acercándonos hacía el centro del dibujo y luego usaremos el tono más claro para la parte central y reparar lo ya coloreado.
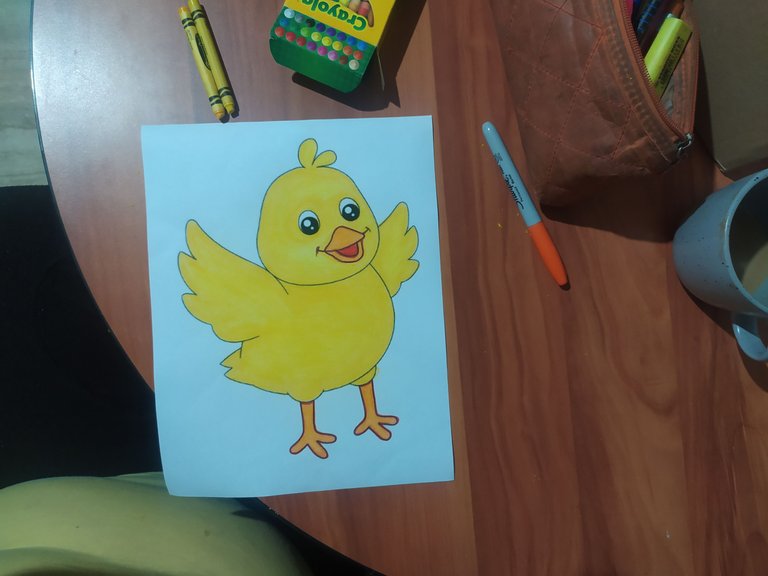
After I finished coloring the chick, I decided to color the rest of the sheet, to remove the white spaces and make it look a little less homemade. For this I used the first technique I mentioned of using the same color in two tones, but I incorporated a second technique.
Terminado de colorear el pollito, decidí colorear el resto de la hoja, para quitar los espacios blancos y que pudiera verse un poco menos hecho en casa. Para esto use la primera técnica que les mencioné de usar el mismo color en dos tonos, pero incorporé una segunda técnica.
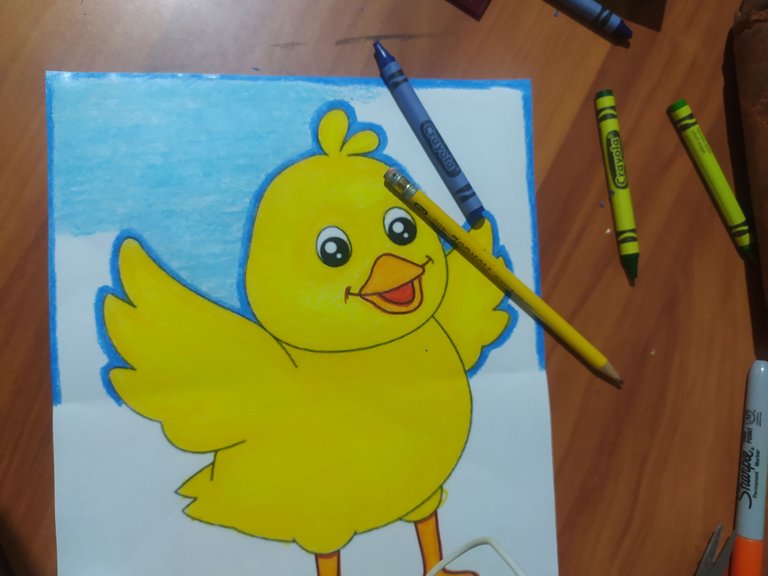
Personally, I don't like that when I use wax colors the lines are a little marked, that's why I use an eraser and very carefully and without much pressure I "erase" with circular movements to soften the line. Finally, I go over the contour lines of the drawing with a black permanent marker.
En lo personal, no me gusta que al usar los colores de cera las líneas quedan un poco marcadas, por eso yo utilizo un borrador y con mucho cuidado y sin hacer mucha presión voy "borrando" con movimientos circulares para suavizar el trazo. Por último, repaso con marcador negro permanente las líneas del contorno del dibujo.
Now it's time to make the puzzle itself.
We are going to take our drawing and we are going to glue it very well on a cardboard, it doesn't matter if it is a little bit bigger, then we can cut it out.
Make sure to add glue all over the sheet, because we are going to cut out the puzzle pieces.
Ahora sí, llegó la hora de hacer el rompecabezas en si.
Vamos a tomar nuestro dibujo y vamos a pegar muy bien de un cartón, no importa si es un poco más grande, luego podemos recortar.
Asegúrate de agregar pegamento en toda la hoja, porque vamos a cortar las piezas del rompecabezas.
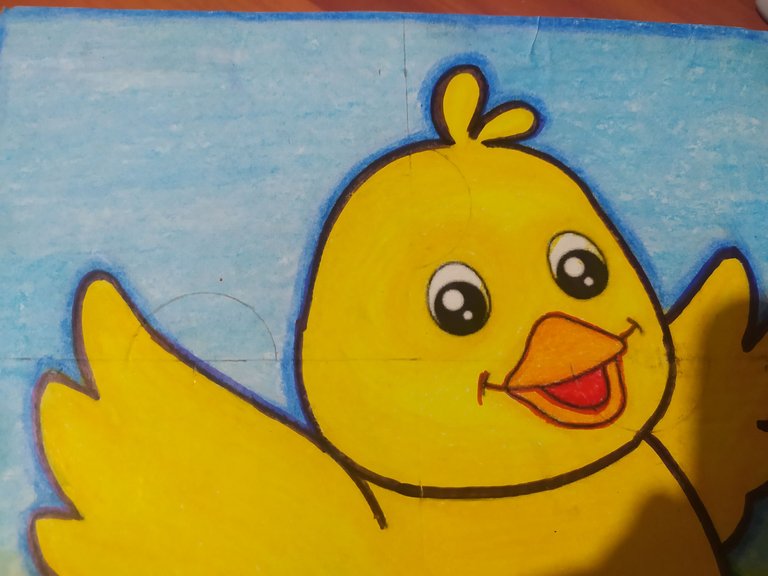
Let's take a ruler and measure the width and length of the sheet. Since I needed 6 pieces because Mathias is 4 years old, I divided the length by 3 and the width by 2. Then make smooth lines with the pencil to mark the pieces.
Vamos a tomar una regla y vamos a medir el ancho y el largo de la hoja. Cómo yo necesitaba 6 piezas porque Mathias tiene 4 años, dividí entre 3 el largo y entre 2 el ancho. Luego realice líneas suaves con el lápiz para marcar las piezas.
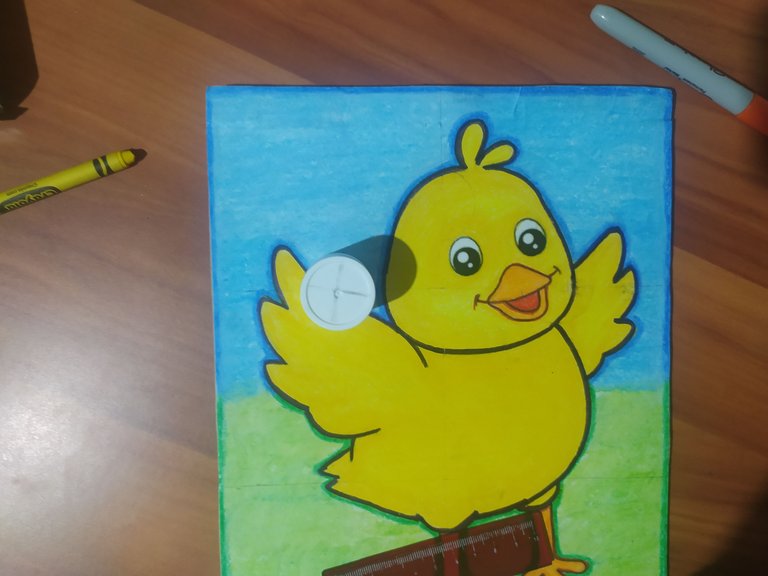
To make the shape of the piece that allows to join them, I used the glue lid, you could use a compass or any utensil you have at hand that is circular. I marked with a pencil the middle of the circle towards the side I wanted it to be and proceeded to cut with a lot of patience.
Para hacer la forma de la pieza que permite unirlas, utilicé la tapa del pegamento, podrías usar un compás o cualquier utensilio que tengas a la mano que sea circular. Marqué con lápiz la mitad del círculo hacía el lado que quería que quedará y procedí a cortar con mucha paciencia.
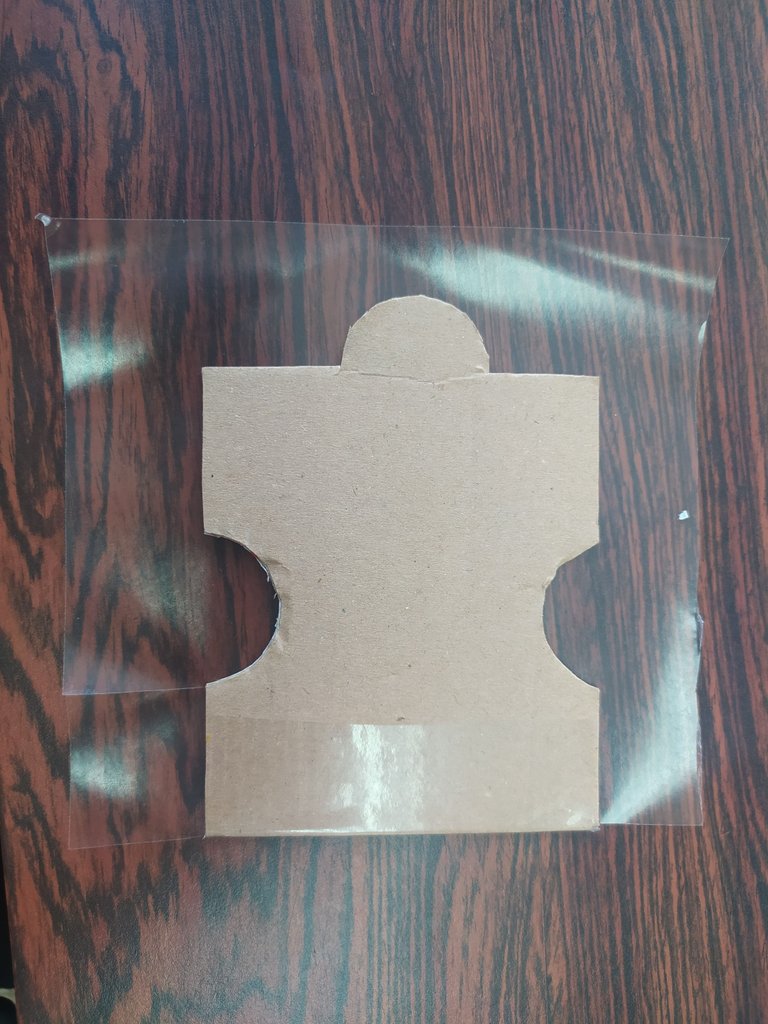
Finally, to make sure it lasts a little longer, I used the self-adhesive paper to cover each of the pieces.
Por último, para garantizar que dure un poco más, utilicé el papel autoadhesivo para cubrir cada una de las piezas.
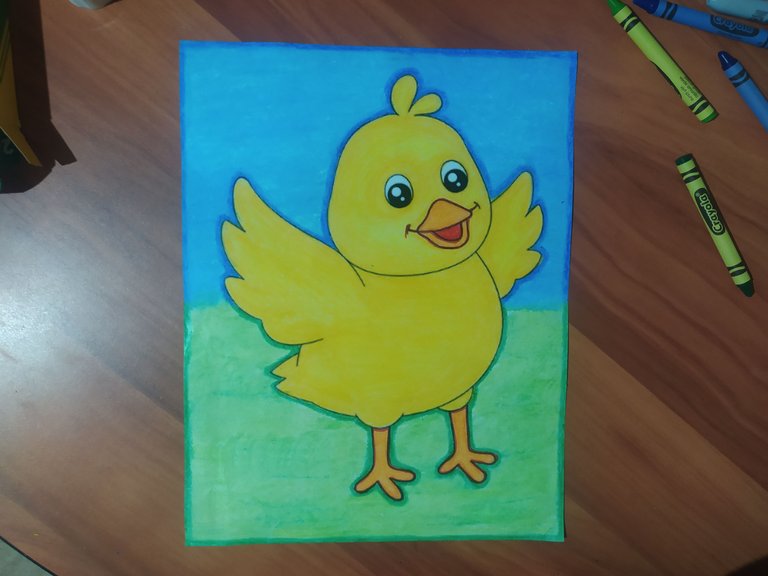
You can see that with few materials but a little dedication you can make a puzzle for children at home.
Ya ves que con pocos materiales pero un poco de dedicación puedes realizar un rompecabezas para los niños en casa.
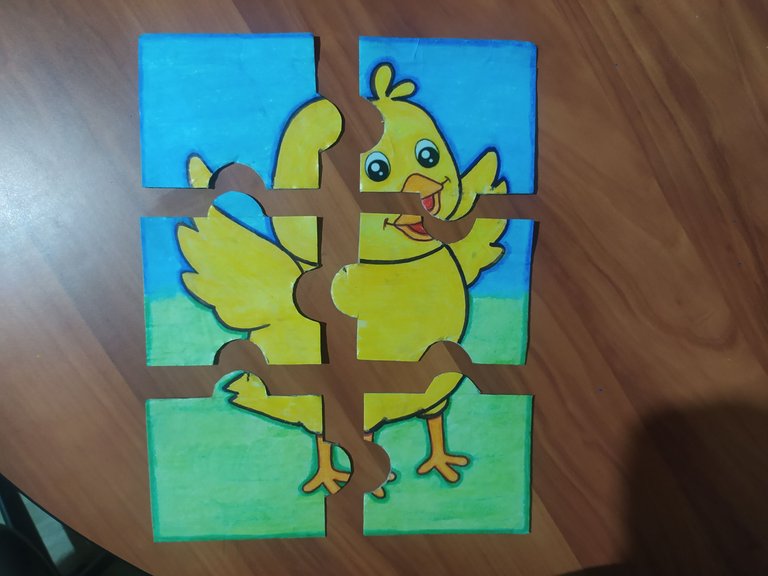

The step-by-step photos were taken with my cell phone, except for the ones with source.
Las fotos del paso a paso fueron tomadas con mi teléfono celular, excepto las que tienen fuente.

