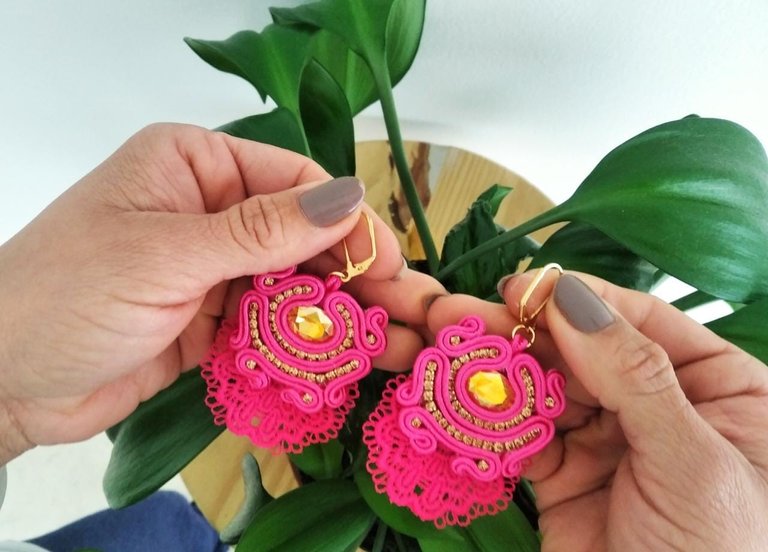
Creadoras y creadores, hoy realicé unos zarcillos en color fucsia, muy elegantes pero a al vez audaces para una ocasión espacial.
Les contaré como los hice paso a paso y que materiales vas a necesitar si quieres realizar unos en casa.
Recuerda ponerle amor a cada cosa que hagas y llenarte de paciencia, solo la constancia nos hace crear cosas increíbles.
Creators and creators, today I made some tendrils in fuchsia color, very elegant but at the same time bold for a special occasion.
I will tell you how I made them step by step and what materials you will need if you want to make some at home.
Remember to put love in everything you do and fill yourself with patience, only constancy makes us create incredible things.

Materiales de trabajo:
- Fieltro
- Bipiel
- Strass bebé
- Hilo soutache
- Piedra de cristal
- Dos colgantes para aretes
- Torchón
- Pintura para tela
- Tijera
- Silicón frío
Work materials:
- Felt
- Bi-leather
- Baby rhinestones
- Soutache thread
- Crystal stone
- Two pendants for earrings
- Torchon
- Fabric paint
- Scissors
- Cold silicone

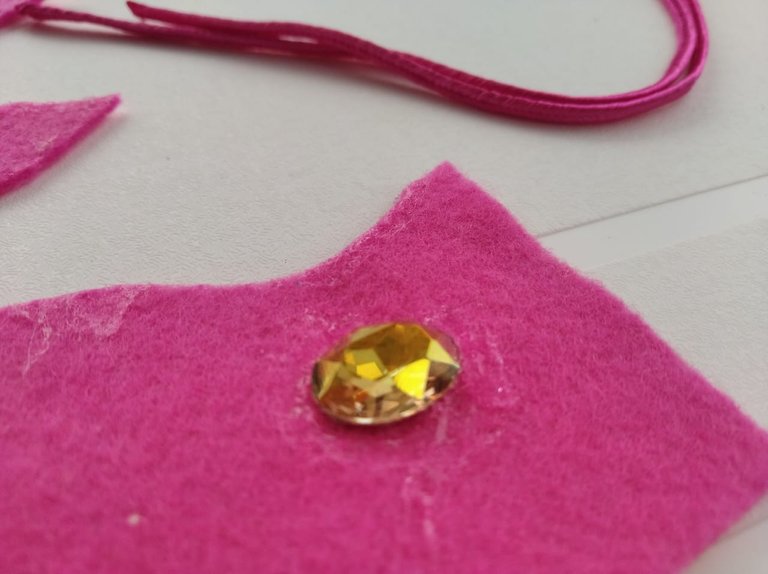
Nuestra primera acción será pegar nuestra piedra cristal del fieltro.
Luego cortaremos dos trozos de hilo soutache que recubran la piedra hacía arriba y además dejaremos unos 3cm de hilo de cada lado, y las pegaremos al rededor de la piedra con el silicón.
Our first action will be to glue our crystal stone to the felt.
Then we will cut two pieces of soutache thread that will cover the stone upwards and we will also leave about 3cm of thread on each side, and glue them around the stone with the silicone.

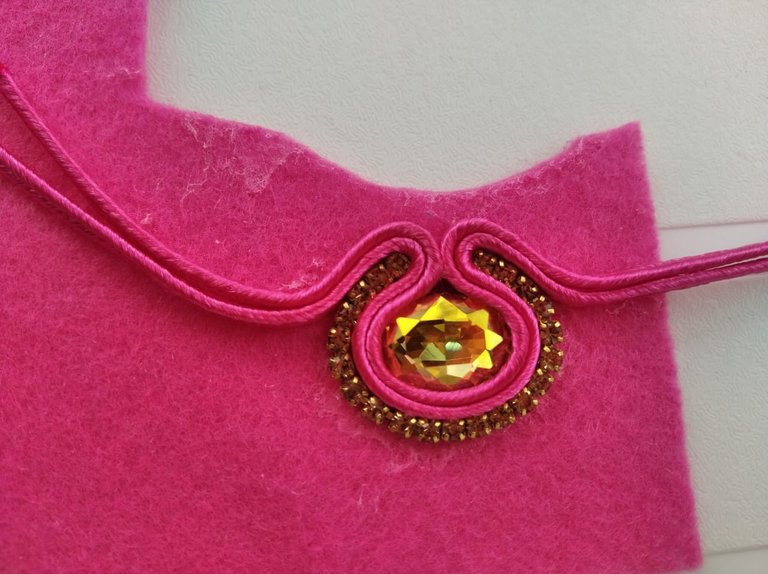
Ahora vamos a pegar el strass bebé al rededor del hilo que acabamos de colocar, y ato seguido pegaremos el hilo soutache hacía abajo aproximadamente 1 cm.
Now we will glue the baby rhinestone around the thread we just placed, and then we will glue the soutache thread down about 1 cm.


Seguimos con la parte de abajo, ahora vamos a cortar dos trozos de hilo más, que vamos pegar con silicón, en desde cada extremo del soutache de arriba, pasando por el strass que queda expuesto.
Dejando 2 cm de cordón soutache en los extremos.
We continue with the bottom part, now we are going to cut two more pieces of thread, which we are going to glue with silicone, from each end of the top soutache, passing through the rhinestone that is exposed.
Leaving 2 cm of soutache cord at the ends.


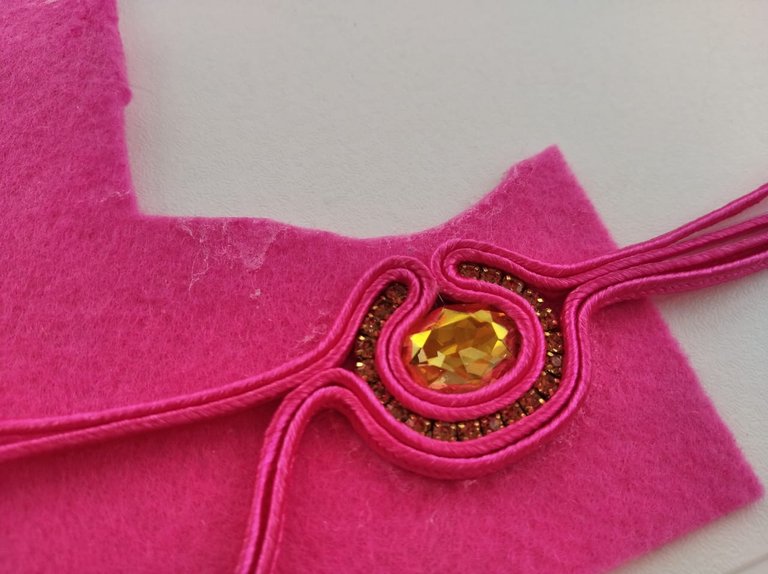
En esta parte de hilo que acabamos de colocar vamos a pegar strass nuevamente, solo en la parte de abajo, acto seguido pegamos hacía abajo el hilo, colocando silicón entre el strass y el fieltro, 1cm solamente.
In this part of the thread that we have just placed we will glue rhinestones again, only in the lower part, then we glue down the thread, placing silicone between the rhinestones and the felt, only 1cm.
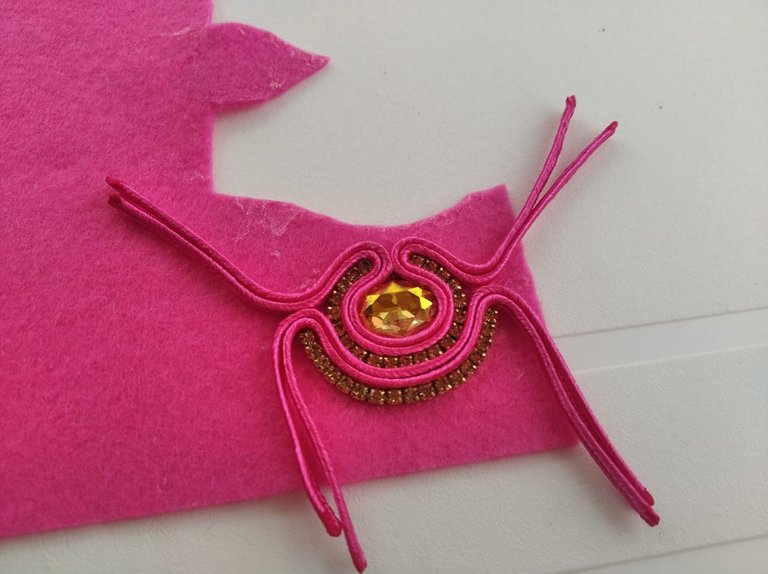
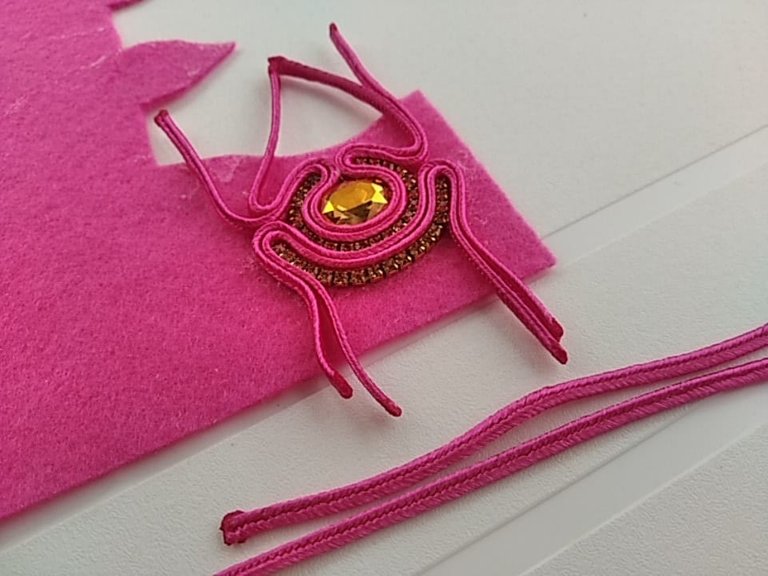
En el tramo descubierto que queda de strass vamos a cortar otros dos cordones de soutache, y lo vamos a pegar hasta llegar al cordón de arriba.
Luego de que pegamos los dos cordones, vamos a recortar nuestra pieza del fieltro, y ahora vienen los detalles de los lados.
On the uncovered section of rhinestones we will cut two more soutache cords, and glue them together until we reach the top cord.
After we glue the two strings, we will cut our piece from the felt, and now come the details on the sides.
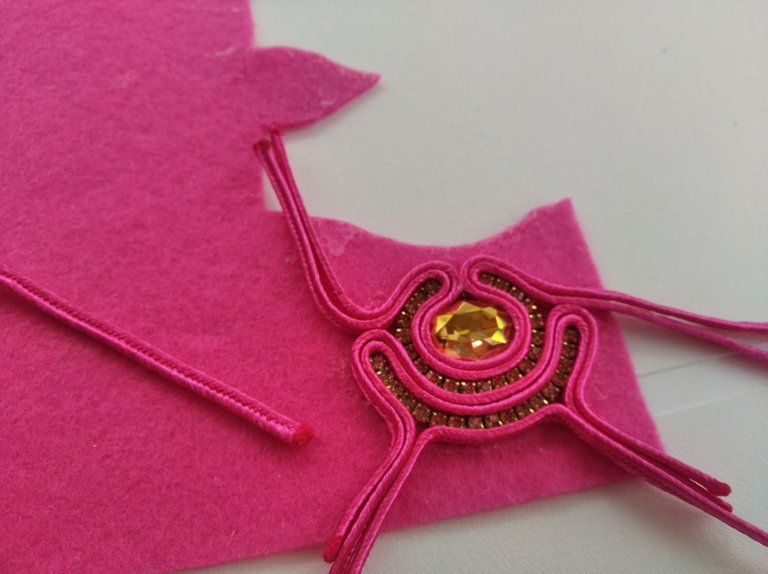

Quitamos los excesos de fieltro con mucho cuidado y vamos a cortar 4 unidades de strass, estos nos van a servir de decoración.
En los cordones superiores colocamos silicón en las esquinas, y vamos a poner un strass y lo rodeamos con el cordón y pegamos por la parte trasera.
Carefully remove the excess felt and cut 4 units of rhinestones, these will serve as decoration.
We place silicone on the corners of the upper cords, and we will put a rhinestone and surround it with the cord and glue it on the back side.
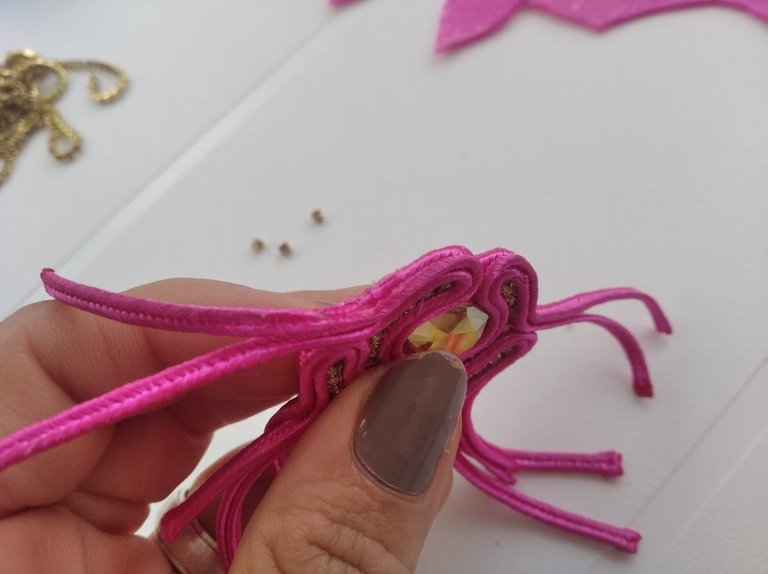


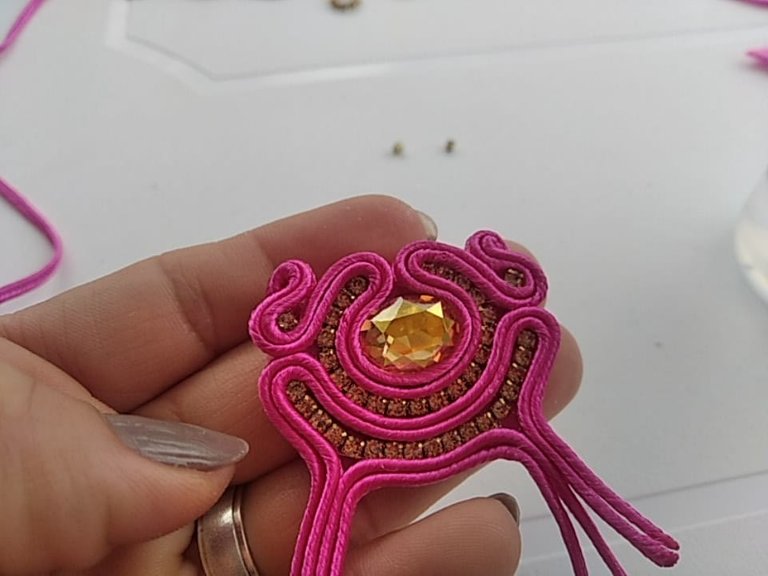
La mayor parte del soutache es moldear con las manos, cuando hacemos pasos pequeños como este hay que hacerlo con dedicación, para que amos lados se vean igual de prolijos.
Con los cordones del medio, vamos a realizar un circulo también hacía la parte de atrás, esta vez sin strass.
Most of the soutache is molding with the hands, when we make small steps like this we have to do it with dedication, so that both sides look equally neat.
With the laces in the middle, we are going to make a circle also towards the back, this time without rhinestones.


Ya nos quedan solo los cordones de abajo, aquí vamos a volver a repetir el proceso de los primeros, silicón y pegamos el strass en la esquina, lo bordeamos con el hilo y lo pegamos hacía atrás. Repetimos en ambos lados.
Now we only have the bottom laces left, here we are going to repeat the process of the first ones, silicone and glue the strass in the corner, we border it with the thread and glue it backwards. Repeat on both sides.


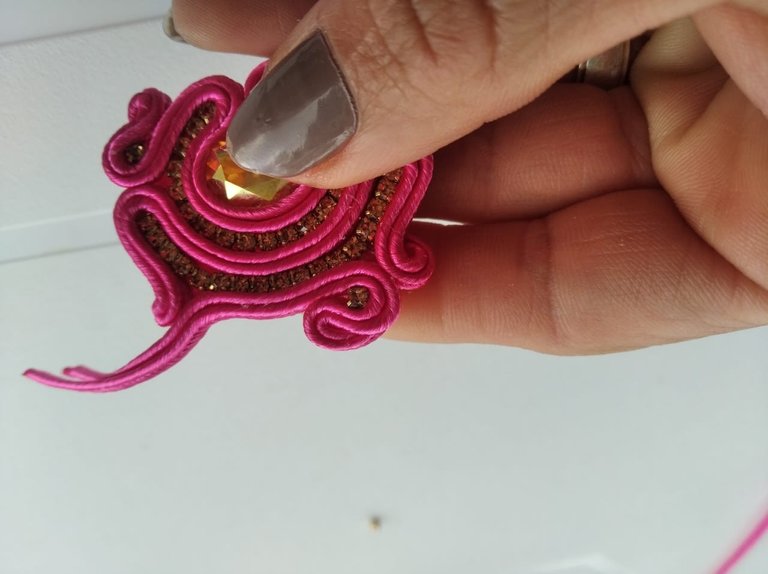
Así deben quedar... Yo fui haciendo ambas piezas porque la verdad es un proceso que demora.
This is how they should look... I made both pieces because it is a process that takes a long time.
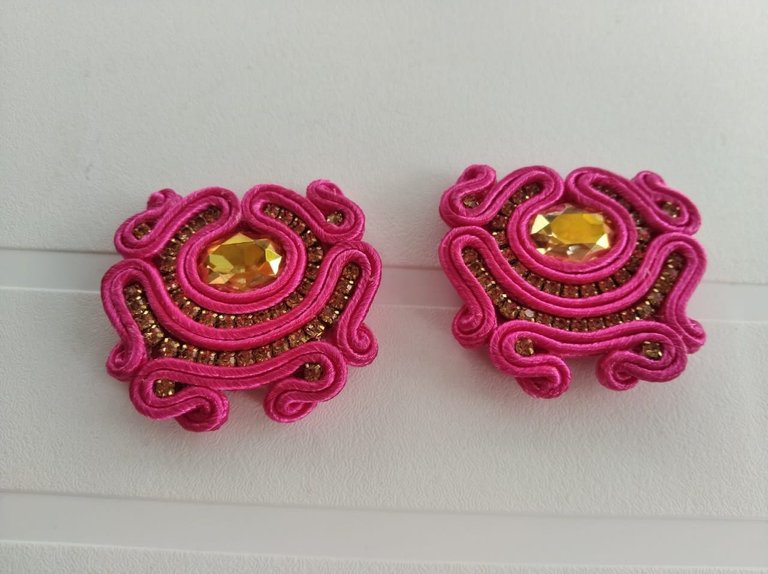
Con las bases ya realizadas, las llamó bases porque es como lo más extenso del trabajo y además lo que engrana todo el arete.
Ahora voy a pintar las flores de torchón con la pintura para tela.
Es importante cubrir la flor por ambos lados para que la parte de atrás no se vea de otro color.
With the bases already made, I call them bases because it is like the most extensive part of the work and also what meshes the whole earring.
Now I am going to paint the torchon flowers with the fabric paint.
It is important to cover the flower on both sides so that the back does not show a different color.


Cuando las flores secaron no me gustó el color, así que le puse en tono más claro para que quedará más armónico con el color de la pieza que ya hicimos.
When the flowers dried I didn't like the color, so I added a lighter tone to make it more harmonious with the color of the piece we had already made.


Mientras se secan, Vamos a terminar de armar el arete.
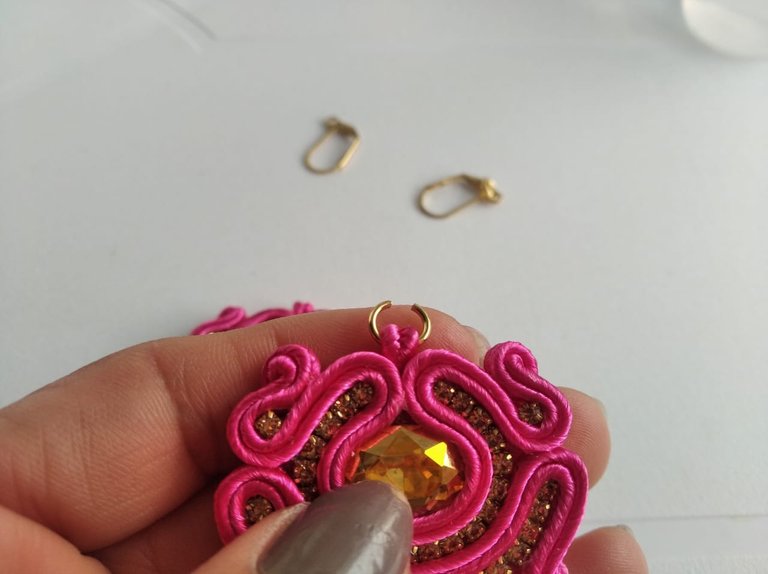
Cortamos 1,5 cm de cordón soutache dos veces, lo pegamos haciendo una rito en el medio de la pieza ya construida.
Cuando ese este bien pegado, vamos a meter una argollita donde irá el colgante para la oreja.
While they dry, let's finish assembling the earring.
We cut 1.5 cm of soutache cord twice, we glue it making a rite in the middle of the piece already built.
When it is well glued, we are going to put a small ring where the ear pendant will go.
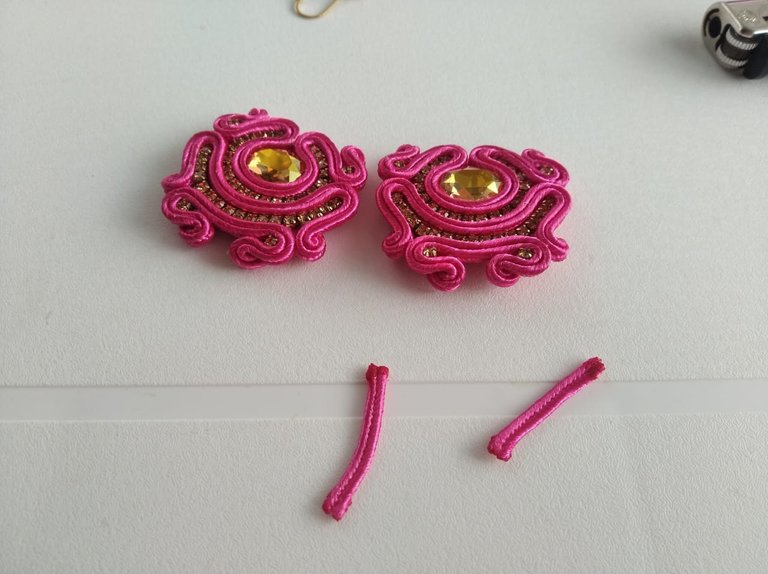


Seguimos a dar los últimos pasos de este modelo...
Vamos a pegar nuestras flores a la mitad de nuestra pieza de soutache, antes de pegarla vamos a tomar la pieza y la marcaremos en nuestra bipiel que sellará la parte trasera para que todo tenga mejor acabado.
We continue to take the last steps of this model....
We are going to glue our flowers to the middle of our soutache piece, before gluing it we are going to take the piece and mark it on our bipiel that will seal the back part so that everything has a better finish.
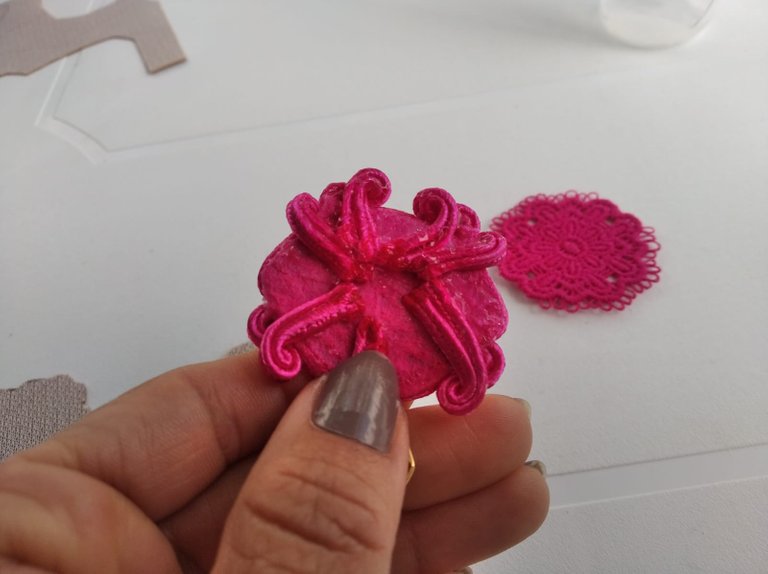

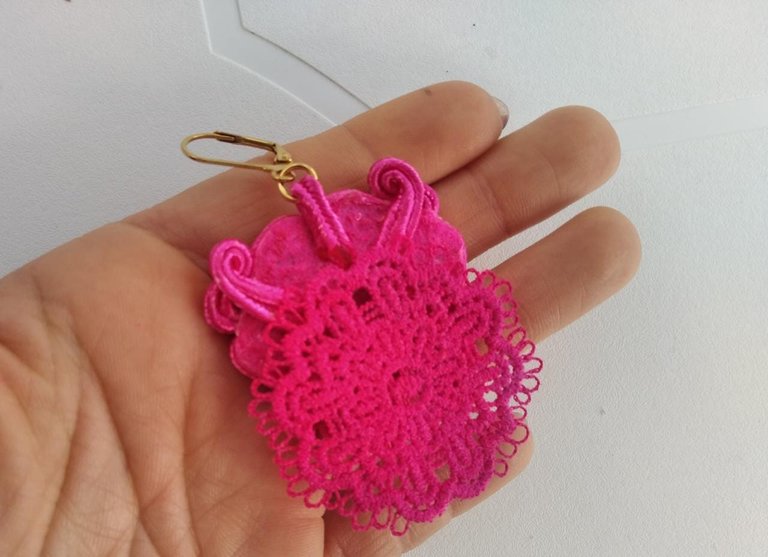
Recortamos la bipiel en la forma que la marcamos, le ponemos bastante silicón frío y la pegamos manteniendo la forma correcta en la parte trasera.
We cut out the bipiel in the shape we marked it, put a lot of cold silicone on it and glue it keeping the correct shape on the back side.


Ese fue nuestro último paso, ya sé que fue un tutorial muy largo, pero vale la pena cuando lo terminamos y vemos el proyecto tan bonito y elegante que hemos realizado.
That was our last step, I know it was a very long tutorial, but it is worth it when we finish it and see the beautiful and elegant project we have done.
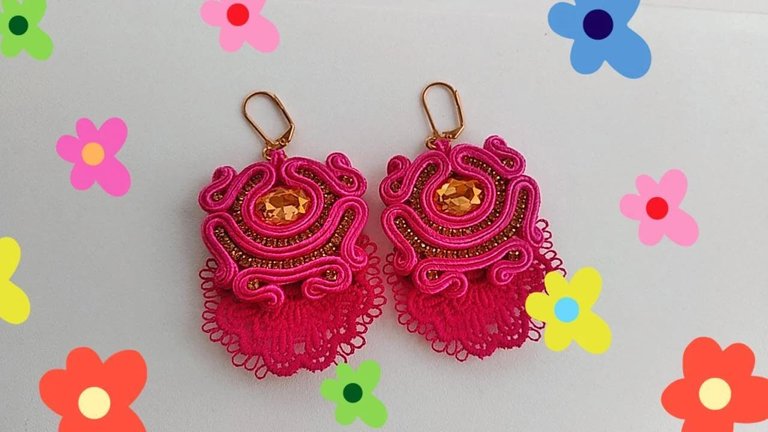

Las fotografías fueron tomadas por mi, con mi celular Xiaomi 7A, y los diseños los realicé con la aplicación Canva.
¡Nos leemos pronto!
Thanks for visiting my blog, I hope you liked this idea as much as I did, the key is to enjoy what we do.
The pictures were taken by me, with my Xiaomi 7A cell phone, and the designs were made with the Canva application.
See you soon!
