Hola creativos de toda la comunidad de Hive especialmente a los que son parte de HiveDiy. Como saben hace algunos años me dedico a la elaboración de accesorios, y después de emigrar a Colombia he tenido que comenzar de cero e ir armando mi espacio.
Hoy fabriqué un exhibidor o porta pulseras para tomarle fotos a lo que voy realizando y también muy útiles cuando tienes tus prendas en casa y te gusta tenerlas ordenadas.
Hello creatives from all the Hive community, especially to those who are part of HiveDiy. As you know I have been making accessories for a few years now, and after emigrating to Colombia I had to start from scratch and start building my space.
Today I made an exhibitor or bracelet holder to take pictures of what I'm doing and also very useful when you have your clothes at home and you like to have them tidy.

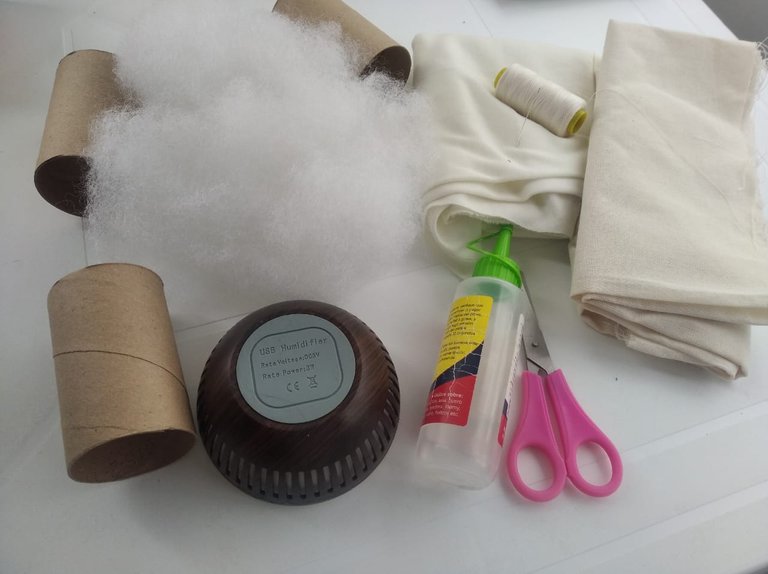
Materiales:
- Retazo de tela de algodón
- Retazo de liencillo
- Tijera
- Aguja e hilo
- Silicón frío
- Cinta adhesiva
- 3 Rollitos de papel higiénico
- Relleno
- Base dañada de humificador o cual base que quieras usar.
Materials:
- Piece of cotton fabric
- Piece of canvas
- Scissors
- Needle and thread
- Cold silicone
- Adhesive tape
- 3 rolls of toilet paper
- backfill
- Damaged humidifier base or whatever base you want to.

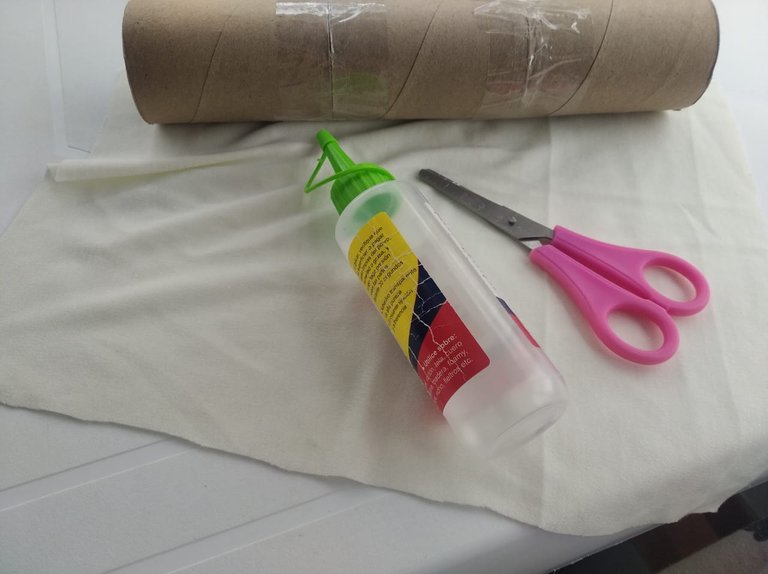
Lo primero que haremos es unir los tres rollitos de papel con cinta adhesiva. Recuerda poner suficiente para que queden bien fijados.
The first thing we will do is to join the three rolls of paper with adhesive tape. Remember to put enough so that they are well fixed.

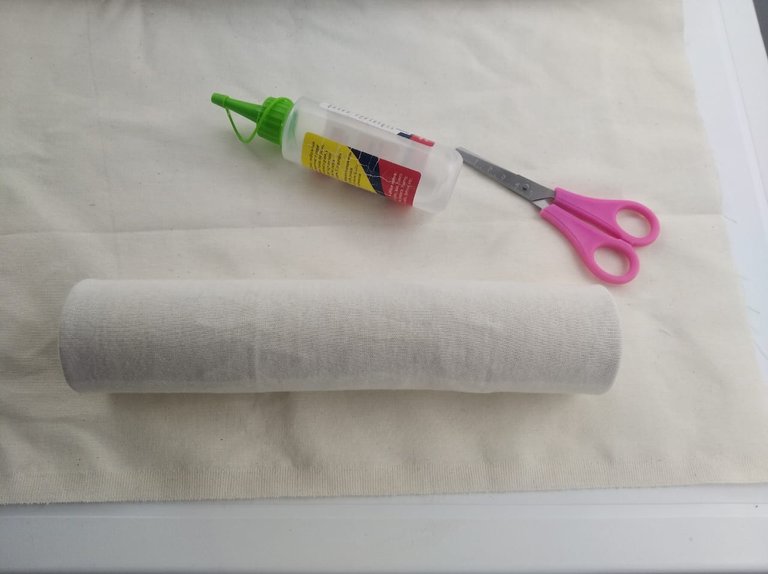
Luego voy a forrar los tres rollitos con la tela de algodón. La uso porque el liencillo que pondré arriba es un poco transparente, así que ponerle un fondo le da un mejor acabado.
Vamos a cortar la tela del tamaño de nuestros rollitos, importante que dejemos por lo menos 2cm de los laterales para que los metamos dentro de los agujeros.
La forro pegando la tela con silicón frío solo en las puntas.
Then I'm going to line the three rolls with the cotton fabric. I use it because the canvas that I will put on top is a bit transparent, so putting a bottom gives it a better finish.
We are going to cut the fabric to the size of our rolls, it is important that we leave at least 2cm of the sides so that we can put them inside the holes.
I glue the fabric with cold silicone only on the ends.


Ya que tenemos el cilindro con el algodón pegado, vamos a forrar con el liencillo todo el cilindro por encima del algodón, como siempre solo usamos el silicón en los extremos, para que no se arrugue en el medio.
Dejamos unos centímetros más a los extremos y los pegamos dentro del hueco que queda en cada lado.
Now that we have the cylinder with the cotton glued, we are going to line the entire cylinder with the canvas over the cotton, as always we only use the silicone at the ends, so that it does not wrinkle in the middle.
We leave a few centimeters more at the ends and glue them inside the hole that is left on each side.


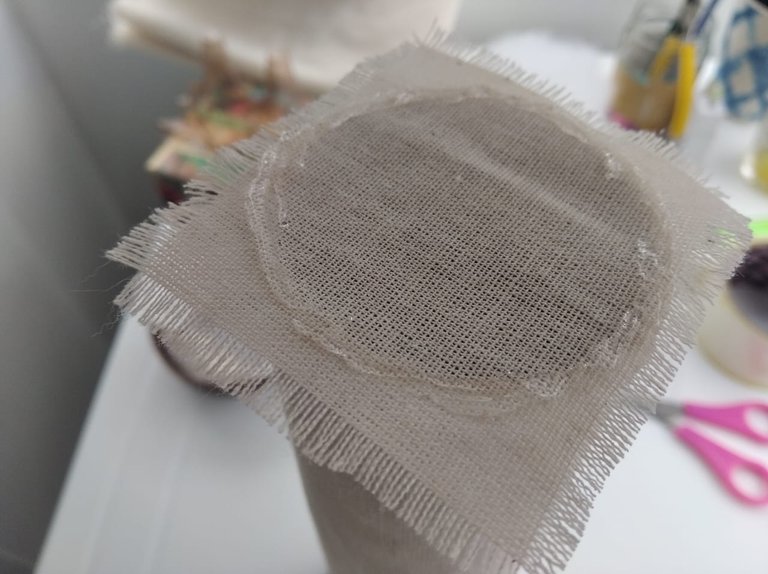
Para cerrar la parte de arriba corté dos pedacitos de liencillo y los pegué uno arriba de otro en el agujero.
También pegué las puntitas al cilindro, y quedó muy lindo
To close the top I cut two small pieces of canvas and glued them one on top of the other in the hole.
I also glued the ends to the cylinder, and it looked very nice.



Como se me había dañado mi humidificador, tomé la parte de abajo para hacer la base, pero les cuento que estuve intentando romperla y no pude. La mano me dolía, le dí con una pinza, con un destornillador y no la pude separar del fondo blanco.
Since my humidifier had been damaged, I took the bottom part to make the base, but I have to tell you that I tried to break it and I couldn't. My hand hurt, I hit it with tweezers, with a screwdriver and I couldn't separate it. My hand hurt, I hit it with tweezers, with a screwdriver and I could not separate it from the white bottom.


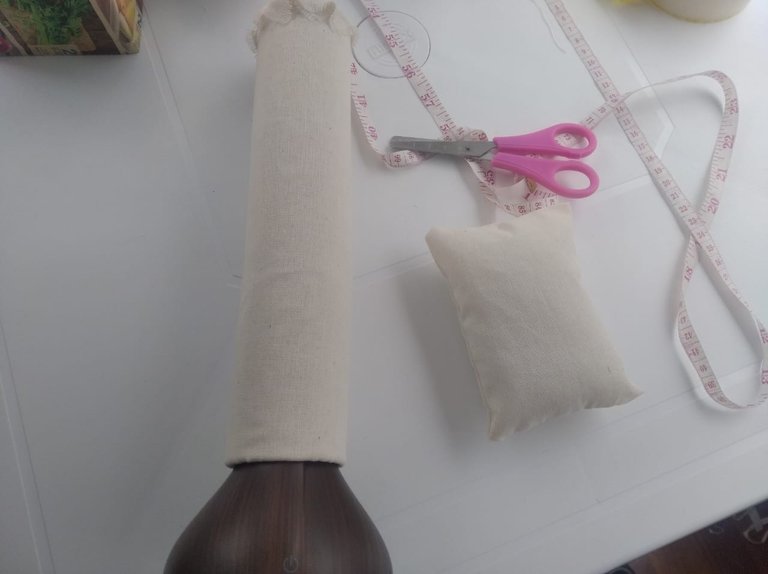
Como plan B utilicé la parte superior del humidificador, y me di cuenta que era mucho mejor porque no tenía que pegar el cilindro, solo meterlo por dentro y así queda perfecto.
Además es ideal para guardar el exhibidor sin que ocupe tanto espacio.
As plan B I used the top part of the humidifier, and I realized that it was much better because I didn't have to glue the cylinder, just put it inside and it looks perfect.
It is also ideal for storing the display without taking up so much space.


Así ya terminé con el primer exhibidor y ahora les cuento como hacer otro modelo.
Vamos a usar un pedazo de liencillo de 20 x 14cm.
So I'm done with the first display and now I'll tell you how to make another model.
We are going to use a 20 x 14cm piece of canvas.


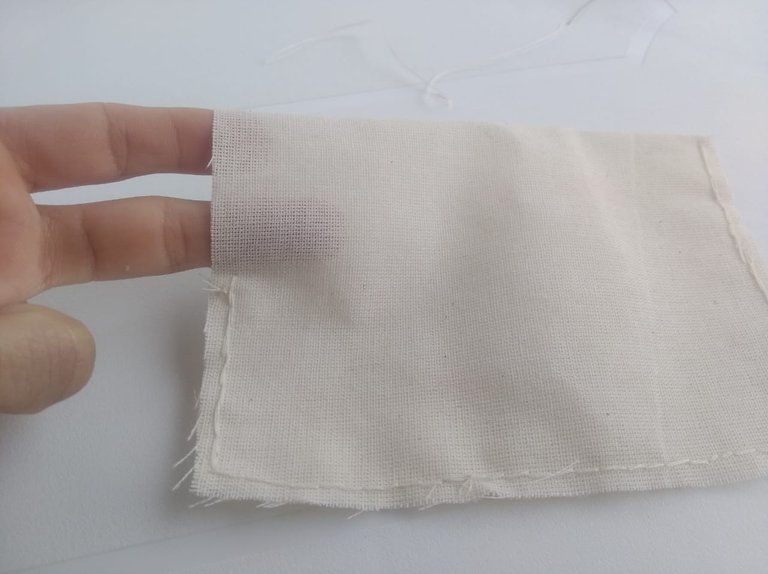
Este pedazo de tela lo vamos a doblar a la mitad y coseremos todo el borde con una costura delgada y muy pegadita para que no se abra.
We are going to fold this piece of fabric in half and sew the whole edge with a thin and very close seam so that it does not open.

Dejaremos un pedacito sin coser de aproximadamente 2,5 cm, por ese huequito vamos a darle la vuelta a la tela, que ya debe tener una forma de almohadilla.
We will leave a little piece of approximately 2.5 cm without sewing, through this hole we will turn the fabric, which should already have a cushion shape.

Hora de meter el relleno dentro de la almohadita, hasta que quede bien llenita.
Time to put the filling inside the pillow, until it is well filled.


Este huequito puedes cocerlo o pegarlo. Esta vez voy a pegarlo con silicón frío porque suelen ensuciarse y prefiero sacar el relleno y lavar el forro de la almohadita con facilidad.
Así que ponemos silicón y pegamos por dentro la tela.
You can either bake this hole or glue it. This time I'm going to glue it with cold silicone because they tend to get dirty and I prefer to remove the stuffing and wash the lining of the pillow easily.
So we put silicone and glue the fabric inside.

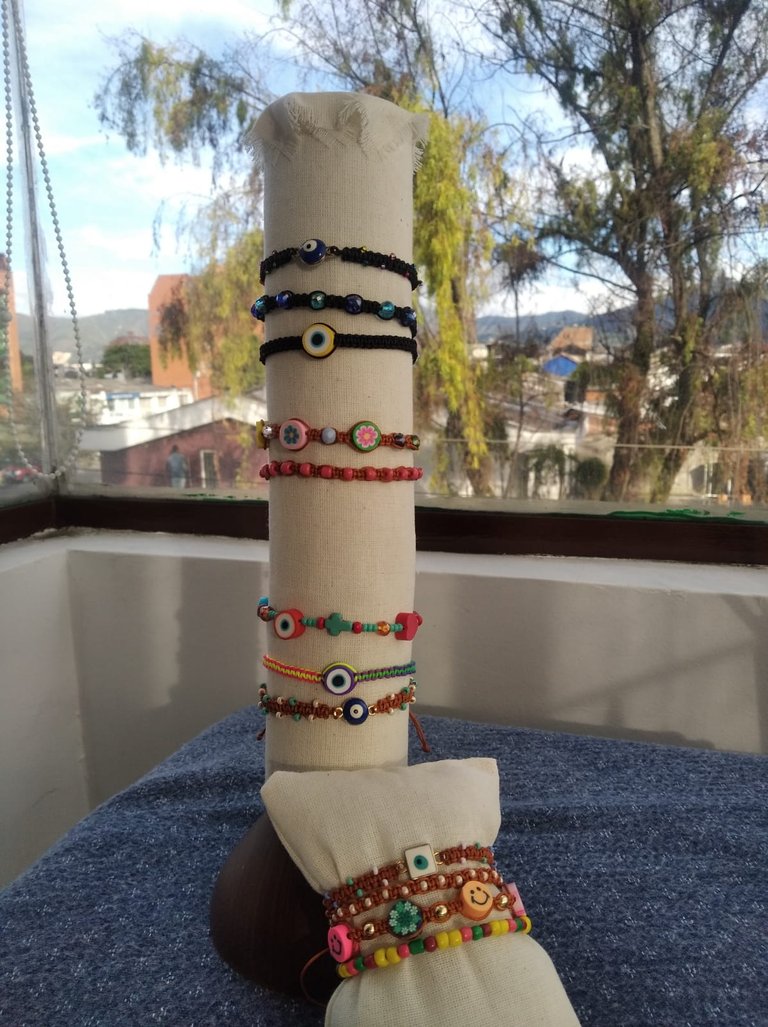
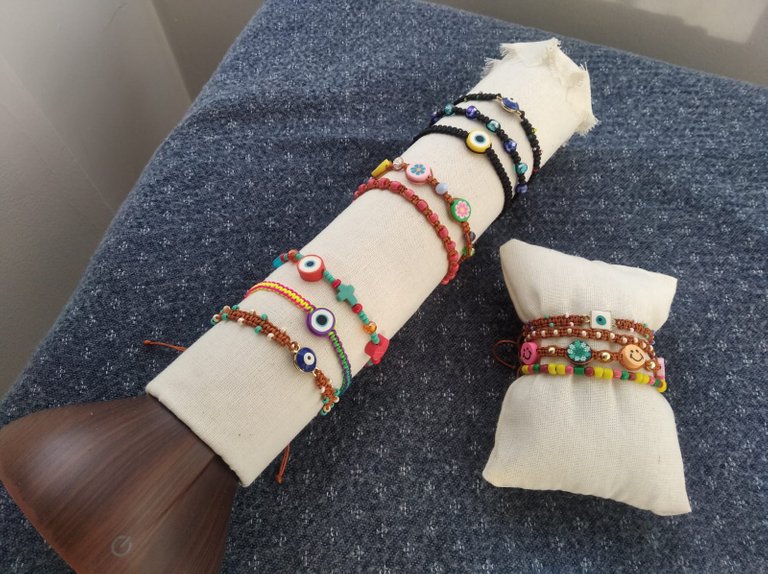
¡Ya tenemos los dos exhibidores donde puedes guardar tus pulseras o brazaletes!
We already have the two displays where you can store your bracelets or bangles!
Gracias por leerme, la verdad se ha vuelto un gusto hacer paso a paso de las cosas que me gusta realizar.
Todas las fotografías fueron tomadas por mi,con mi celular Xiaomi 7A, y los diseños los realizo con Canva.
¡Nos leemos pronto!
Thanks for reading me, the truth is that it has become a pleasure to make step by step of the things I like to do.
All the pictures were taken by me, with my Xiaomi 7A cell phone, and the designs were made with Canva.
See you soon!
