Carpet repair is something most homesteaders can do for themselves, if you know a few basic facts. First of all, new installs are also possible using the same information, but I am limiting this to a repair scenario only; for simplicity.
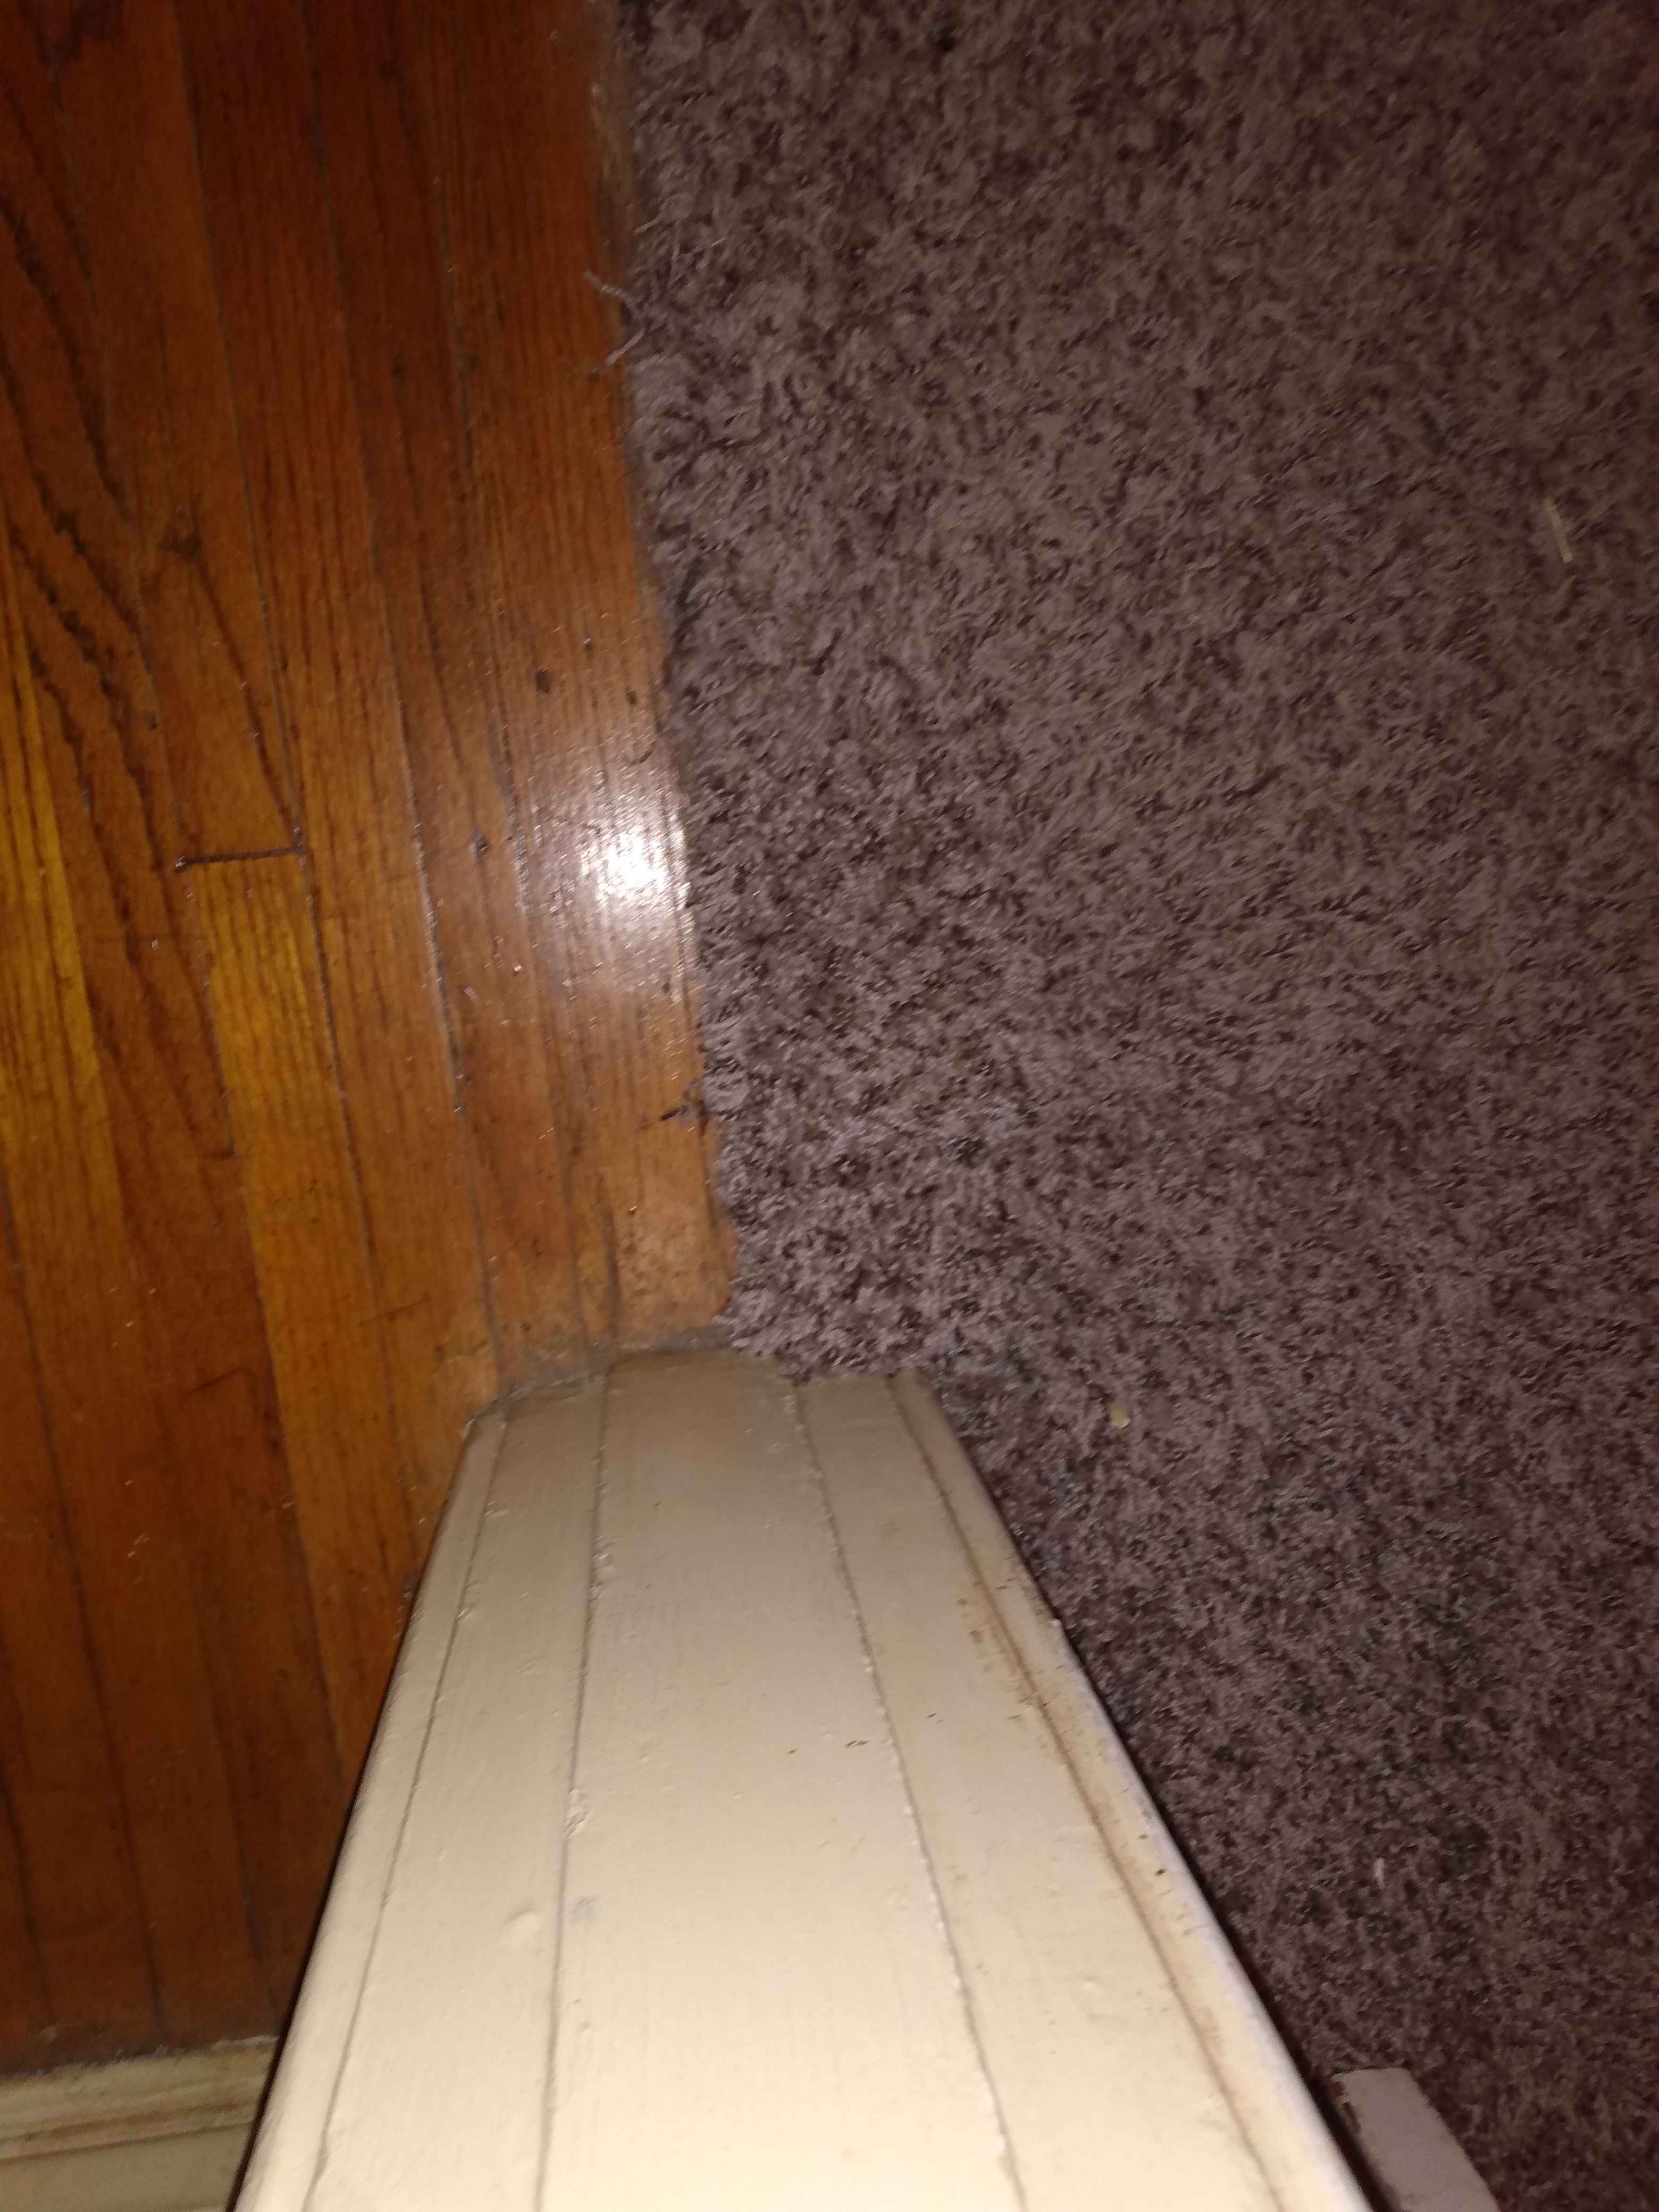
Here is the repair:

I did clean this carpet after this repair was finished.
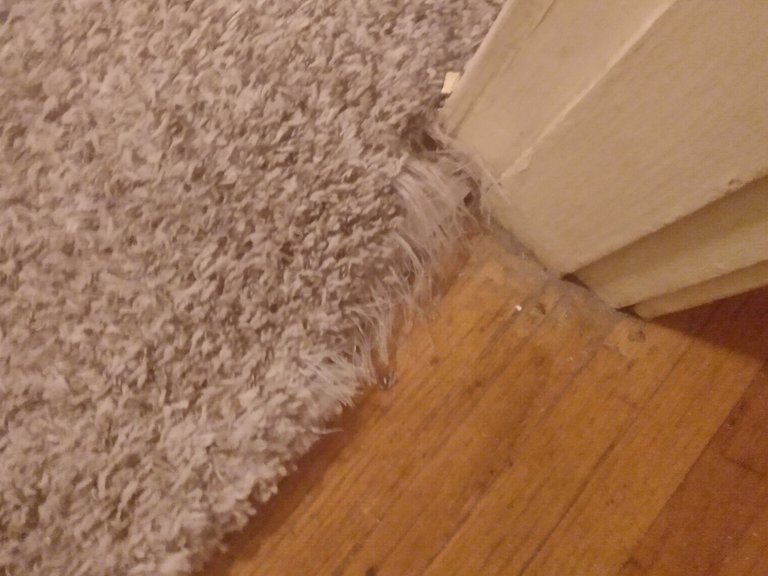
Here is what I started with:

A cat wanted in....
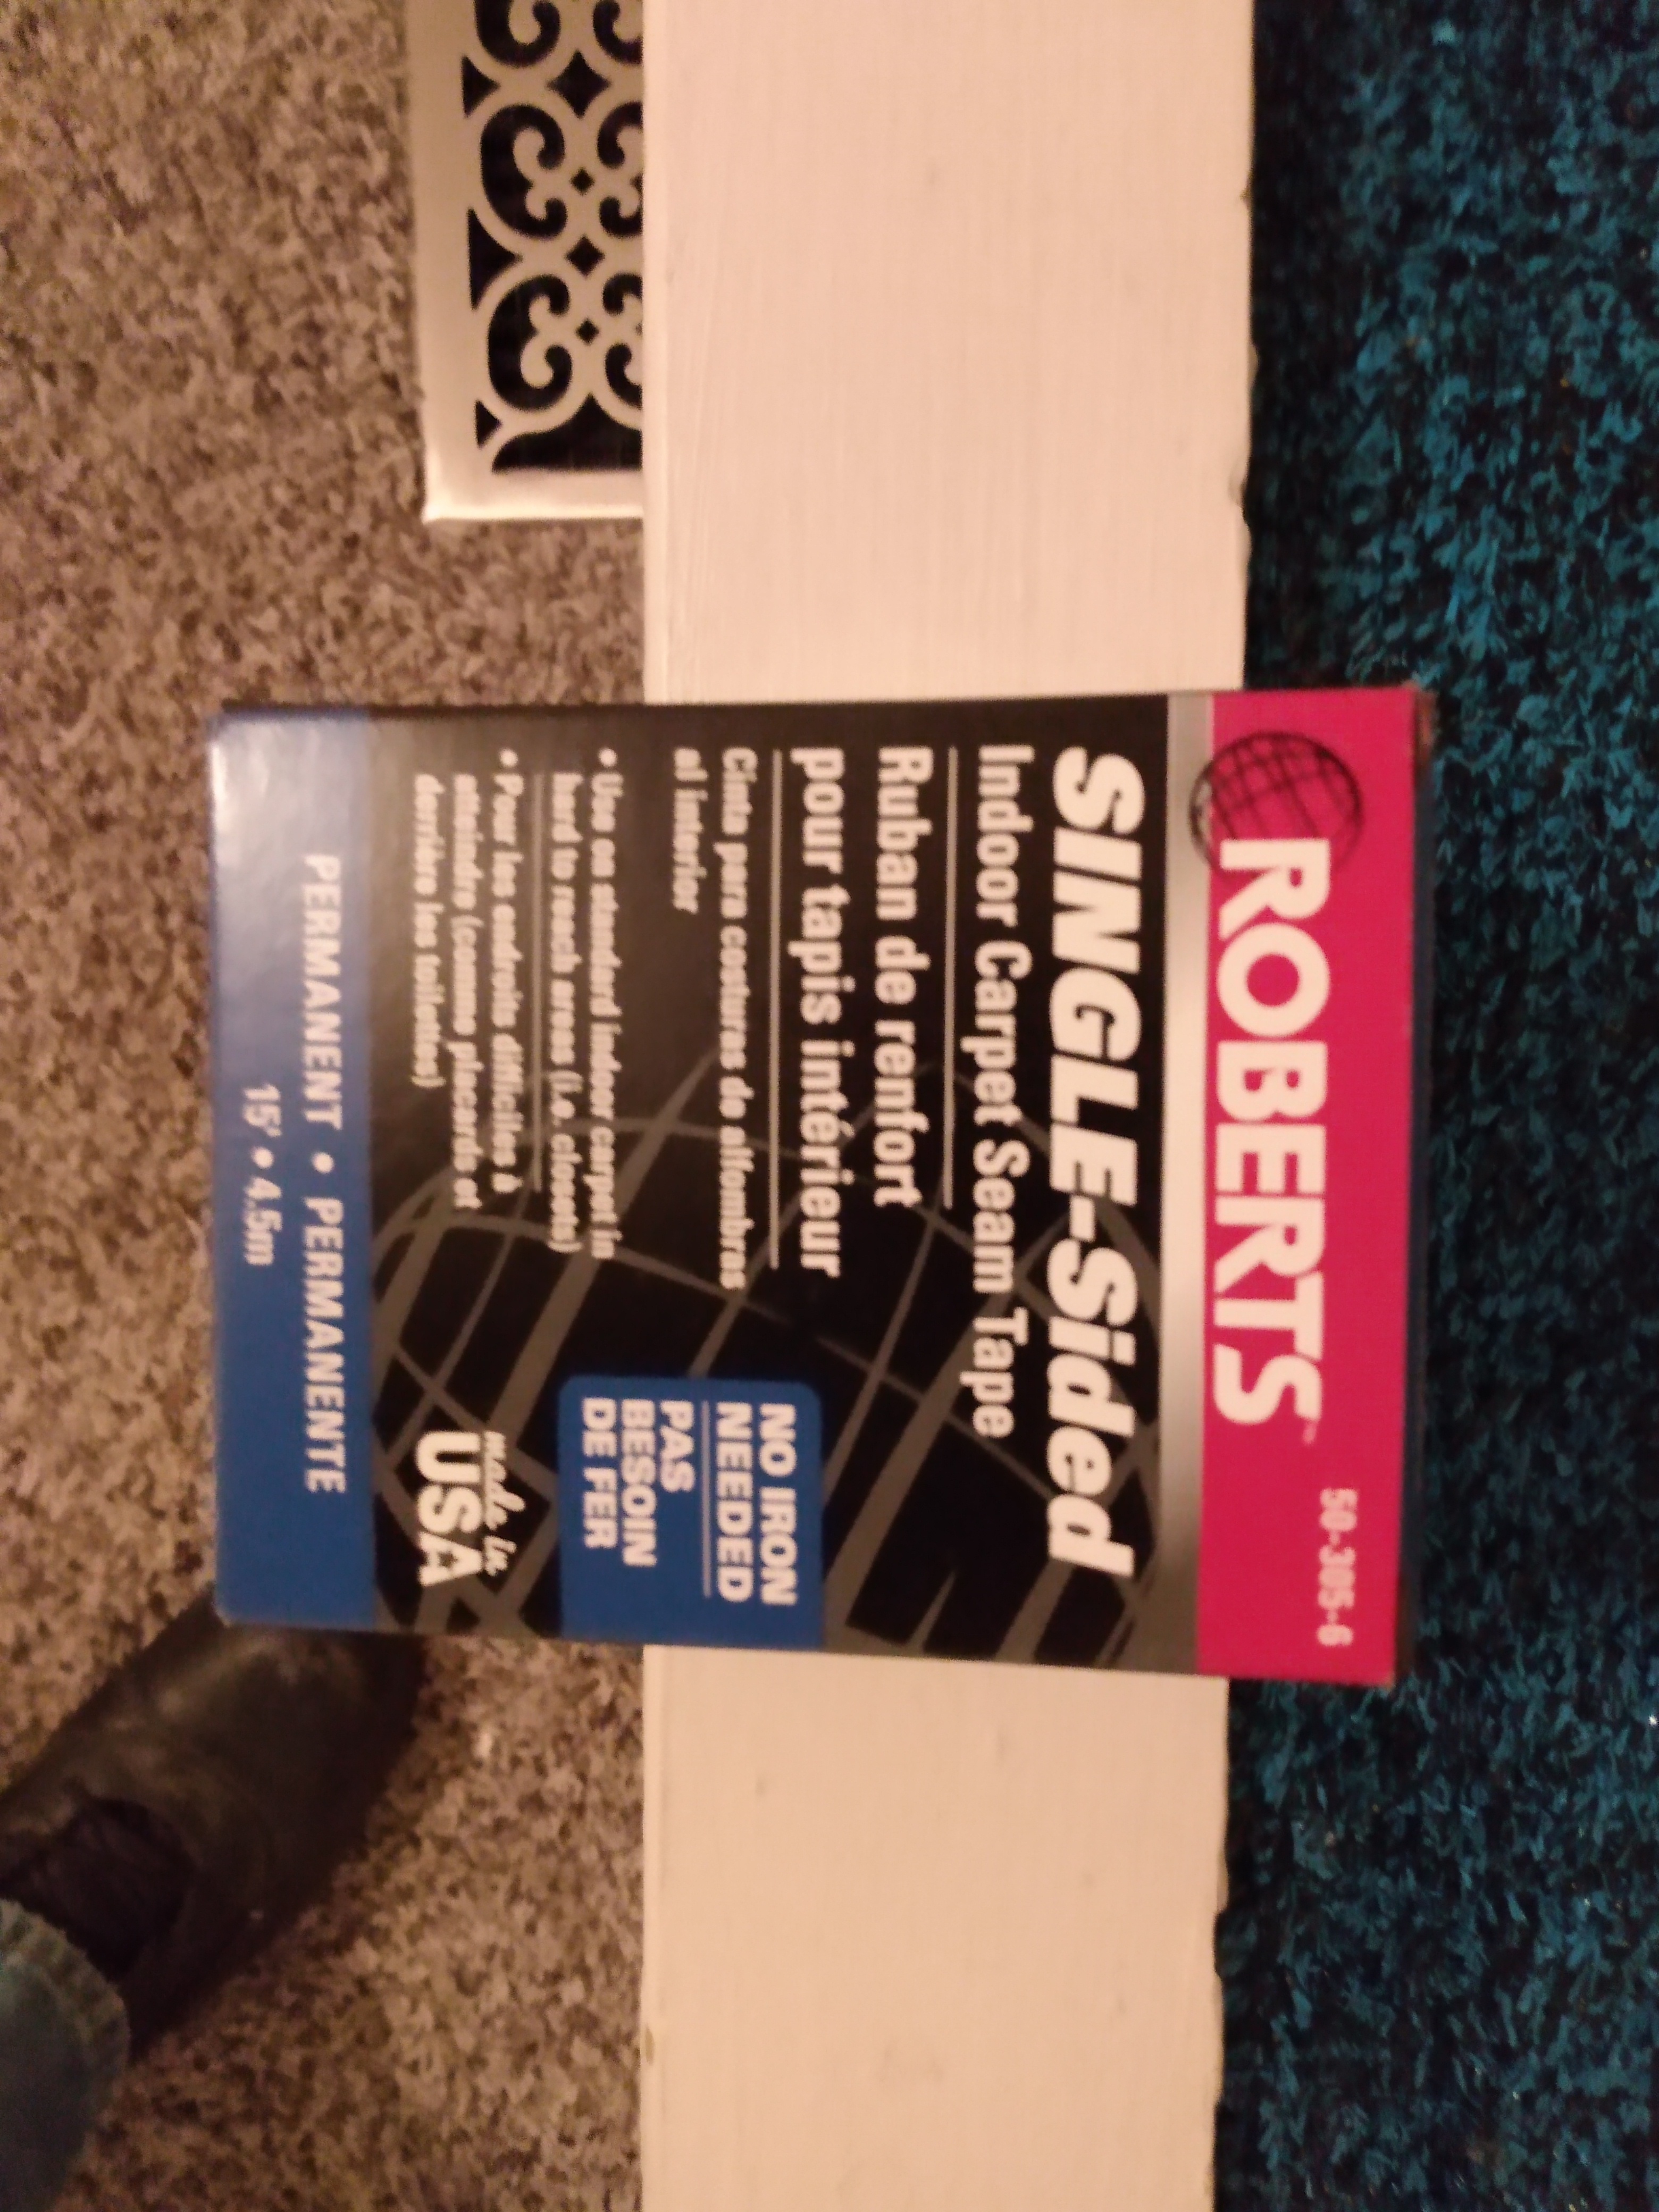
Here is the tape that I used, to patch this:

I have no interest in this tape or company. This tape holds well, without the external heating required with most carpet tapes.
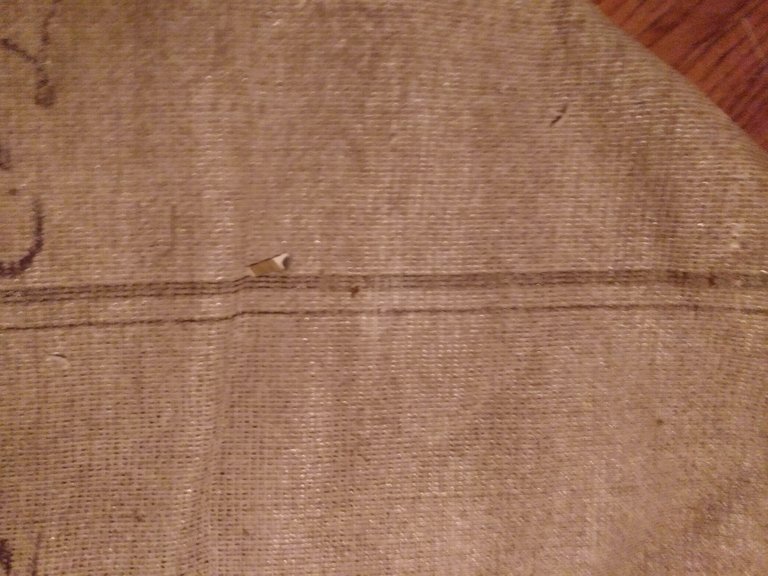
This is the bottom of the donor carpet:

Notice the lines, they are critical. These lines allow you to place the carpet where it matches. This indicates the direction of the knapp and weave of the carpet. If you don't align the direction these lines indicate (the actual lines don't need to line up), the patch will be very apparent! The patch carpet piece Must lay the same direction as the main carpet!!!!
I know this is obvious, but the area removed, and the patch must match perfectly. I always follow one of the weaving lines on the bottom of the carpet. I also like to add the tape to the main carpet for applying the patch. Care is important here, because once stuck down the patch can't be moved. Also keep the individual knapp fibers out of the joint, or it will show. Once combined, the joint should be walked on, to set the adhesive; and bond the new joint!
If you mess up, and place the tape joint wrong; cut a bigger hole, and make a larger repair patch; and mount the repair again.
With this tape, the carpet can be stretched normally; after the patch is added. This patch had a tack strip made for a door, with the added metal channel on the outboard side. Once the carpet is stretched onto the tack strip, the extra carpet is turned under into this channel. Then the channel is deliberately collapsed on the carpet with a Hammer, for a clean look on the doorway carpet edge.