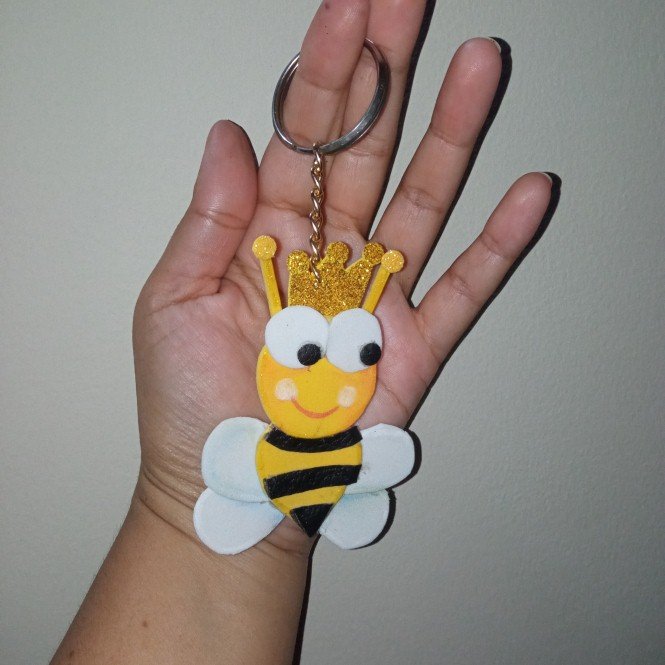
Making a beautiful queen bee keychain.
Haciendo un hermoso llavero de abeja reina.
Hello friends and Hive craft lovers, today I stop by to wish you a happy and blessed beginning of the week. Today I wanted to make a beautiful queen bee keychain because the queen of the house one of my nieces is having a birthday and I wanted to make her a detail made by me. So that she can put it in her purse. Do not miss the evolution so you can learn with me this magnificent craft.
Hola amigos y amantes de las manualidades de Hive hoy paso por acá para desearle un feliz y bendecido comienzo de semana. El día de hoy quise hacer un hermoso llavero de abeja reina ya que la reina de la casa una de mis sobrinas está de cumpleaños y quise hacerle un detalle realizado por mí. Para que lo coloque en su bolso. No te pierdas la evolución para que aprendas conmigo está magnífica manualidad.
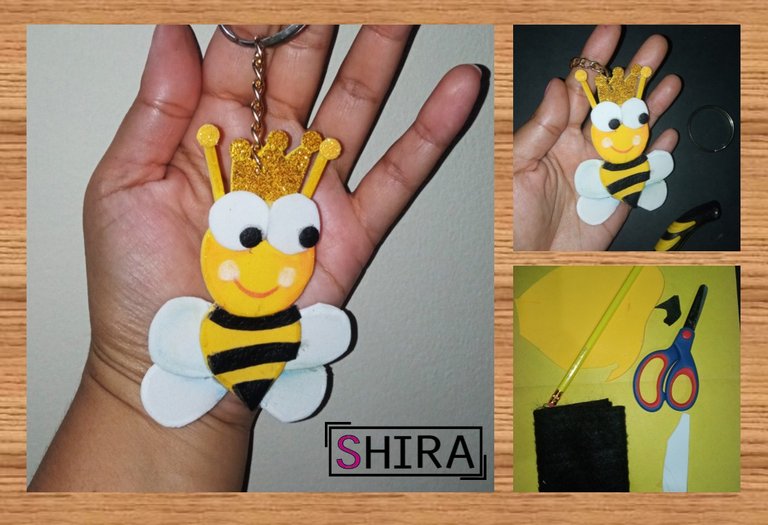
For days I have been making key chains with different models, which I share with you every time I make the step by step. Today I made a very cute one dedicated to the princess of the house since today is her special day. I love to make this kind of crafts to give a smile to each person who wants a personalized keychain for any reason.
Desde hace días llevo haciendo llaveros con diversos modelos, los cuales les comparto cada vez que realizó el paso a paso. Hoy realice uno bastante coqueto dedicado a la princesa de la casa ya que hoy es su día especial. Me encanta hacer este tipo de manualidades para darle una sonrisa a cada persona que desee un llavero personalizado de cualquier motivo.

The materials I used were the following:
- Eva rubber
- Scissors
- Cuerina
- Round tweezers
- Jewelry chain
- Key ring
- Pencil
- Frosted marker
- Pink eyeliner pencil
- White and blue colors.
Los materiales que utilice fueron los siguientes:
- Goma Eva
- Tijera
- Cuerina
- Pinza redonda
- Cadena de bisutería
- Aro de llavero
- Lápiz
- Marcador escarchado
- Lápiz delineador color rosa
- Colores blanco y azul.
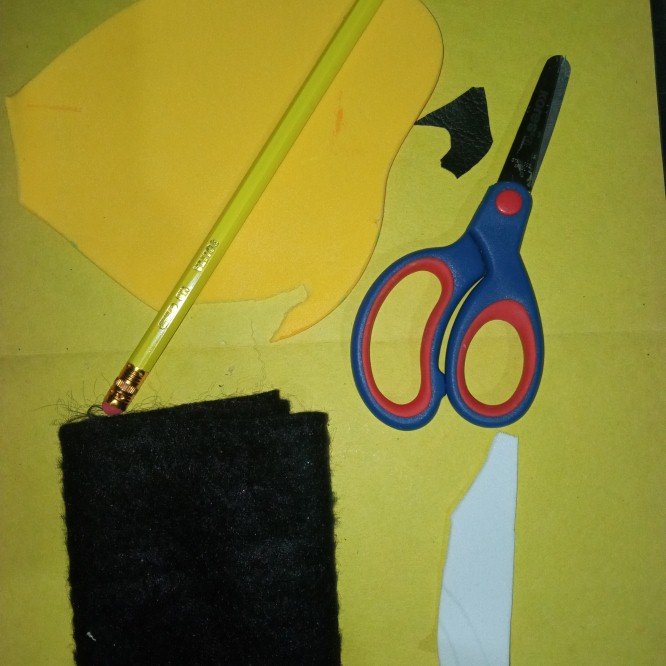

In this step I start making the molds I want for the queen bee and I also cut them out with the scissors.
En este paso comienzo hacer los moldes que deseo para la abeja reina y también de una vez recorto con la tijera.
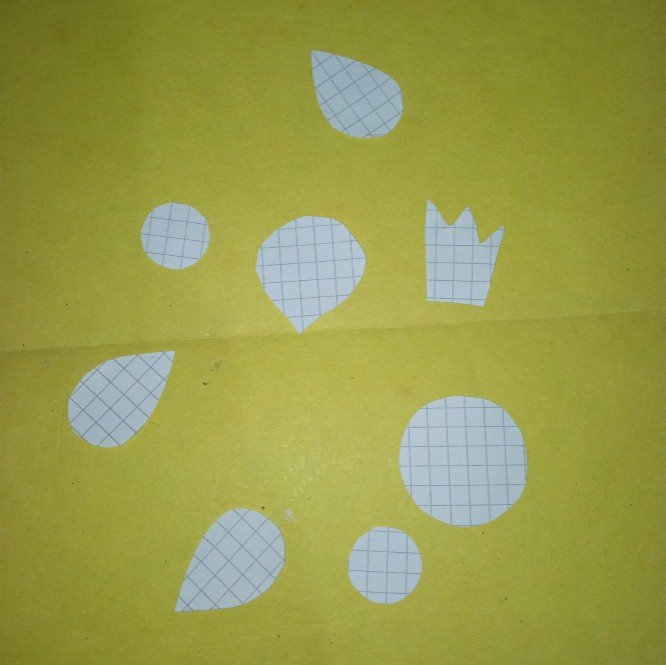
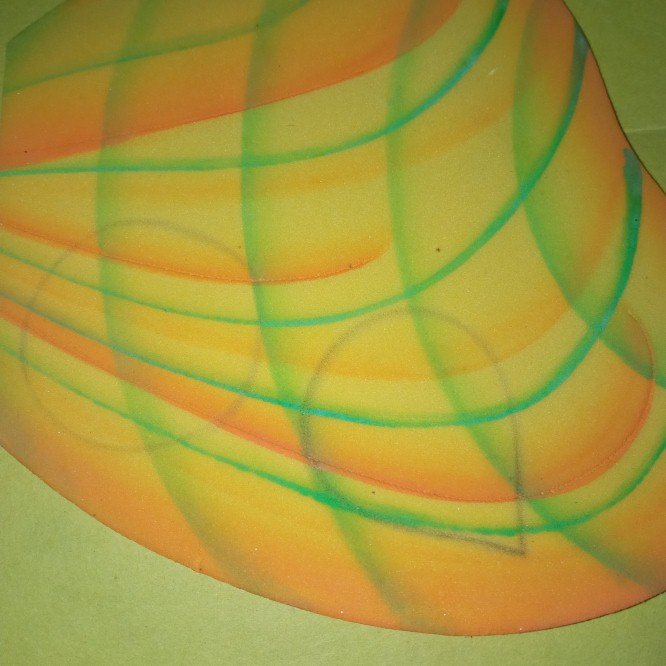

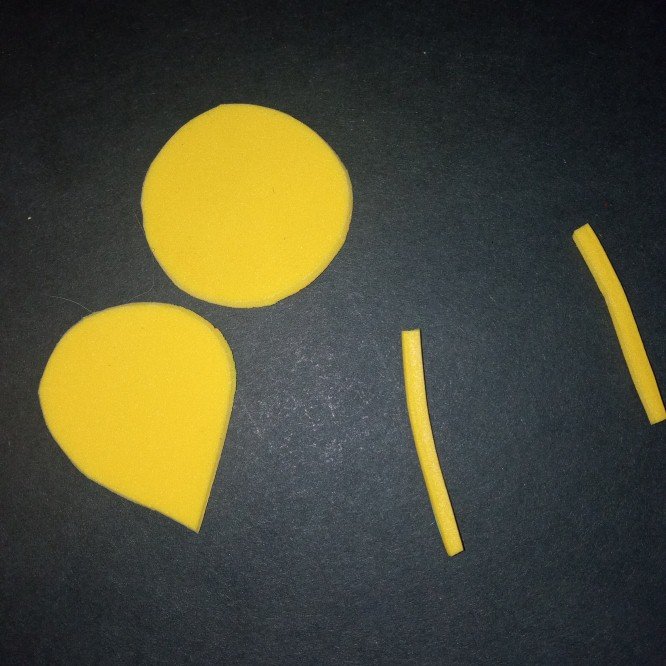
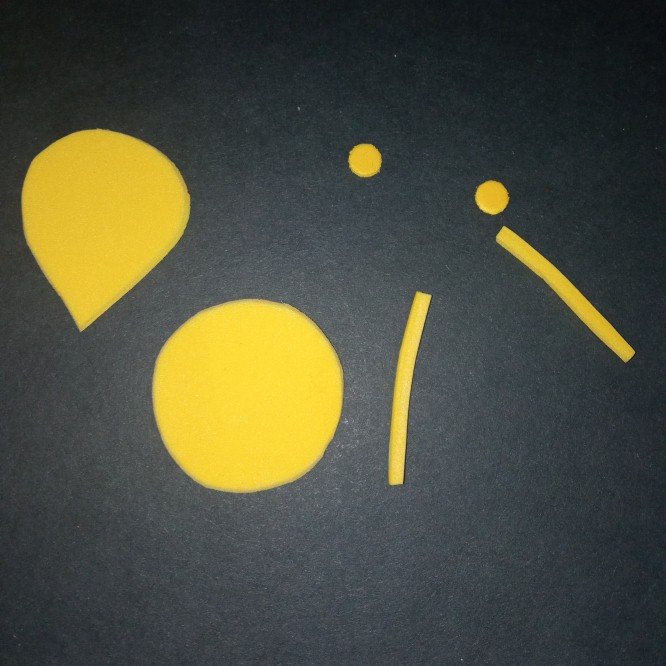
Then I cut them out for the eva rubber and cut out the stinger piece and the head, not to mention that I also cut out the antennae and the circles that will be glued to the antennae of the bee.
Luego los paso para la goma eva y los recortó sacando la pieza del aguijón y la cabeza, sin dejar de mencionar que también se recortan las antenas y los círculos que irán pegados a las antenas de la abeja.

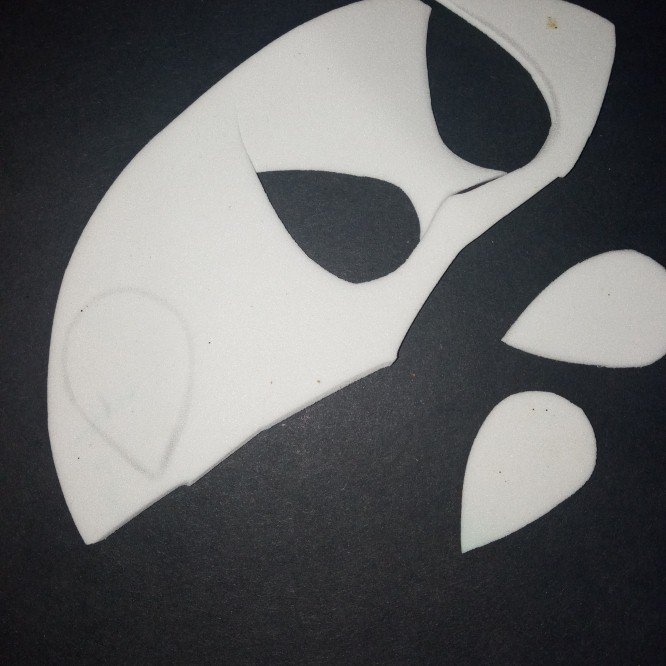
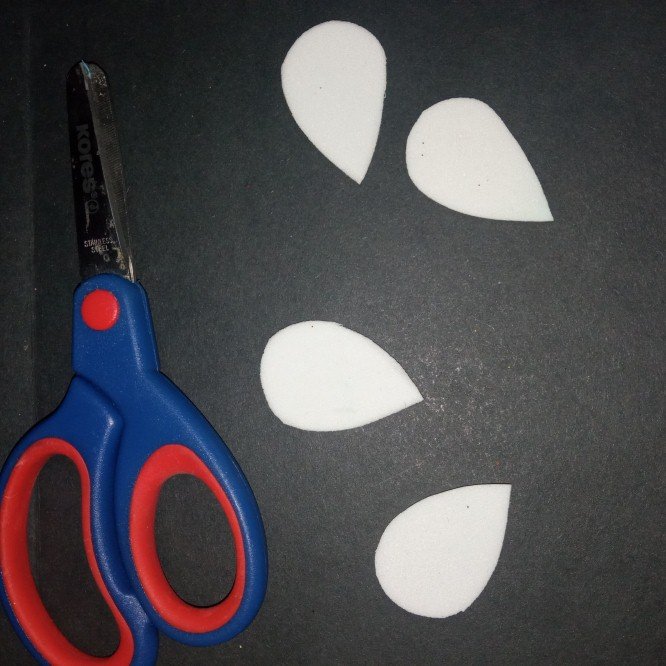
Then continue to draw the wings in the form of drops on the white eva rubber, obtaining 4 drops that will simulate the bee's wings.
Seguidamente se continúa a sacar las alas en forma de gotas en la goma eva blanca, obteniendo 4 gotas que simularán las alas de la abeja.

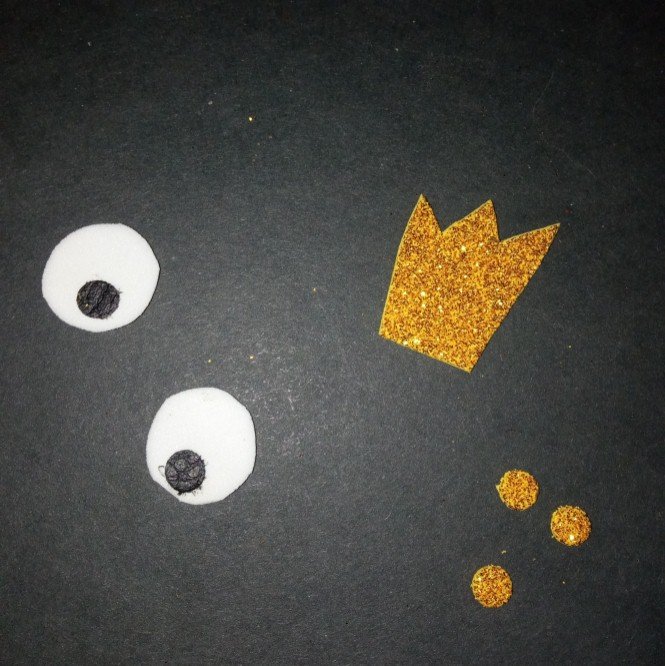
We proceed to make the eyes of the bee in white Eva rubber and in leather we make the eye pecker in black. We also make the crown and the dots of the crown and cut them out.
Procedemos hacer los ojos de la abeja en goma Eva blanca y en cuerina sacamos la picha del ojo en negro. También se hace la corona y los puntos de la misma y se recortan.

In the next step you will see all the pieces of the bee and proceed to join with silicone stick, you can also pay with liquid silicone but it will take a little longer to dry.
En el siguiente paso podrán ver todas las piezas de la abeja y se proceden a unir con silicón en barra, también lo pueden pagar con silicón líquido pero se tardará un poco más para secar.
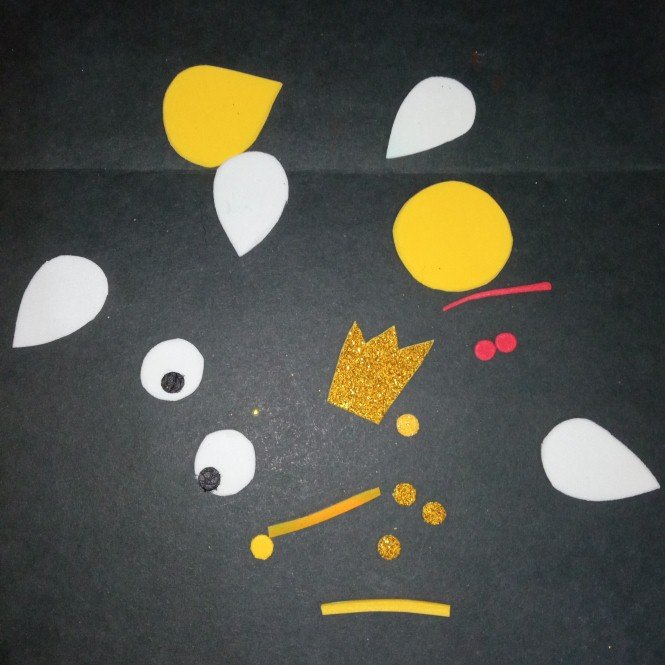
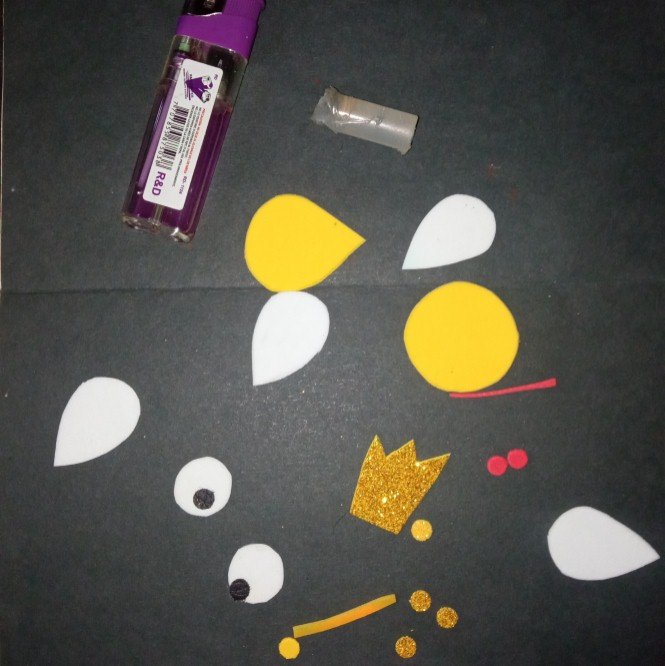

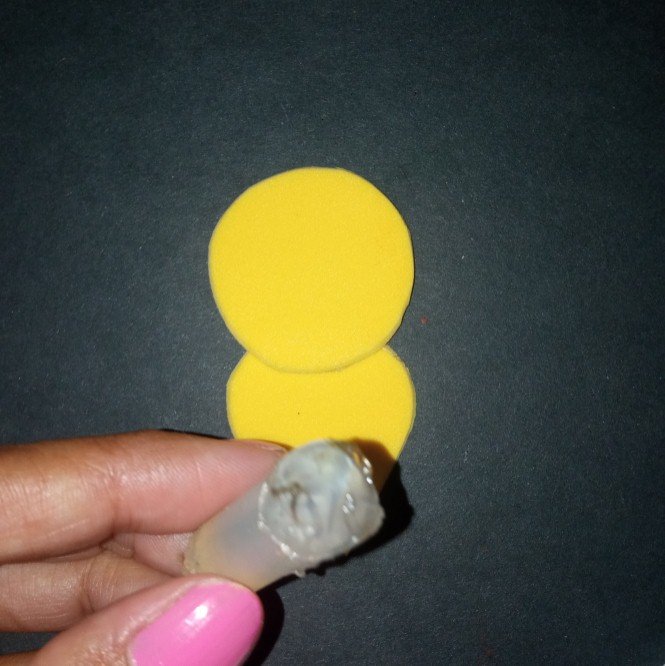
>Now that the elaboration of the queen bee is finished, in these images you can see how each piece is glued in its place.
Ya finalizando la elaboración de la abeja reina en estas imágenes podrán observar cómo se va pegando cada pieza en su lugar.
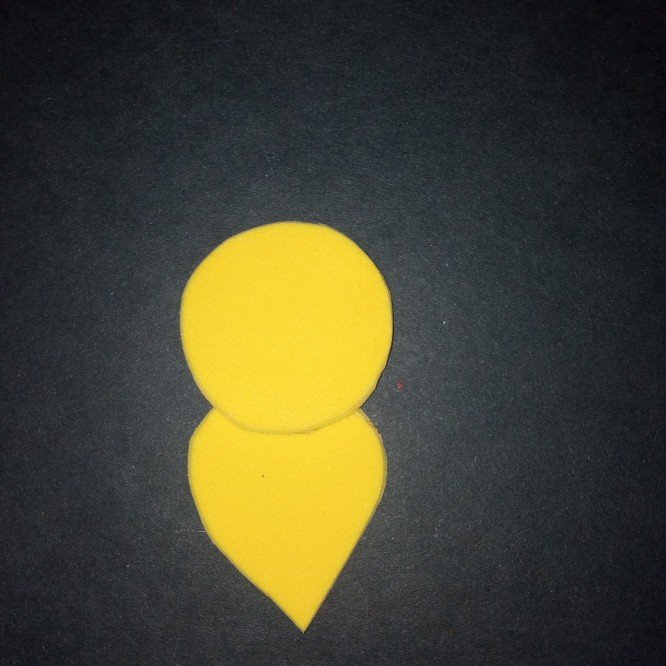
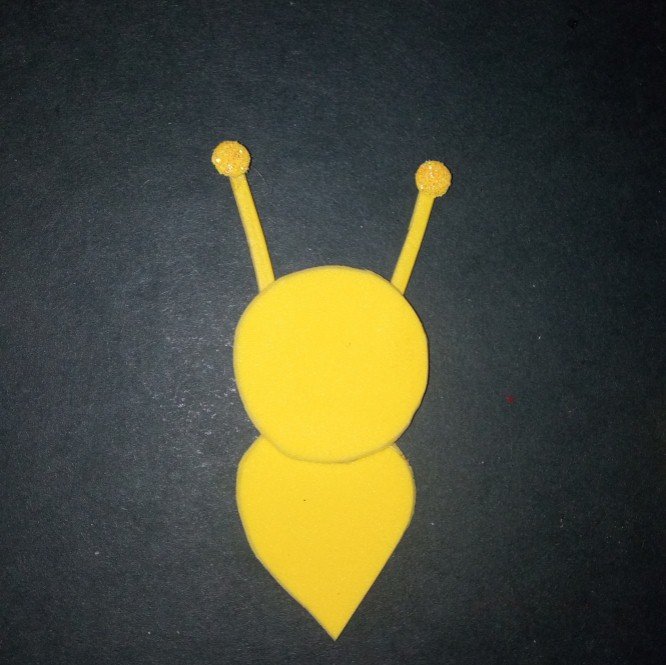
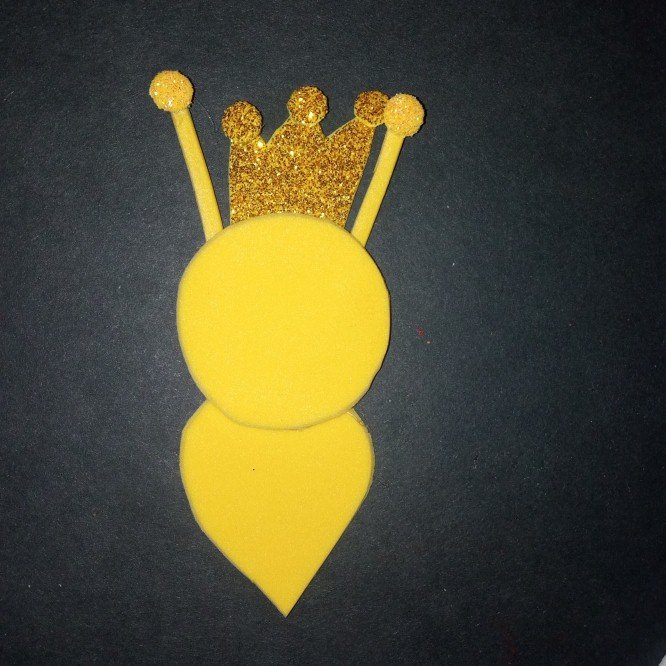
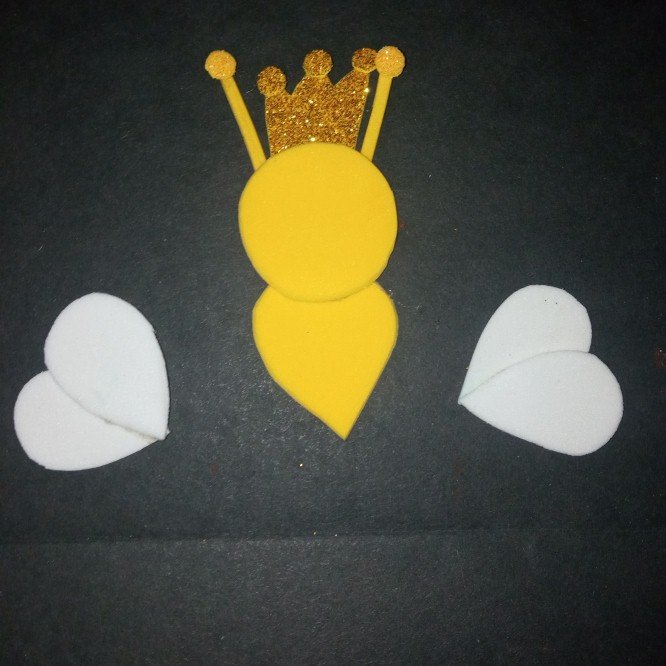
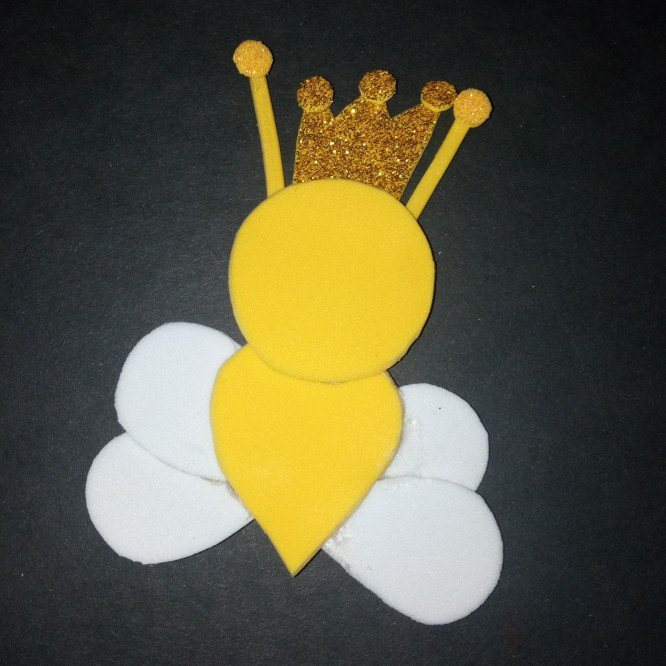
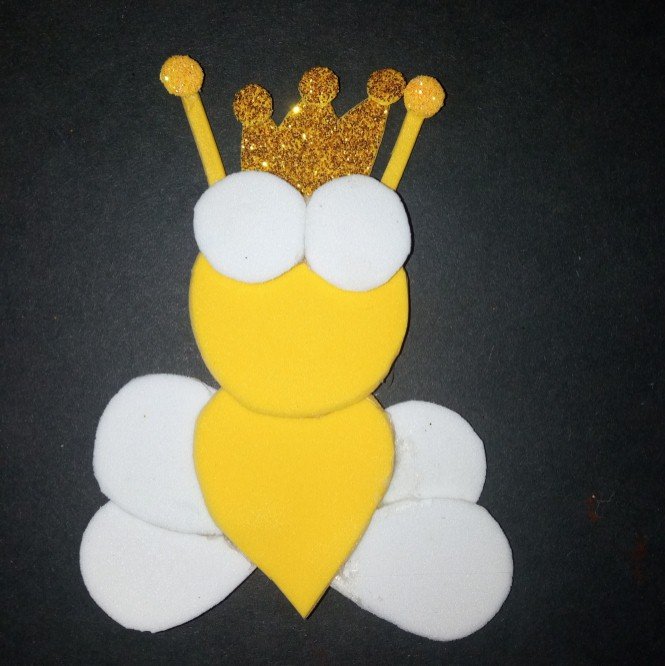
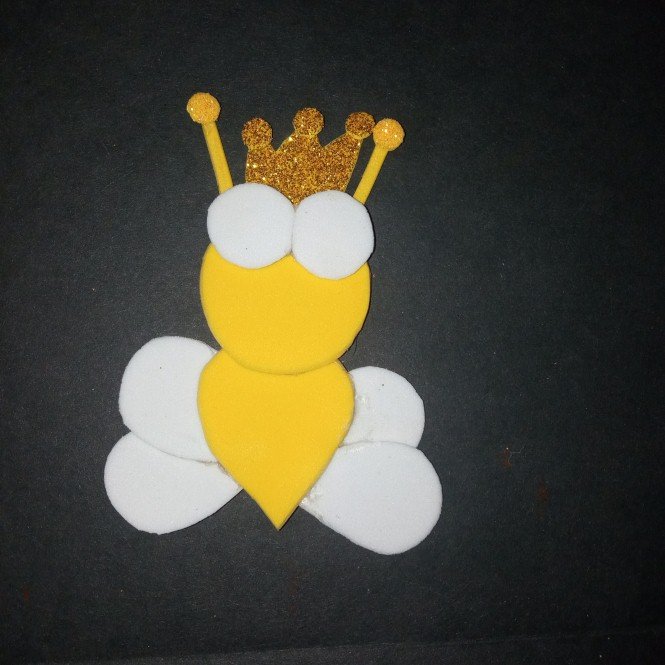
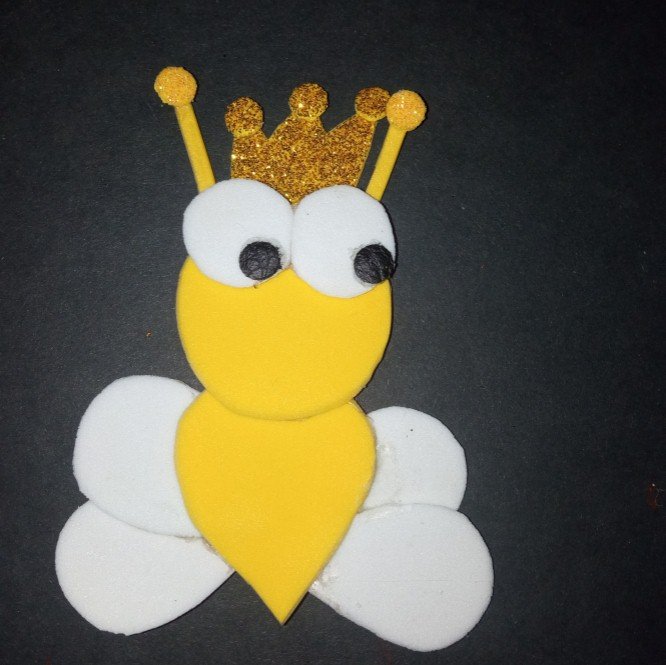
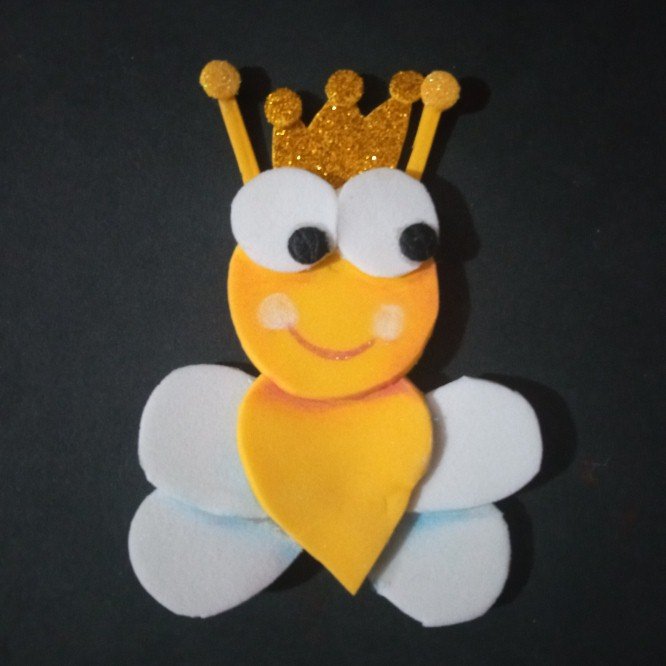
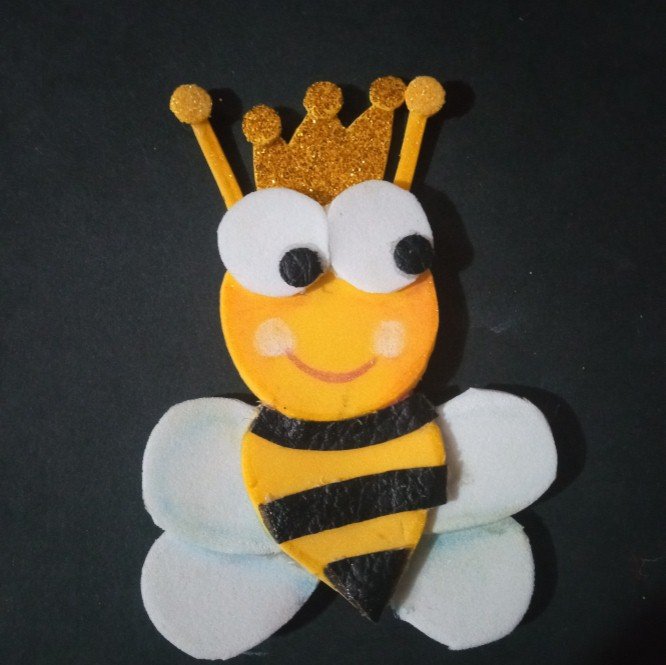
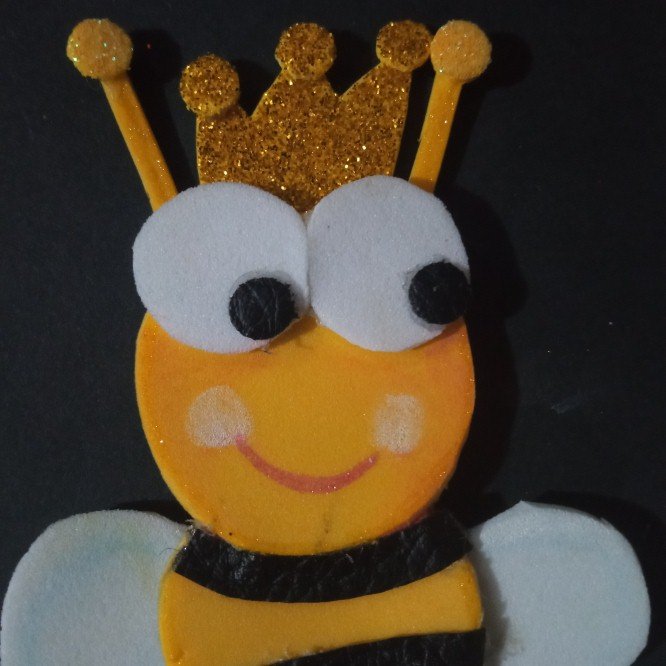

To finish, we proceed to make a hole in the crown part of the queen bee with a thick needle or a pencil with a sharp tip, and then insert the costume jewelry chain and close it with the round clamp.
Ya para culminar se procede hacerle un agujero en la parte de la corona a la abeja reina con una aguja gruesa o con algún lápiz con la punta afilada, para luego introducir la cadena de bisutería y cerramos con la pinza redonda
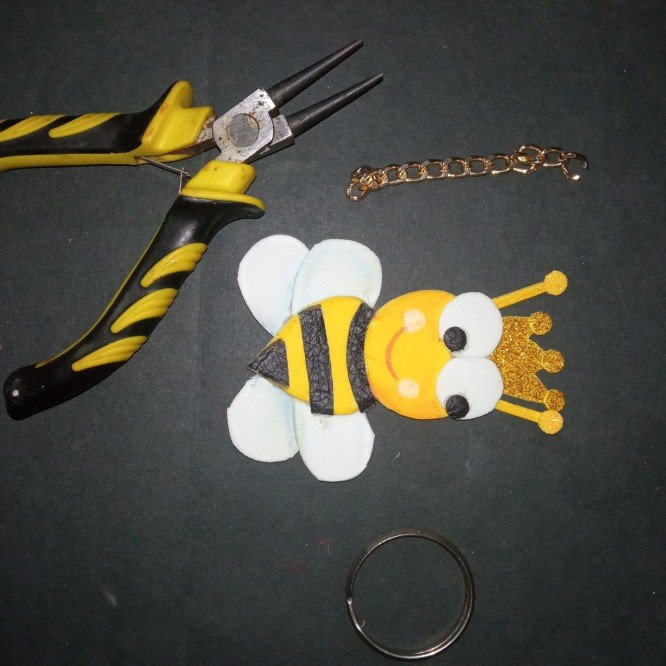
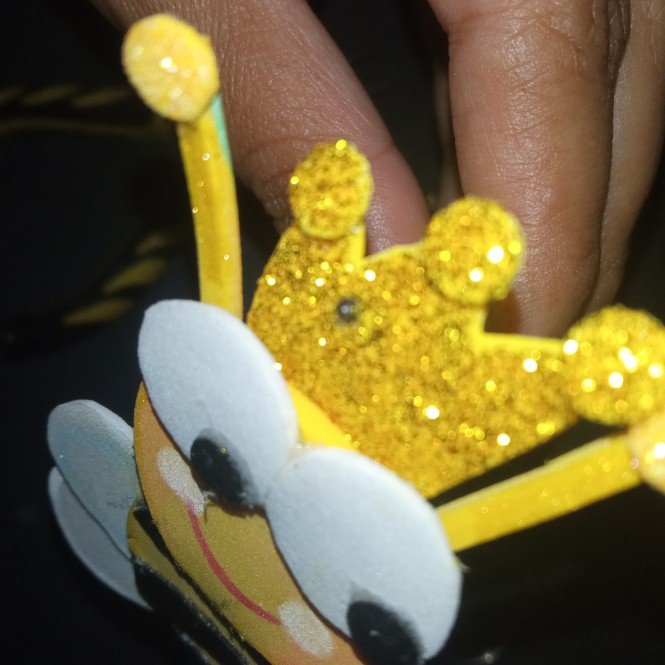

As always I leave you some images of the final result of the craft, hoping that it is to your liking. Let me know how you like this queen bee keychain craft.
Cómo siempre les dejo unas imágenes del resultado final de la manualidad, esperando que sea de todo su agrado. Comenten que tal les pareció está manualidad del llavero de abeja reina.
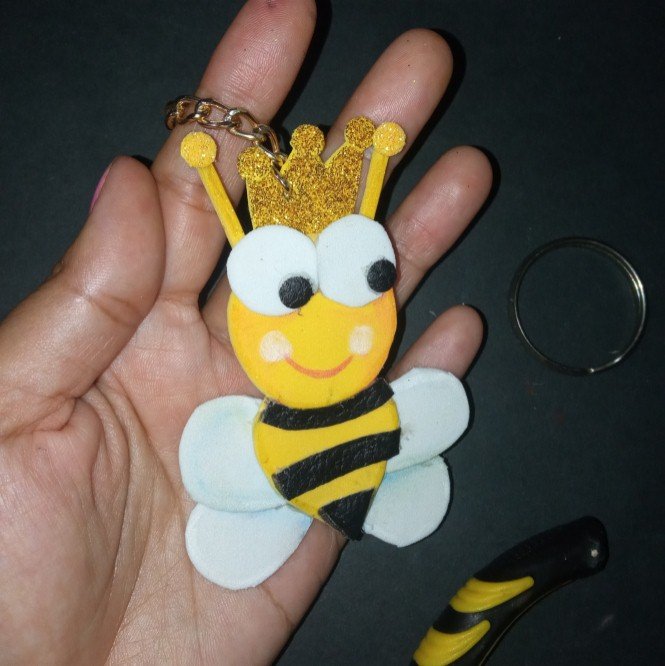
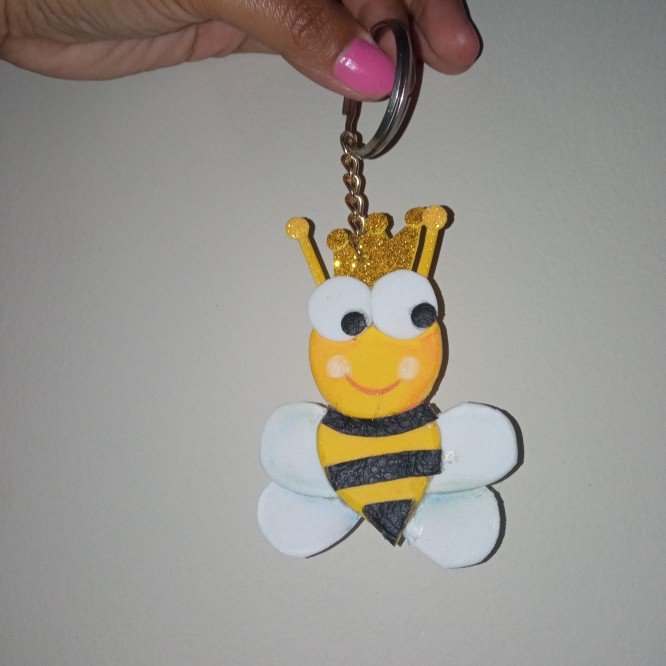
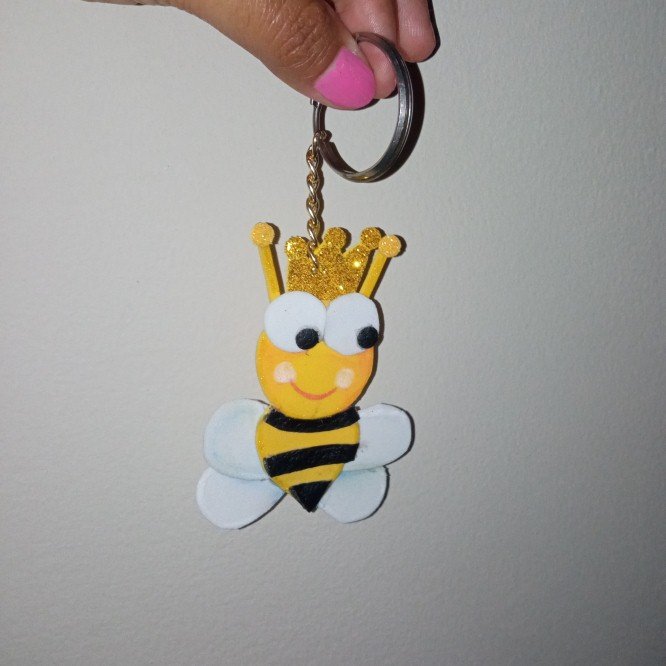

Without more to say and hoping that this craft will be to the liking of each reader I say goodbye with a big hug, love @shirahoshi.
Sin más que decir y esperando que esta manualidad sea del agrado de cada lector me despido con un gran abrazo, los quiere @shirahoshi.

The photographs are my own and were taken by me with a Redmi 9 and were edited in powerpoint.
Las fotografías son de mi autoría y fueron tomadas por mí con un Redmi 9 y se editaron en powerpoint.
The Step by Step Gif was made by me in AdobePhotoshop CC2014.
El Gif de Paso a Paso fue realizado por mi en AdobePhotoshop CC2014.
The logo was designed by me in Adobe Illustrator CC 2015 and its animated version was made in After Effects CC 2017.
El logo fue diseñado por mí en Adobe Illustrator CC 2015 y su versión animada la realice en After Effects CC 2017.
