🤰🏽Español🤰🏽
Ey! Linda noche para todos 😘 un cordial saludo para la linda comunidad de Diy 💕 espero esten disfrutando de esta maravillosa noche hoy quise compartir con ustedes la elaboración de este hermoso pantalón para embarazada, si bien es cierto que esta es la etapa más bonita de una mujer y pues en todo momento hay que estar cómodas y lindas por eso el post de hoy va dedicado a ellas con este fabuloso pantalón holgado el cual te enseñaré como hacer a continuación.
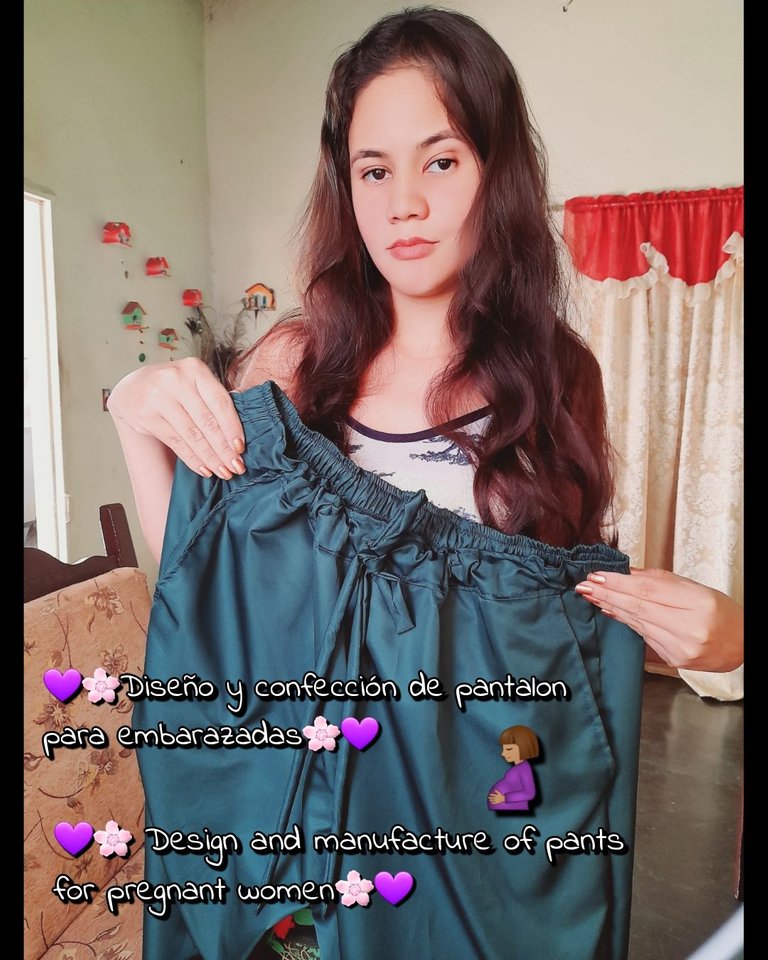
Estos fueron los materiales que use
• Tela
• Máquina de coser
• Tijera
• Hilo de coser
• Prenda de medida
• Elástica
🌸Pasos🌸
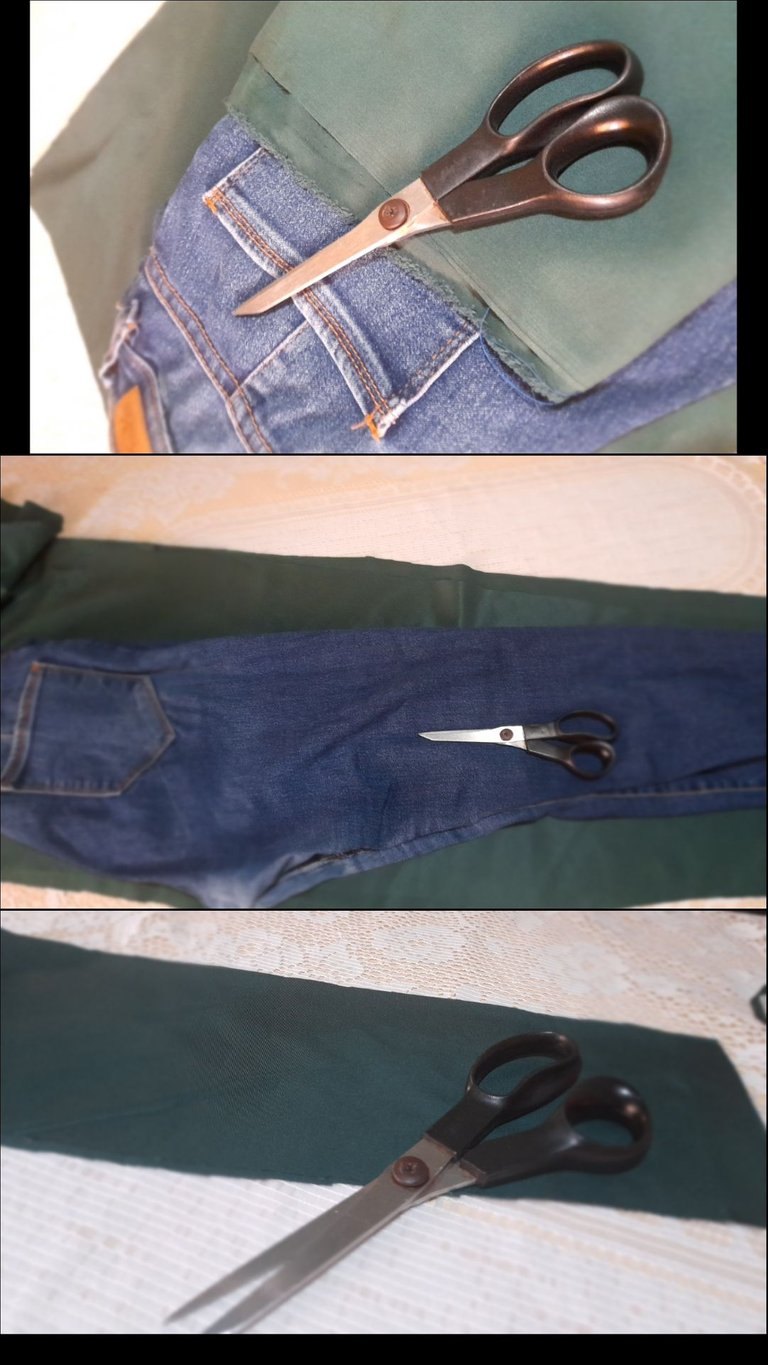
•🌸 Cómo se trata de una tela rígida y mi modelo aumento unos kilos por su embarazo yo decidí cortar las piezas con 4 cm sobrantes pues nuestro objetivo es hacer una prenda holgada, continúo cortando el contorno de cintura, unas tiritas que más adelante convertiré en trenzas, los bolsillos y cortare la forma de los bolsillos en la parte frontal.
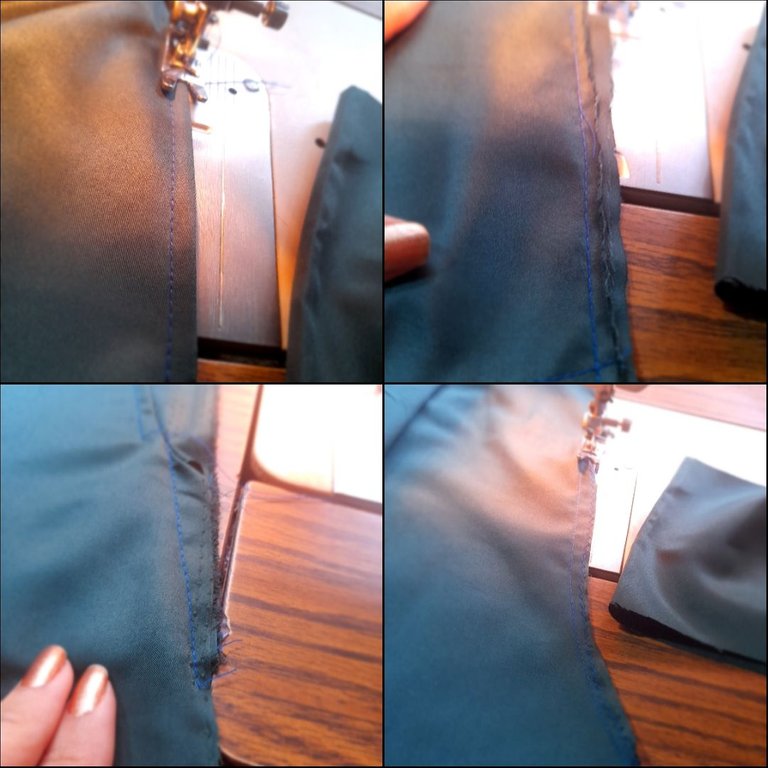
•🌸 Luego voy armar los bolsillos colocando estos por la parte derecha de la tela y pasando una costura recta para luego doblarlos hacia dentro y pisar con una costura recta y asegurarlos en ambos extremos y la parte superior con una costura recta y así evitar que se muevan haré esto también con el otro extremo luego voy a unir ambas piezas frontales pasando una costura recta y otra de zigzag para asegurar.
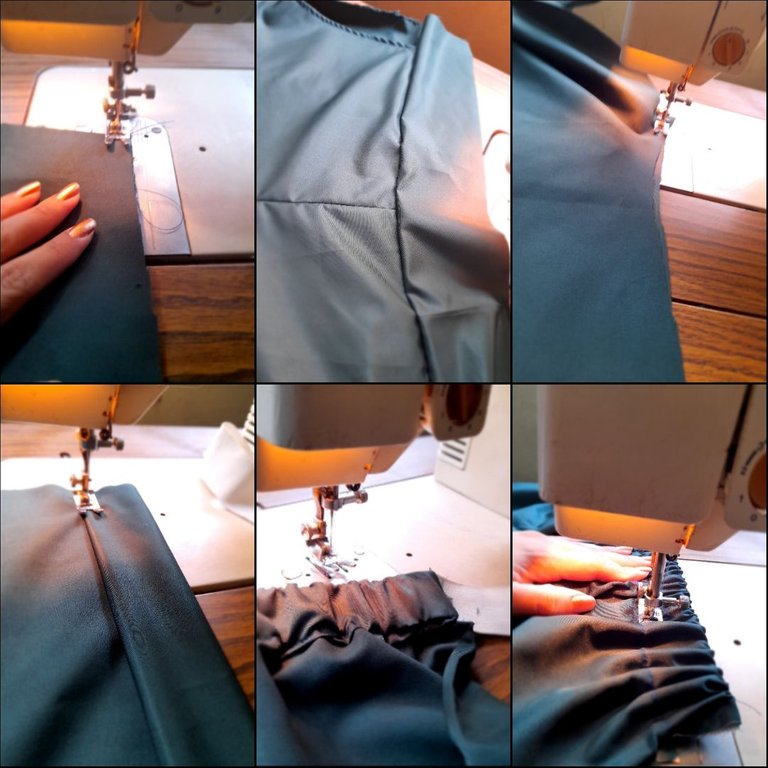
•🌸Luego voy a coser el contorno de cintura en la parte frontal con costura recta y de zigzag y voy a unir mis dos piezas traseras con costura recta y de zigzag y voy a doblar la orilla superior del mismo ancho de la elástica y pasaré una costura recta luego con la ayuda de un palillo voy a introducir la elástica y voy a ir estirando mientras voy cosiendo con costura recta por encima.
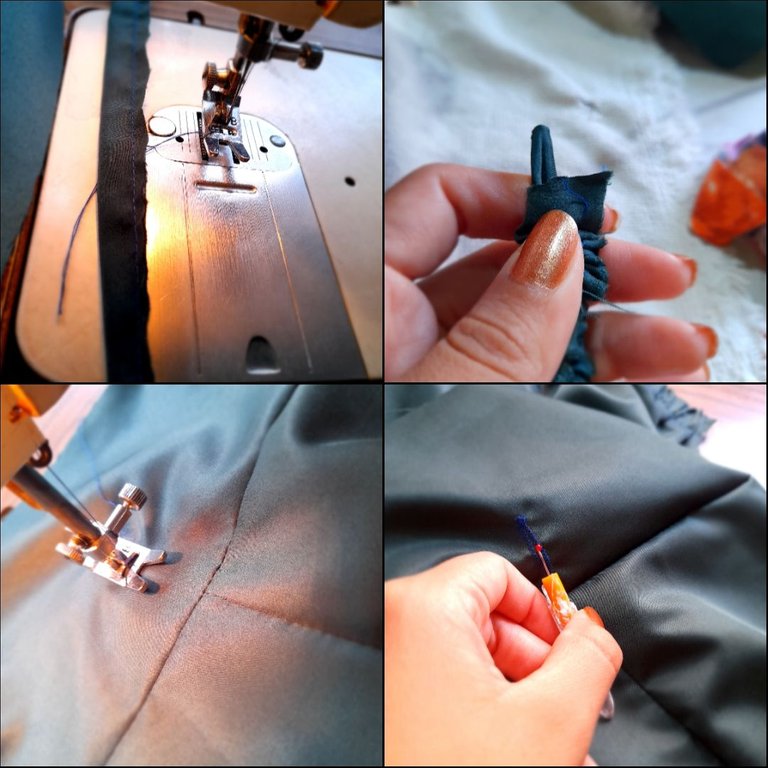
•🌸 Continúo cosiendo las tiritas con costura recta por el lado reverso y luego las volteo con un palillo y en el contorno de cintura que cosi voy a bordar un ojal colocando la máquina en 2 en puntadas y zigzag por donde saldrán mis trenzas luego haré una abertura con el descosedor.
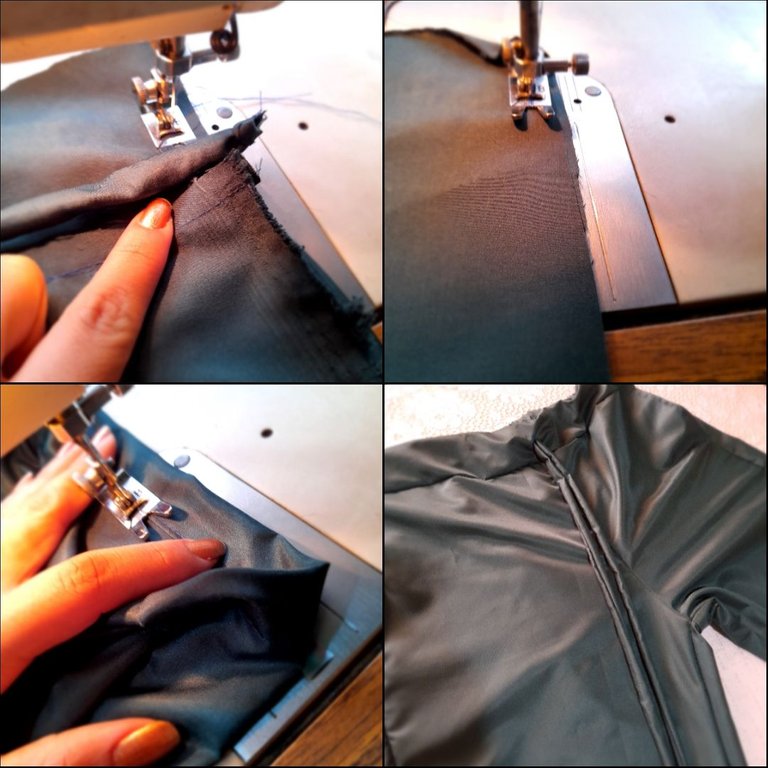
•🌸Luego voy unir la pieza trasera y delantera y a su vez voy a pisar la trenza con costura recta y de zigzag luego voy a sacar las trenzas por la abertura y doblare el contorno de cintura para coserlo con costura recta y continúo cosiendo por la parte baja en el interior de las piernas para terminar de unir las piezas con una costura recta y zigzag y para finalizar doblare los ruedos para pasar una costura recta culminando así este cómodo pantalón.
💜Resultados💜
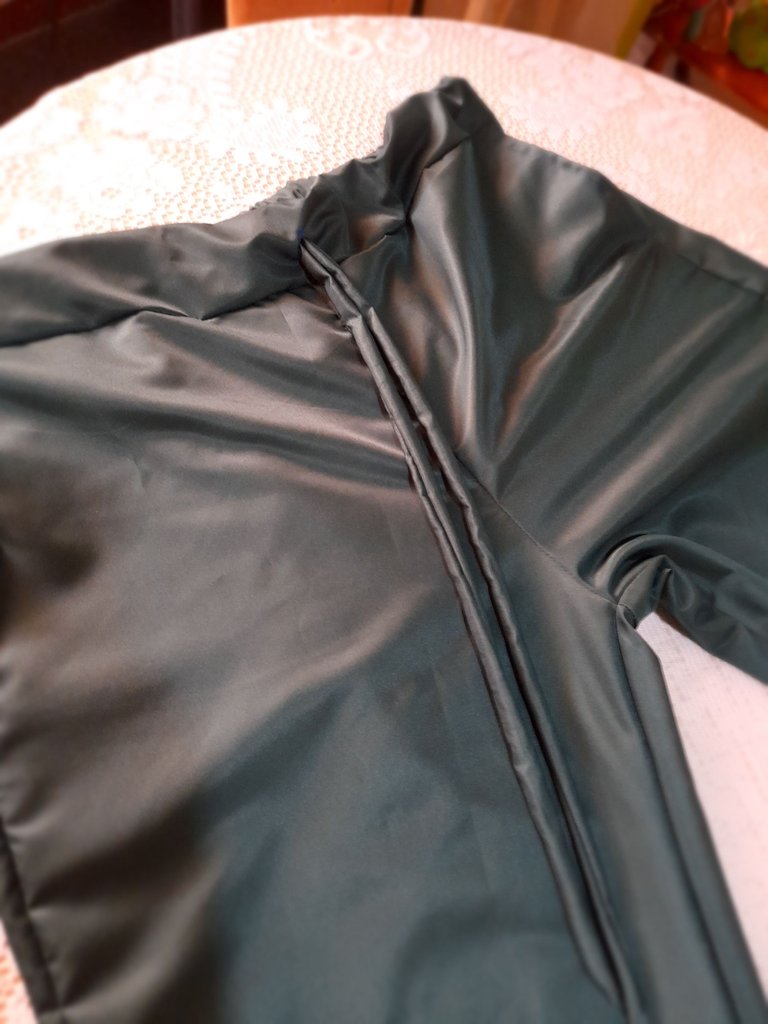
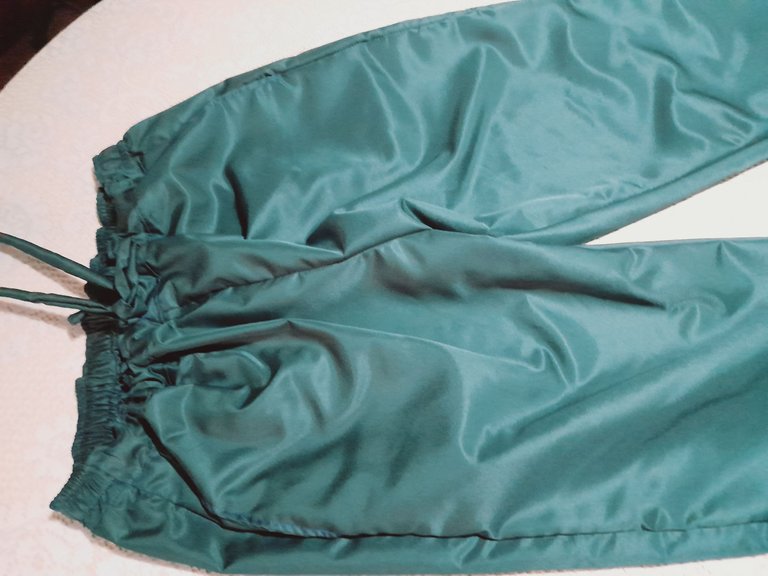
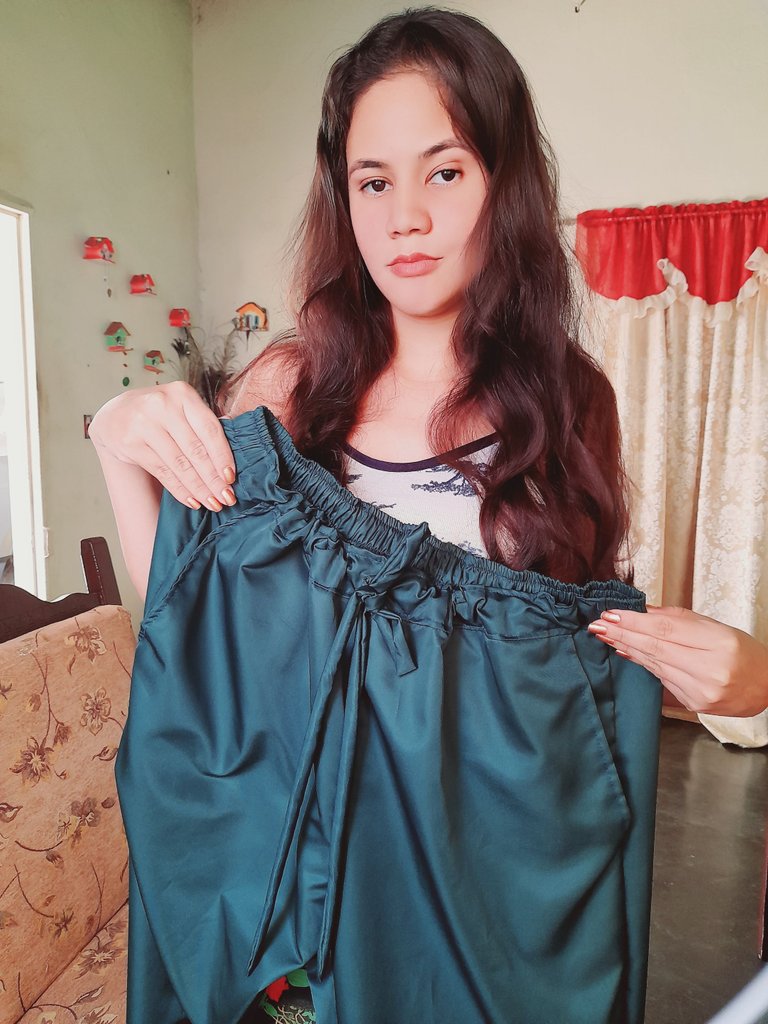
Fue un placer compartir con ustedes este creativo post dedicado a todas las mujeres consentidas que llevan dentro una nueva vida 😘 espero que este pequeño aporte sea de gran utilidad para todos ustedes muchas gracias por haber tomado un minuto para leer mi post espero les guste 💕 nos vemos pronto.
🤰🏽English🤰🏽
Hey! Nice night for everyone 😘 a cordial greeting to the beautiful community of Diy 💕 I hope you are enjoying this wonderful night. Today I wanted to share with you the preparation of this beautiful pants for pregnant women, although it is true that this is the most beautiful stage of a woman and well, at all times you have to be comfortable and beautiful, that's why today's post is dedicated to them with these fabulous baggy pants which I will show you how to do next.

These were the materials I used
• Fabric
• Sewing machine
• Scissors
• Sewing thread
• Measurement garment
• Elastic
🌸Steps🌸
•🌸 Since it is a rigid fabric and my model gained a few kilos due to her pregnancy, I decided to cut the pieces with 4 cm left over because our goal is to make a baggy garment, I continue cutting the waist contour, some band-aids that I will later turn into braids, the pockets and I will cut the shape of the pockets in the front part.

•🌸 Then I am going to assemble the pockets by placing them on the right side of the fabric and passing a straight seam and then fold them inwards and step on them with a straight seam and secure them at both ends and the upper part with a straight seam to prevent them from falling apart. Move, I'll do this with the other end as well, then I'm going to join both front pieces passing a straight seam and a zigzag seam to secure.

•🌸Then I'm going to sew the waist contour on the front part with a straight and zigzag seam and I'm going to join my two back pieces with a straight and zigzag seam and I'm going to fold the upper edge the same width of the elastic and I'll pass a straight seam then with the help of a toothpick I am going to insert the elastic and I am going to stretch while I am sewing with a straight seam on top.

•🌸 I continue sewing the strips with a straight seam on the reverse side and then I turn them over with a toothpick and in the waist contour that I sew I am going to embroider a buttonhole by placing the machine in 2 stitches and zigzag where my braids will come out then I will make a opening with the seam ripper.

•🌸Then I am going to join the back and front piece and in turn I am going to step on the braid with a straight and zigzag seam then I am going to take the braids out through the opening and I will fold the waist contour to sew it with a straight seam and I continue sewing on the part go down inside the legs to finish joining the pieces with a straight and zigzag seam and to finish I will fold the hems to pass a straight seam, thus culminating this comfortable pants.

💜Results💜


It was a pleasure to share with you this creative post dedicated to all the pampered women who lead a new life inside 😘 I hope this small contribution is very useful for all of you. Thank you very much for taking a minute to read my post, I hope you like it 💕 we see you soon.
💁♀️Todas las fotografías son de mi autoría capturadas con mi Samsung Galaxy A12 y editadas en GridArt.
El texto y resumen es totalmente de mi autoría.
Texto traducido en el traductor Google.💁♀️
💁♀️All the photographs are my own, captured with my Samsung Galaxy A12 and edited in GridArt.
The text and summary is entirely my own.
Translated text in Google translator.💁♀️
