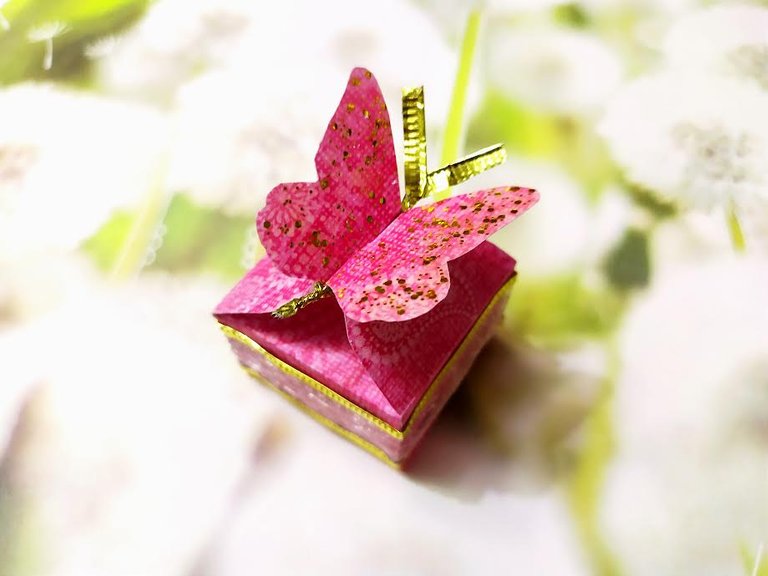

Saludos a todos, espero que estén teniendo una semana productiva. Estoy de regreso con mucho entusiasmo de compartir mis ideas y vivencias, espero que les sea de provecho y les sirva de inspiración de algún modo para seguir creando.
En estos días fue el cumpleaños de mi suegra y quise hacerle un detallito por todos esos años de amor y cariño que me ha brindado. Pensé en comparle un collar de mariposa que vimos una vez que salimos juntas y unos aros que iban en juego. El único detalle es que no tenía una cajita de regalo acorde para la ocasión.
Por eso, pensé en hacerle una cajita que fuera en juego con los accesorios. Lo mejor es que no gasté casi materiales y quedó muy bonita, está increíble para hacer si no tenemos tiempo para comprar una, ni tenemos una a la mano.
Greetings everyone, I hope you are having a productive week. I am back with a lot of enthusiasm to share my ideas and experiences, I hope you find it useful and that it will inspire you in some way to continue creating.
These days it was my mother-in-law's birthday and I wanted to give her a little gift for all those years of love and affection she has given me. I thought of sharing with her a butterfly necklace that we saw once we went out together and some matching earrings. The only detail is that I didn't have a gift box for the occasion.
So, I thought of making her a little box to match the accessories. The best thing is that I spent almost no materials and it turned out very pretty, it's amazing to make if we don't have time to buy one, nor do we have one on hand.
Materiales / Materials 📝
- Hojas blancas
- Cartulina
- Cinta de tela
- Hilo transparente o silicón transparente
- Tijera
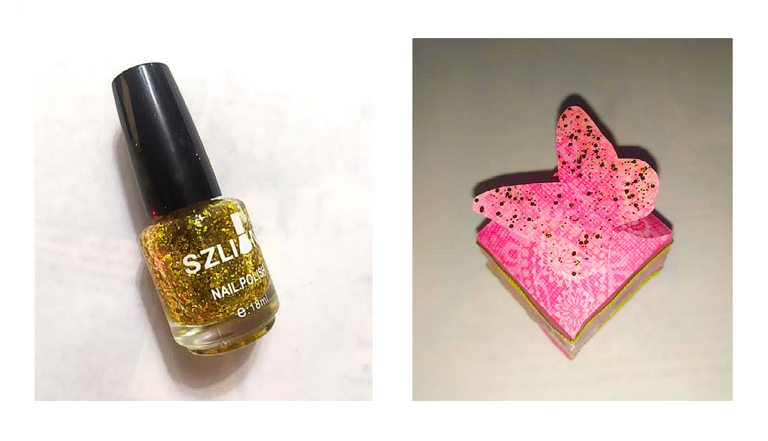
- Pintura de uñas, escarcha o pedrería para decorar
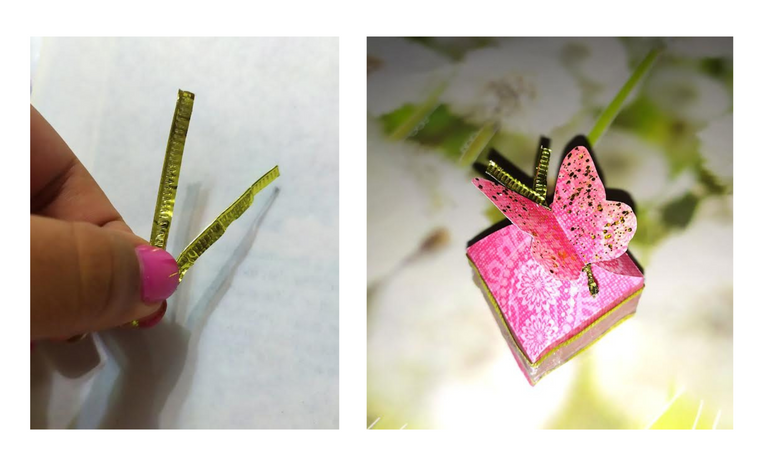
- Alambres decorativos
- White sheets
- Cardboard
- Cloth tape
- Transparent thread or transparent silicone
- Scissors
- Nail polish, glitter or rhinestones for decoration
- Decorative wires

Lo primero que hice fue buscar modelos de cajitas de mariposa y escoger mi favorito. Luego, proseguí a copiar el molde agrandando un poco más el tamaño de las viñetas para que se me sea más fácil recortarlas.
Tú puedes también imprimir tu patrón o copiarlo en el tamaño de tu preferencia. Yo hice la mía aproximadamente de 10x25 cm.
The first thing I did was to look for models of butterfly boxes and choose my favorite. Then, I proceeded to copy the pattern by enlarging the size of the vignettes a little bit to make it easier to cut them out.
You can also print your pattern or copy it in the size of your choice. I made mine approximately 10x25 cm (4x8" x 8").
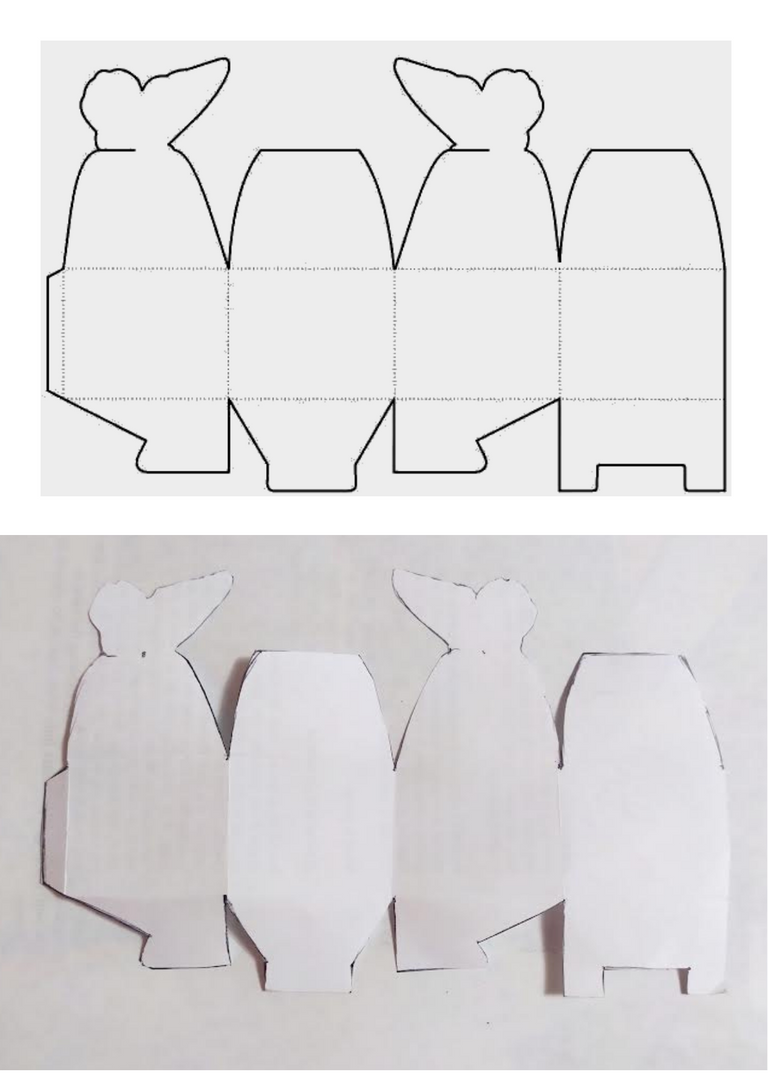
Una vez hecho el molde, lo recorté para copiarlo en una cartulina decorativa y lo doblé para probar que encajaban sus partes de forma correcta. Tú obviamente puedes utilizar la cartulina que tengas y más te guste, yo utilicé esa porque se asemejaba al color del regalo que iba a obsequiar.
Once the pattern was made, I cut it out to copy it on a decorative cardboard and folded it to test that its parts fit correctly. You can obviously use the cardboard you have and like the most, I used that one because it resembled the color of the gift I was going to give.
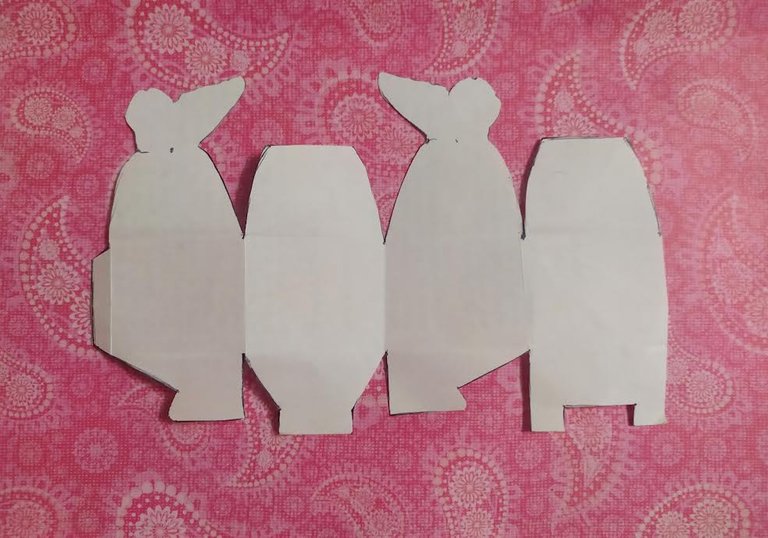
Cuando traspasé el molde, proseguí a armarlo y a pegar todas sus partes. La parte de abajo no logré que encajara tan bien, así que procedí a pegarle un pedacito de cartulina para que no se abriera y se unieran bien todas sus pestañas.
When I transferred the mold, I proceeded to assemble it and glue all its parts. The bottom part didn't fit so well, so I proceeded to glue a little piece of cardboard so that it wouldn't open and all its tabs would fit together.
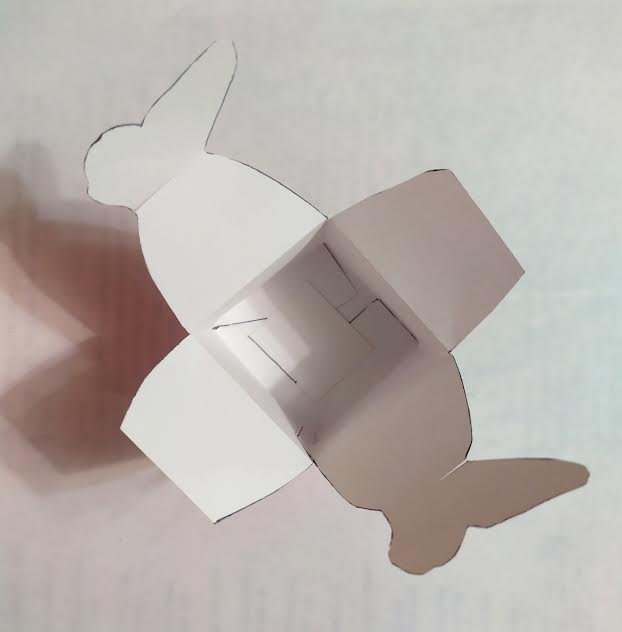
Una vez terminado, probé que todo estaba en orden y la cerré.
Once finished, I tested that everything was in order and closed it.
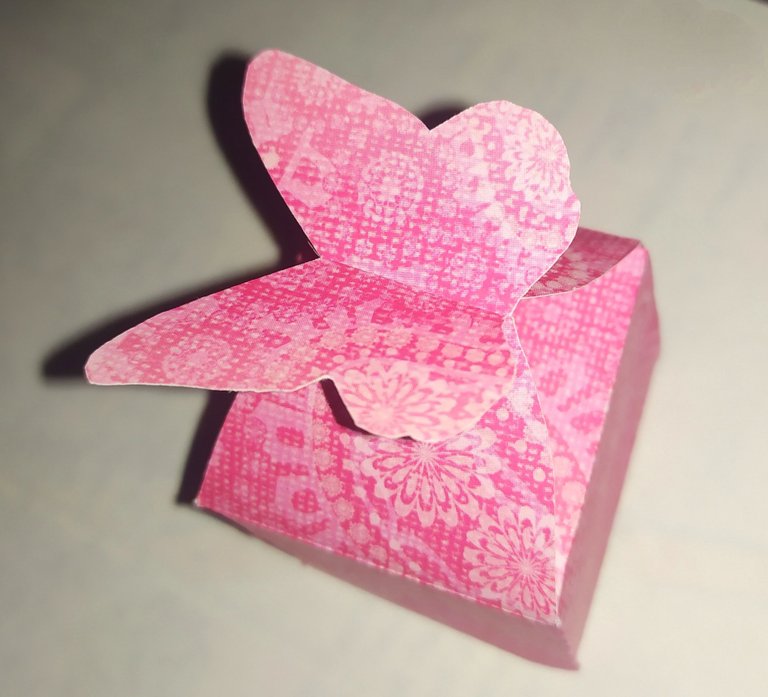
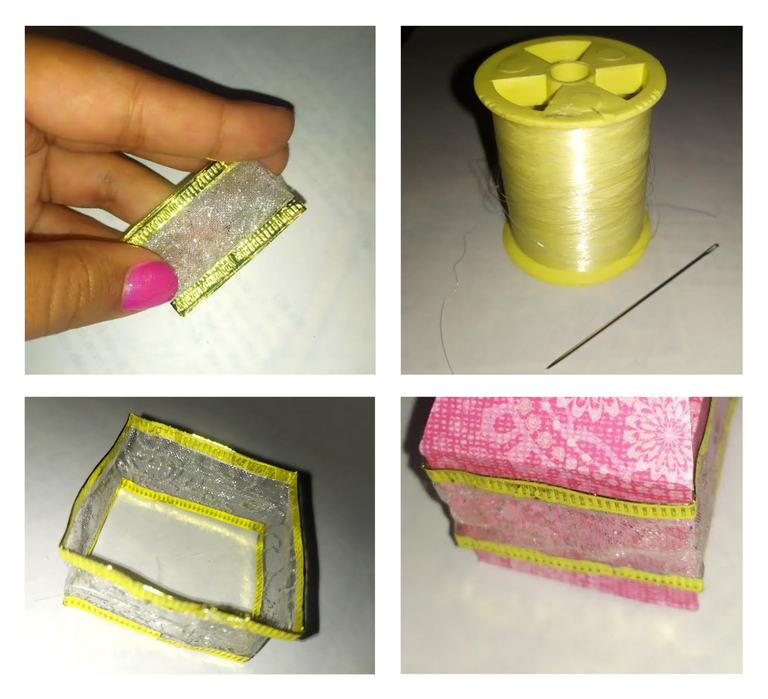
Me gustó mucho el resultado, pero quería añadirle más detalitos. Así que tomé una cinta, la recorté de forma que cubriera toda el área cuadrada de la caja y la cosí con hilo transparente para que no se notara. Lo bueno es que la cinta es de esas que tienen alambres en los bordes y les puedes dar la forma que quieras, las recomiendo.
Una vez cosida la figura, procedí a colocarla en la caja. Como quedó justa no necesité pegarla, pero tú puedes usar tal vez un poco de silicón transparente.
I really liked the result, but I wanted to add more details. So I took a ribbon, cut it so that it covered the whole square area of the box and sewed it with transparent thread so it wouldn't show. The good thing is that the ribbon is one of those that have wires on the edges and you can give them any shape you want, I recommend them.
Once the figure is sewn, I proceeded to place it in the box. I didn't need to glue it, but you can use a little bit of transparent silicone.
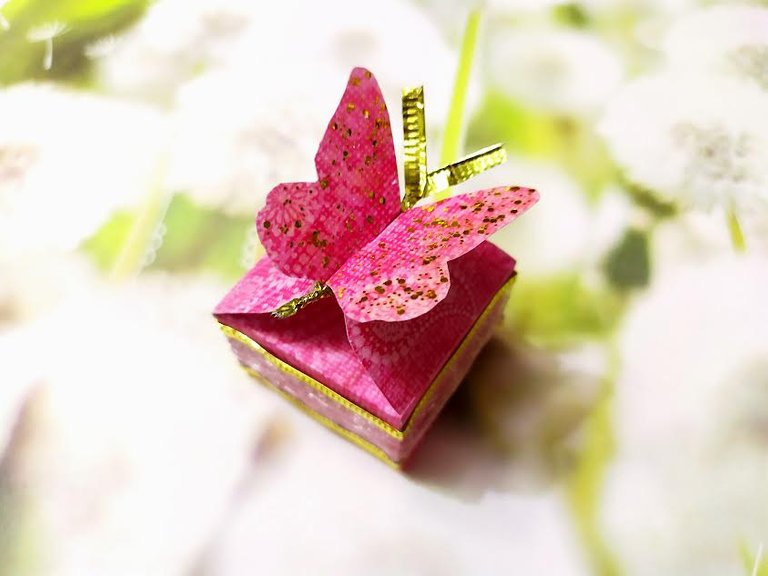

Lo más lindo de hacer uno mismo la cajita de regalo es que se puede notar el interés que se tiene por la persona a la que se le va a dar el obsequio. Me parece un gesto muy emotivo y significativo, además que en el proceso creativo uno siente mucho entusiasmo por ver la reacción de esa persona, y cariño por saber que te estás esforzando por hacerla feliz. Recomiendo hacer esos pequeños detalles.
Gracias por quedarte conmigo hasta aquí, espero que te haya gustado todo y si lo recreas sería genial que me etiquetes. Déjame saber también que te pareció todo y si te quedó alguna duda consúltame, será un placer responderte.
Un abrazo bien grande y bendiciones para todos. Nos vemos en otra oportunidad 💕
Thanks for sticking with me this far, I hope you liked it all and if you recreate it it would be great if you tag me. Let me know also what you thought of everything and if you have any questions please let me know, it will be a pleasure to answer you.
A big hug and blessings to all. See you another time 💕
- Las imágenes que utilicé en esta publicación son propias y los separadores los realicé con ayuda de la aplicación de Canva.
The images I used in this publication are my own and the separators were made with the help of the Canva application.
💙
- Texto traducido con DeepL (versión gratis)
Text translated with DeepL (free version)
💙📲💙


