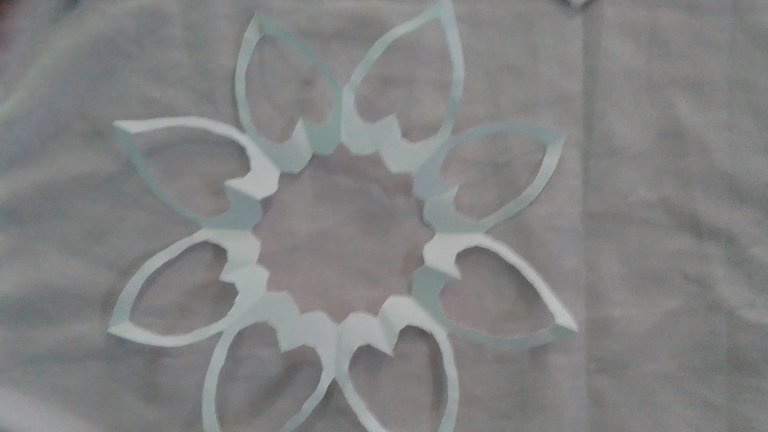
Buenos días amigos espero que estén muy bien en este hermoso dia porque hoy quiero compartir con todos ustedes una idea que quiero compartir en este hermoso día como ya saben que estamos en navidad quiero enseñarle como hacer este lindo copo de navidad sencillo para decorar en sus casas hecho de materiales reciclados el cual espero que les guste este sencillo copo de navidad les quiero dar los materiales necesarios y el paso a paso.
materiales necesarios.
_ Hoja de máquina.
_ tijera.
_ lápiz.
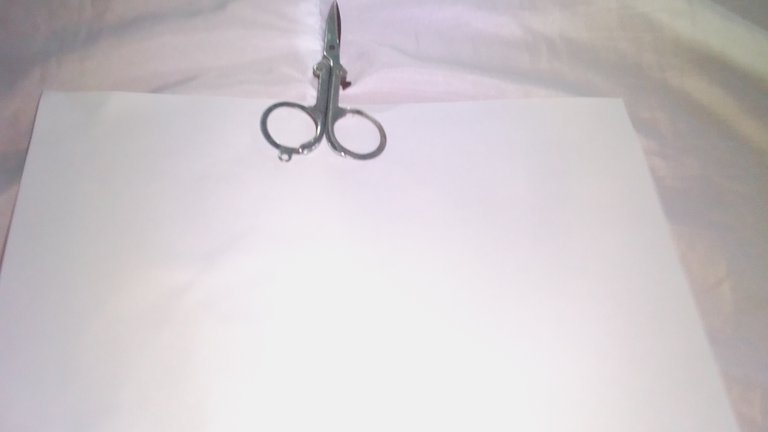
procedimiento:
Paso 1
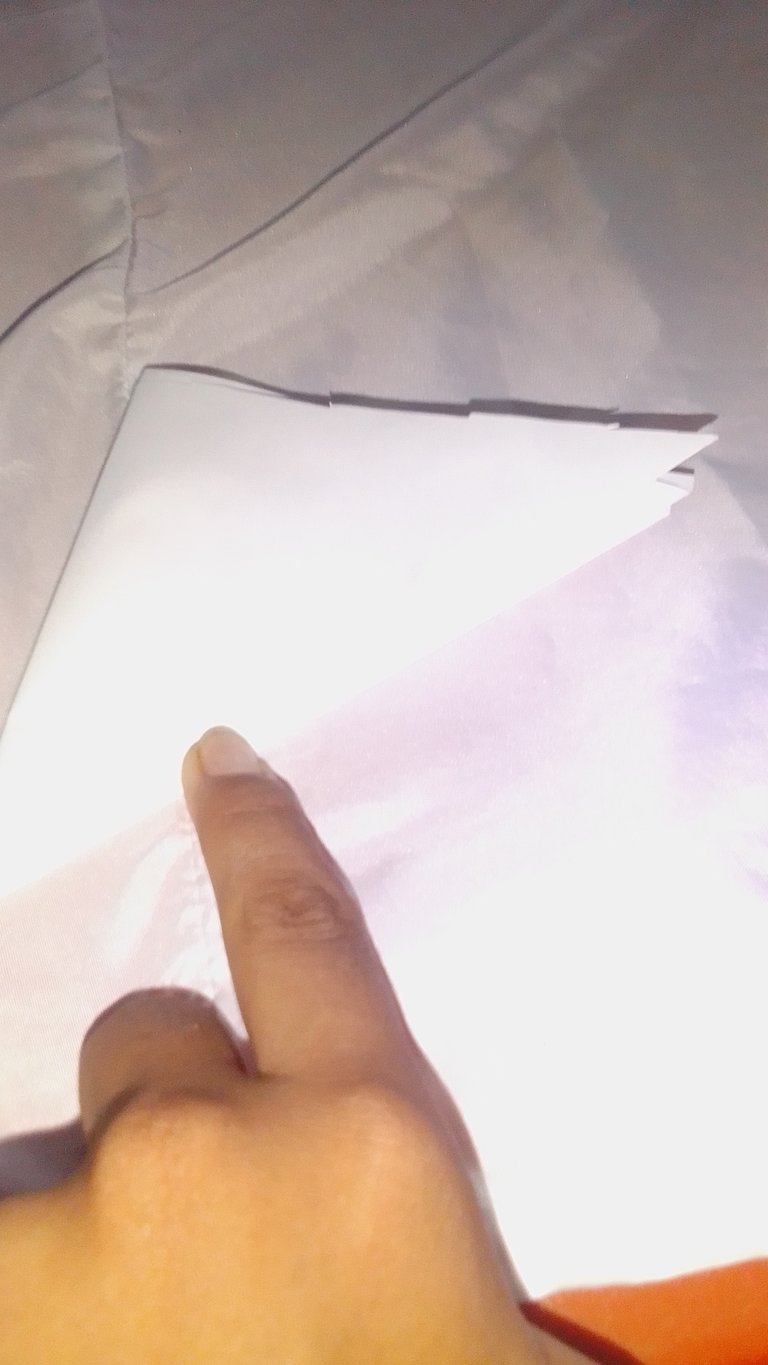
Primero lo que vamos a hacer es tomar la hoja y vamos aproceder a doblar la hoja hacia la mitad y vamos a cortar las partes que quedan sobrando del copo de navidad.
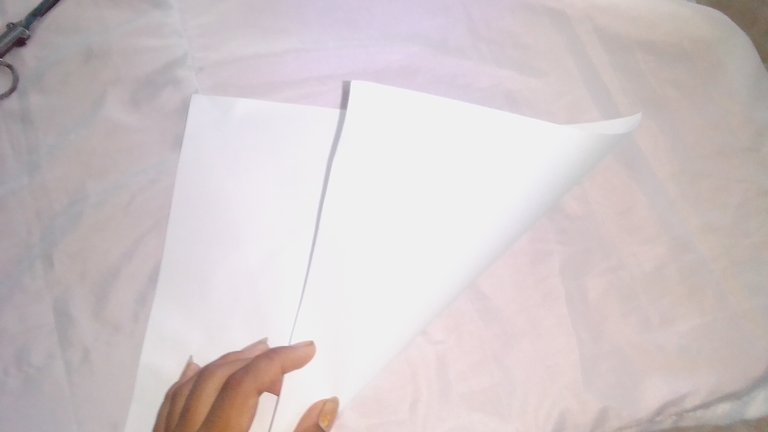
Después de que haiganos doblado la hoja vamos a proceder a doblarla nuevamente hacia la mitad con mucho cuidado para poder que queden en partes iguales.
Paso 2
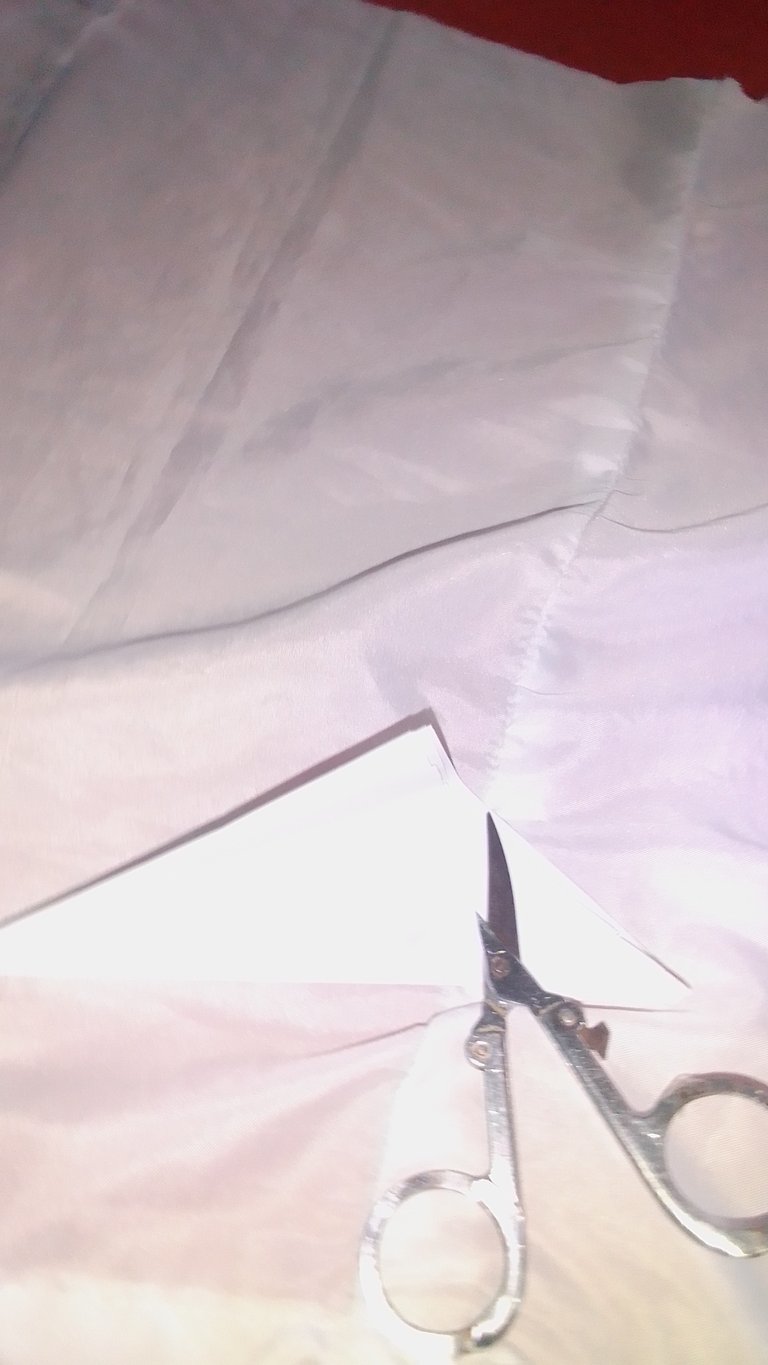
Ya después de que hayanos doblado la hoja vamos a proceder a doblarla nueva mente hacía la mitad y vamos a cortar las puntas finales que quedan sobrando del copo.
Paso 3
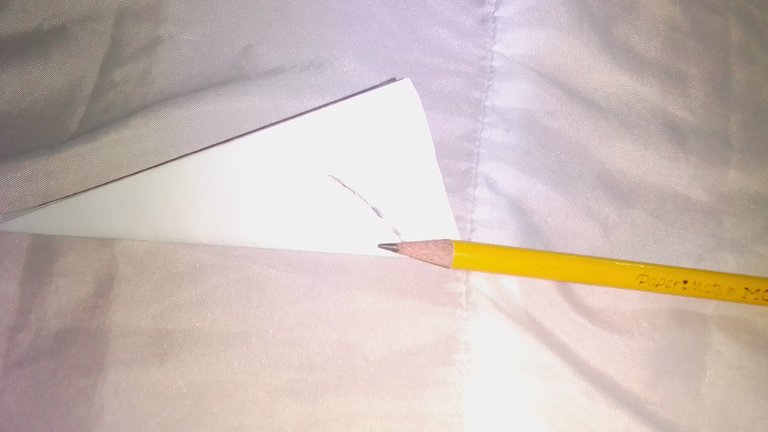
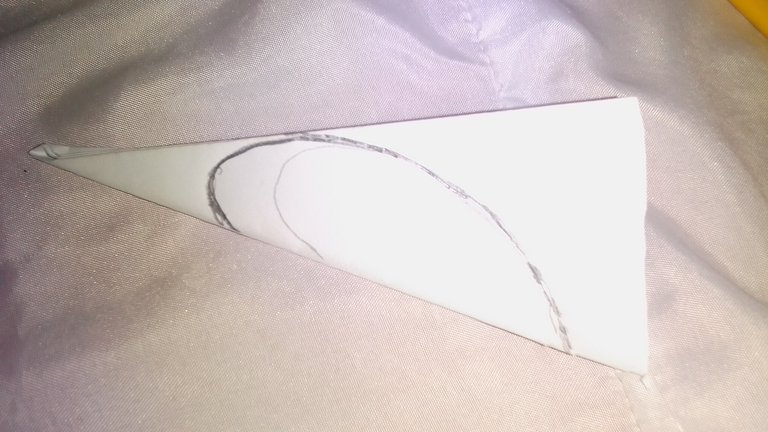
Ya después de que haiganos cortado las puntas finales que sobraban del copo vamos a tomar el lápiz y vamos a ir dibujando una primero una mitad de corazon grande y vamos a proceder a dibujar la otra mitad de corazón un poco mas pequeño abajo del otro corazón mas grande.
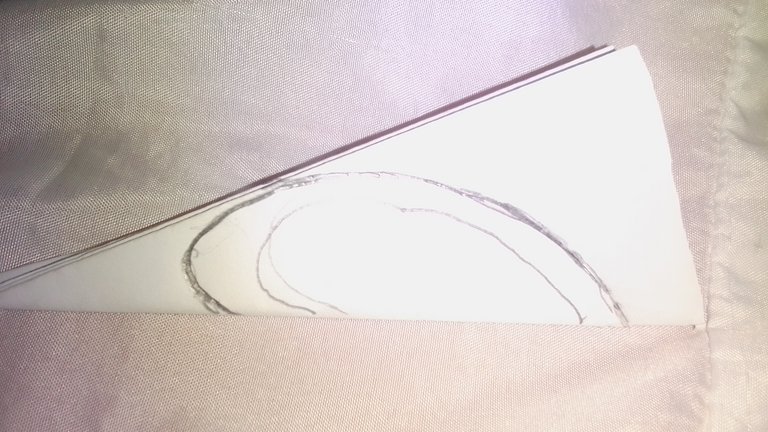
Paso 4
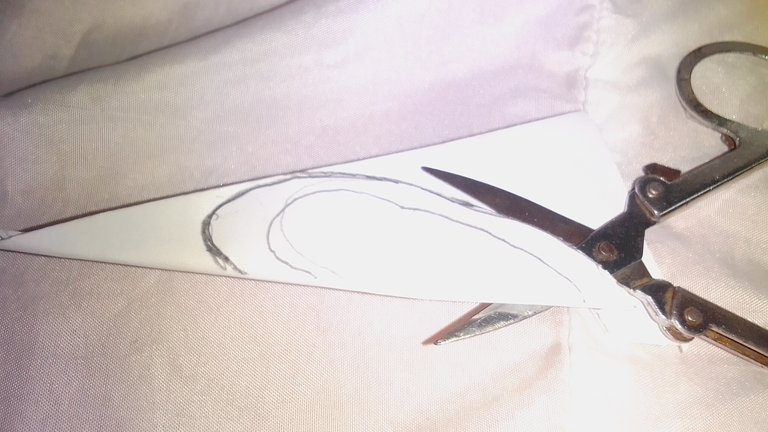
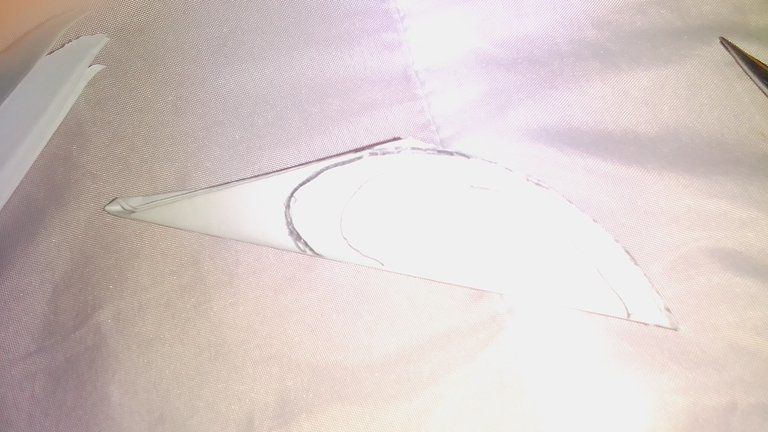
Ya después de hacer las dos mitades de corazón vamos a proceder a cortar con mucho cuidado primero el grande no cortandolo muy abajo cuando vayanos llegando ala parte final del corazon para que no se vaya a romper en seis mitades el copo de navidad.
Paso 5
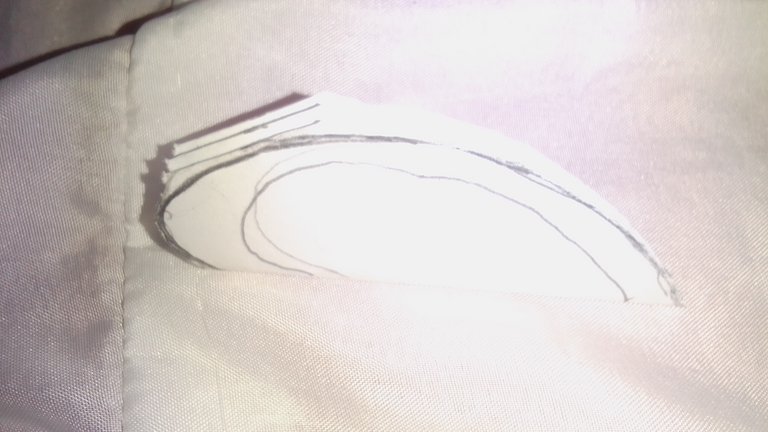
Ya después de cortar el grande vamos acortar la otra mitad de corazón pequeño que dibujamos abajo del grande que ya hemos cortados
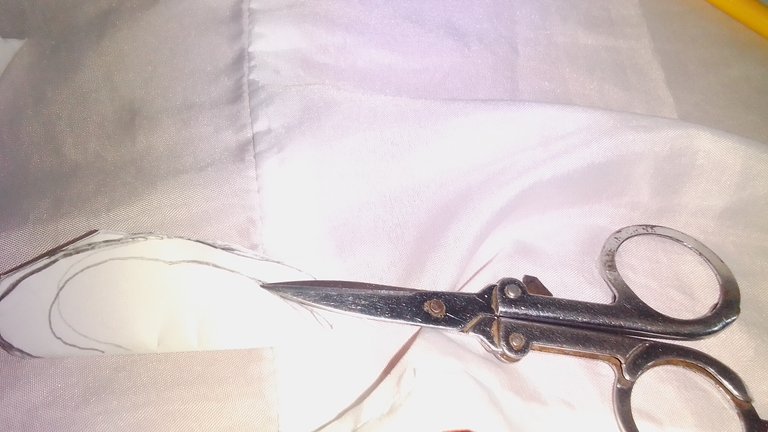
Ya después de que haiganos cortado el corazón pequeño vamos tomar el copo y vamos desenvolver con mucho cuidado para que no se rompa el copo de navidad y después vamos a proceder a planchar o estirarlo con mucho cuidado para que no se ronpa el copo para que quede plano el copo de nieve y para que se vea mejor cuando váyanos a pegar el copo de nieve en las paredes de las casas este copo de navidad.
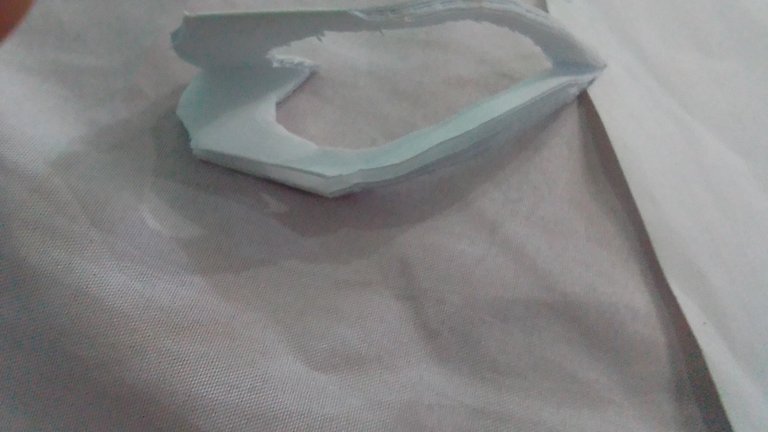
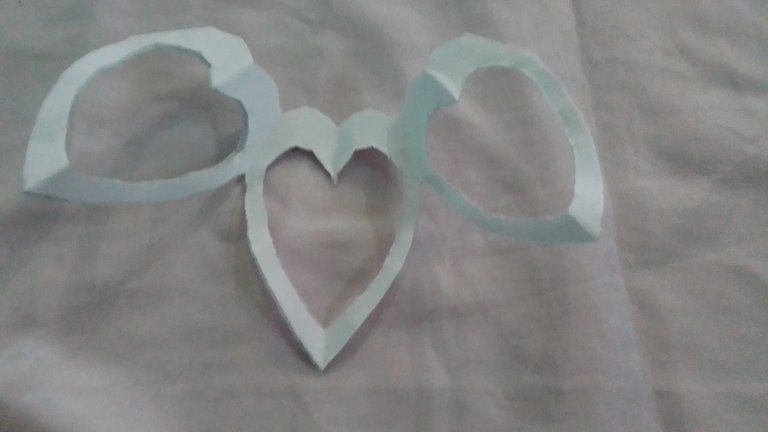
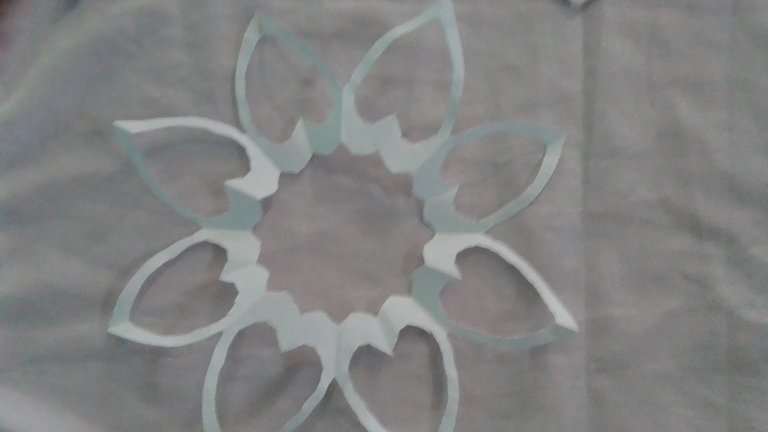
Resultado final.
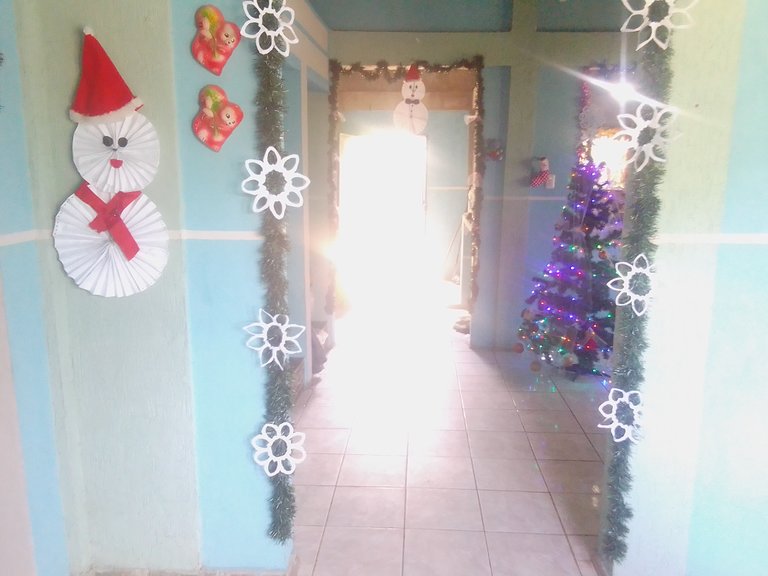
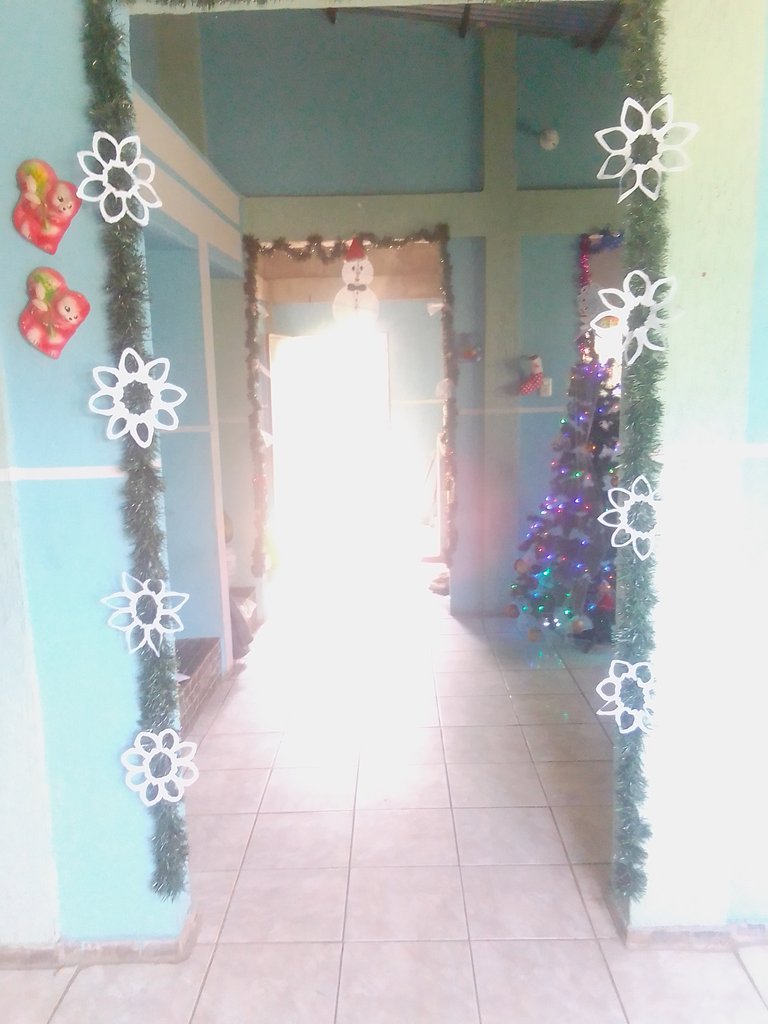
Este es el resultado amigos de esta herrmosa comunidad espero amigos que esta idea les haya gustado este sencillo y hermoso copo de navidad para mi fue un gran placer compartir con todos ustedes este copo de nieve sencillo hecho de reciclaje para de corar en sus casas espero que les haya gustado esta idea amigos muchos éxitos para todos ustedes amigos espero verlos nuevamente hasta la próxima amigos .
_ las fotos son de mi propiedad y fueron tomadas por mi teléfono max 2 plus
_ traductor utilizado: deepl.
<div

Good morning friends I hope you are very well in this beautiful day because today I want to share with all of you an idea that I want to share in this beautiful day as you already know that we are in Christmas I want to teach you how to make this nice simple Christmas flake to decorate in your homes made from recycled materials which I hope you like this simple Christmas flake I want to give you the necessary materials and step by step.
materials needed.
_ machine sheet.
_ scissors.
_ pencil.

procedure:
Step 1
First what we are going to do is to take the leaf and we are going to fold the leaf in half and we are going to cut the leftover parts of the Christmas flake.


After we have folded the sheet we will proceed to fold it in half again very carefully so that it will be in equal parts.

Step 2
After we have folded the sheet we will proceed to fold it in half again and we will cut off the remaining ends that are left over from the codend.

Step 3
After we have cut off the remaining ends of the flake we are going to take the pencil and we are going to draw first one half of a big heart and we are going to proceed to draw the other half of the heart a little bit smaller below the other half of the bigger heart.


Step 4
Now after making the two halves of the heart, we will proceed to carefully cut the large one first, not cutting it too low when we get to the end of the heart so that it does not break into six halves of the Christmas flake.


Step 5
After cutting the big one, we are going to shorten the other half of the small heart that we drew below the big one we have already cut.

Already after we have cut the small heart we are going to take the flake and we are going to unwrap it very carefully so that it does not break and then we are going to proceed to iron or stretch it very carefully so that the flake does not curl so that the snowflake is flat and so that it looks better when we are going to paste the snowflake on the walls of the houses this snowflake.


Final result.
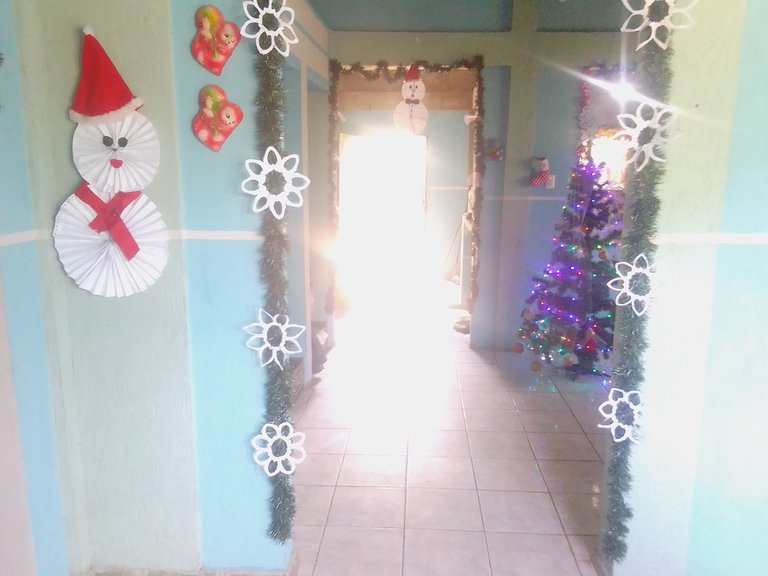
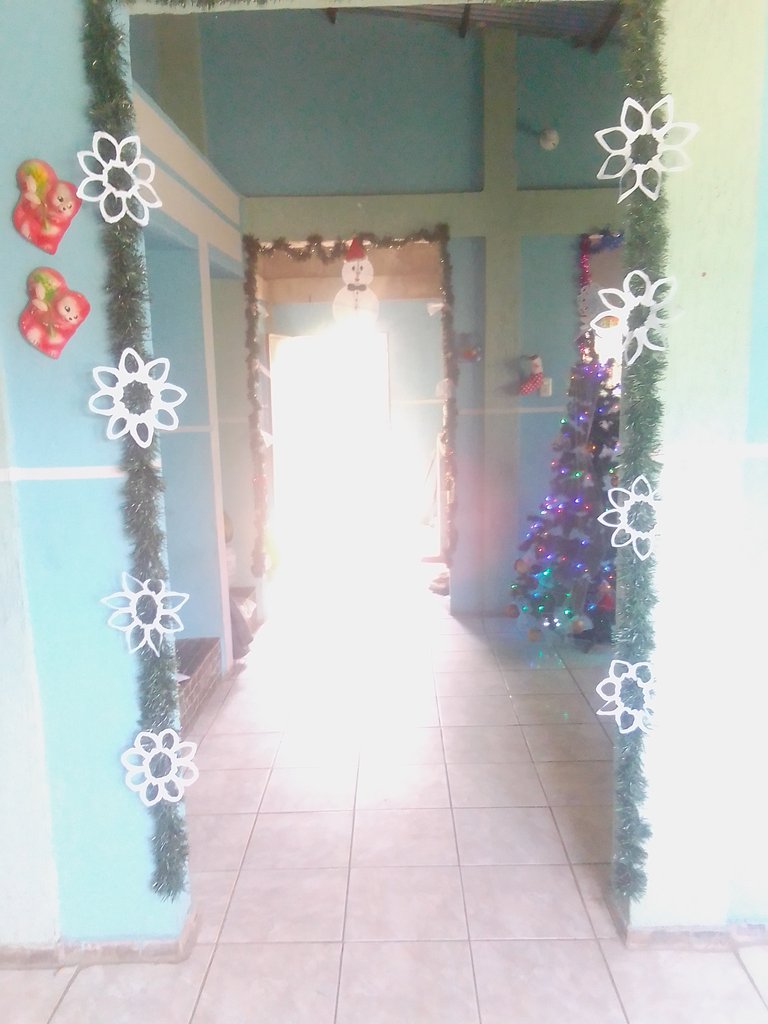
This is the result friends of this beautiful community I hope friends that you liked this idea this simple and beautiful christmas snowflake for me it was a great pleasure to share with you all this simple snowflake made from recycling to decorate your homes I hope you liked this idea friends many successes for all of you friends I hope to see you again until next time friends .

_ the photos are my property and were taken by my max 2 plus phone.
_ translator used: deepl.
<div


