Part Five
I line the inside with foam while I try to decide what exactly it is I want to do with that interior and later I carve wood grain into the exterior.
(Look here for the previous part to this build)

This is where I left off from before.
The whole exterior is now covered with EVA foam.
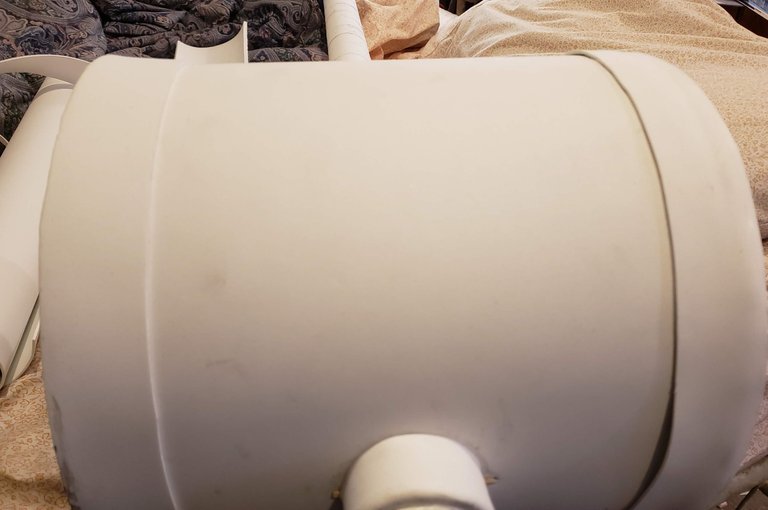
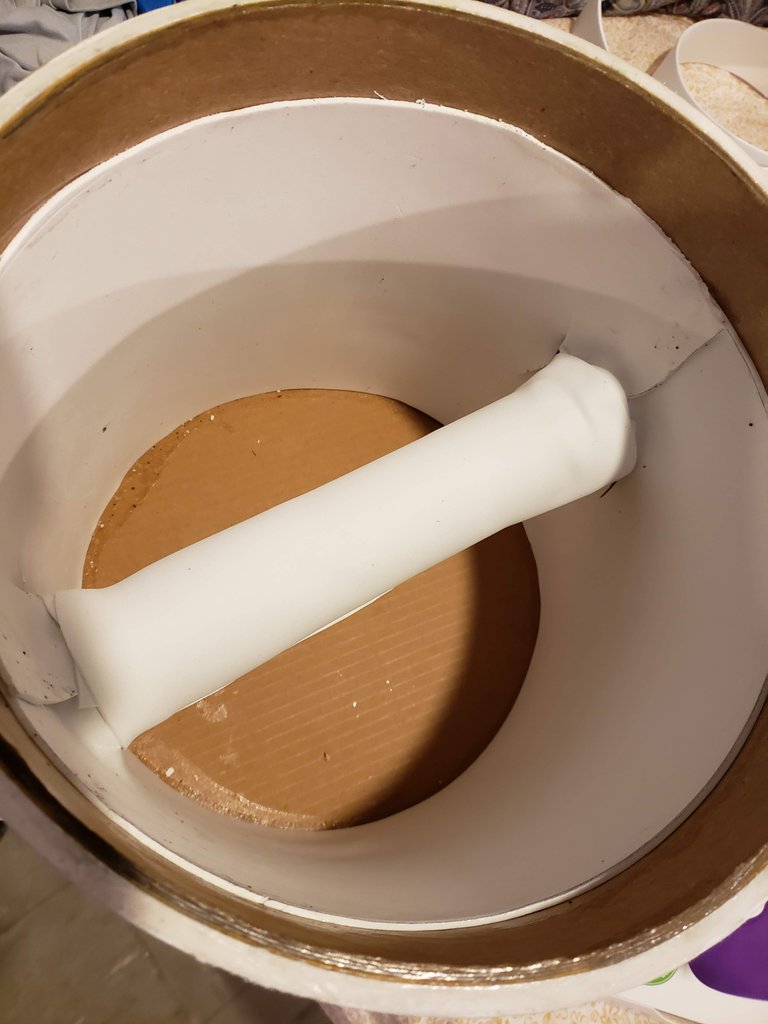
I did some measuring and cut some thin foam to line the inside of the mallet head.
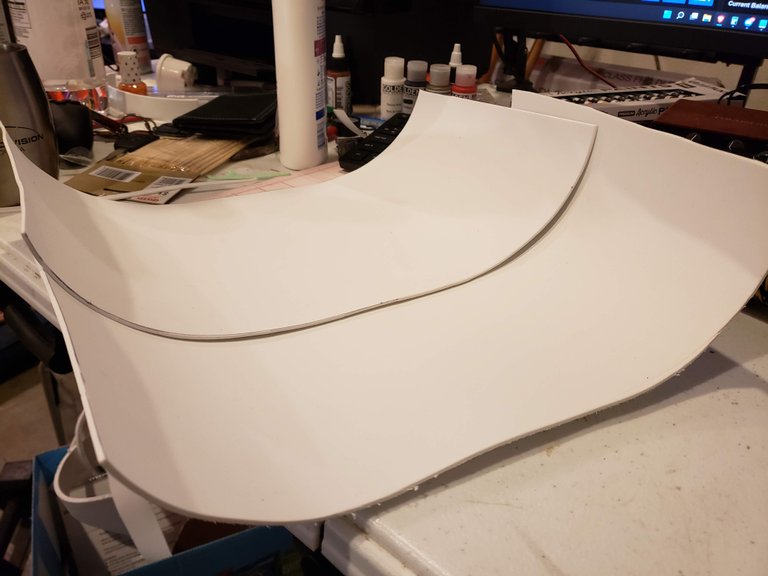
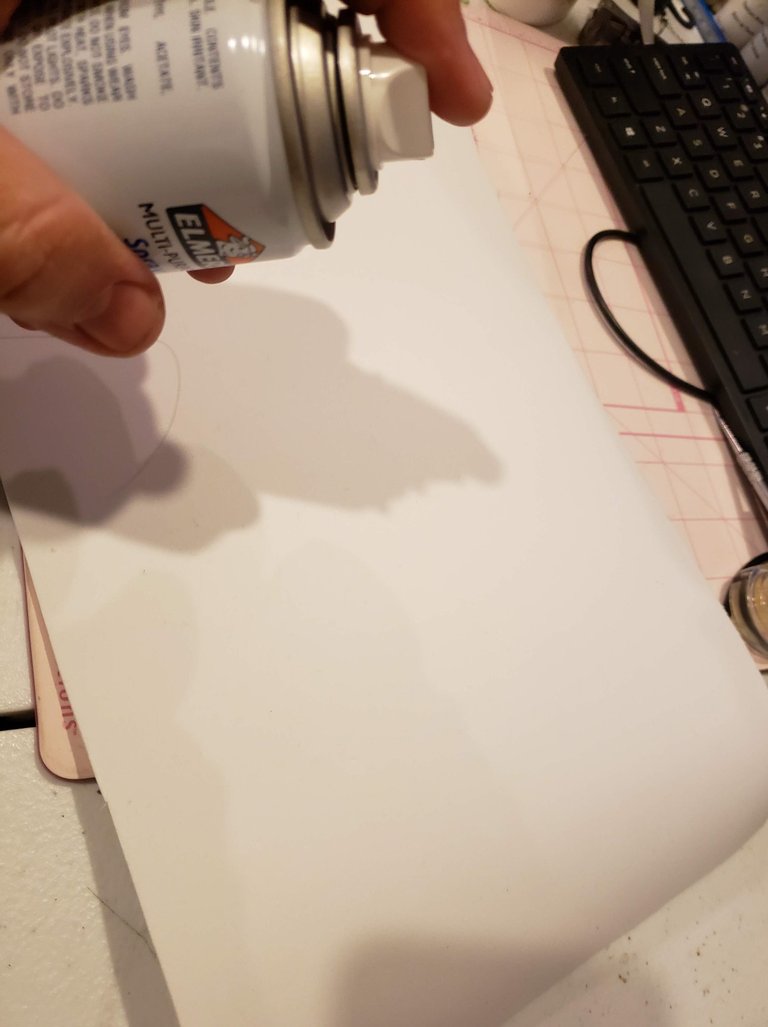
I took a can of spray adhesive and used it to apply this foam to the interior wall.
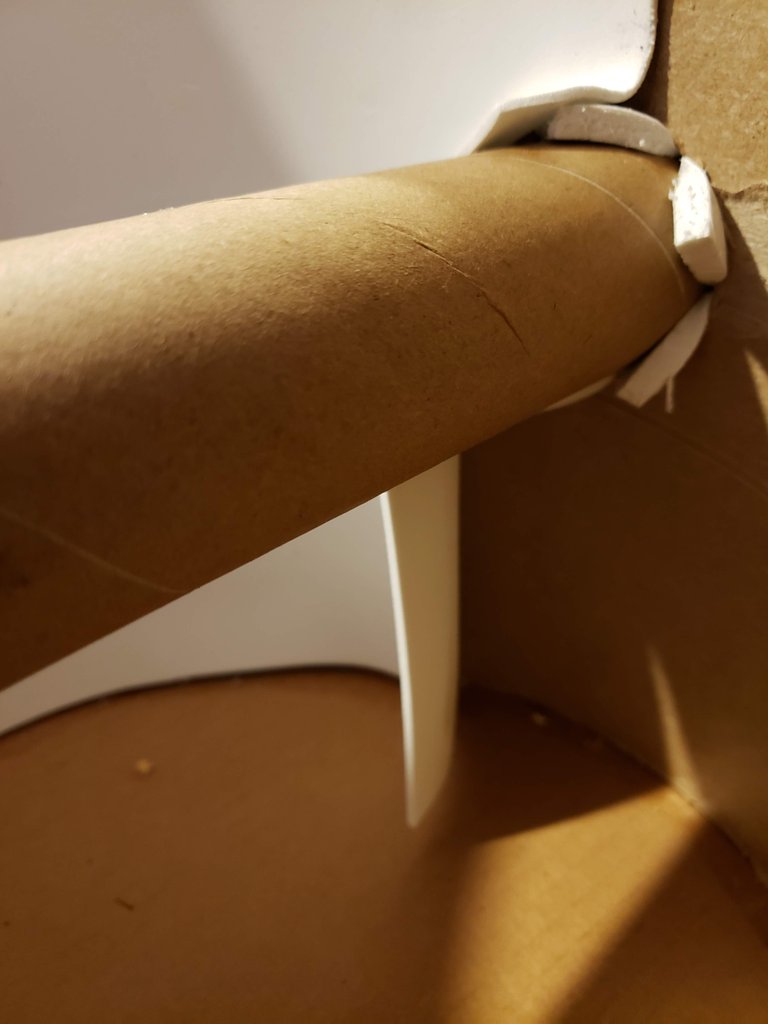
It fits a bit awkwardly with the handle going through there like that.
This will take a bit of work to lay this down flat.
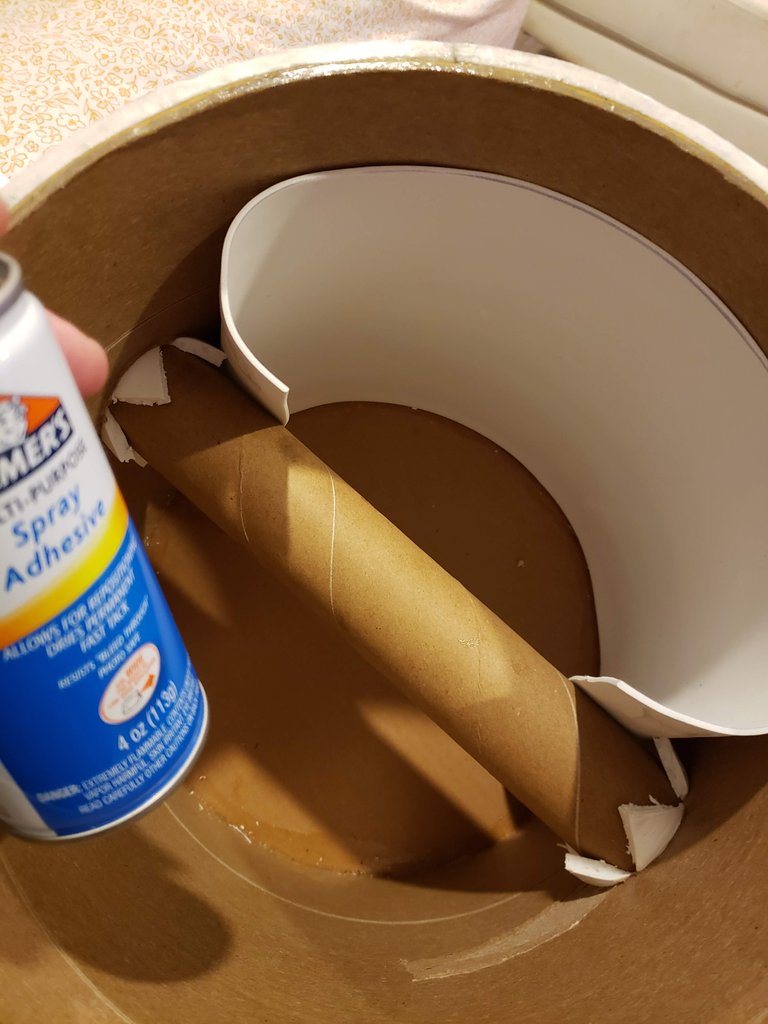
Some smoothing out and pressing is required to get it in there right.
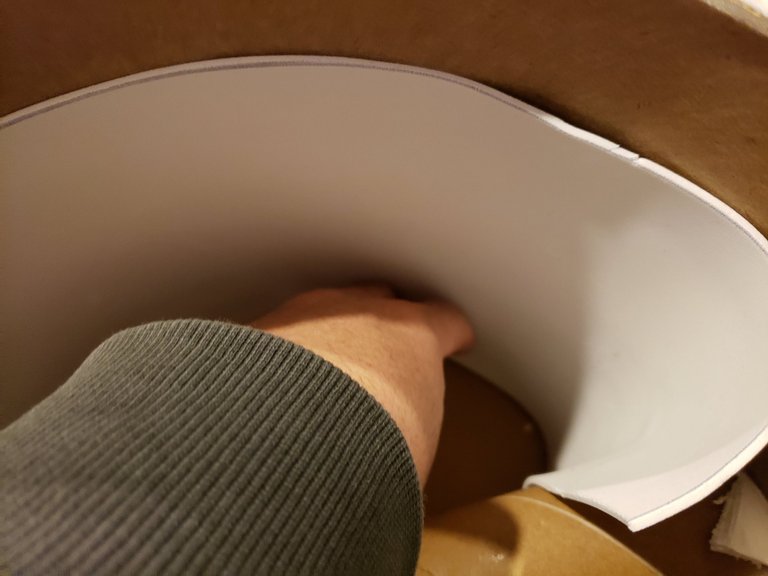
There will be a bit of cutting as well to get everything to lay down flat around this handle.
As I may have mentioned in a previous post, the idea of utilizing the interior was a last minute thing.
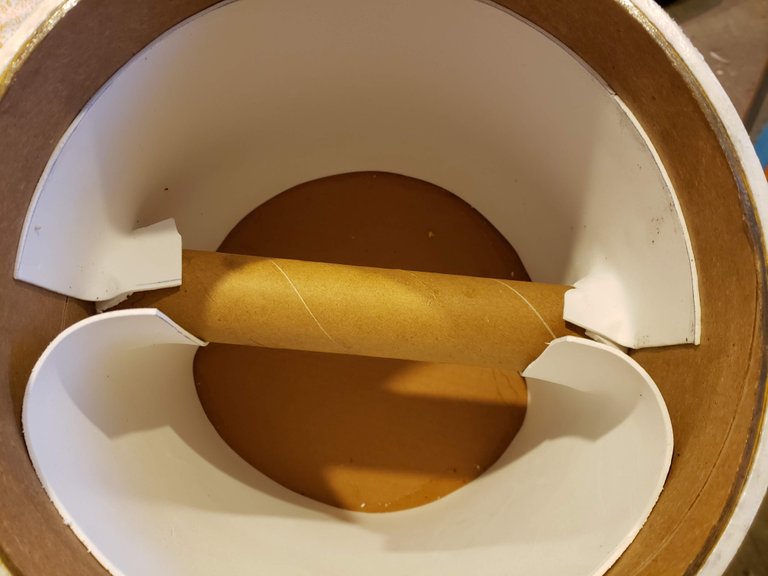
I just thought that it would be cool if you could keep some things like a wallet or phone or keys or a beer or your weed inside there while you are actively using it at an event or some convention you may be attending while in costume.
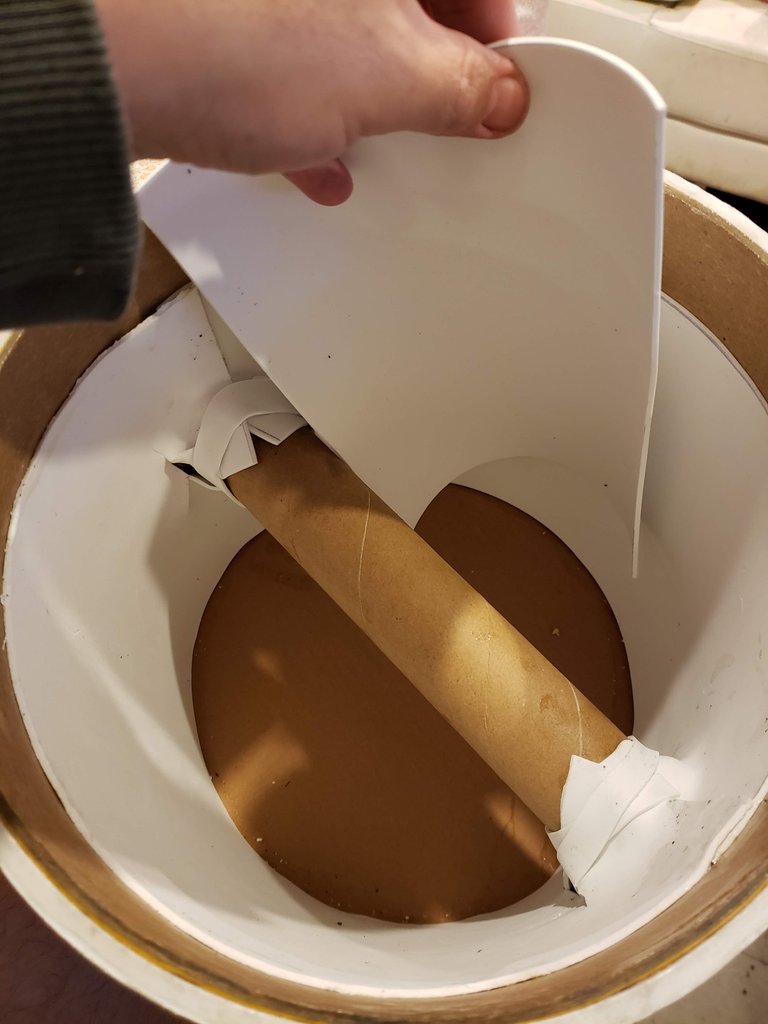
Now that I have it all covered, I set it aside to dry.
I am a little disappointed that I didn't get the actual shots of the Dremel tool being used.
But here is the result of me running a Dremel tool over the mallet head. I was trying to achieve a more wooden-looking appearance.
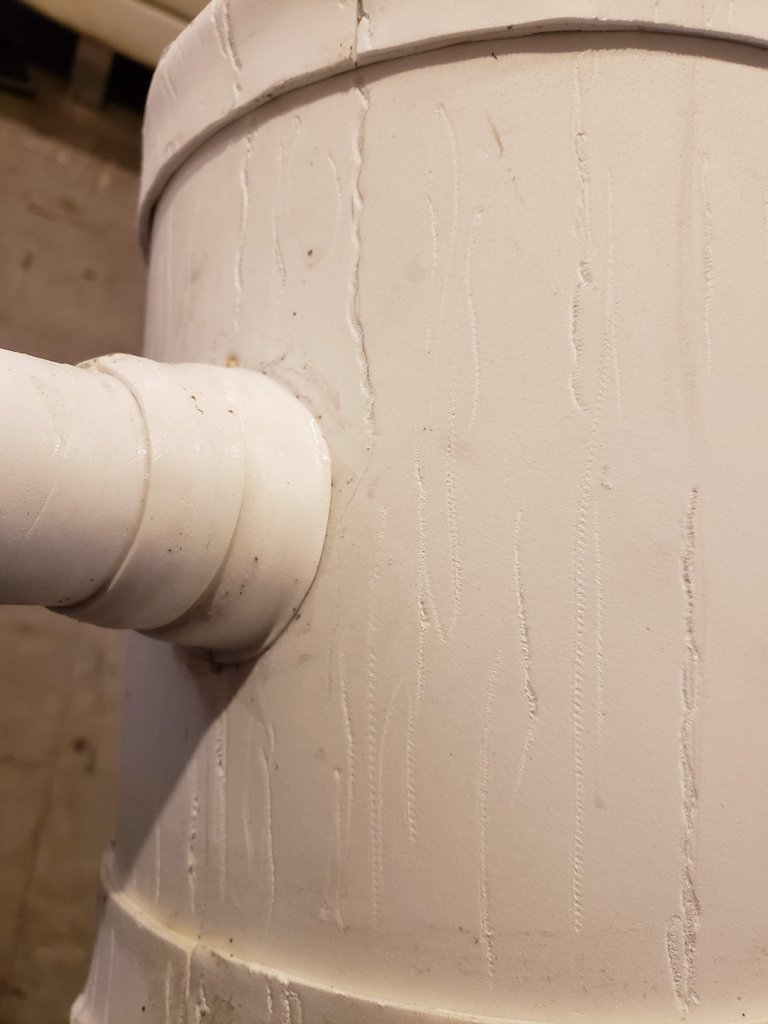
I also used the tool to inflict intentional damage particularly around the ends of the mallet head.
I also cut some strips from my thickest foam to make bands that will wrap around the mallet head. Now with these bands, the thin bands I already had around the ends now disappear and the mallet now has a subtle flared-out angle to the ends.
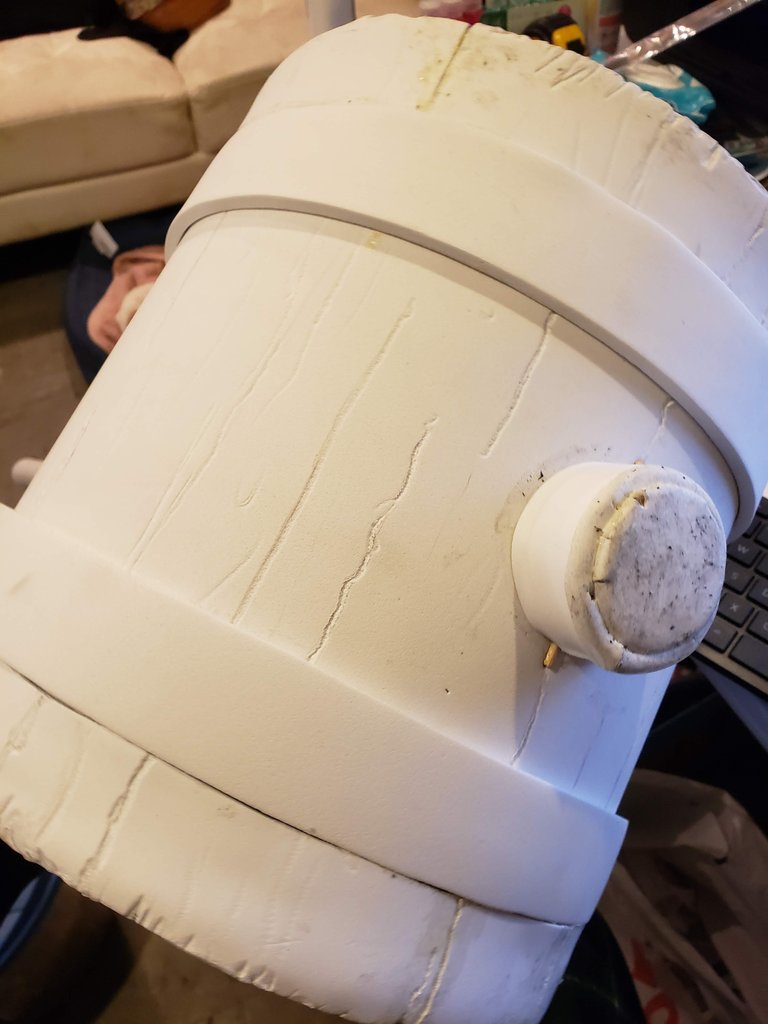
Also, I was able to hide that big seam that was on the side of the mallet!
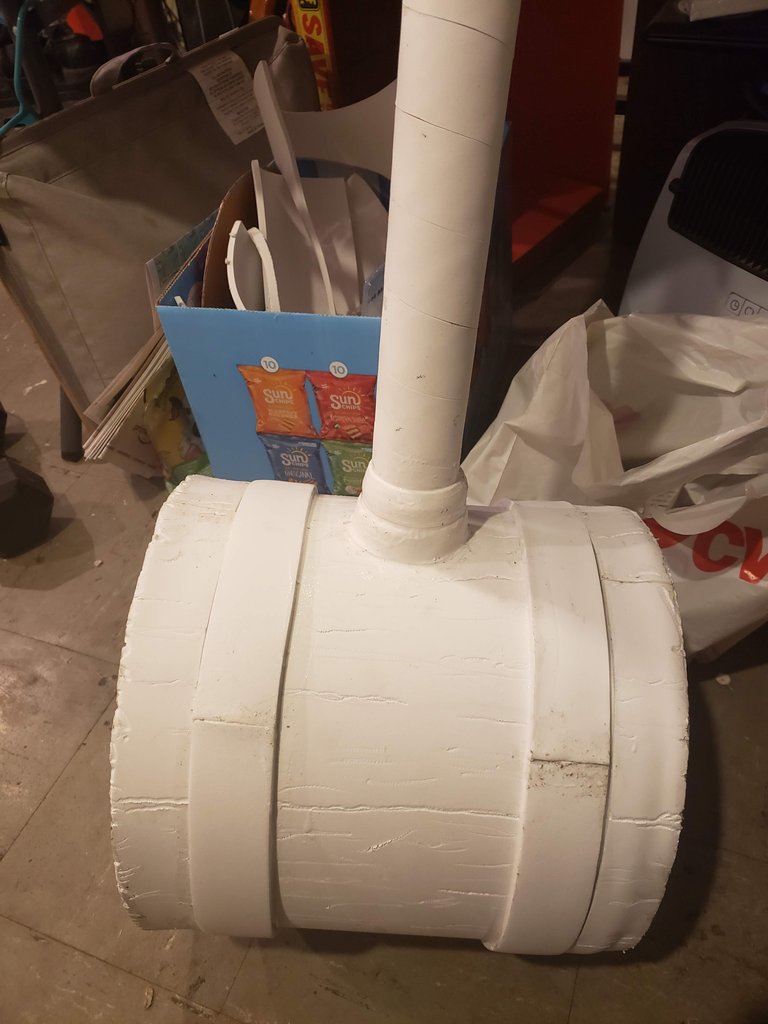
This concludes part five. In the next one, I'll begin painting the mallet head!
Come back for part six!

@SaintChristopher
[jingle bells, batman smells, robin laid an egg]
See The Whole Process
Part 1: Mallet Head & Handle
Part 2: Foam Application to Head
Part 3: Setting the Handle into the Mallet Head
Part 4: Wrapping the Handle
Previous Prop Builds
HEY Y'ALL! My Second Build is Miss Minutes from Marvel's Loki
I Tried My Hand At Prop Making.