My last project
left me wanting to do something bigger
and more of a challenge.
I decided that this mallet would be a fun thing to create and a great learning experience.
Now here is part two of my mallet build.

This is where we left off on the last part. I made the holes for the tube to go through.
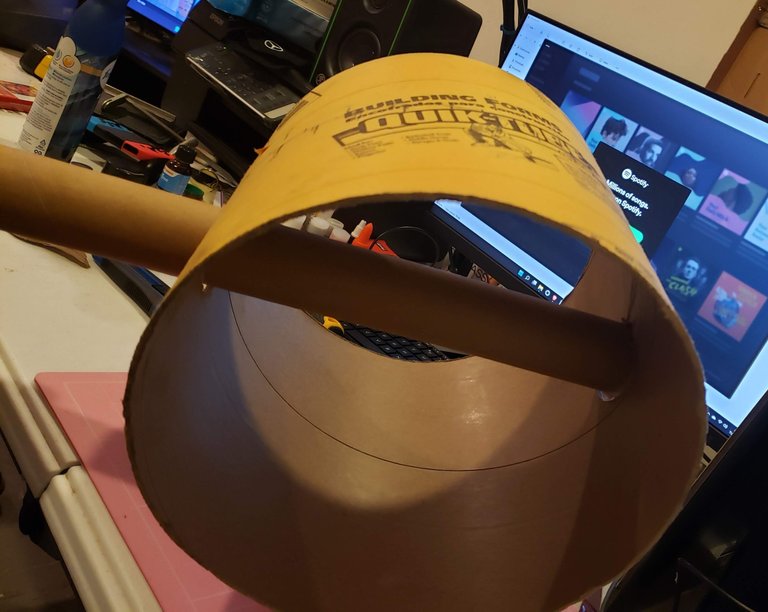
I cut a piece of my thick EVA foam to wrap around the large tube as a kind of soft shell.
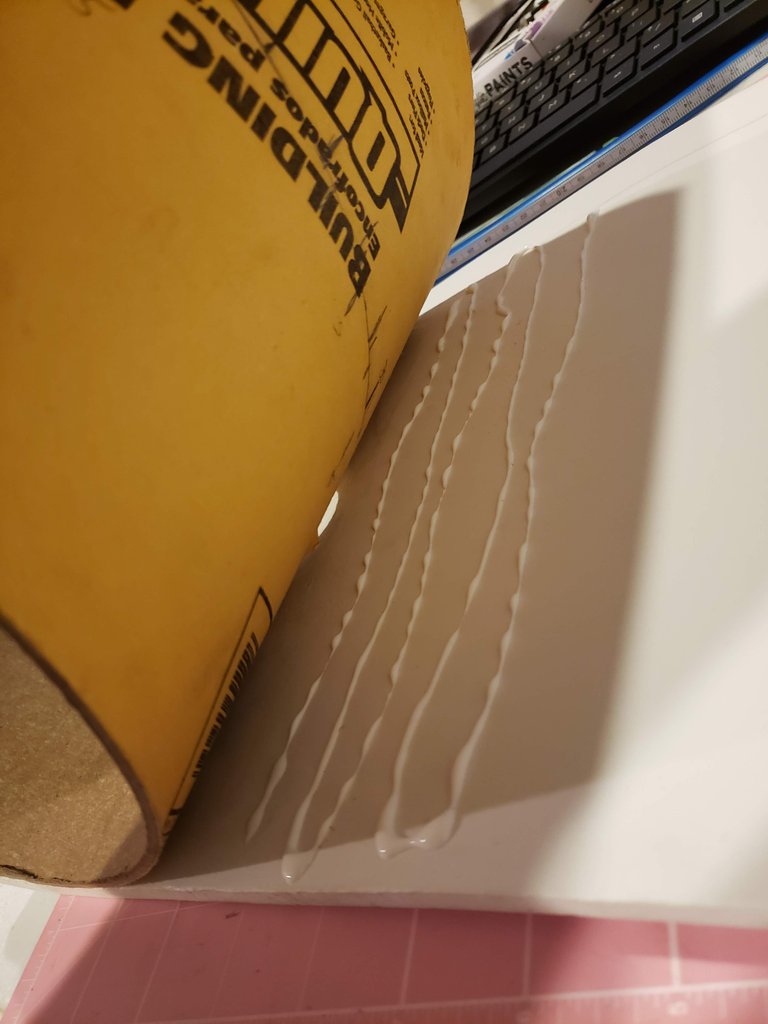
I did brush out the glue to spread it better and rolled it over the tube.
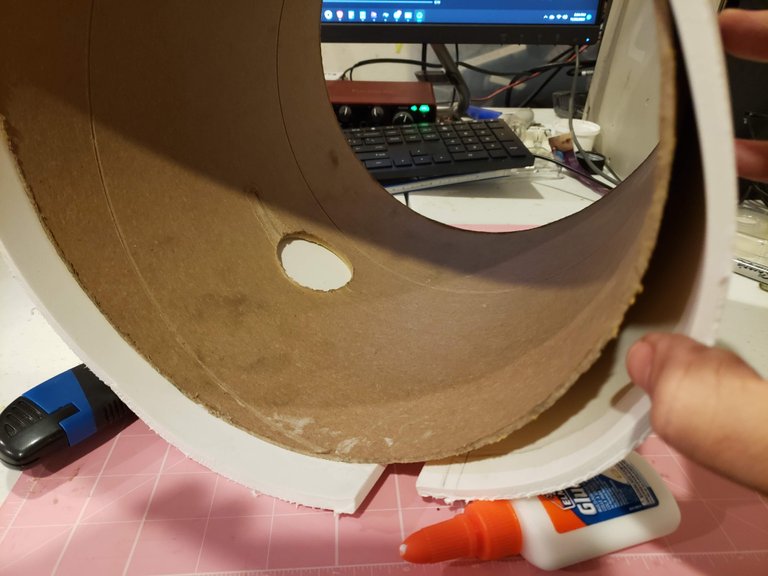
I made certain that one side was flush and even while the other side has some extra foam hanging over.
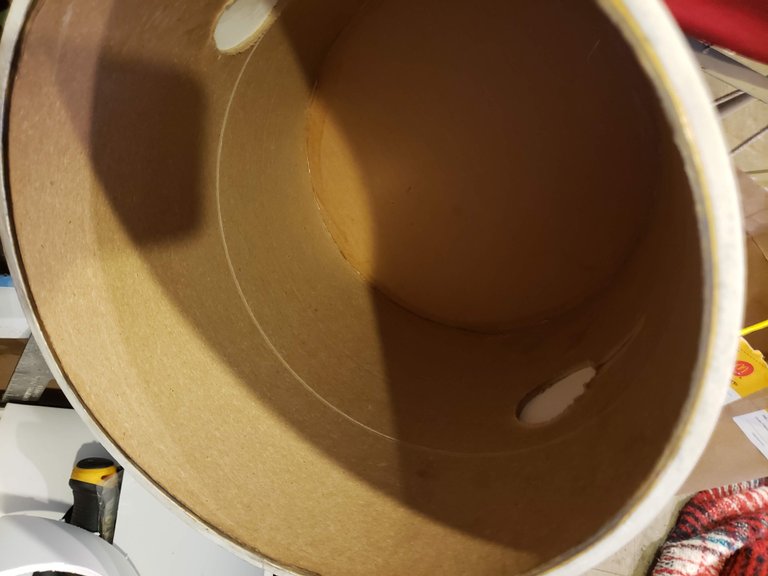
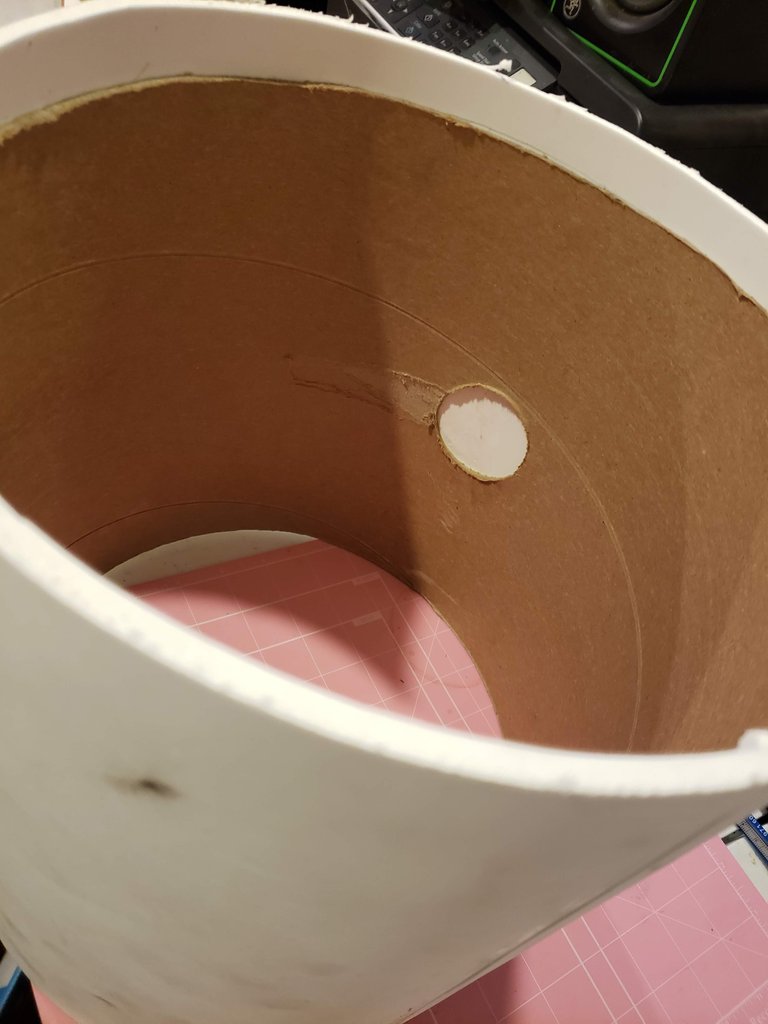
I then let this part dry for a while.
Now, for the ends I just cut cardboard into some circle shapes to cover the ends.
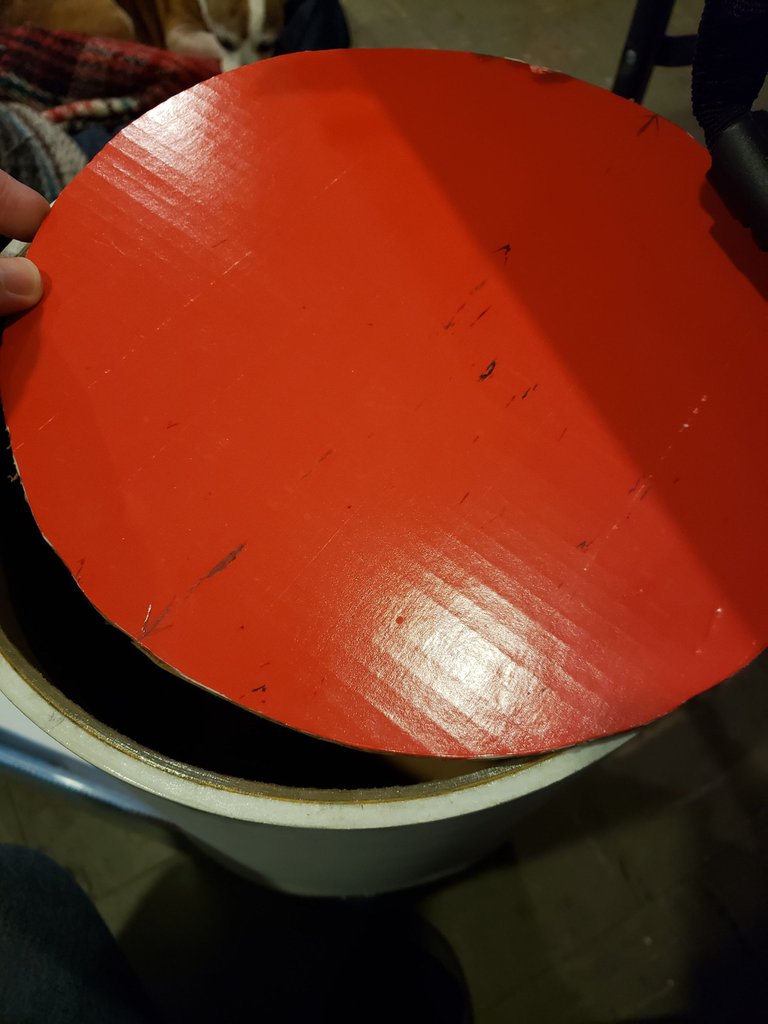
There, all lined up.
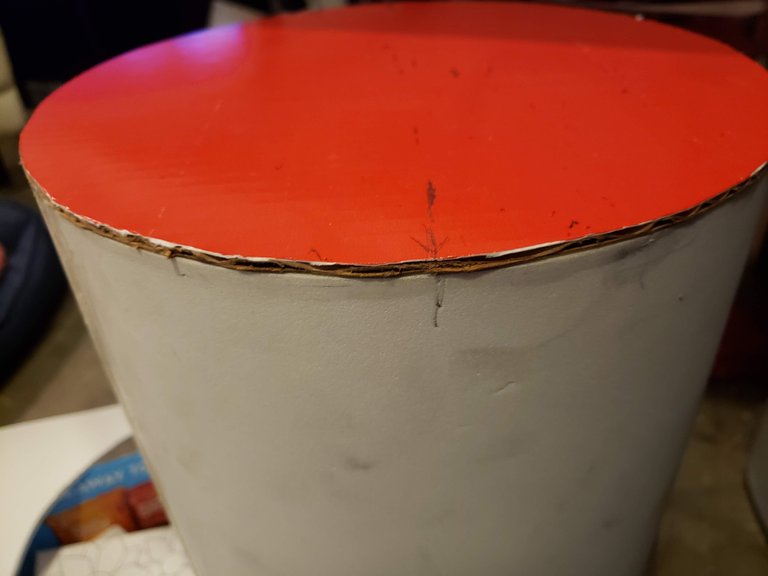
The ends need the foam covering as well.
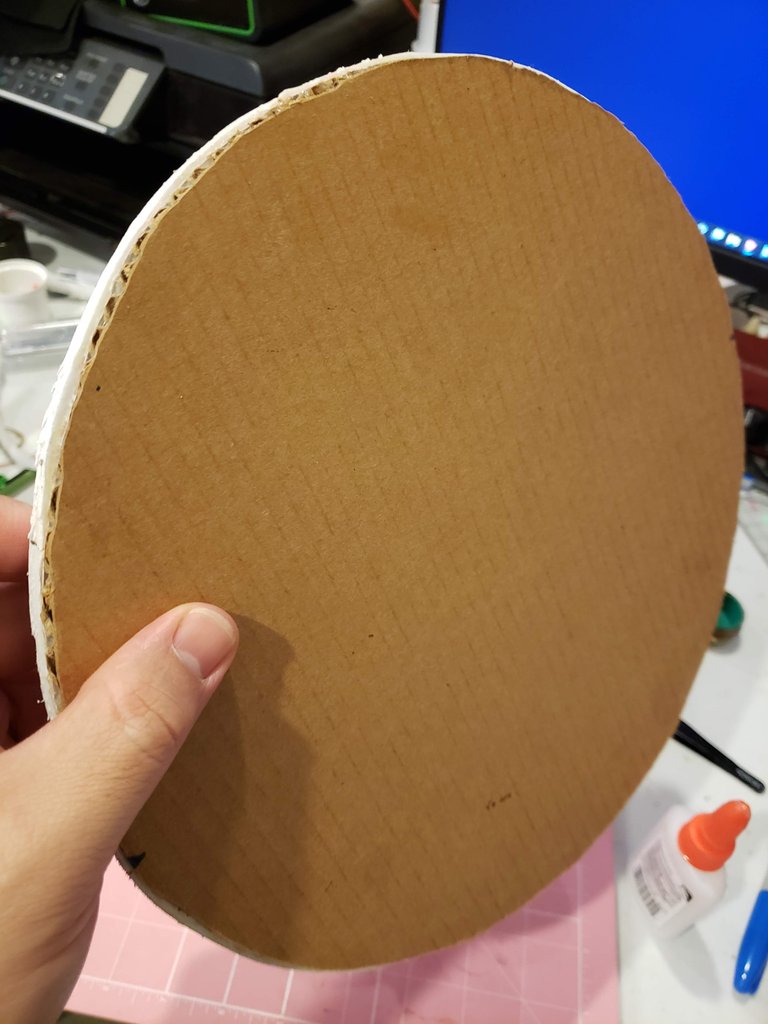
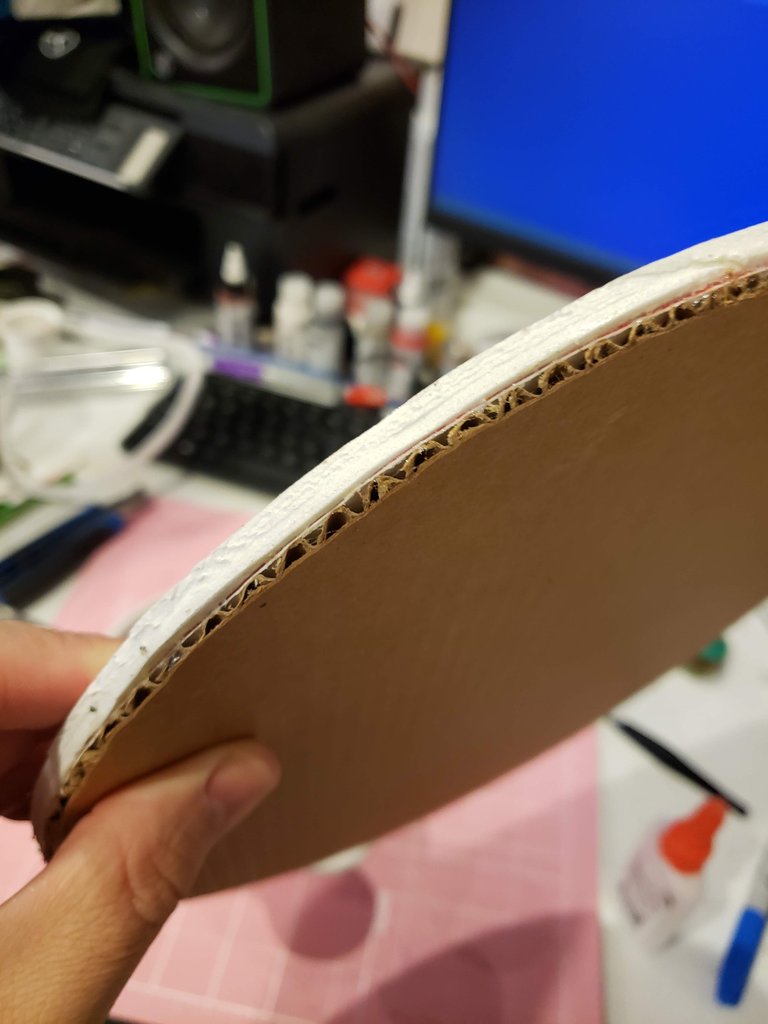
Rubber cement for adding the foam on both sides.
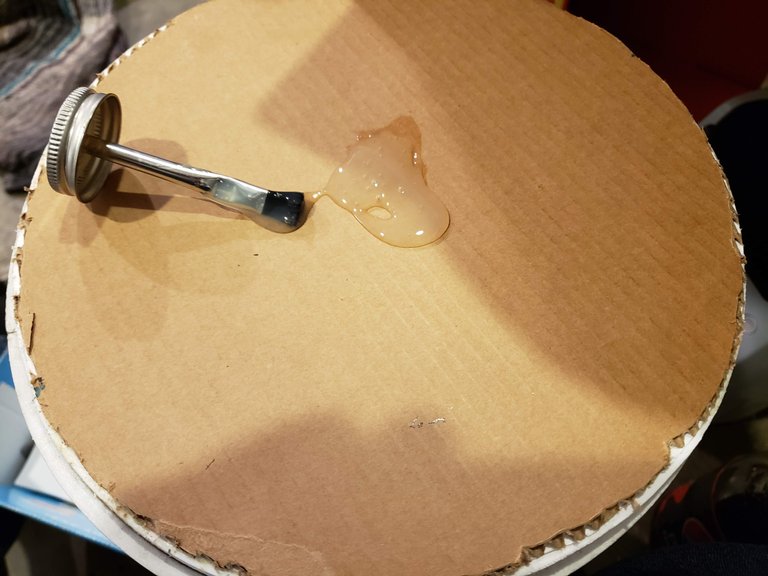
One side for the inside, one for the outside and it fits snuggly into the end.
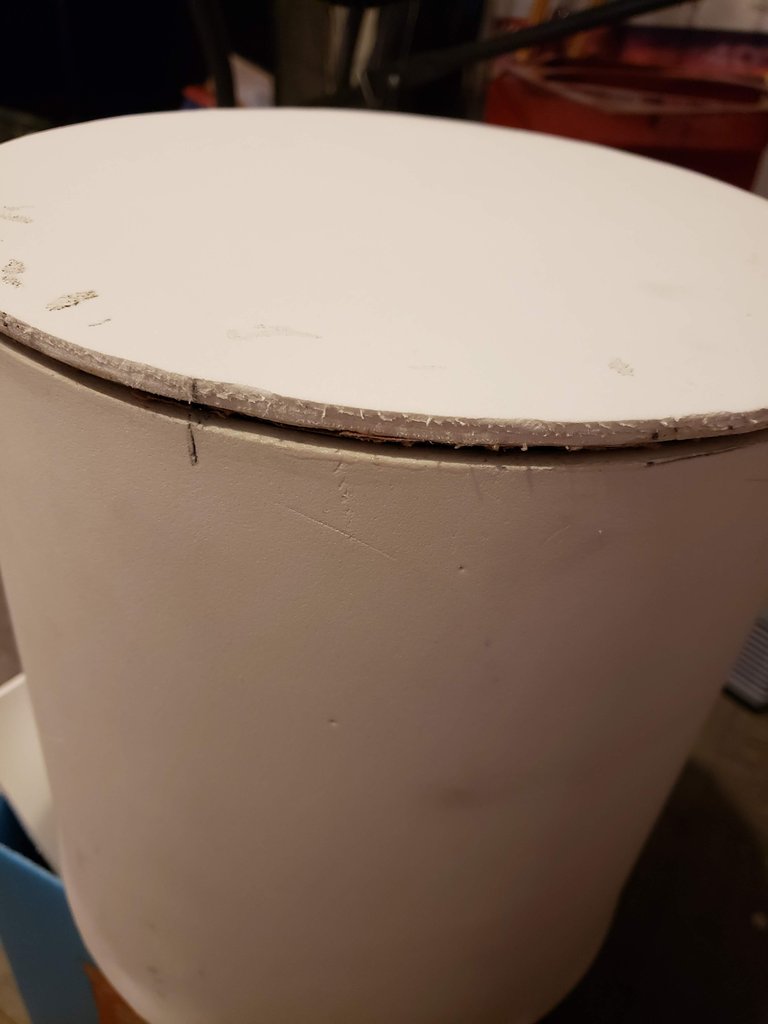
So far, so good. Looks like the mallet head is nearly there!
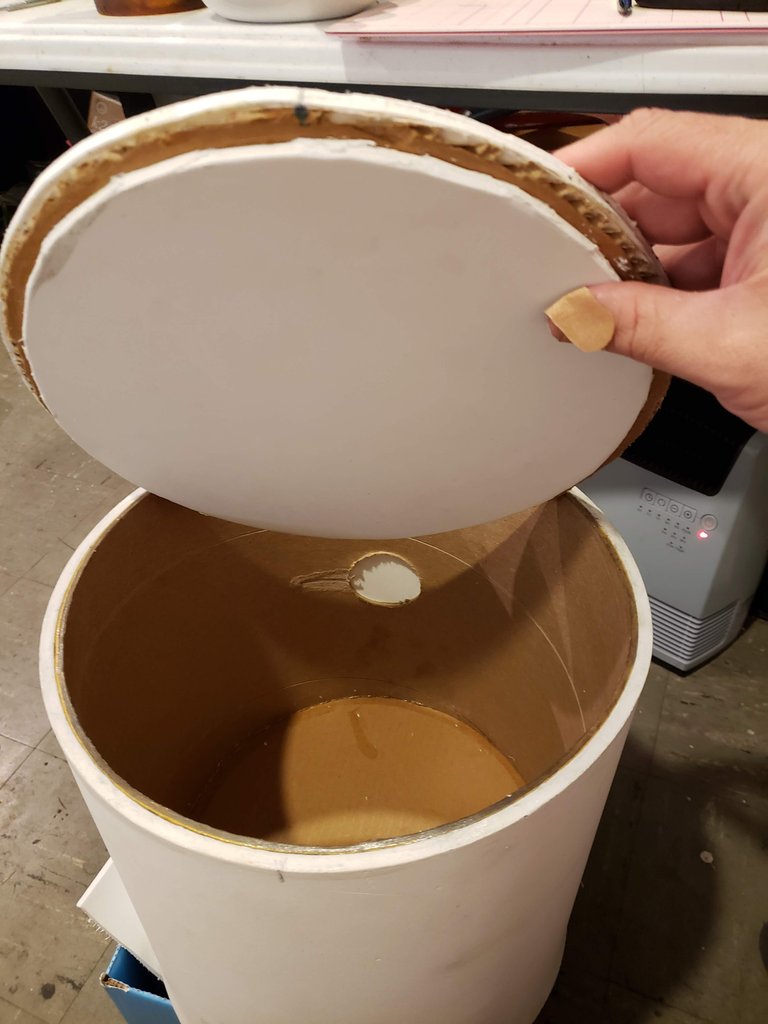
This concludes part two. In the next one, I'll show you how I get the handle securely fastened!
Come back for part three!

@SaintChristopher
[if you don't follow me, maybe you should...jussayin]
Last Part
Previous Prop Builds
HEY Y'ALL! My Second Build is Miss Minutes from Marvel's Loki
I Tried My Hand At Prop Making.


