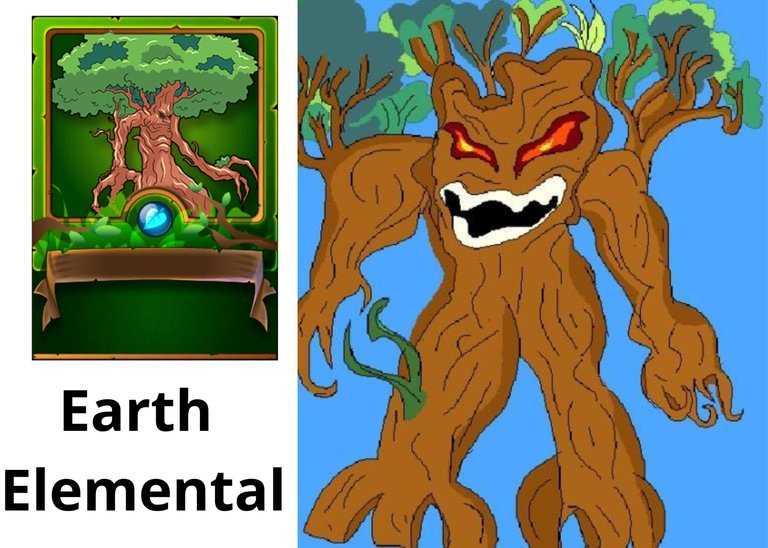
Hello friends of Hive, how are you. The following step by step represents the creation of Earth elemental one of the cards of our wonderful game in Splinterlands.
This week Splinterlands presents the #300 week of community contests, where artists. Craftsmen and designers can make some kind of art inspired by this fabulous game.
My card I made it in Pixar app, it's a basic pixel drawing application.
I hope you like it.
Step by Step
1
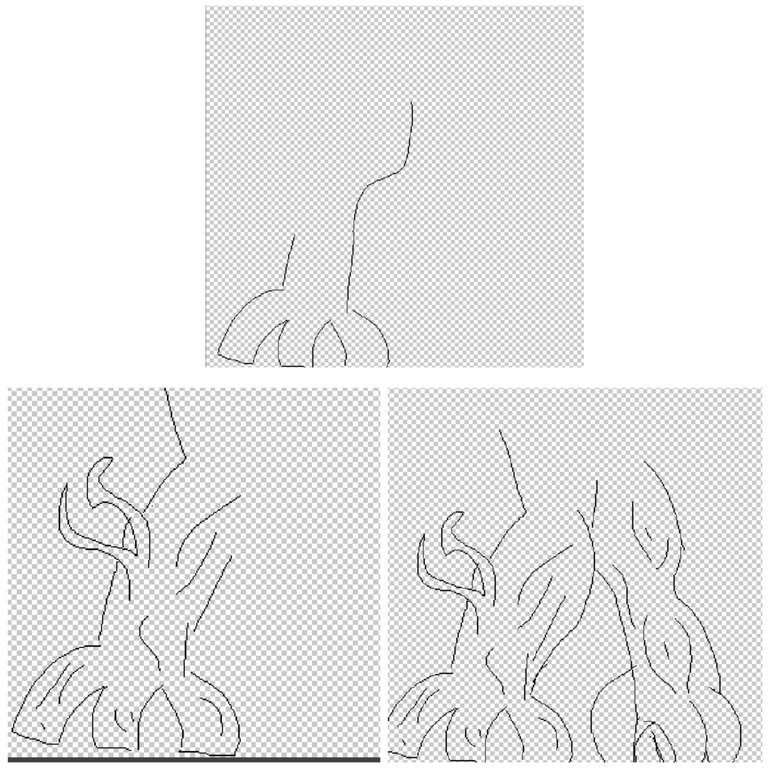
We start by making the feet of the tree corresponding to the tree trick. In this way we make two trunk-shaped feet as we give it thickness and shape of trunk but also foot.
Then we must make the lines inside the tree.
2
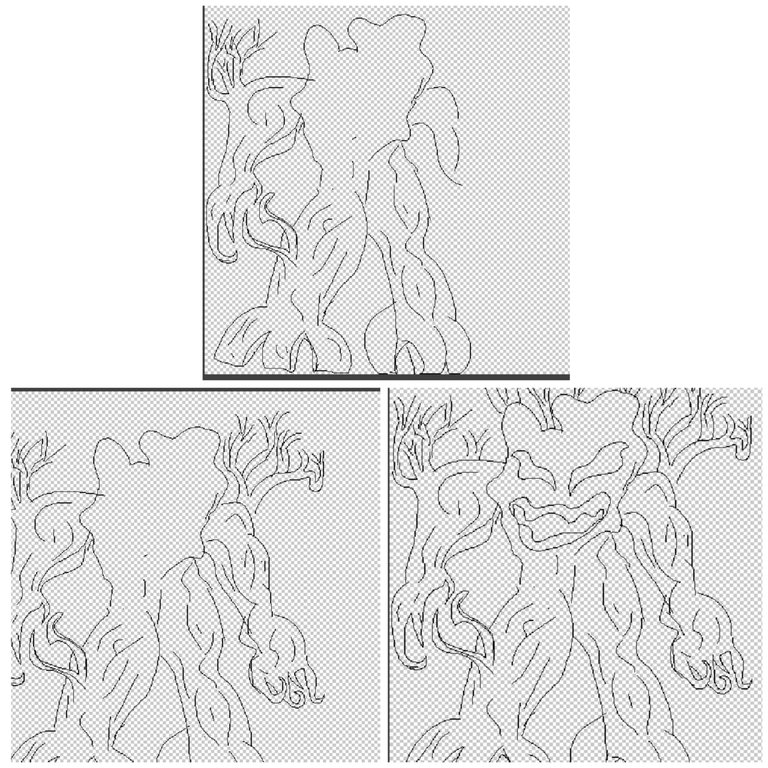
Then we must make the two arms. We also make a leafy arm in the shape of a trunk and at the end we leave branches in the shape of fingers.
Then the eyes are made at the top of the trunk, and we also create the mouth in a creepy shape.
3
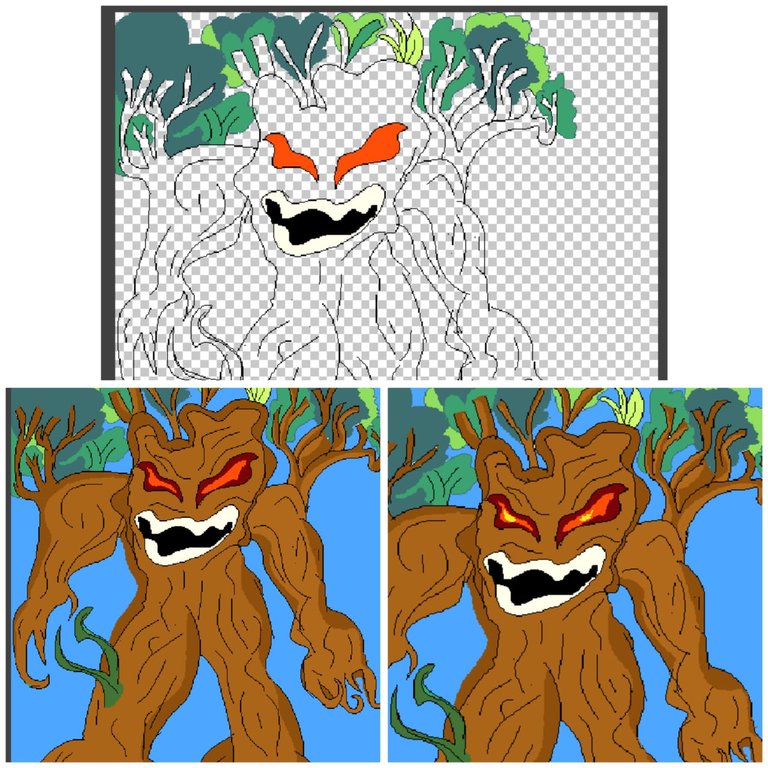
Then we start with the colors, I use colors per layer to make the eye area, first an orange base and then a yellow color.
For the color of the daughters we use two colors or shades of green.
Then we paint the edge of the tree in a dark brown color and the inner part in a light brown color.
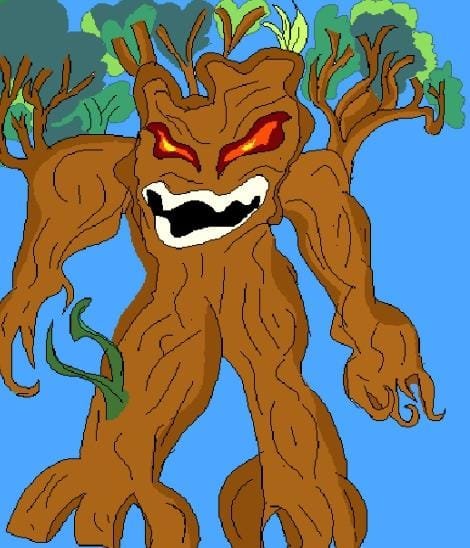
End of the process.

Hola amigos de Hive, como se encuentran. El siguiente paso a paso representa la creación de Earth elemental una de las cartas de nuestro maravilloso juego en Splinterlands.
Esta semana Splinterlands presenta la semana #300 de concursos de su comunidad, donde artistas. Artesanos y diseñadores pueden realizar algún tipo de arte inspirados en este fabuloso juego.
Mi carta la he realizado en Pixar app, es una aplicación de dibujos en pixeles básico.
Espero les guste.
Paso a Paso
1

Iniciamos haciendo los pies del árbol correspondiente al truco del árbol. De esta manera hacemos dos pies con forma de tronco ya que le damos grosor y forma de tronco pero también de pie.
Luego debemos hacer las líneas dentro del árbol.
2

Después se deben hacer los dos brazos. También hacemos un brazo frondoso en forma de tronco y al final dejamos ramas en formas de dedos.
Luego se hacen los ojos en la parte superior del tronco, y también creamos la boca de forma espeluznante.
3

Luego iniciamos con los colores, utilizo colores por capa para hacer la zona de los ojos, primero una base naranja y luego un color amarillo.
Para el color de las hijas usamos dos colores o tonalidades de color verde.
Luego pintamos el borde del árbol de un color marrón oscuro y la parte interna de un color marrón claro.

Final del proceso.
