Hace poco les estuve compartiendo el paso a paso de unas estrellas con material de provecho de las que quedé enamorada, y es que el yeso les dio un toque realmente bello, que a mí parecer va genial con el estilo de decoración que escogí este año para la Navidad en casa, por eso decidí realizar otras, pero con una decoración diferente.
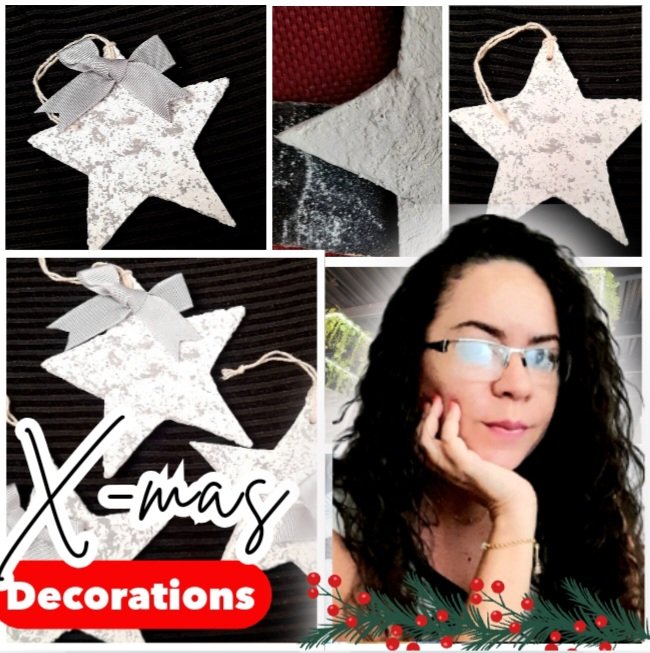
Como saben, estoy trabajando con colores blancos, grises y toques de dorado, además de elementos naturales como el yute, así que en esta oportunidad quise incorporar un poco de gris, ya que hasta ese momento no tenía nada en ese tono para el arbolito, y el resultado fue súper lindo, así que por aquí les dejo los materiales y el paso a paso por si quieren realizarlas en casa.
Materiales
Cartón
Yeso
Pintura al frío blanca
Pintura al frío gris
Cinta de tela gris
Pincel
Pistola de silicón
Palito de altura/brocheta
Hilo pabilo
Paso a paso
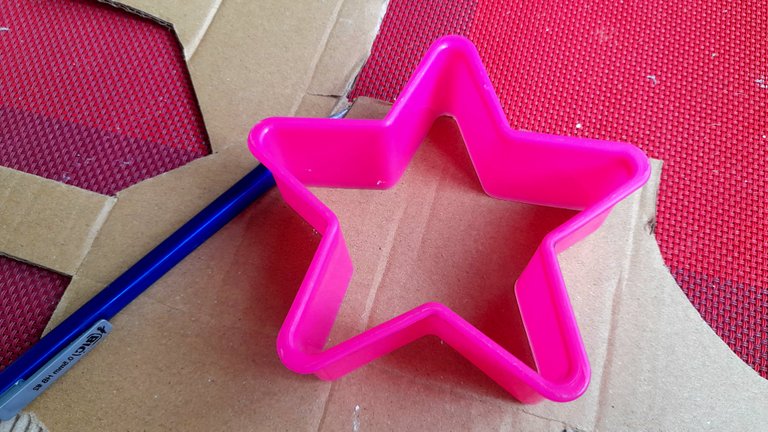
Lo primero que haremos es recortar las estrellas en el cartón, que como les dije la vez pasada, es el de las cajas que desechan en el súper, así que no gastaremos absolutamente nada, y además estamos reutilizando, lo que es genial.
En esta oportunidad usé un molde un poco más pequeño que para las primeras estrellas, y también recorté seis.
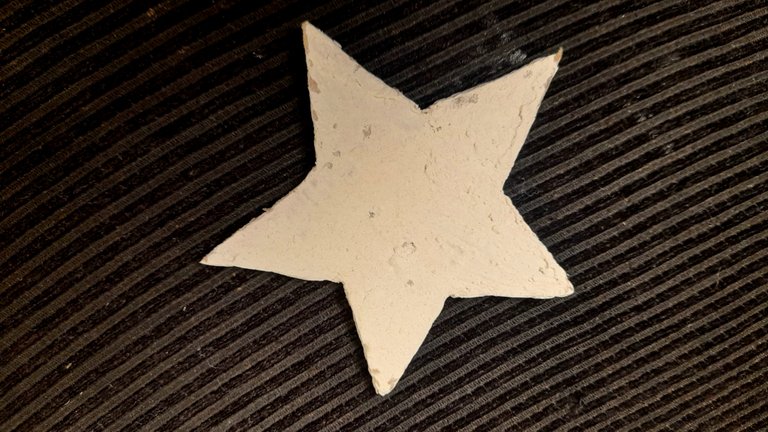
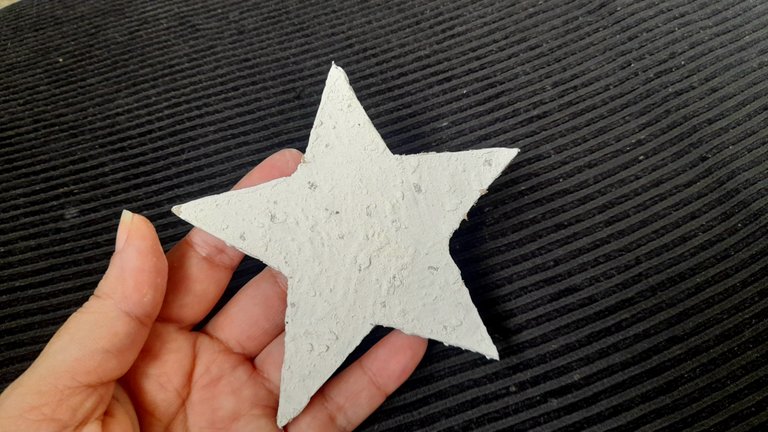
Una vez tenemos recortadas todas las piezas que vamos a necesitar, con ayuda del pincel damos dos capas de yeso a las estrellas, esperando entre capa y capa a que sequen muy bien.
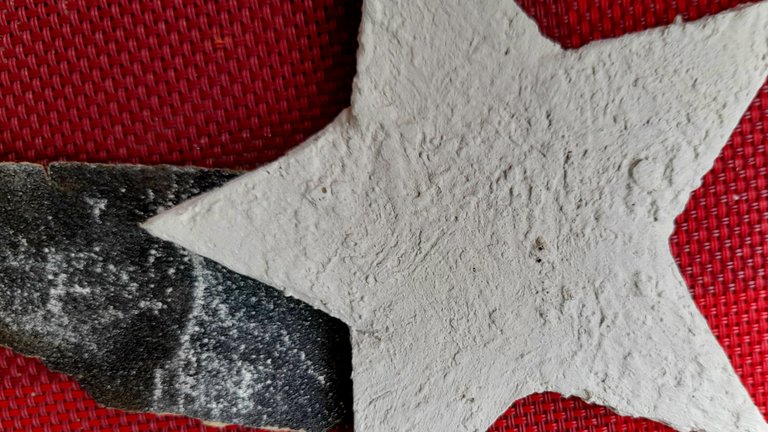
Seguidamente, lijamos solo un poco la superficie para mantener el estilo rústico de nuestra decoración, retiramos el polvillo y están listas para el siguiente paso que es darles color.
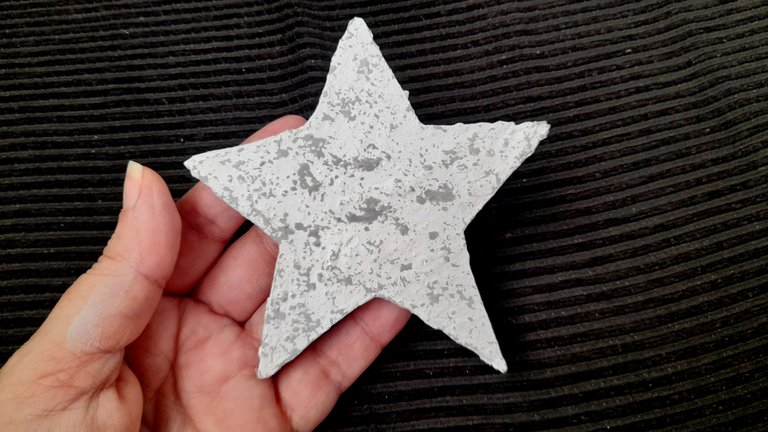
Lo primero que haremos es aplicar dos capas de blanco, y dejar secar muy bien para luego incorporar el gris, y en este punto aclaramos que la idea es dar pequeños toques con un algodón apenas mojado con la pintura gris, sobre la superficie de las estrellas.
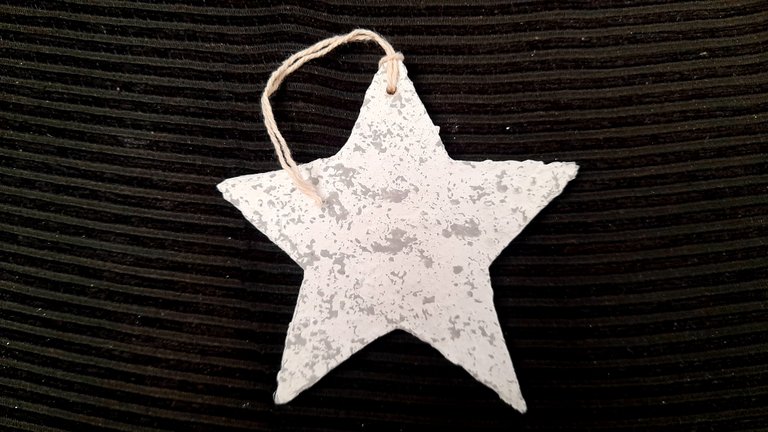
Es importante recordar que no las queremos del todo grises, sino darles un poco de color, así que realizaremos toques superficiales para que queden como las de la imagen.
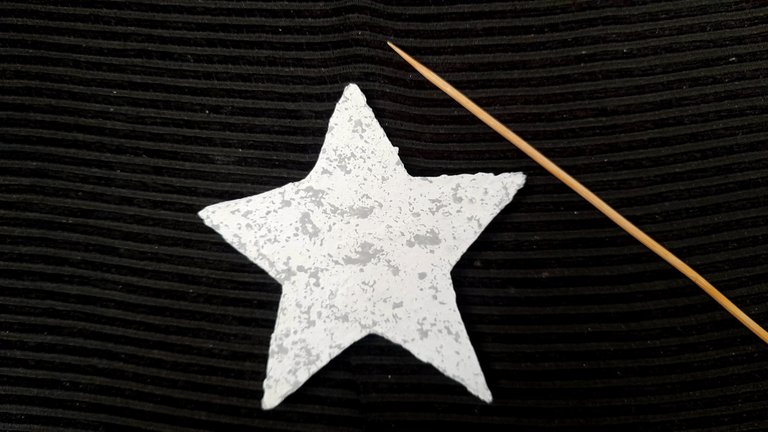
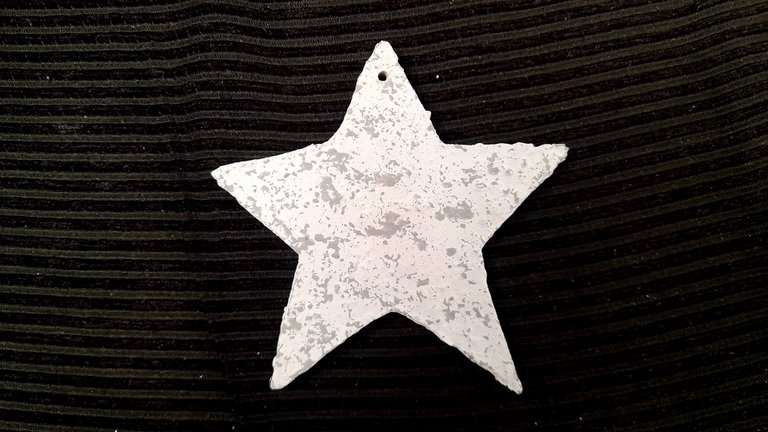
Seguidamente, con ayuda de un palito de altura abrimos el huequito para pasar el hilo pabilo con el que colgaremos al árbol de Navidad nuestras estrellas.
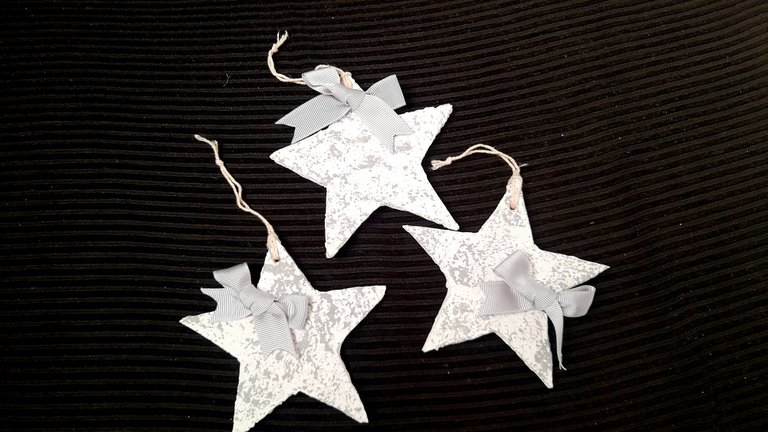
Y ya para finalizar, quise agregar un toque tierno y delicado con un pequeño moño gris que ubique en lugares diferentes en cada estrella.

Una manualidad bastante sencilla, de bajo costo, y adaptada a nuestro gusto, porque ustedes en casa la pueden elaborar acorde a su decoración, personalizando así su árbol de Navidad de una manera súper sencilla que además luce hermosa, y con estas ya serían 12 las estrellas de buen tamaño para la decoración de nuestro arbolito estilo nórdico, y aún tengo cositas para compartir, así que estén atentos.

A little while ago I was sharing with you the step by step of some stars with scrap material of which I fell in love, and the plaster gave them a really beautiful touch, which in my opinion goes great with the style of decoration I chose this year for Christmas at home, so I decided to make others, but with a different decoration.

As you know, I am working with white, gray and touches of gold, plus natural elements such as jute, so this time I wanted to incorporate a little gray, because until then I had nothing in that tone for the tree, and the result was super nice, so here I leave the materials and step by step if you want to make them at home.
Materials
Cardboard
Plaster
White cold paint
Gray cold paint
Gray cloth tape
Brush
Silicone gun
Height stick/brush
Wick twine
Step by step
The first thing we will do is cut out the stars in the cardboard, which as I told you last time, is the cardboard from the boxes that are discarded at the supermarket, so we will not waste anything at all, and we are also reusing, which is great.
This time I used a slightly smaller mold than for the first stars, and I also cut out six of them.

Once we have cut out all the pieces we will need, with the help of the brush we apply two coats of plaster to the stars, waiting between coats for them to dry very well.

Next, we sand the surface just a little to maintain the rustic style of our decoration, remove the dust and they are ready for the next step, which is to give them color.

The first thing we will do is apply two coats of white, and let dry very well and then incorporate the gray, and at this point we clarify that the idea is to give small touches with a cotton barely wet with gray paint, on the surface of the stars.
It is important to remember that we do not want them to be completely gray, but to give them a little color, so we will make superficial touches so that they look like the ones in the image.


Next, with the help of a stick, we open the hole to pass the wick thread with which we will hang our stars on the Christmas tree.


And finally, I wanted to add a tender and delicate touch with a small gray ribbon that I placed in different places on each star.


A fairly simple craft, low cost, and adapted to our taste, because you can make it at home according to your decoration, thus personalizing your Christmas tree in a super simple way that also looks beautiful, and with these there would be 12 stars of good size for decorating our Nordic style tree, and I still have little things to share, so stay tuned.


