Hello everyone, I decided to make a cute tulle top for a client, so I want to share my process with you. I believe that fashion should be done effortlessly and simplicity is elegancy. That doesn't mean I don't like elaborate and glamorous designs but fashion is not only about how you look, it also includes how you feel, and how comfortable you are in your outfits. Being comfortable in one's outfit will boost confidence and charisma.
That's why when consulting my clients, I prioritize ensuring they are comfortable with the outfit design they are making and also consider their body type cause, that's also important. A lot of people don't know the appropriate clothes to wear. We have different body types, some are socially pleasing, and some are not. Nevertheless, all body types are beautiful and unique but still need to be styled appropriately. Understanding body types is as important as creating the outfits.
This is a simple top but still fashionable and easy to sew. This top took about 2-3 hours to make. I'm going to take you a few steps if you are willing to make one for yourself.
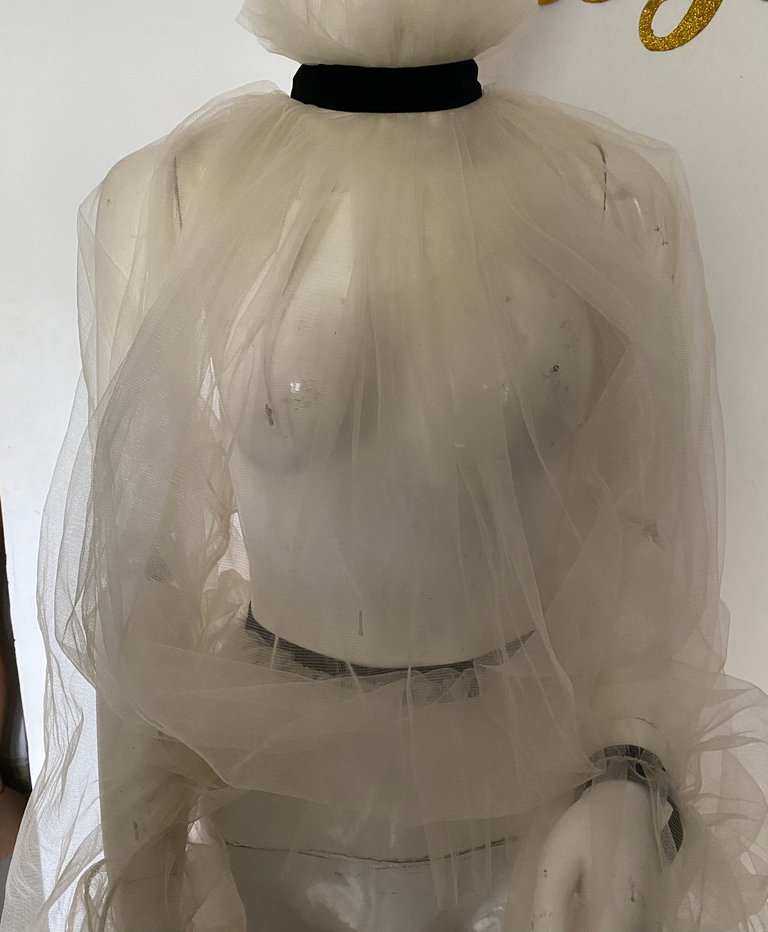
Step 1:Fabric sorting
Tulle is a very delicate fabric and should be handled with care. My tip on shopping for tulle is to buy quality and test the fabric's strength by creating a tensile force in the fabric, and the stretchy tulle is always better.
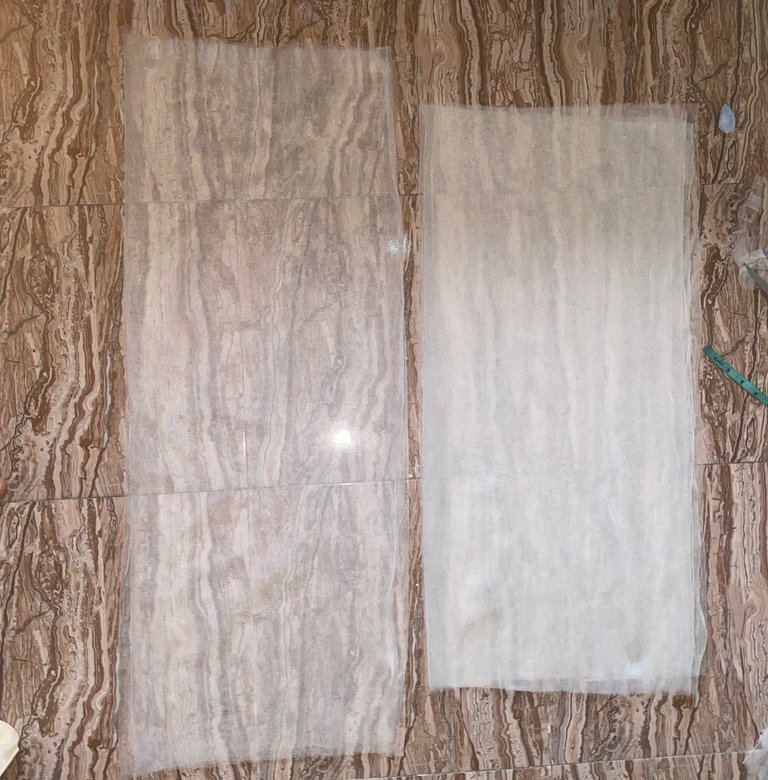
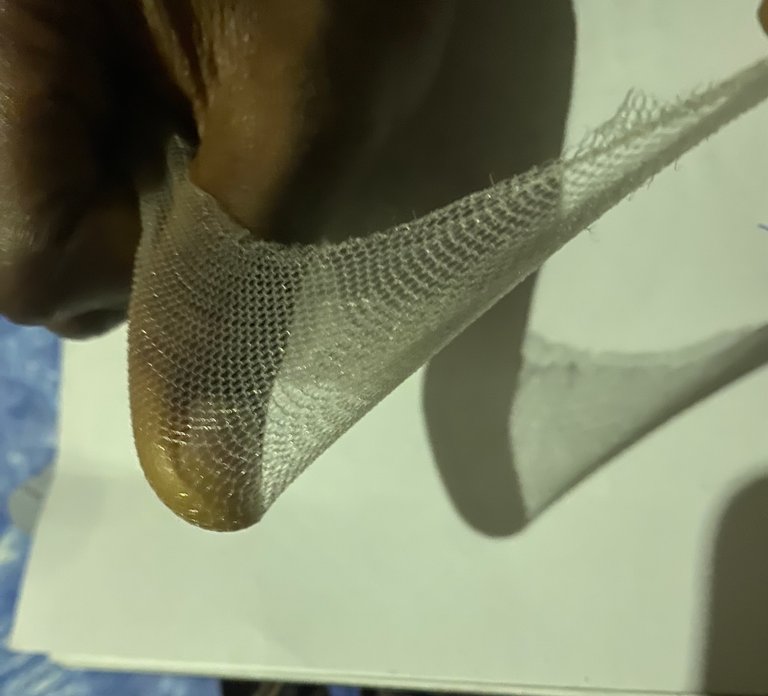
Step 2:Cutting
After getting my material, I went ahead to cut it to my client's size, she had a size US 16. She’s pretty big. I have to use more material.
Step3:Sewing
After cutting my material, I joined the front and back about 3 inches together on both sides.
Then I randomly pleat around the joint part for the neck circumference whilst dividing the back panel 5-6 inches down
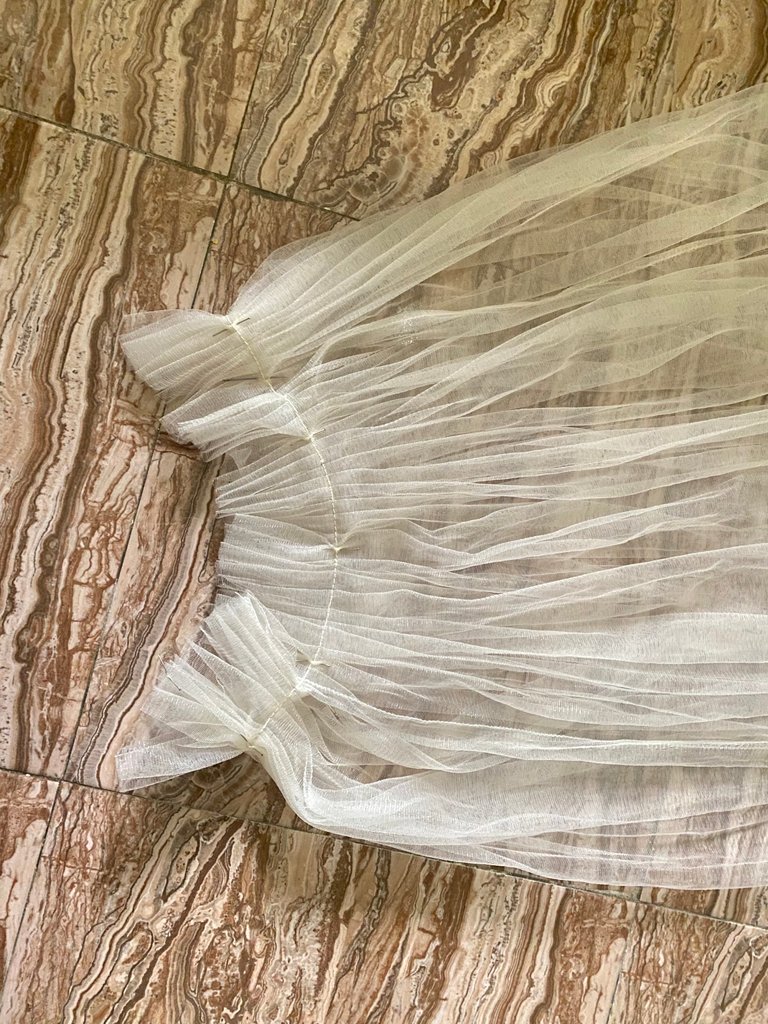
Then, I added the sleeves to the bodies ( what we previously made). I notched the middle of the sleeve and pinned it to the joining of the bodies.
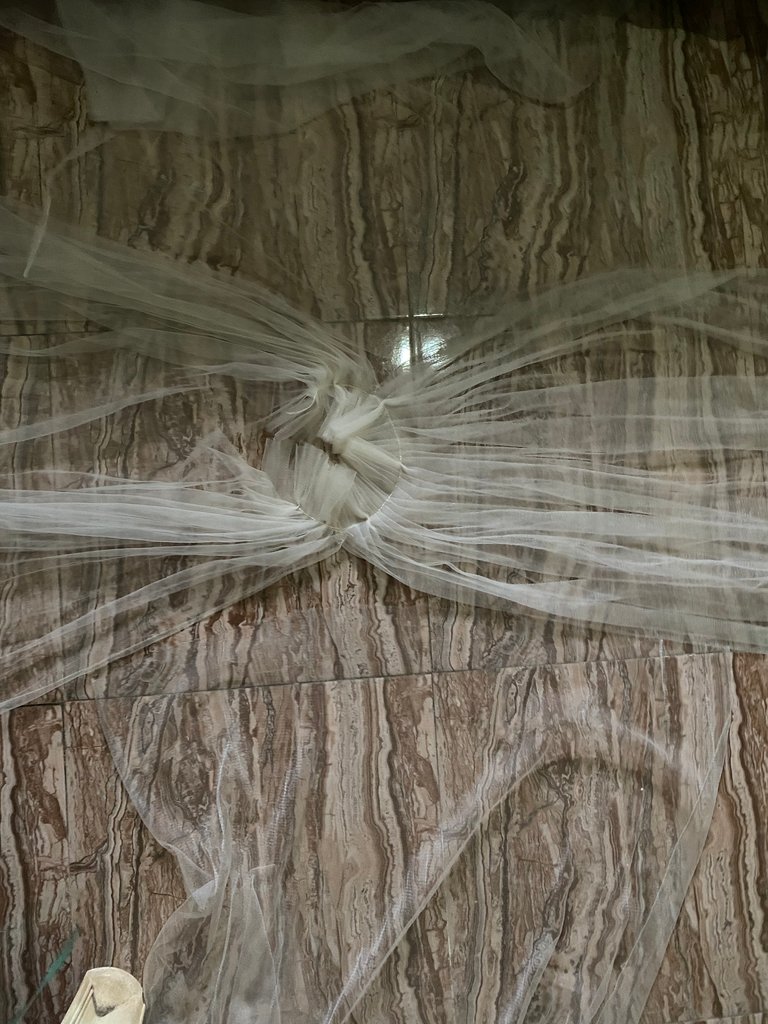
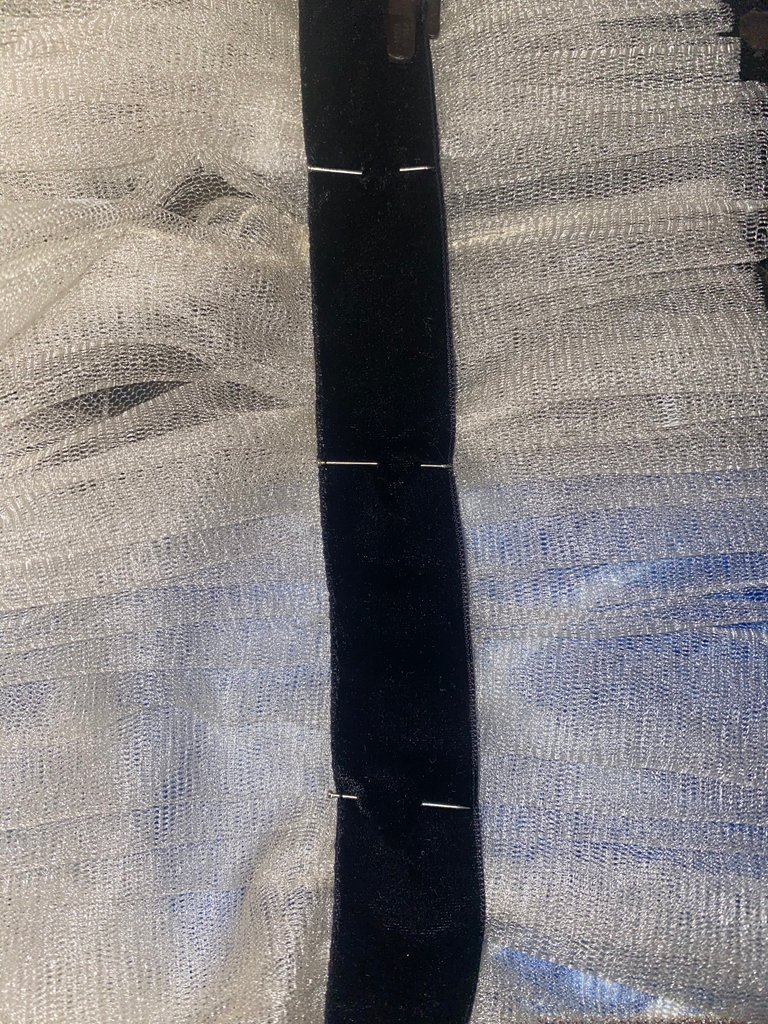
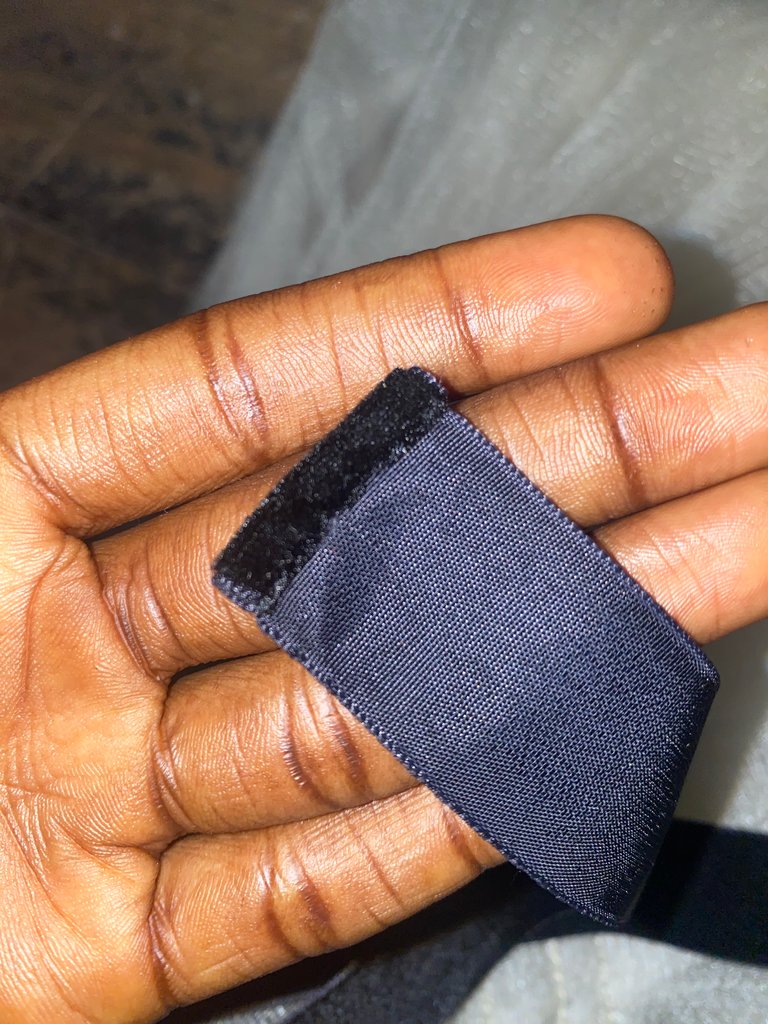
I went ahead and added velvet bias to the pleated neck circumference and left about 10-15 inches of velvet bias on both sides.
I randomly pleated the bottom of the sleeves (about 5 inches above the edge and I made sure that they were both equal. Then I added elastic to the pleat ( elastic is the wrist measurement)
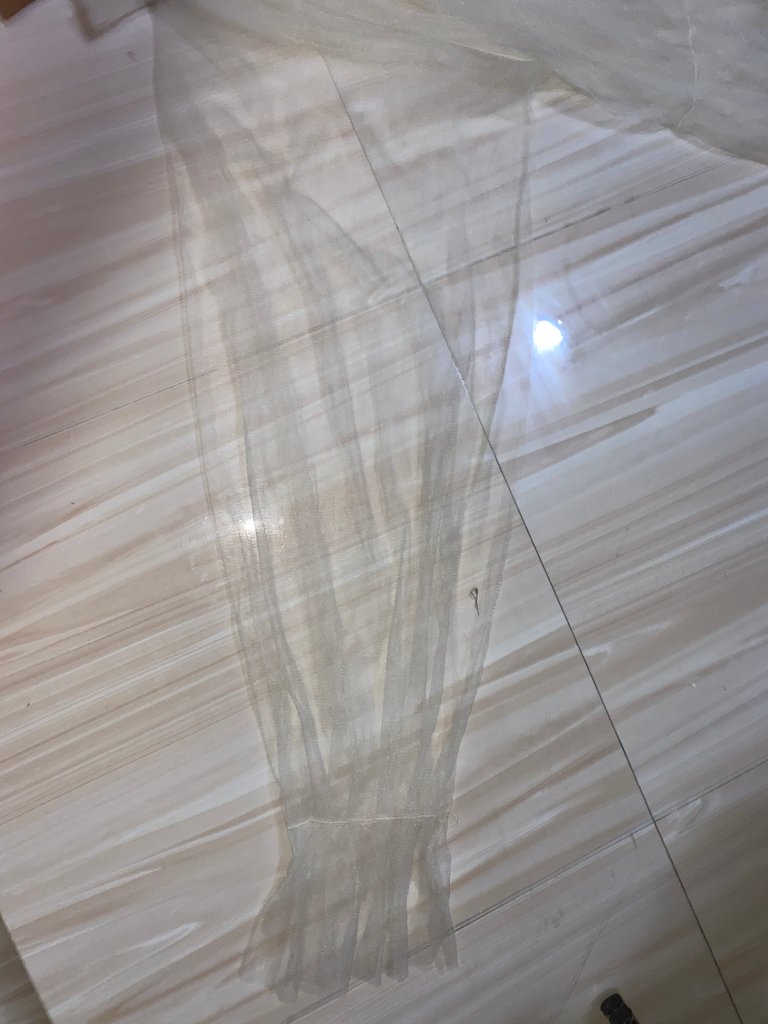
Then I joined both sides
Again I randomly pleated the bottom of the top about 5 inches above the bottom and I made sure the back was the same as the front then I added elastic to the pleat ( the elastic is her waist measurement ).
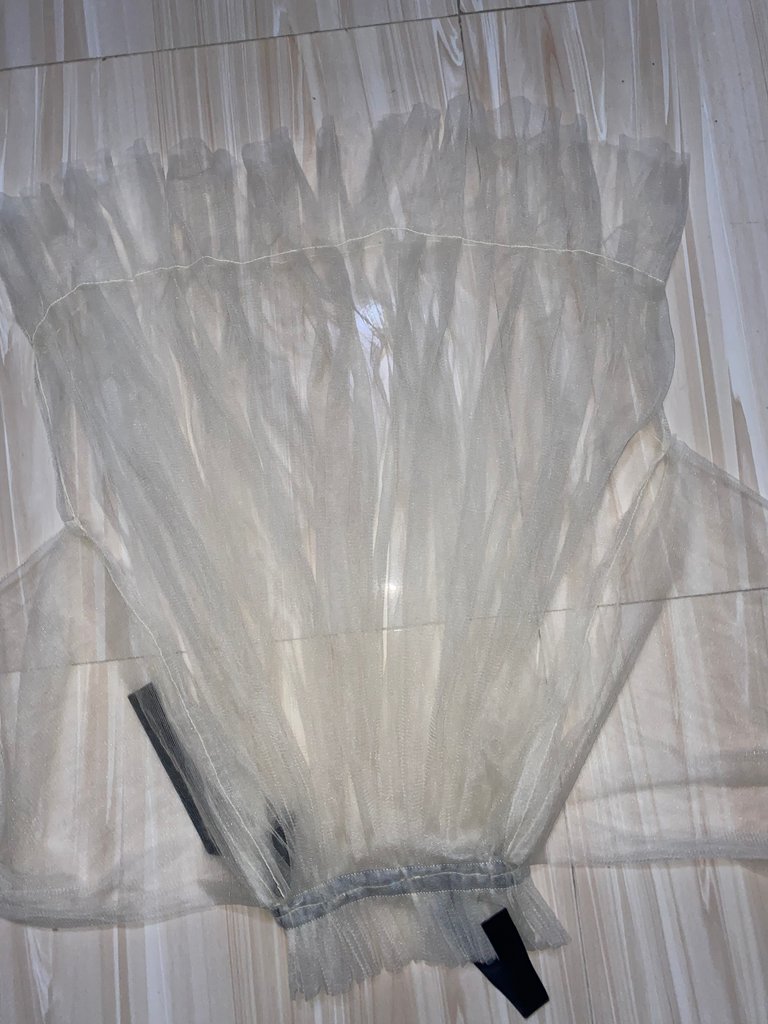
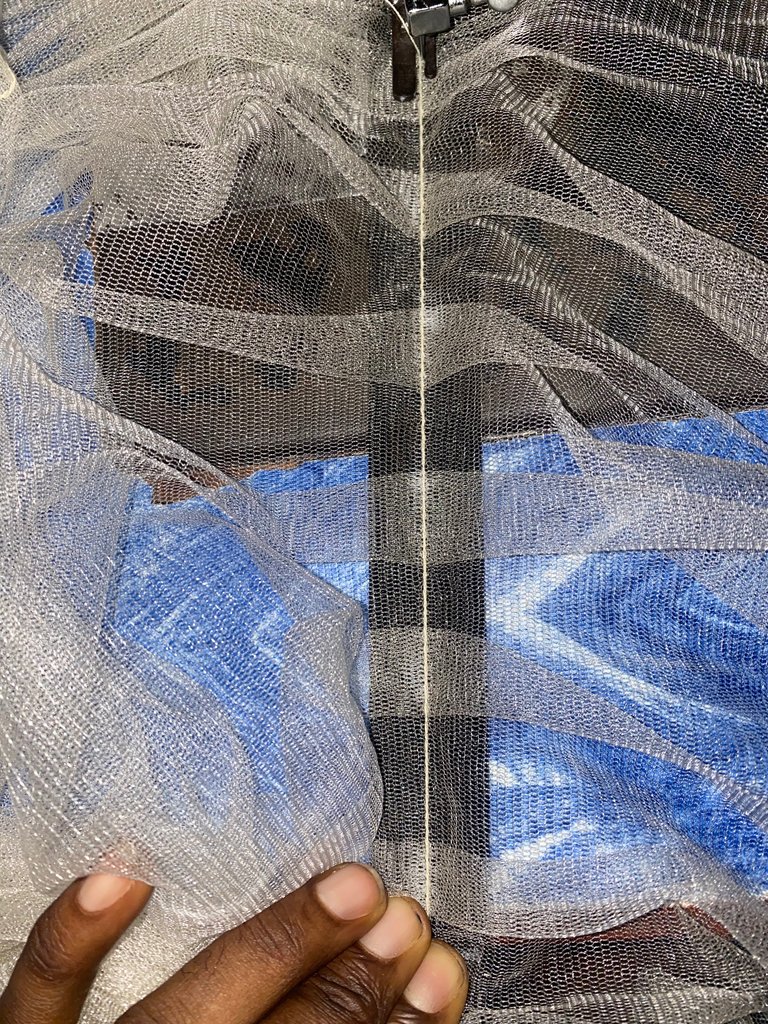
Omg, the top is almost ready.
Step 4:Finishing
I trimmed off unnecessary thread and finished with an overclock.
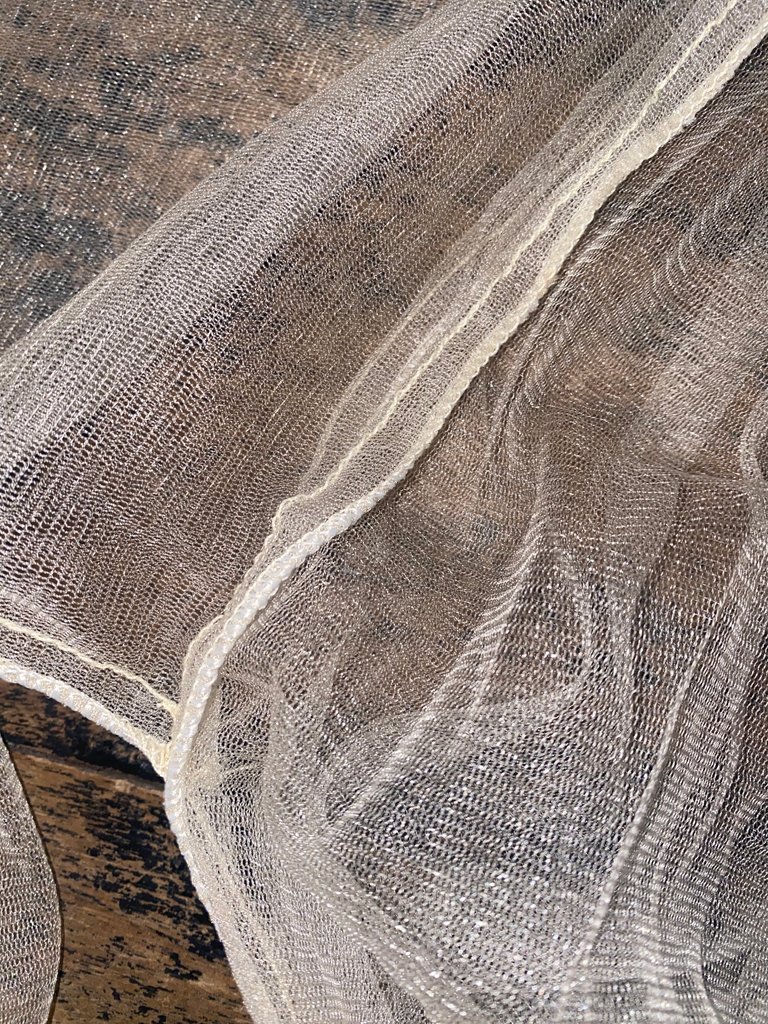
I also hemmed the edge of the velvet bias for a nice finish.
Here is the finished look
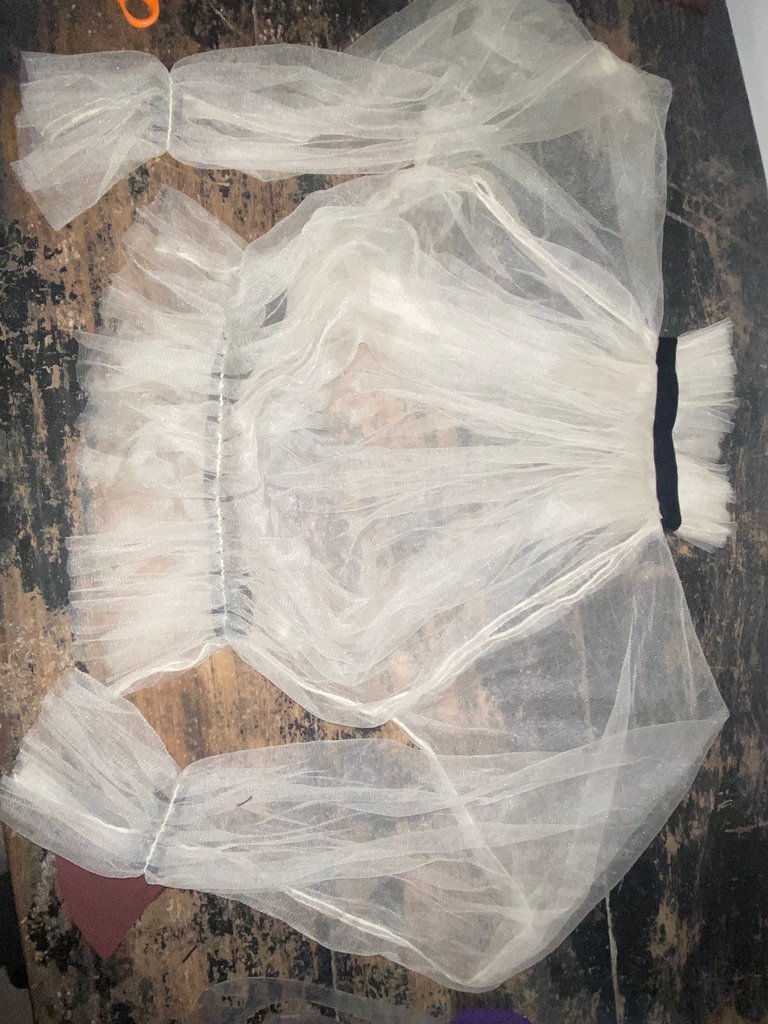
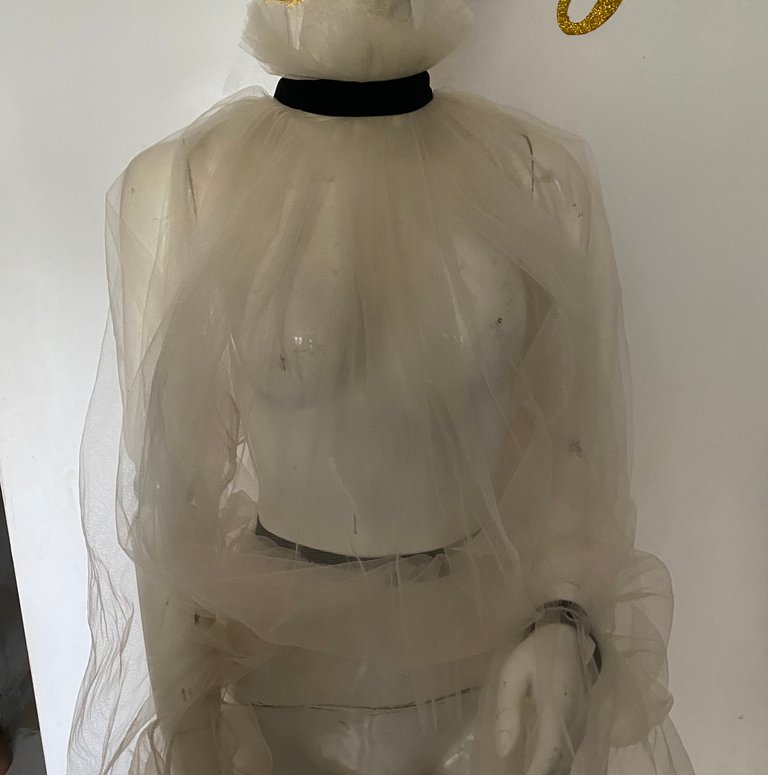
I will be making a matching skirt to complete this look in my next post, stay tuned.
Thanks for reading and have a wonderful day❤️.


